
ESP32-C3 Wall Plug Temp & Humidity Sensor(SHT31-D)
Print Profile(1)
Description
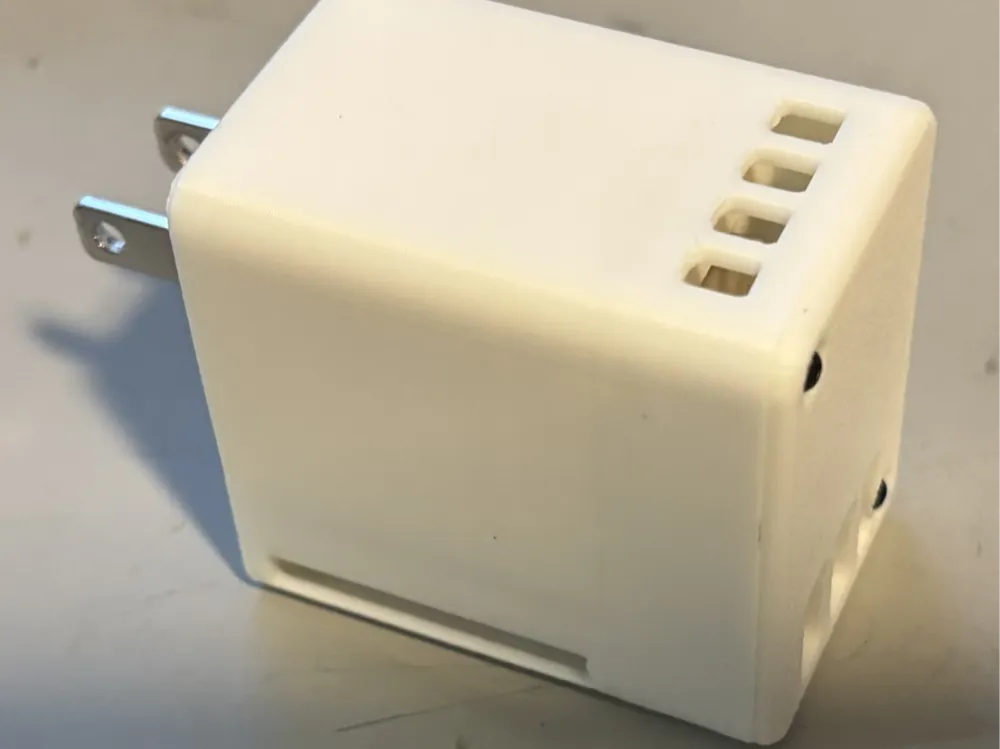
ESP32-C3 Wall Plug Temperature & Humidity Sensor (SHT31-D)
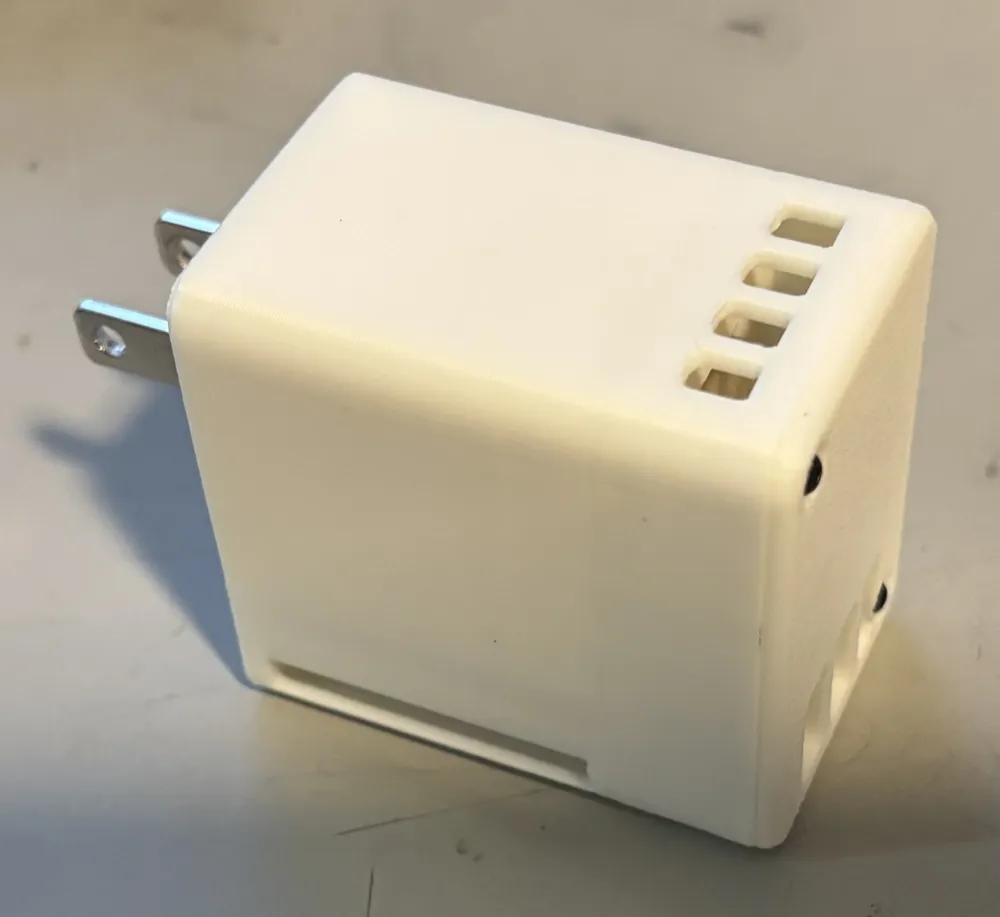
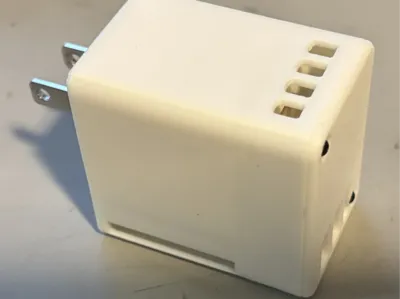
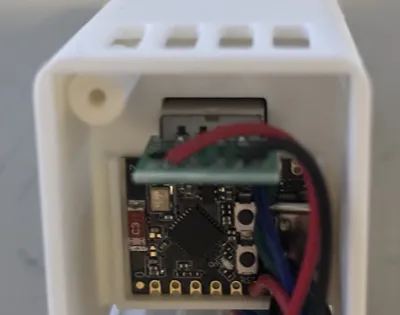
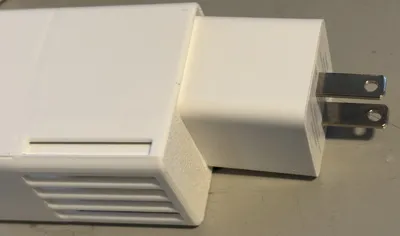
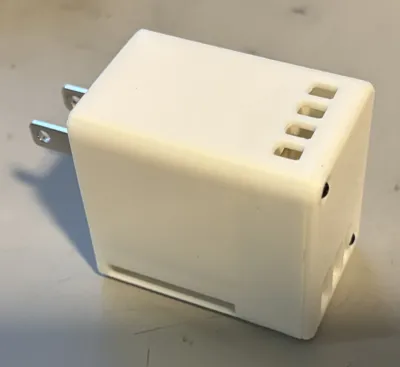
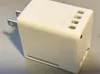
A compact, wall-outlet-mounted WiFi temperature and humidity sensor that looks like a clean white power adapter. An ESP32-C3 Super Mini and an SHT31-D sensor live inside a snap-together enclosure that slides over a standard USB wall charger — no cables, no batteries, no wall warts dangling off a USB cord. Plug it in and forget it.
I run several of these around the house and shop, feeding InfluxDB and Grafana dashboards. Firmware is included (link below) with sensor auto-detect, InfluxDB v2 reporting, and HTTP OTA updates so you never have to unplug them to reflash.
Features
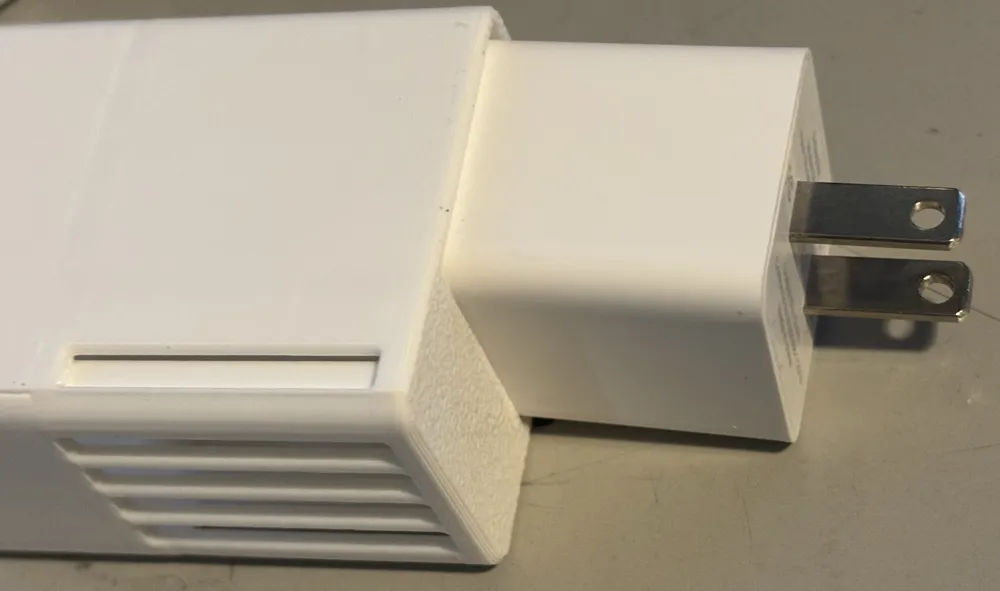
- Fully self-contained — the enclosure slips over a compact 5V/2.4A USB charger and encloses the ESP32-C3 + SHT31-D. Powered directly from the outlet.
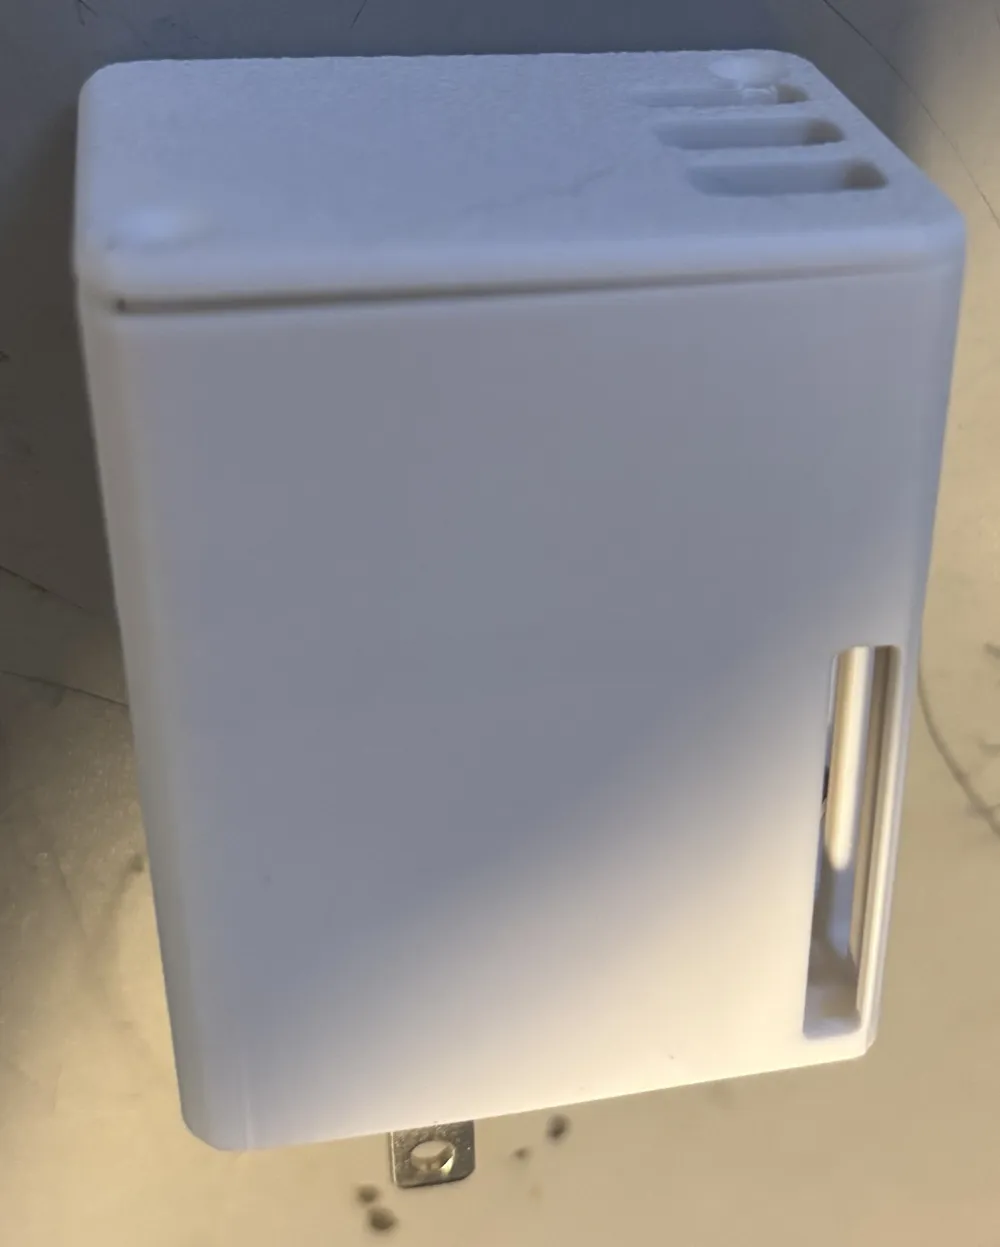
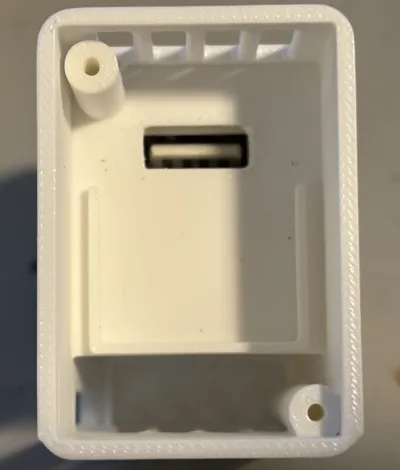
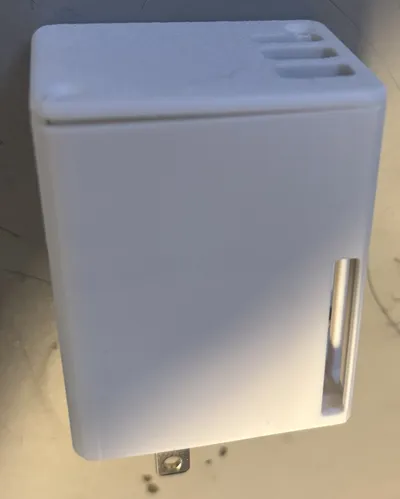
- Ventilated for accurate readings — slotted vents top and side keep the SHT31-D exposed to ambient air and let charger heat rise out the top, away from the sensor.
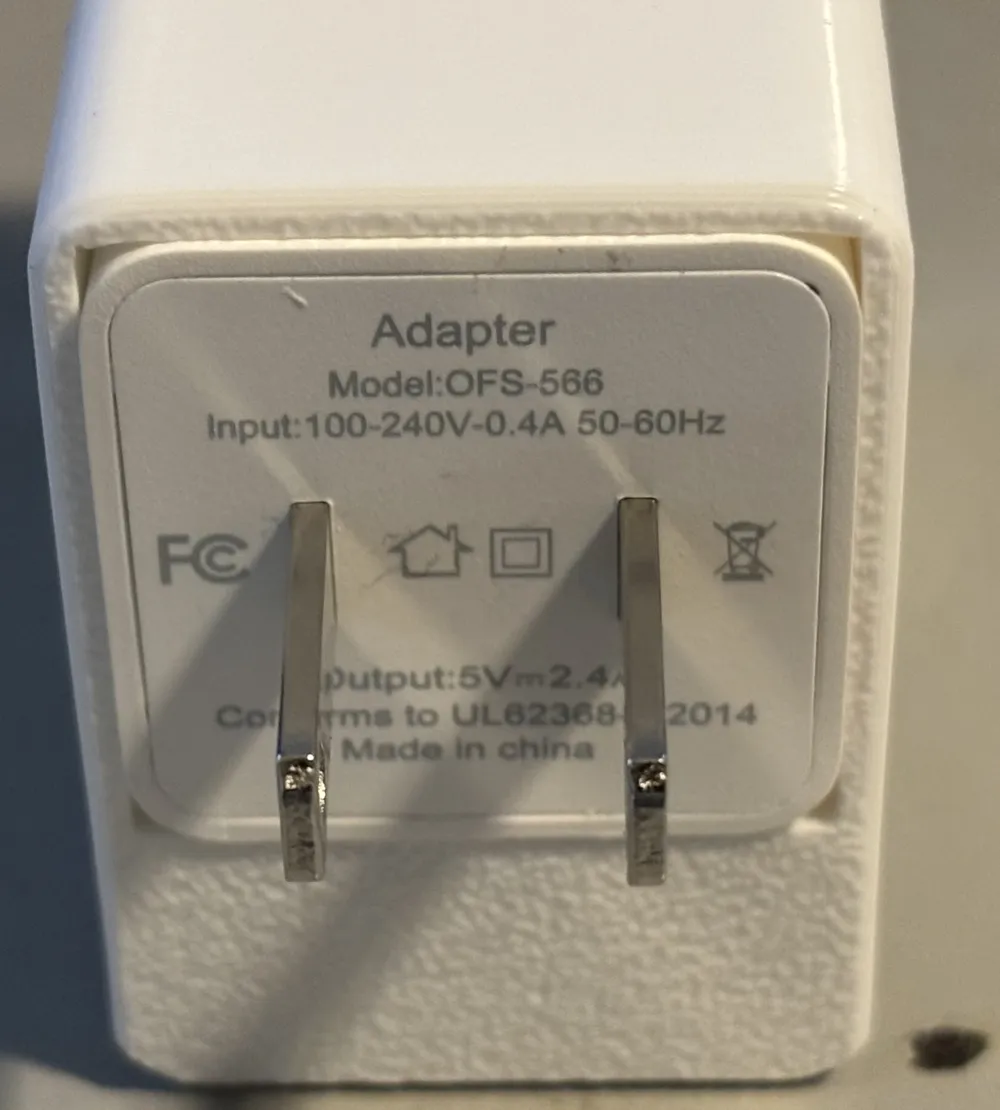
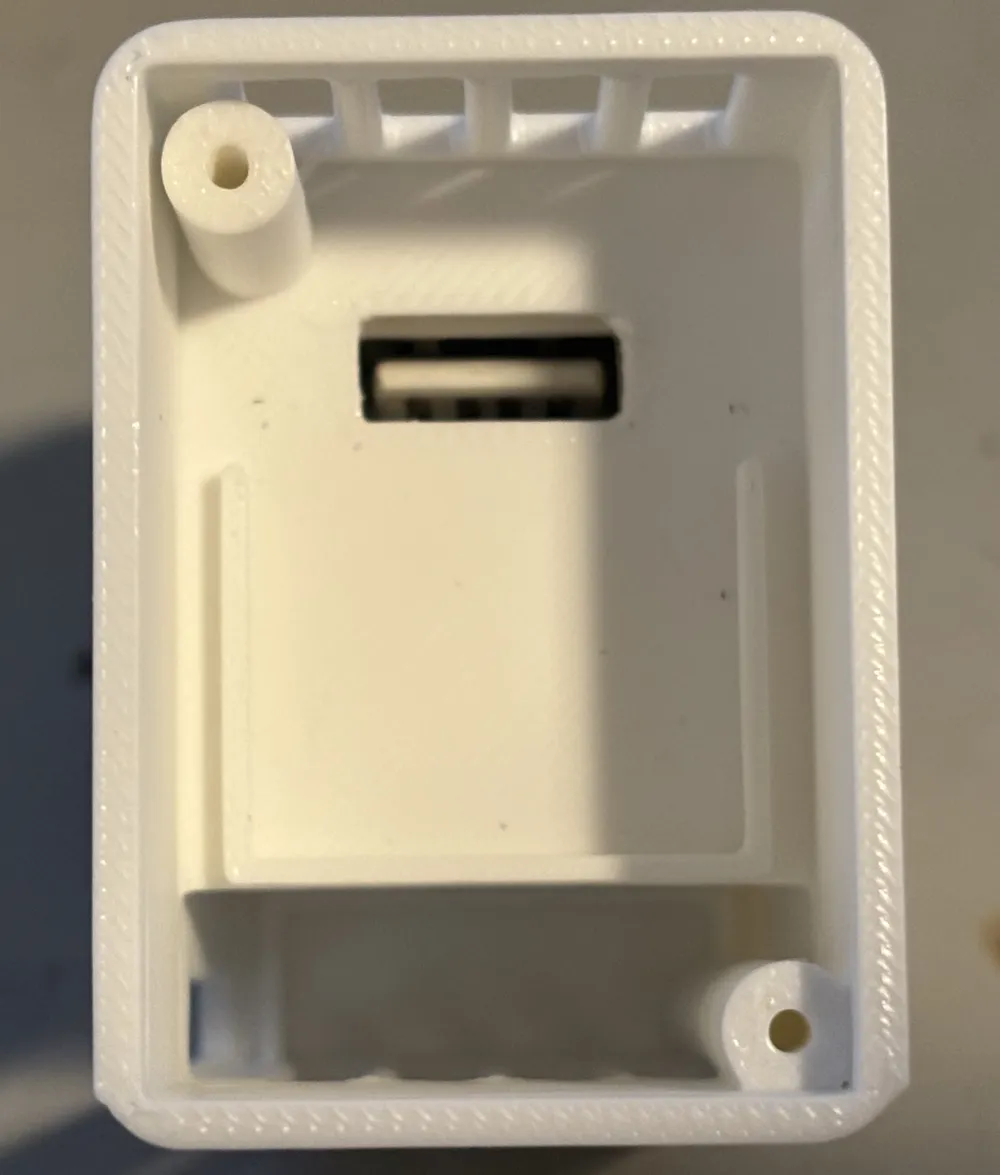
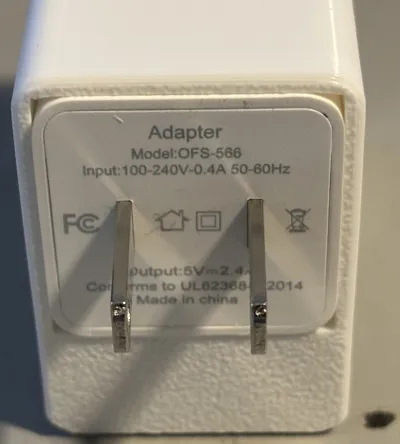
- Two-piece design — body + lid, secured with two small self-tapping screws. Lid cutout clears the charger's prongs/label plate.
- Mains stays enclosed — the 120/240V side never leaves the charger's own factory housing. Everything you touch is 5V.
- OTA-updatable firmware — flash once over USB, update over WiFi forever after.
Bill of Materials
- ESP32-C3 Super Mini: https://amzn.to/4hjI4P9
- SHT31-D temp/humidity sensor: https://amzn.to/3RHnKNe
- USB wall charger (5V 2.4A, compact cube): https://amzn.to/44FuzSq
- USB-A adapter/breakout: https://amzn.to/4fh6beM
- Hookup wire: https://amzn.to/4vGEGl5
- 2× small self-tapping screws (M2 x 6–8mm) for the lid
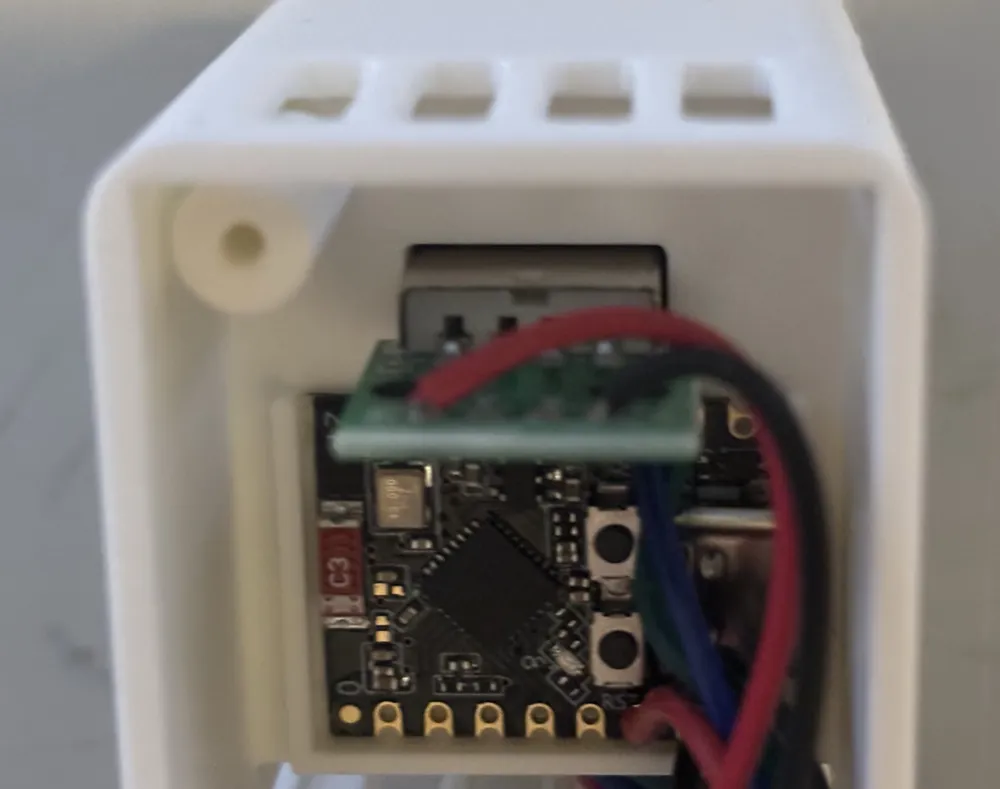
Note on the USB adapter: cut the adapter PCB right at the USB-A connector, then solder power and ground wires directly to the USB pins (5V and GND). This gives you a low-profile plug that mates with the charger's USB-A port inside the enclosure.
Wiring
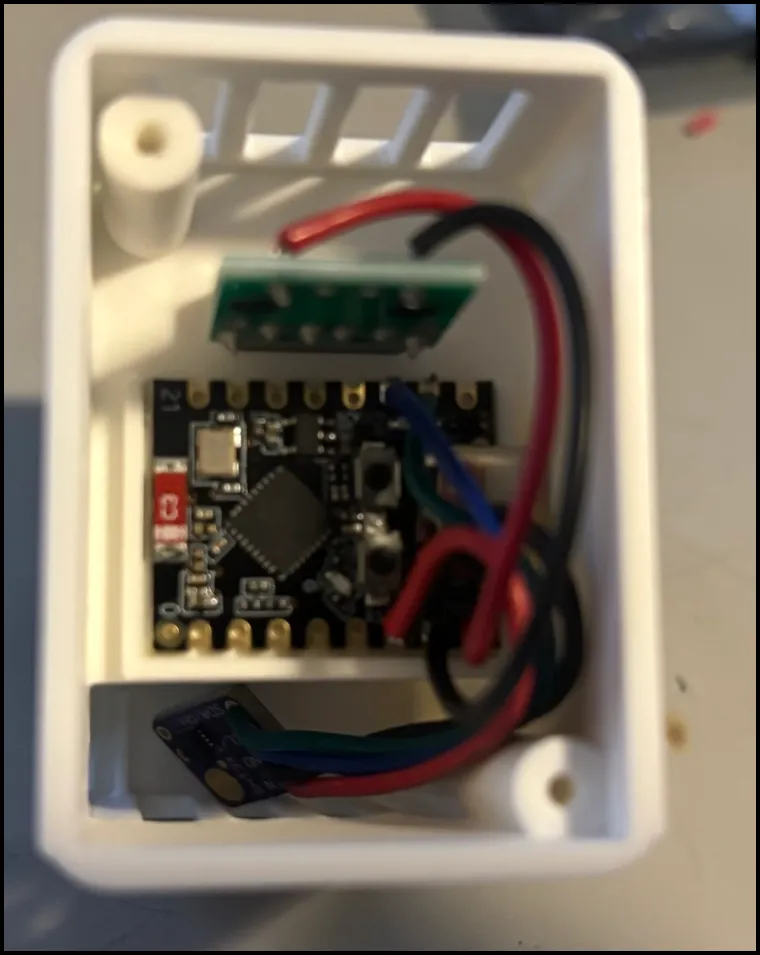
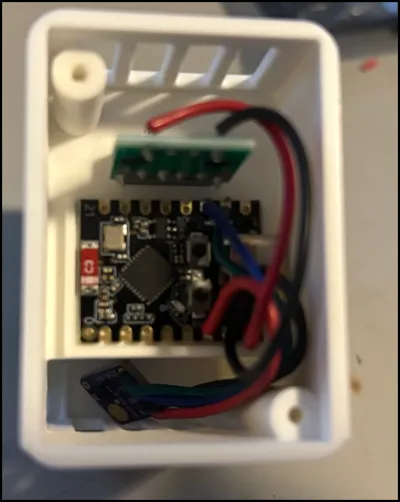
USB-A plug 5V → ESP32-C3 "5V" pin USB-A plug GND → ESP32-C3 GND SHT31 VIN → ESP32-C3 3.3V SHT31 GND → ESP32-C3 GND SHT31 SDA → GPIO6 SHT31 SCL → GPIO7
Firmware
Full ESP-IDF firmware (PlatformIO project) here: https://github.com/feetball/ESP32-C3-SHT31-D-TempAndHumidity
- Auto-detects an SHT31-D on I2C at boot (falls back to DHT22 on GPIO3 if you'd rather use one)
- Posts temperature, humidity, IP, RSSI, and firmware version to InfluxDB v2 every 30 seconds
- HTTP OTA updates from a simple file server — bump the version, run the publish script, and every deployed sensor updates itself within ~30 seconds
- Set your WiFi credentials, InfluxDB endpoint/token, and device name, then flash once over USB
Pairs perfectly with Grafana for multi-room dashboards.
Assembly
- Print the body and lid (no supports needed).
- Prep the USB-A adapter: cut the PCB at the connector, solder 5V and GND leads to the USB pins.
- Wire the SHT31-D to the ESP32-C3 per the table above.
- Flash the firmware over USB and confirm it's reporting before final assembly.
- Plug the USB-A adapter into the charger, seat the charger in the body, and tuck the C3 + SHT31 into the upper compartment near the vents.
- Fit the lid over the charger's prong plate and secure with the two screws.
- Plug it into an outlet — done.
Print Settings
- Material: PLA or PETG (PETG recommended if the outlet runs warm)
- Layer height: 0.2mm
- Walls: 3
- Infill: 15–20%
- Supports: none
- Both parts print flat on their open faces
Safety
The mains voltage side is entirely contained within the USB charger's original UL-listed housing — this enclosure only ever carries 5V DC. Don't modify the charger itself, and use a charger with the listed dimensions or verify fit before committing.
License



Comment & Rating (0)