
AI Buddy
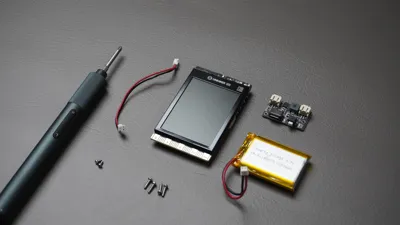
Print Profile(1)
Bill of Materials
- M2 Screw Kit x 1: https://jlcmc.com/product/s/E02/EDDV/ws-9200-hex-socket-cap-head-self-tapping-screw
- 3.7V Li-Po Battery x 1: https://techiesms.com/product/2500mah-3-7v-li-po-battery/
- DFRobot UNIHIKER K10 x 1: https://www.dfrobot.com/product-2904.html?tracking=wilKriekbs7BI3GBJZ9IVhugyxsApTR05uQK9f1Br0N3xrQ5uLs2gnzzEIaGP7Qm
Description
Boost Me (for free)
If AI Buddy inspired you, please consider giving this project a Boost! Your support helps me continue creating free, open-source AI, robotics, and STEM projects for the maker community. Every Boost motivates me to design more printable characters, tutorials, and hardware. Thank you for your support! ❤️🤖
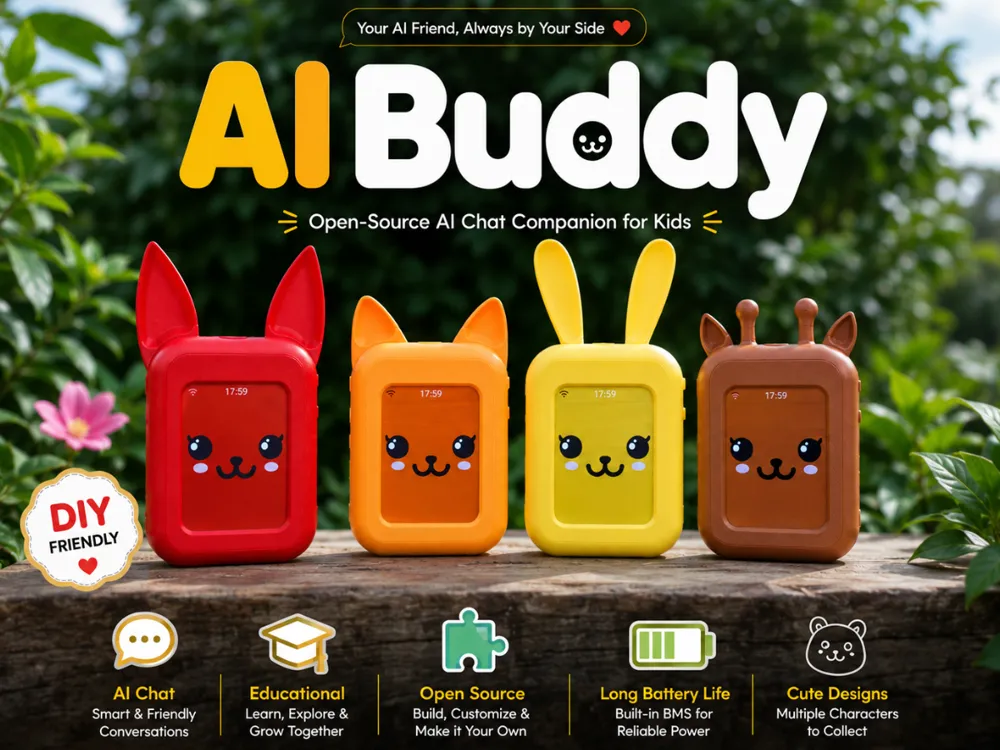
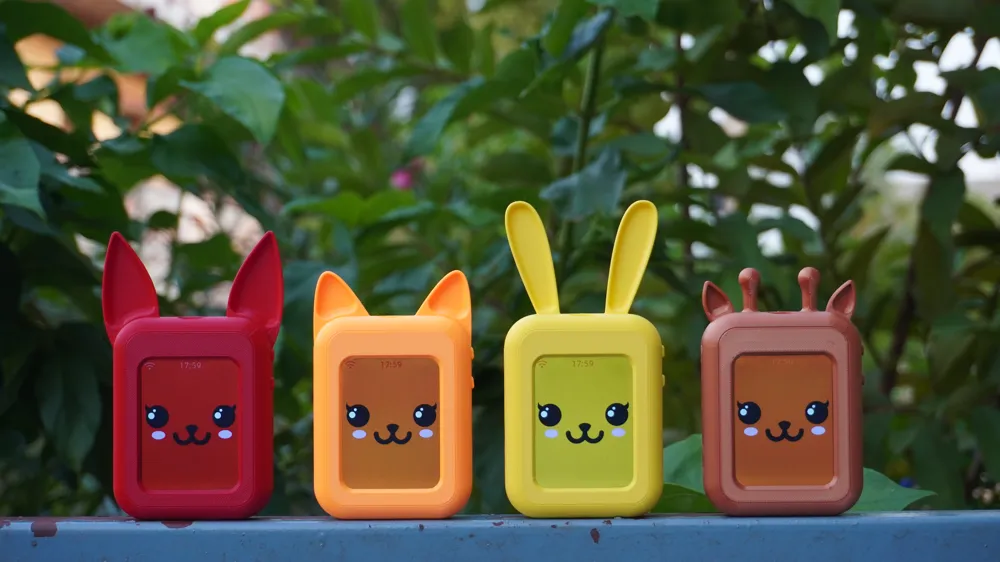
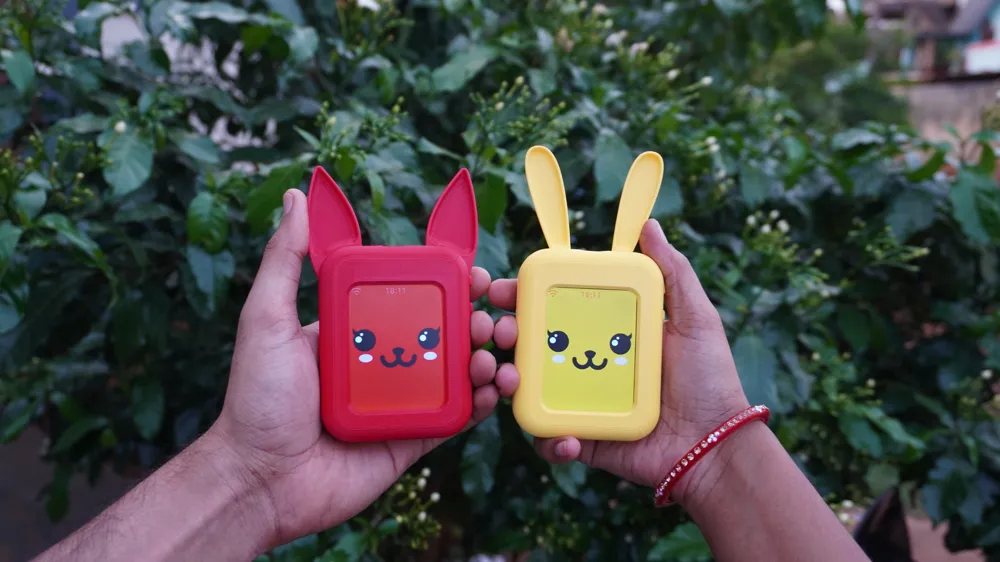
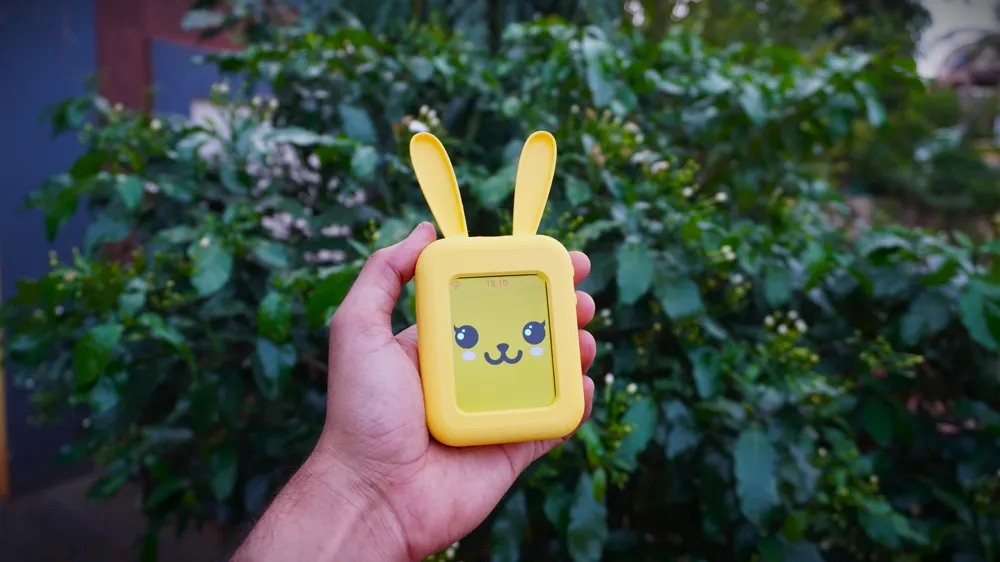
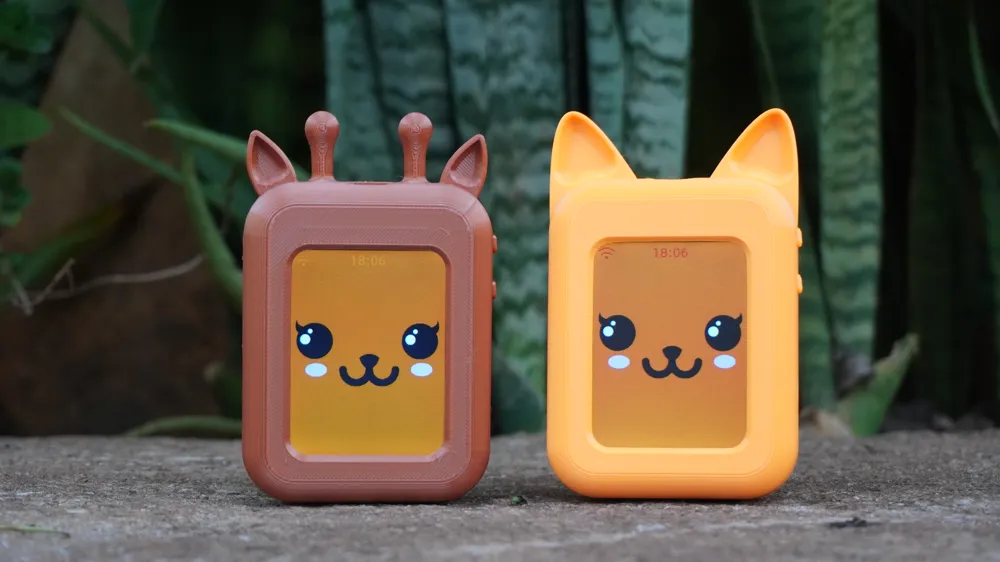
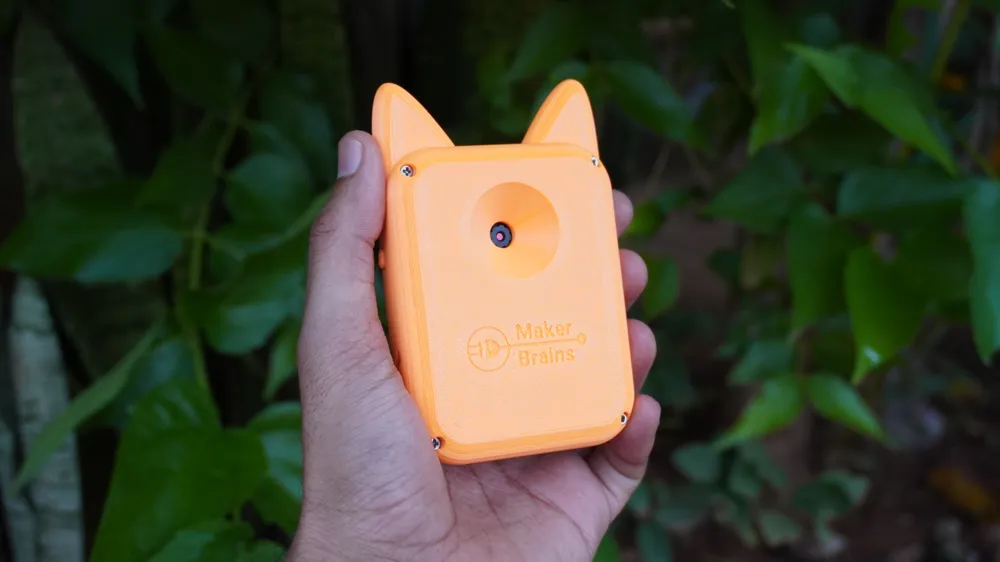
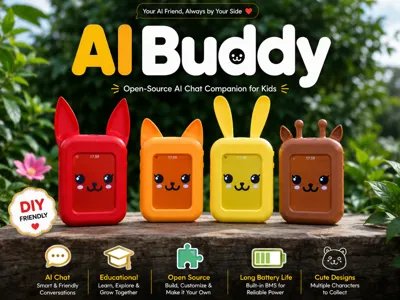
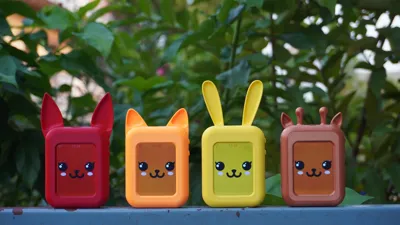
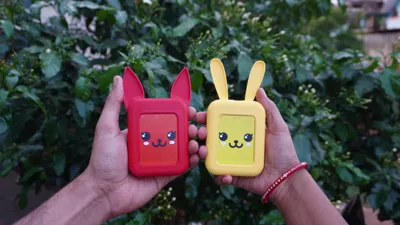
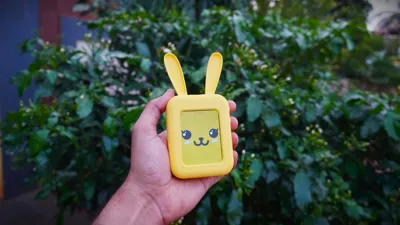
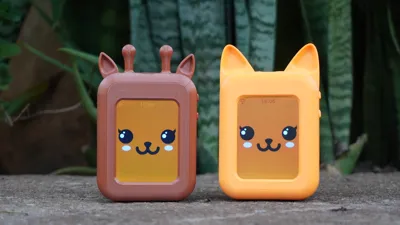
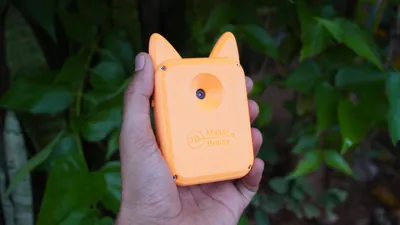
AI Buddy is an open-source AI companion powered by the DFRobot UNIHIKER K10 and the Xiaozhi Framework. Build your own customizable AI chatbot with interchangeable animal enclosures including Bunny, Cat, Fox, and Giraffe. The project combines 3D printing, electronics, PCB design, and AI into a fun STEM project for makers, students, and educators.
Supplies
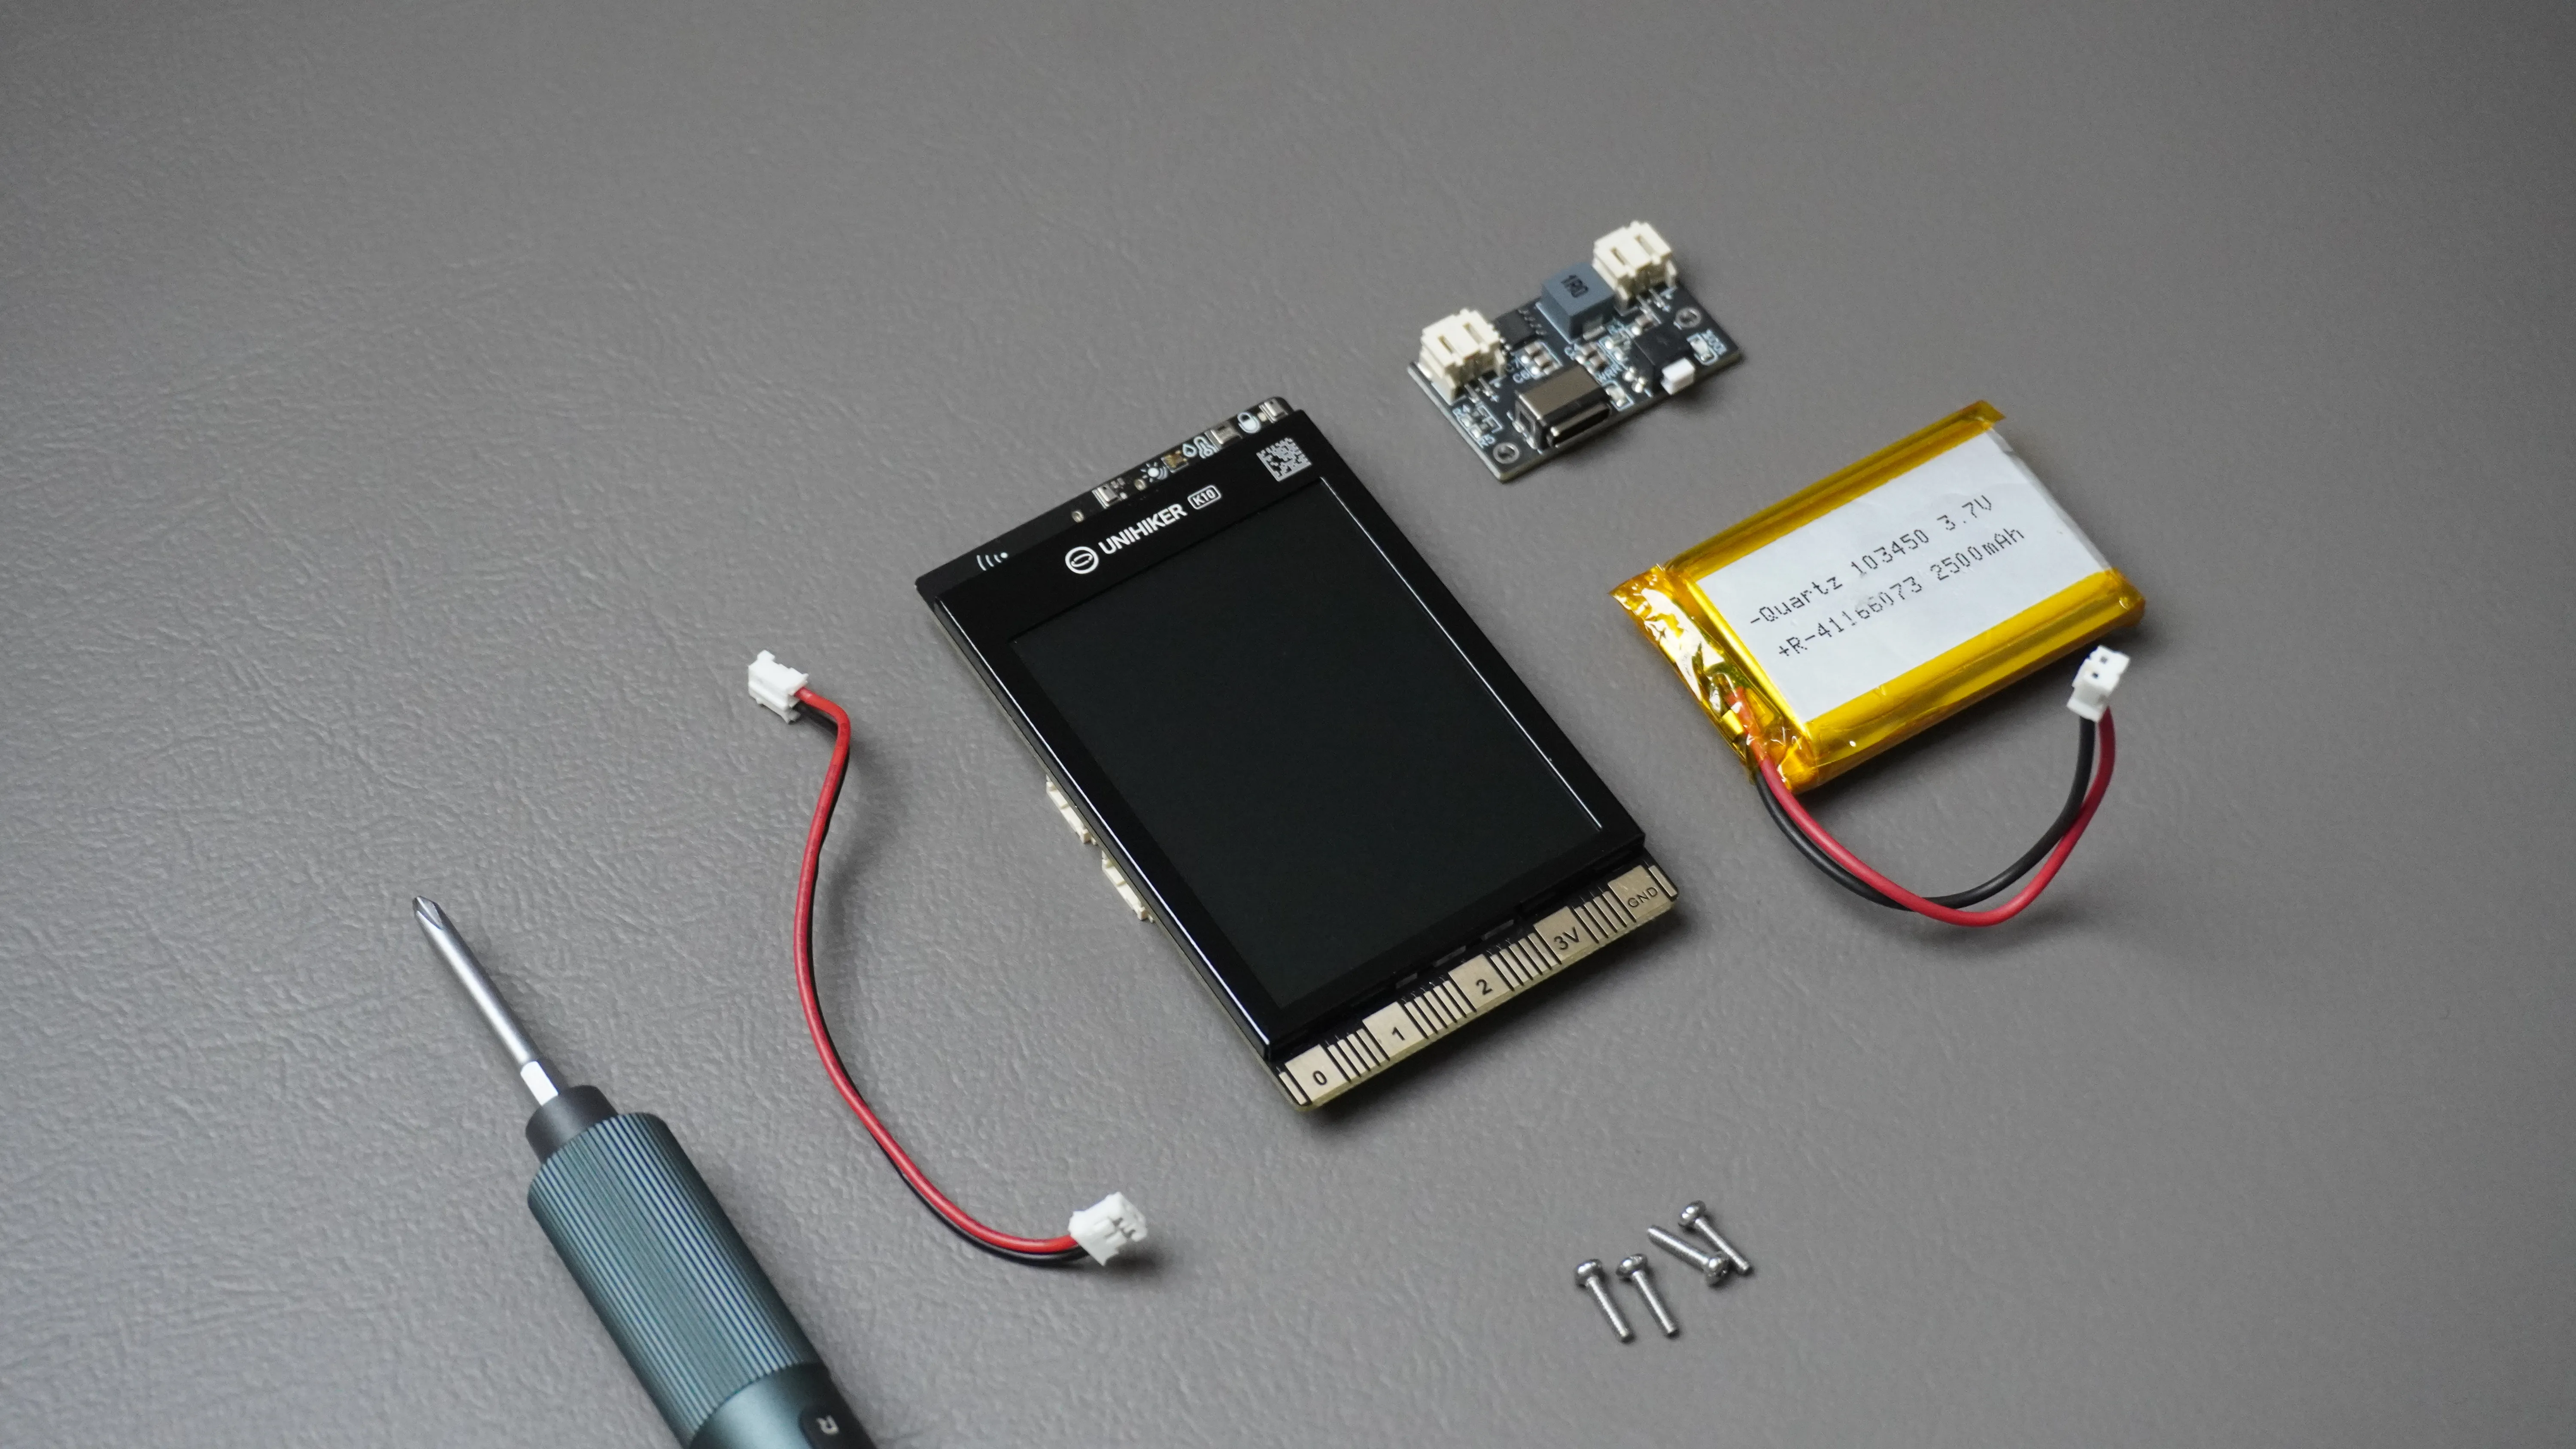
To build AI Buddy, you'll need:
Electronics
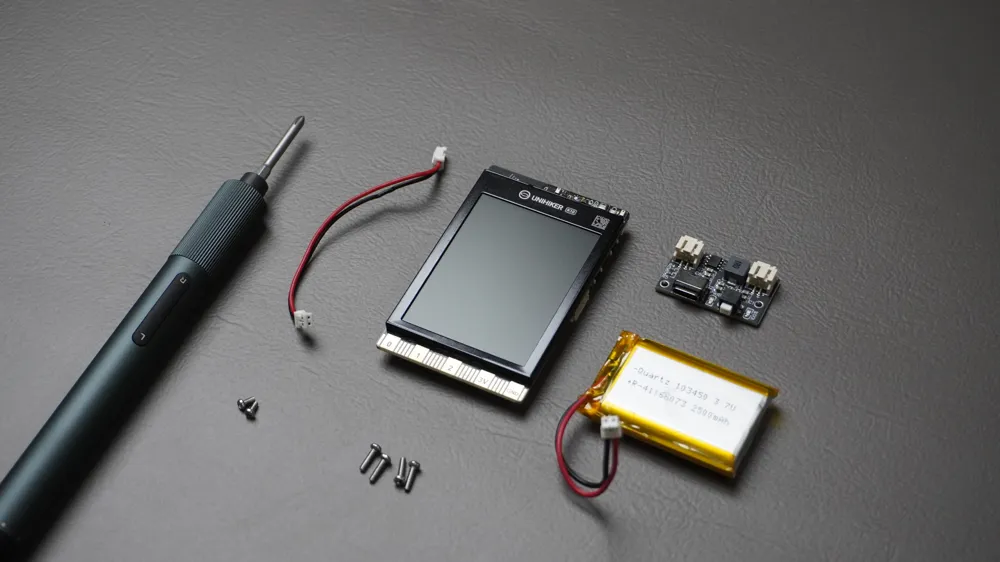
- 1× DFRobot UNIHIKER K10
- 1× Custom BMS PCB
- 1× 3.7V Li-Po Battery
- 1× M2 Screw Kit
Tools
- 3D Printer
- Precision Screwdriver Kit
Assembly
Assembly is quick and beginner-friendly:
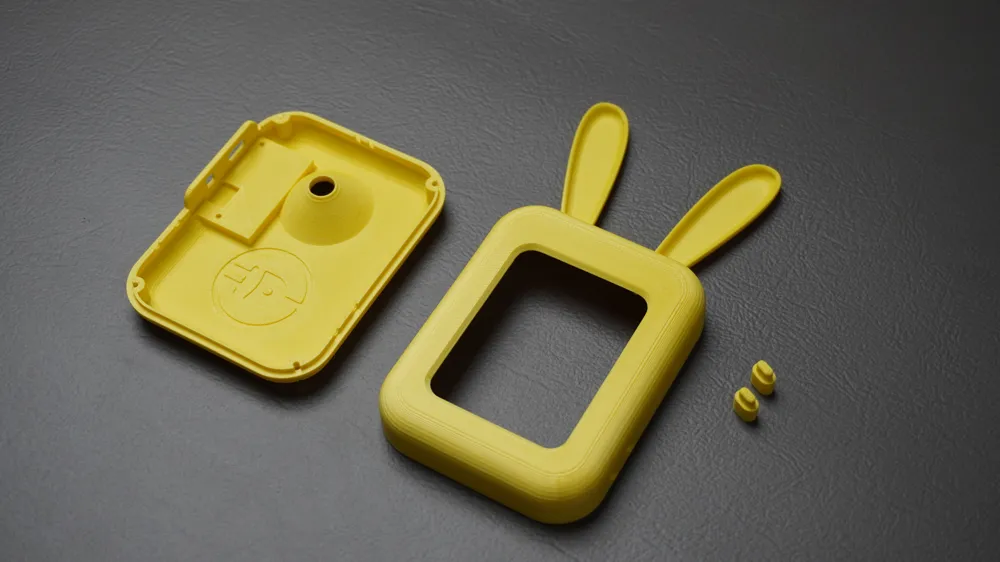
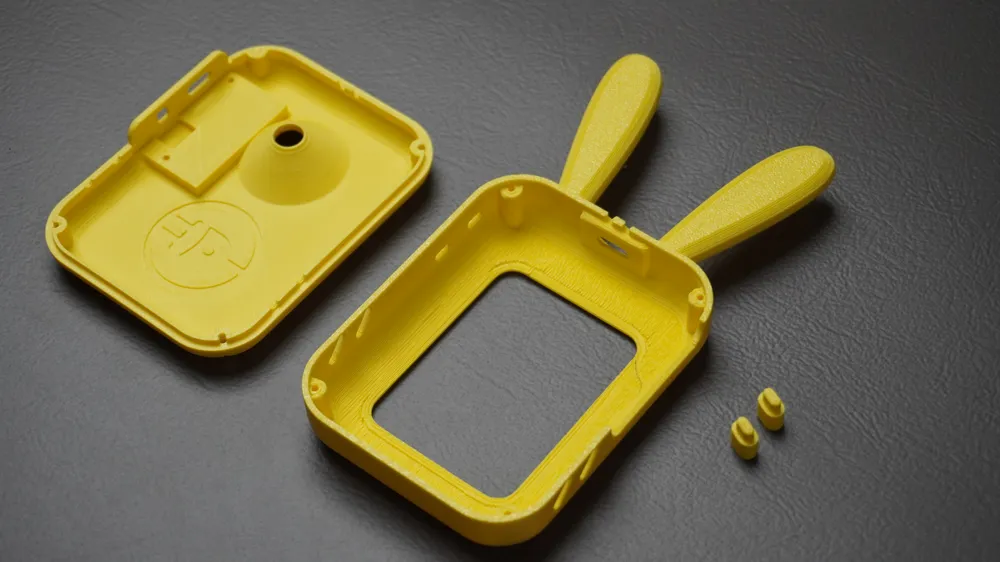
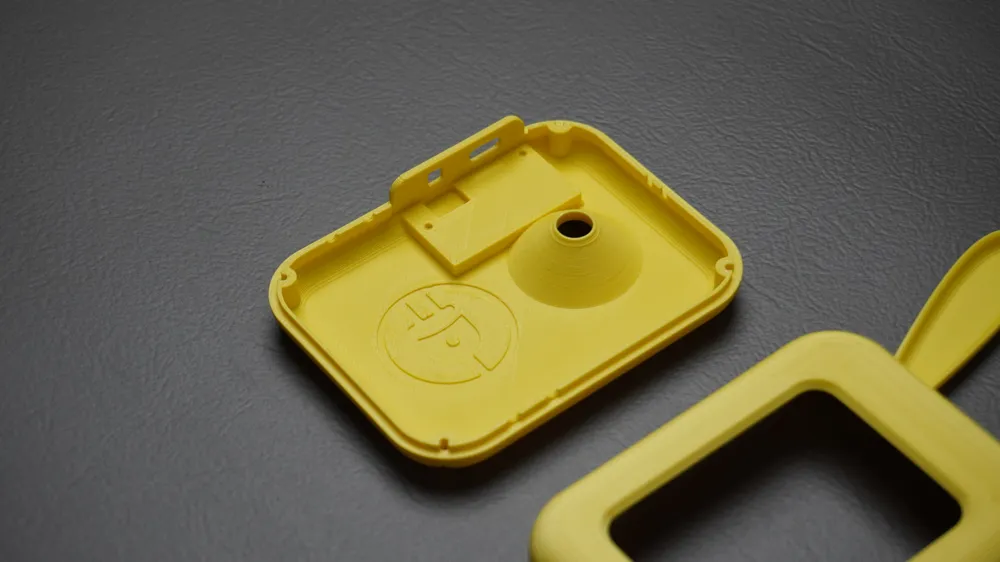
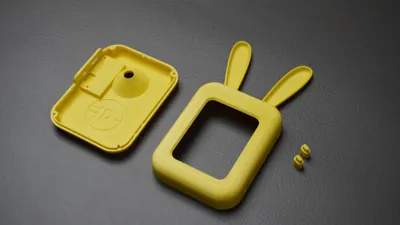
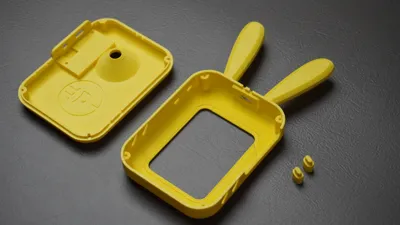
- 3D print all enclosure parts.
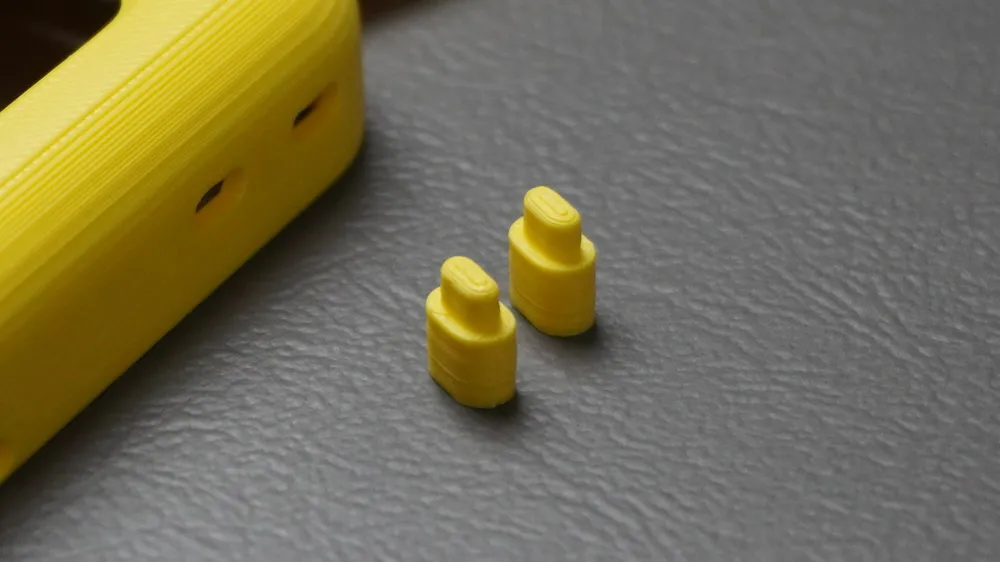
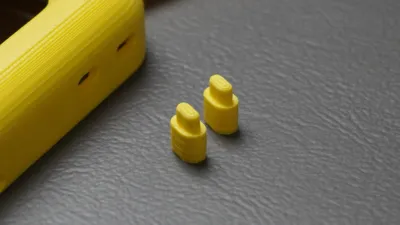
- Install the two button extensions into the front housing.
- Insert the DFRobot UNIHIKER K10 into the housing.
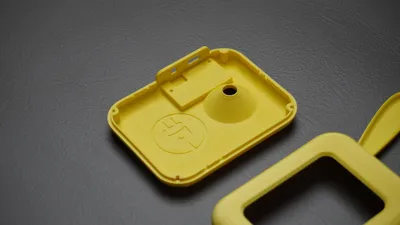
- Mount the custom BMS onto the rear cover using two M2 screws.
- Connect the Li-Po battery to the BMS.
- Connect the BMS output to the UNIHIKER battery connector.
- Place the battery inside the enclosure.
- Close the enclosure and secure it with four M2 screws.






Your AI Buddy hardware is now complete!
Easy Flash Firmware

No Arduino IDE, PlatformIO, or code compilation is required.
Simply:
- Connect AI Buddy to your computer using a USB Type-C cable.
- Open the Easy Flash website.
- Click Connect & Flash.
- Select your device's serial port.
- Wait about a minute while the latest firmware is downloaded and installed automatically.
After flashing, AI Buddy will boot into Wi-Fi setup mode, where you can connect it to your network and link it to your Xiaozhi account.
Easy Flash:
https://mukeshsankhla.github.io/EasyFlash/#/project/ai-buddy
Custom BMS PCB
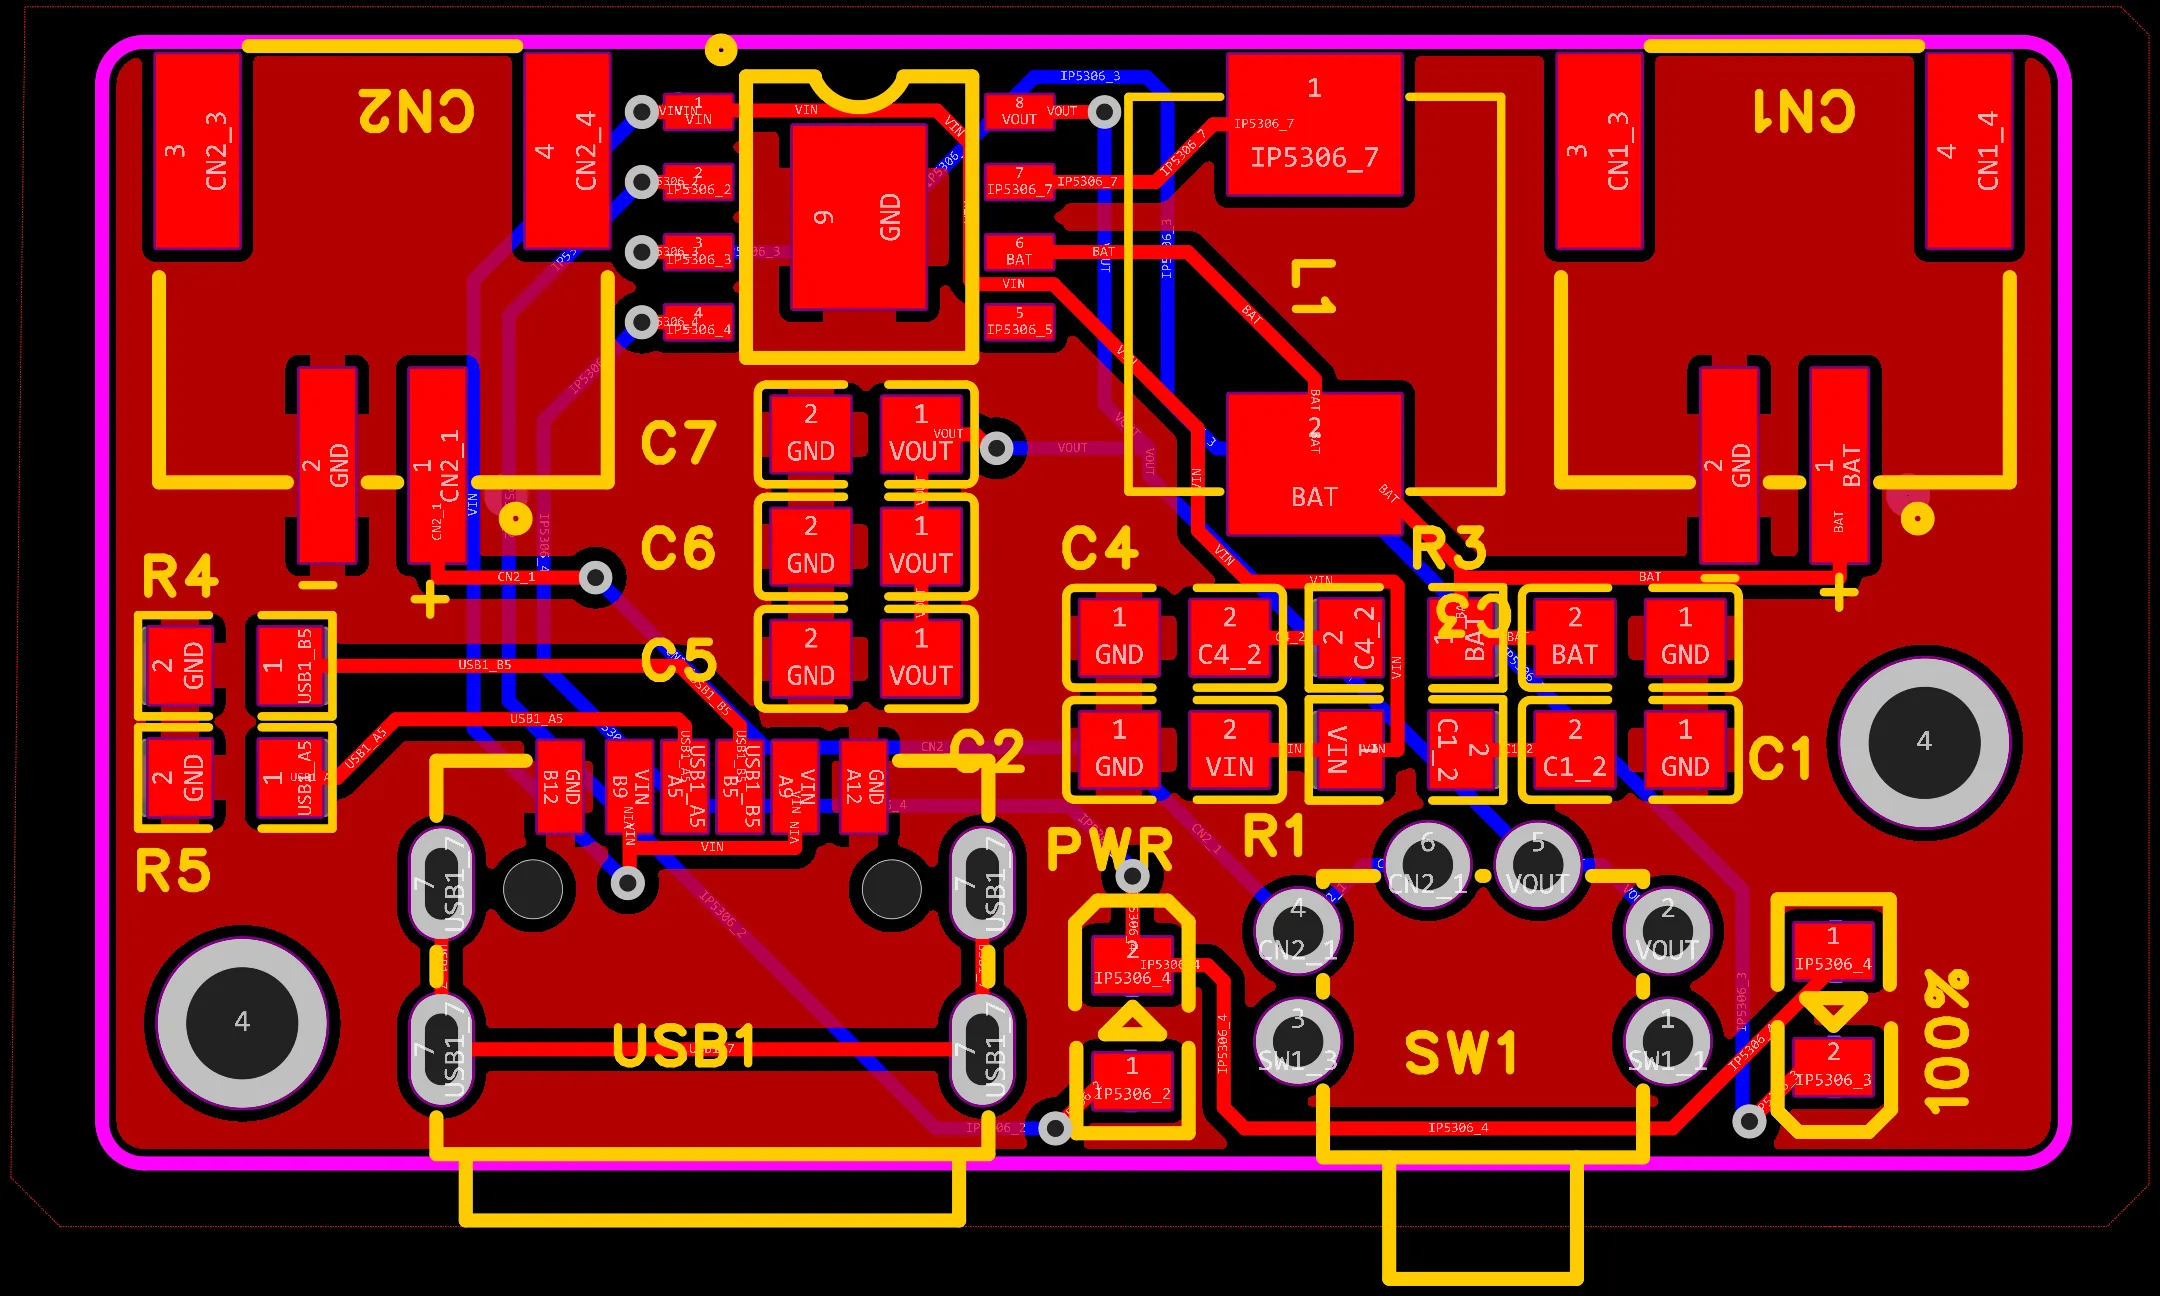
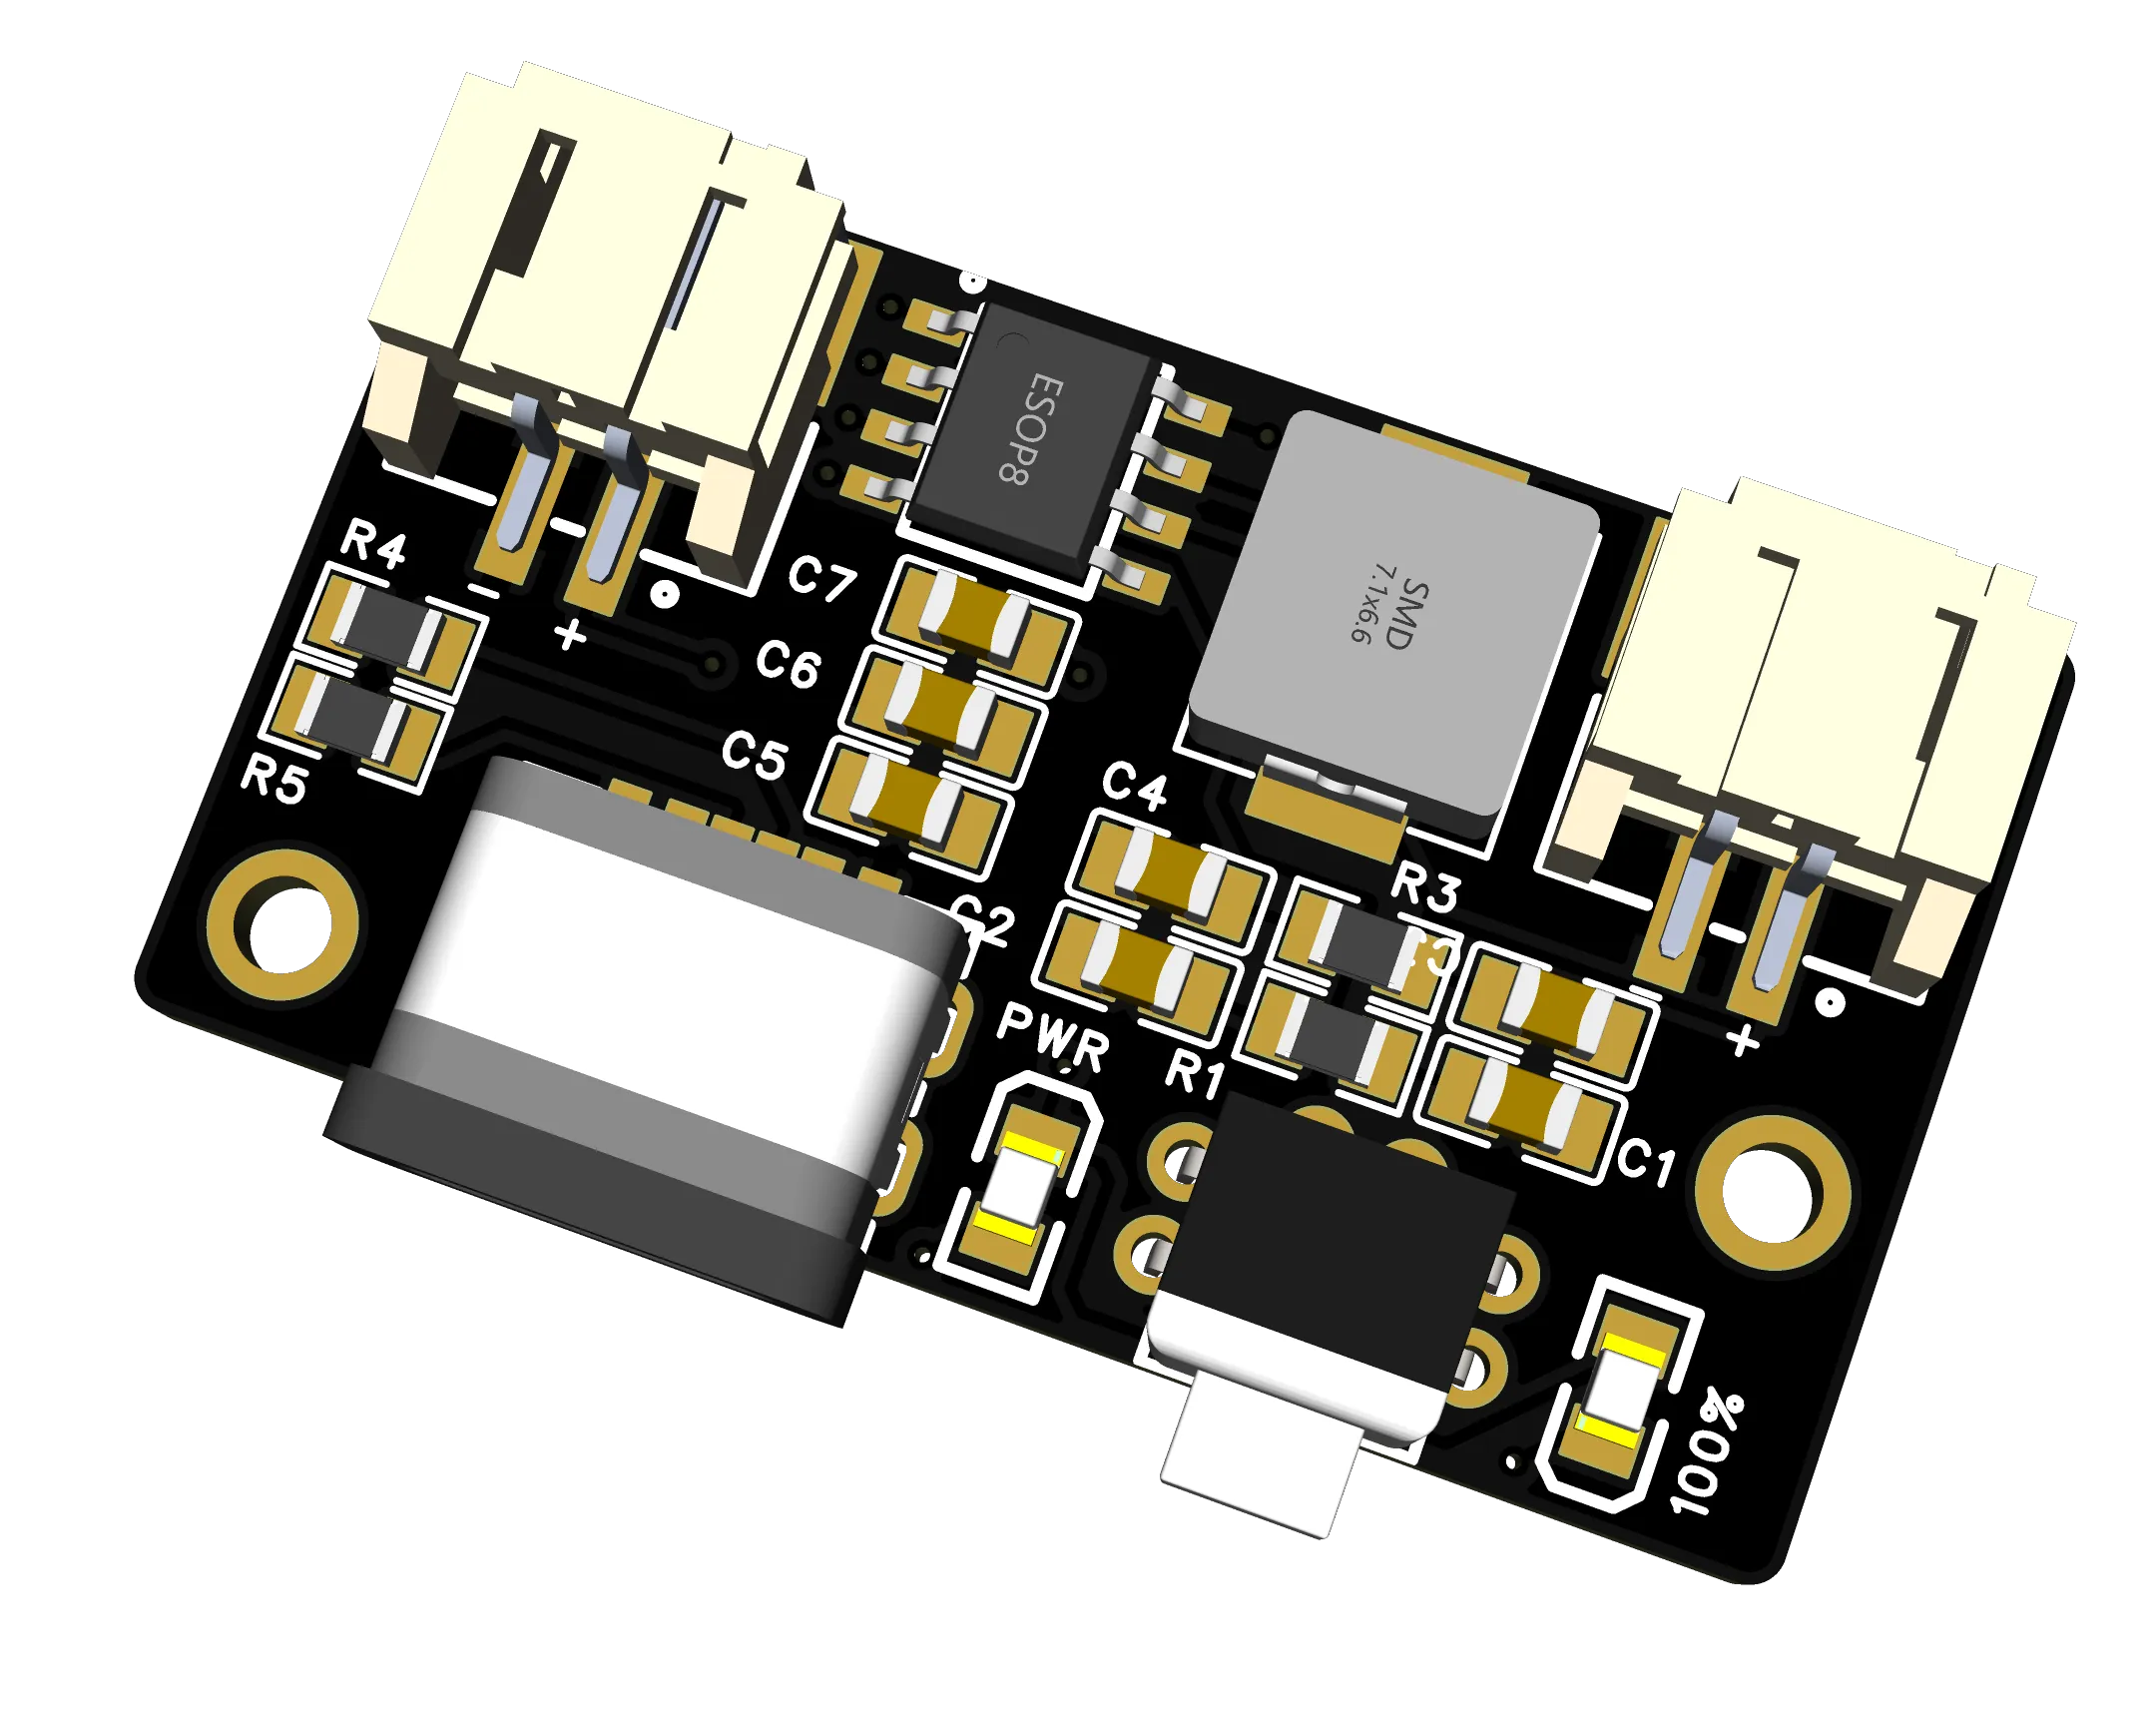
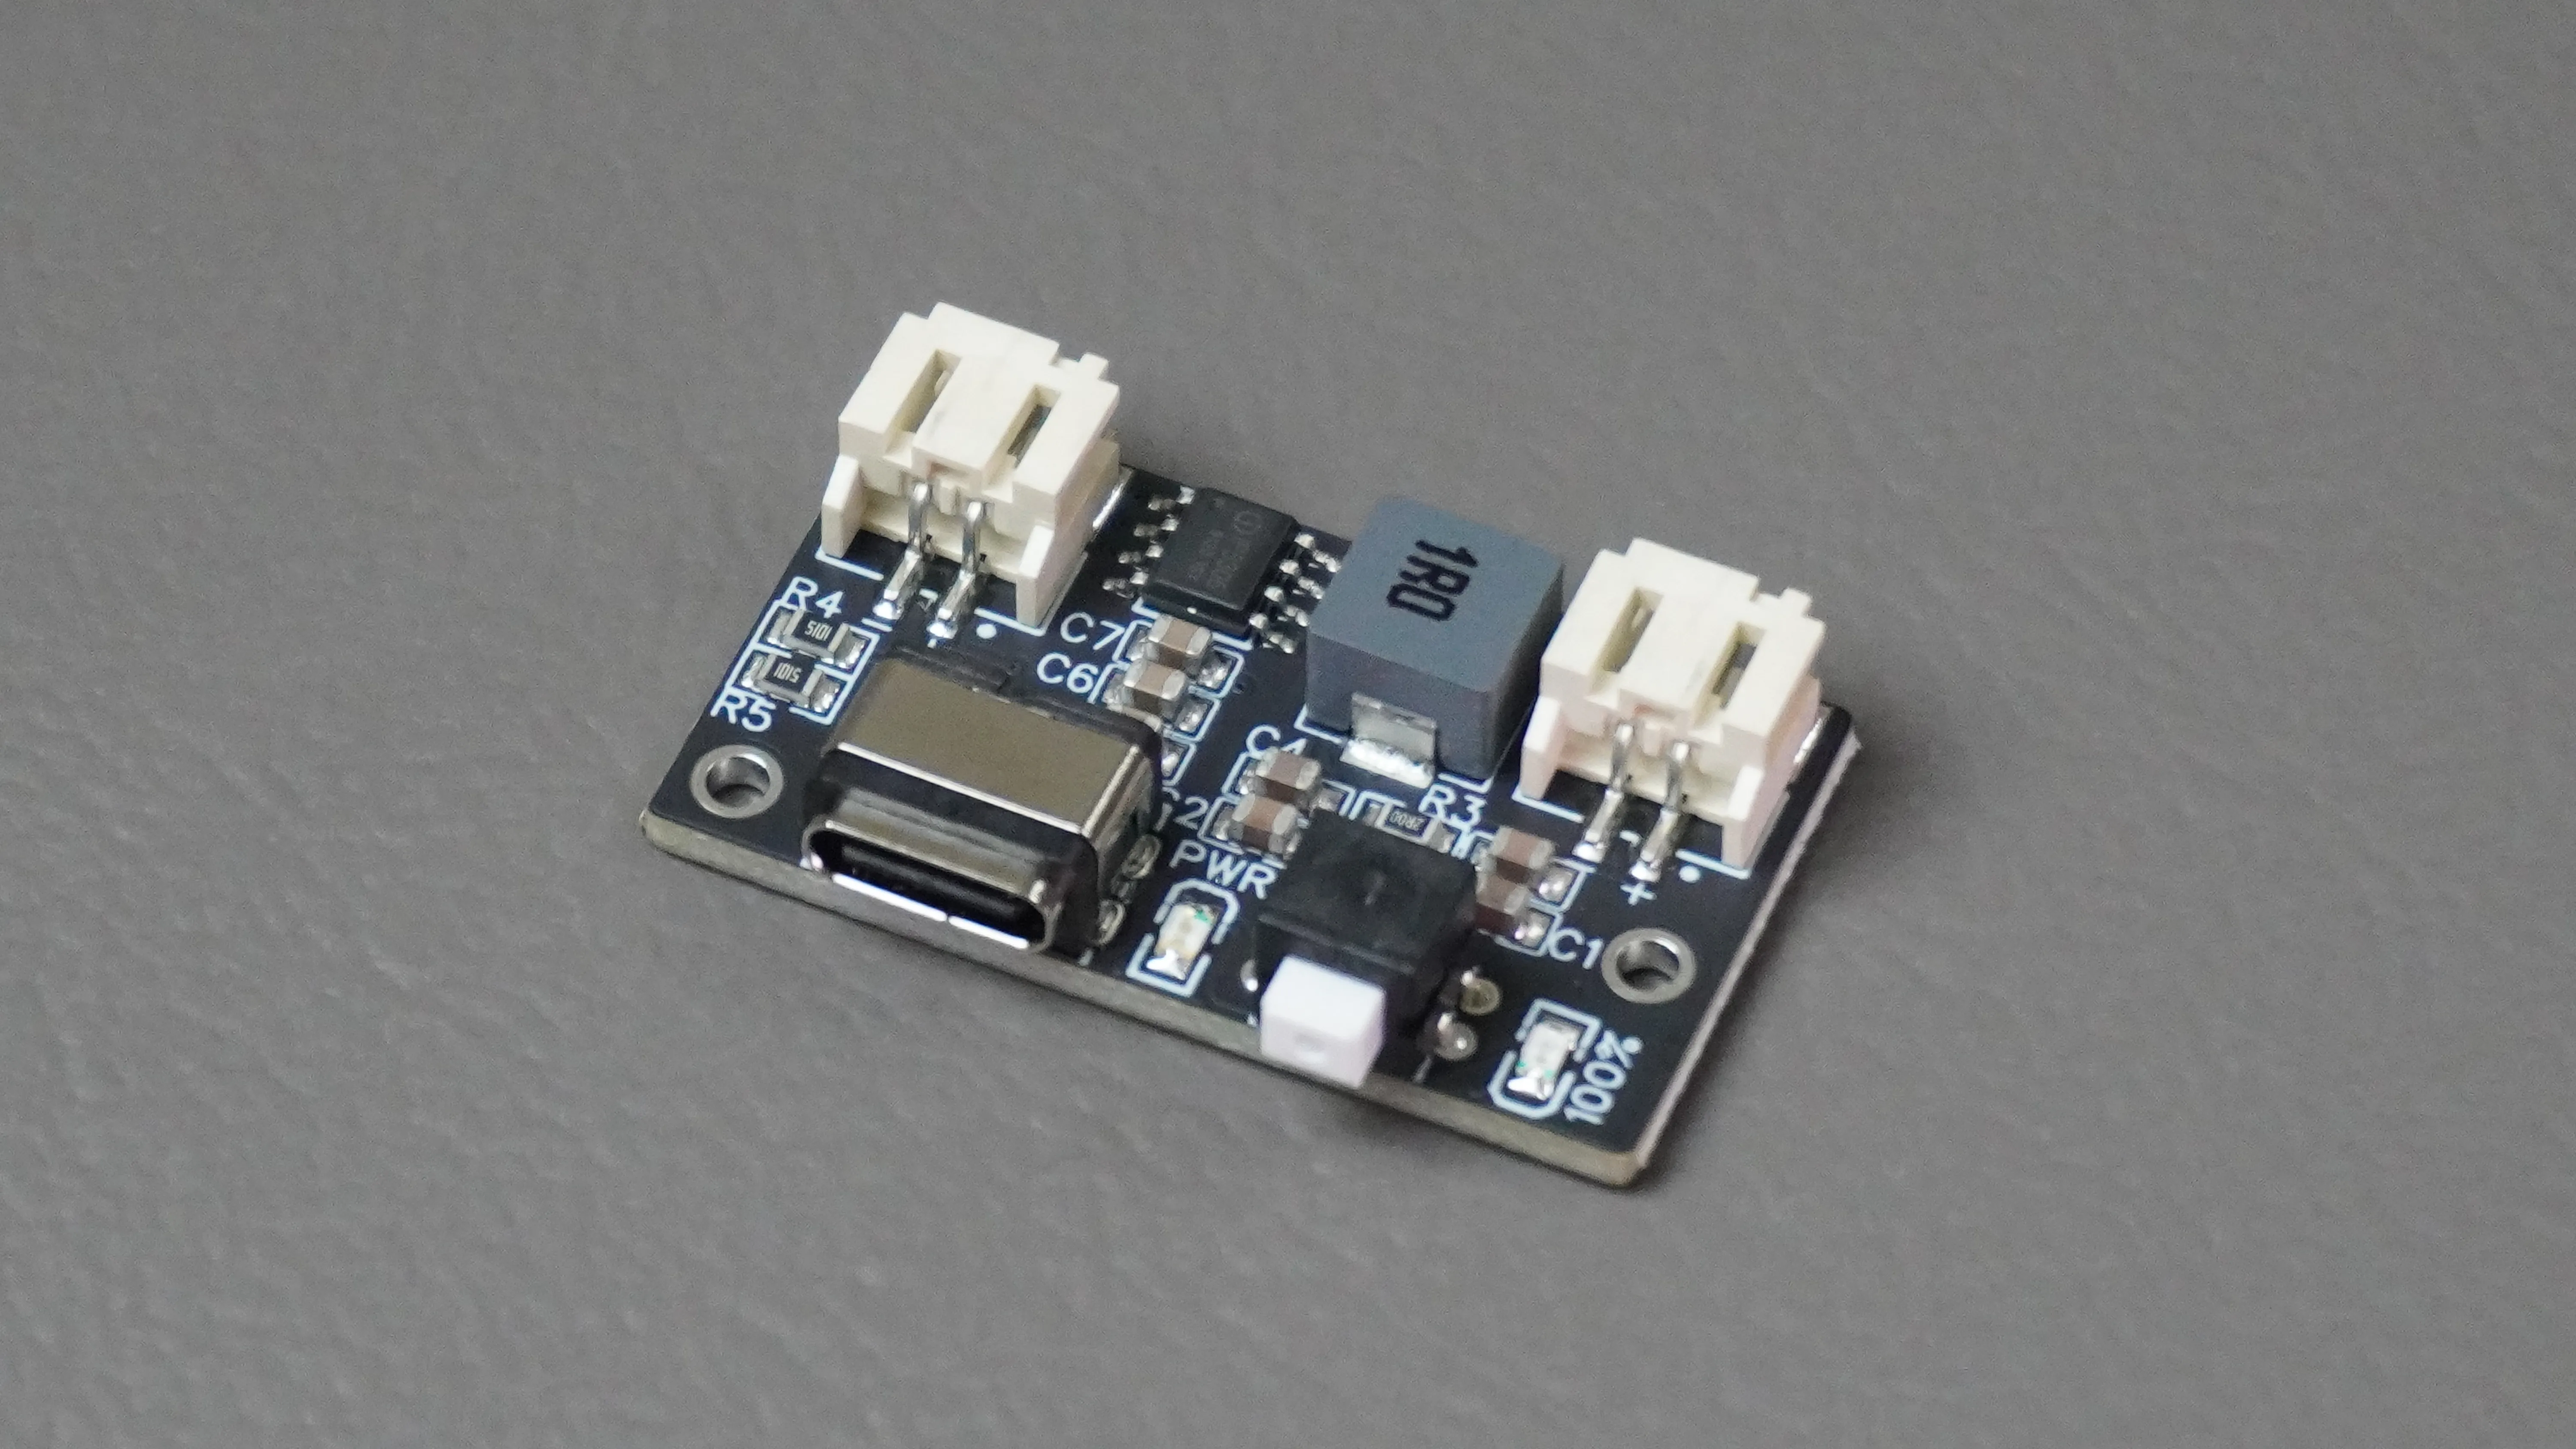
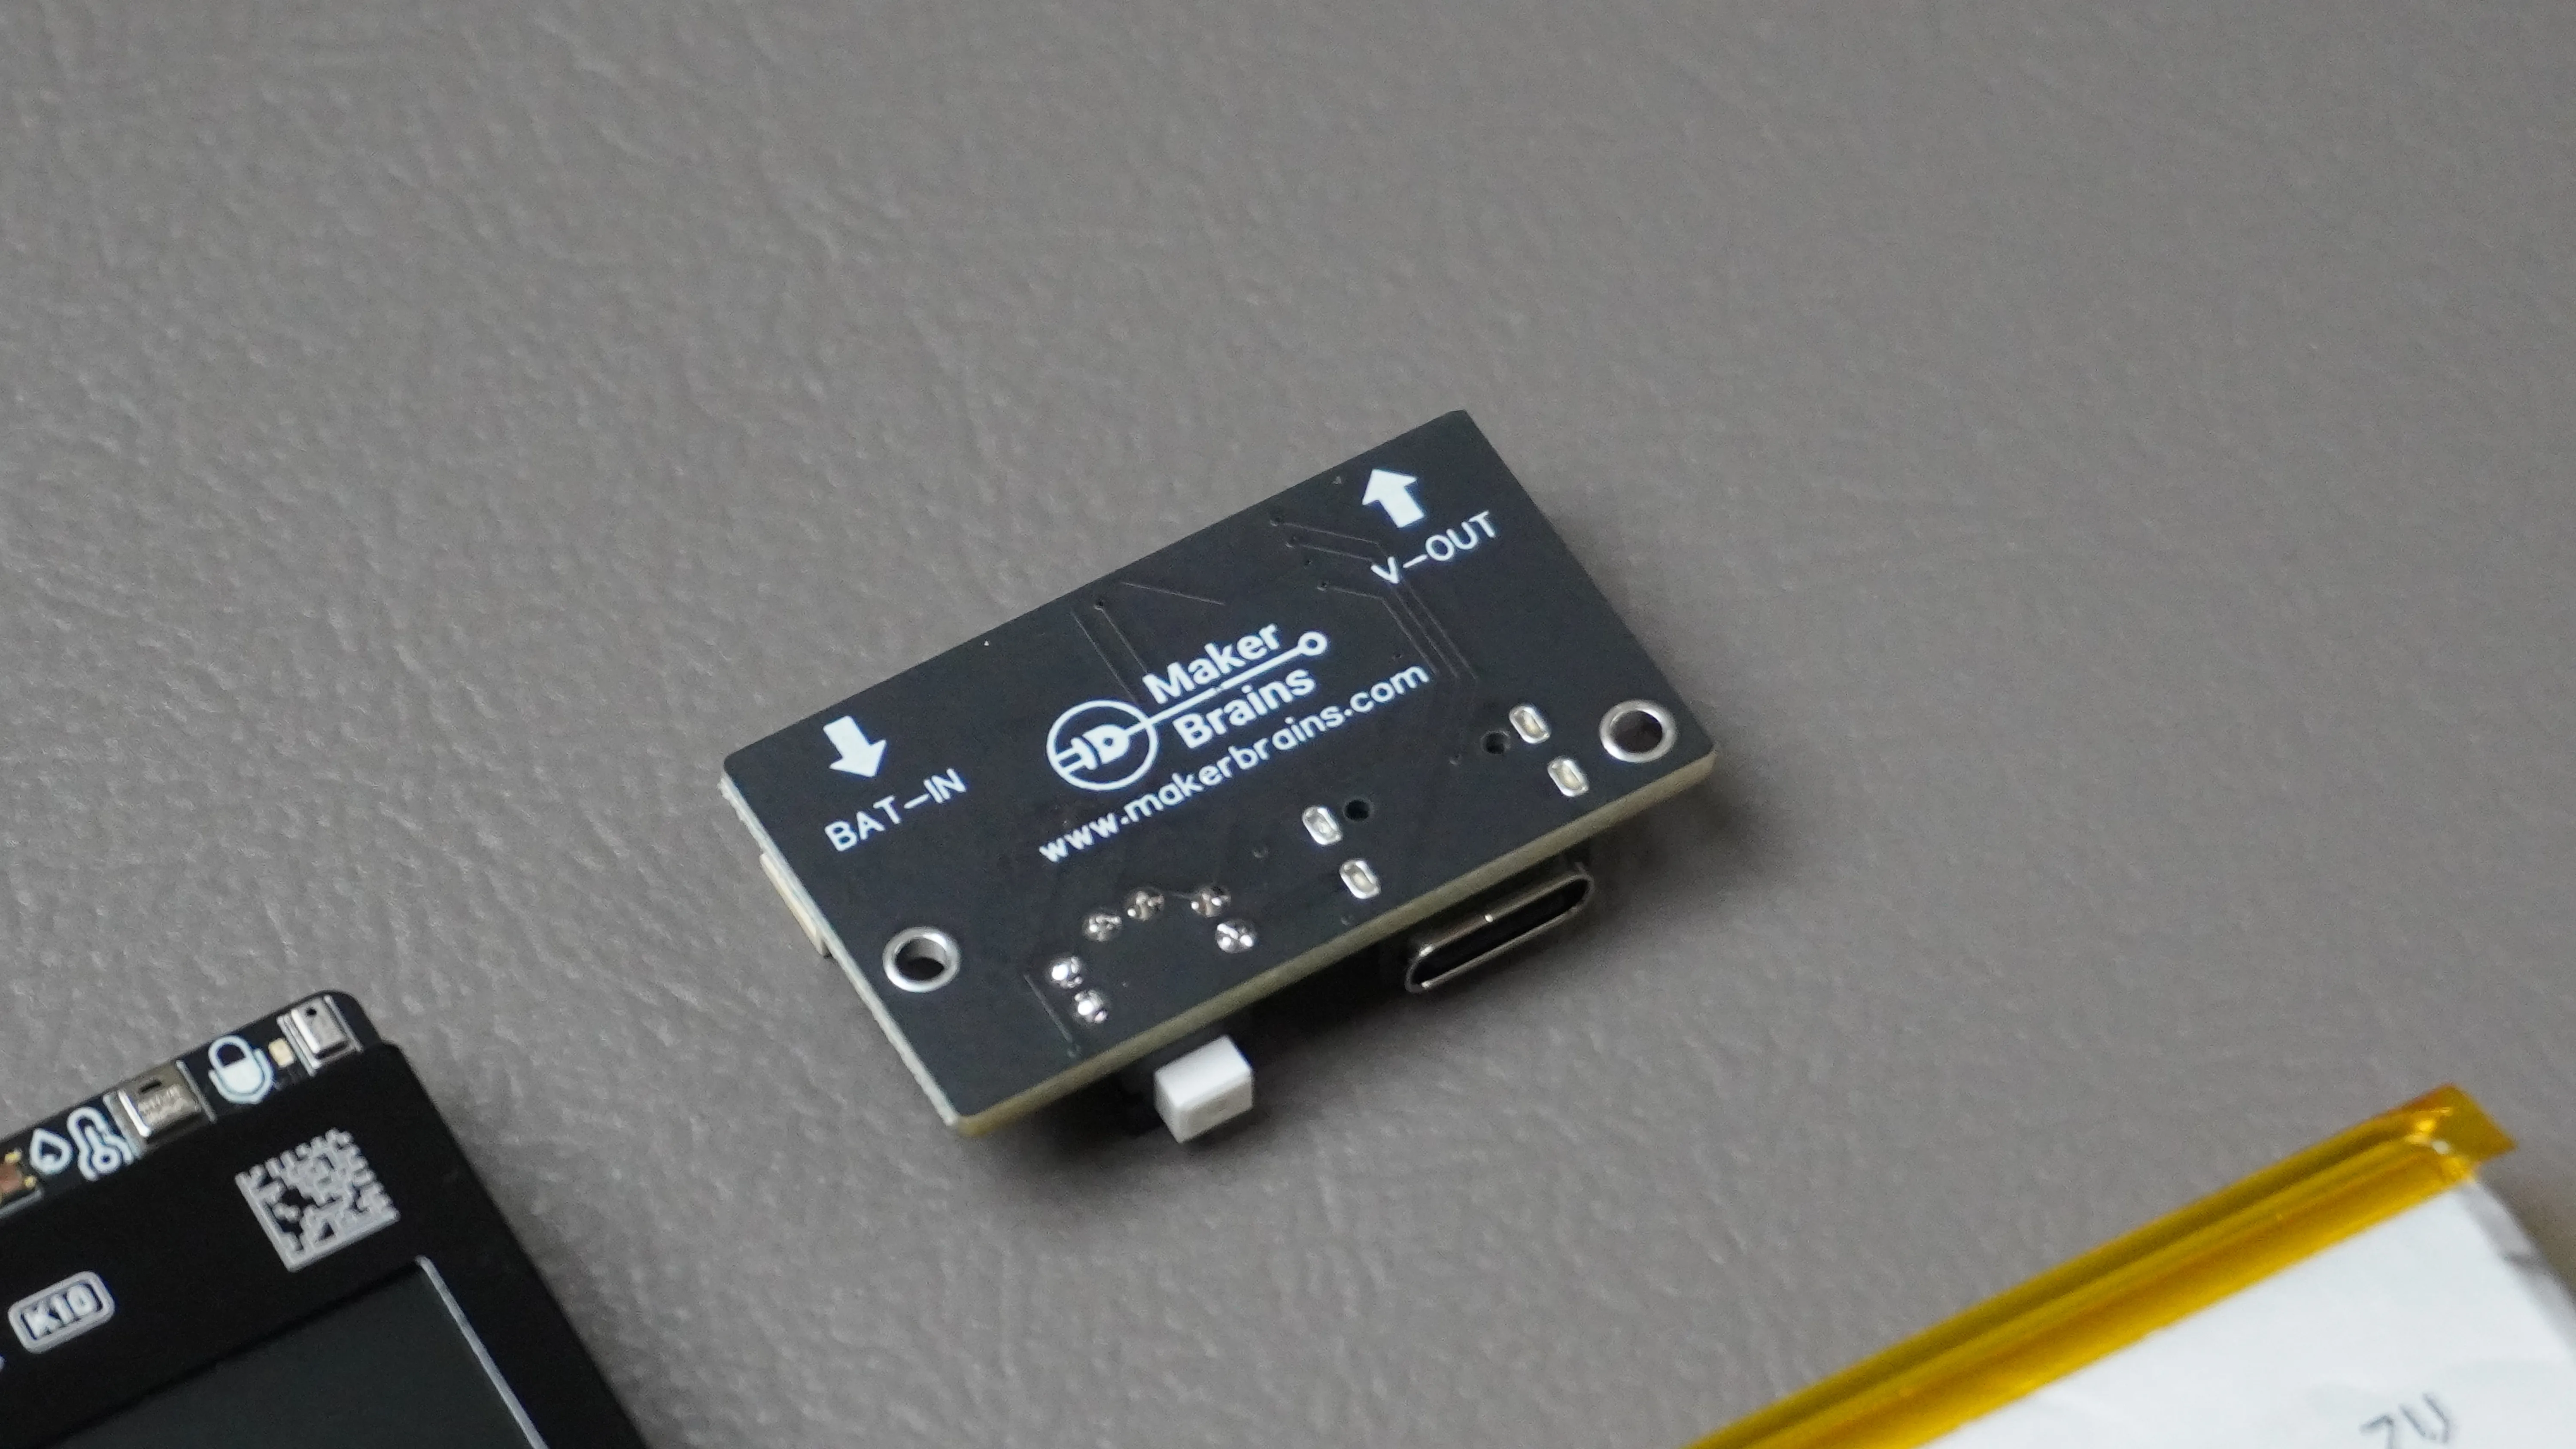
To make AI Buddy fully portable, I designed a custom IP5306-based Battery Management System (BMS).
The BMS provides:
- USB Type-C charging
- Battery protection
- On-board power button
- Plug-and-play JST connectors for the battery and UNIHIKER K10
The PCB was designed in KiCad and professionally manufactured and assembled by NextPCB.
Gerber files, BOM, Pick-and-Place files, and KiCad source files are included, so you can easily manufacture your own PCB or modify the design to suit your needs.
GitHub Repo: MukeshSankhla/AI-Buddy
License

You may create derivative works based on this object, provided that all such derivative works are published exclusively on the MakerWorld platform and include proper attribution to the original creator. You may not share, upload, host, distribute, or publish this object—or any derivative work of this object—on any other digital platform, marketplace, or distribution channel. Commercial use of this object and any derivative works is strictly prohibited. This includes, but is not limited to, selling, renting, sublicensing, or using the object in any context in which you receive monetary compensation or other financial benefits.


Comment & Rating (0)