
Counting Koozie

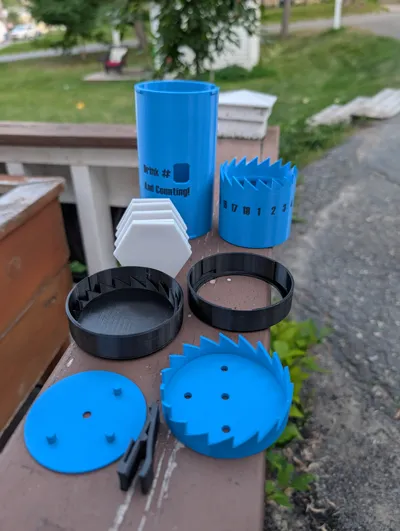
Print Profile(3)


Description
Boost Me (for free)
If you enjoy this model, I'd really appreciate a Boost! It helps support future designs and lets me keep creating fun 3D printed projects for the community.
Cheers, and happy counting! 🍻
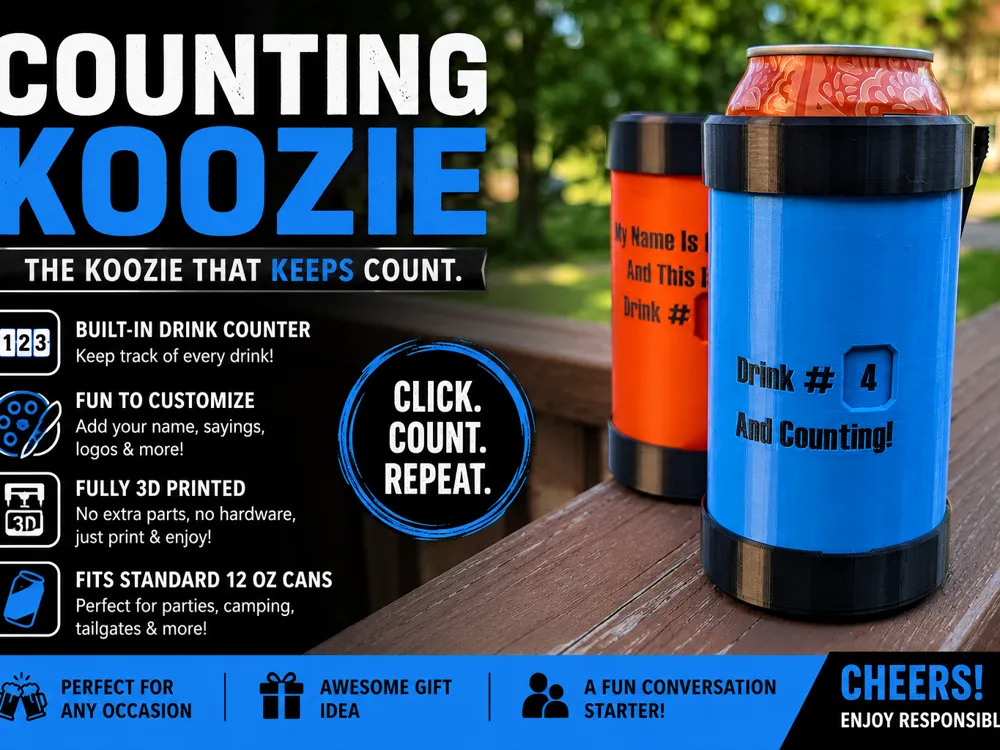
Counting Koozie – The Koozie That Keeps Count 🍻
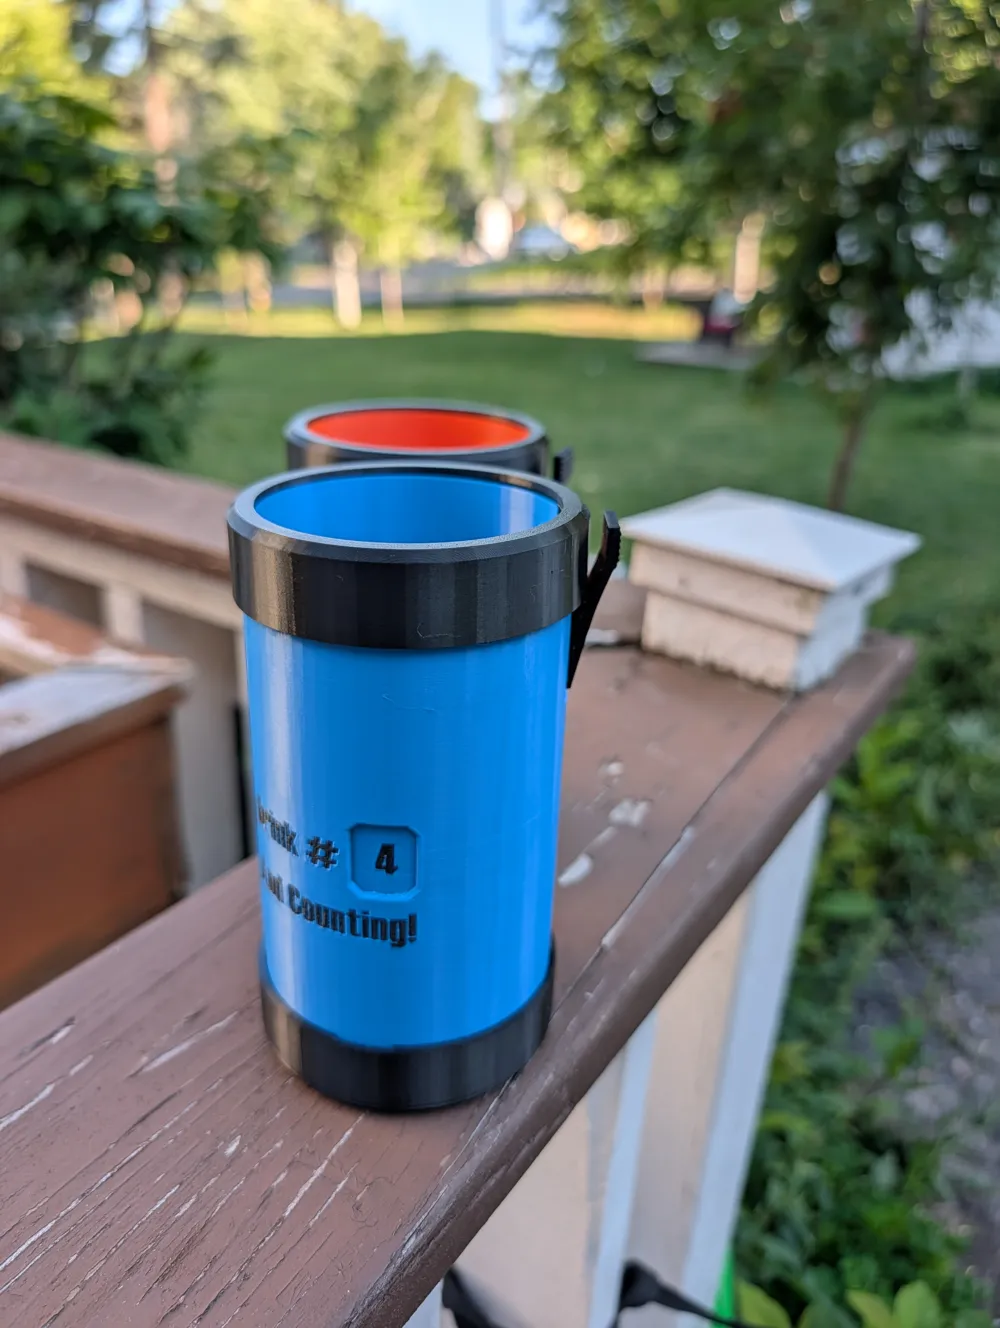
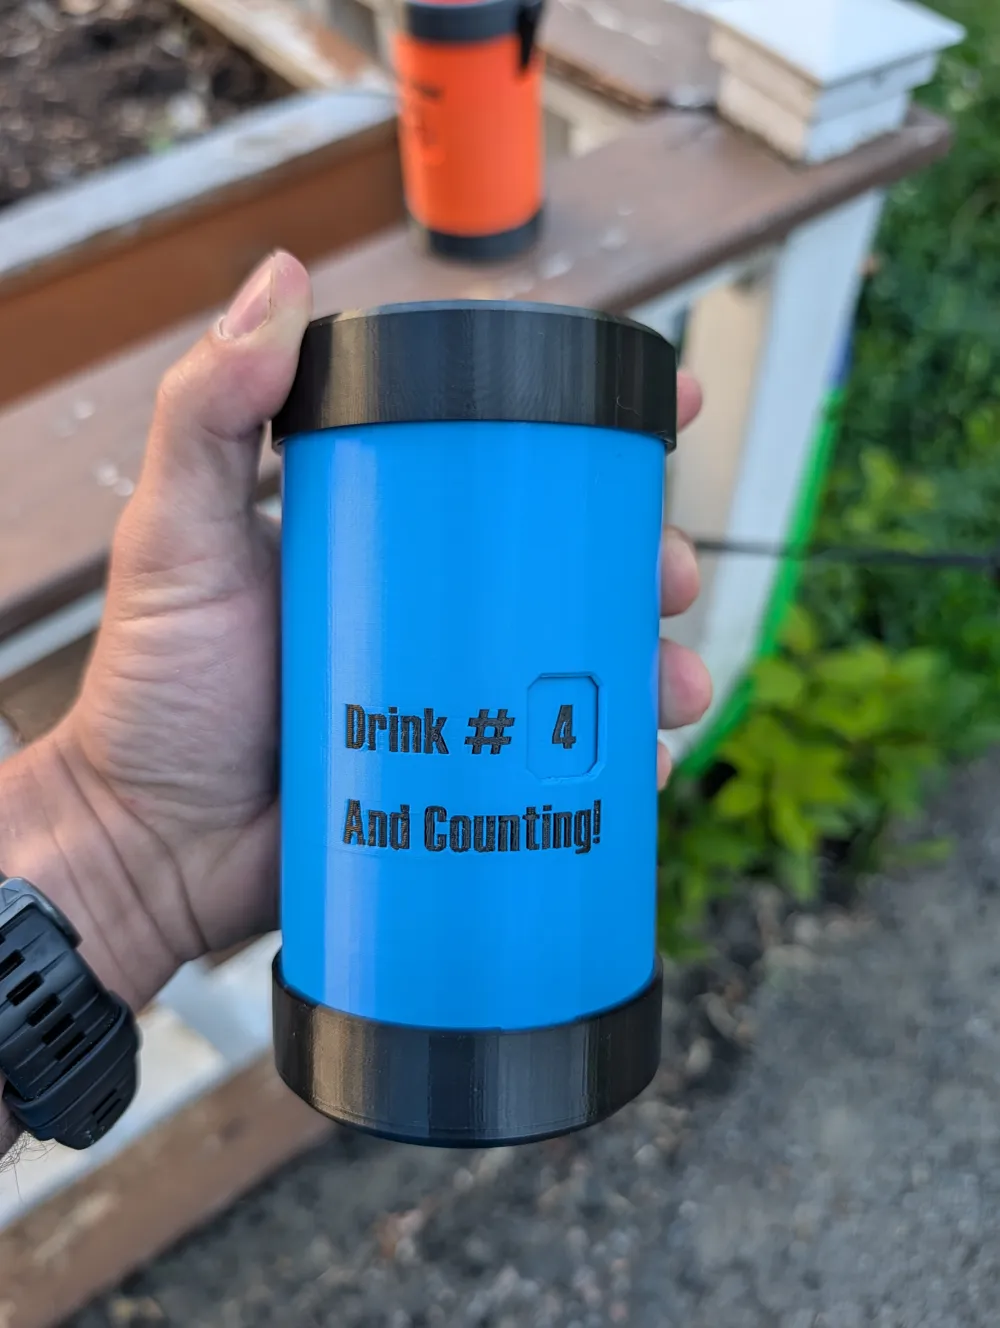

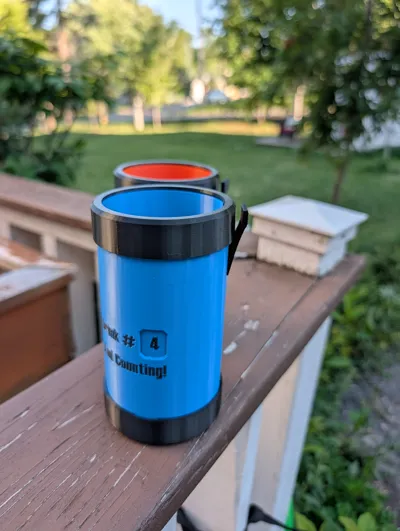
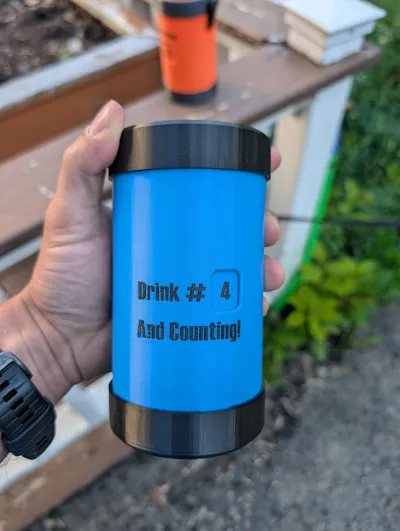
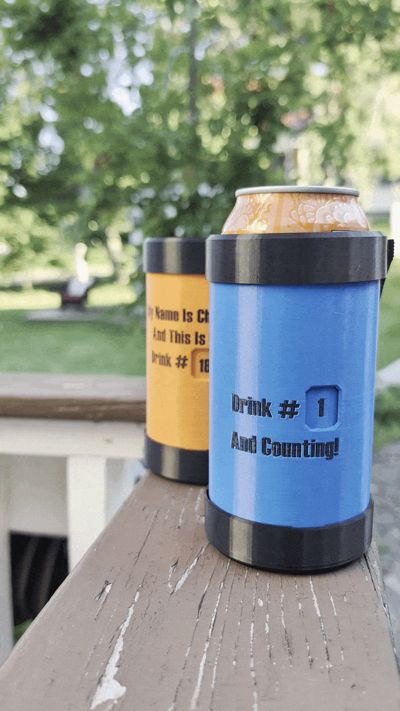
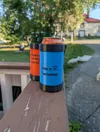
Never lose track of your drinks again! The Counting Koozie is a fully 3D printed can holder with a built-in mechanical drink counter. Every time you push your can into the koozie, the counter advances by one. When you're ready for the next drink, simply release it and you're set to count again.
Whether you're at the cottage, camping, tailgating, BBQs, bachelor parties, or just hanging out with friends, it's a fun conversation starter that's guaranteed to get people asking where you got it.
Best of all, it's easy to personalize. Add your name, a funny quote, your favorite team, company logo, or create custom versions for events and gifts.
Features
- 🍺 Built-in mechanical drink counter
- 🖨️ 100% fully 3D printed – no springs, magnets, electronics, or additional hardware
- 🎨 Easy to customize with names, logos, or funny sayings
- 🥤 Fits standard 12 oz (355 mL) cans
- 🎉 Perfect for parties, camping, tailgates, BBQs, bachelor/bachelorette parties, and the cottage
- 🎁 Makes a unique gift that's both practical and entertaining
Printing
- Prints without supports.
- Print each part in the provided orientation.
- Compatible with multi-color printers.
Instructions
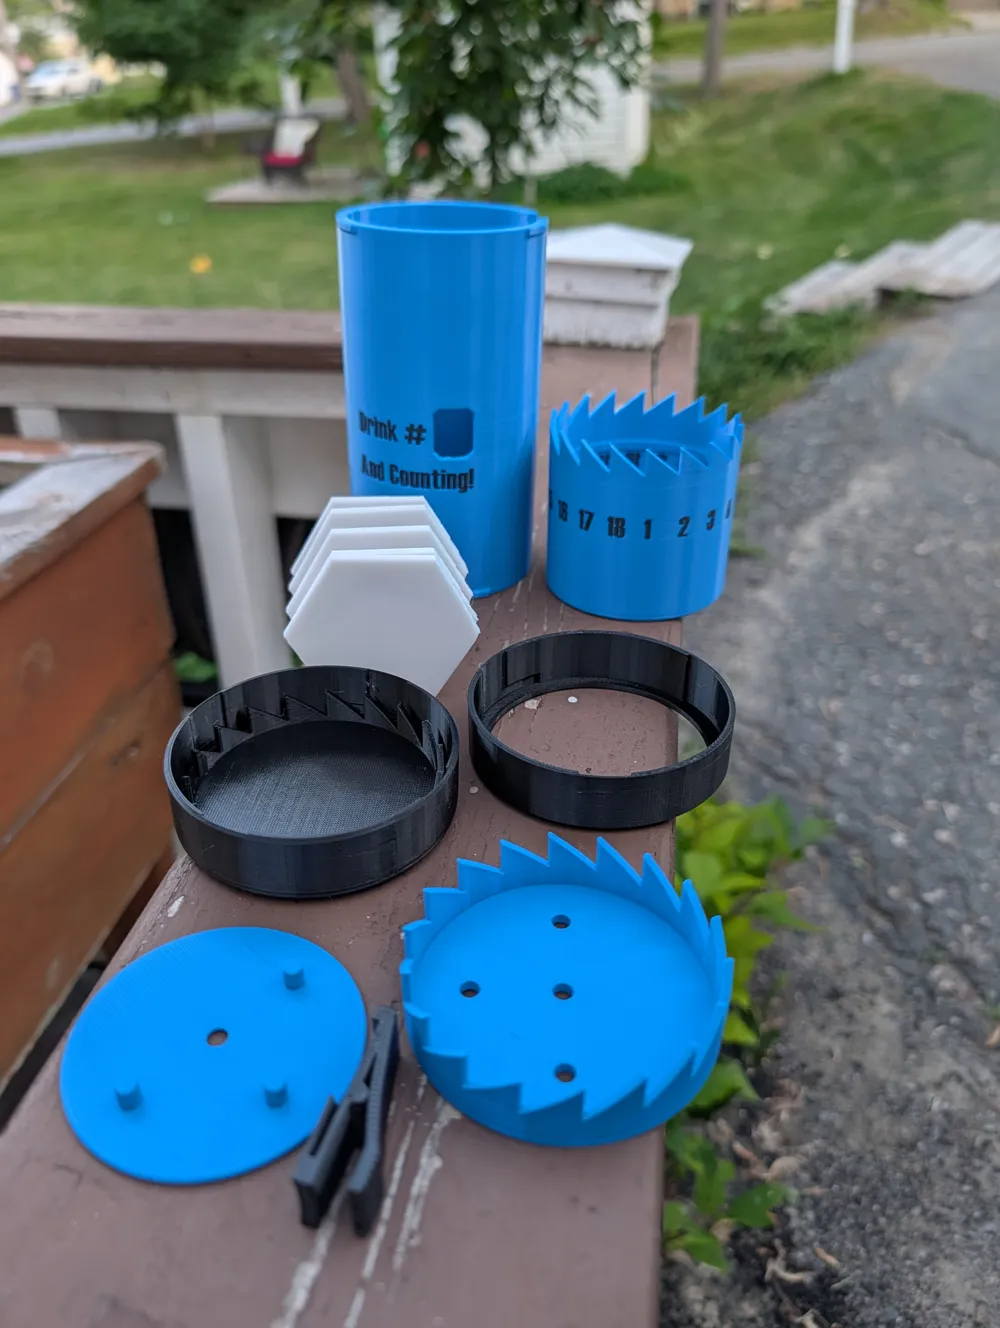
Assemble these three pieces as shown
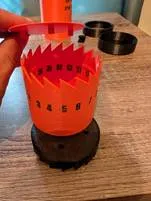
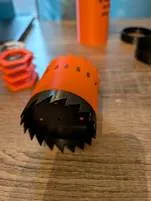
Slide Assembled Piece Into Outer Sleeve Then Add Spring
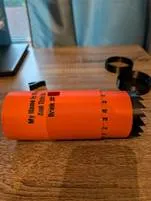
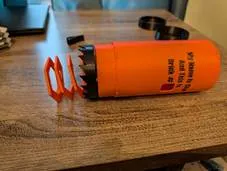
Line Up The Small Tabs From The Outer Sleeve And The Bottom Piece, Push Together And Twist Till It Clicks
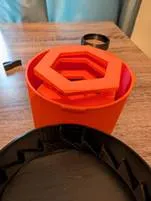
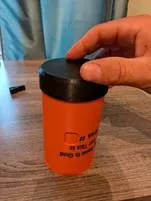
Slide Locking Tab Into The Slot On Top Then Push On The Top Ring And Twist Till It Clicks
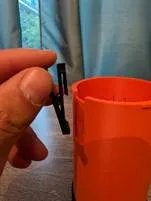
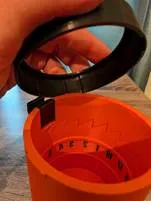
Check For Proper Function – When You Push Down The Center Sleeve To The Bottom It Should Come Up Slightly And Get Locked By The Locking Tab With The Numbers Place In The Middle Of The Front Opening
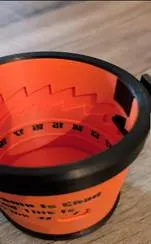

If The Numbers Don’t Line Up When It Locks Into Place (Like The Picture Below) Then You Need To Remove The Bottom Piece, Rotate A ¼ Turn Then Install It. Check Again And Everything Should Be Good And Lined Up

Warning: The printed spring will gradually lose its tension over time. When it no longer provides adequate force, it must be reprinted to maintain proper function.
License

You shall not share, sub-license, sell, rent, host, transfer, or distribute in any way the digital or 3D printed versions of this object, nor any other derivative work of this object in its digital or physical format (including - but not limited to - remixes of this object, and hosting on other digital platforms). The objects may not be used without permission in any way whatsoever in which you charge money, or collect fees.


Comment & Rating (3)