Search models, users, collections, and posts

2" PVC Venturi Pond & Fish Aerator
IP Report
Print Profile(0)
Add the first print profile to earn points
Boost
2
2
0
0
2
0
Released
Description
Summary
2" PVC Venturi Aerator: The Muck Reduction Habitat Enhancer
Welcome to the end of stagnant water, algae blooms, and pond muck.

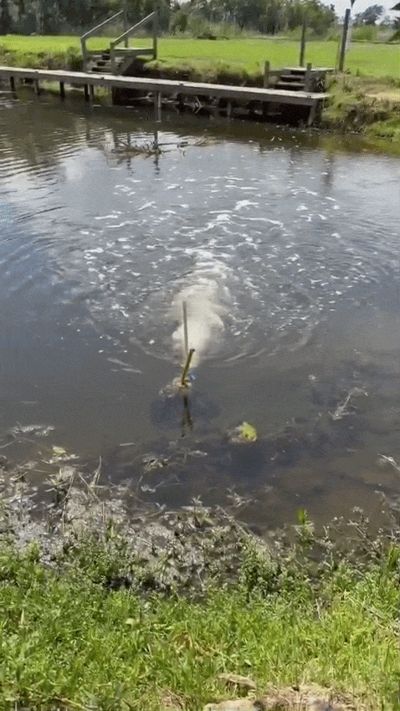
By forcing water through a mathematically optimized throat, this Venturi pulls a massive vacuum, sucking fresh air from the surface and blasting it into the deepest, most oxygen-starved layers of your pond.
📐 The Engineering Features
- 7-Degree Recovery Cone: The internal divergence angle is mathematically locked at exactly 7 degrees. This prevents boundary layer separation, maximizing pressure recovery and vacuum pull without causing micro-cavitation.
- Structural 1/2" Air Port Boss: Features a massively reinforced side-boss. The socket fits a standard 1/2" PVC air line, and the thick external gusset ensures the port won't snap off if a turtle or floating debris bumps it.
- Slip-Fit 2" Socket: The bottom is toleranced to slide directly over standard 2" Schedule 40 PVC pipe with just enough micro-clearance for a strong marine epoxy bond.
⚙️ Hardware & Pump Pairing
To generate a true vacuum, this Venturi requires a pump with a high "Max Head" (lift) rating to push through the fluid restriction. Standard magnetic-drive pond pumps will choke.
- Recommended Pump: 1 HP Submersible Trash Pump (e.g., VEVOR 5000 GPH / 40 ft Max Lift).
- Note: If your pump features a 3-inch discharge, a standard 3" to 2" Schedule 40 PVC reducer bushing is required to mate it to this 2" aerator.
⚠️ CRITICAL Print Settings (Pressure Vessel Rated)
This is a piece of active fluid equipment operating continuously underwater with a high-flow pump. Standard decorative settings will fail. DO NOT use PLA.
- Material: ASA, PC-CF, or PETG (ensure UV resistance if exposed to sunlight).
- Orientation: Print vertically (standing flat on the top outlet). This ensures the "hoop stress" of the pressurized water is contained securely by continuous layer lines.
- Walls/Perimeters: 6 to 8 walls. The strength of this part comes from the outer shell, not the infill.
- Extrusion / Flow: Increase your flow ratio by roughly 3% to 5% to over-extrude slightly. This packs plastic into microscopic voids, ensuring a perfectly watertight pressure vessel.
- Seams: Use Scarf Joint Seams. If unavailable, select "Staggered Inner Seams" and manually paint your outer seam down the thick backside of the 1/2" port boss.
- Supports: Use Tree/Organic supports for the outside overhang of the 1/2" boss. Pro Tip: Use a Support Blocker inside the air hole! The printer will bridge the gap easily, saving you from digging supports out of the deep PVC socket.
🔧 Assembly & Installation
- Prep the Pipes: Cut your 2" Schedule 40 PVC water feed pipe and your 1/2" PVC air snorkel to length. Aggressively scuff the outside of the pipes with 60-grit sandpaper where they will enter the printed part.
- Bonding: Standard PVC cement melts PVC, but it does not chemically weld to 3D printed plastic. For a permanent, waterproof, pressure-rated bond, use a high-quality Marine Polyurethane (like 3M 5200) or a structural Marine Epoxy inside the printed sockets.
- Deploy (The 3 to 4 Foot Rule): Let the adhesive fully cure. Hook the 2" line to your pump and sink the assembly into the pond. For the 1 HP pump and 2" Venturi combination, the ideal depth is 3 to 4 feet. This depth perfectly balances the generated vacuum against the hydrostatic pressure of the pond water, ensuring maximum air draw and optimal micro-bubble hang time.
Document Status: Pending Hydrotest. Approved by Mother Nature. Designed by Torque Joint Labs.
License

This user content is licensed under a
Creative Commons Attribution-Noncommercial-Share Alike


Comment & Rating (0)