
NZXT H6 Flow Extra 3.5" HDD Mount
Print Profile(1)
Description
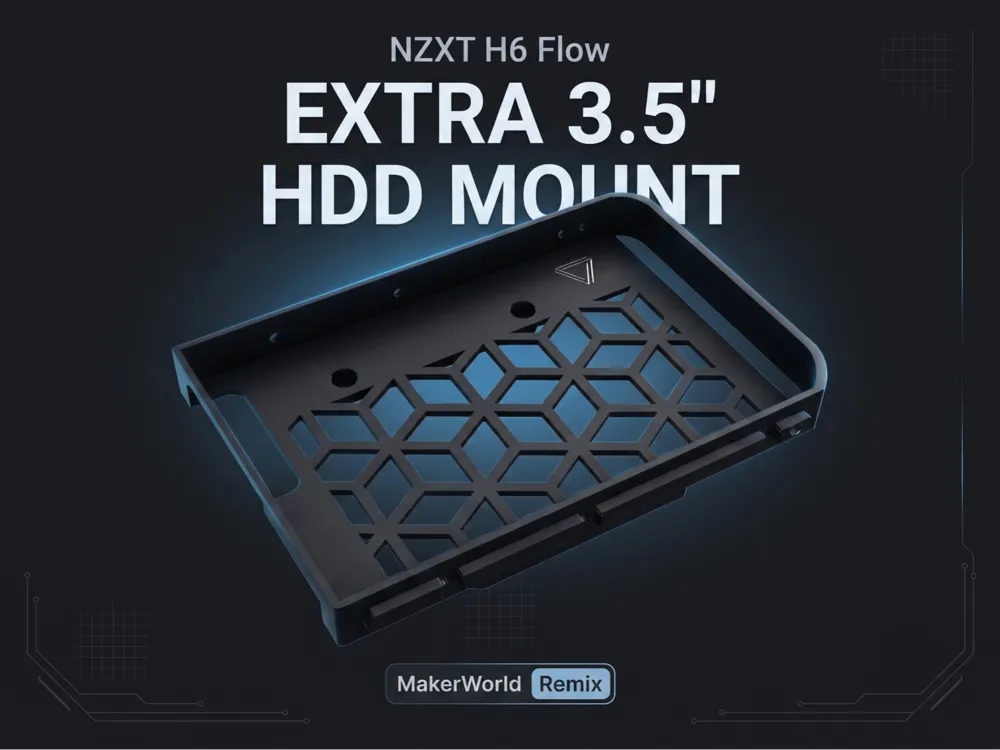
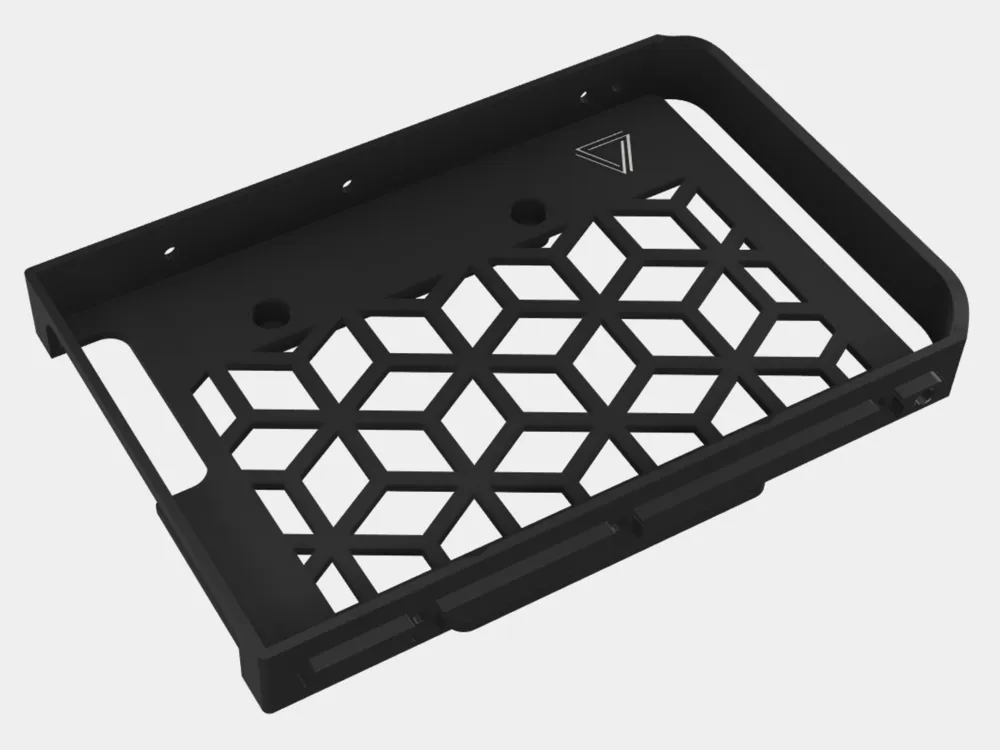
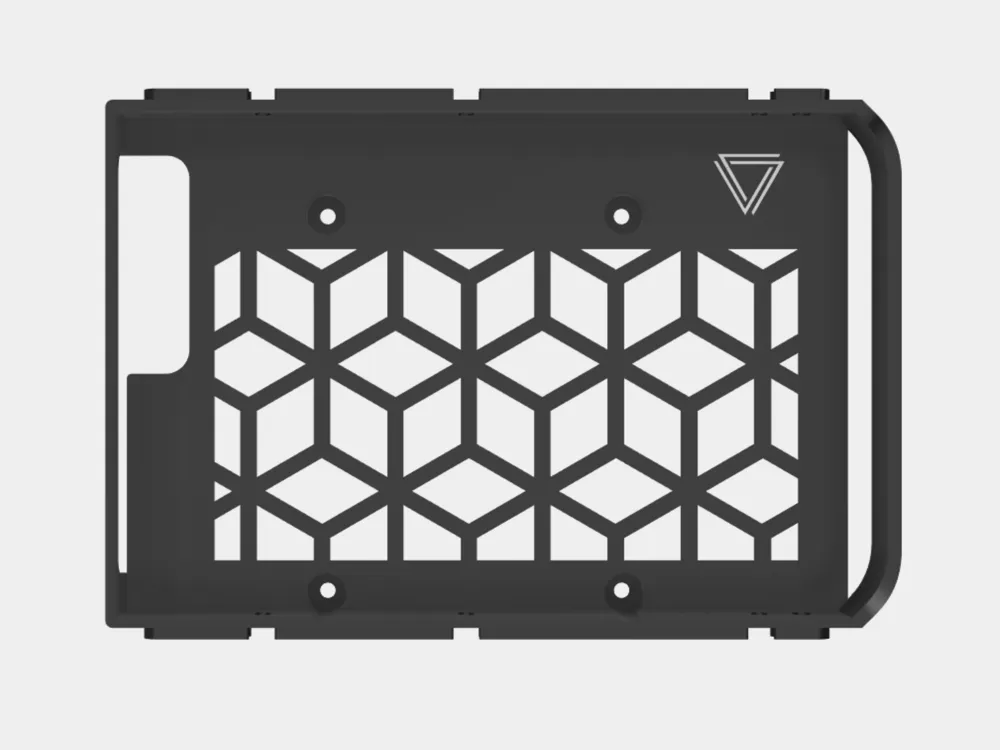
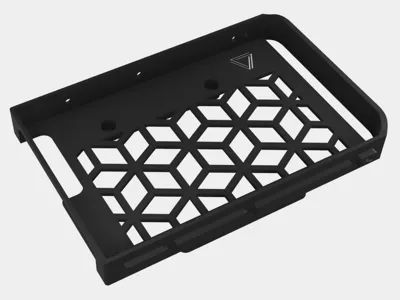
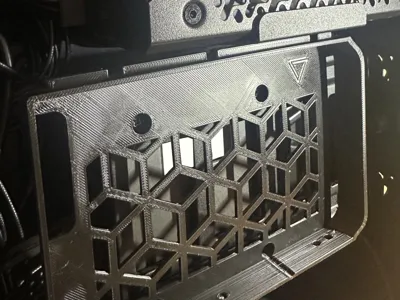
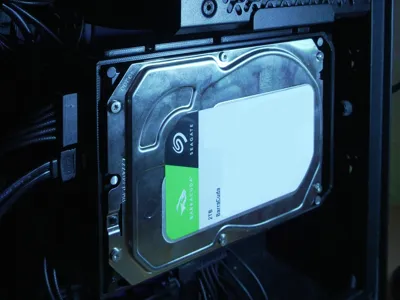
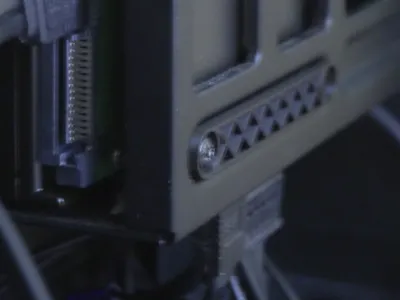
Extra 3.5" HDD Mount for the NZXT H6 Flow
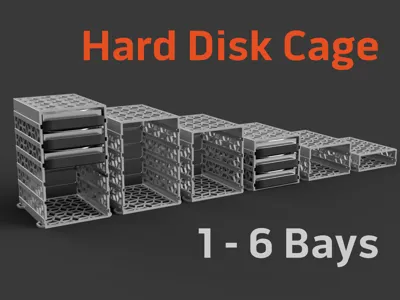
This is a remix and adaptation of the original HDD Cage | 1–6 Bays by Moonyx, modified specifically to mount an additional 3.5" hard drive inside the NZXT H6 Flow.
What I changed
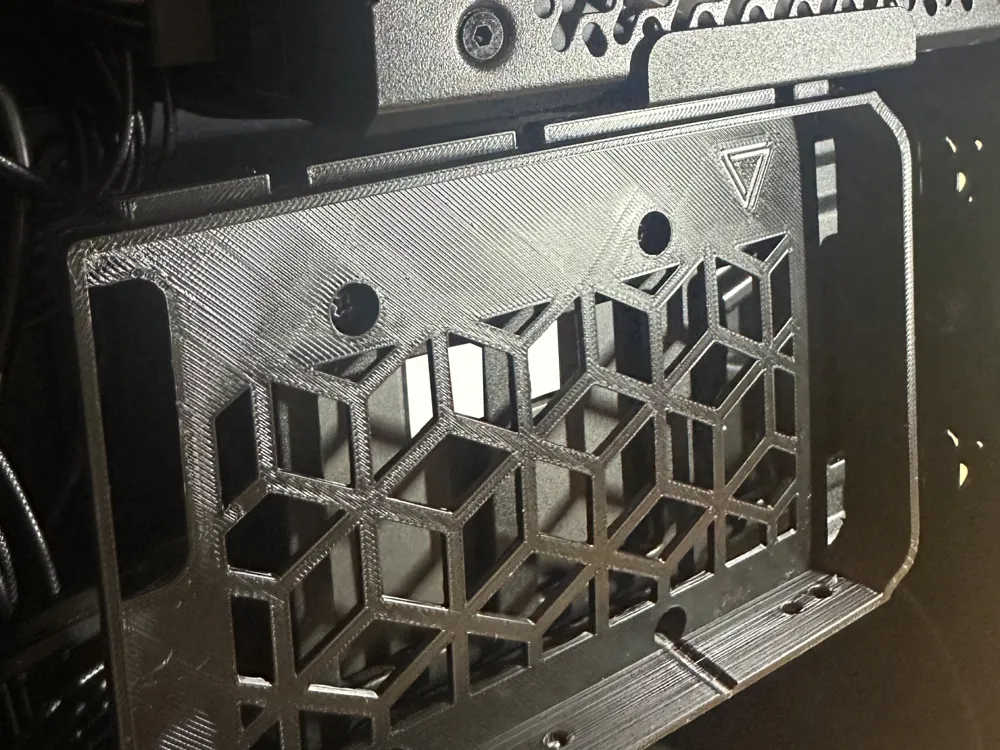
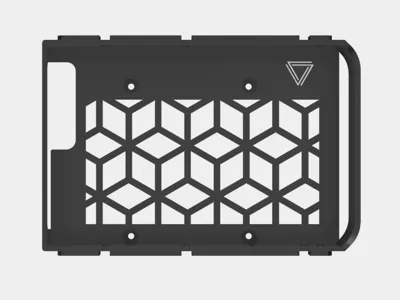
- Repositioned the mounting holes to fit the NZXT H6 Flow.
- Adapted the mounting layout for the available space inside the case.
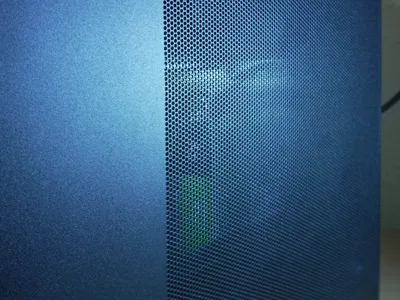
- Repaired and adjusted the original mesh for the modified installation.
- Added an optional SpendRed23 logo version.
- Included a clean version without the logo.
Tested hardware
- Case: NZXT H6 Flow
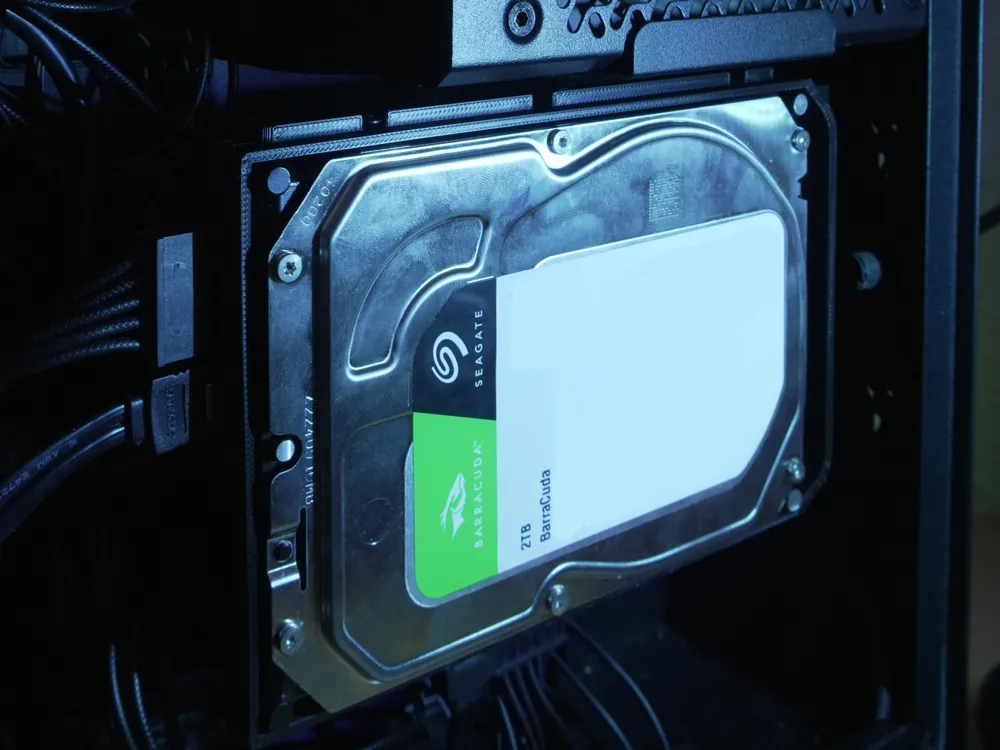
- HDD: Seagate BarraCuda ST2000DM008 2 TB, 3.5"
- Printer: Bambu Lab A1
- Material tested: SUNLU PLA+
- Nozzle: 0.4 mm
- Layer height: 0.20 mm
The HDD remained around 35 °C during sustained disk activity in my system. Temperatures will vary depending on your hardware and airflow, so I recommend monitoring your drive temperature after installation.
Important installation notes
The available space inside the NZXT H6 Flow is limited.
Lower screws:
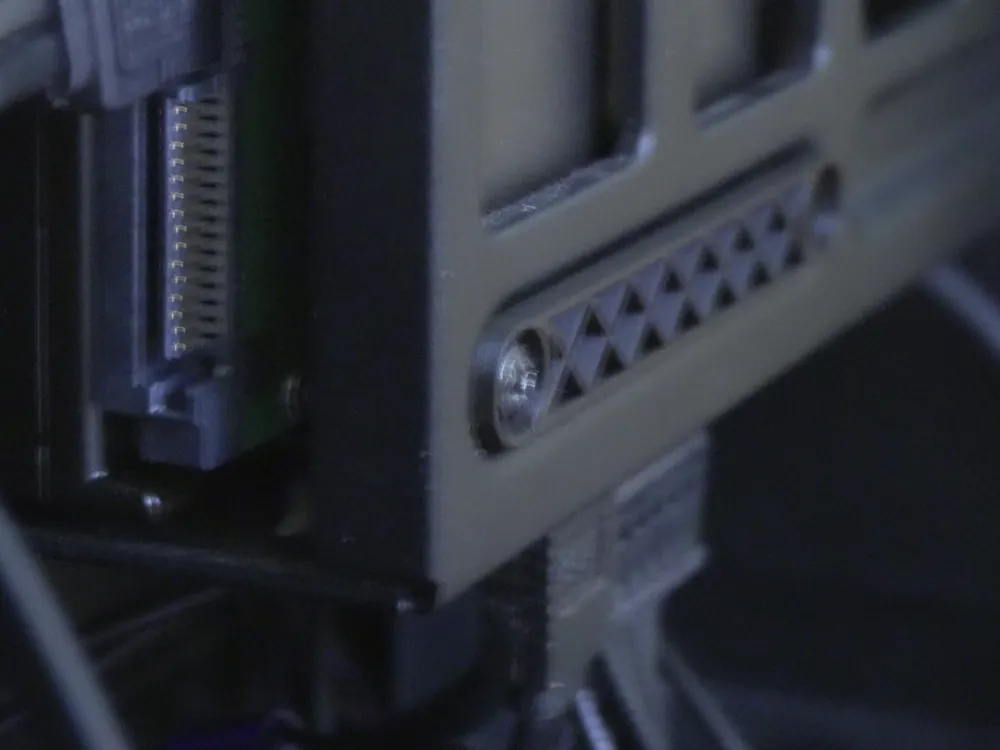
A short/small screwdriver is required to access and tighten the lower mounting screws.
Upper screws:
Access depends on the size of your power supply. With my compact Corsair PSU, I was able to access at least the upper-left mounting screw without removing the PSU.
With a larger power supply, access to the upper mounting screws may be partially or completely blocked. In that case, temporarily removing the power supply may be necessary to install the mount correctly.
Before installation:
- Shut down the computer completely.
- Switch off and disconnect the power supply.
- Check that the mount, HDD and screws do not interfere with cables, fans or other components.
- Do not overtighten the screws into the printed part.
- Check HDD temperatures after installation.
Included versions
- SpendRed23 Edition – version with my logo.
- No Logo Edition – clean version without branding.
Compatibility has been physically tested with my own NZXT H6 Flow configuration. PSU dimensions and other installed hardware may affect screw accessibility.
This remix is based on

License



Comment & Rating (0)