
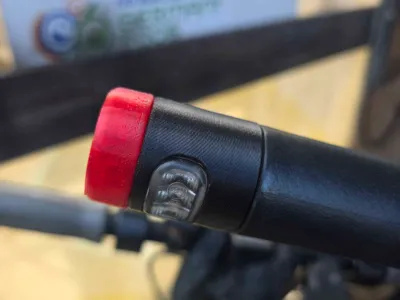
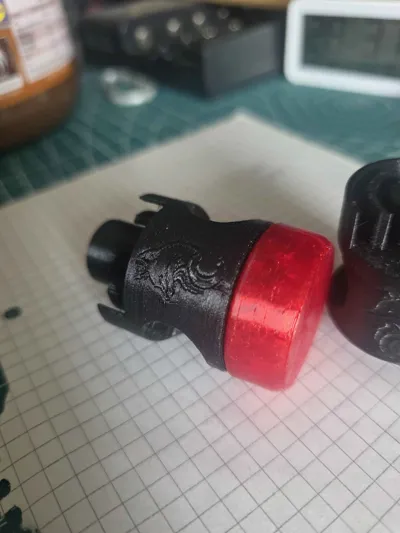
F3G3ZT3 Turn Indicator replacement for 2025Version
Print Profile(1)
Description
Thats for the Segway 25 Models it will not fit on 24 produced Models!
Because if you Crash your Turn Indicator maybe break or get scratches
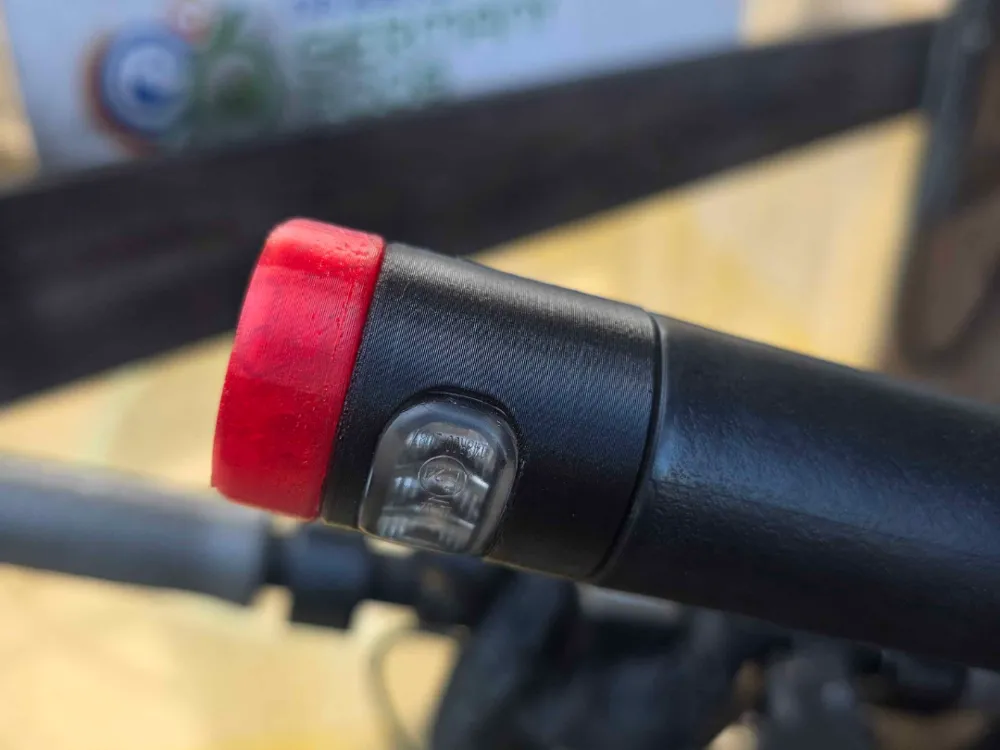
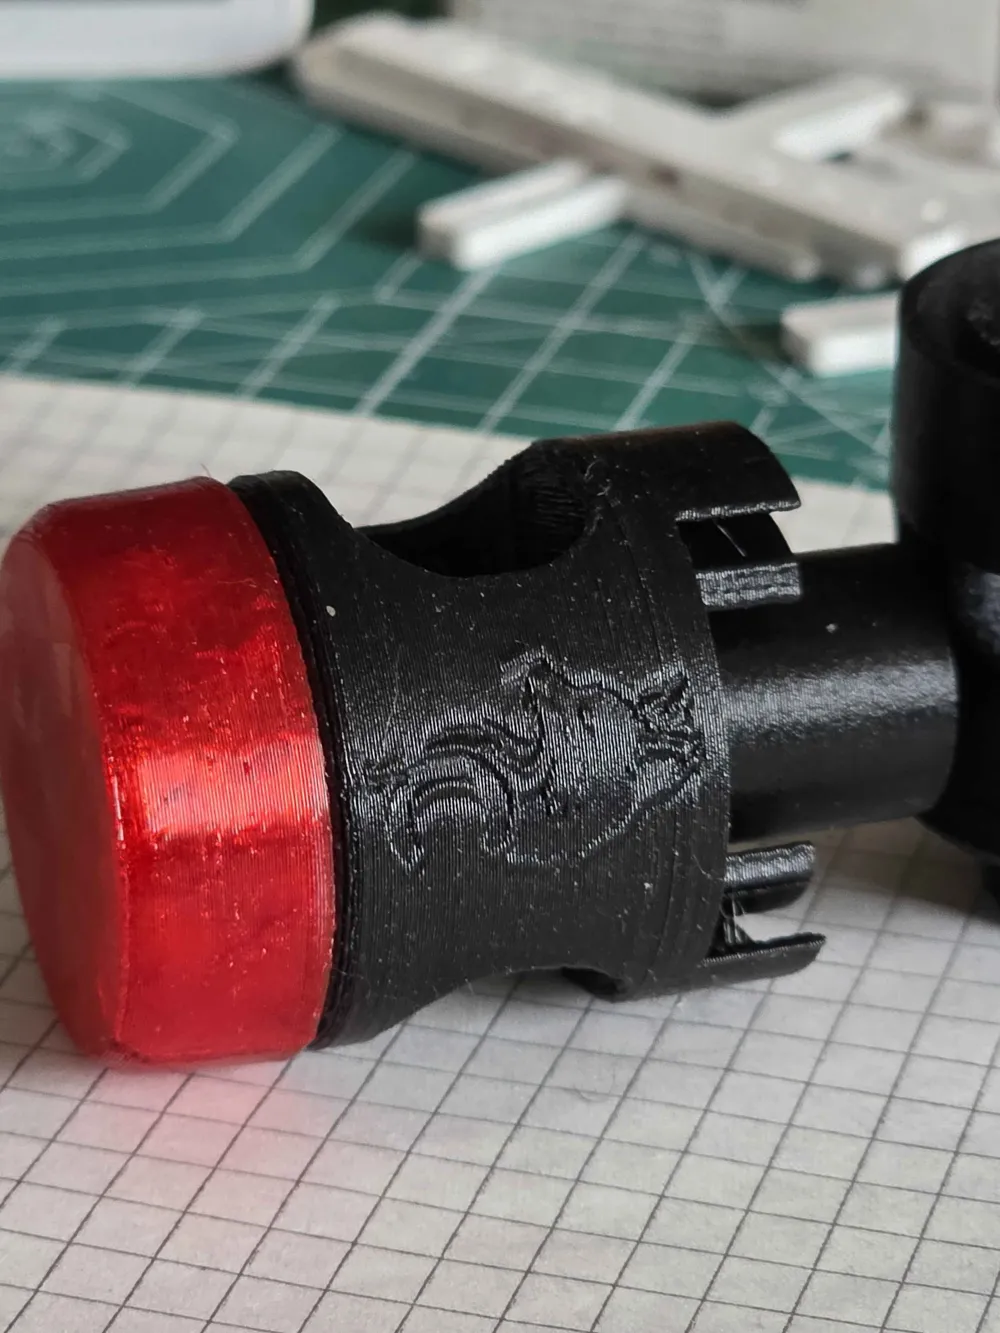
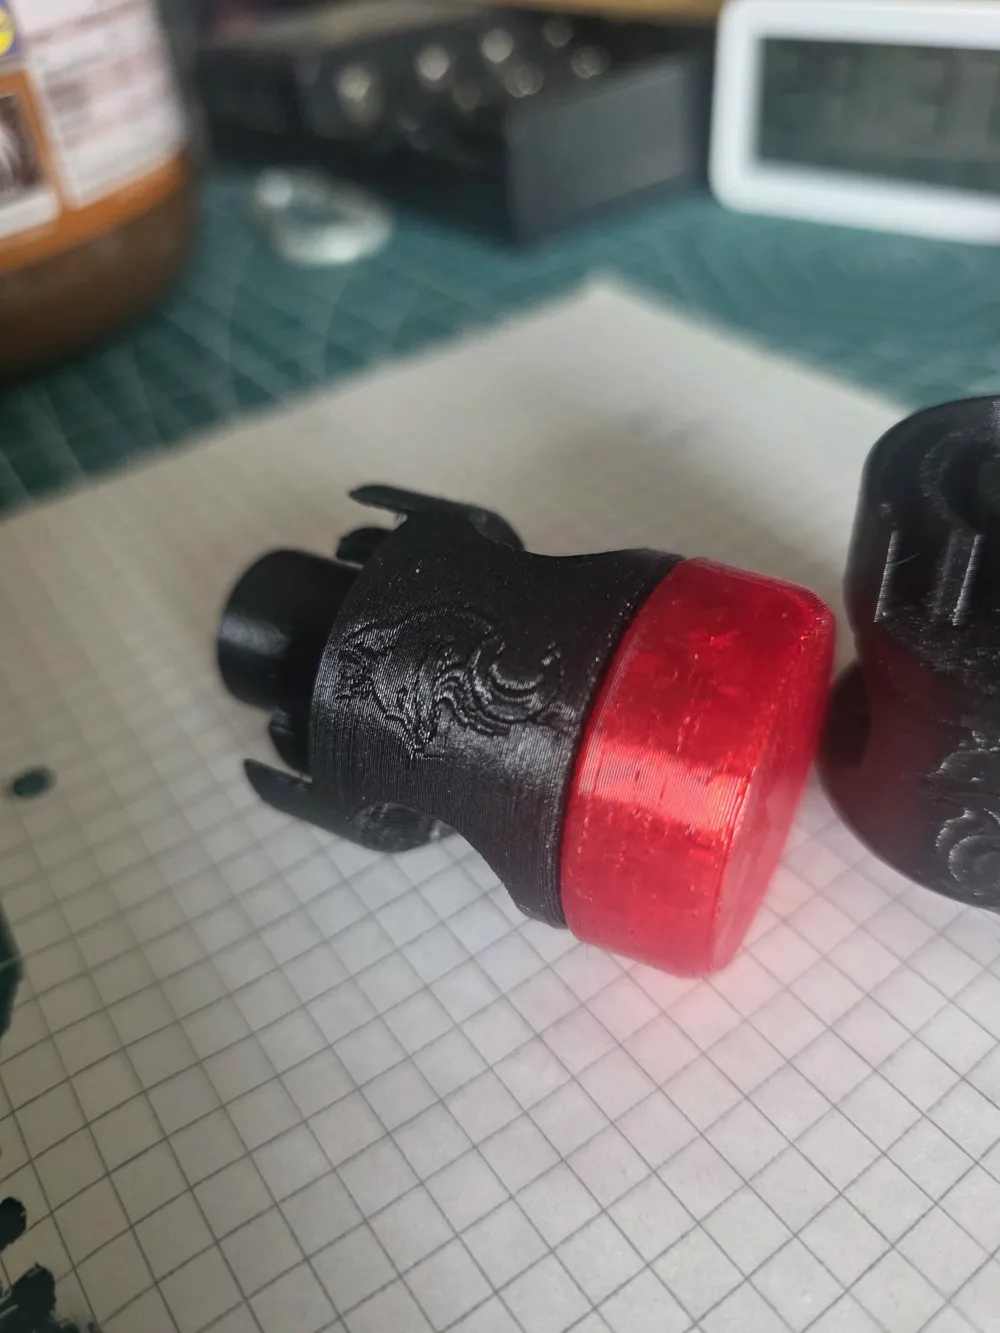
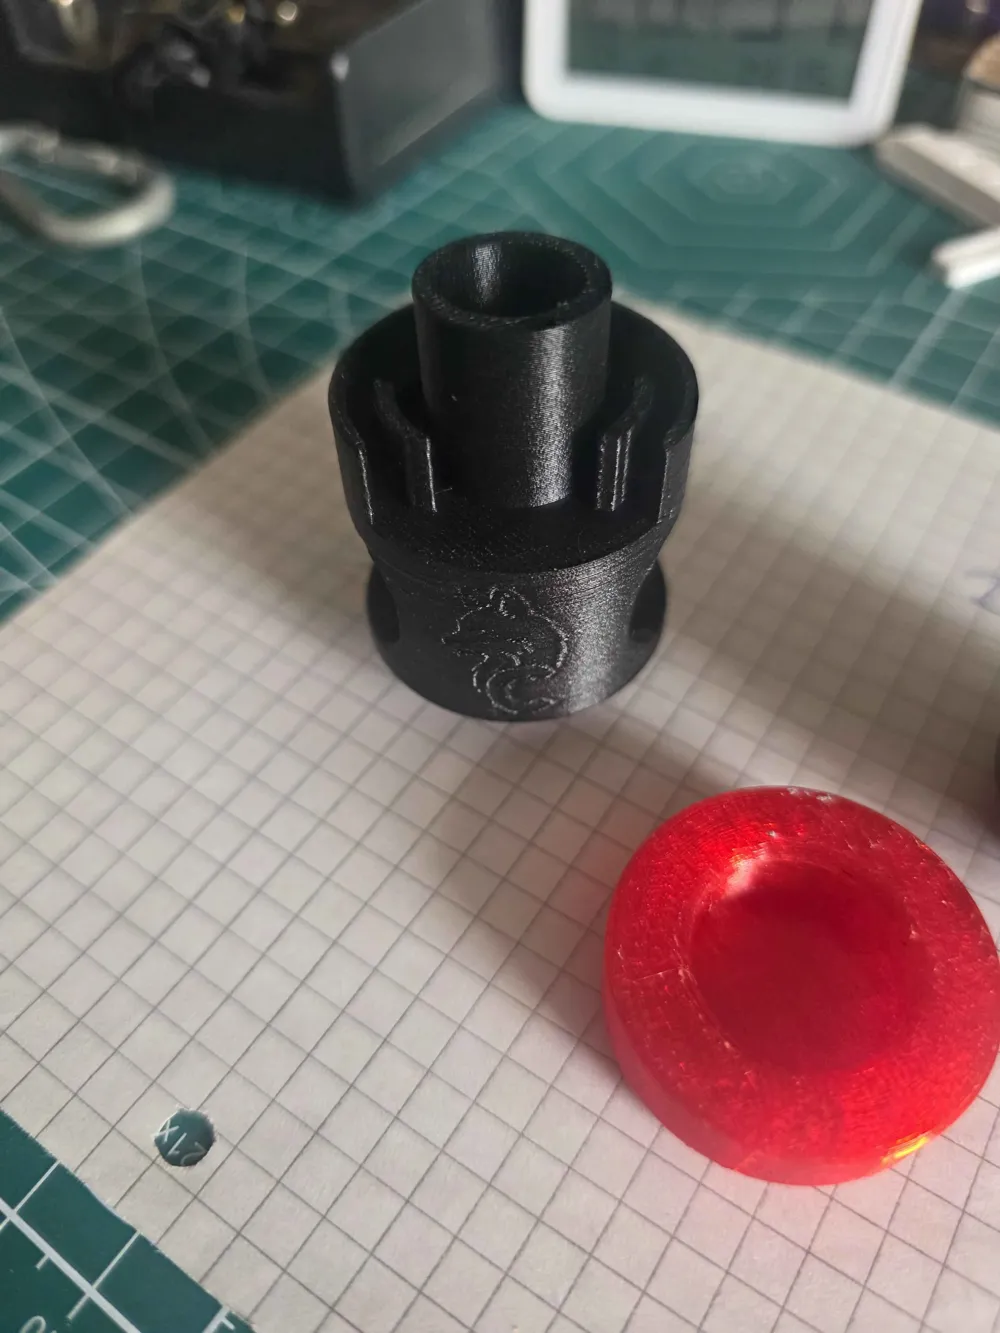
i build that replacement
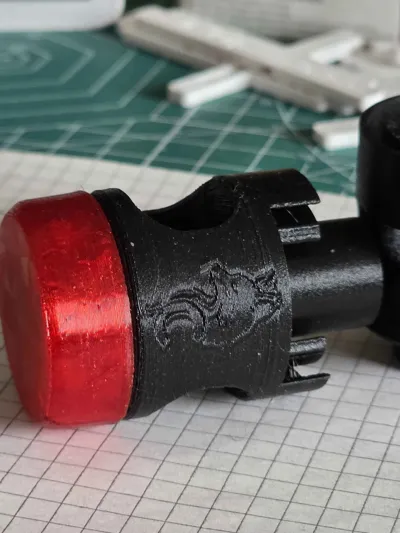
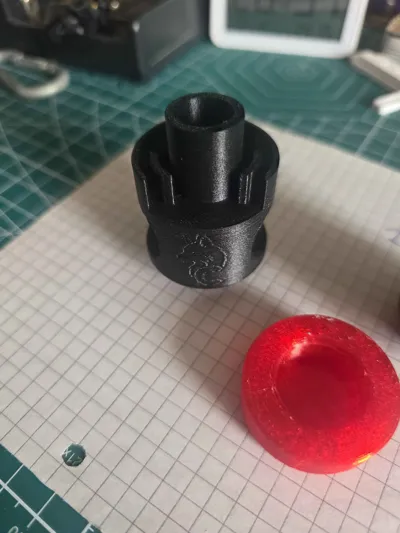
the outer red part is be printet in TPU an the inner Part had to be printet in PETG or better
i recomment materials that are flexible and hard, so PLA is the WRONG material for that!
that Obejct is for the 2025 Models, there is on my Profile a second model for the 2024Model
how to disassemble the 2025 Part:
use a 3mm allen key /inbusschlüssel and untight the hex screw
pull gently and use a knife to get rid of the shrinking tube
unplug the connector
its a JST connector, use a Sharp knife like a cutter or a medical knife/ scalpel to free the cables from hot glue, else use heat and a caliper, that maybe also works…
after this take a flathead screwdriver and lift the blue Silicon part, its very sturdy so try to pull it, but dont damage or bend the wires
MEMORIZE THE COLORS!
thats LEDS wrong wiring and it will not work and maybe break, the Dashboards a bit fragile on the Powerlane that can break too and need to replaced!
take a Foto that will help!
From Right to Left (the side where you see the metalclips that you have to lift
Red Black Yellow Green
Lift the Plastic clips inside the connector with a needle tweezers or something like that to free the connectors, goe through the rectanlge hole and press upwards, thats the trickyest part while this pull gently on the wires
i need for that some practice!
unscrew with a PH1 or 4mm J1 or JH3,0 Screwdriver the two screws
after this you can press out with a flathead screwdriver the Turn Indicators through the cable hole
grip it from the outside with a tool or fingers
same reassemble backwards in my Model
TPU Part : Modifying Shells/Walls and infill will increase or decrase the flexibility, play around with it :) i use a 0,4Nozzle and have 3Walls and 5top/bottom Layers
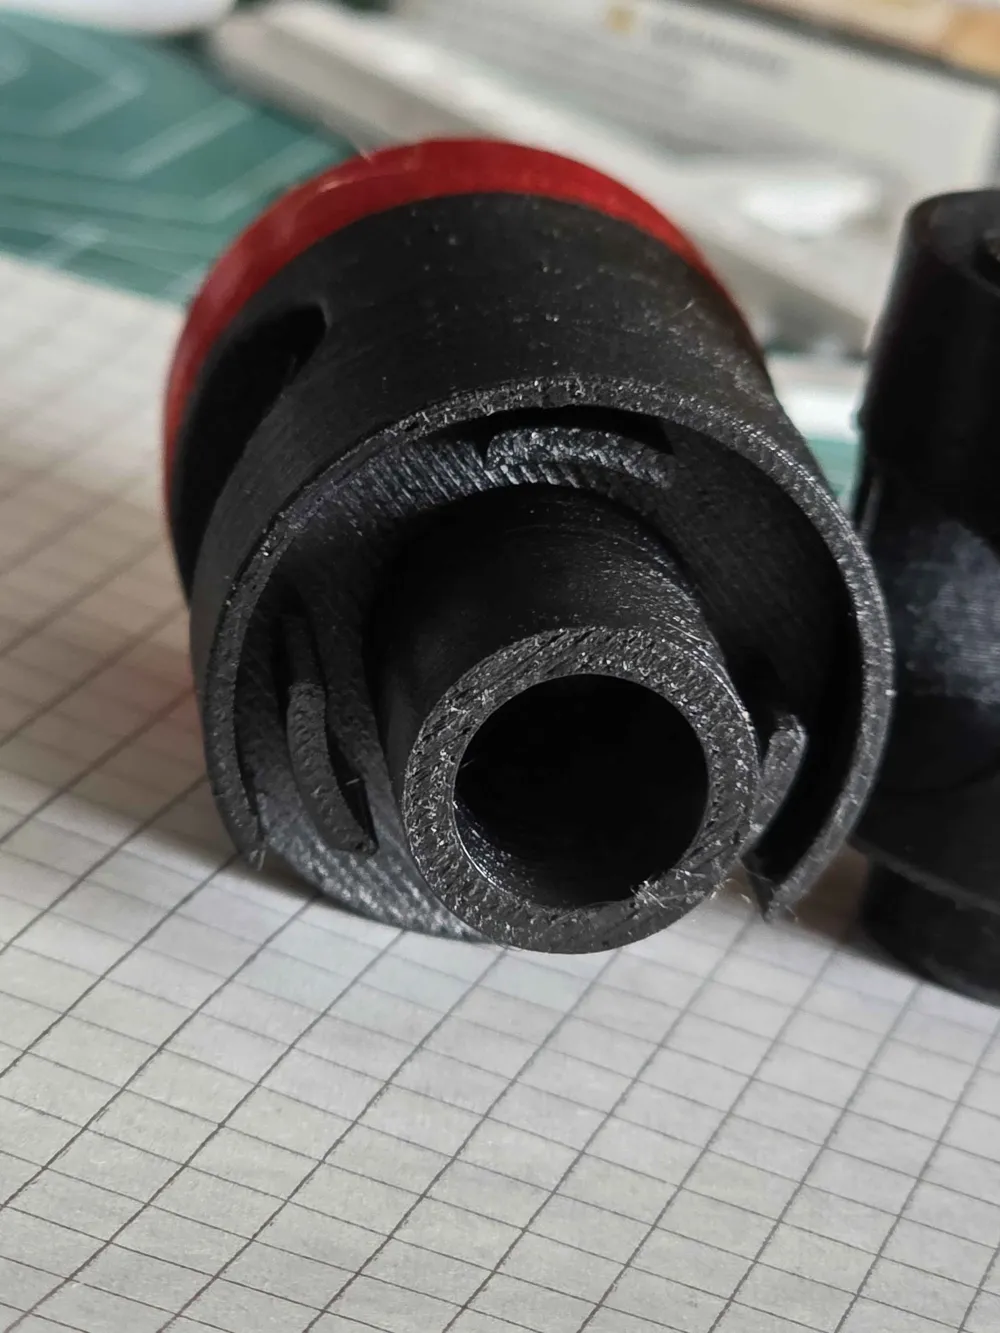
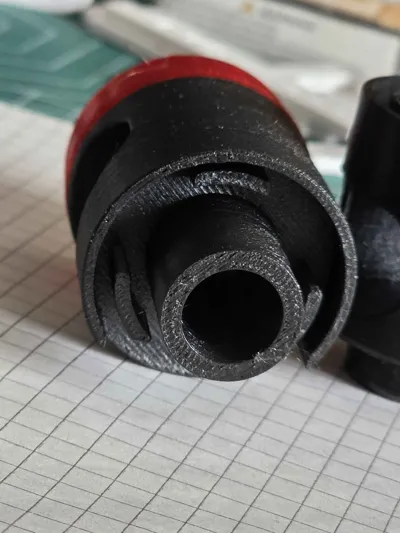
cut at first the support with a knife along the inner top circle, and use a caliper to pull them out
Assembly: use a bit of dishsoap on the top ring, and push it on the PETG Part
PETG Part: I use 5Walls and 5top 7 bottom layers with gyroid and 15% infill, because its a part of the grip i will make sure its hard and sturdy
License

You shall not share, sub-license, sell, rent, host, transfer, or distribute in any way the digital or 3D printed versions of this object, nor any other derivative work of this object in its digital or physical format (including - but not limited to - remixes of this object, and hosting on other digital platforms). The objects may not be used without permission in any way whatsoever in which you charge money, or collect fees.


Comment & Rating (1)