
Ultimate Automatic Rotating Marker Dot Scan Setup

Print Profile(1)
Description

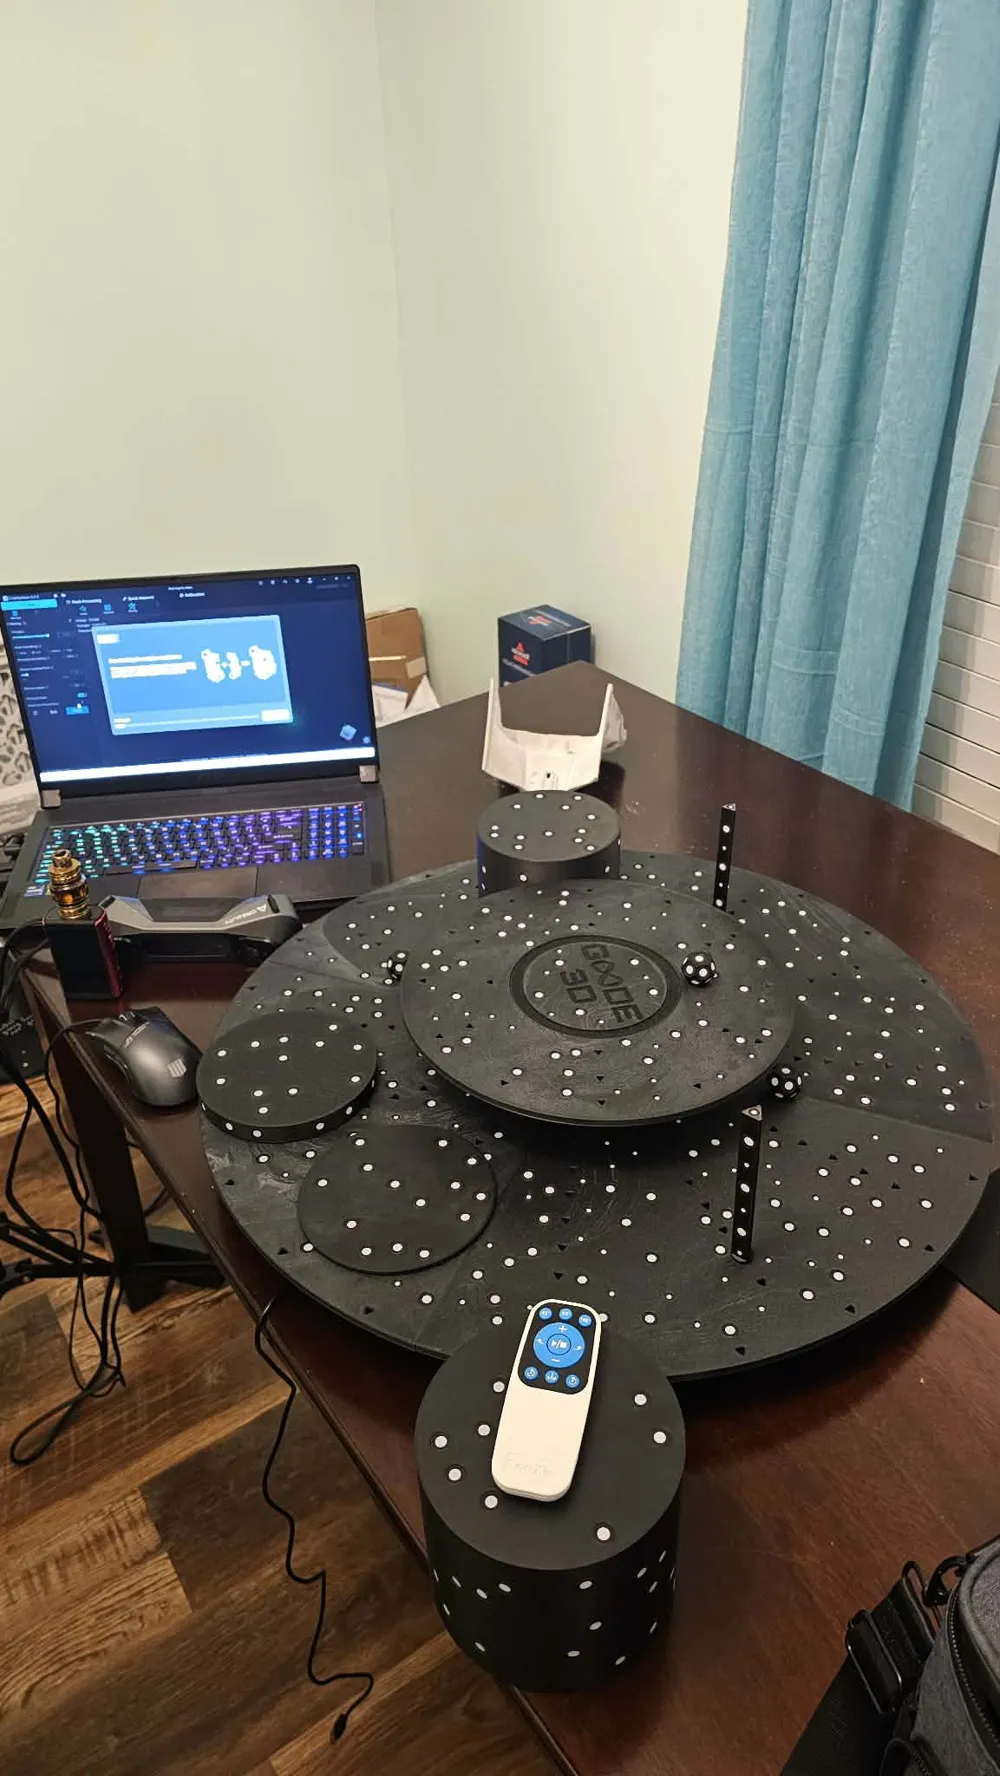
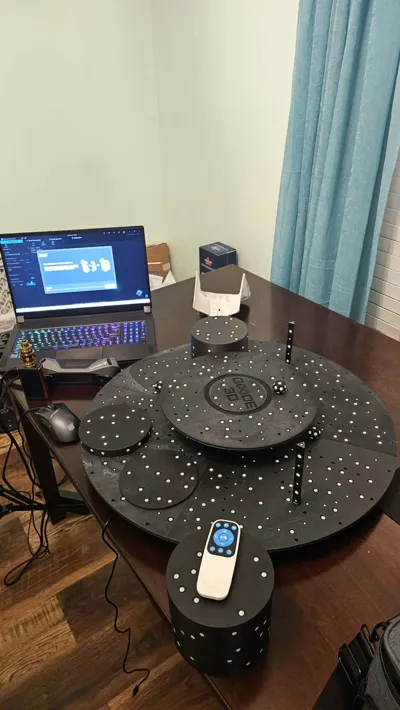
This is the Ultimate Automatic Rotating Marker Dot Scan Setup.
This project has been turning into something much larger as I kept testing and reworking my dot setups.
*Recommend printing in 0.20 High Quality (slower speeds)
*Supports Enabled
*Risers: 3 walls, 5% adaptive cubic
*Plates and Sticks: 3 walls, 15% gyroid (Adjust to your needs, but the lighter the better)
*Press fit, no glue required.
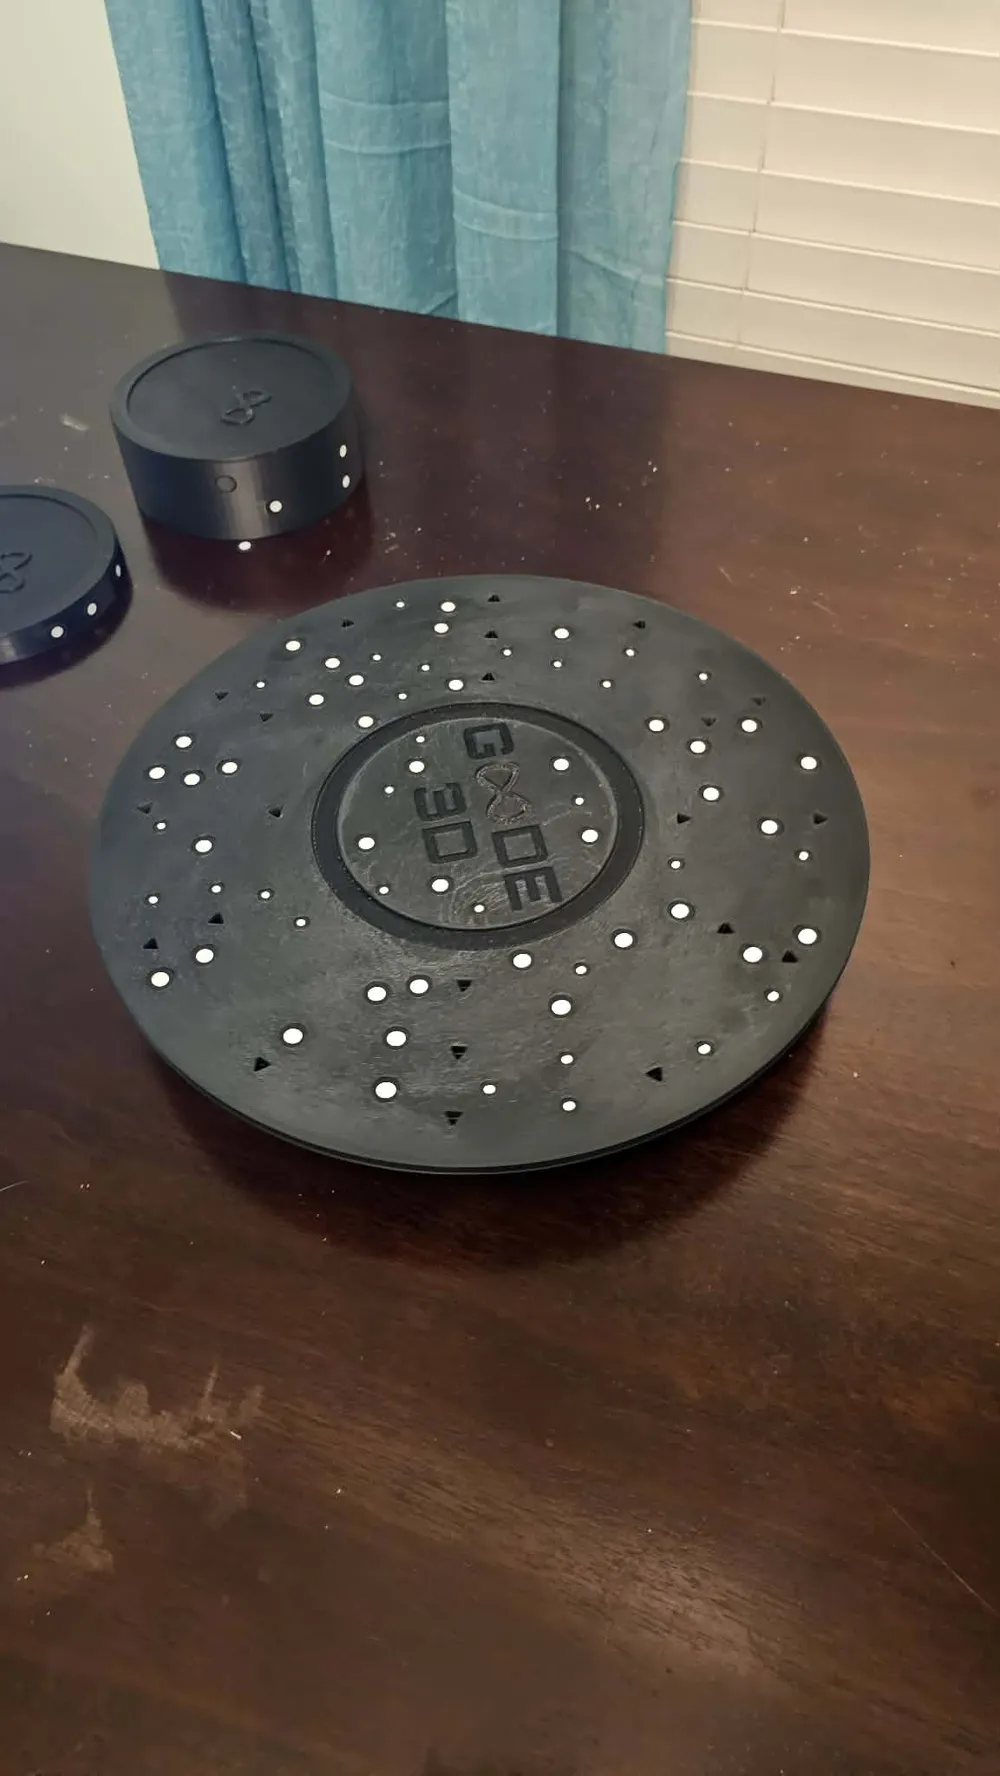
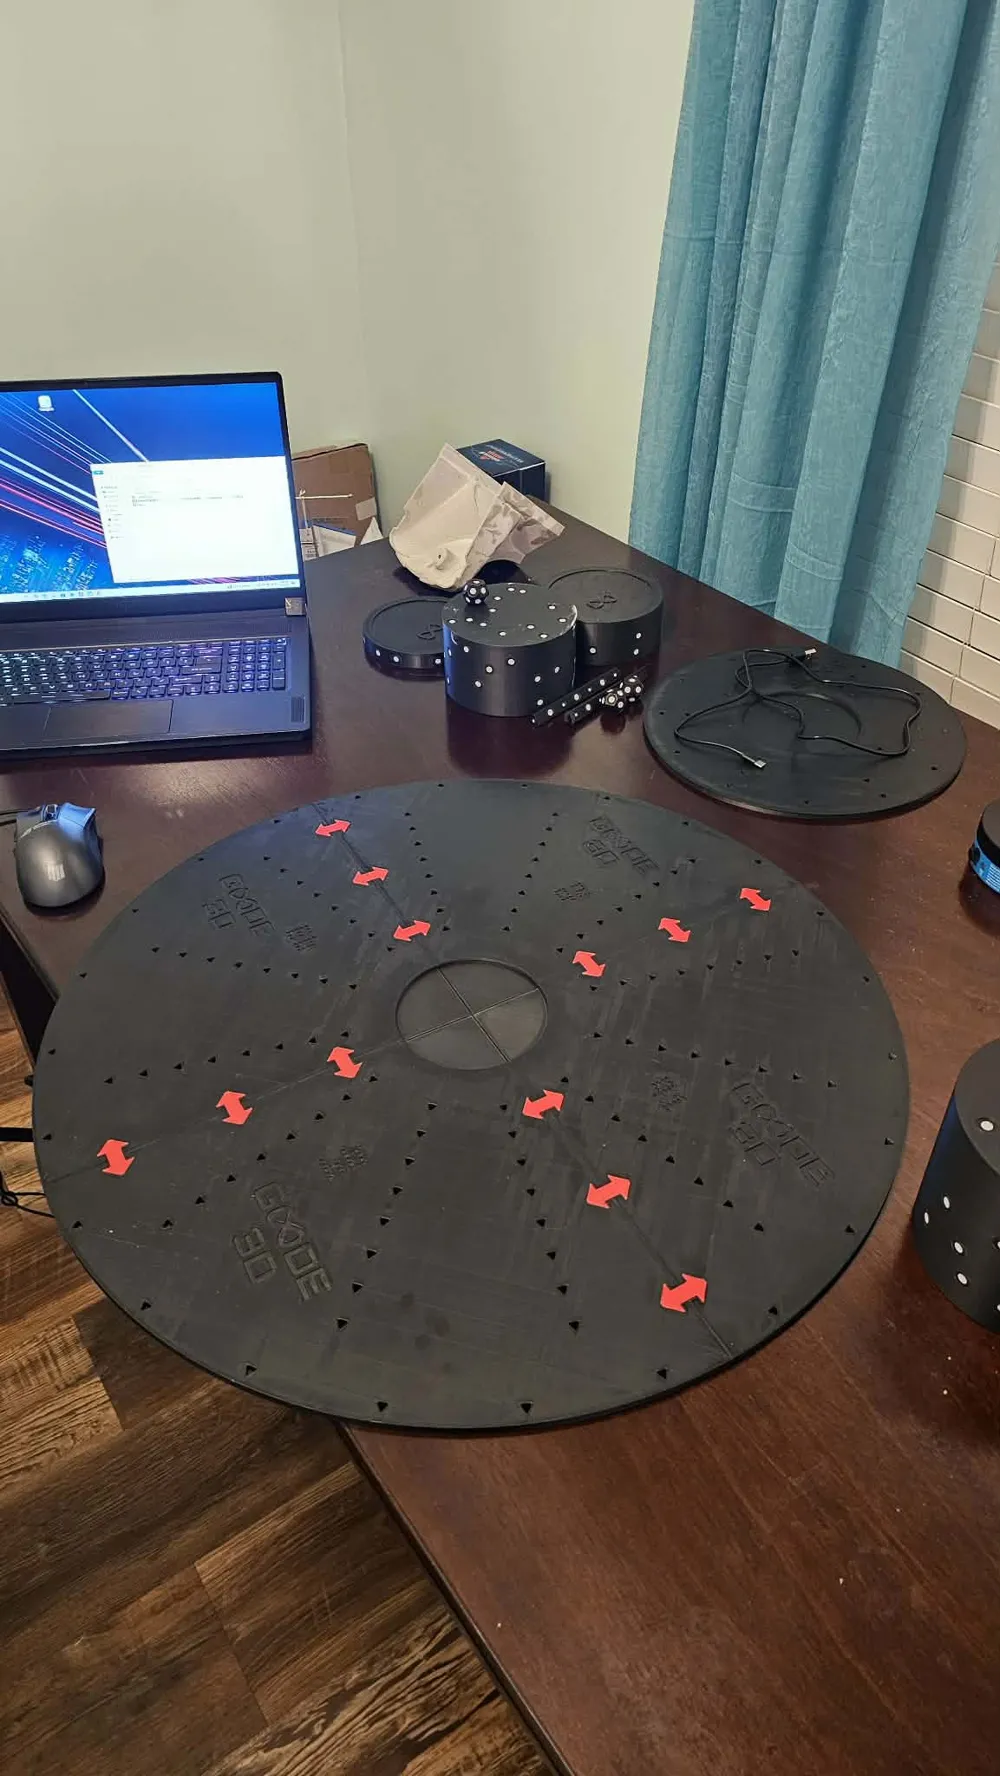
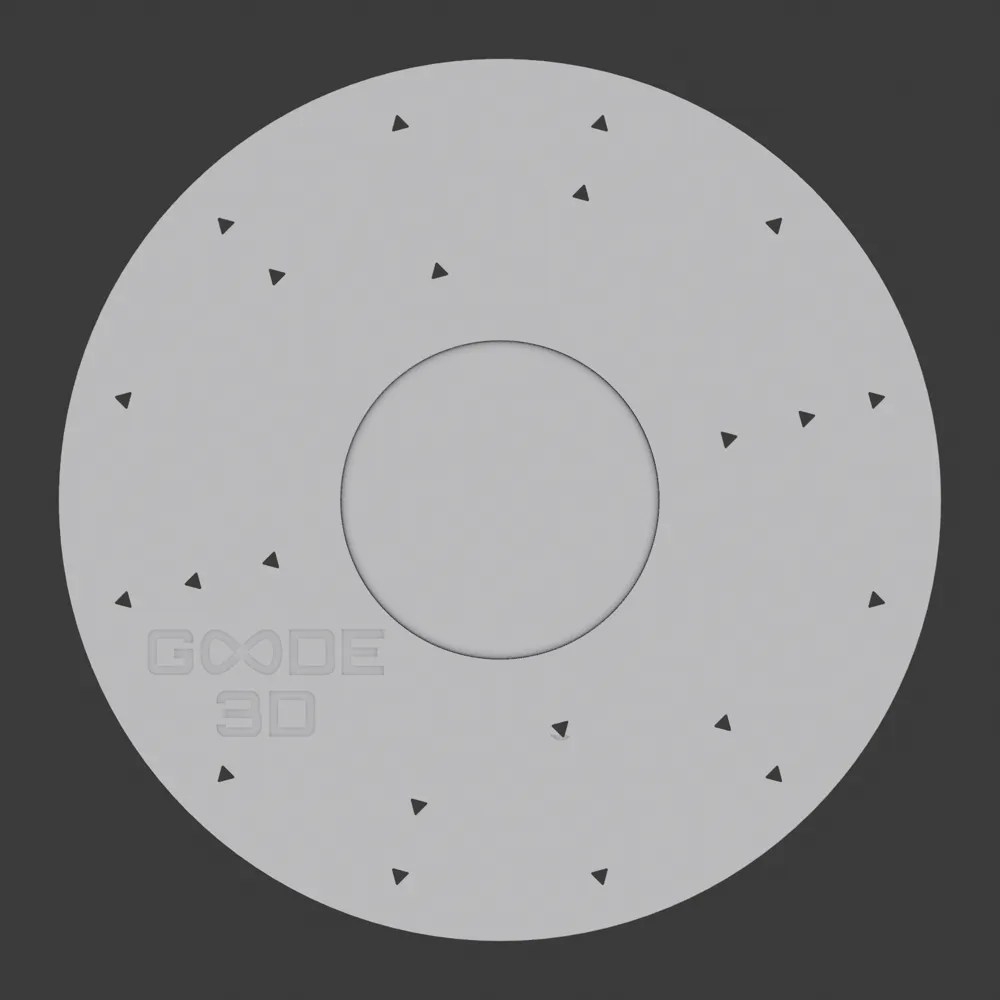
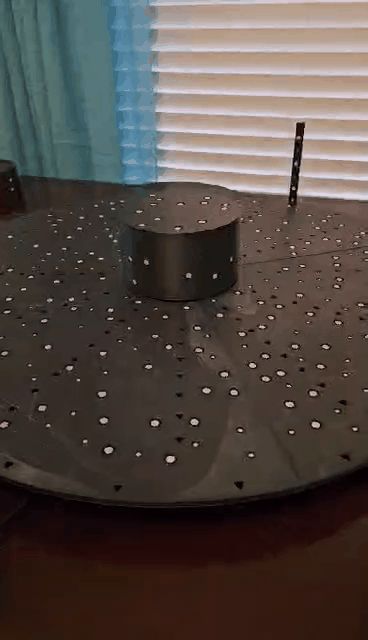
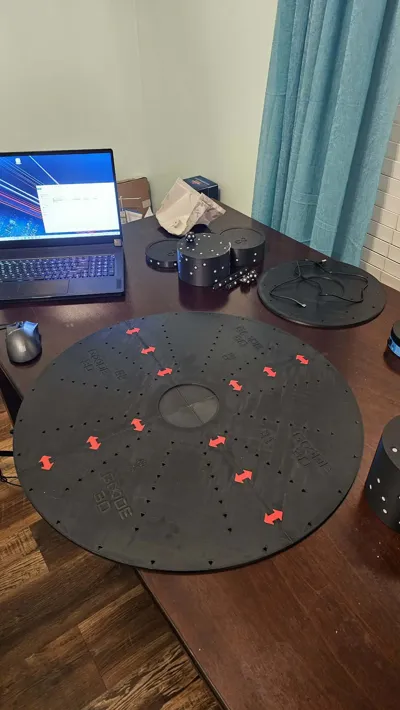
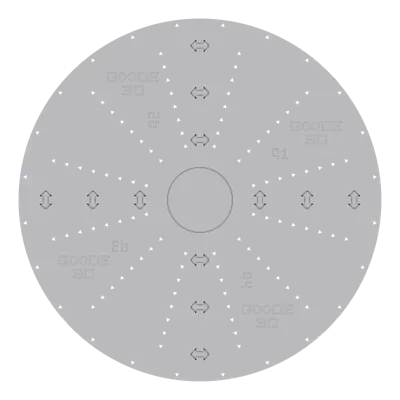
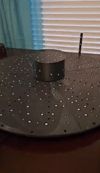
This is a 12.5" tracking platter and now it's 25" big brother that drops onto a cheap motorized display turntable (4.5"/115 mm top, ~$20 on Amazon) and turns it into the ultimate 3D-scanning station with accessories. It works with any scanner that uses reference markers; Creality Raptor/Otter, Revopoint, Einstar, etc.
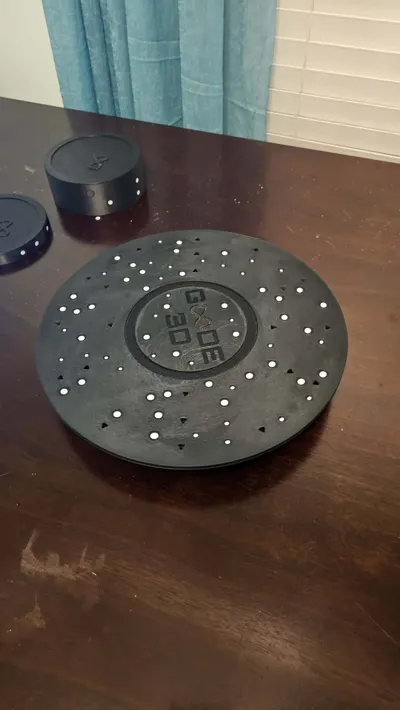
Also includes is a blank 12.5" display plate with no markings or emblems.
If you enjoy this project and find it useful please Boost me! This is a huge value to someone in the scanning community looking for something amazing at an easy price!
Table can be found here: https://www.amazon.com/dp/B0DZP3K6WM
Marker dots I used are here: https://www.amazon.com/dp/B0DRFRJ5HX
Features:
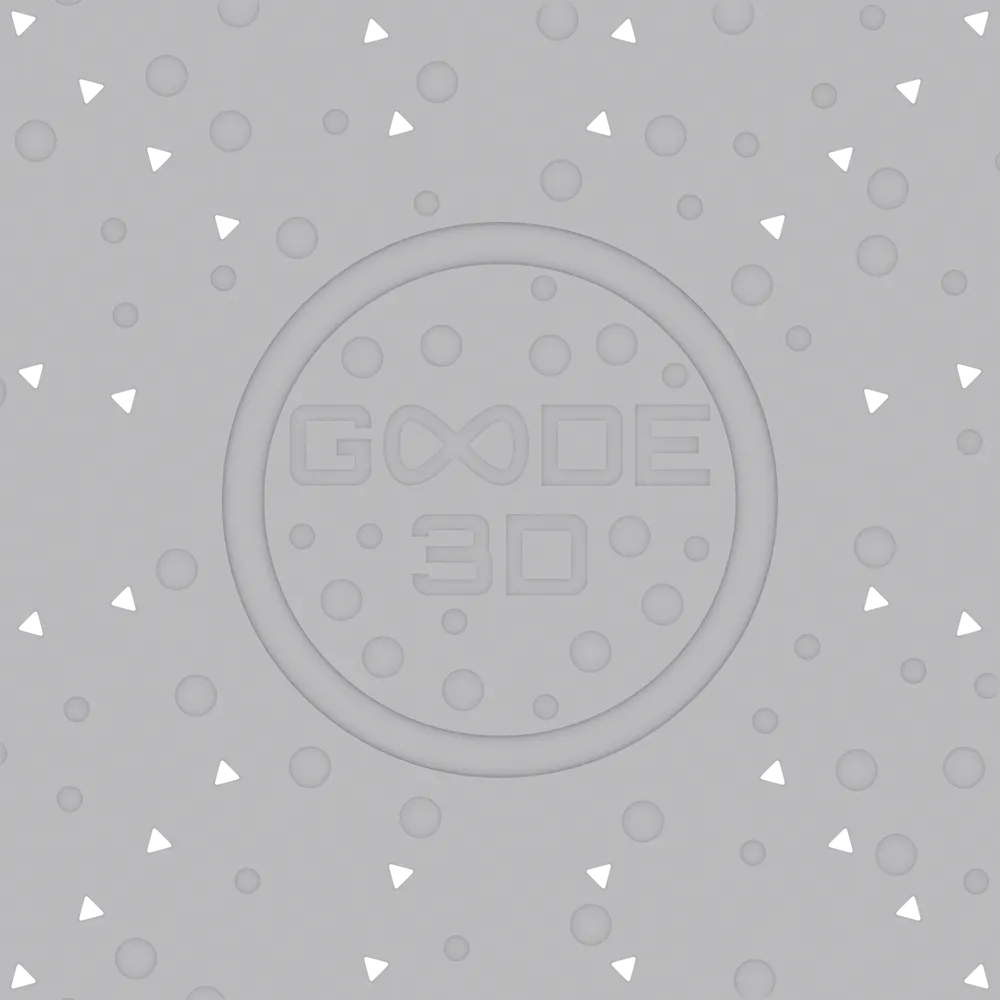
- Recessed seats for standard 10 mm scanning marker dots (sold as "6.0 mm markers"). Dots sit perfectly flush, edges protected from peeling
- Self-centering 115 mm recess on the underside that drops over the turntable disc, no glue, no slipping, complete friction fit on both sized plates for the center display table.
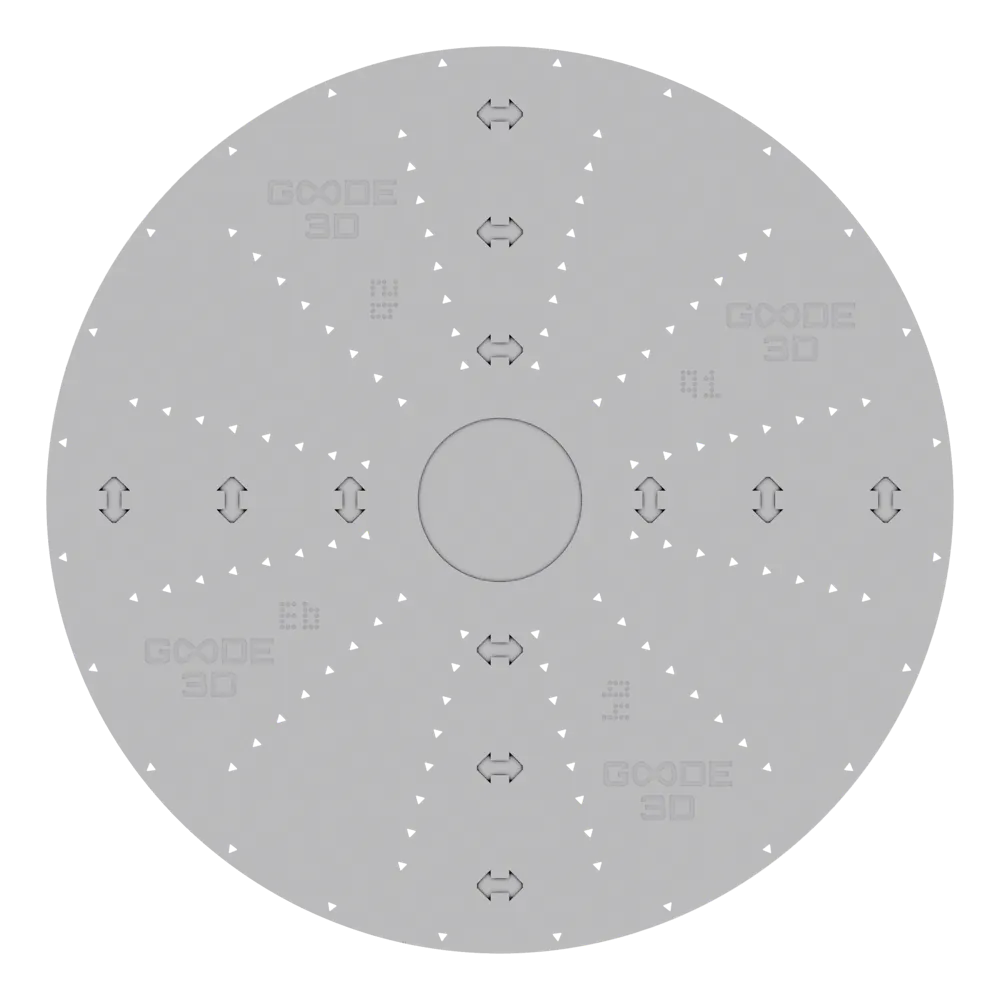
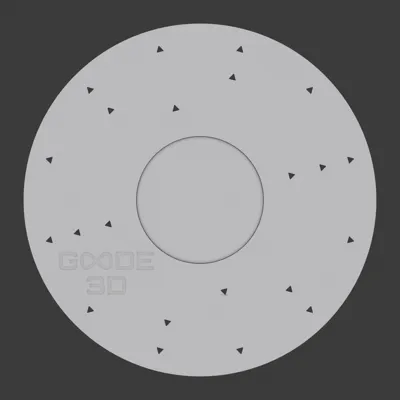
- Triangular through-holes, evenly spaced and pointing radially outward; they help the scanner tell rotation angles apart AND accept the press-fit marker sticks with more to come likely.
- Marker sticks (5" and 12" included) lift dots into a 3D constellation around your object. This is huge for tracking on taller scans. This also give's you cut elevations and planes to work from. Triangular tab self-indexes, press-fits, no fasteners need.
- 120 mm center zone for objects. center zone includes key slots for fitted risers.
- Replacement dots drop into the same pockets, so your scanner's saved marker positions never change
What you need: the prints, one pack of 6 mm/10 mm scanning marker dots, and a motorized rotating display stand with a 115 mm (4.53") round top.
Printing: Platters need a 320 mm bed (H2 Series, K2 Plus, etc.) Printed in ASA here, matte PLA works great too. Marker-pocket face DOWN on textured PEI so the plate texture becomes the matte scanning surface. Sticks I recommend printing at an angle for strength and minimal scaring. Print at high quality or slow down the speeds and acceleration for the most success and cleanest prints.
Use: dots in pockets, platter on turntable, object in the middle, sticks for tall scans. Slow continuous rotation, the goal is to keep 4 to 5 dots in the scanner's view at all times.
License

You shall not share, sub-license, sell, rent, host, transfer, or distribute in any way the digital or 3D printed versions of this object, nor any other derivative work of this object in its digital or physical format (including - but not limited to - remixes of this object, and hosting on other digital platforms). The objects may not be used without permission in any way whatsoever in which you charge money, or collect fees.


Comment & Rating (0)