
"Big Chap" Alien - Detailed Xenomorph Statue!
Print Profile(2)
Description
Boost Me (for free)
Boost me to support the creation of even more awesome models!
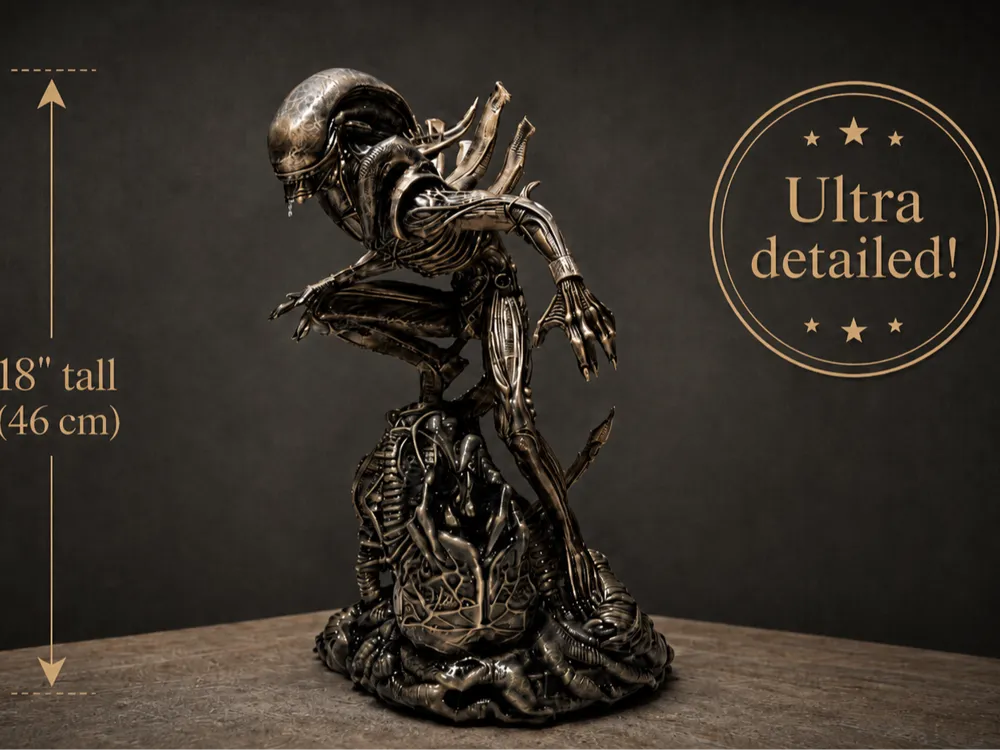
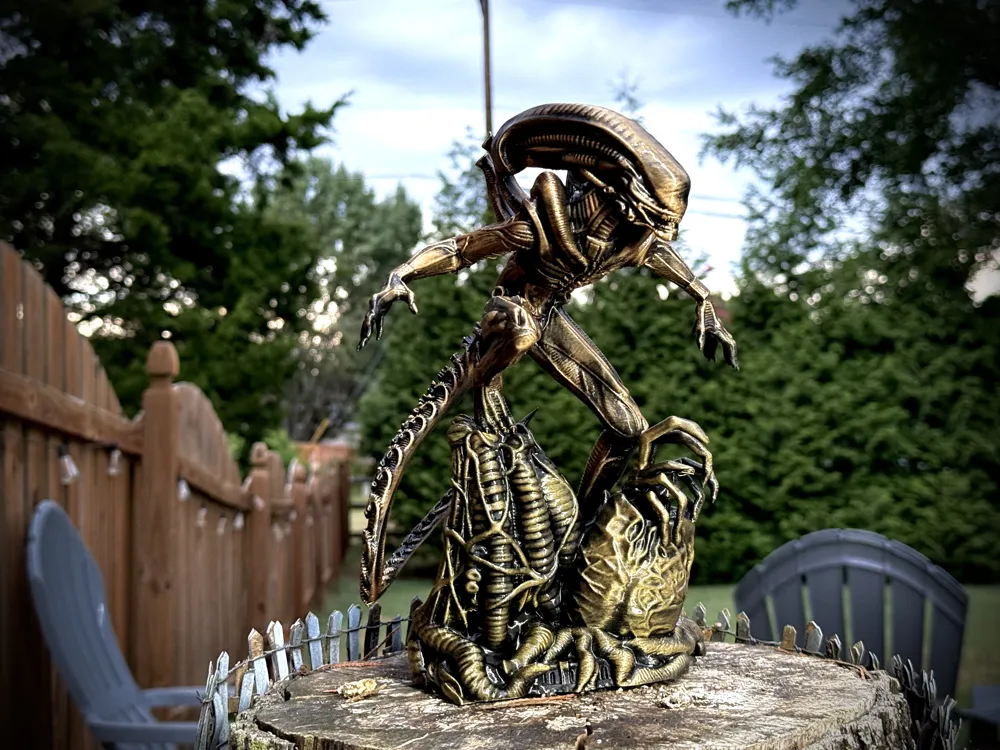
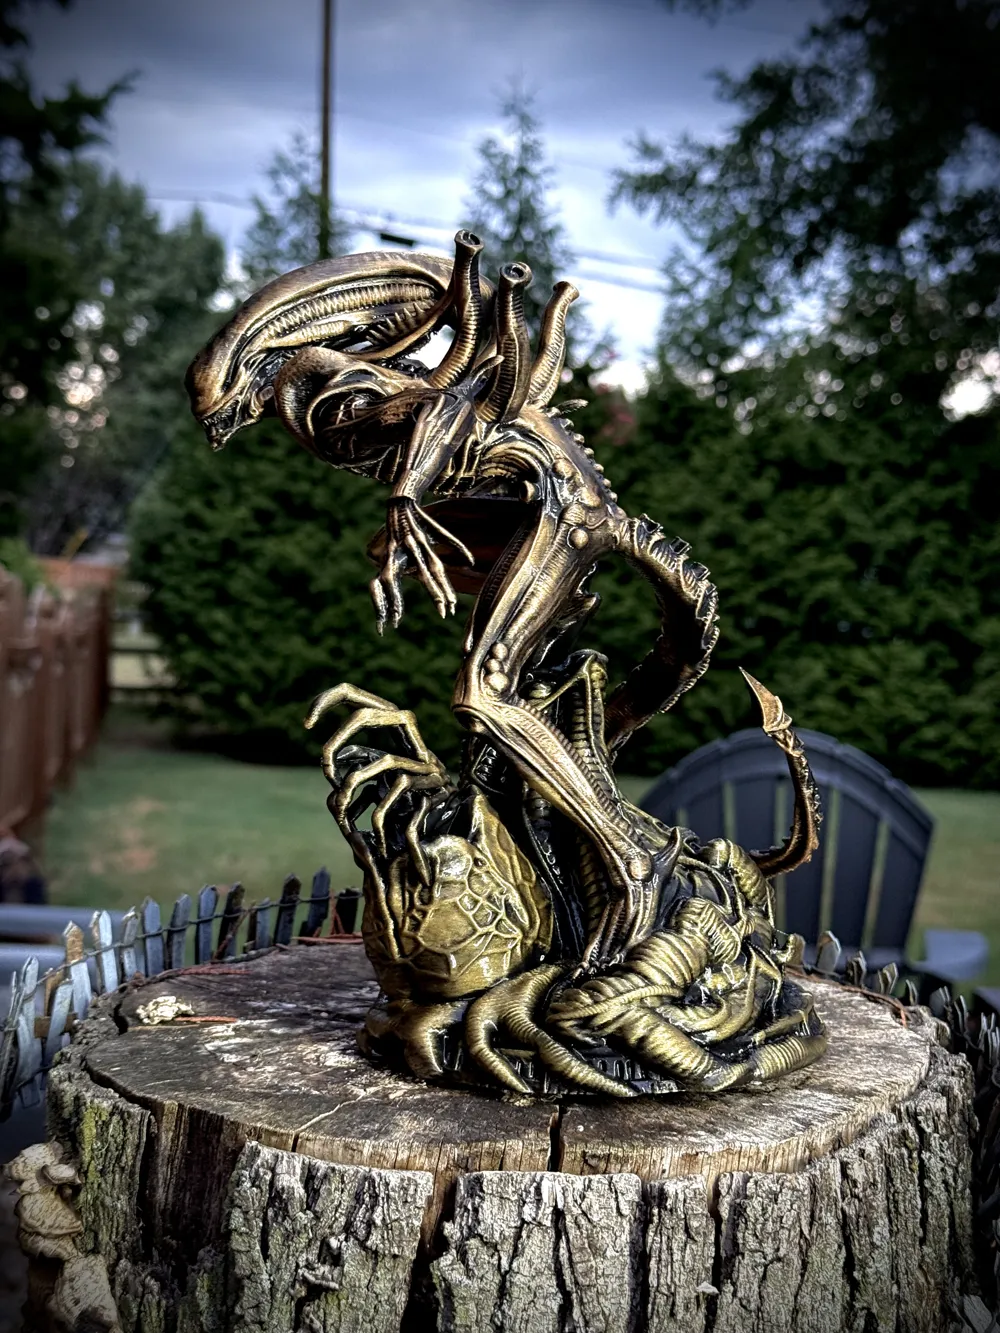
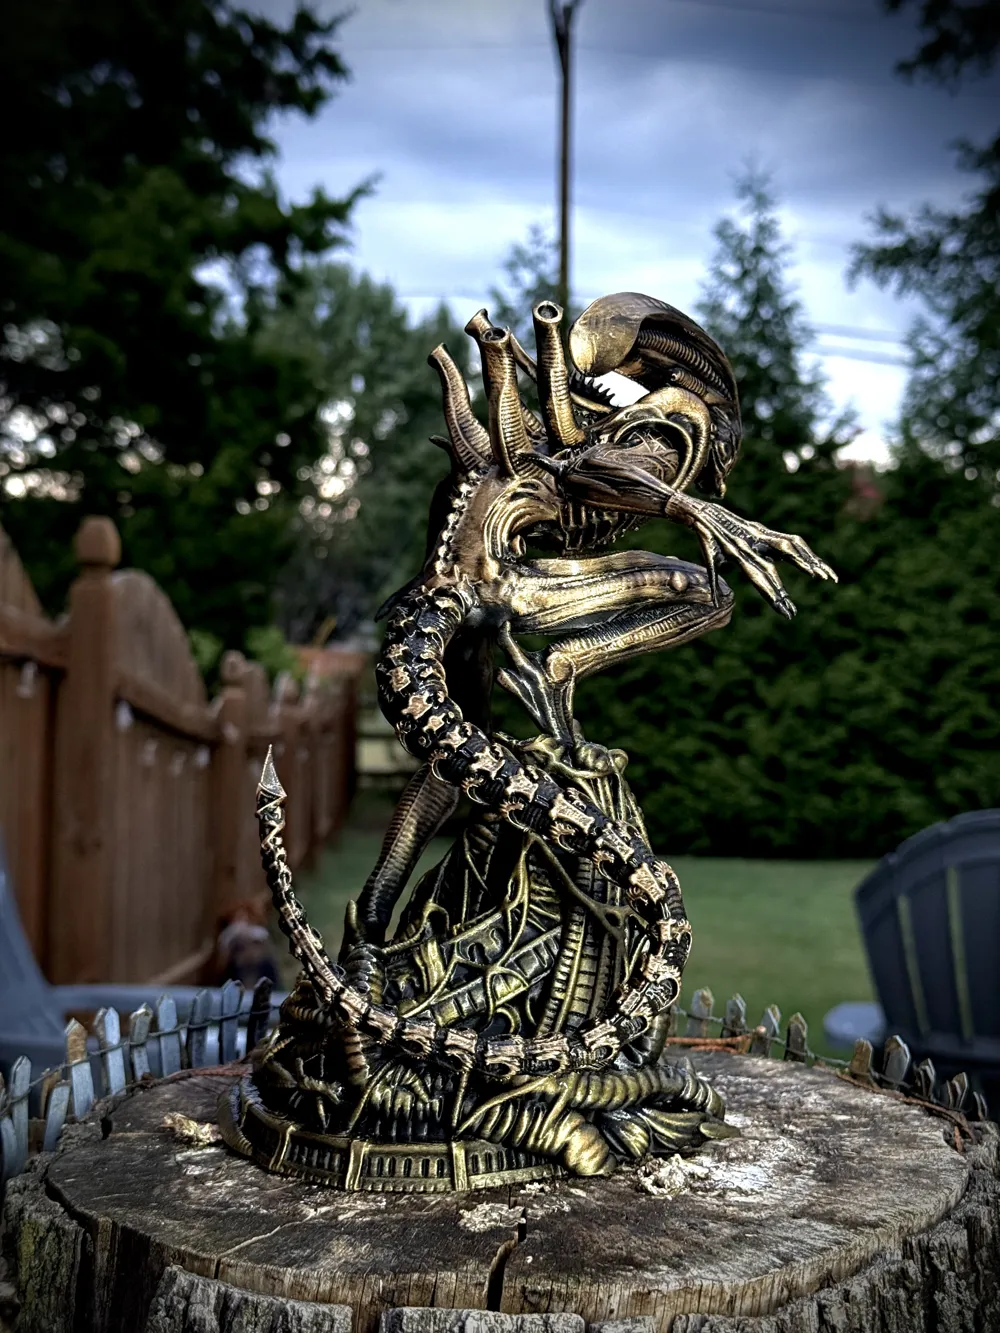
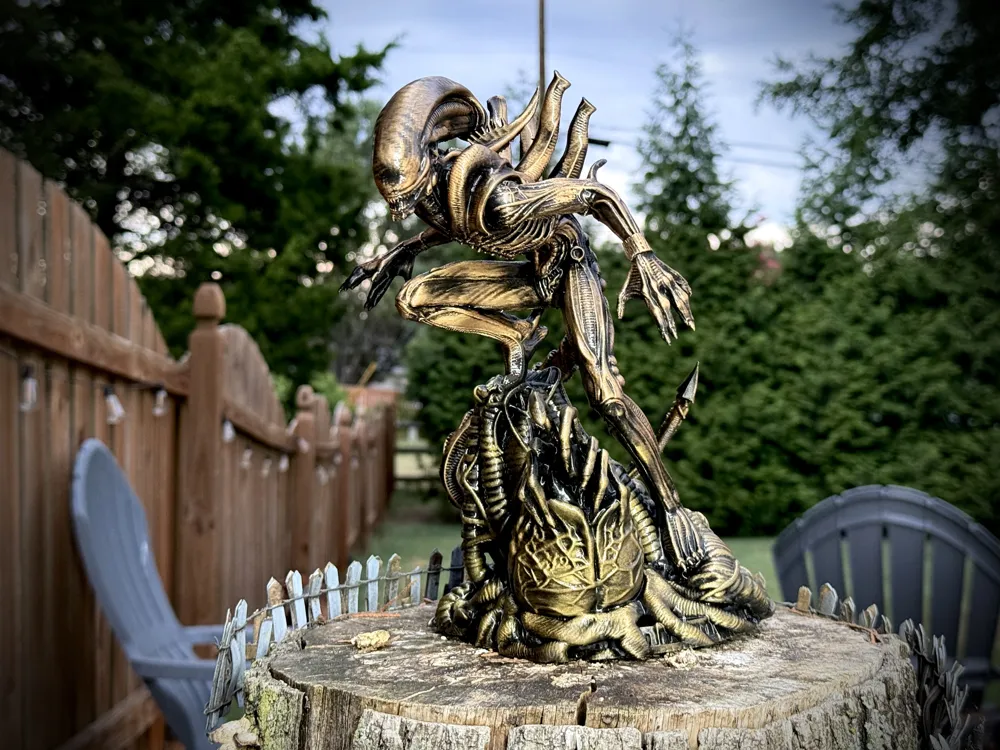
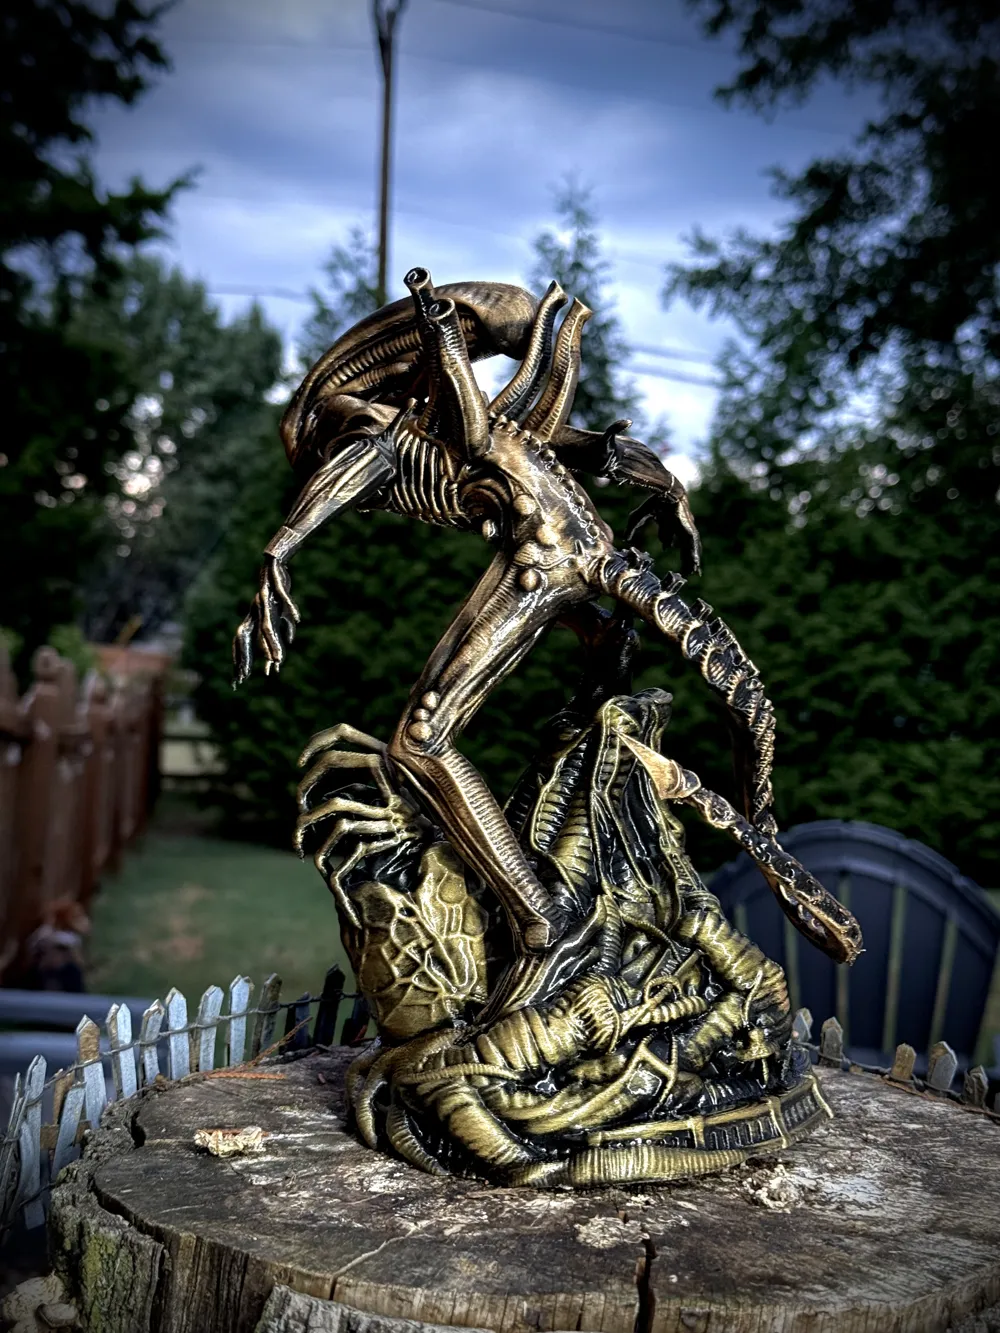
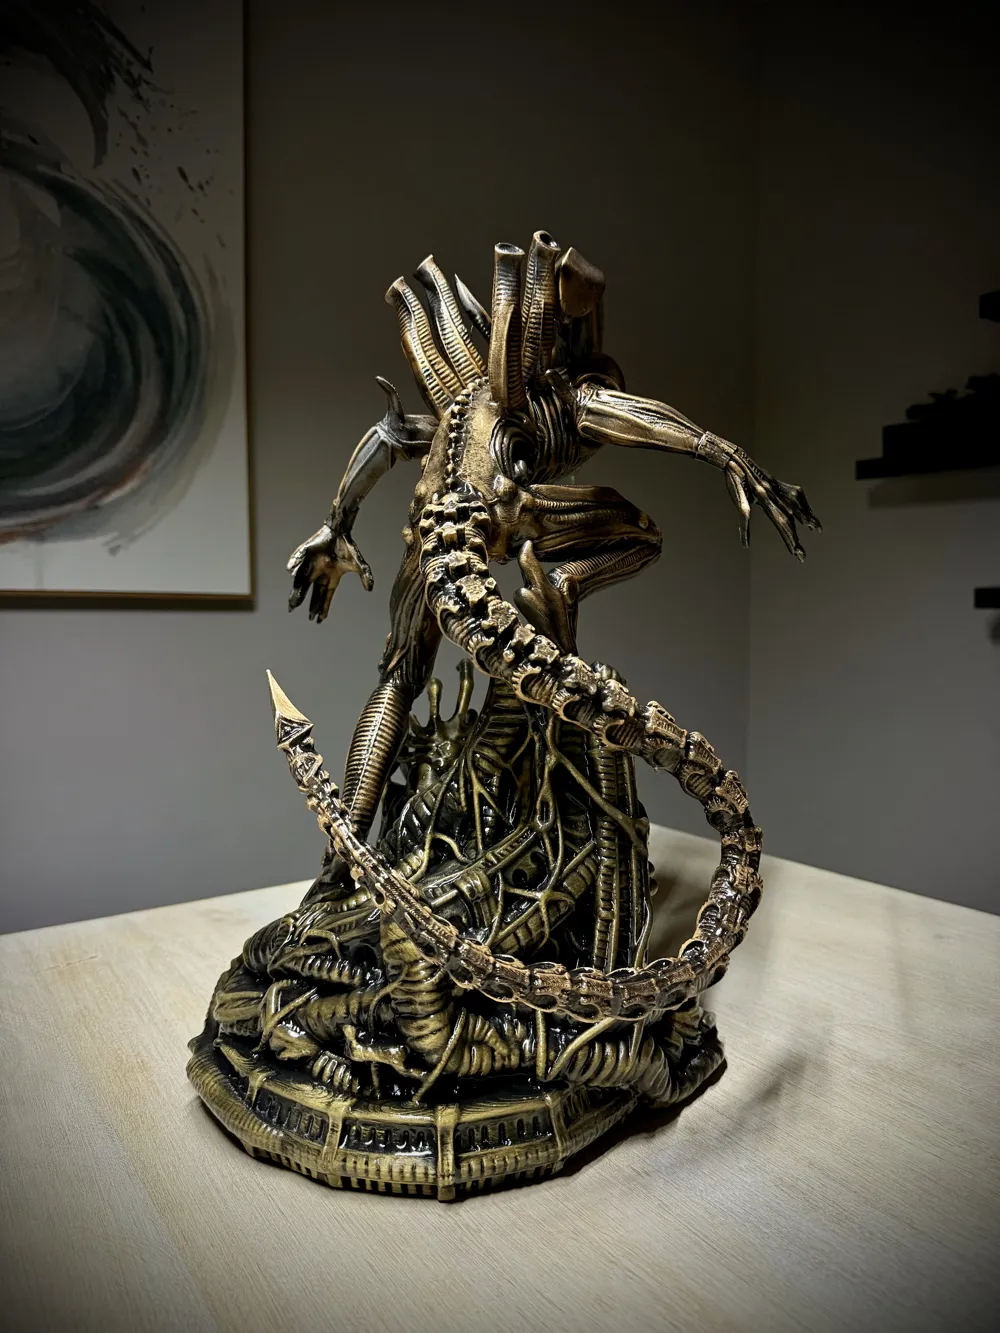
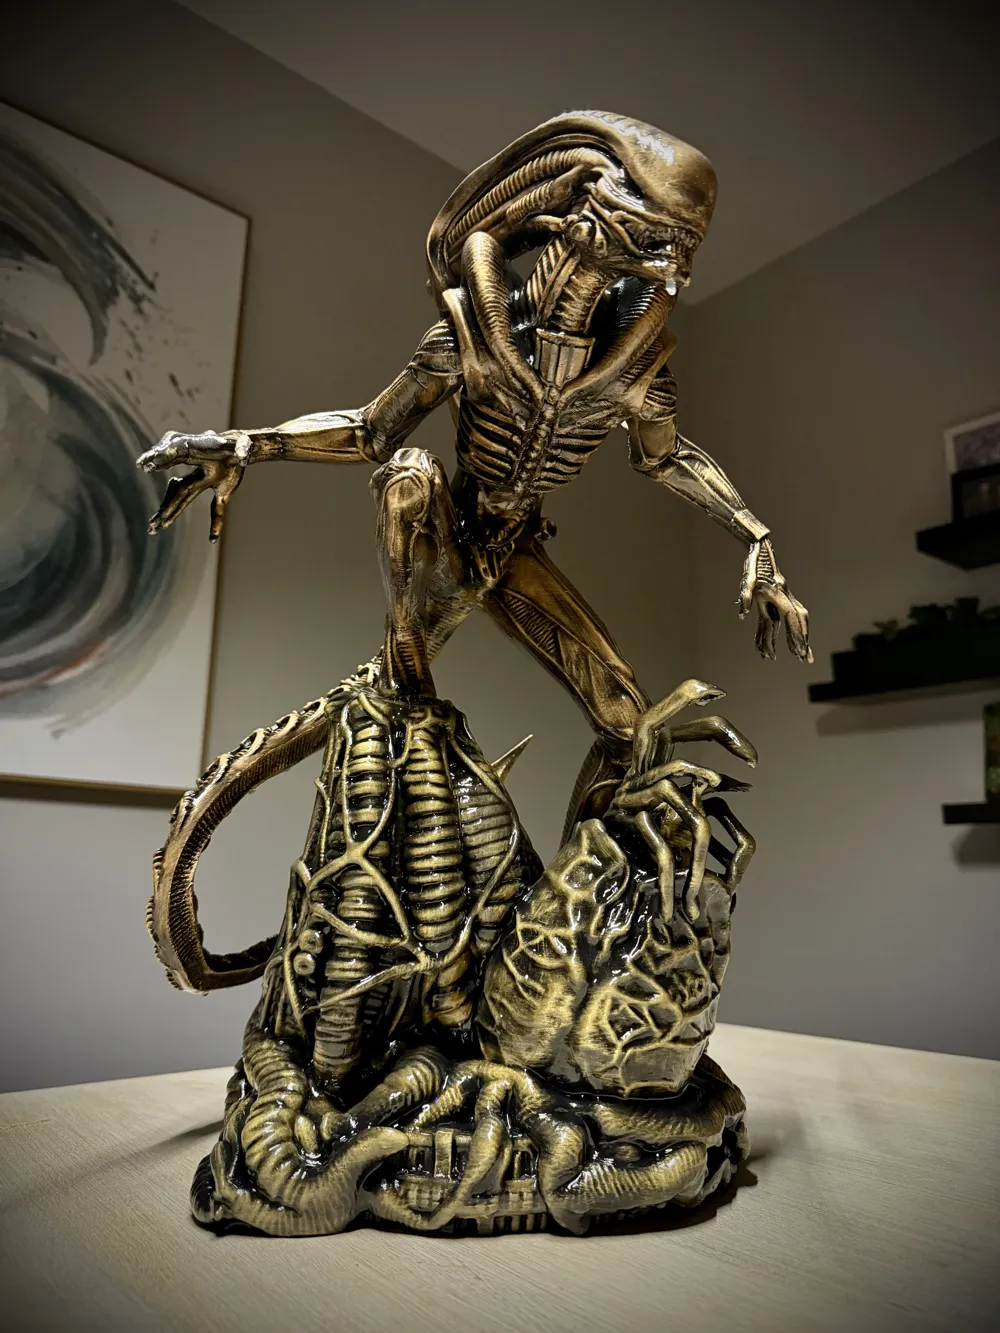
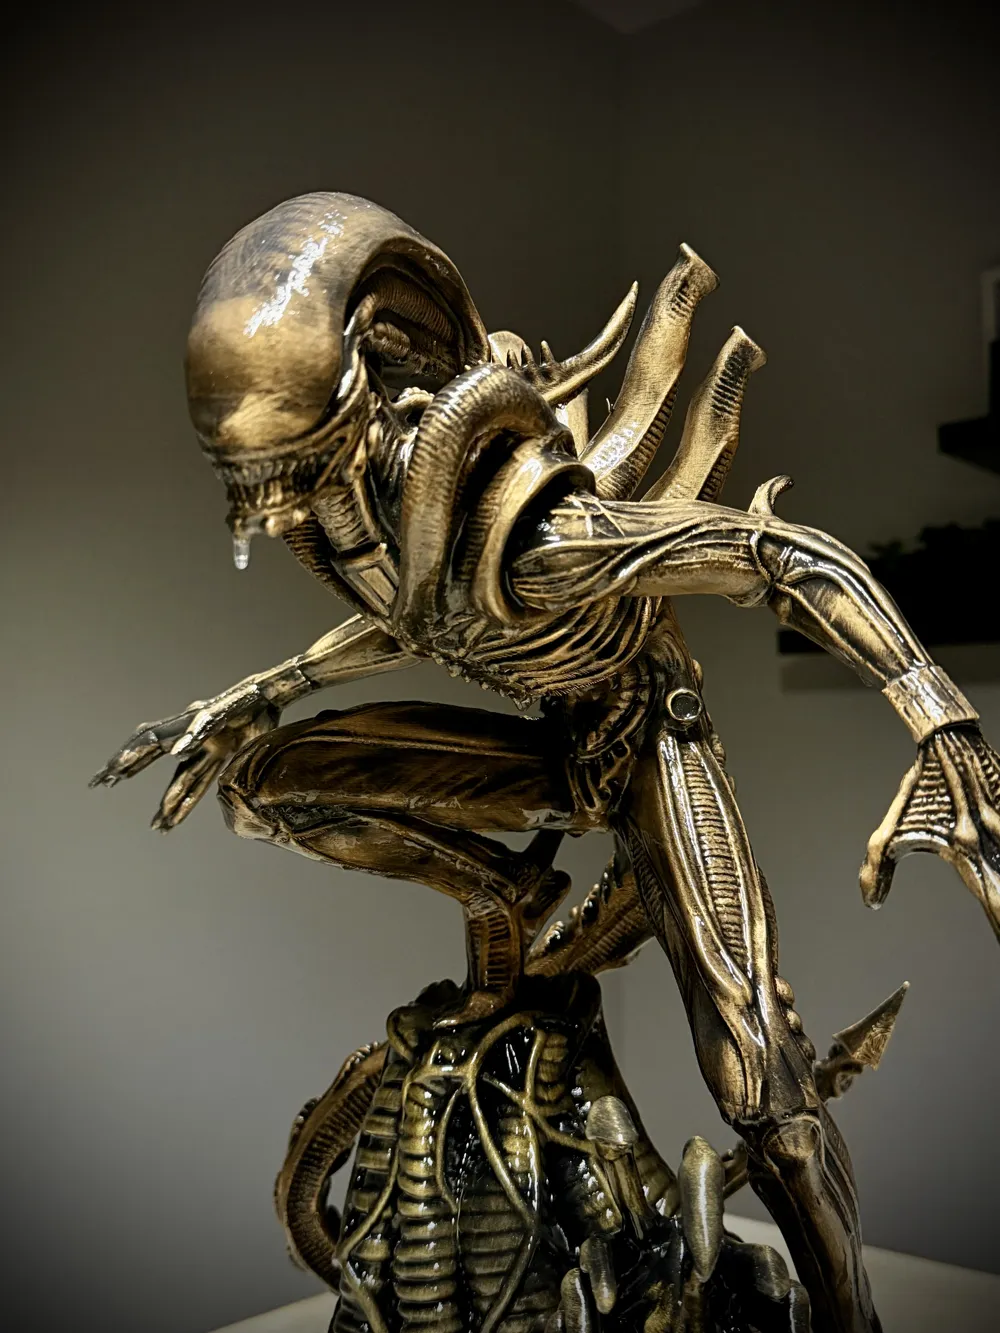
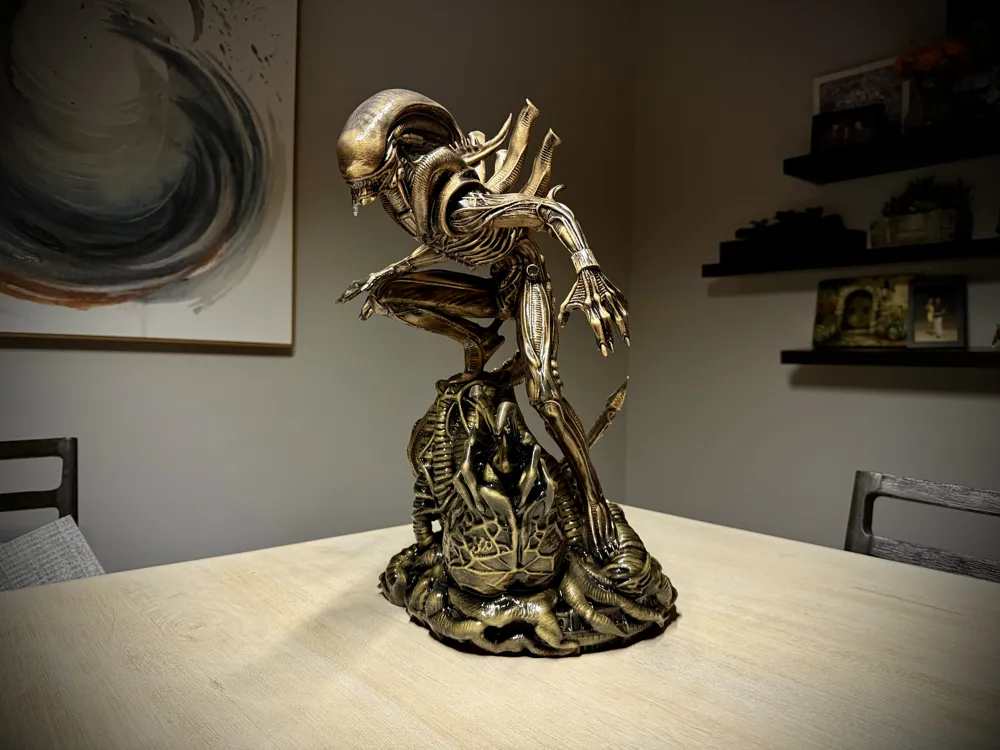
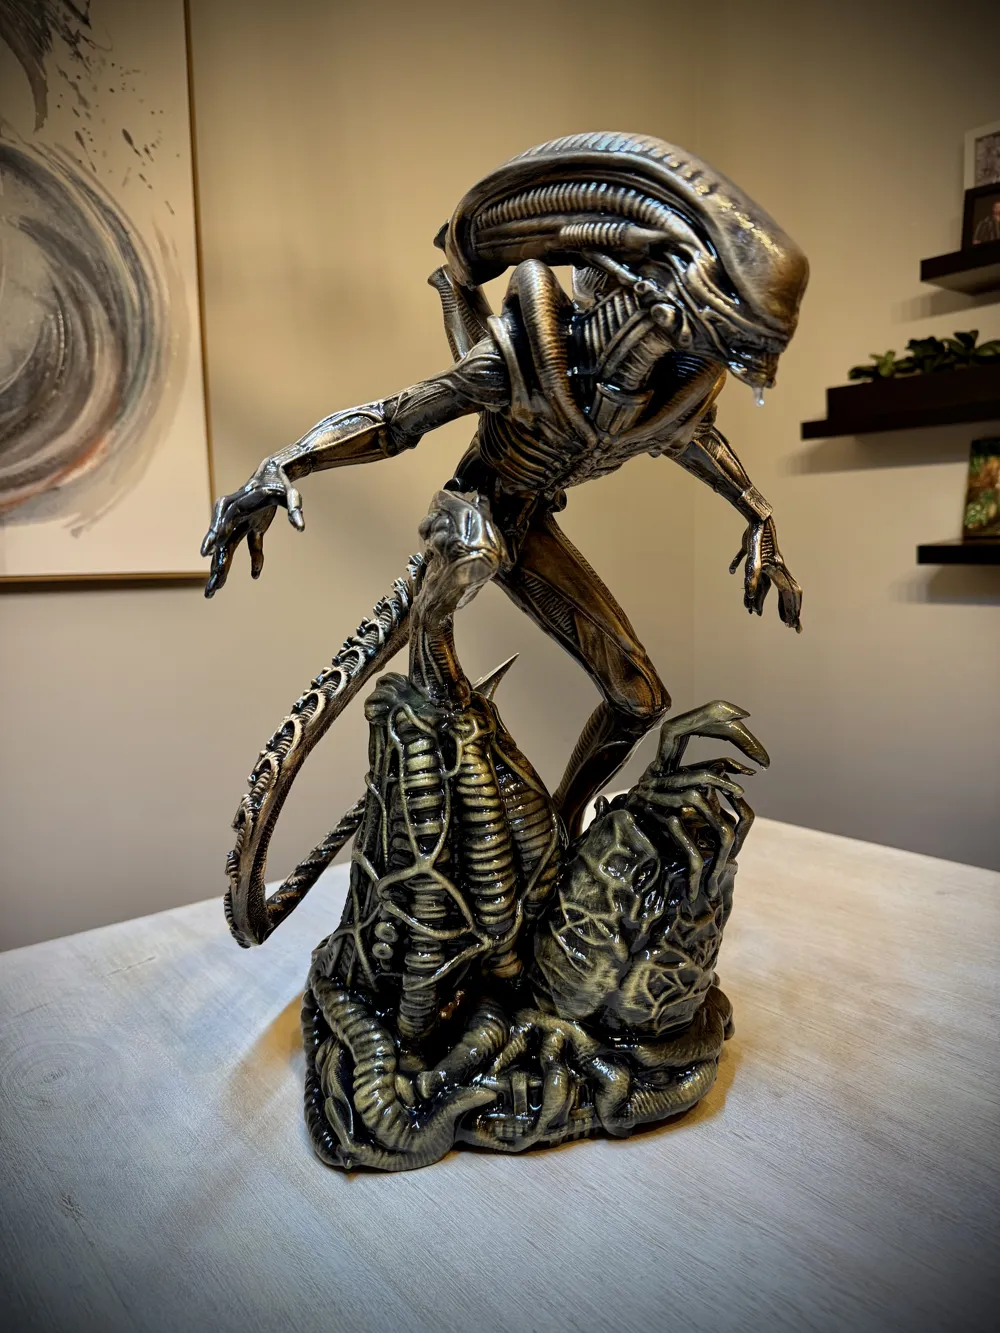
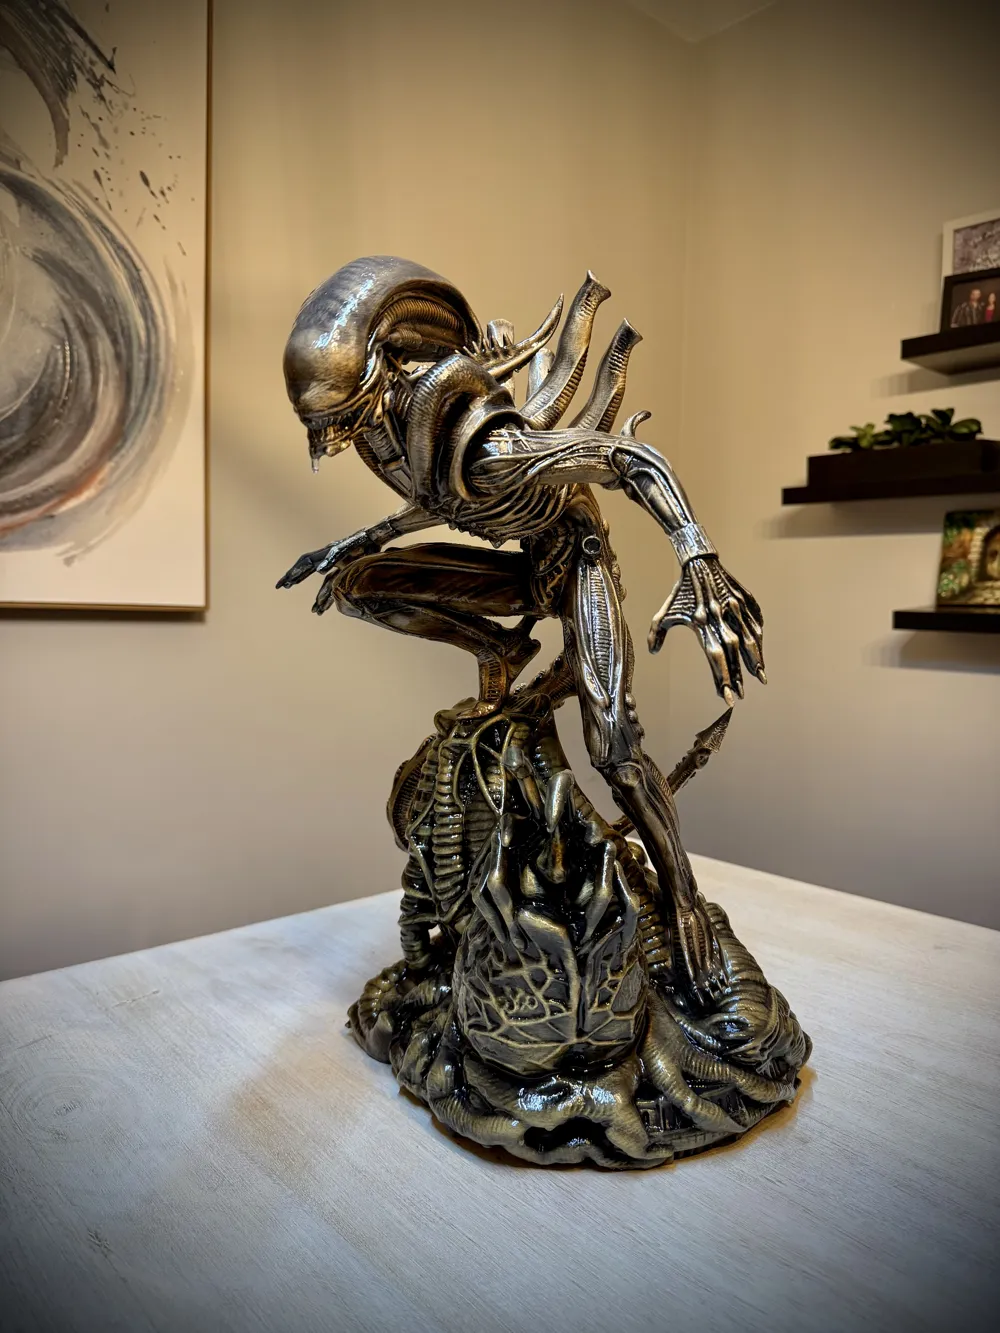
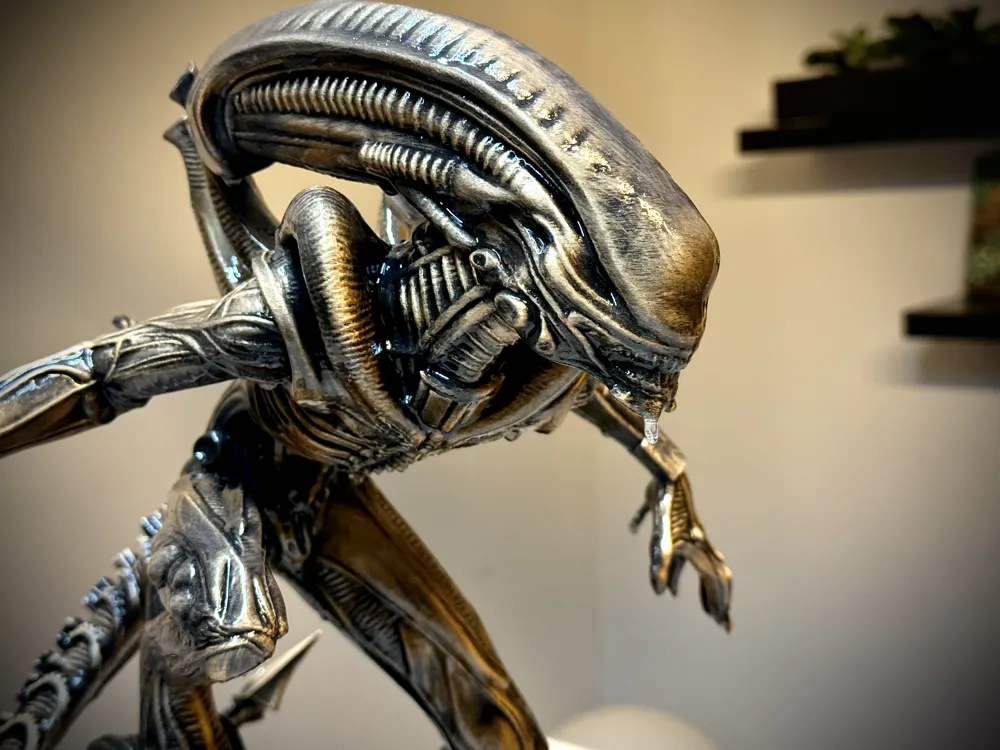
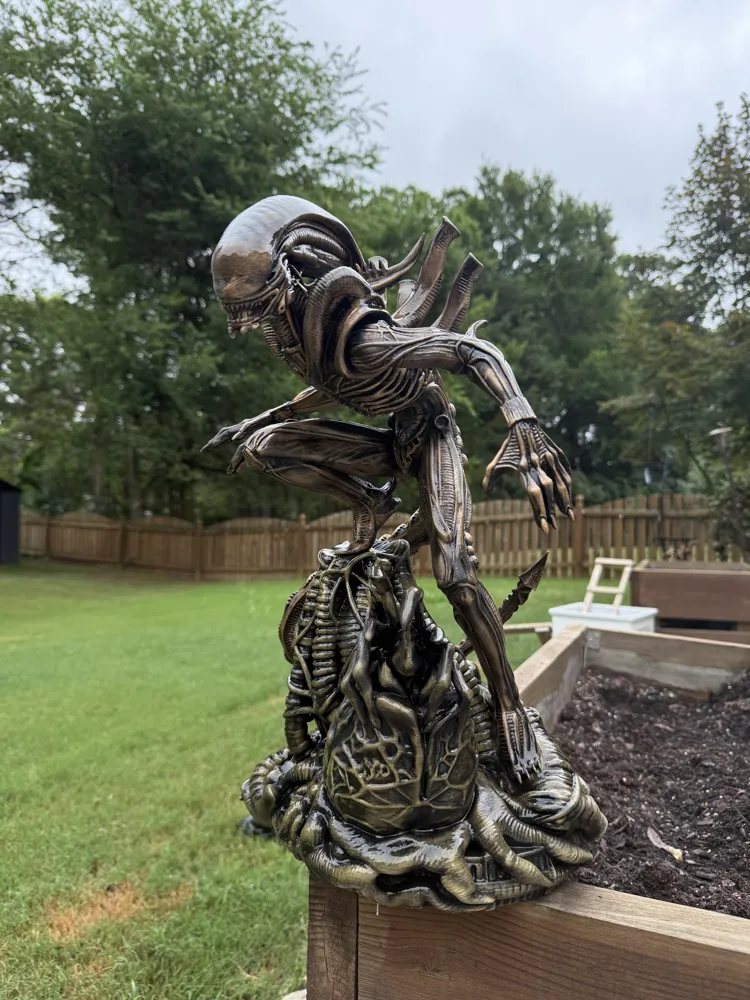
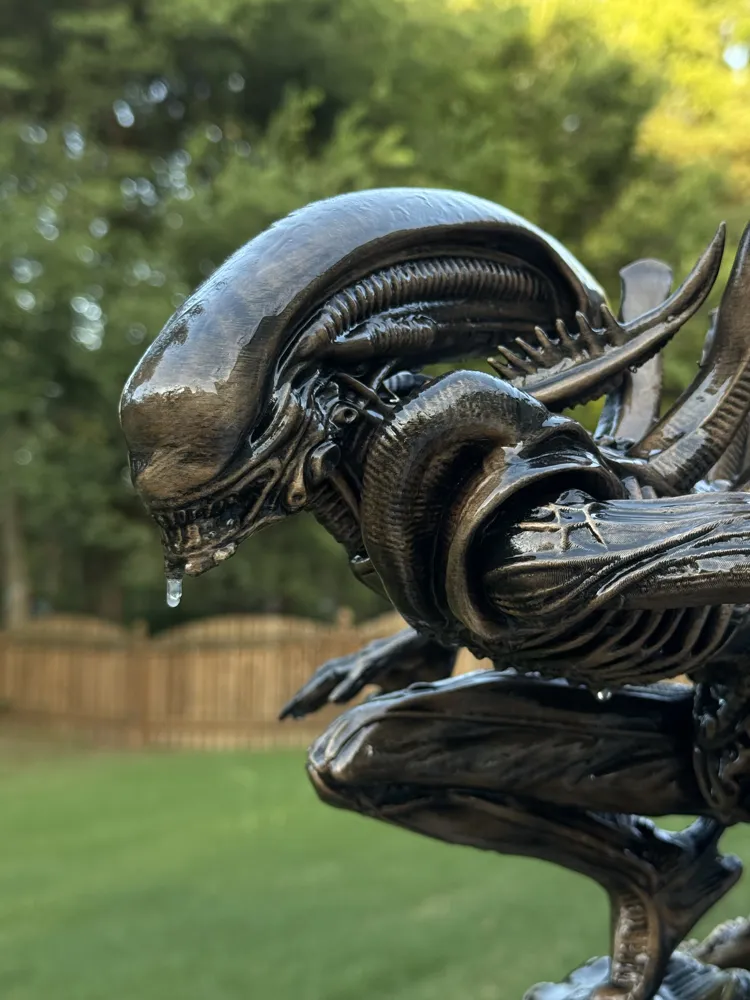
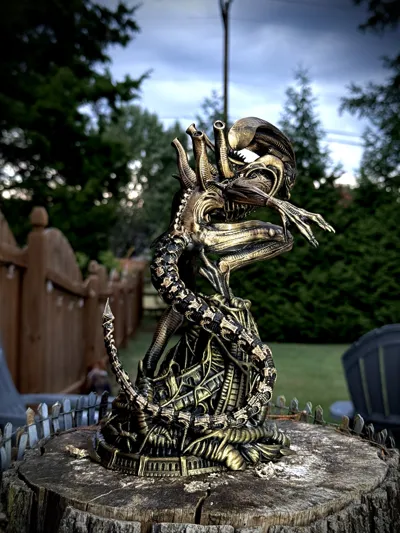
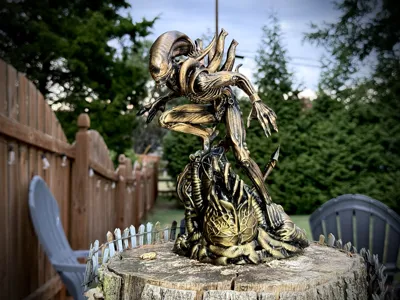
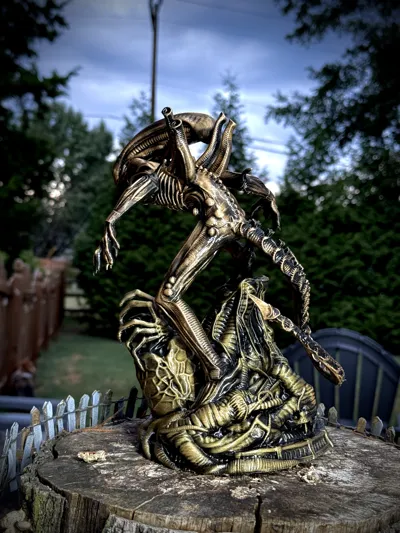
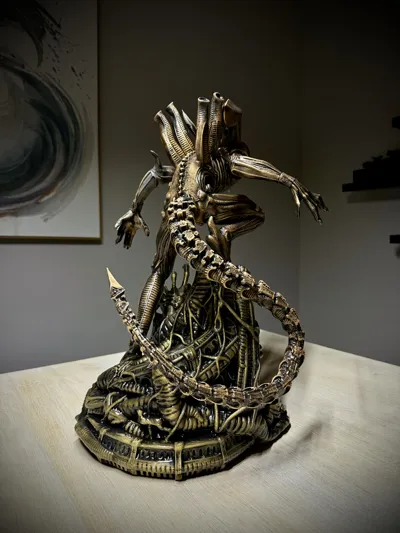
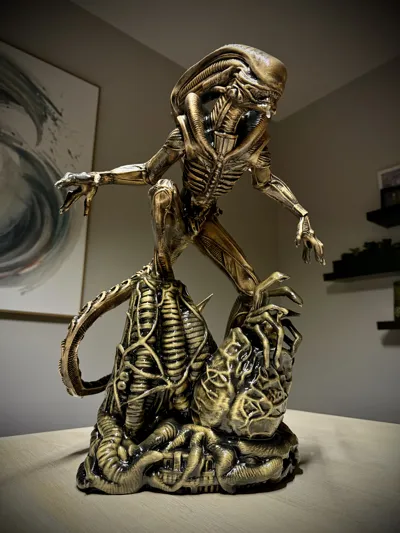
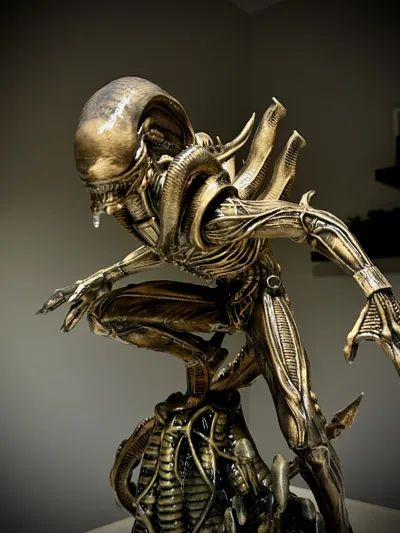
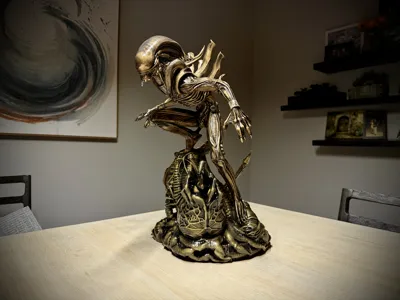
“Big Chap” (Alien) Ultra Detailed Sculpture
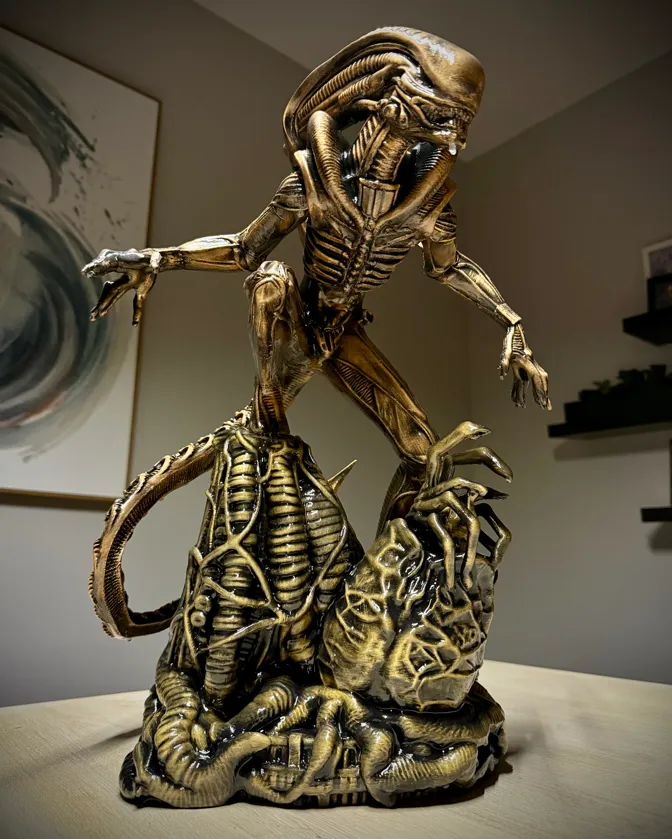
Staying on the recent Xenomorph Theme, here is another absoutley awesome, and highly detailed, “Big Chap” Xenomorph Sculpture!
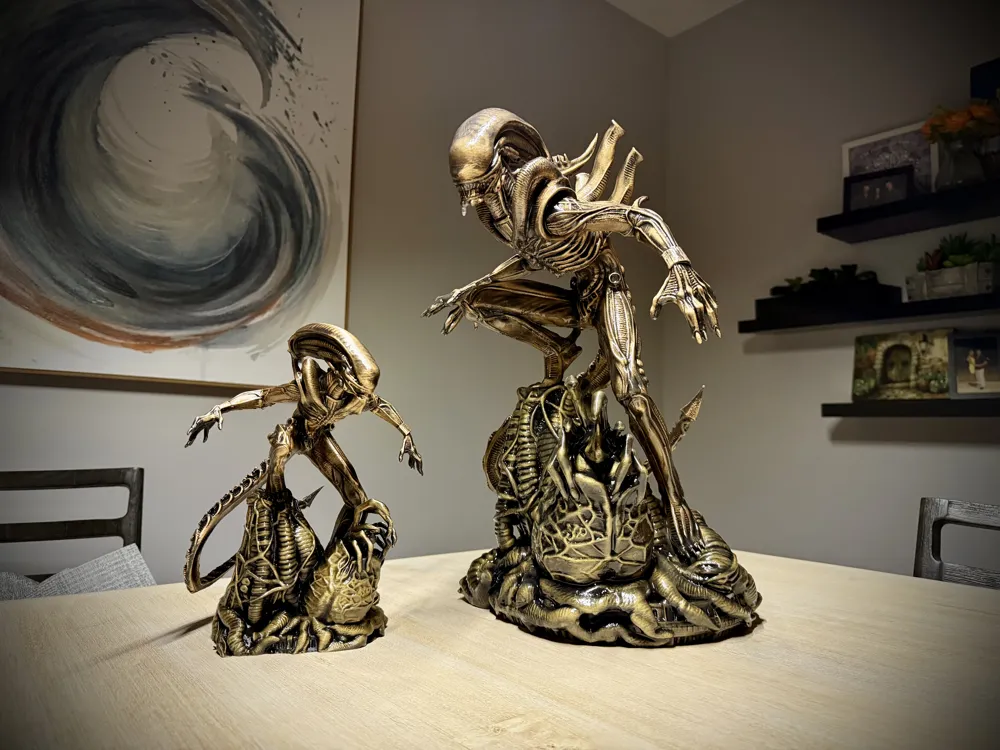
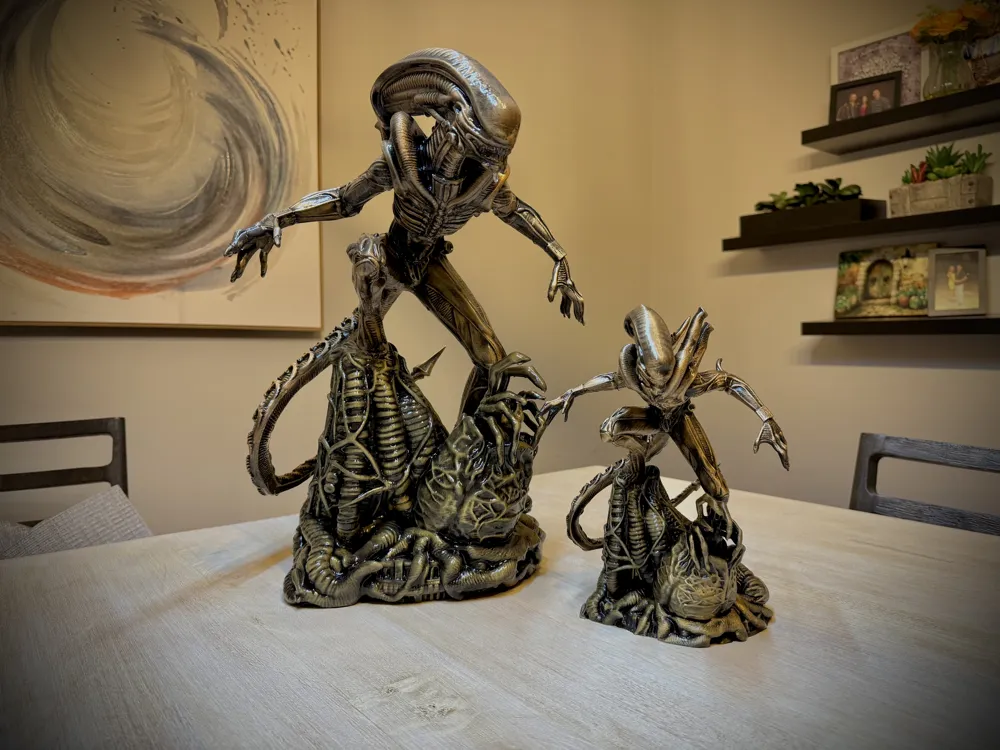
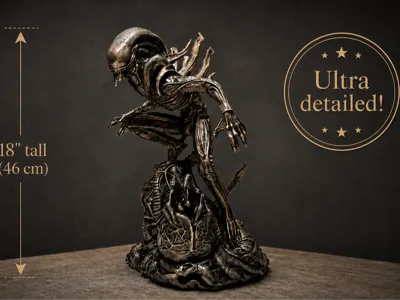
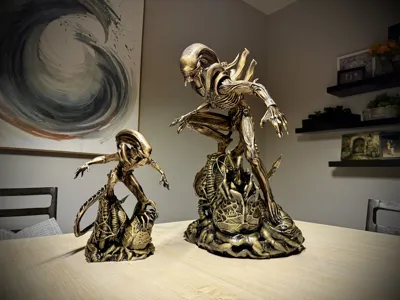
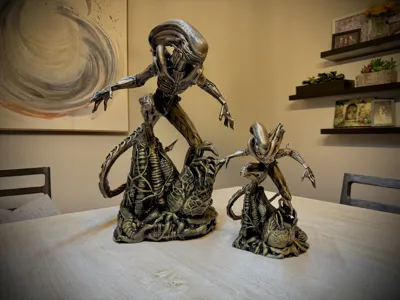
There are 2 size profiles being made available at the time of the model upload - 18" tall version as well as a 10" tall version.
Please note that the 19" tall version is printed in pieces, and is maximized in size to fit the P/X series printer beds. The 10" tall version is printed a simplified one-piece print. I should know that I have printed 6 different size variants and will note that you can easily scale this between 10" and 19" tall models.
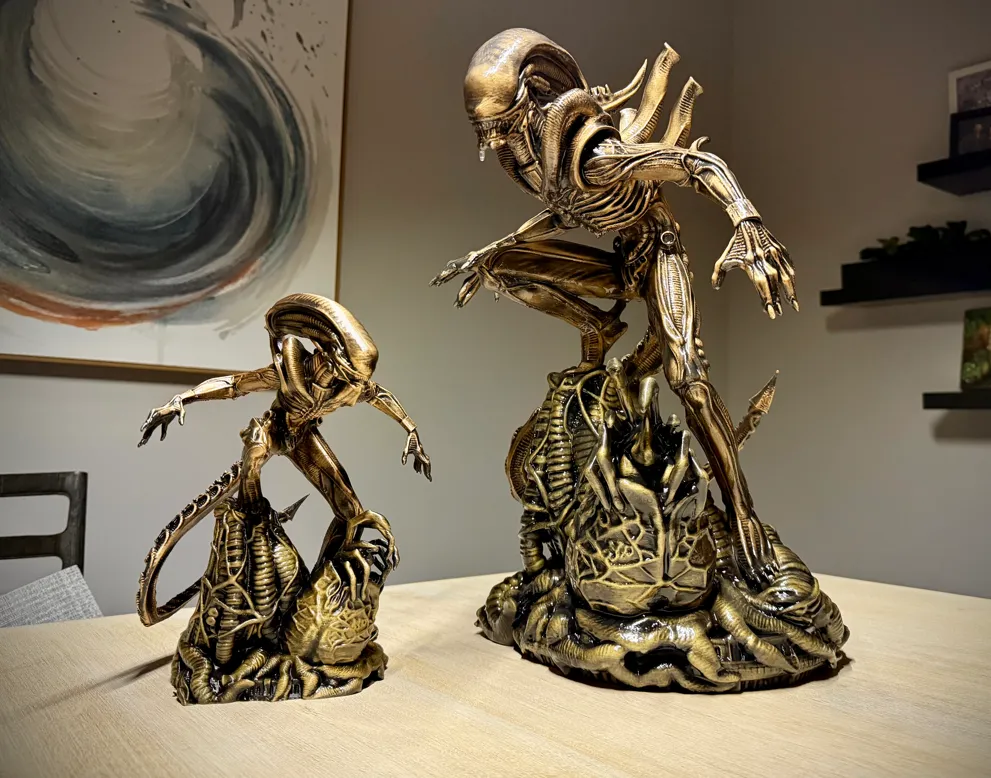
**Please be aware that the print times are lengthy. I had 4 machines running test prints none stop. I promise though, it is worth it at the end.
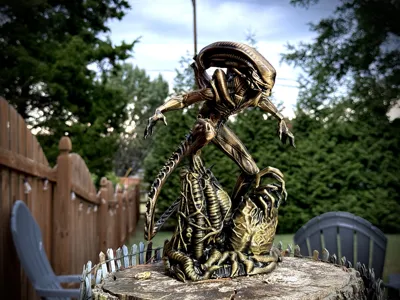
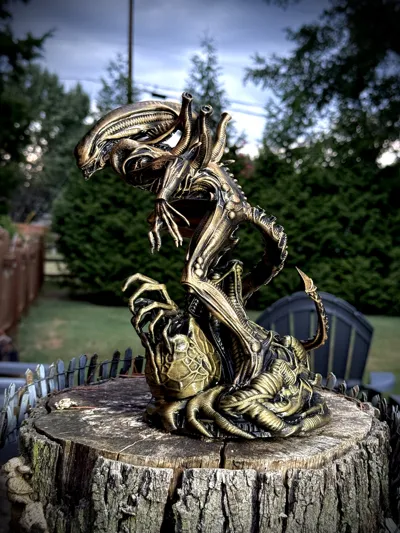
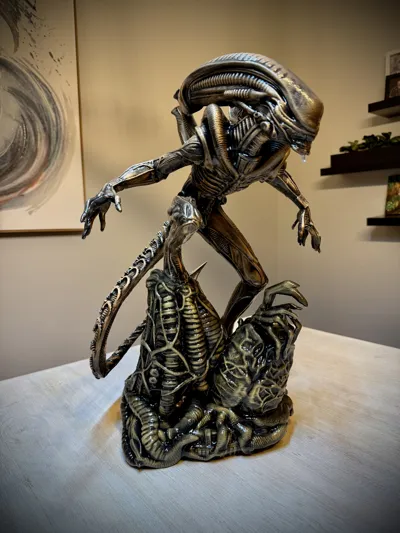
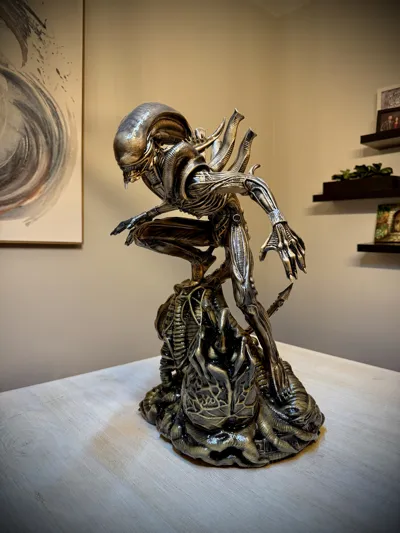
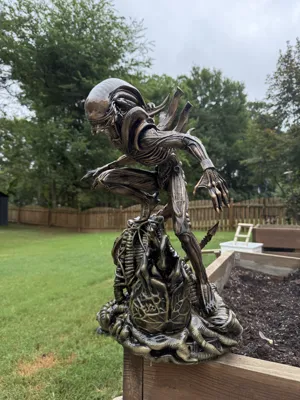
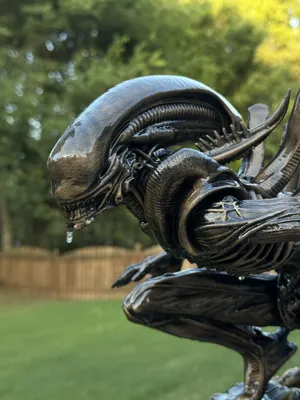
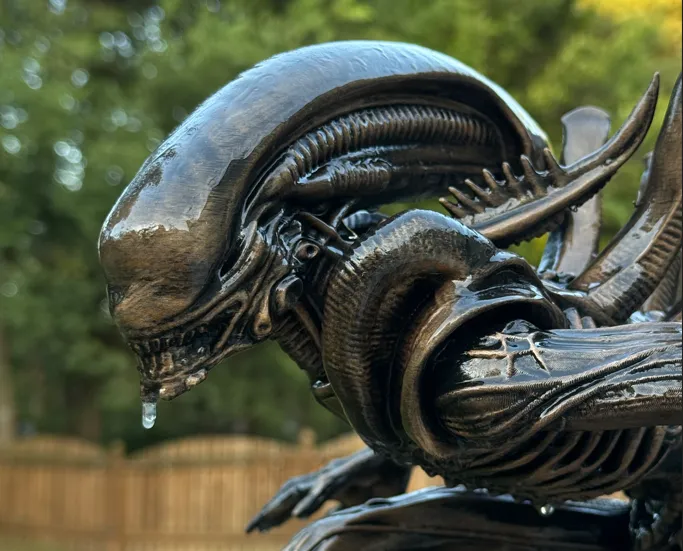
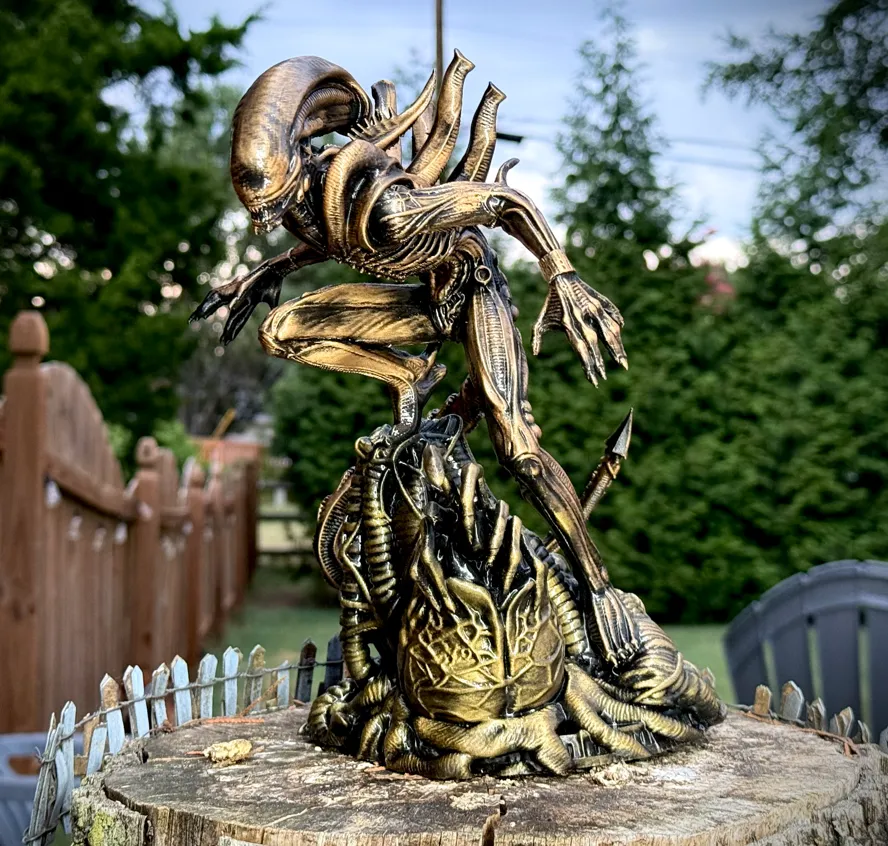
**Please also be aware that the model images you see are 100% real, with 0 use of AI, but they have been post-process colored using some Rub'n Buff waxes, 2-part epoxy resin, and then some gloss clear coat layer application at the end.
ASSEMBLY REQUIRED **
Discard the small round cylinder that prints on the 2nd plate with the arms and foot. It is an uneeded part that was a result of slicing the model in the studio*
The 19" tall, multipiece print will require some glue. I have used both super glue, as well as hot glue. Hot glue was my preference.
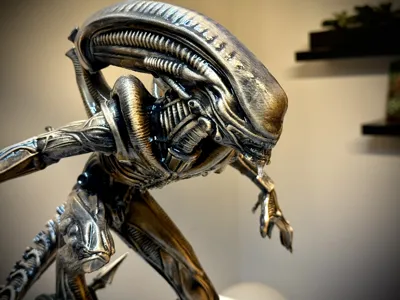
With all the parts printed, and supports cleaned up (TAKE YOUR TIME REMOVING THE SUPPORTS AS THE PARTS ARE HIGHLY DETAILED AND FRAGILE) do a dry-fit of all the parts to ensure proper fitment. You may need to file down some pieces if they do not fit. All 4 of my models went together with no issues, but different printers/filaments may have some tolerance issues.
With the Dry fitting completed, if you are satisfied with the fitment you can take the piees apart and proceed to glue them together. As with the above test-fit process.
If you are planning to paint/apply color to the model I highly advise doing so with Xenomorph OFF of the base.
For final assembly, apply some glue to the foot mounting pegs and firmly place the model on to the base.
COLOR APPLICATION
I used a very straightforward process for my coloring via application of some Rub'n Buff Antique Gold wax for the Xenomorph, and Brass color for the base. Wear gloves and apply the wax to a towel and gently go over the details. Avoid pressing really hard so that the void remain black/dark, this helps with final contrast of the model.
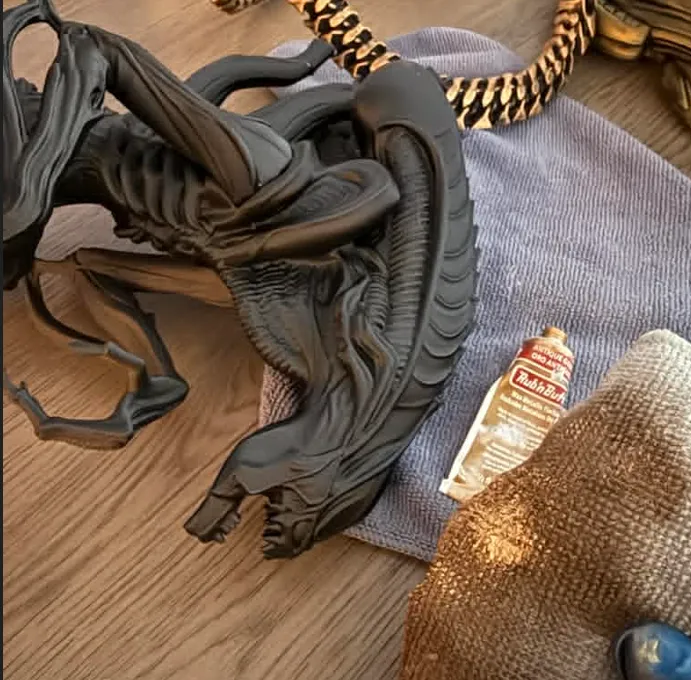
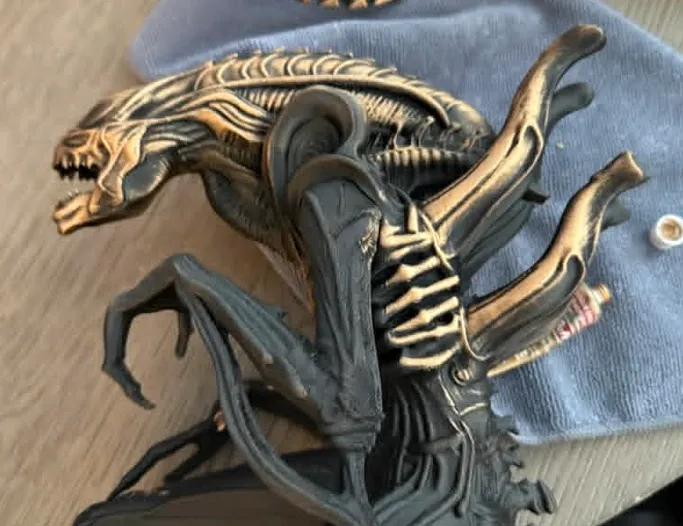
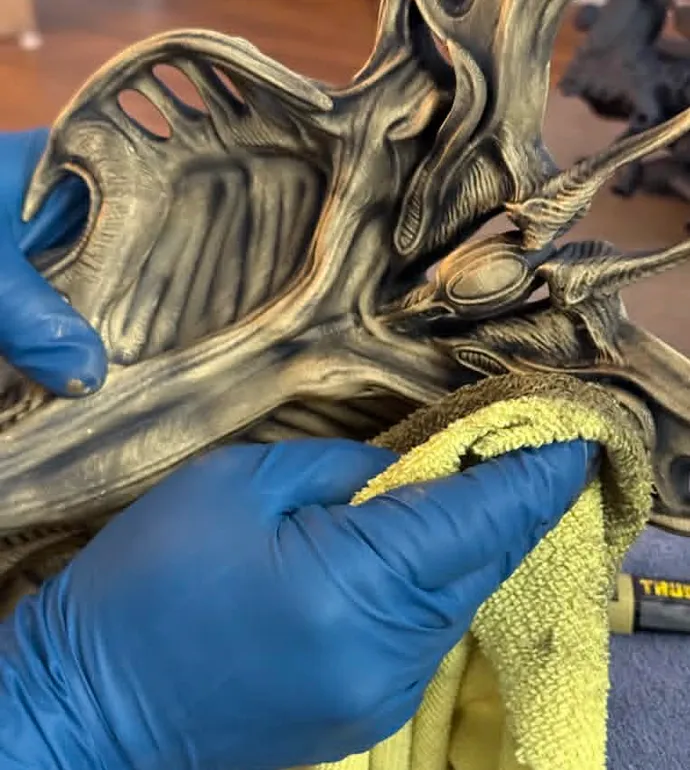
As you can tell from these two photos the difference between the plain model and the colored one is pretty phenomenal and I HIGHLY recommend going through the effort!
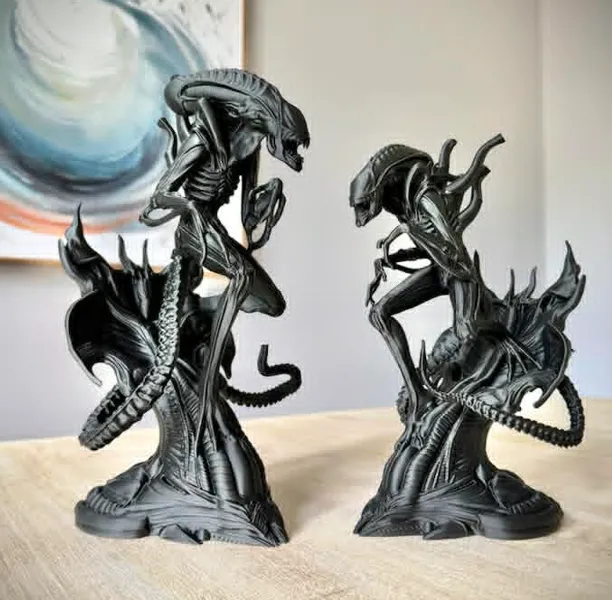
Thank you for visiting my page and taking the time to print my models. Your support is truly appreciated. I never expected to have so many people following me and fueling my passion for creating the models that I create!
License

You shall not share, sub-license, sell, rent, host, transfer, or distribute in any way the digital or 3D printed versions of this object, nor any other derivative work of this object in its digital or physical format (including - but not limited to - remixes of this object, and hosting on other digital platforms). The objects may not be used without permission in any way whatsoever in which you charge money, or collect fees.


Comment & Rating (18)