
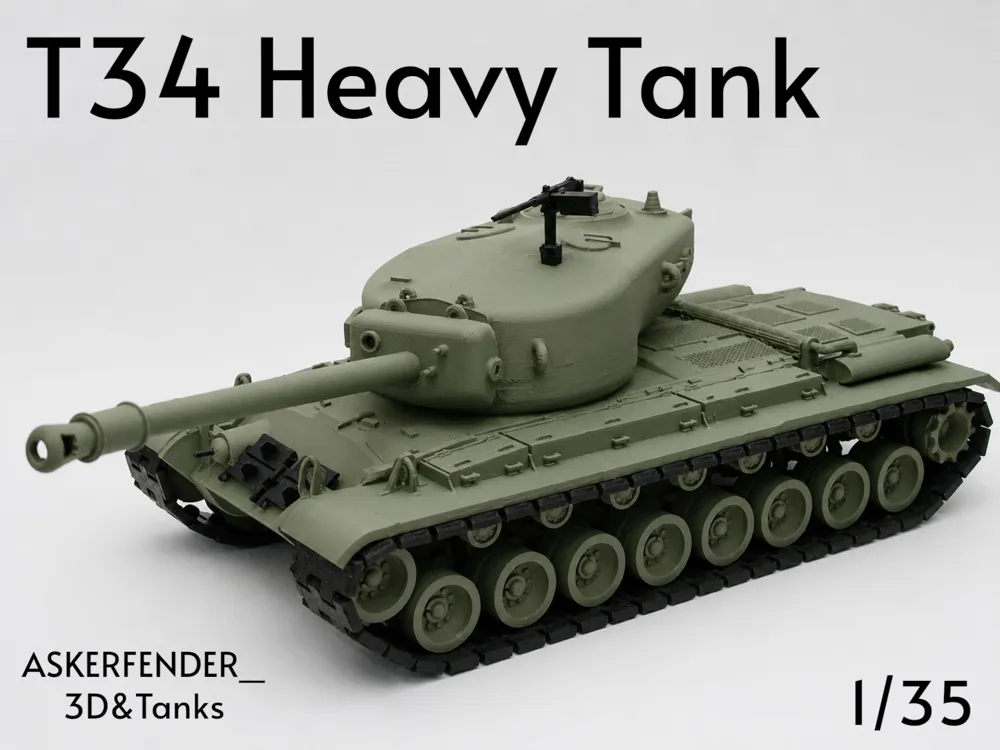
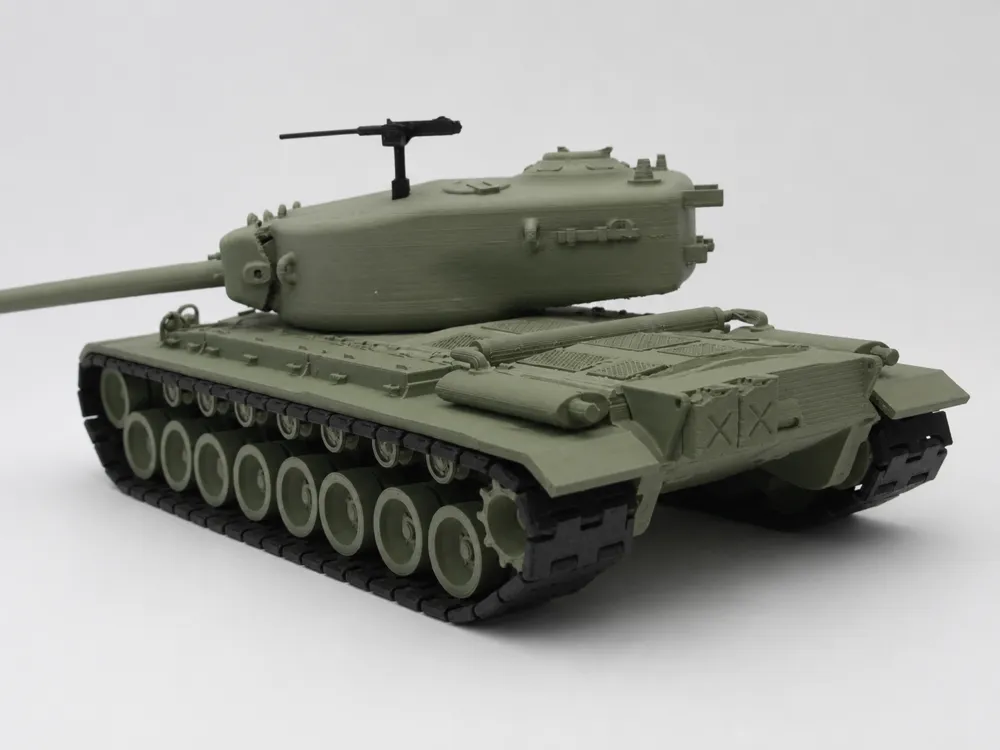
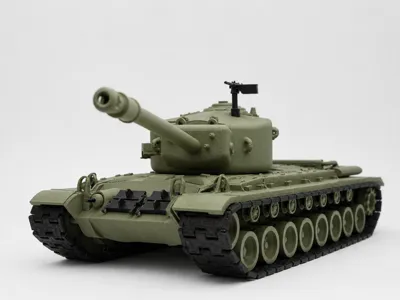
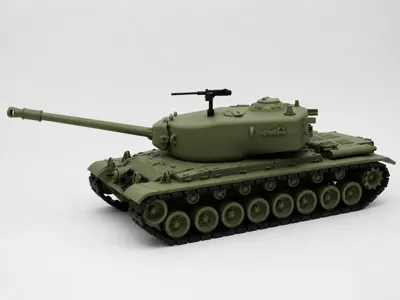
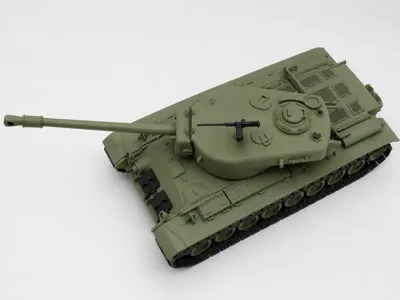
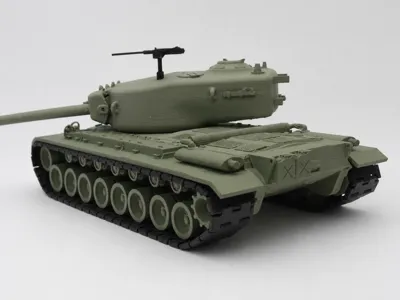
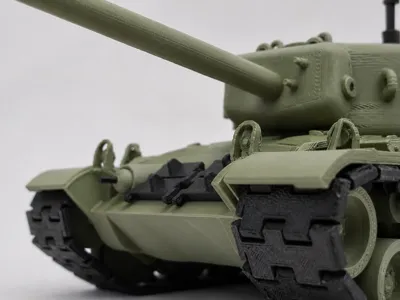
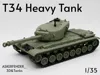
T34 Heavy Tank 1/35 Model
Print Profile(2)

Description
If you like what i do please consider sharing or support me! this is a hobby and your help and support would be really appreciated! ❤️😊
Boost Me (for free)
If you want to support the making of more models and greater quality, supporting is the best you can do! Follow me for better models in the future!
The Design:
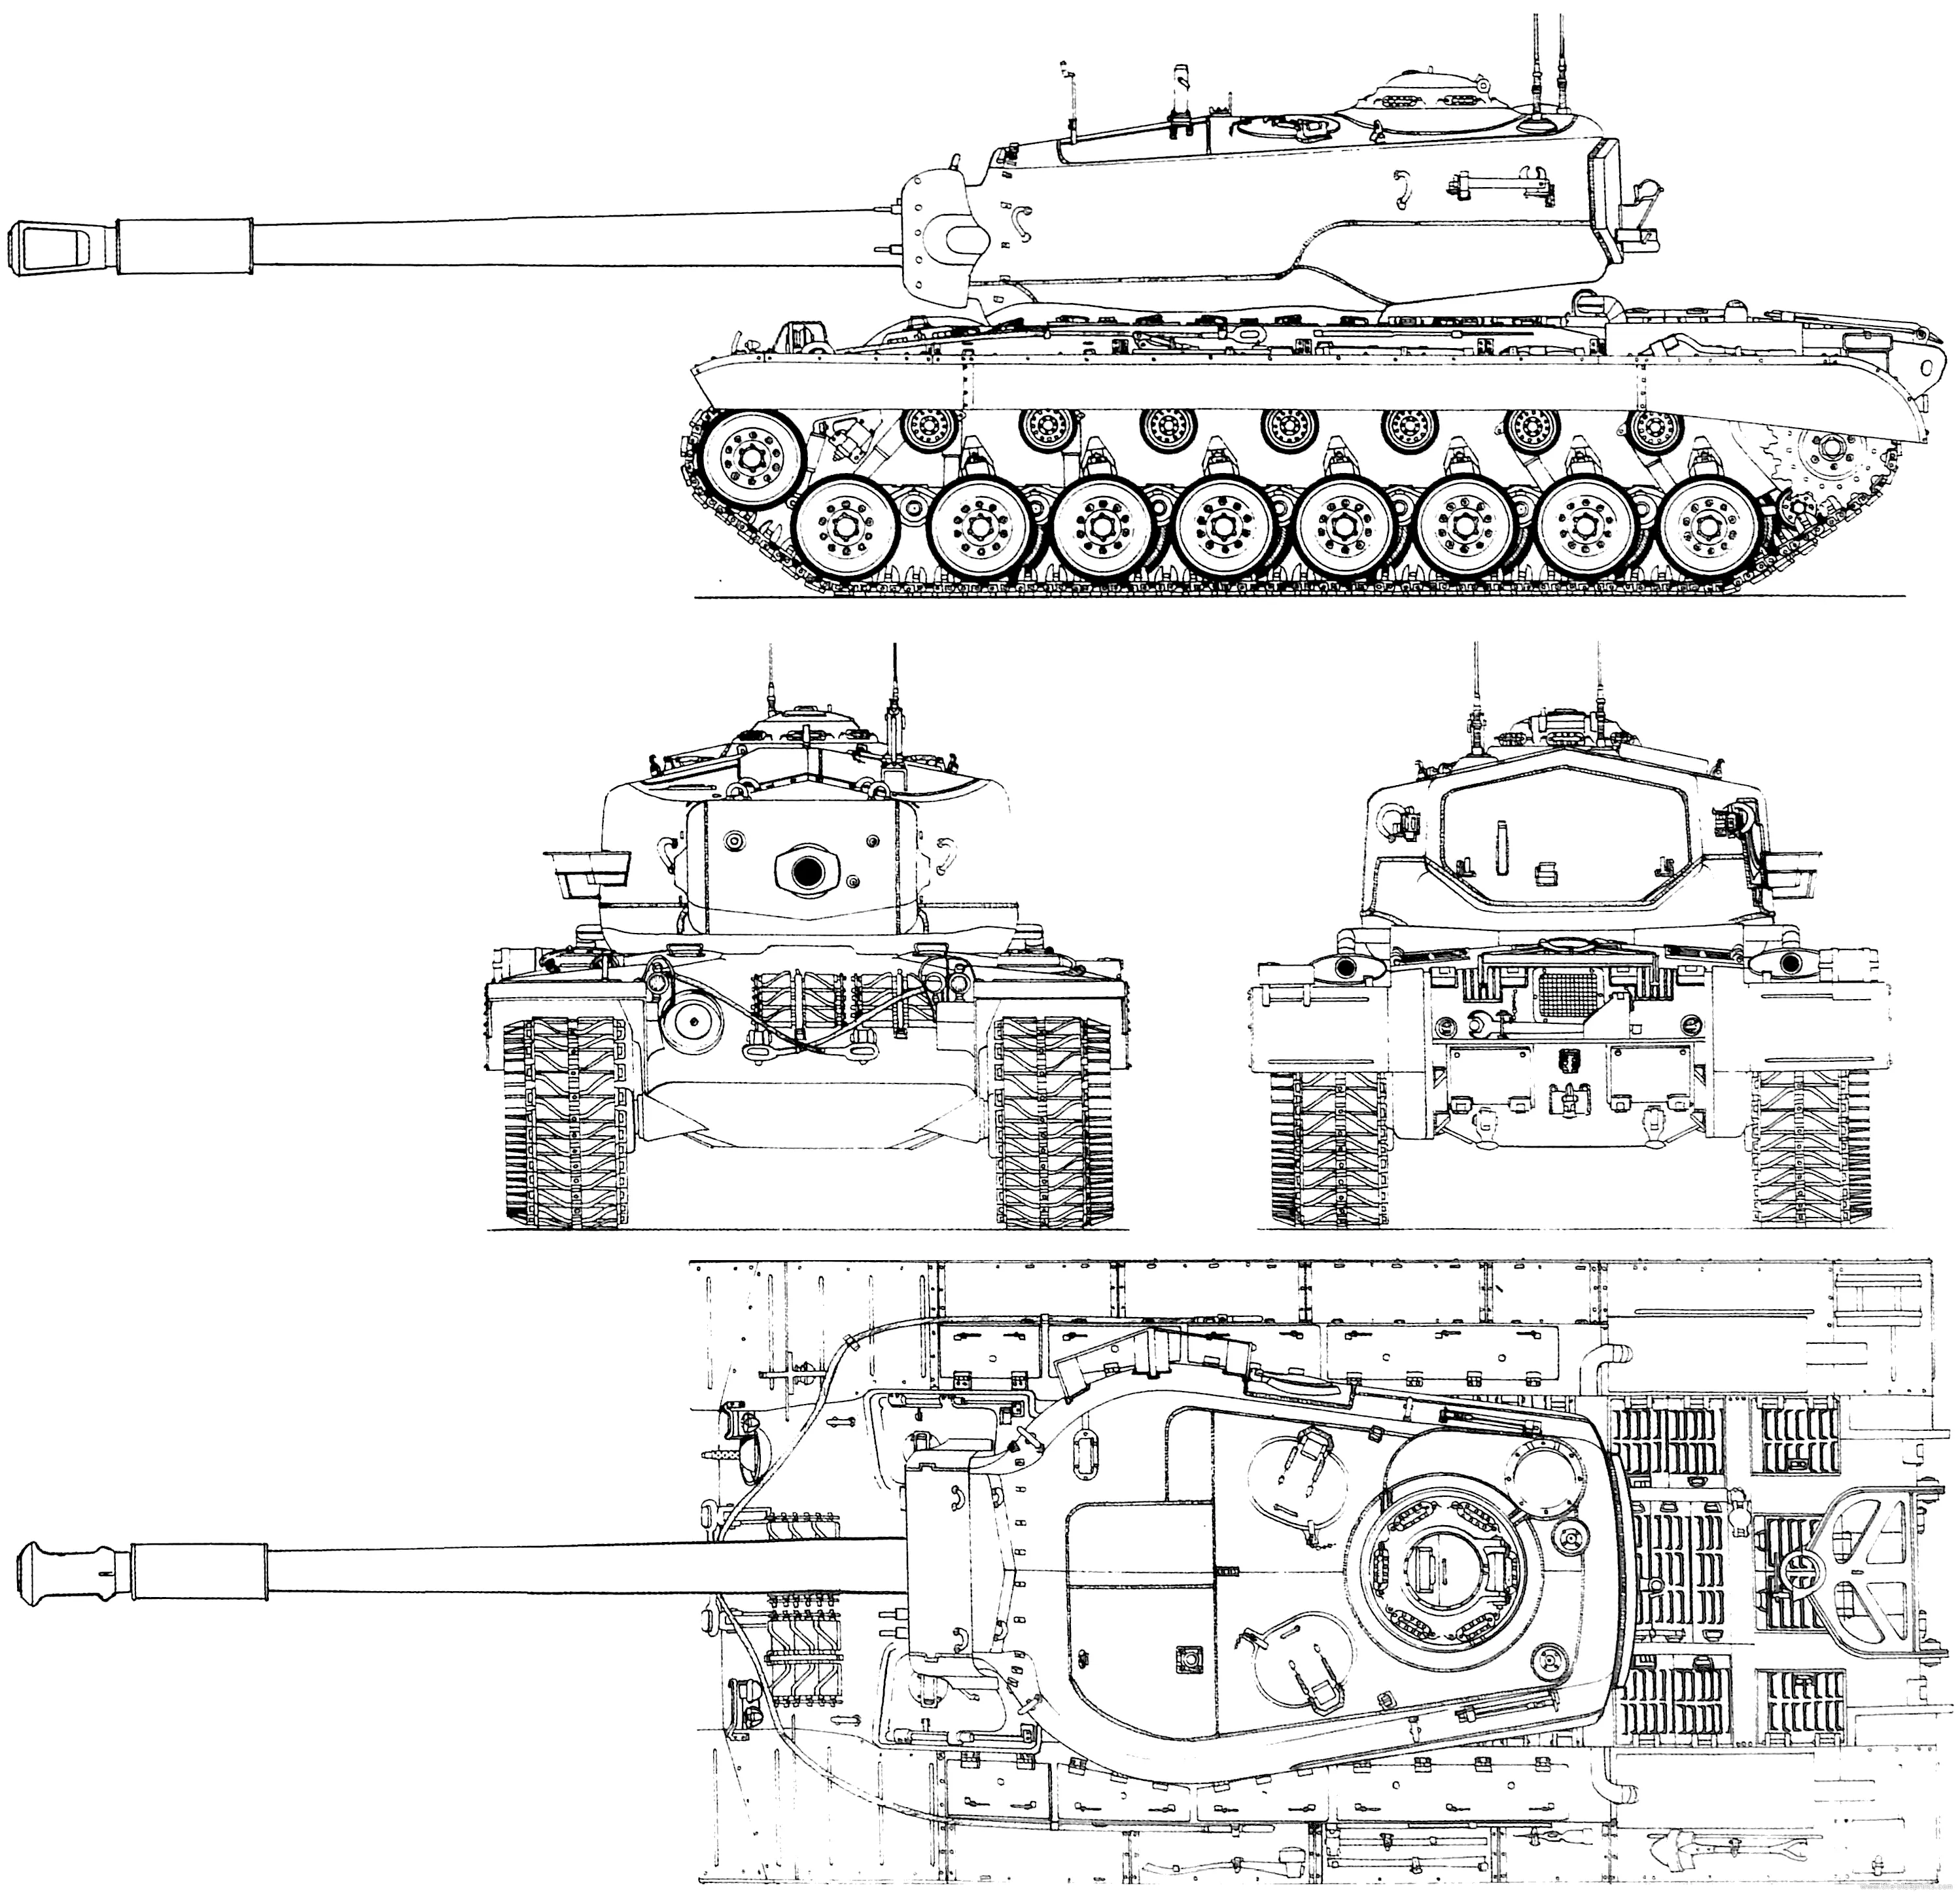
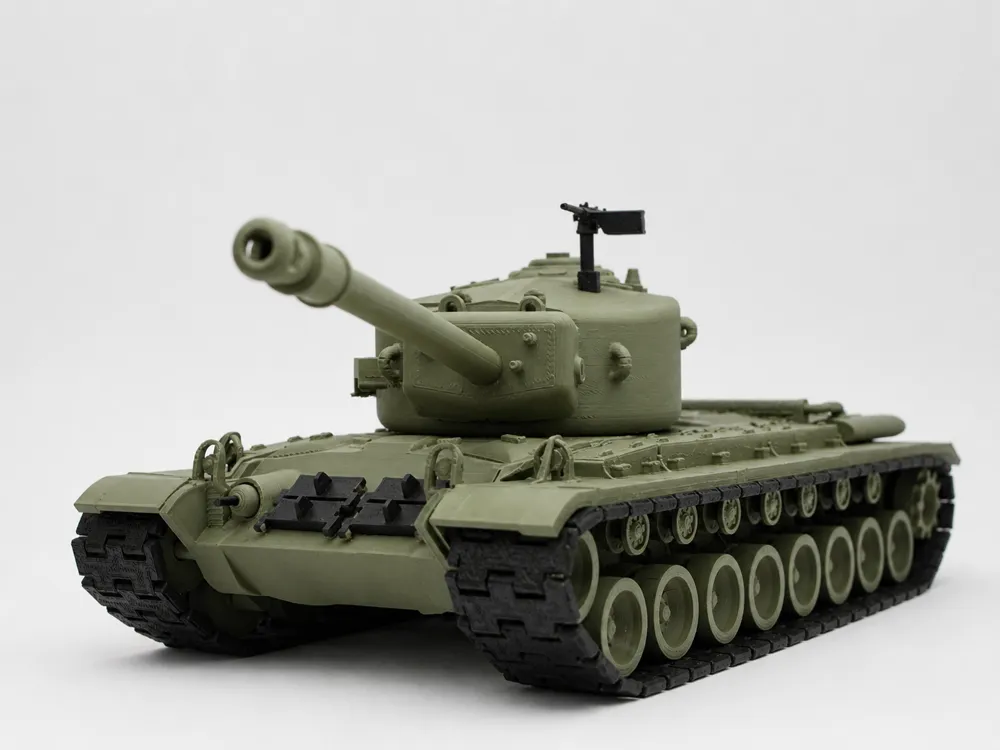
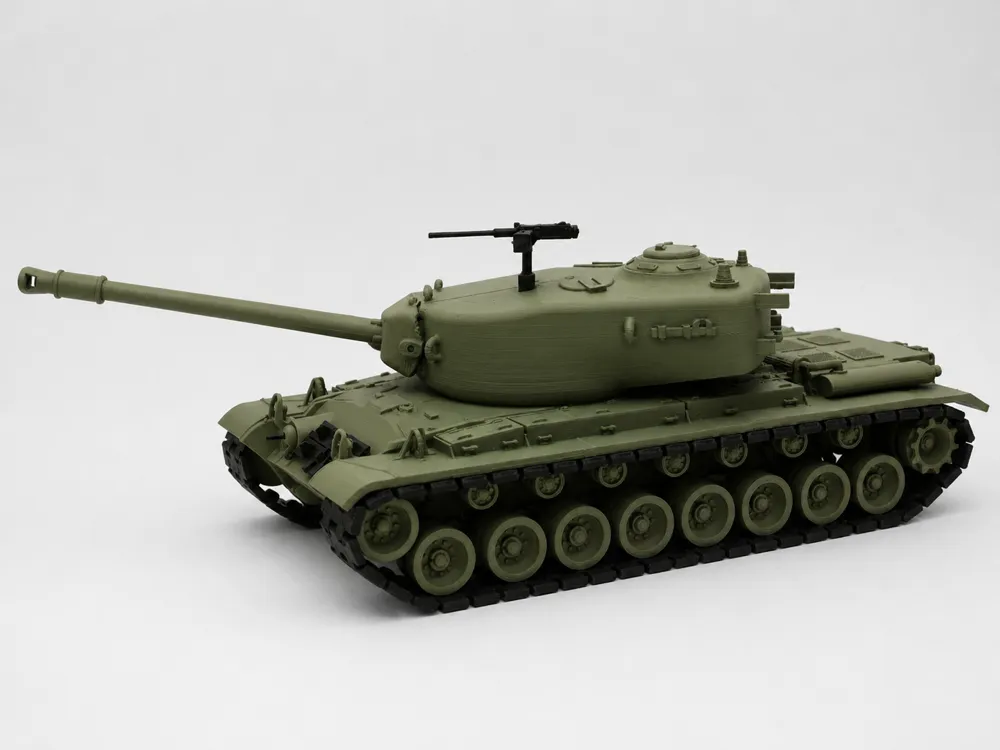
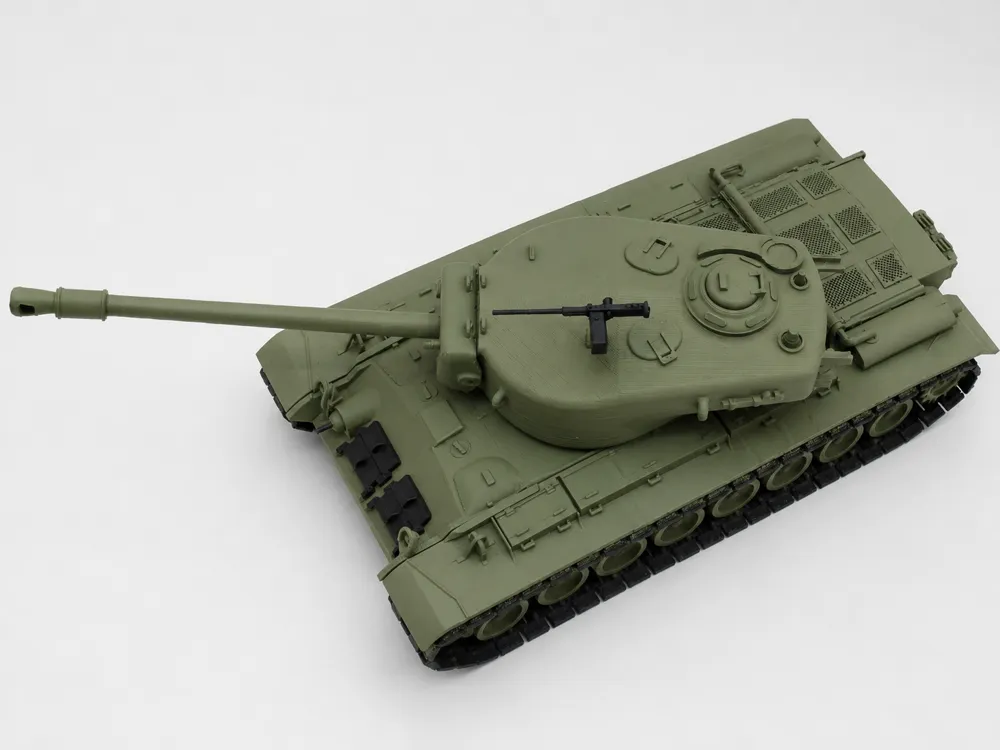
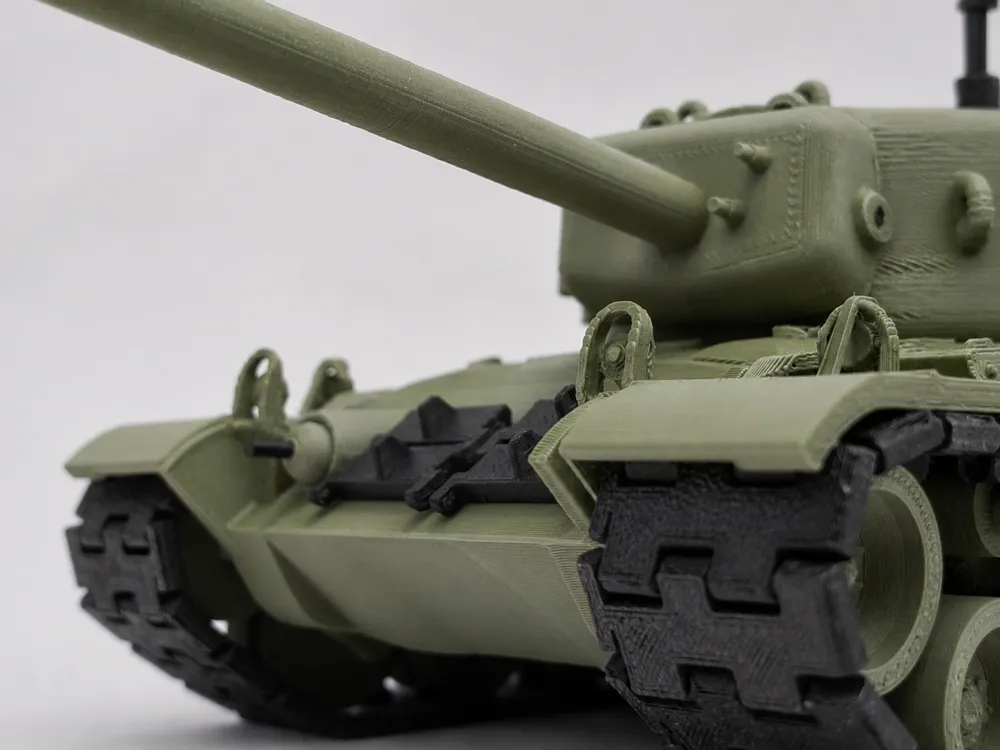
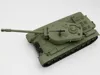
This tank was made from cero using Onshape, The tank parts are all based on their real counterparts using web files as blueprints, models, and photos. The T34 American heavy was a long and complicated project, requiring multiple reprints and a complex suspension geometry, along with a strange turret shape, thus tank was a challenge.
Historical Note:
The T34 Heavy Tank was an American heavy tank prototype developed near the end of World War II. It was based on the T29 Heavy Tank chassis but replaced its 105 mm gun with a more powerful 120 mm T53 cannon, originally adapted from an anti-aircraft gun. Designed to defeat heavily armored enemy vehicles at long range, the T34 demonstrated impressive firepower but was never mass-produced, as the war ended before it could enter service and military priorities shifted toward newer tank designs. Based on the M26 Pershing, the T34 was part of the experimentation program for heavy tanks in the US until 1950.
__________________________________
PRINTING:
Filament: PLA. Using others may generate issues.
Slicer: I recommend using the default profile.
Print Bed: Wash if necessary, then dry thoroughly for good adhesion. For small parts, apply a glue stick.
Temperature: keep your room above 20°C (68°F) to prevent issues, especially if you use an open frame printer.
___________________________________
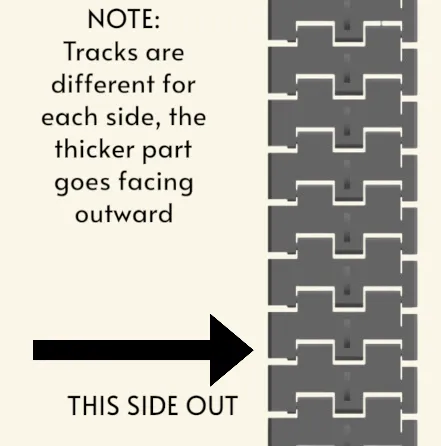
ASSAMBLY:
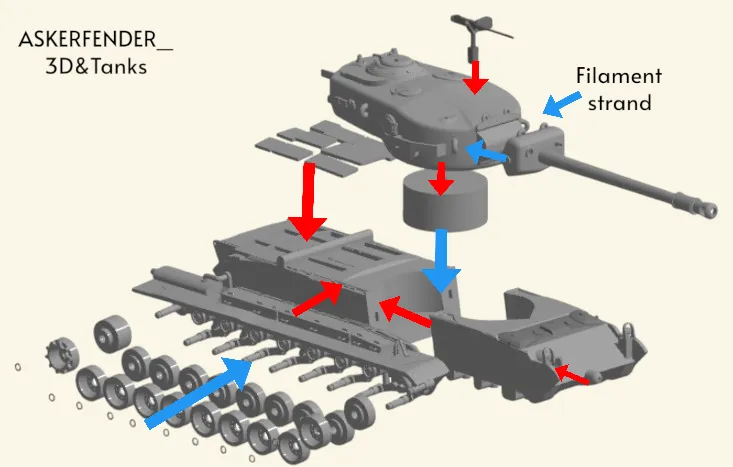
Red lines indicate glue
Blue lines are moving parts, no glue.
You will need a short filament strand to install the cannon. and for the coaxial machine gun.
__________________________________________________
Need Help?
Don't doubt on commenting or contacting me! Your feedback is essential for the quality to be excellent and push the limits of tank design! My models are for the enthusiastic and your view and opinion is important!
THANK YOU!!!
Documentation (2)
License

You shall not share, sub-license, sell, rent, host, transfer, or distribute in any way the digital or 3D printed versions of this object, nor any other derivative work of this object in its digital or physical format (including - but not limited to - remixes of this object, and hosting on other digital platforms). The objects may not be used without permission in any way whatsoever in which you charge money, or collect fees.


Comment & Rating (22)