
Gastly (Nebulak) Ghost Pen Holder - No AMS
Print Profile(1)
Description
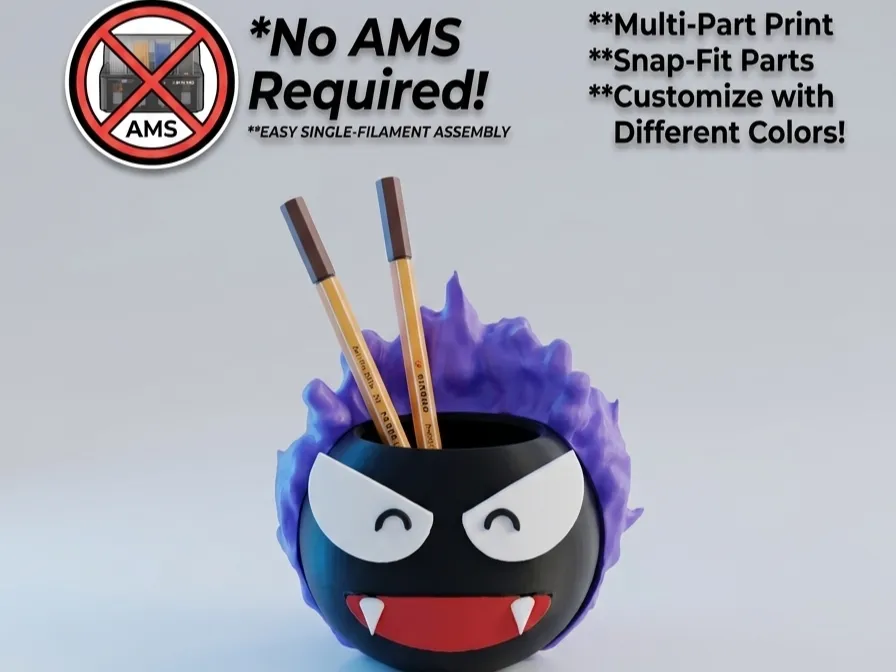
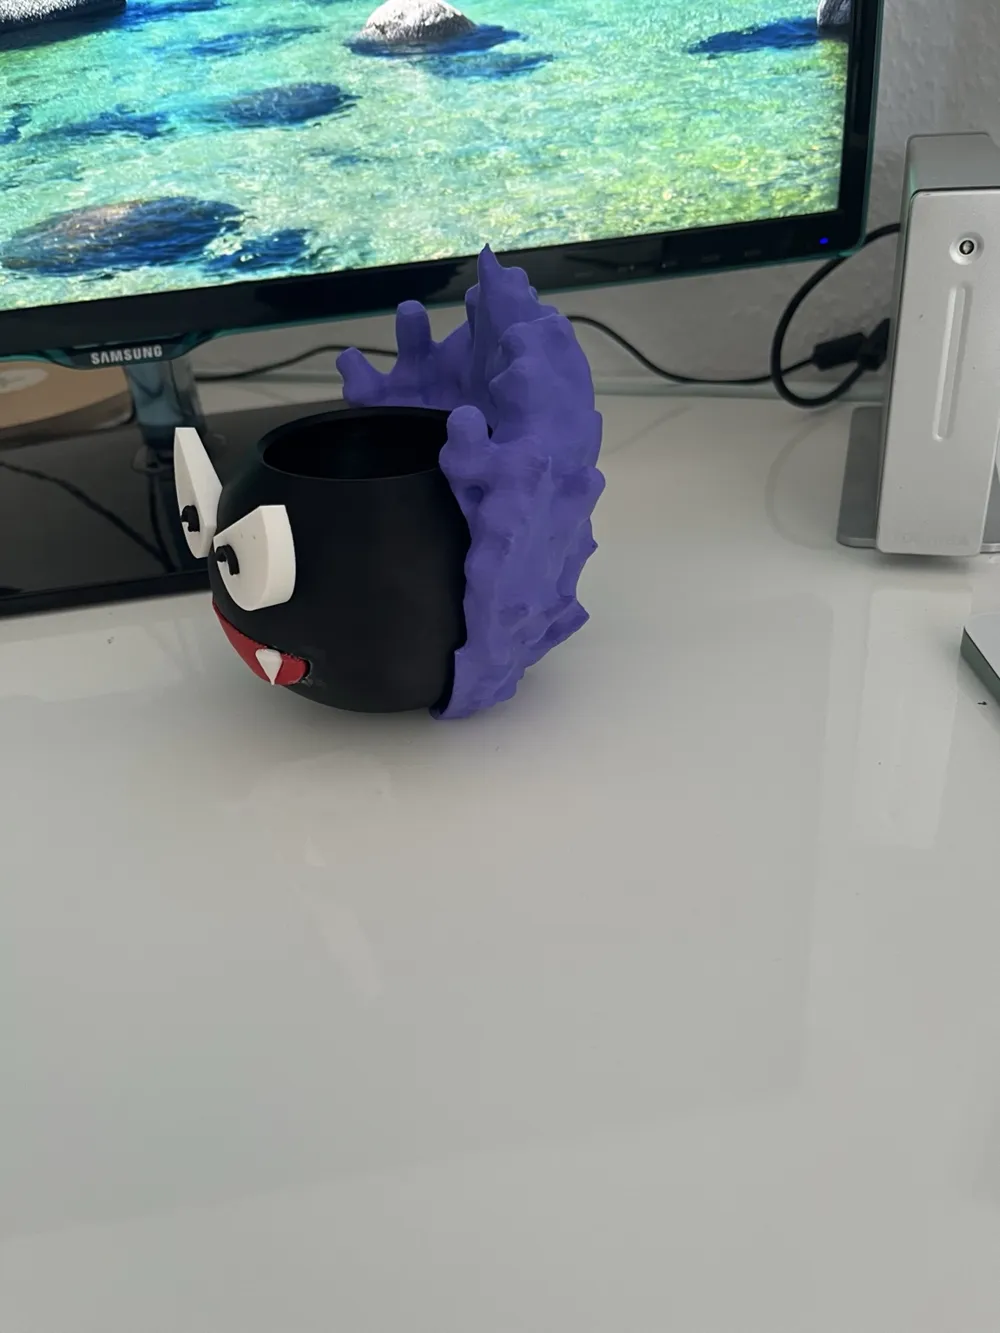
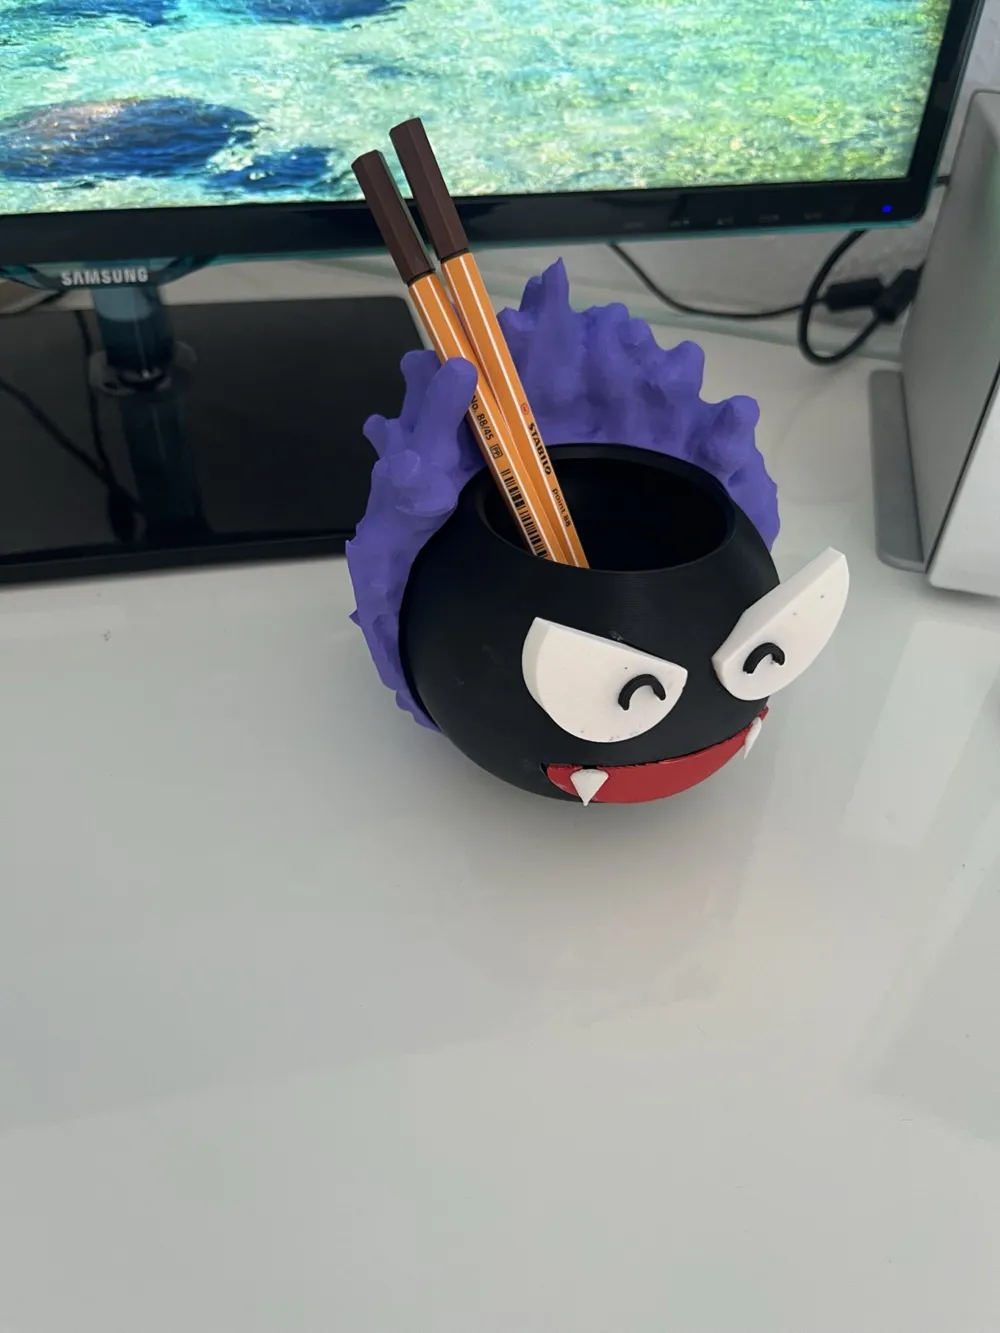
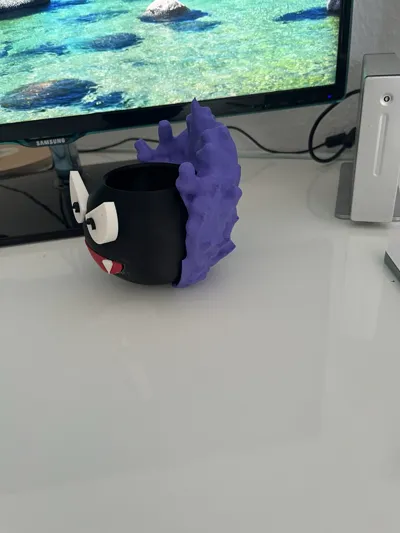
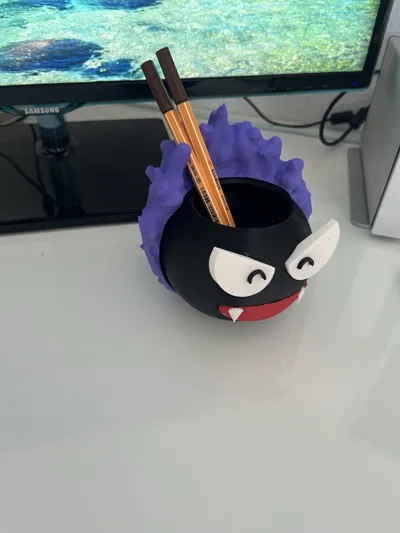
A cute, spooky ghost-inspired pen holder. The model has been completely redesigned as a multi-part plug-and-glue kit. All parts can be printed individually in just one color – an AMS or multi-material printer is therefore not required.
Included Files
This upload contains two complete sets of files. Simply choose the variant that suits your printer and desired workflow.
1. No-AMS Version
6 STL files that are glued together after printing:
- main_body.stl – Black
- mouth.stl – Red
- smoke.stl – Purple
- eyes.stl – White, two needed
- fangs.stl – White, two needed
- pupils.stl – Dark or Black, two needed
There is a small, intentionally designed gap between all contact surfaces. This allows the parts to be easily inserted and cleanly glued.
All components have as flat and print-friendly contact surfaces as possible to keep support requirements to a minimum.
2. Dual Nozzle/AMS Version
3 two-color assemblies where the corresponding parts are printed directly fused together:
- Body and Smoke
- Mouth and Teeth
- Eyes and Pupils
Import the corresponding files together into Bambu Studio. When importing, select the option to load them as a single object with multiple parts. You can then assign the desired filament to each part.
No subsequent gluing is required within these assemblies.
Recommended Print Settings
- Material: Standard PLA
- Layer height for small details: 0.12 mm
- Layer height for body and smoke: 0.16 to 0.20 mm
A layer height of 0.12 mm is recommended for eyes, pupils, teeth, and mouth to ensure the cleanest possible contours.
Support
- Support is needed for the main body in the upper third around the pen holder opening.
- The smoke or flame element requires support in larger areas.
- Eyes, pupils, teeth, and mouth can be printed without support.
A detailed guide with recommended orientations, support settings, and layer heights for each individual component is included as an additional PDF file in the download.
Assembly
First, print all necessary components and then glue them together in this order:
- Insert teeth into the designated recesses of the mouth
- Insert pupils into the recesses of the eyes (works without glue)
- Glue mouth and eyes into the main body's indentations
- Attach the smoke or flame element to the back last
All connection surfaces were designed with a small gap. This creates enough space for the adhesive, and the parts can usually be assembled without sanding or filing.
License

You shall not share, sub-license, sell, rent, host, transfer, or distribute in any way the digital or 3D printed versions of this object, nor any other derivative work of this object in its digital or physical format (including - but not limited to - remixes of this object, and hosting on other digital platforms). The objects may not be used without permission in any way whatsoever in which you charge money, or collect fees.


Comment & Rating (0)