
Self‑Levelling Screed Tripod – Adjustable Height
Print Profile(2)
Description
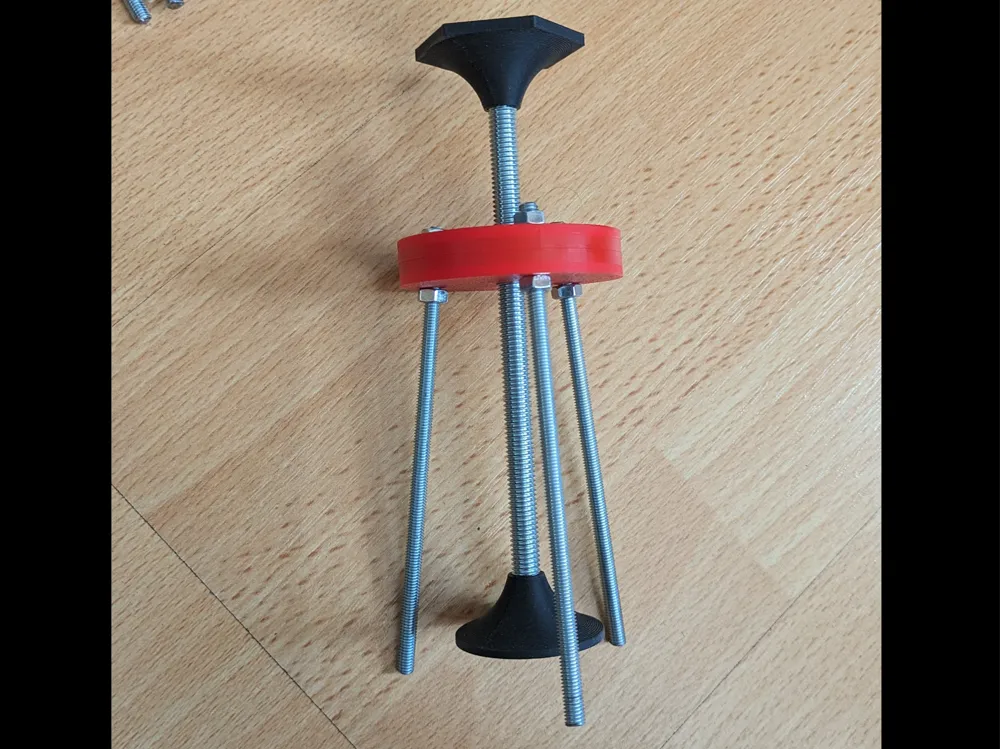
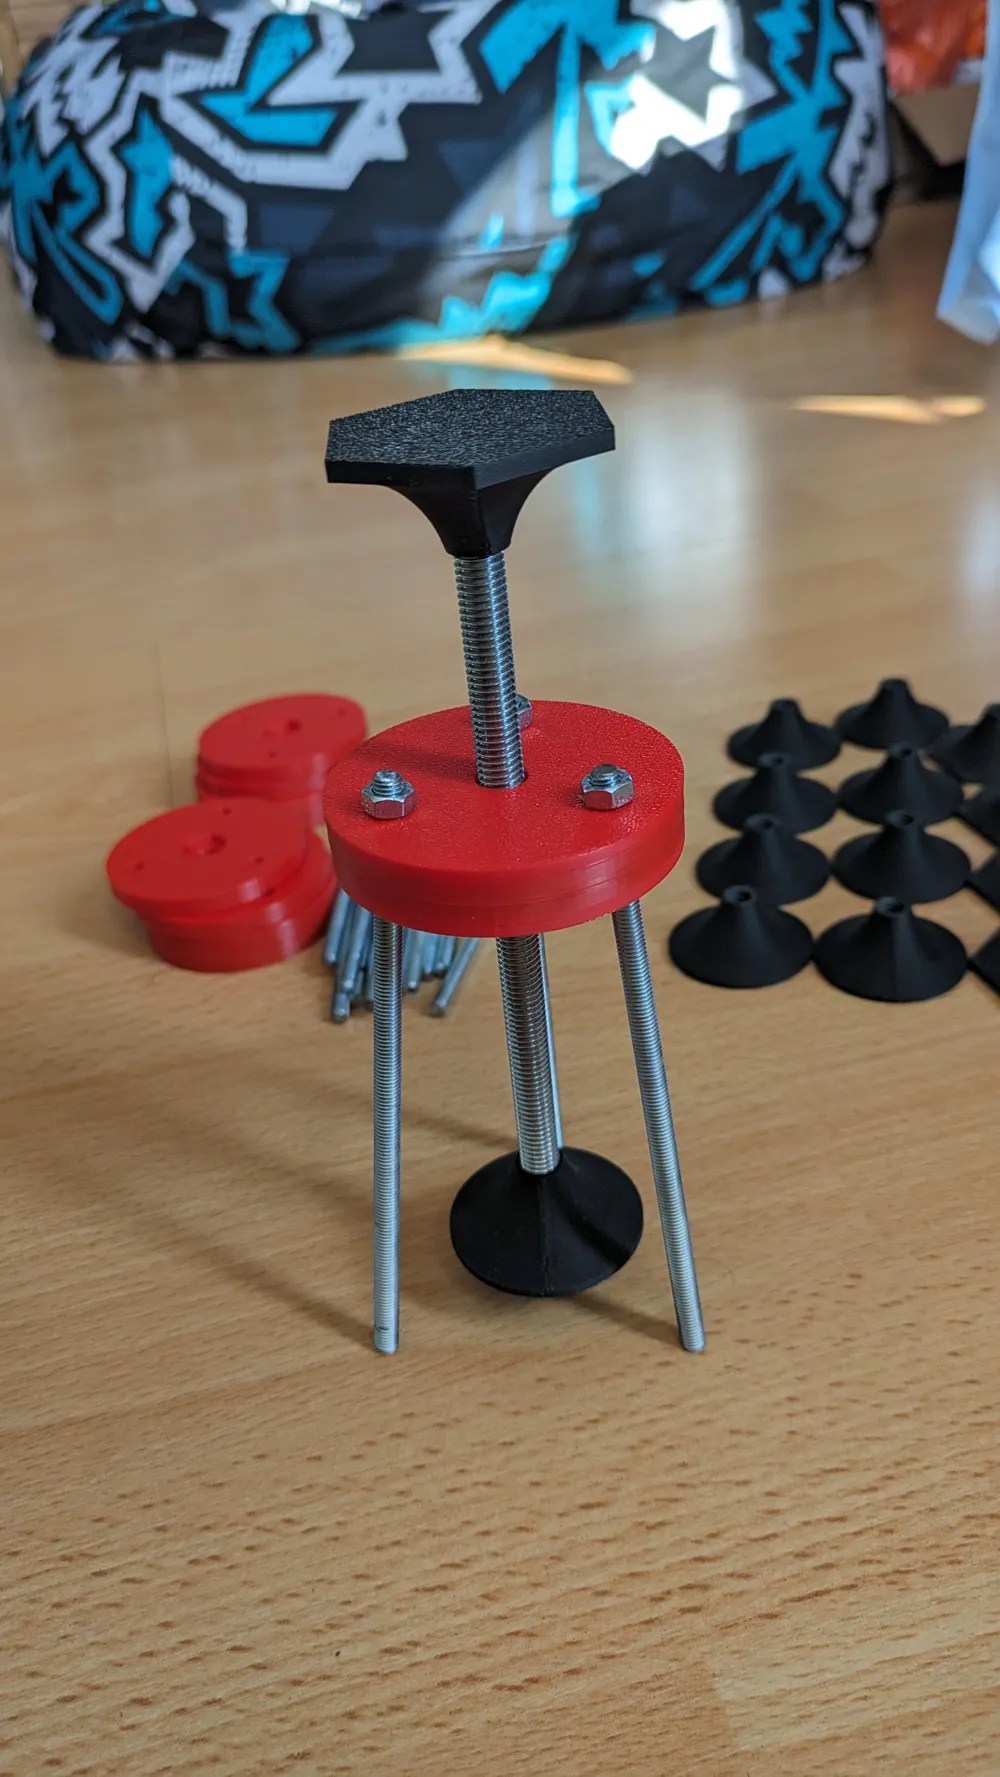
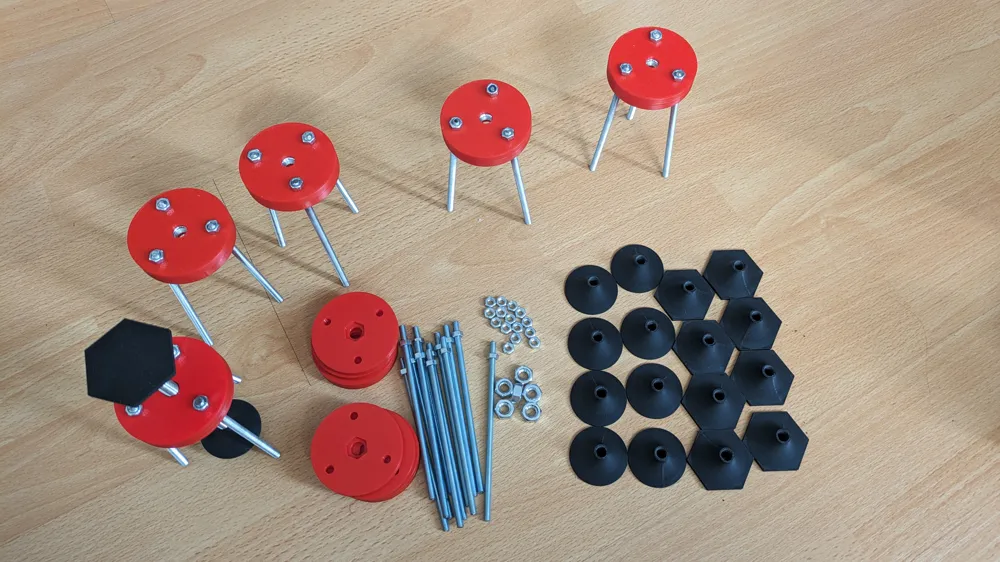
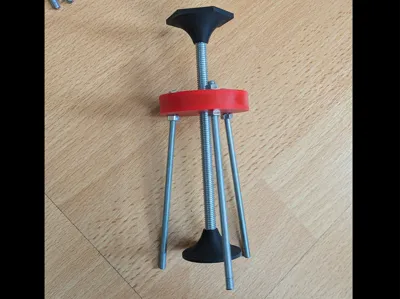
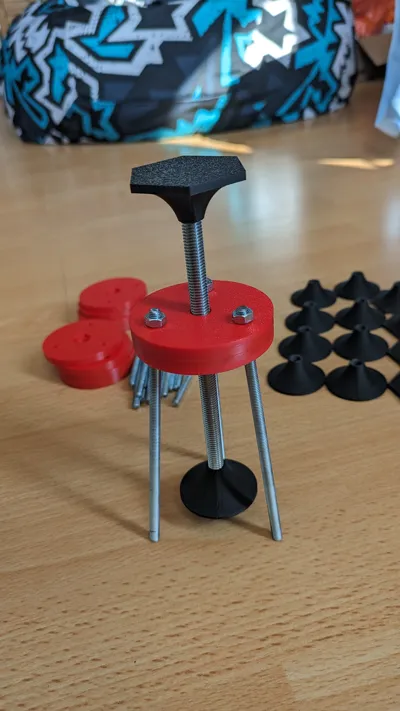
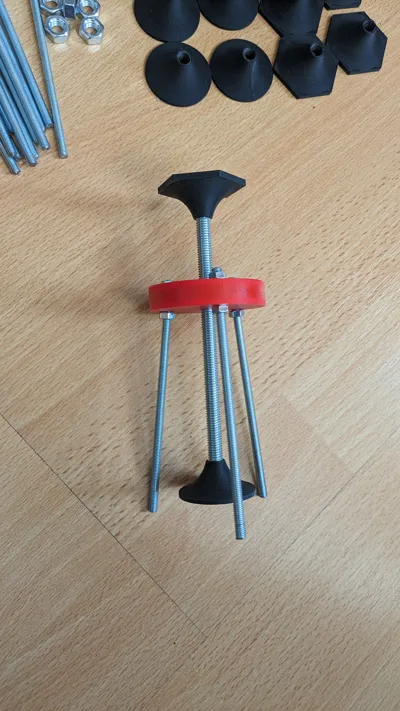
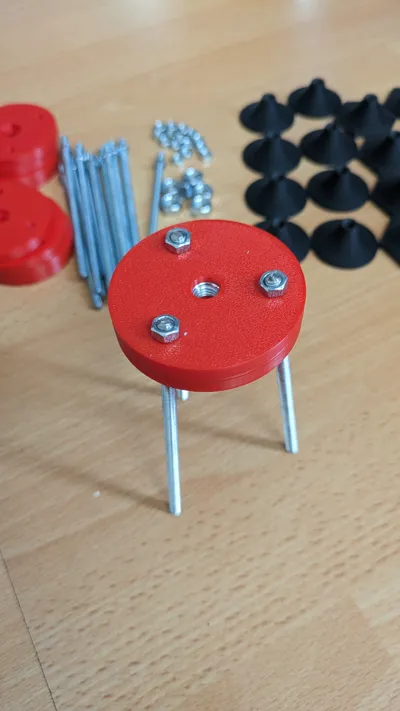
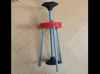
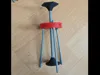
This is a 3D printed self‑levelling screed tripod used together with a straightedge to set the height of self‑levelling screed or liquid floor toppings.
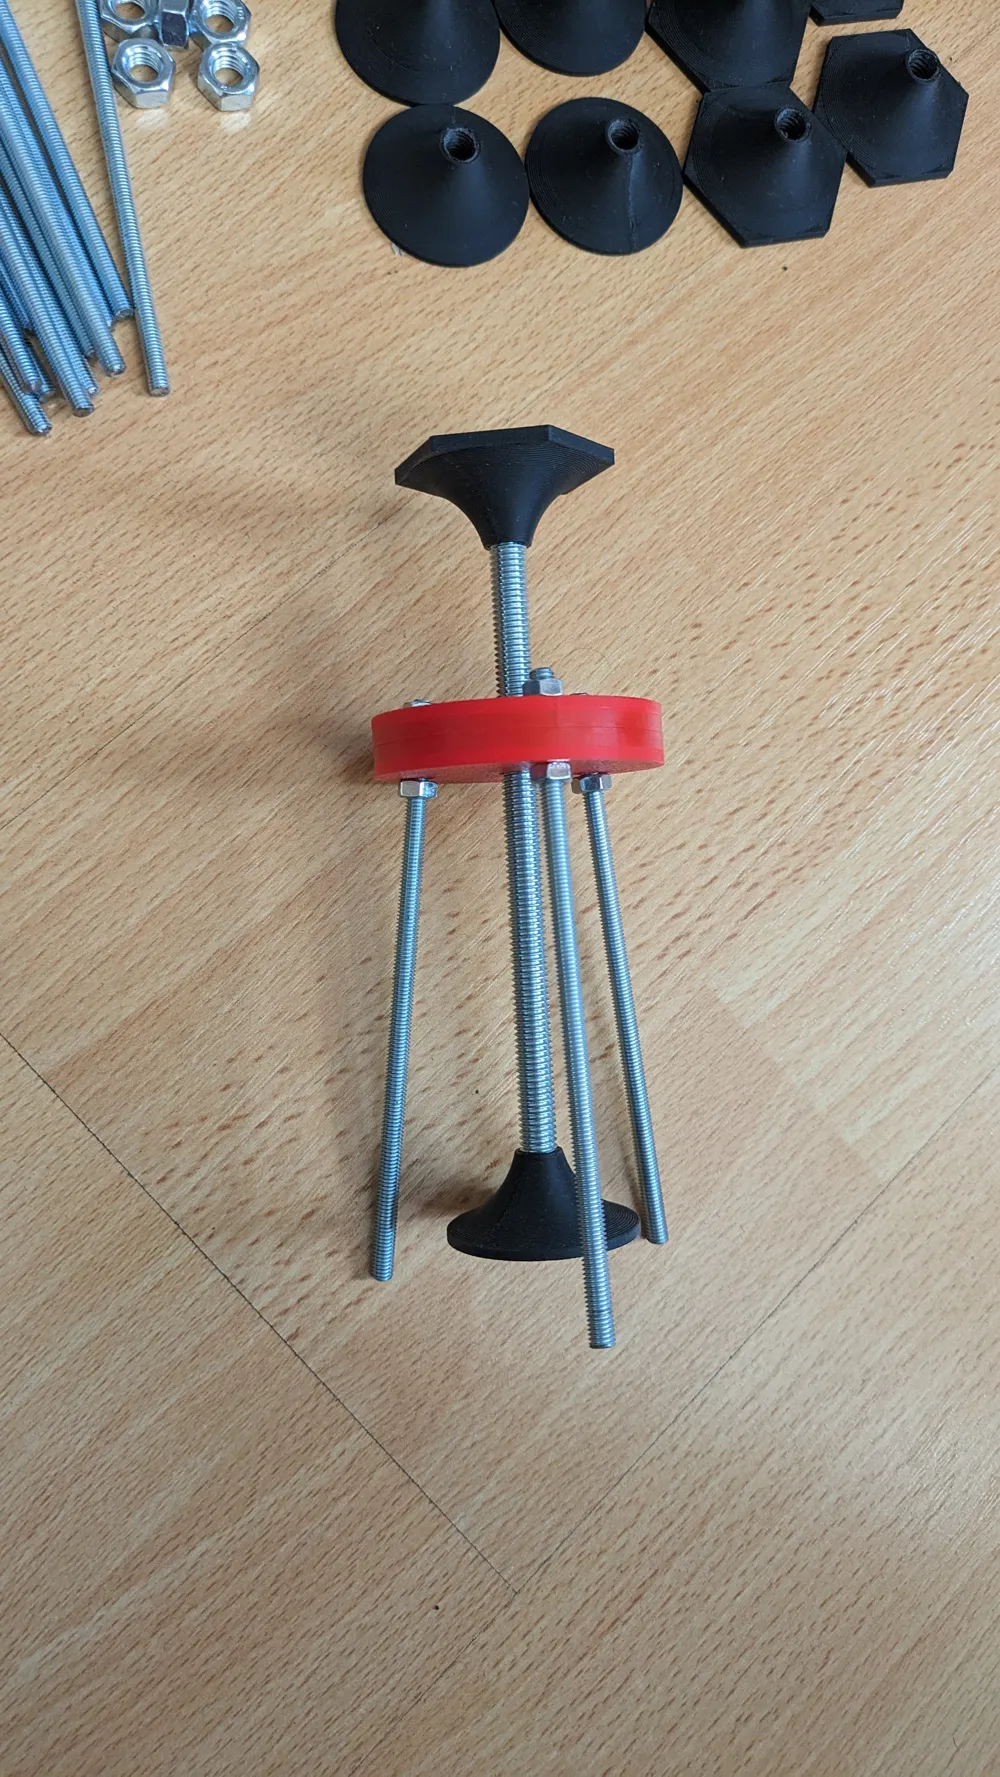
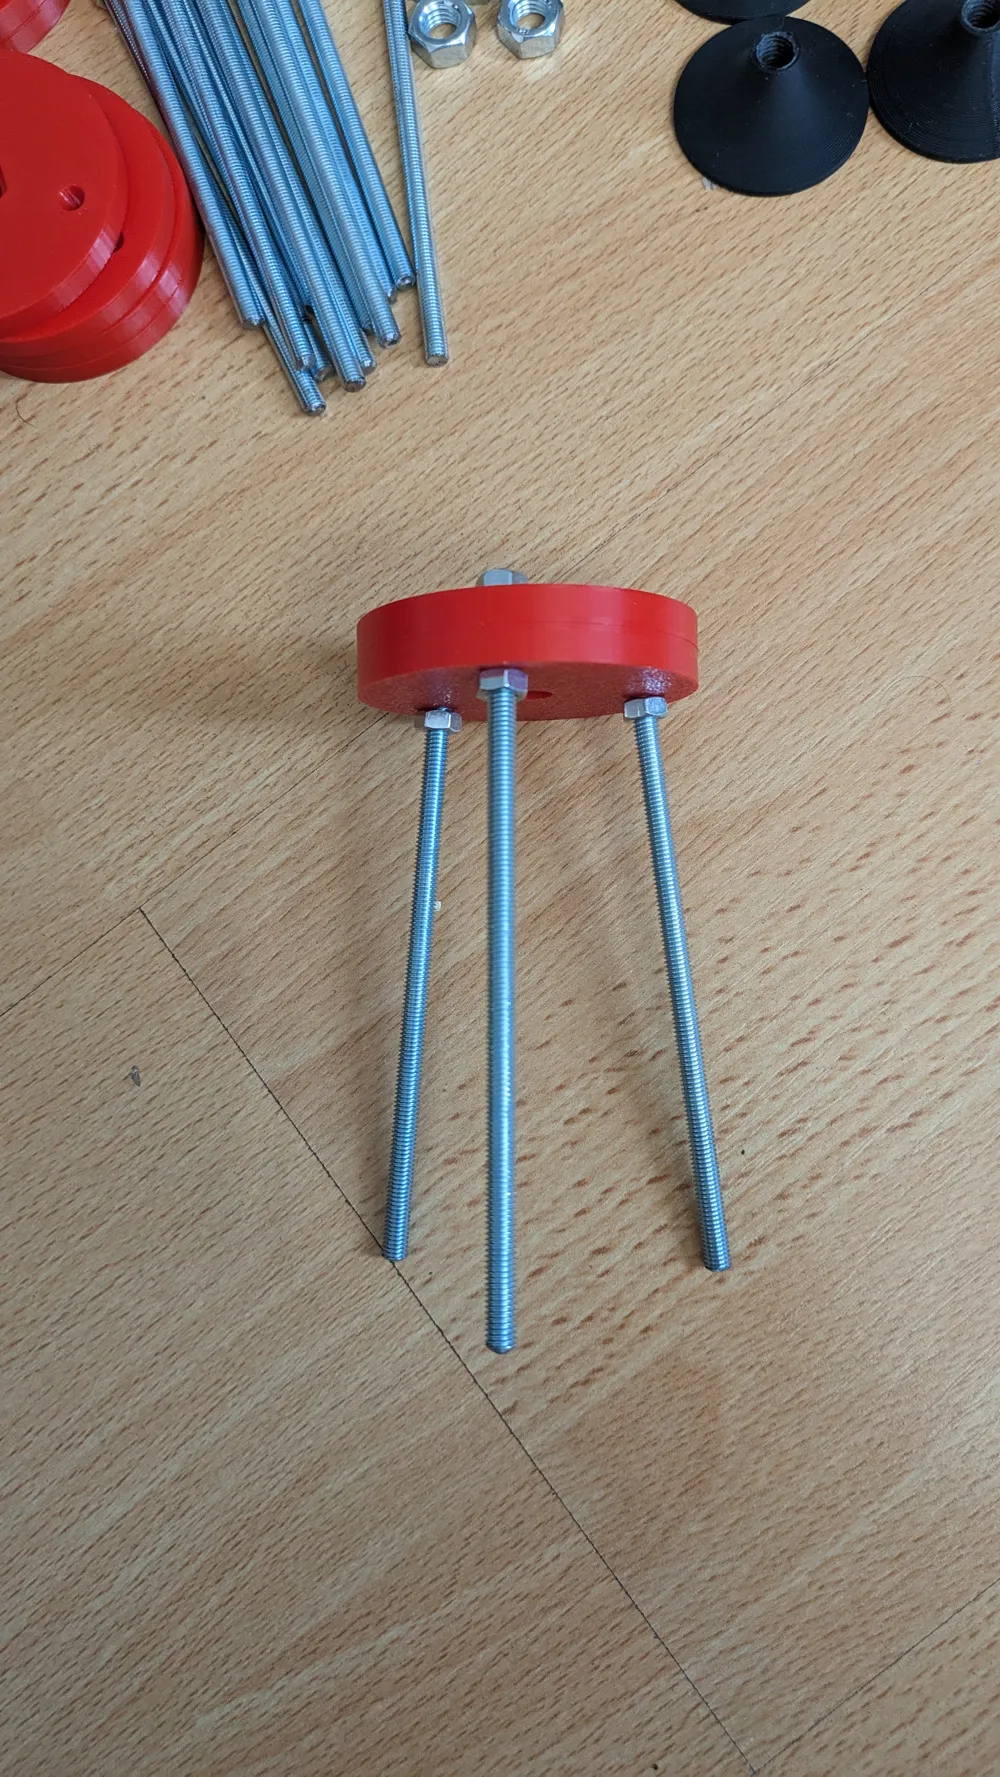
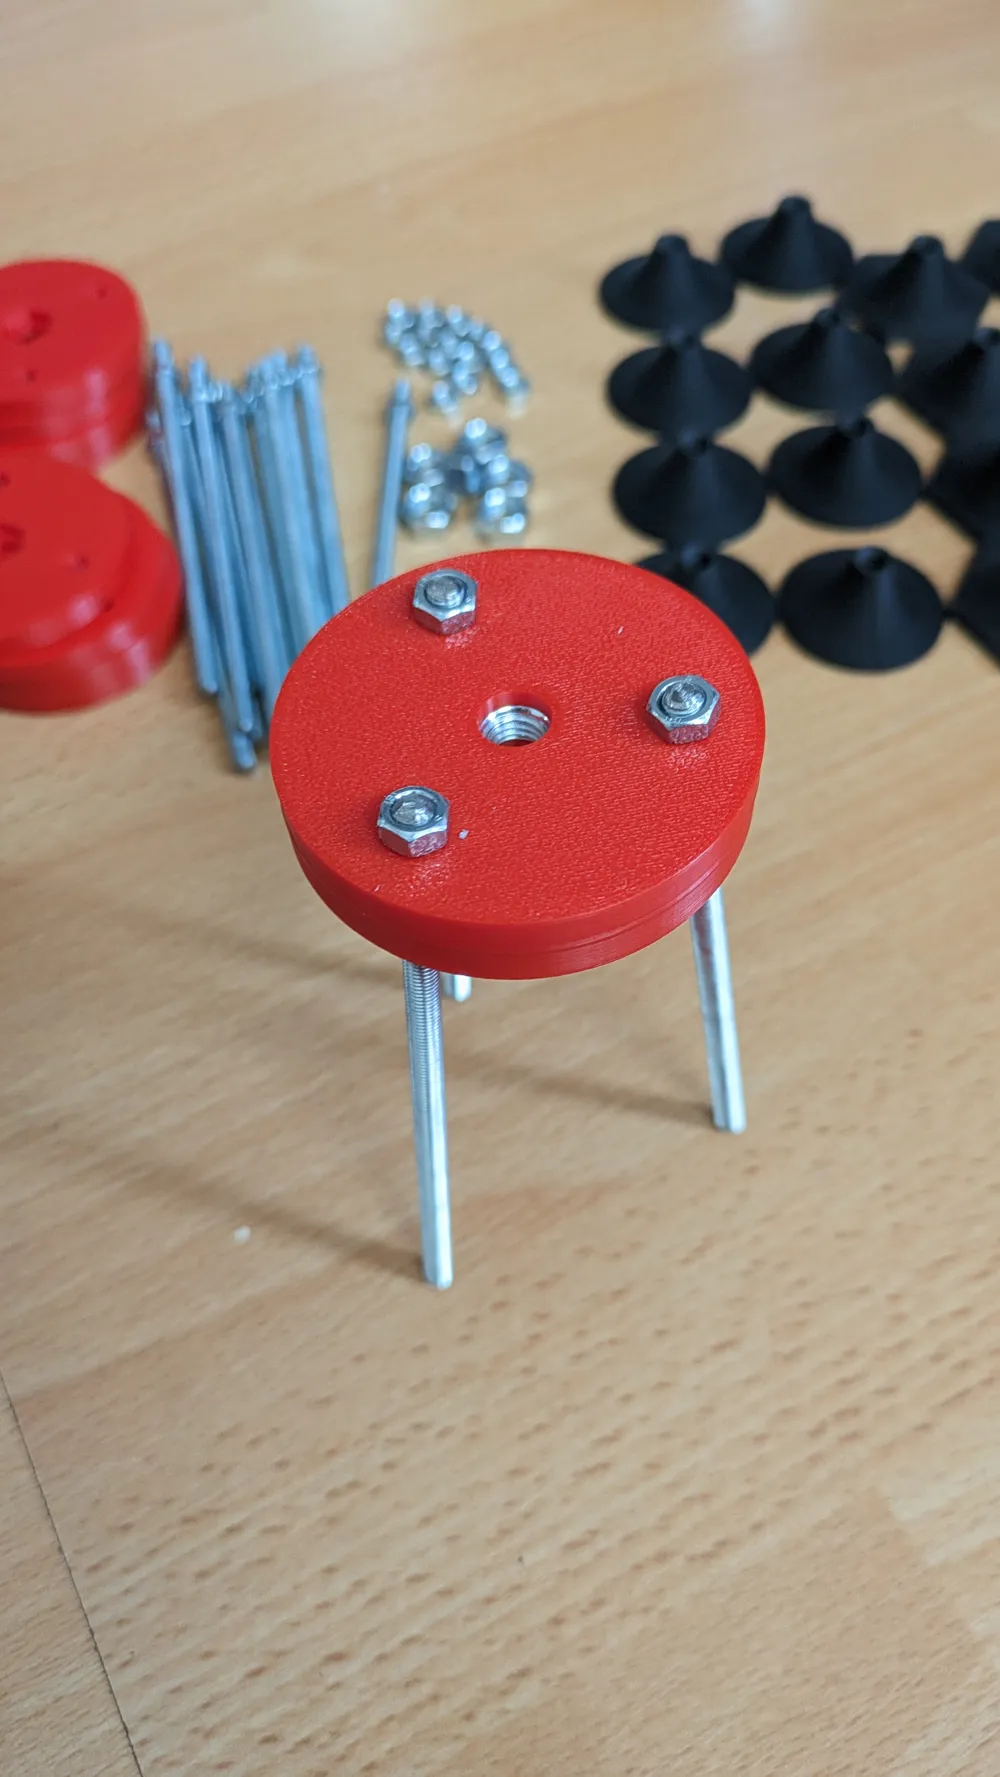
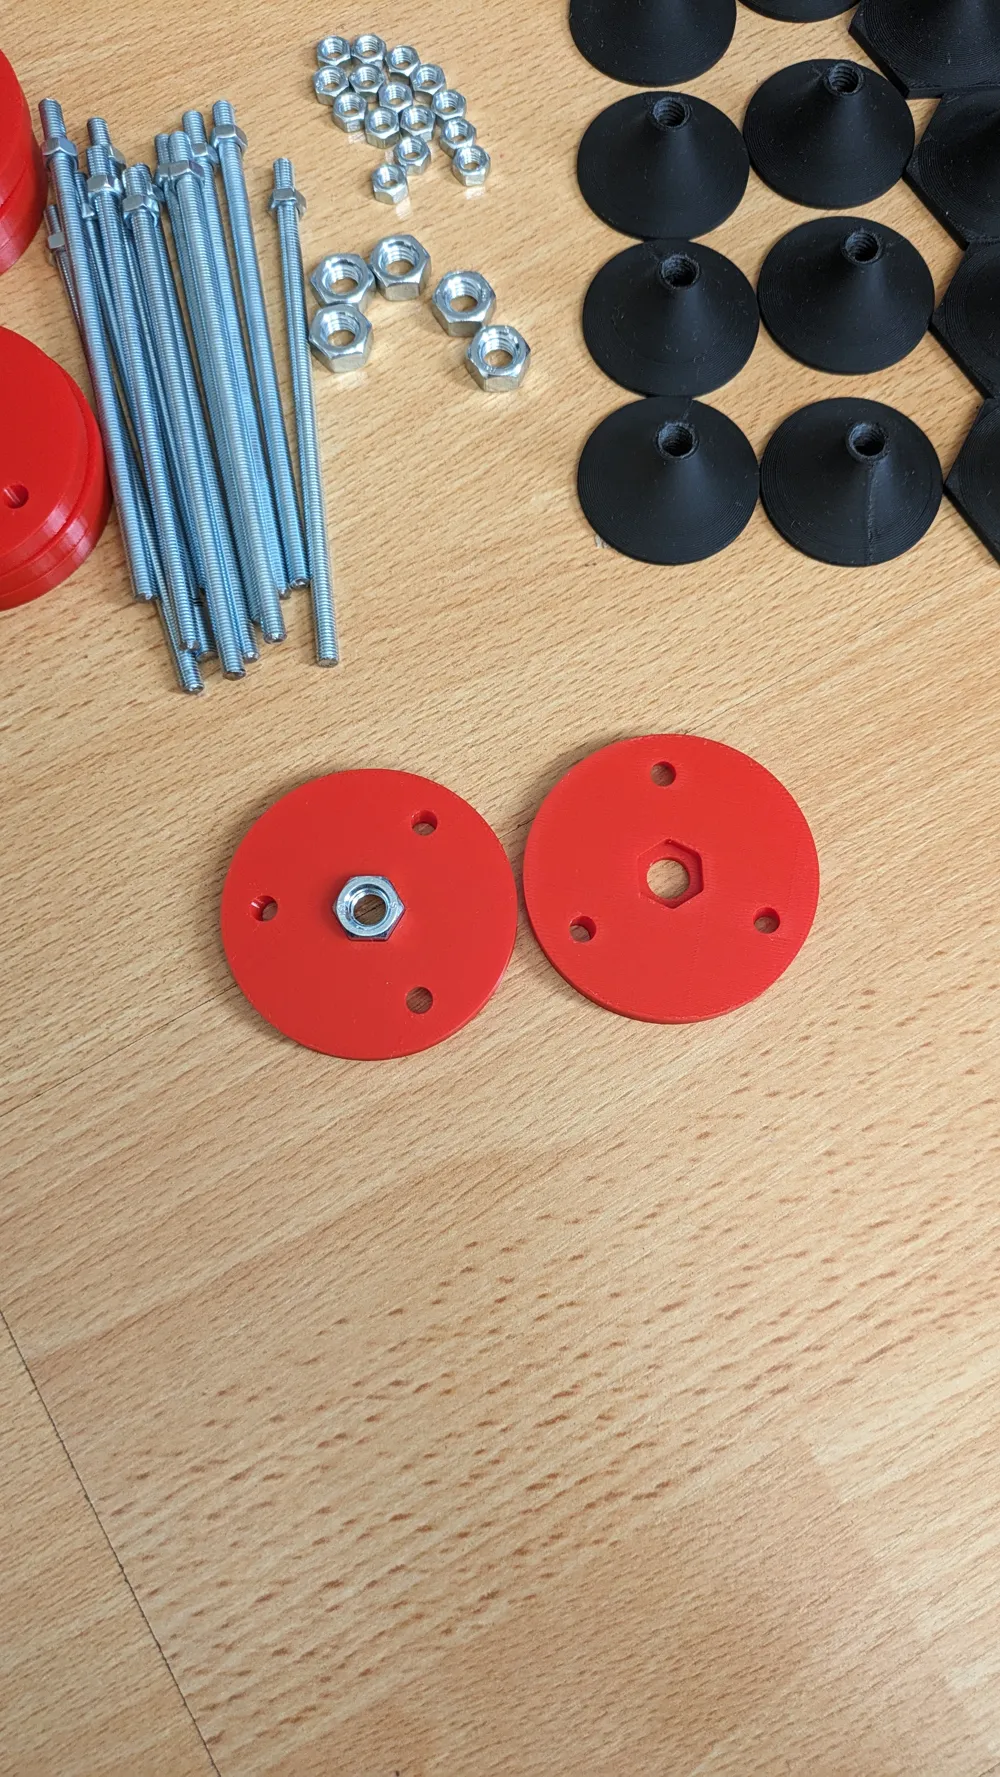
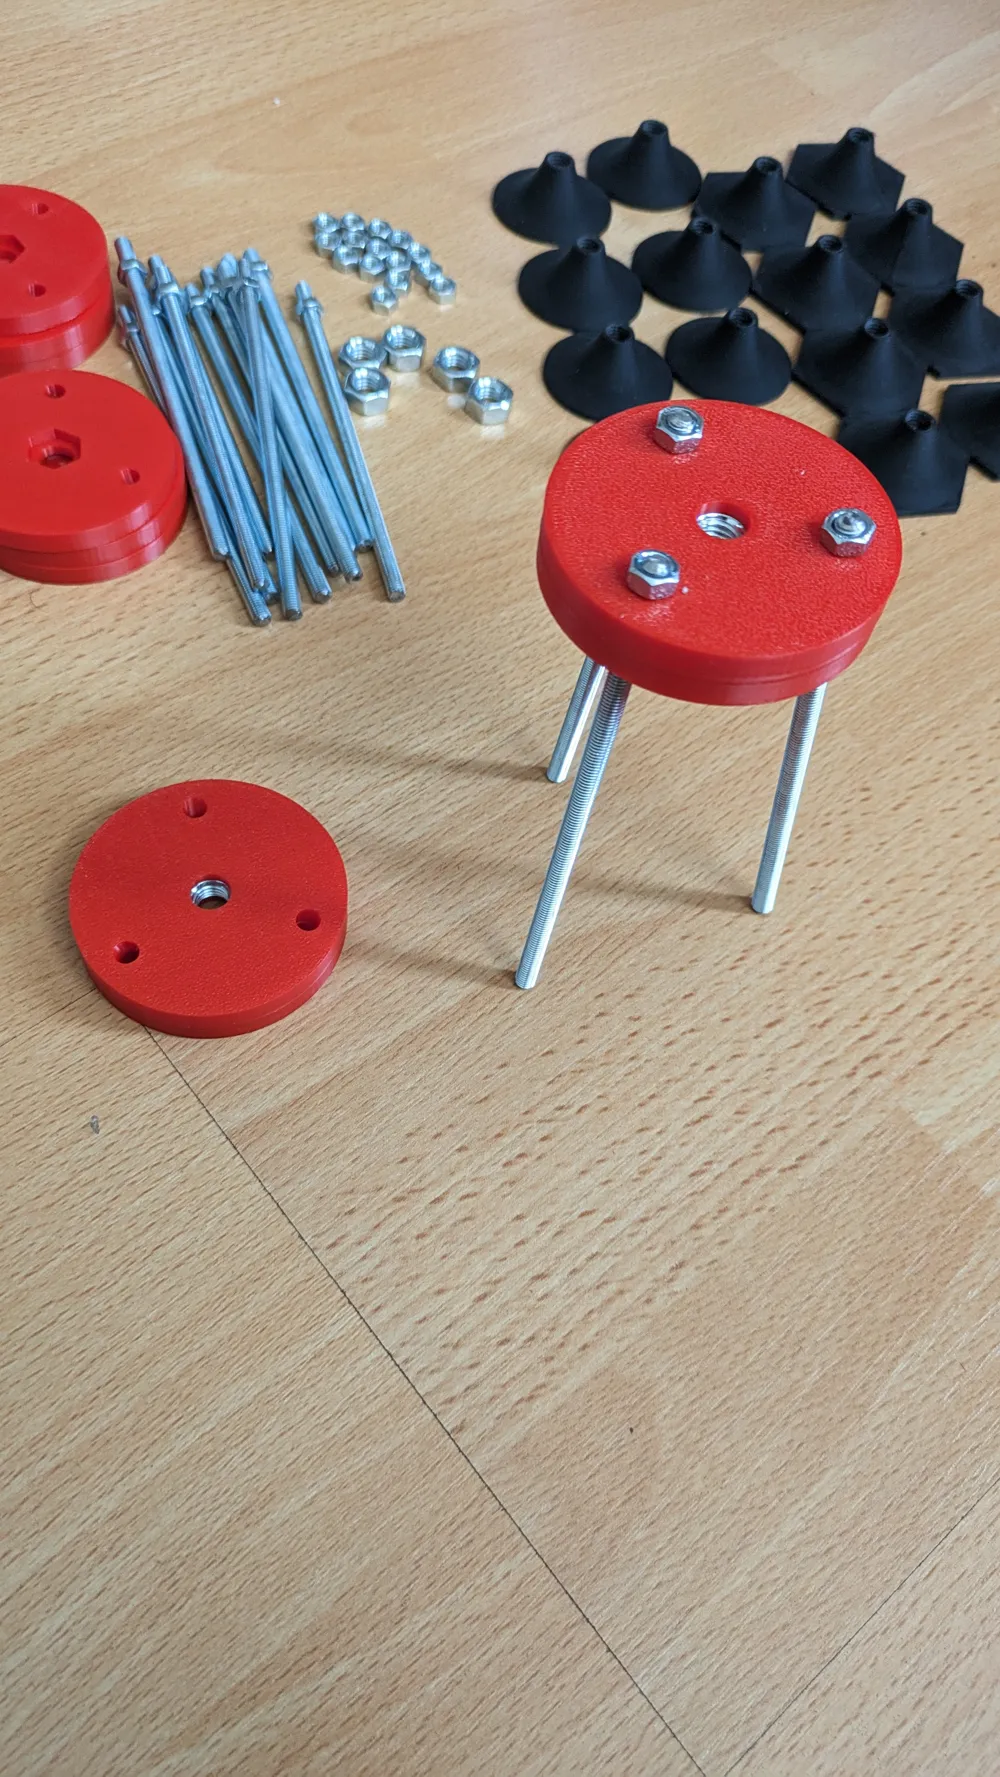
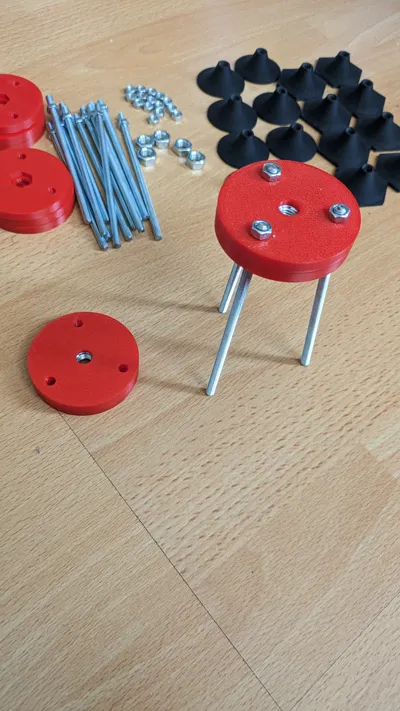
The red central body holds an M8 nut and three angled legs, while the top knob and bottom foot on the M8 rod define the exact screed level.
I printed my prototype in PLA using the default 0.20 mm profile (no special slicer tweaks), but you can use any material you prefer – PETG or ABS/ASA for extra toughness, or PLA for simple, low‑stress use.
To level the whole room, each tripod must be adjusted individually:
you screw the central M8 rod in or out until the leveling foot matches your reference height from a laser level or from a straightedge plus spirit level. Once all tripods are set to the same height, they define a consistent screed level across the entire floor.
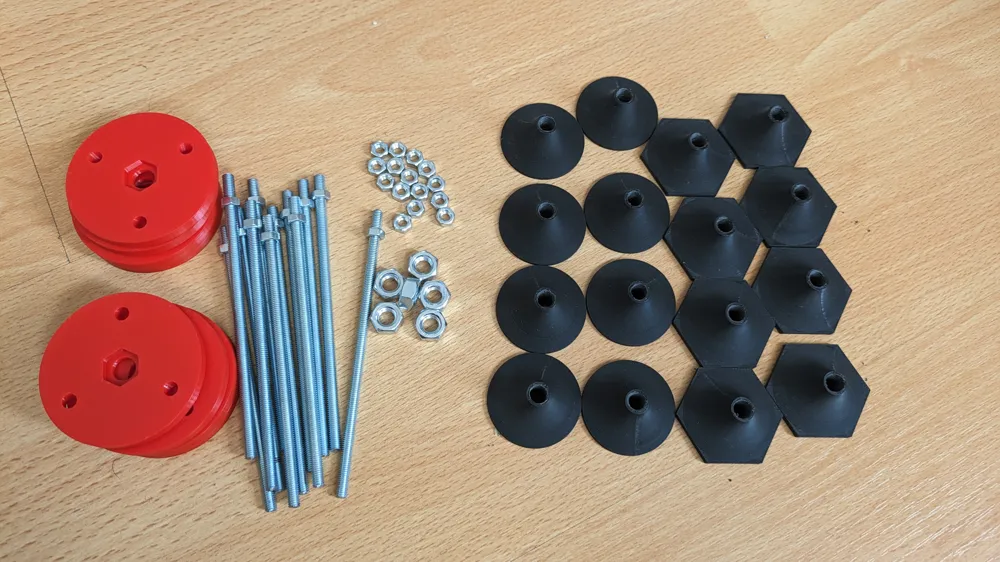
There are two knob & foot variants included, both intended for use with an M8 threaded rod:
- M8 internal thread version – the hole is modeled tight and usually prints very accurate.
I recommend chasing the internal thread with an M8 tap after printing to get a clean fit and perfect alignment of the knob and foot on the rod. - M9 oversize internal thread version – this hole is slightly larger, so it can usually be screwed onto an M8 rod by hand directly after printing, without tapping.
Because of the extra clearance, the leveling foot may not sit perfectly horizontal under load; if this doesn’t bother you, you can use the M9 version for quick, tool‑free assembly.
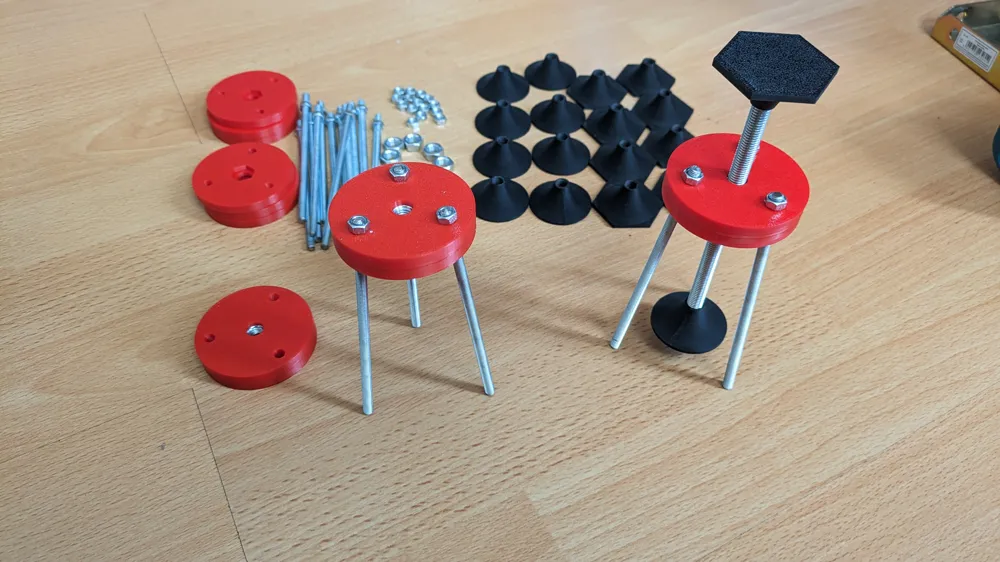
Required hardware per tripod (example setup):
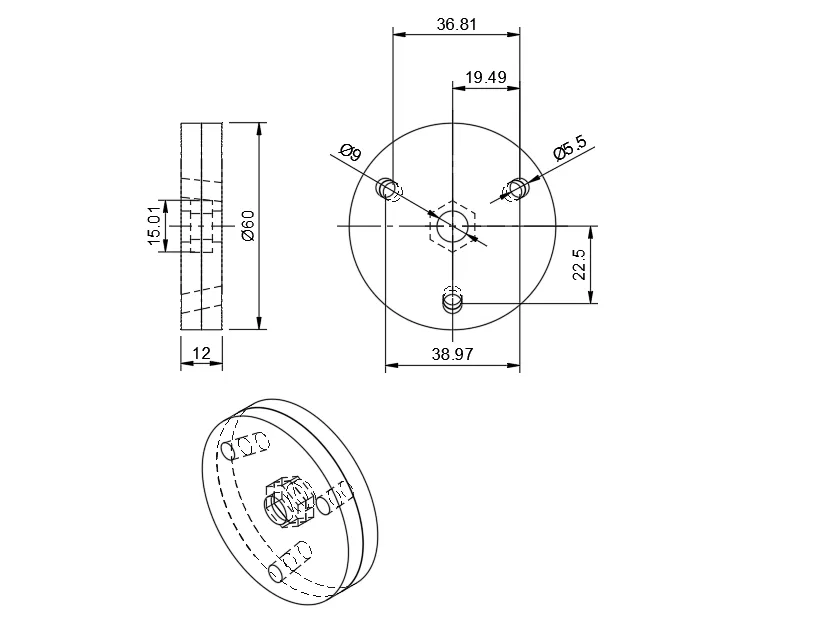
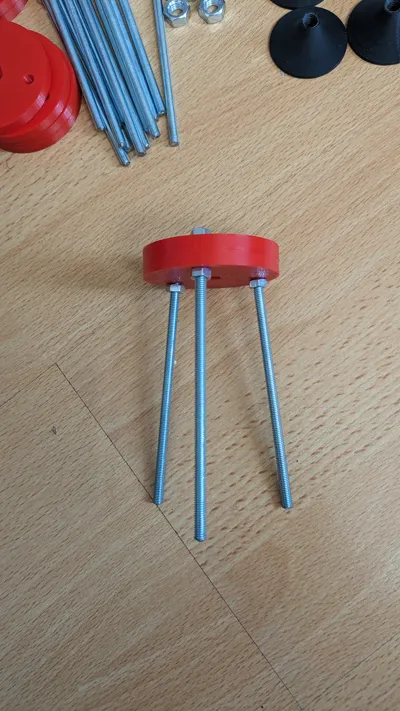
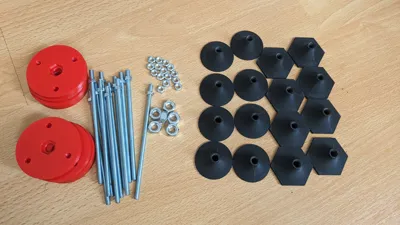
- 3 × M5 (or M4) threaded rods for the legs – I used 3 × 120 mm M5 rods, giving about 100 mm height from the floor to the body.
- 1 × M8 threaded rod for the leveling screw – I used 150 mm length for comfortable adjustment.
- 6 × M5/M4 nuts to fix the three legs into the body.
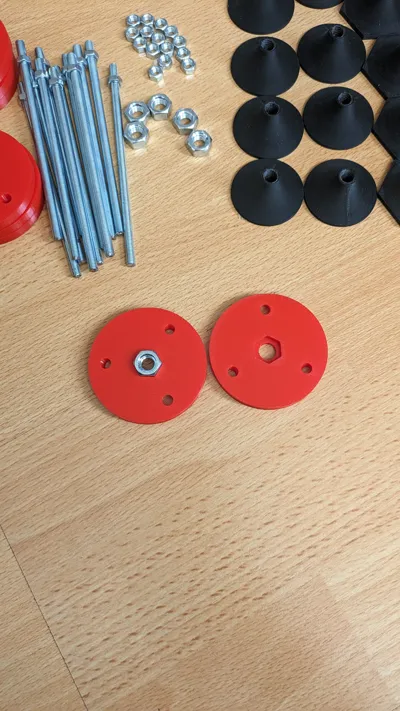
- 1 × M8 nut captured inside the central body for height adjustment.
These dimensions can be changed to suit your project and the screed thickness you plan to pour – just cut longer or shorter rods and adjust the number of tripods according to your floor area.
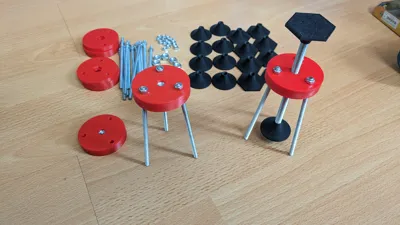
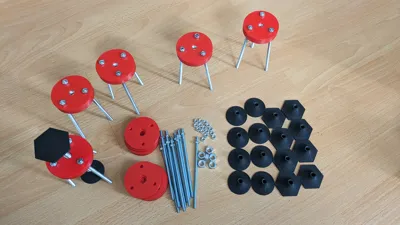
The printed parts include:
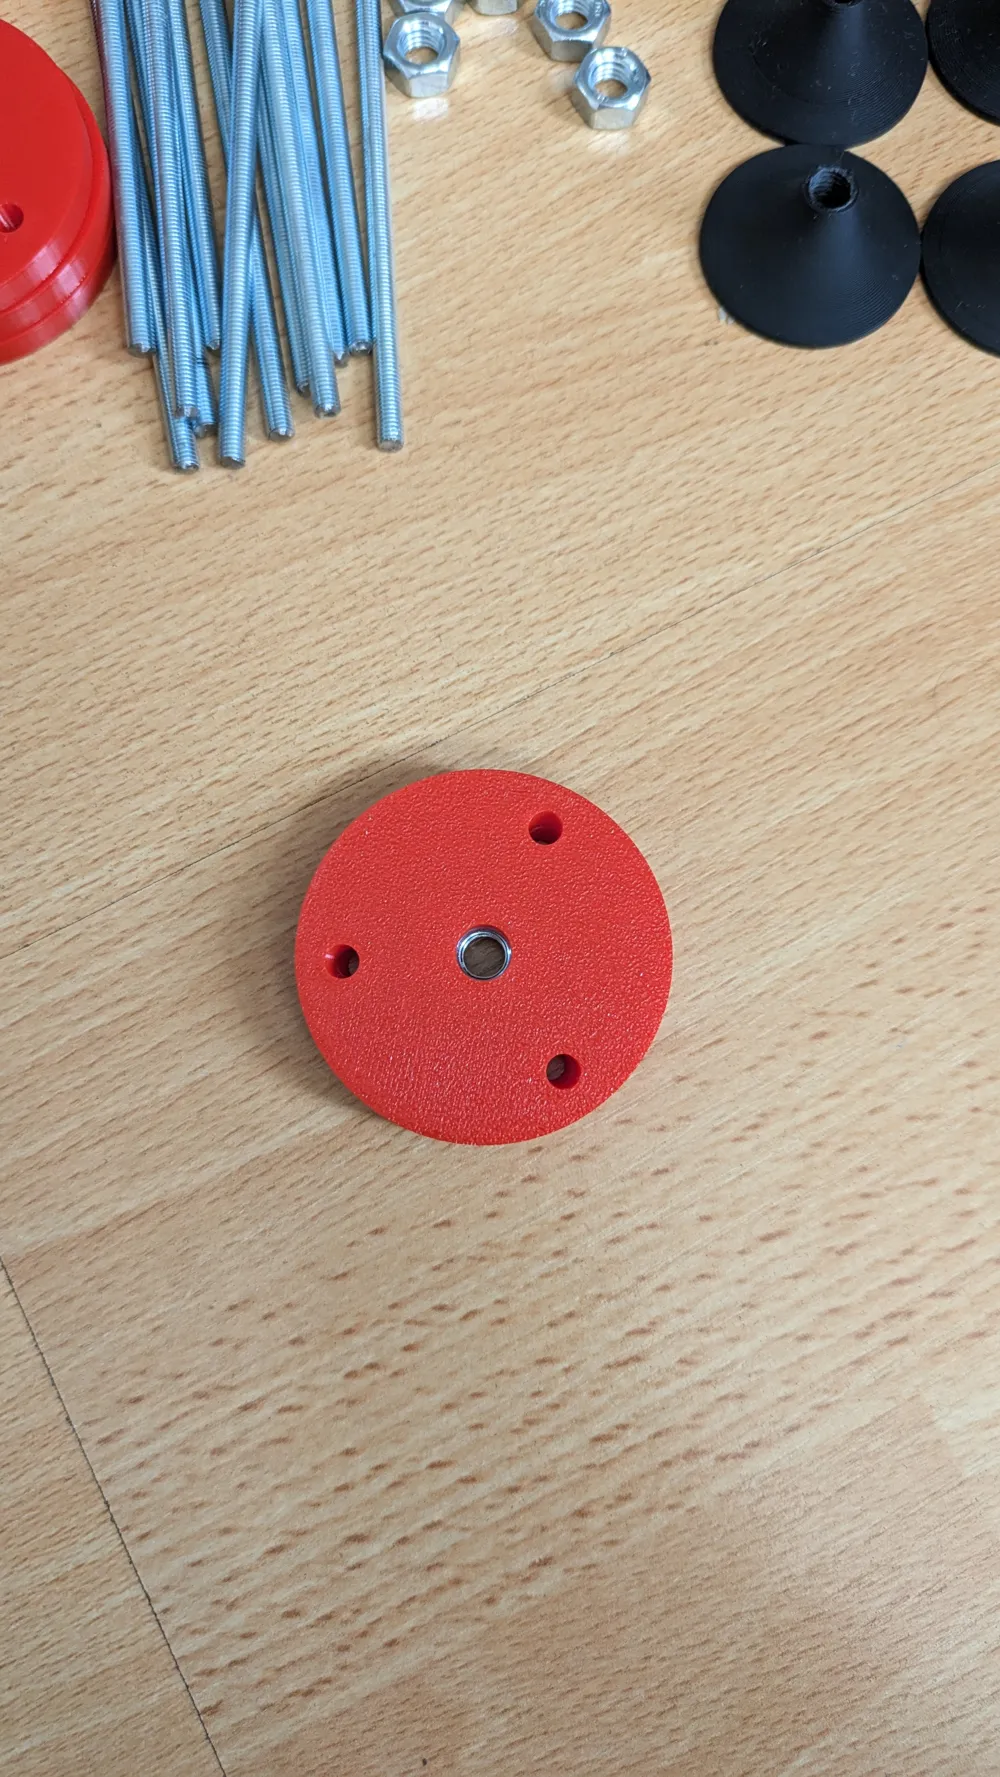
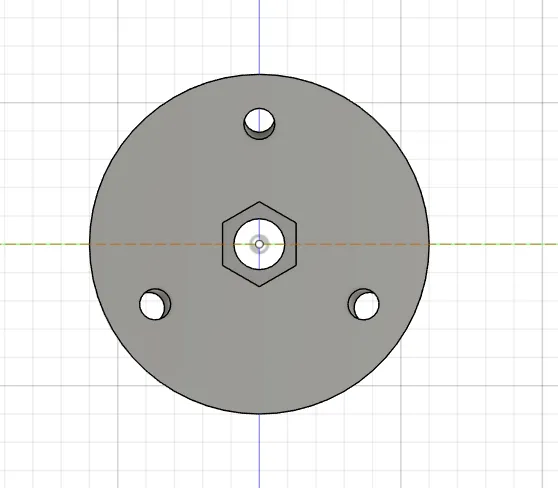
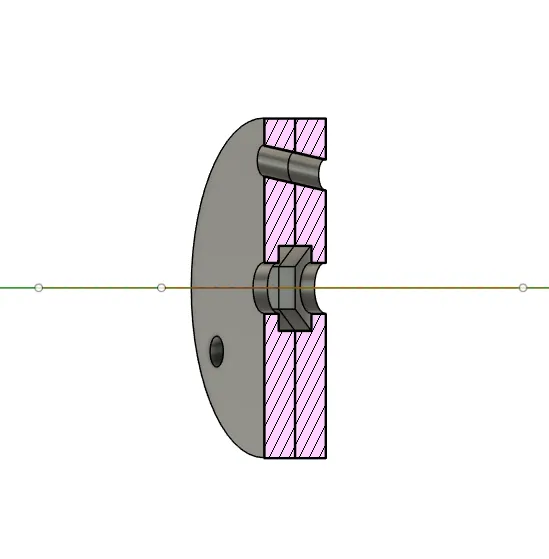
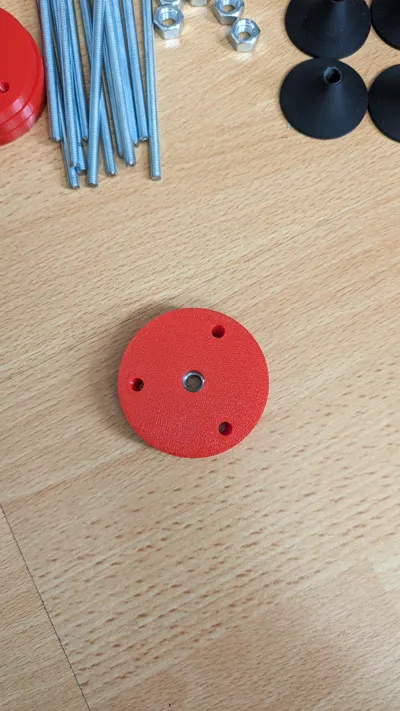
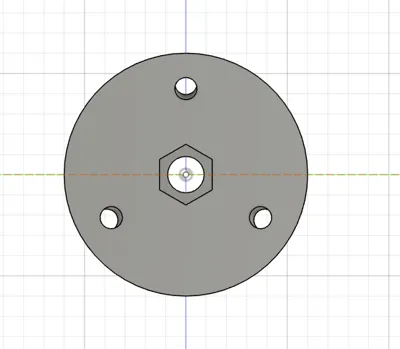
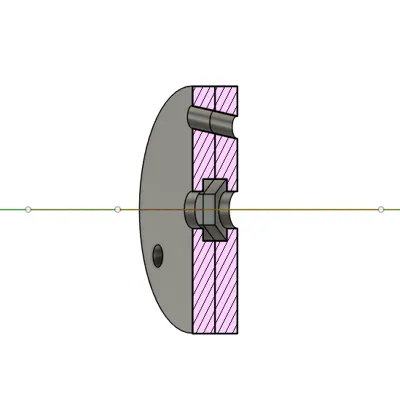
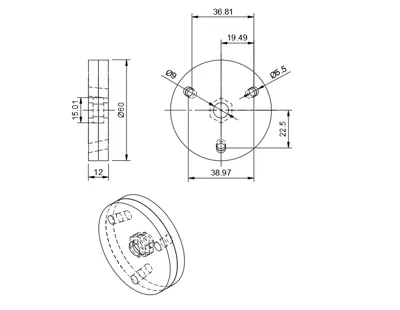
- Central two‑piece body with an integrated seat for an M8 nut and three angled holes for the leg rods.
- A leveling knob for the top of the M8 rod.
- A leveling foot for the bottom of the rod, which acts as the contact point with the self‑levelling screed.
Printing notes:
- Default 0.20 mm PLA profile, 3–4 walls, ~25% infill is sufficient.
- No special settings required – print with your normal PLA/PETG profile.
The metal hardware not only provides structural support, but also adds weight to the tripod, helping to prevent it from being lifted or floated by the screed during pouring.
License

You may create derivative works based on this object, provided that all such derivative works are published exclusively on the MakerWorld platform and include proper attribution to the original creator. You may not share, upload, host, distribute, or publish this object—or any derivative work of this object—on any other digital platform, marketplace, or distribution channel. Commercial use of this object and any derivative works is strictly prohibited. This includes, but is not limited to, selling, renting, sublicensing, or using the object in any context in which you receive monetary compensation or other financial benefits.


Comment & Rating (0)