
Most Practical Photo Frame - Model 01


Print Profile(4)
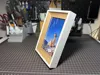
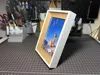
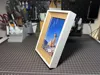
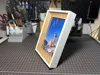
Description
Boost Me (for free)
Let every beautiful moment have its own unique display method!
I. Model 01 - Square Outer Arc Inner - Two-Color Introduction
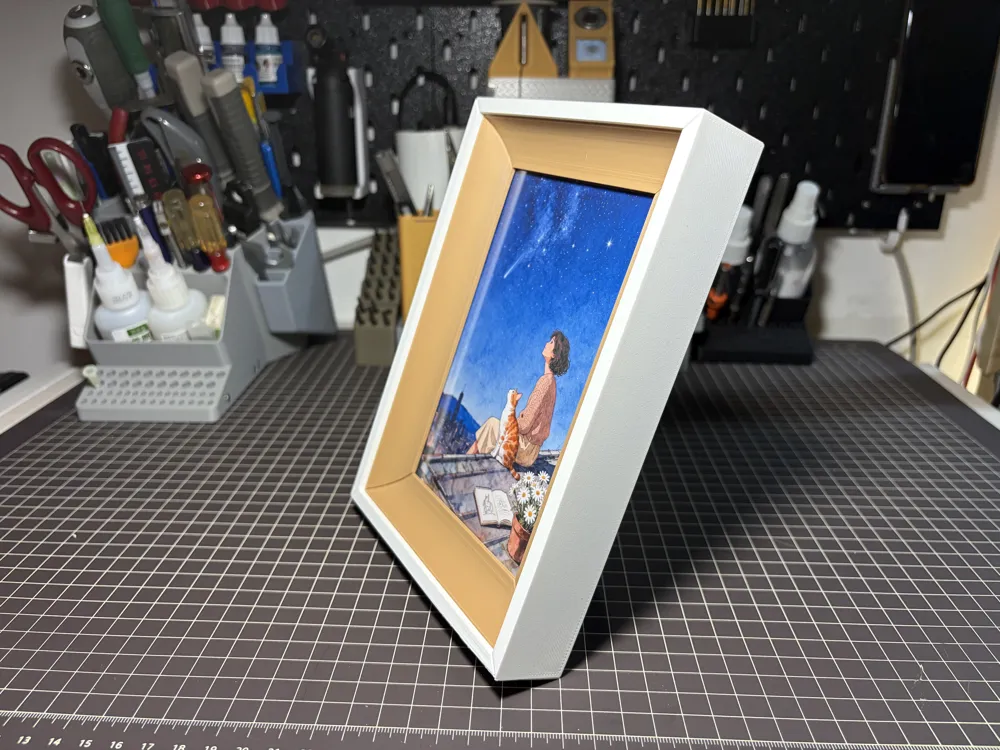
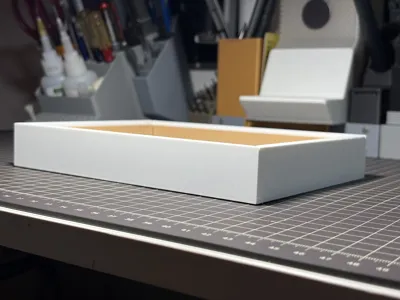
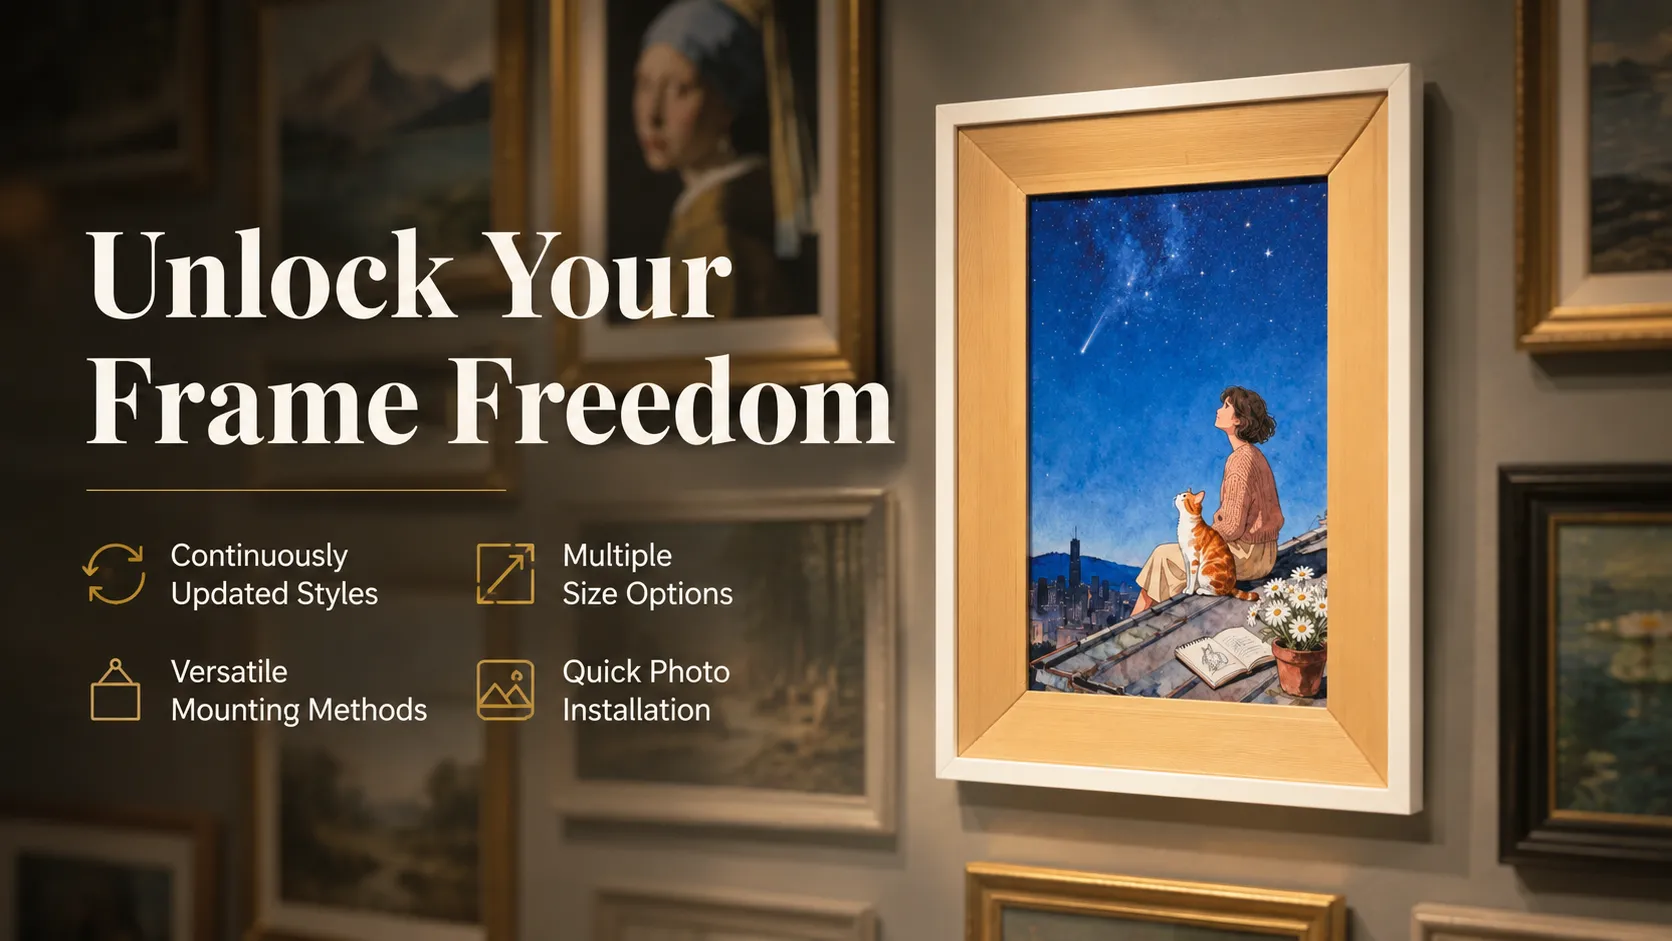
This is an original photo frame model, combining aesthetics, practicality, and adaptability. It supports multi-size selection, five display and fixing methods, features built-in retractable support legs and a magnetic buckle structure, allowing for convenient photo replacement and neat storage, suitable for all photo display needs in home, office, and other scenarios.
II. Style Specifications
- Style: Model 01 - Square Outer Arc Inner - Two-Color
- Standard Sizes: 5 inch, 6 inch, 7 inch, 8 inch
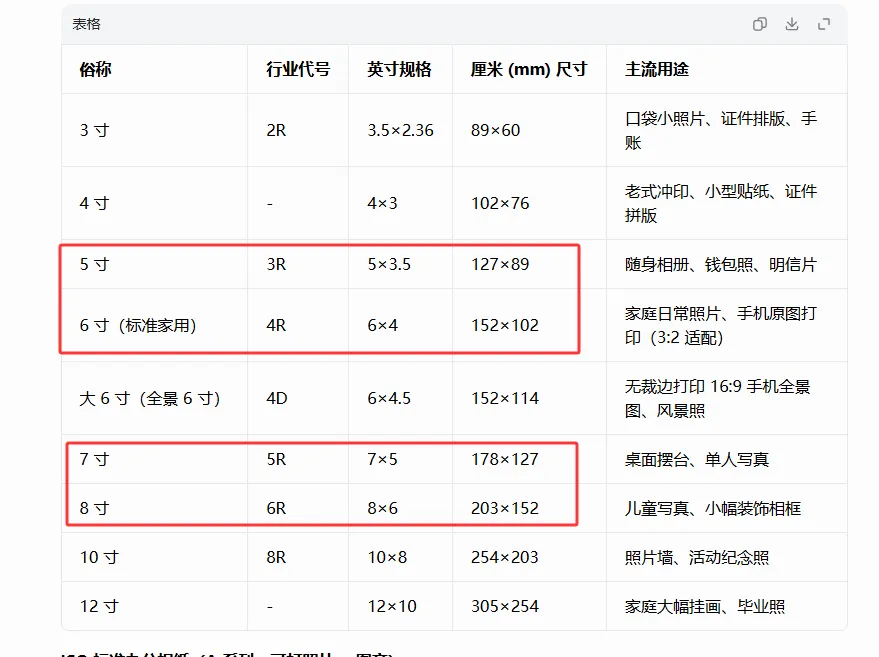
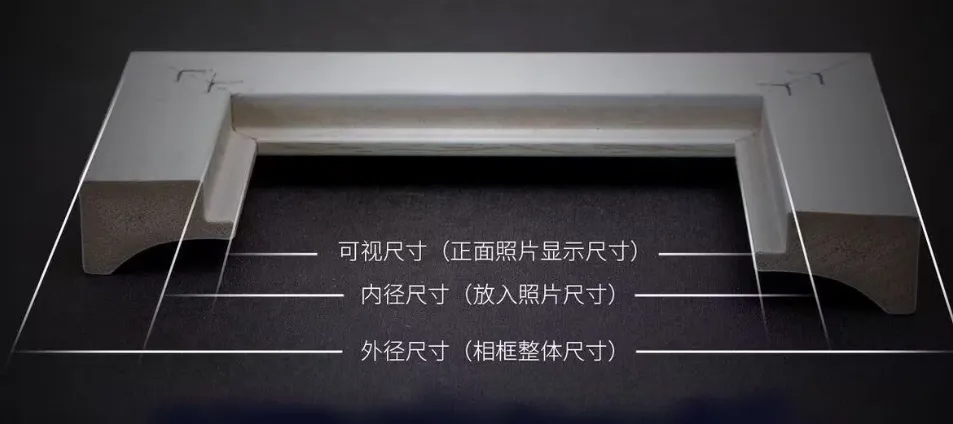
For all specifications of this model's photo frame, the visible size is 10mm smaller than the inner diameter (5mm per side), and the inner diameter is generally 2mm larger than the photo size
III. All-Scenario Display and Fixing Methods
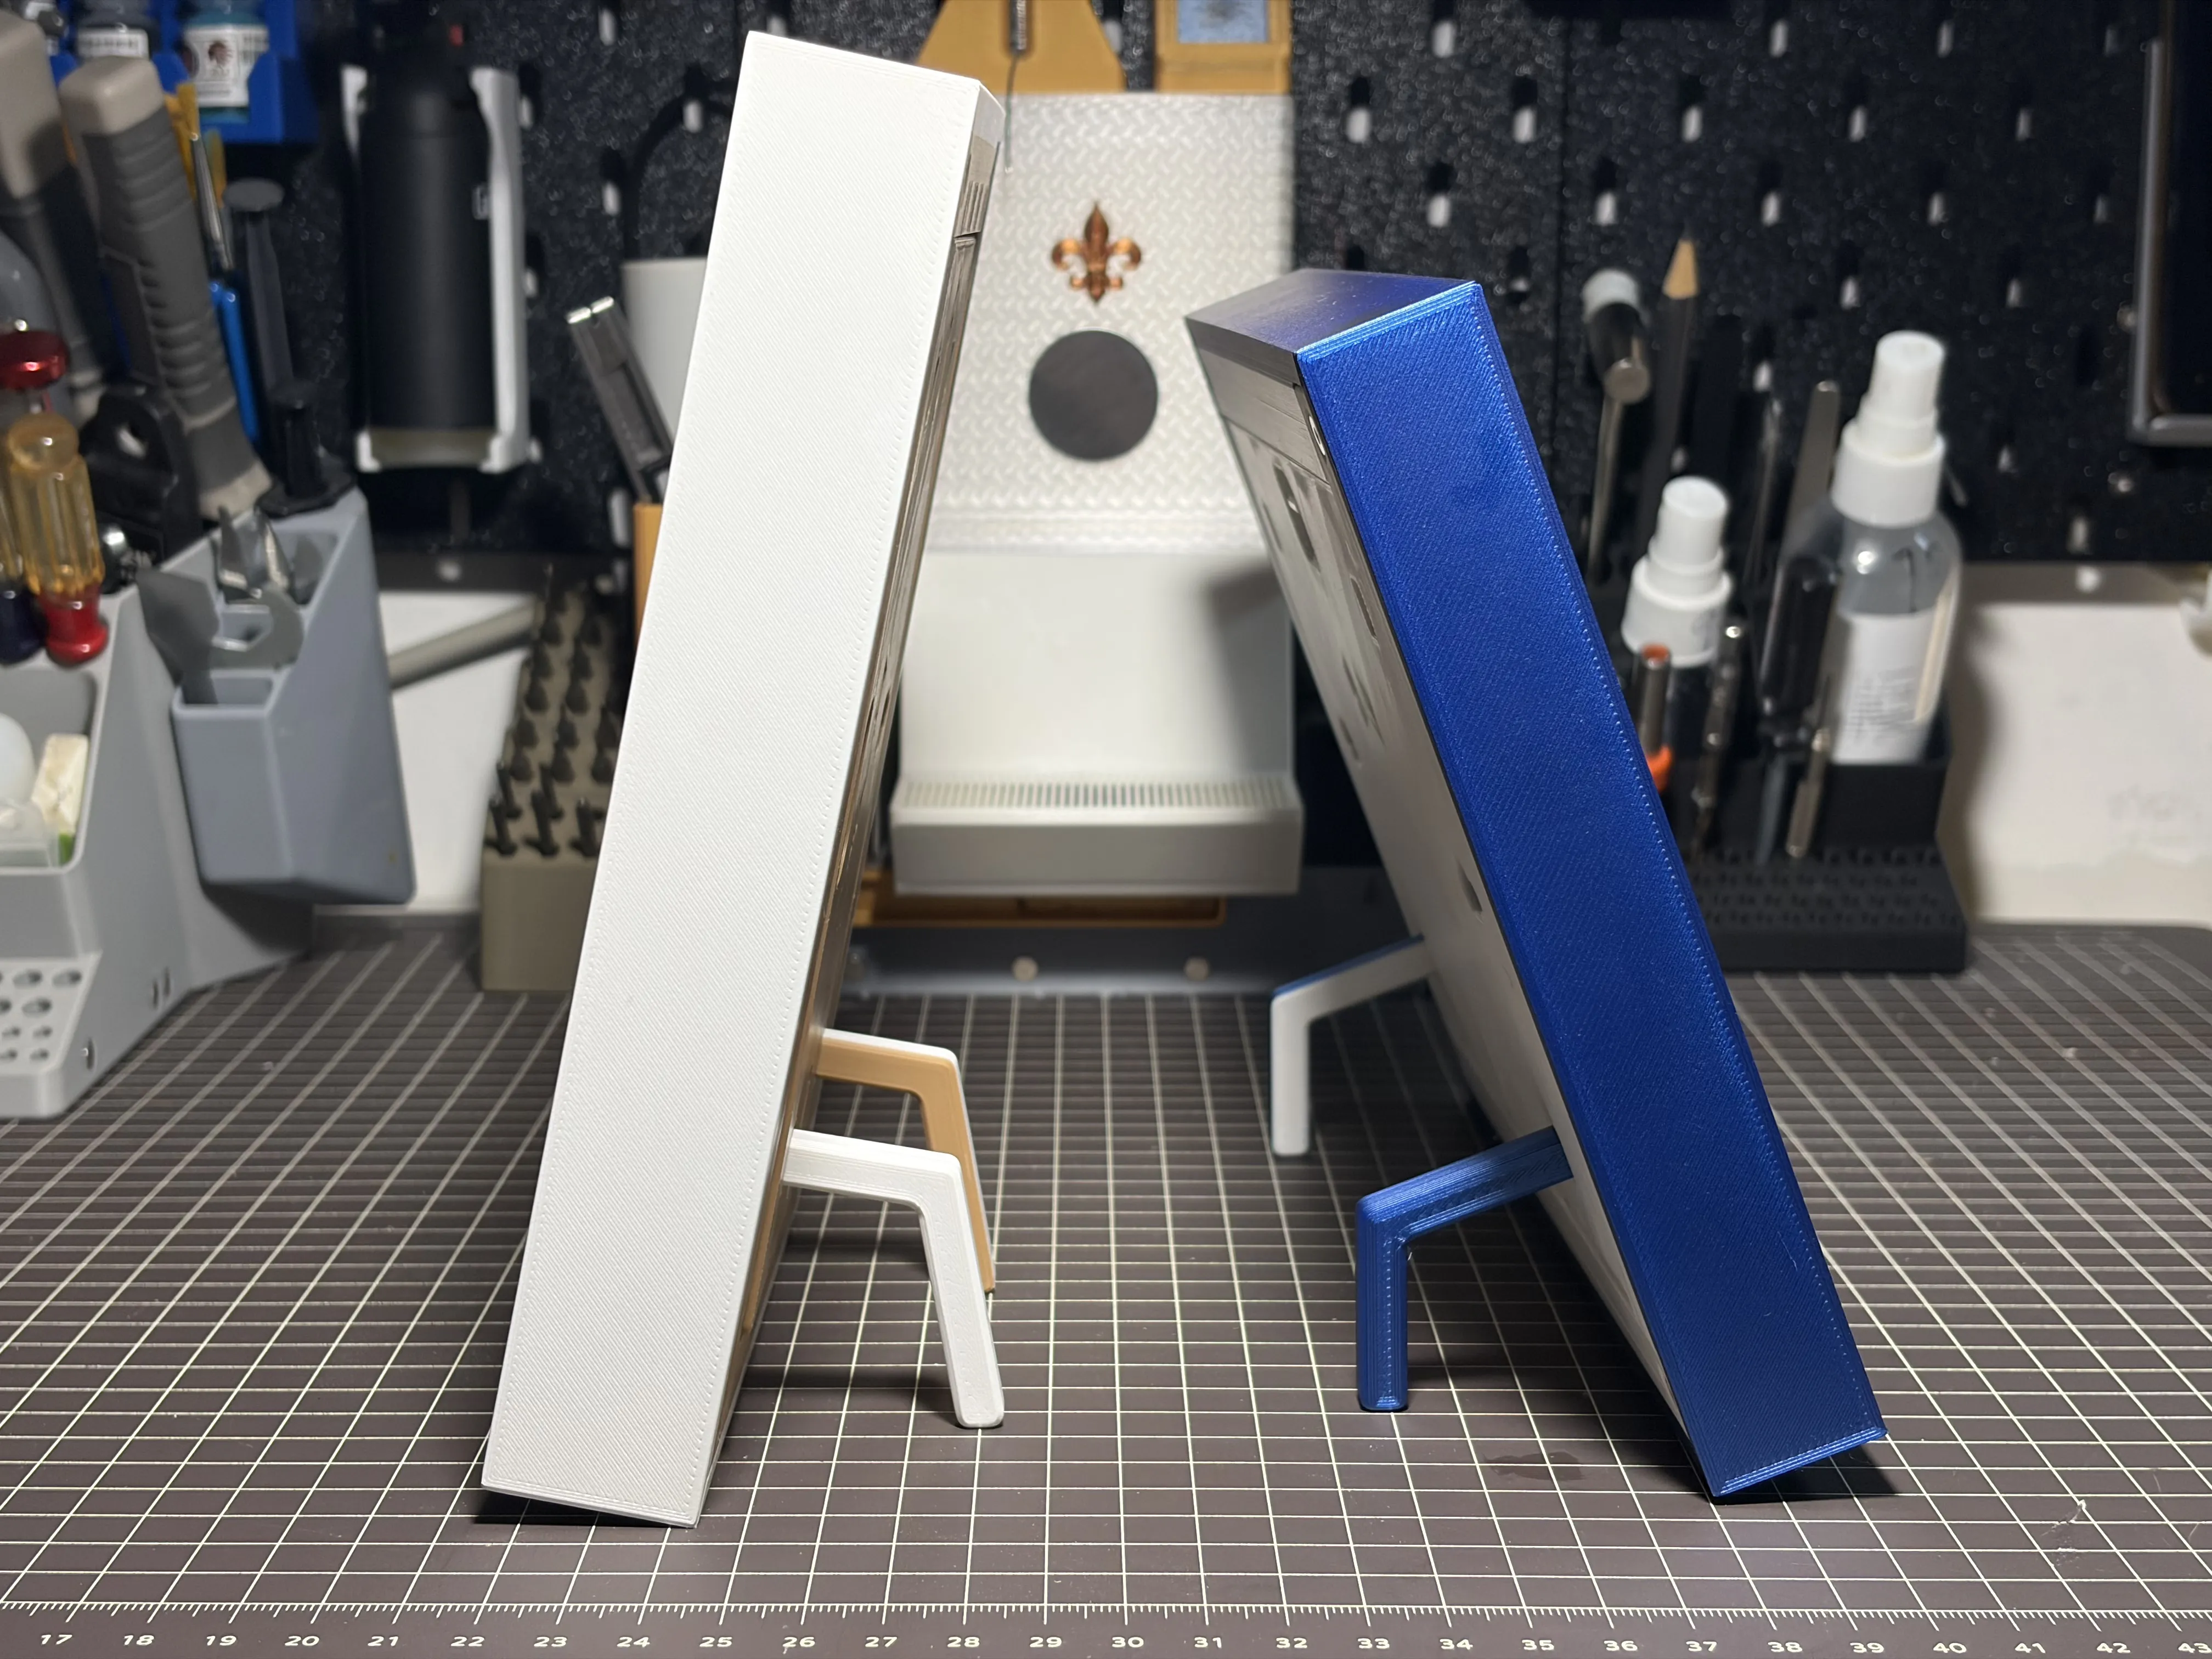
This photo frame integrates 5 display and fixing solutions, universally applicable for horizontal and vertical placement, adapting to various installation scenarios:
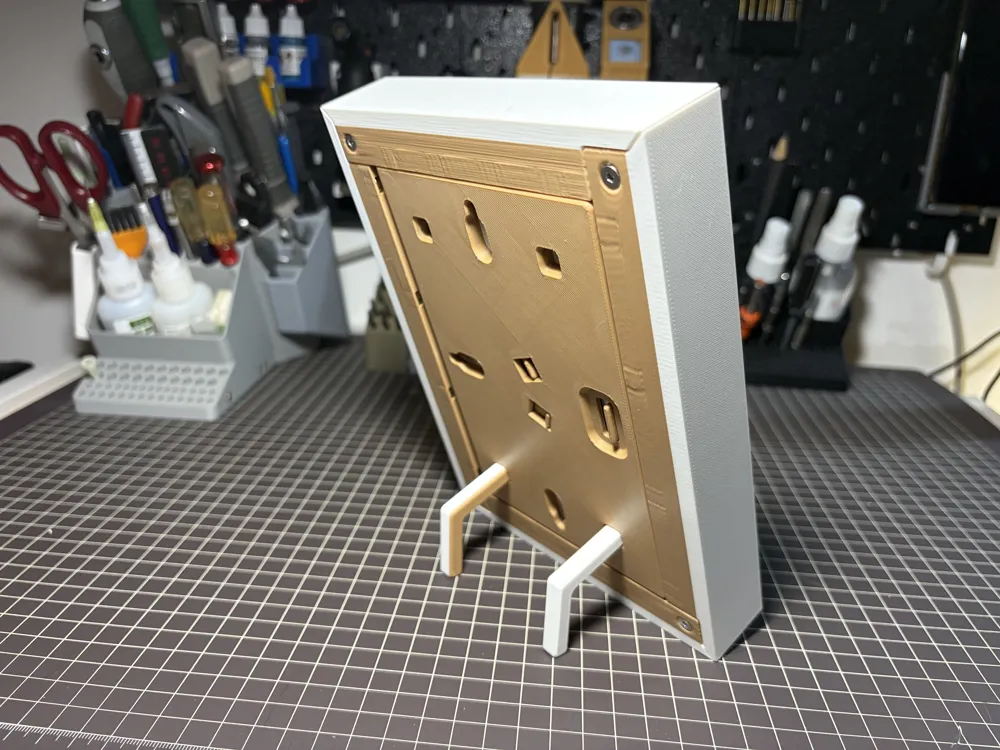
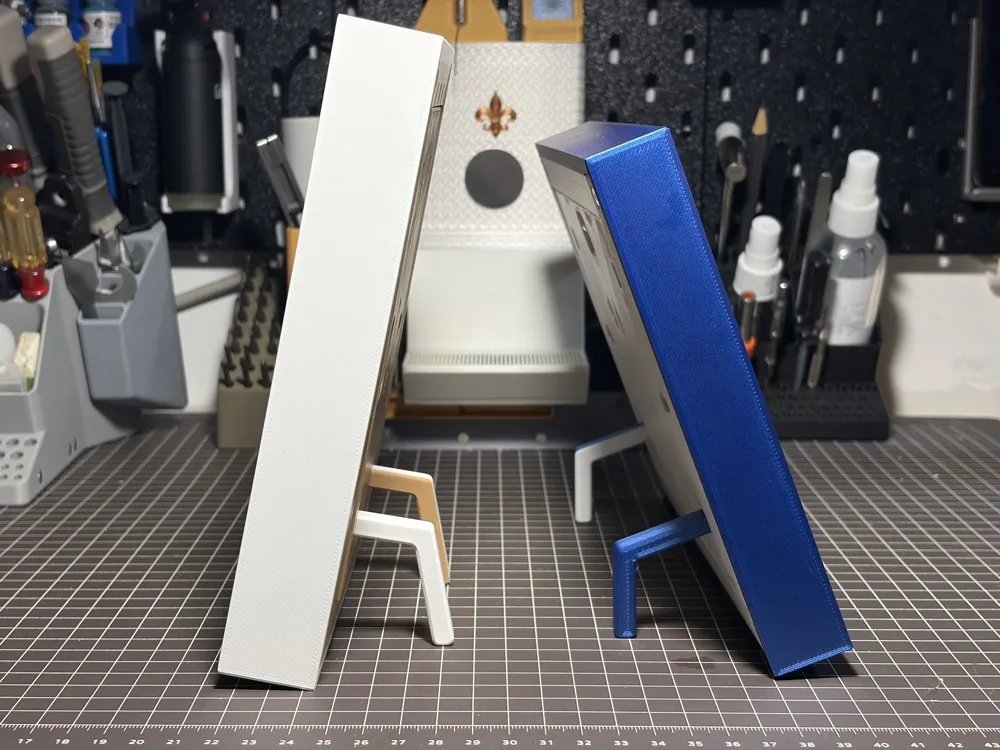
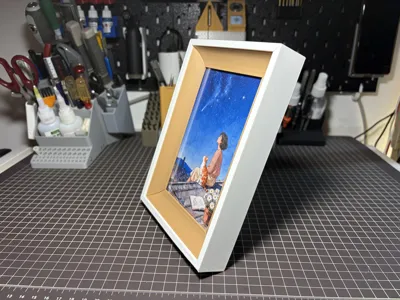
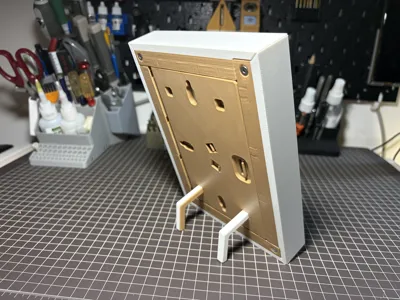
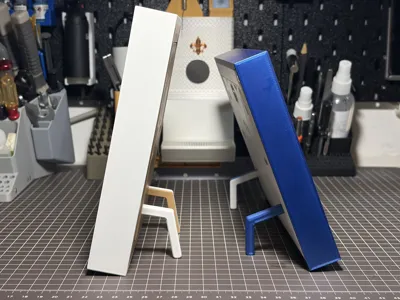
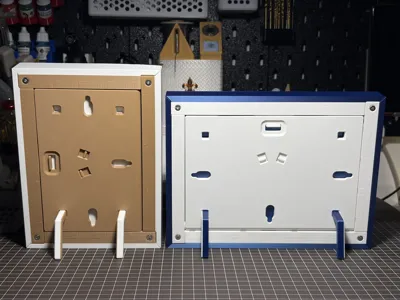
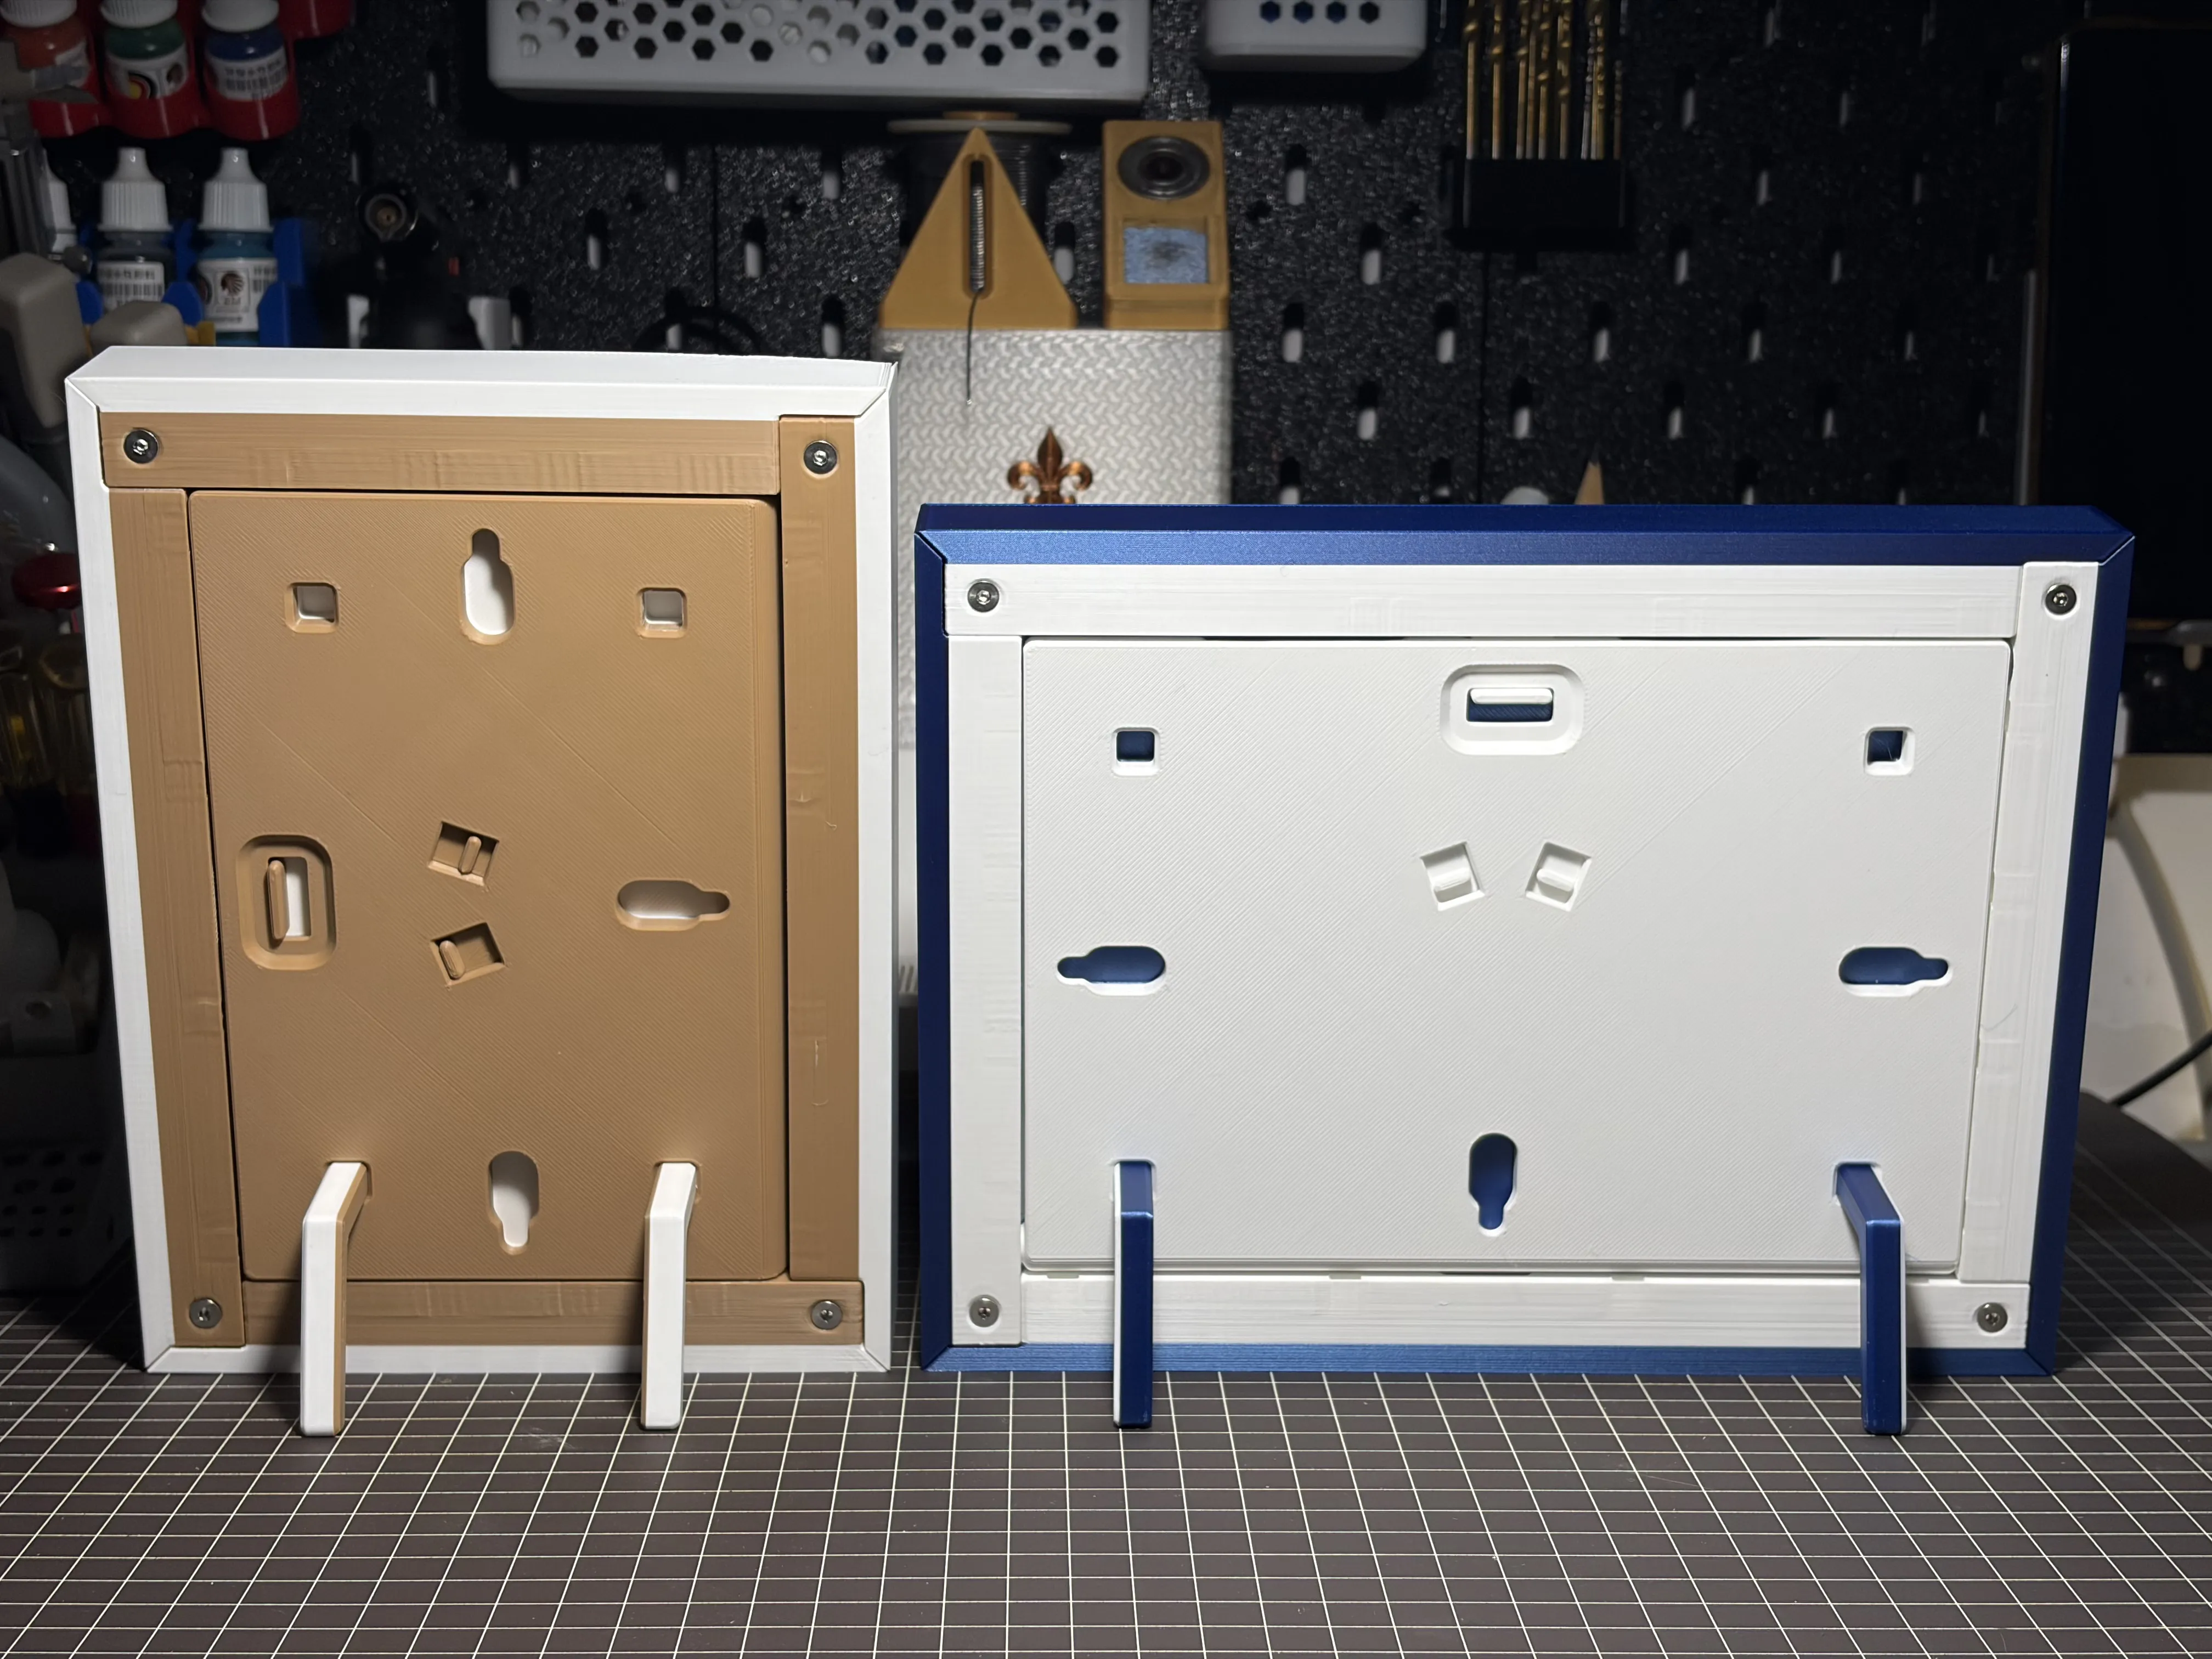
Desktop Vertical DisplayEquipped with dedicated support legs, supporting dual-angle adjustment: inserting the long side allows for a 70° tilted display, while inserting the short side allows for an 80° tilted display, matching everyday viewing angles; the same pair of support legs is compatible with both horizontal and vertical placement of the photo frame, eliminating the need to replace accessories.
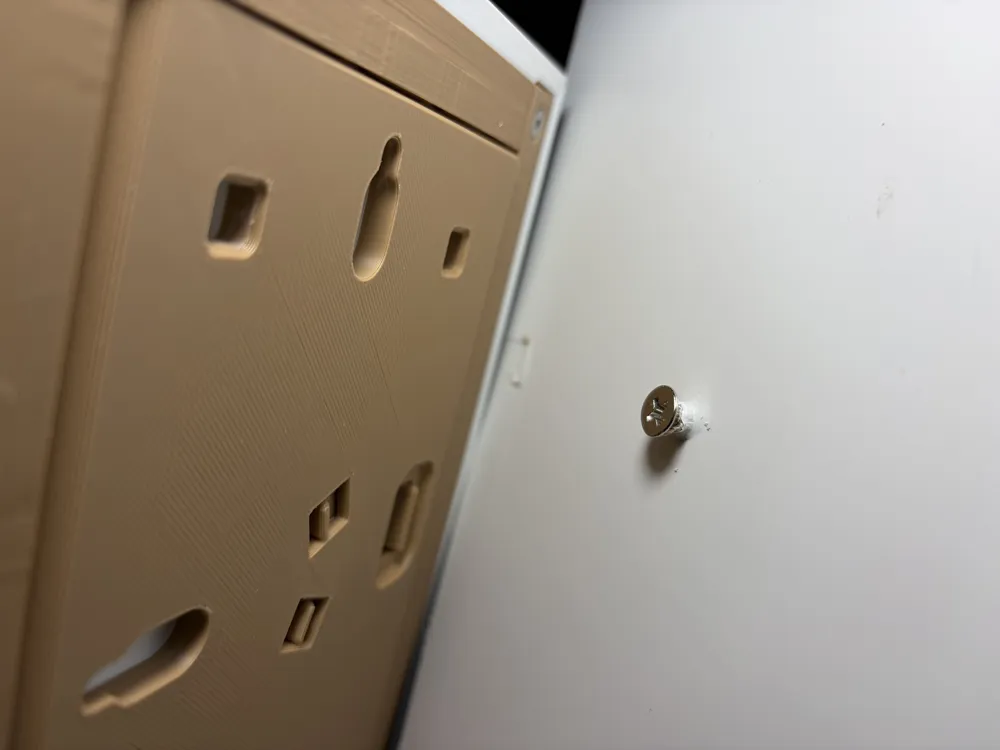
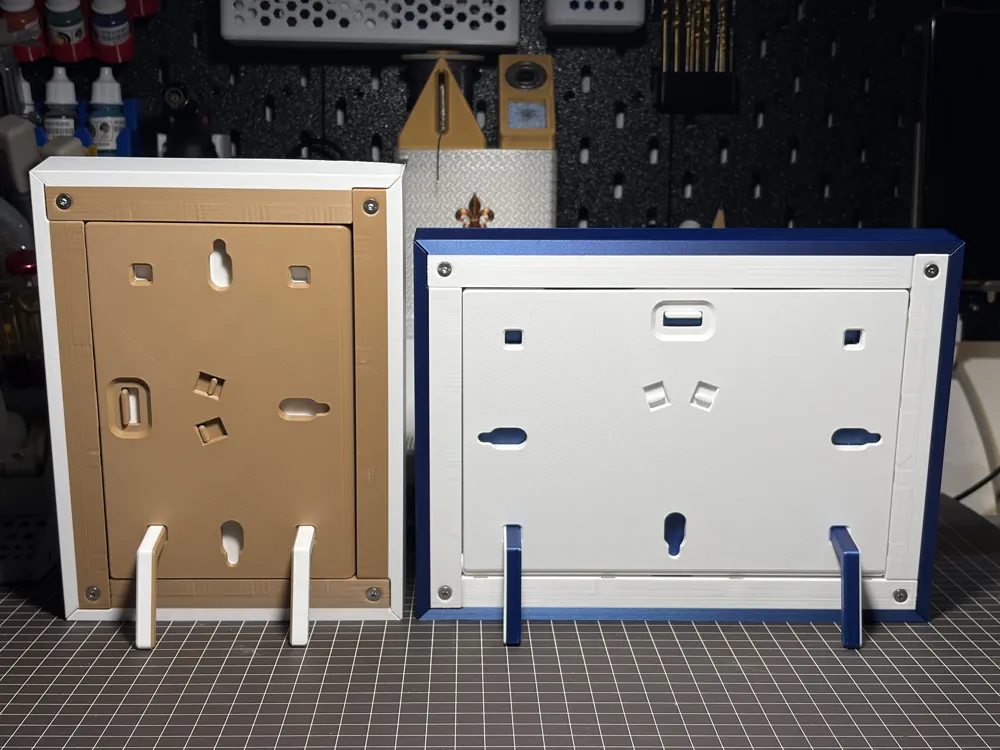
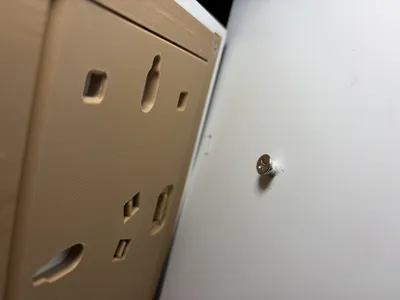
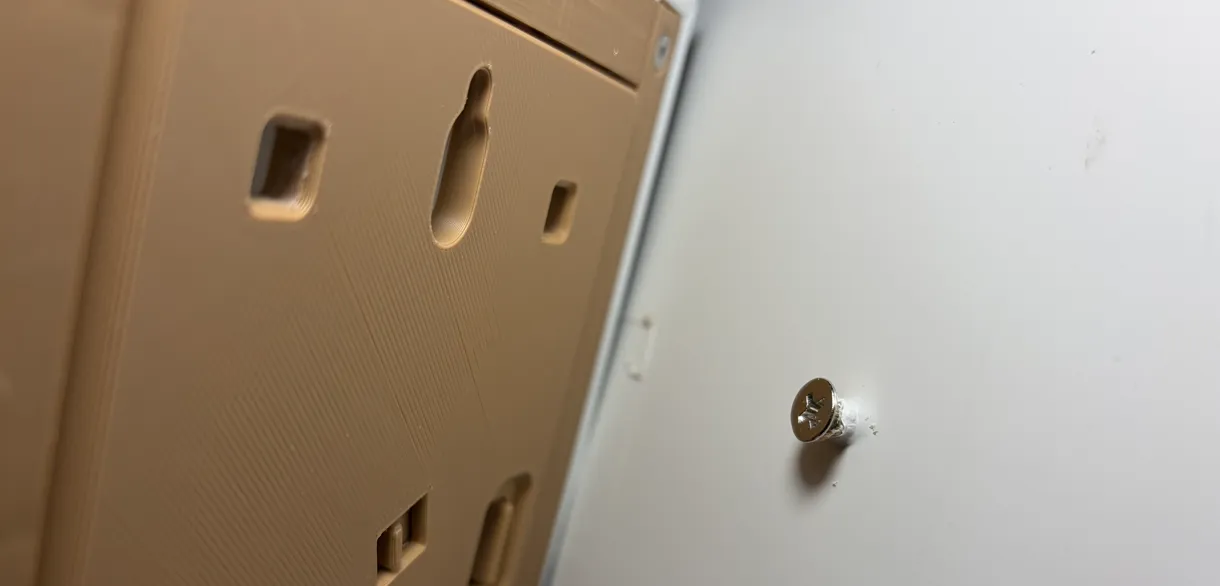
Wall Mounting with Countersunk ScrewsCountersunk holes are reserved on the back, compatible with M4/M5 countersunk self-tapping screws, ensuring stable and durable installation.
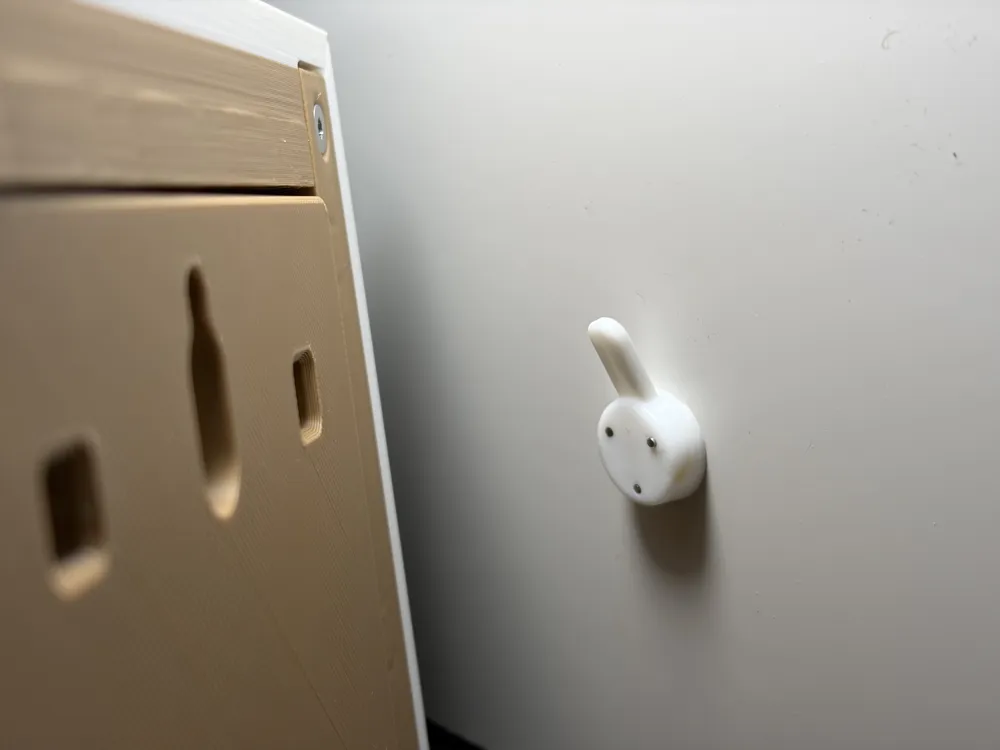
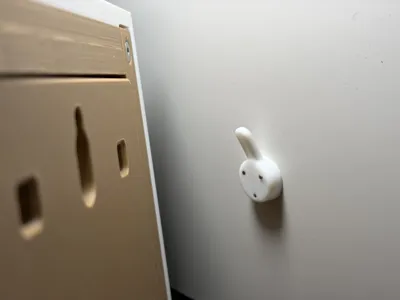
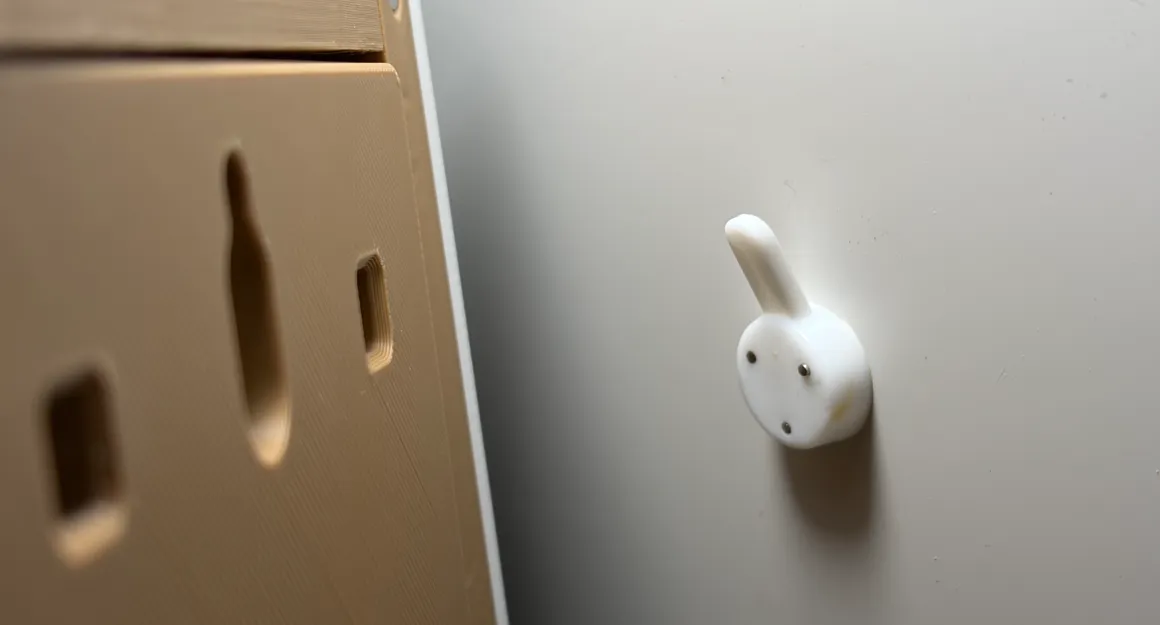
Wall Hanging with HooksCompatible with common plastic nail hooks for photo frames on the market, adapting to common household hanging accessories for easy installation.
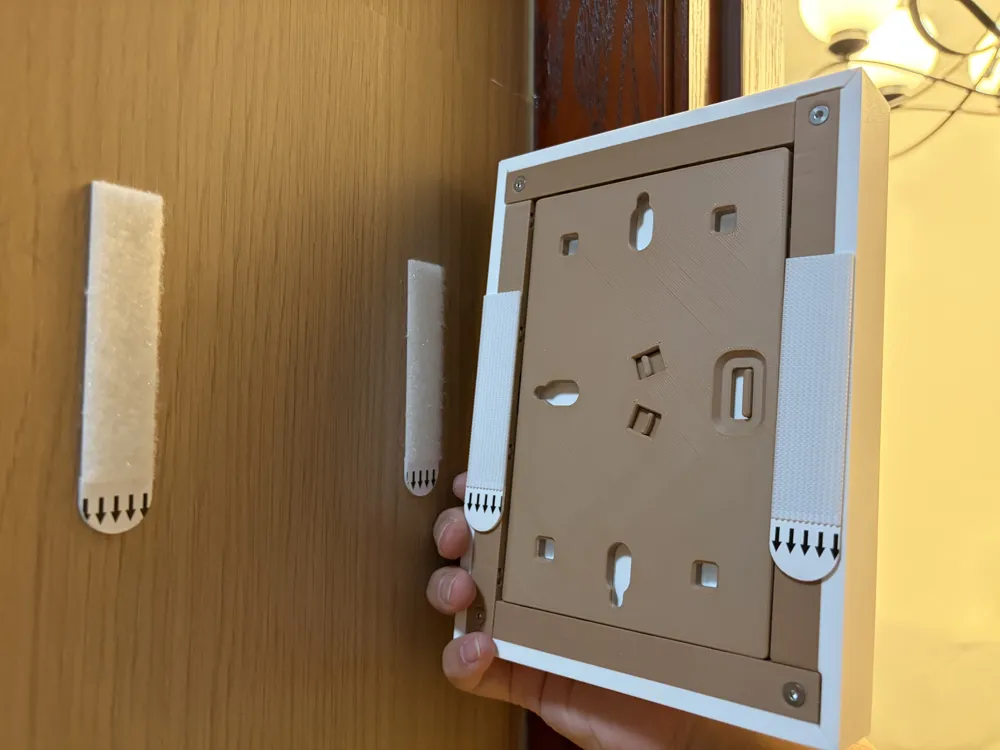
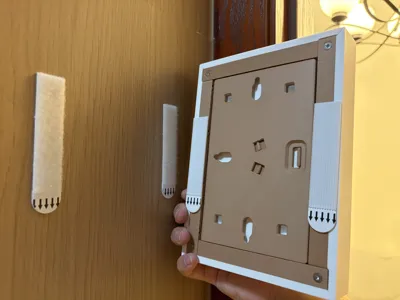
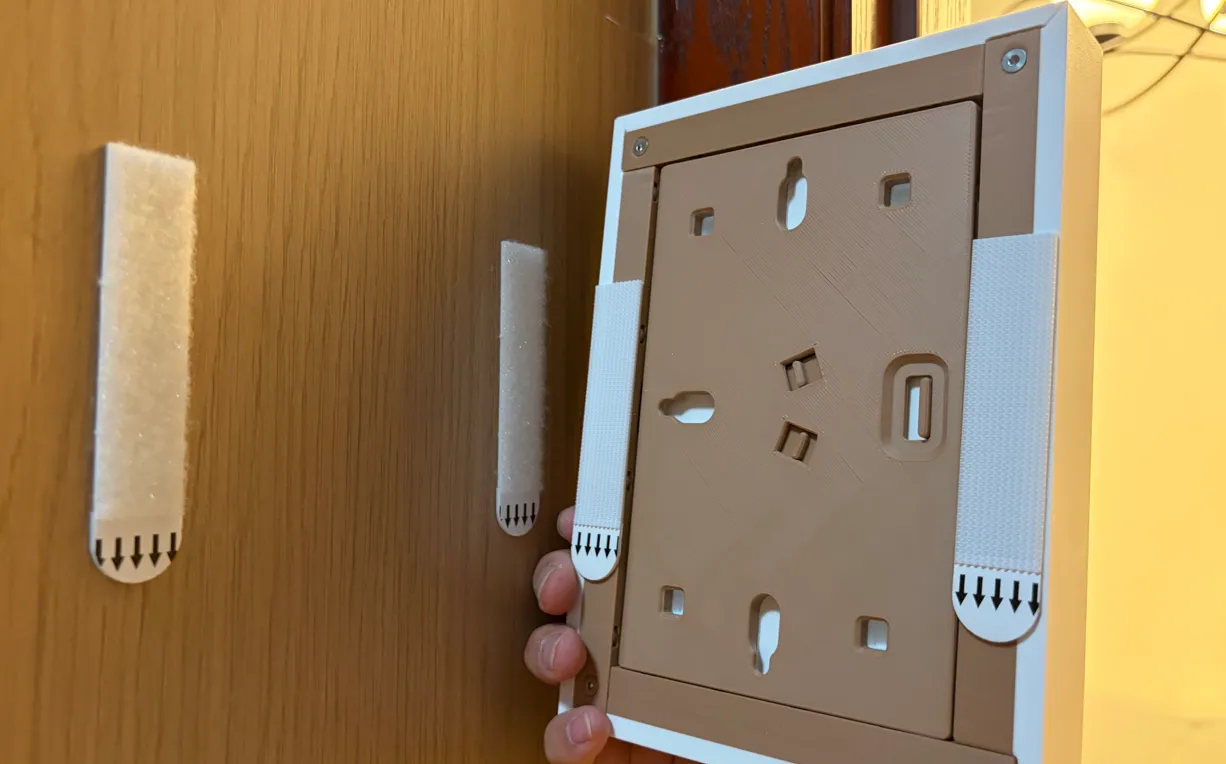
Can be fixed with special picture hanging adhesive strips for photo frames, no drilling required, no damage to walls, suitable for rental homes, decorated walls, and other scenarios.
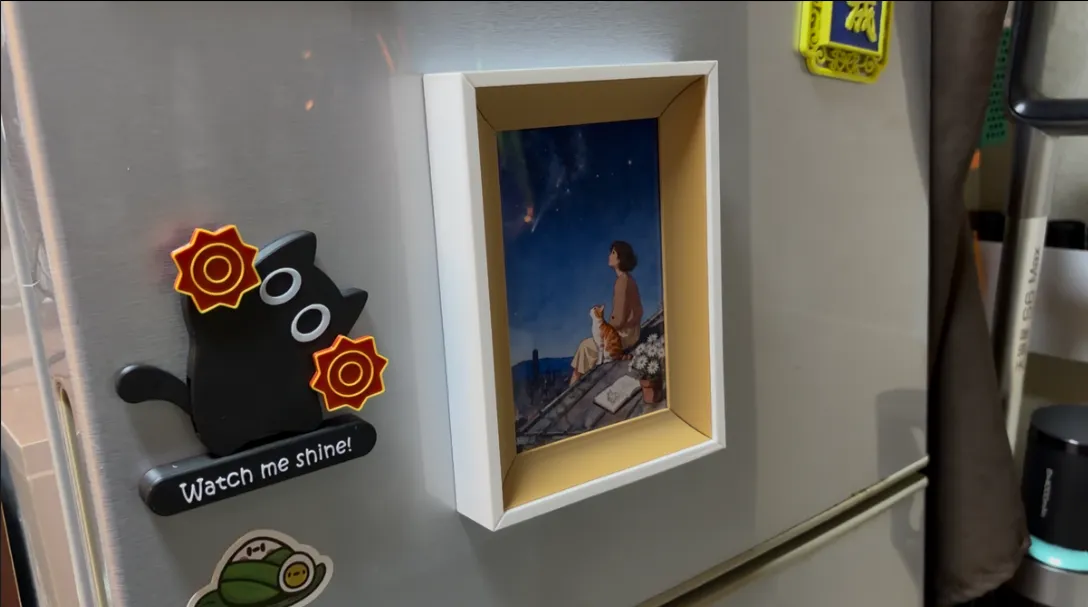
Magnetic Adsorption on Metal SurfacesMagnet slots are reserved on the frame, allowing it to directly adhere to ferrous surfaces such as refrigerators and metal cabinets after installing strong magnets, offering flexible and customizable placement.
IV. Core Structural Design
1. Flip-Open Back Cover for One-Click Opening and Photo Replacement
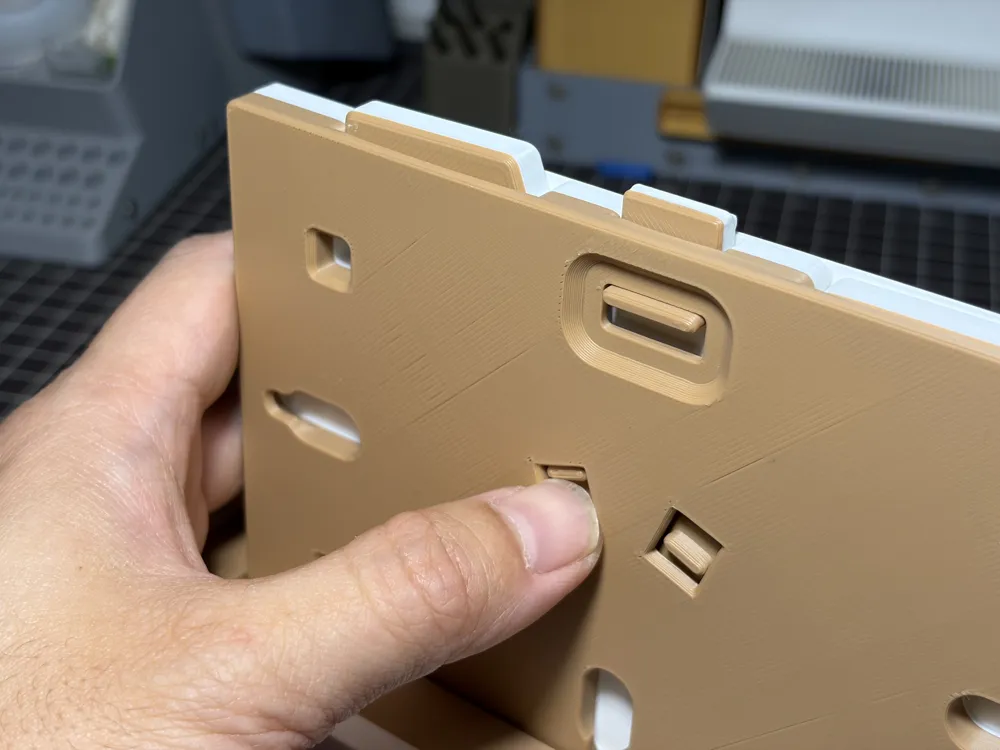
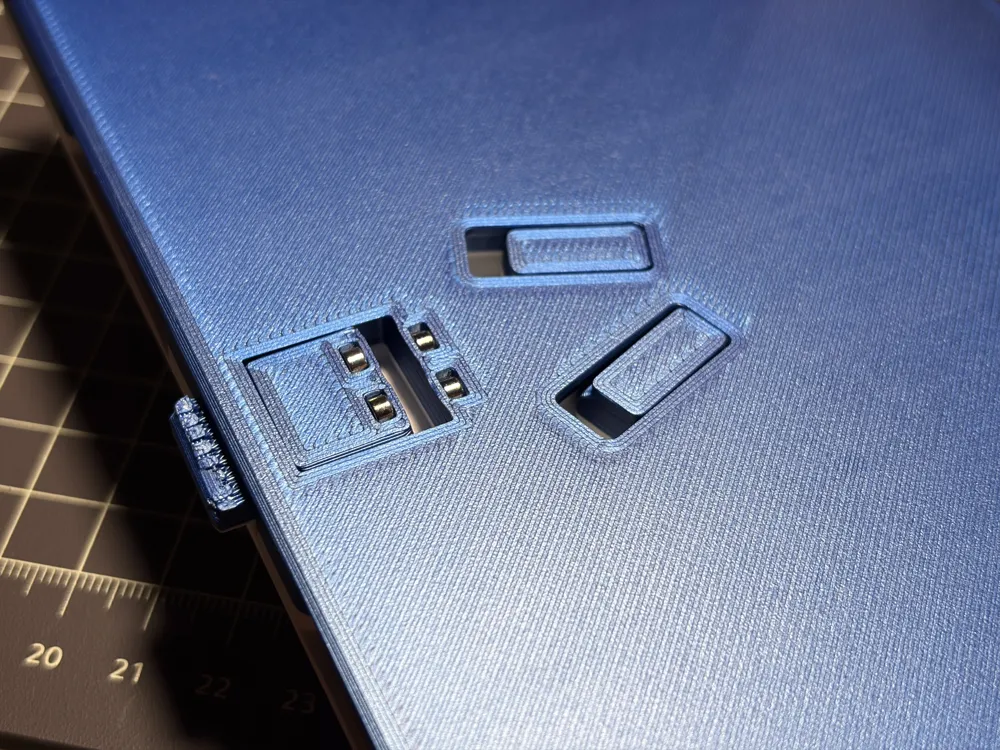
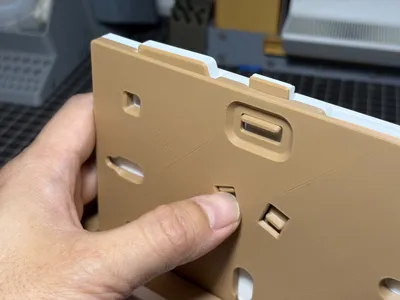
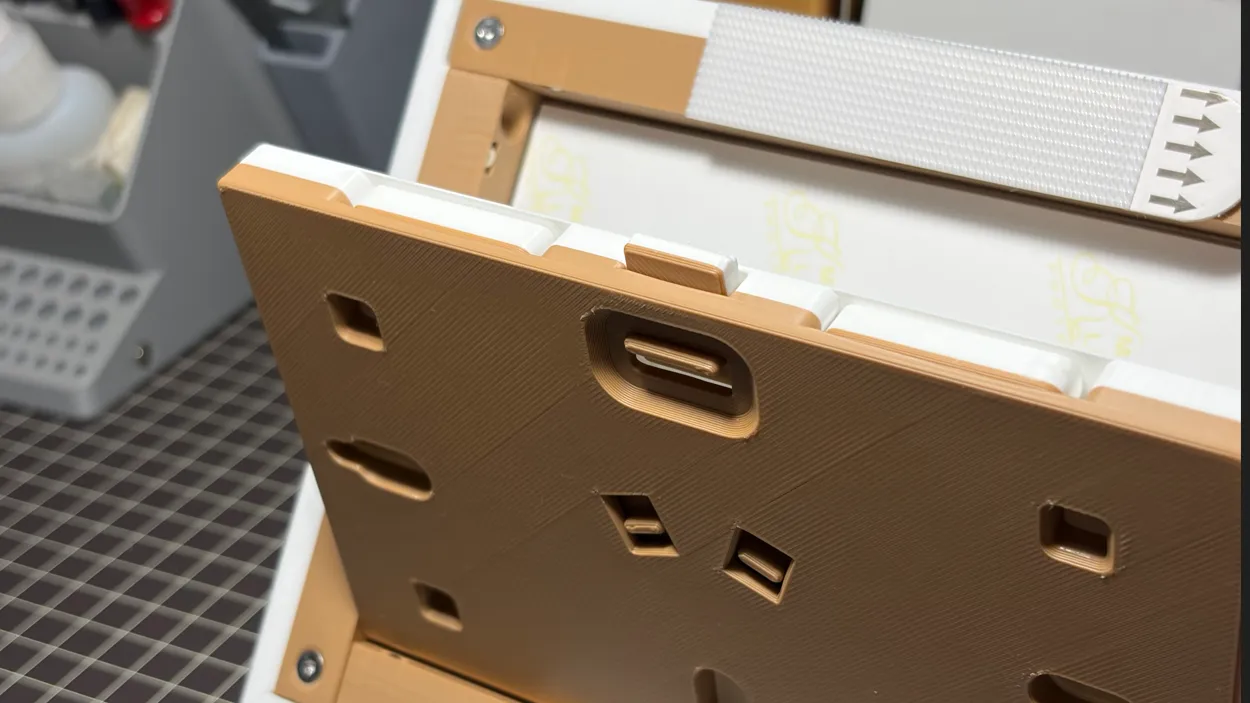
It features a rear flip-open back cover design, allowing photos to be inserted by simply opening the back cover; it has a built-in installation slot for photo frame specific acrylic sheets, with a 2mm gap reserved between the back panel and the frame, compatible with the combined thickness of a 1mm thick acrylic sheet + standard photo paper. The buckle is integrally 3D printed, achieving automatic locking through magnetic spring force, allowing for quick opening by pressing the buckle, making photo replacement smooth and convenient.
2. Retractable Support Legs
The support legs have a built-in storage structure, with a lever on the back; pushing the lever extends or retracts the support legs. When the back cover is closed, the support legs are completely hidden inside the photo frame, maintaining a clean appearance and facilitating storage.
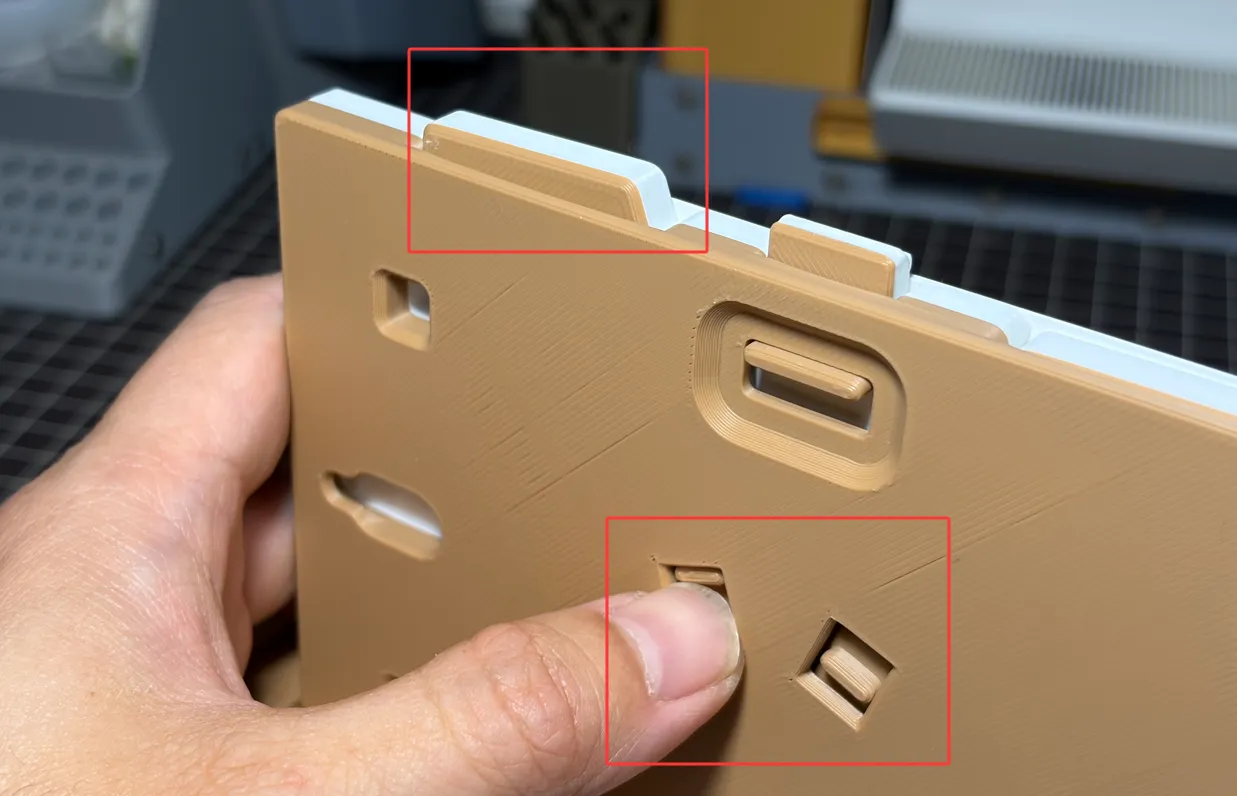
3. Dual Magnetic System Design
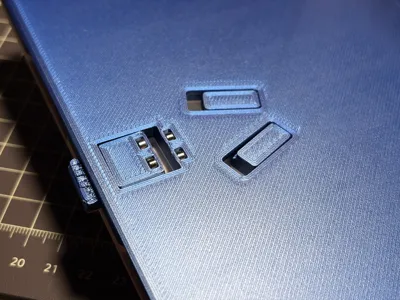
Frame Magnetic System: A total of 16 magnet slots are reserved on the frame, compatible with 6×2mm strong magnets. It is recommended to install 8-16 magnets for magnetic adsorption and fixation on metal surfaces.
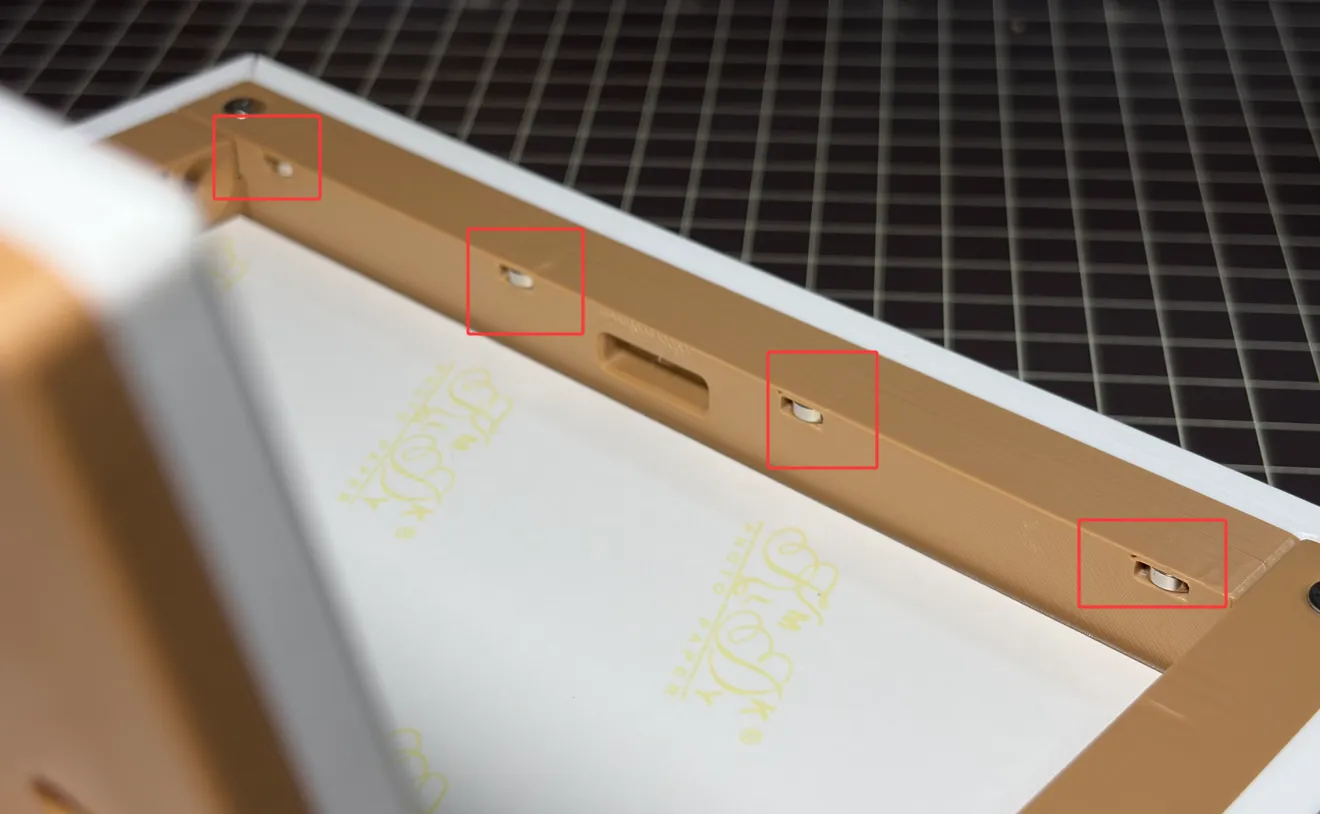
- Buckle Magnetic System: 4 slots are reserved at the buckle of the back cover, compatible with 4×2mm strong magnets. A total of 4 magnets are needed to provide locking force for the buckle.

V. Assembly Instructions
The model uses mortise and tenon positioning + screw fastening structure for simple and secure assembly:
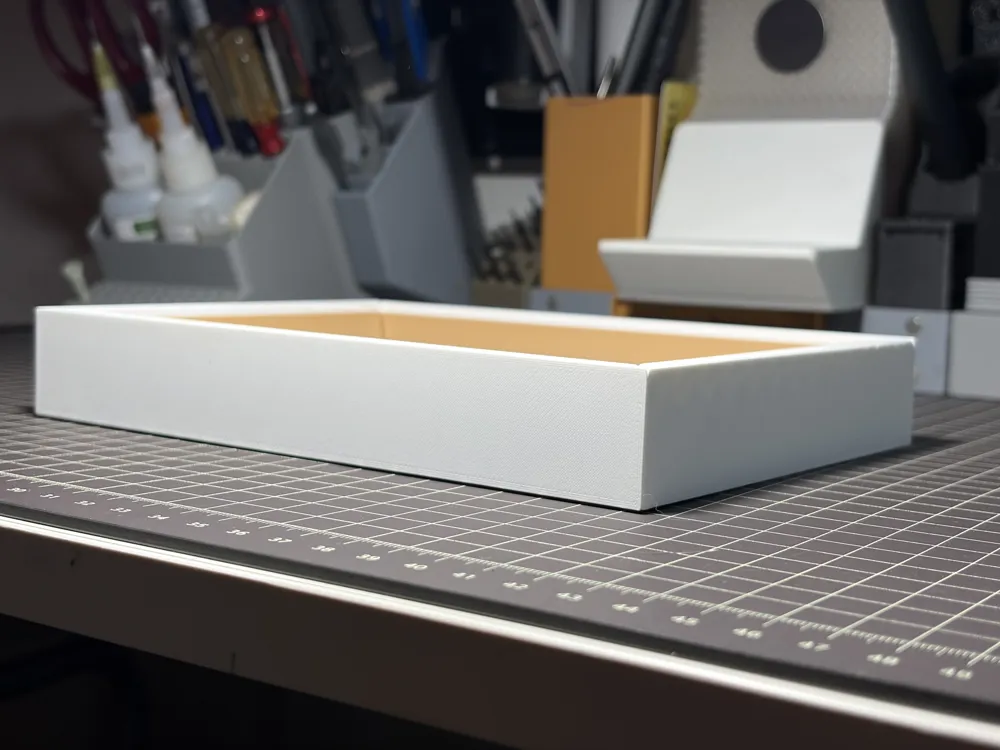
The frame splicing uses a mortise and tenon structure for alignment. After alignment, use 4 M3 countersunk screws to fasten it. Recommended screw lengths of M3×10mm to M3×12mm are suitable.
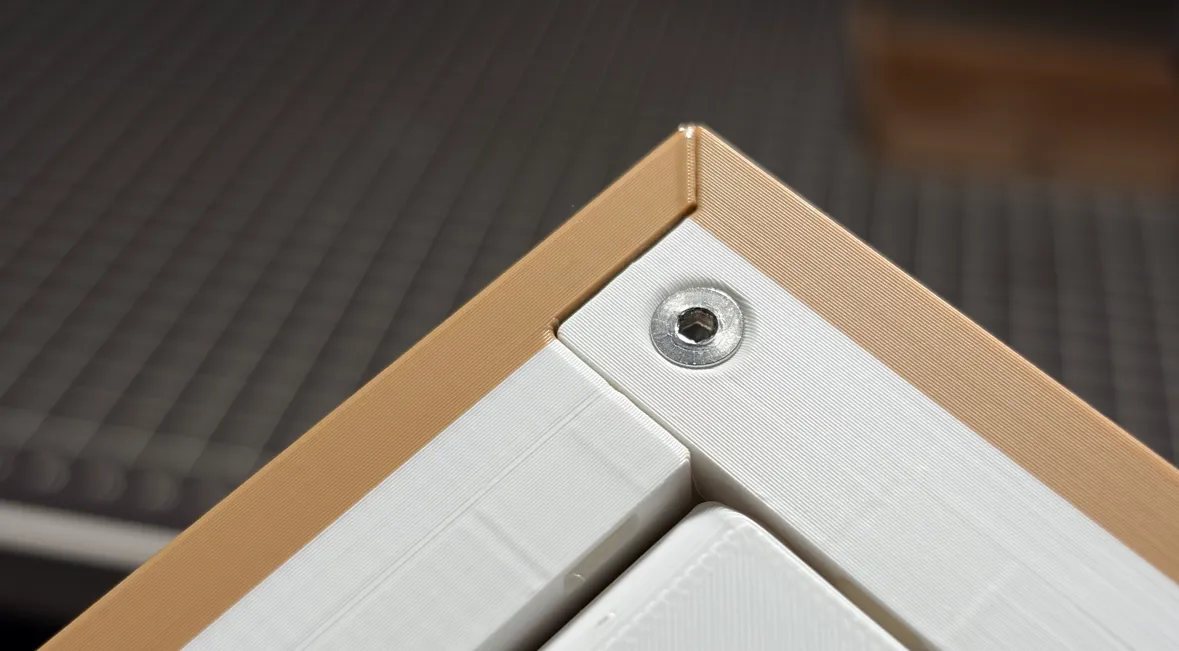
- Embed the corresponding specification magnets into the reserved slots as needed.
- Insert the acrylic sheet and photo, then close the back cover to complete the assembly.
- Installation reference video:
VI. Photo Frame Collection:
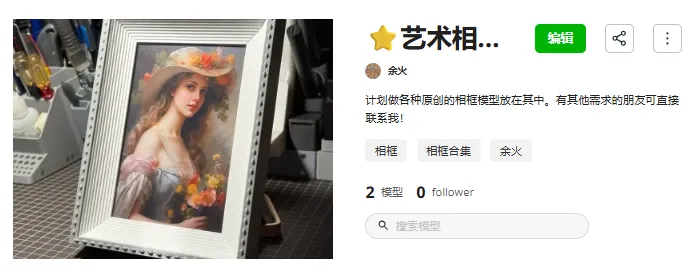
Click the image to view the art photo frame collection (updated 2026.7.14):
Boost Me (for free)
If you have other style or size requirements, please take a photo/leave a comment or send a private message! Thank you for your support!
License

You may create derivative works based on this object, provided that all such derivative works are published exclusively on the MakerWorld platform and include proper attribution to the original creator. You may not share, upload, host, distribute, or publish this object—or any derivative work of this object—on any other digital platform, marketplace, or distribution channel. Commercial use of this object and any derivative works is strictly prohibited. This includes, but is not limited to, selling, renting, sublicensing, or using the object in any context in which you receive monetary compensation or other financial benefits.


Comment & Rating (0)