
Cyberpunk 2077 Airhypo Fidget (No AMS)
Print Profile(1)



Description
Description

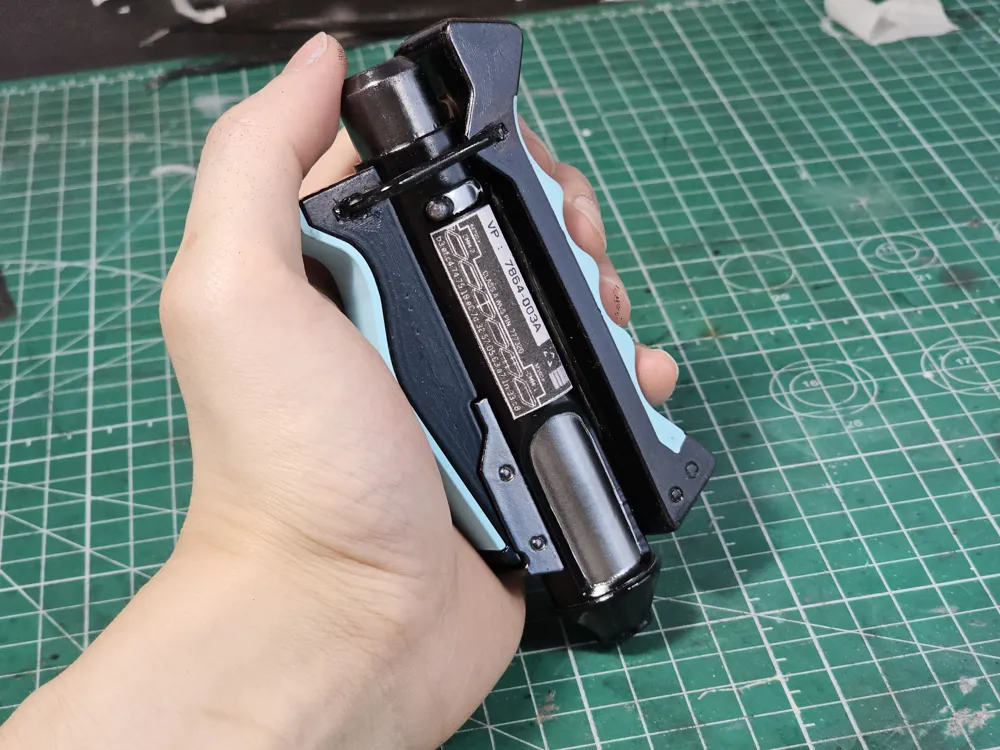
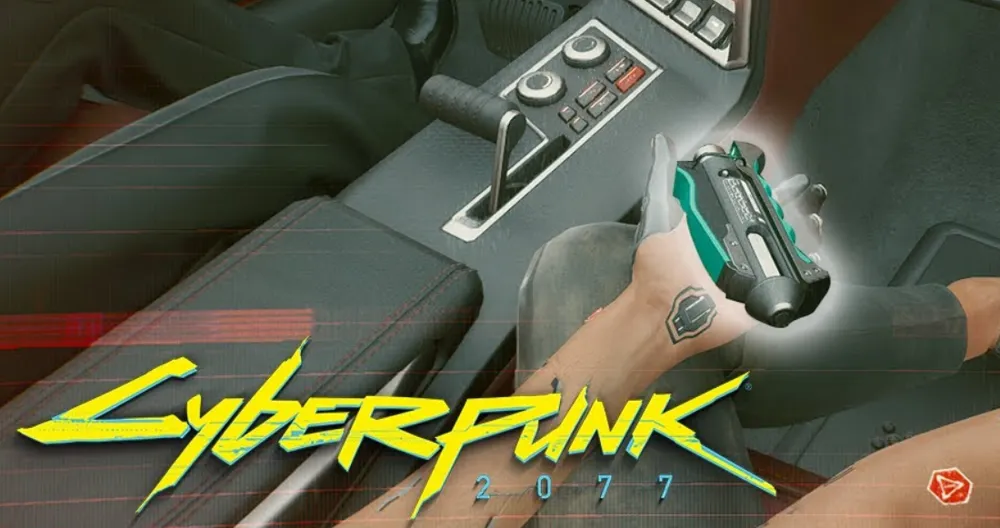
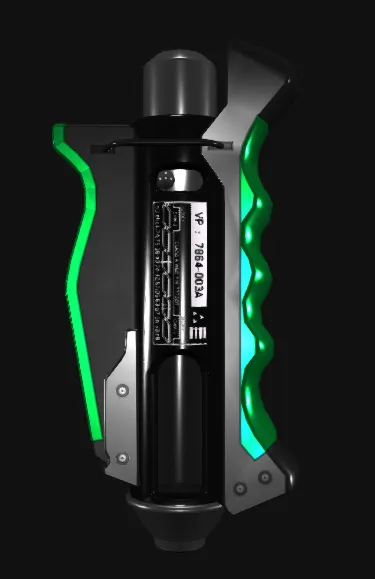
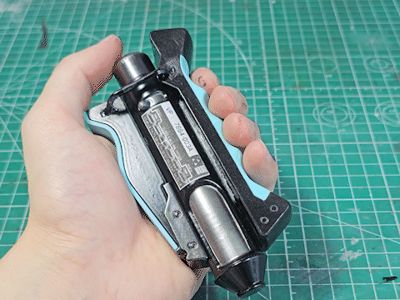
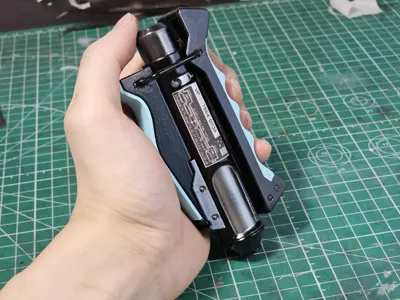
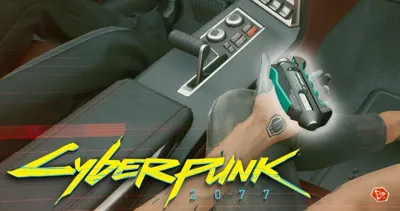
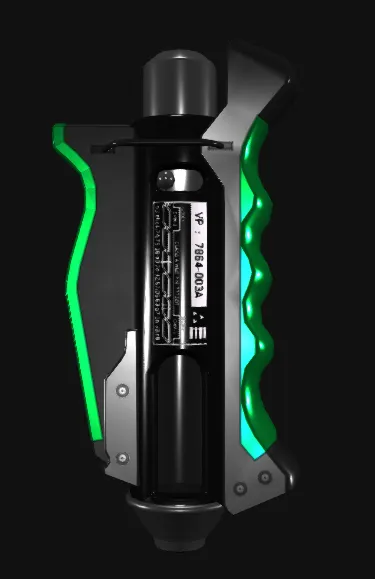
- This is the Airhypo/Bounce Back Healing item from Cyberpunk 2077 remodeled in Solidworks using the game files as reference
Disclaimer
- Thumbnail is a painted version.
- Text is not included in the model.
- The decal I used is included in the "assembly guide" tab
- I printed it on A4 and adhered it using double sided tape.
- Text is not included in the model.
- The Cylindrical body will be fully black without painting.
- You may colour it for AMS but I find this very wasteful so I didn't do it.
Read Before Printing
- Glueing is required for this print.
- Cyanoacrylate/Super Glue is reccomended
- The thumb button part requires a mechanical keyboard switch
Assembly Steps (Decal in documentation tab of this model)
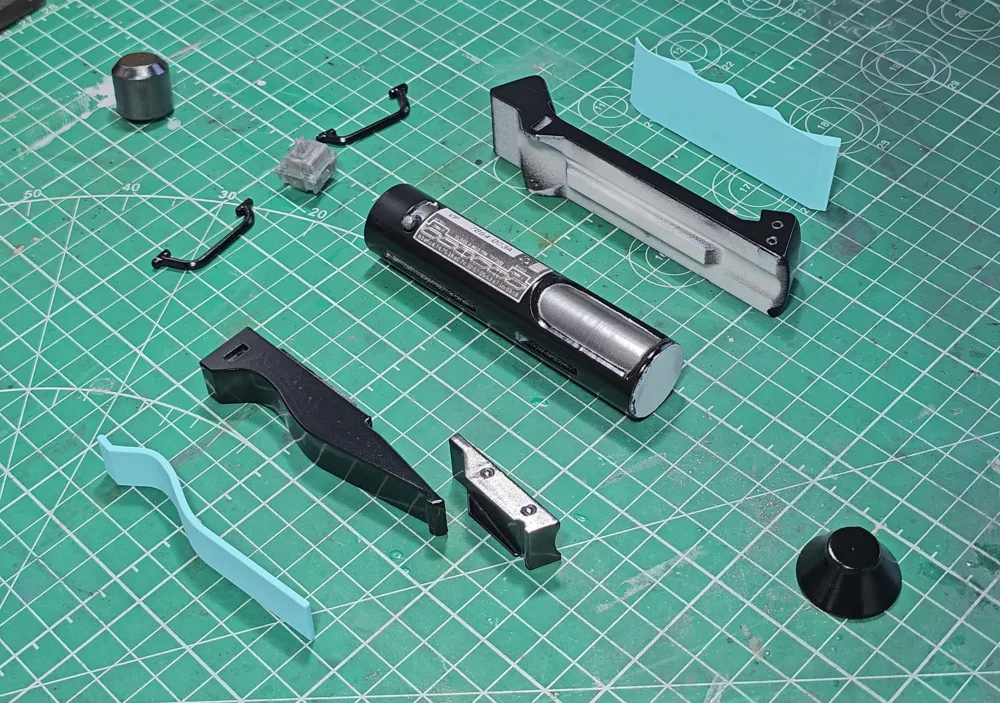
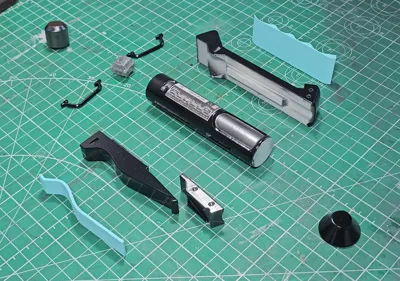
- Assembly should be pretty simple (parts laid out as how they're supposed to attach here)
- If you need more detailed steps, scroll down further.
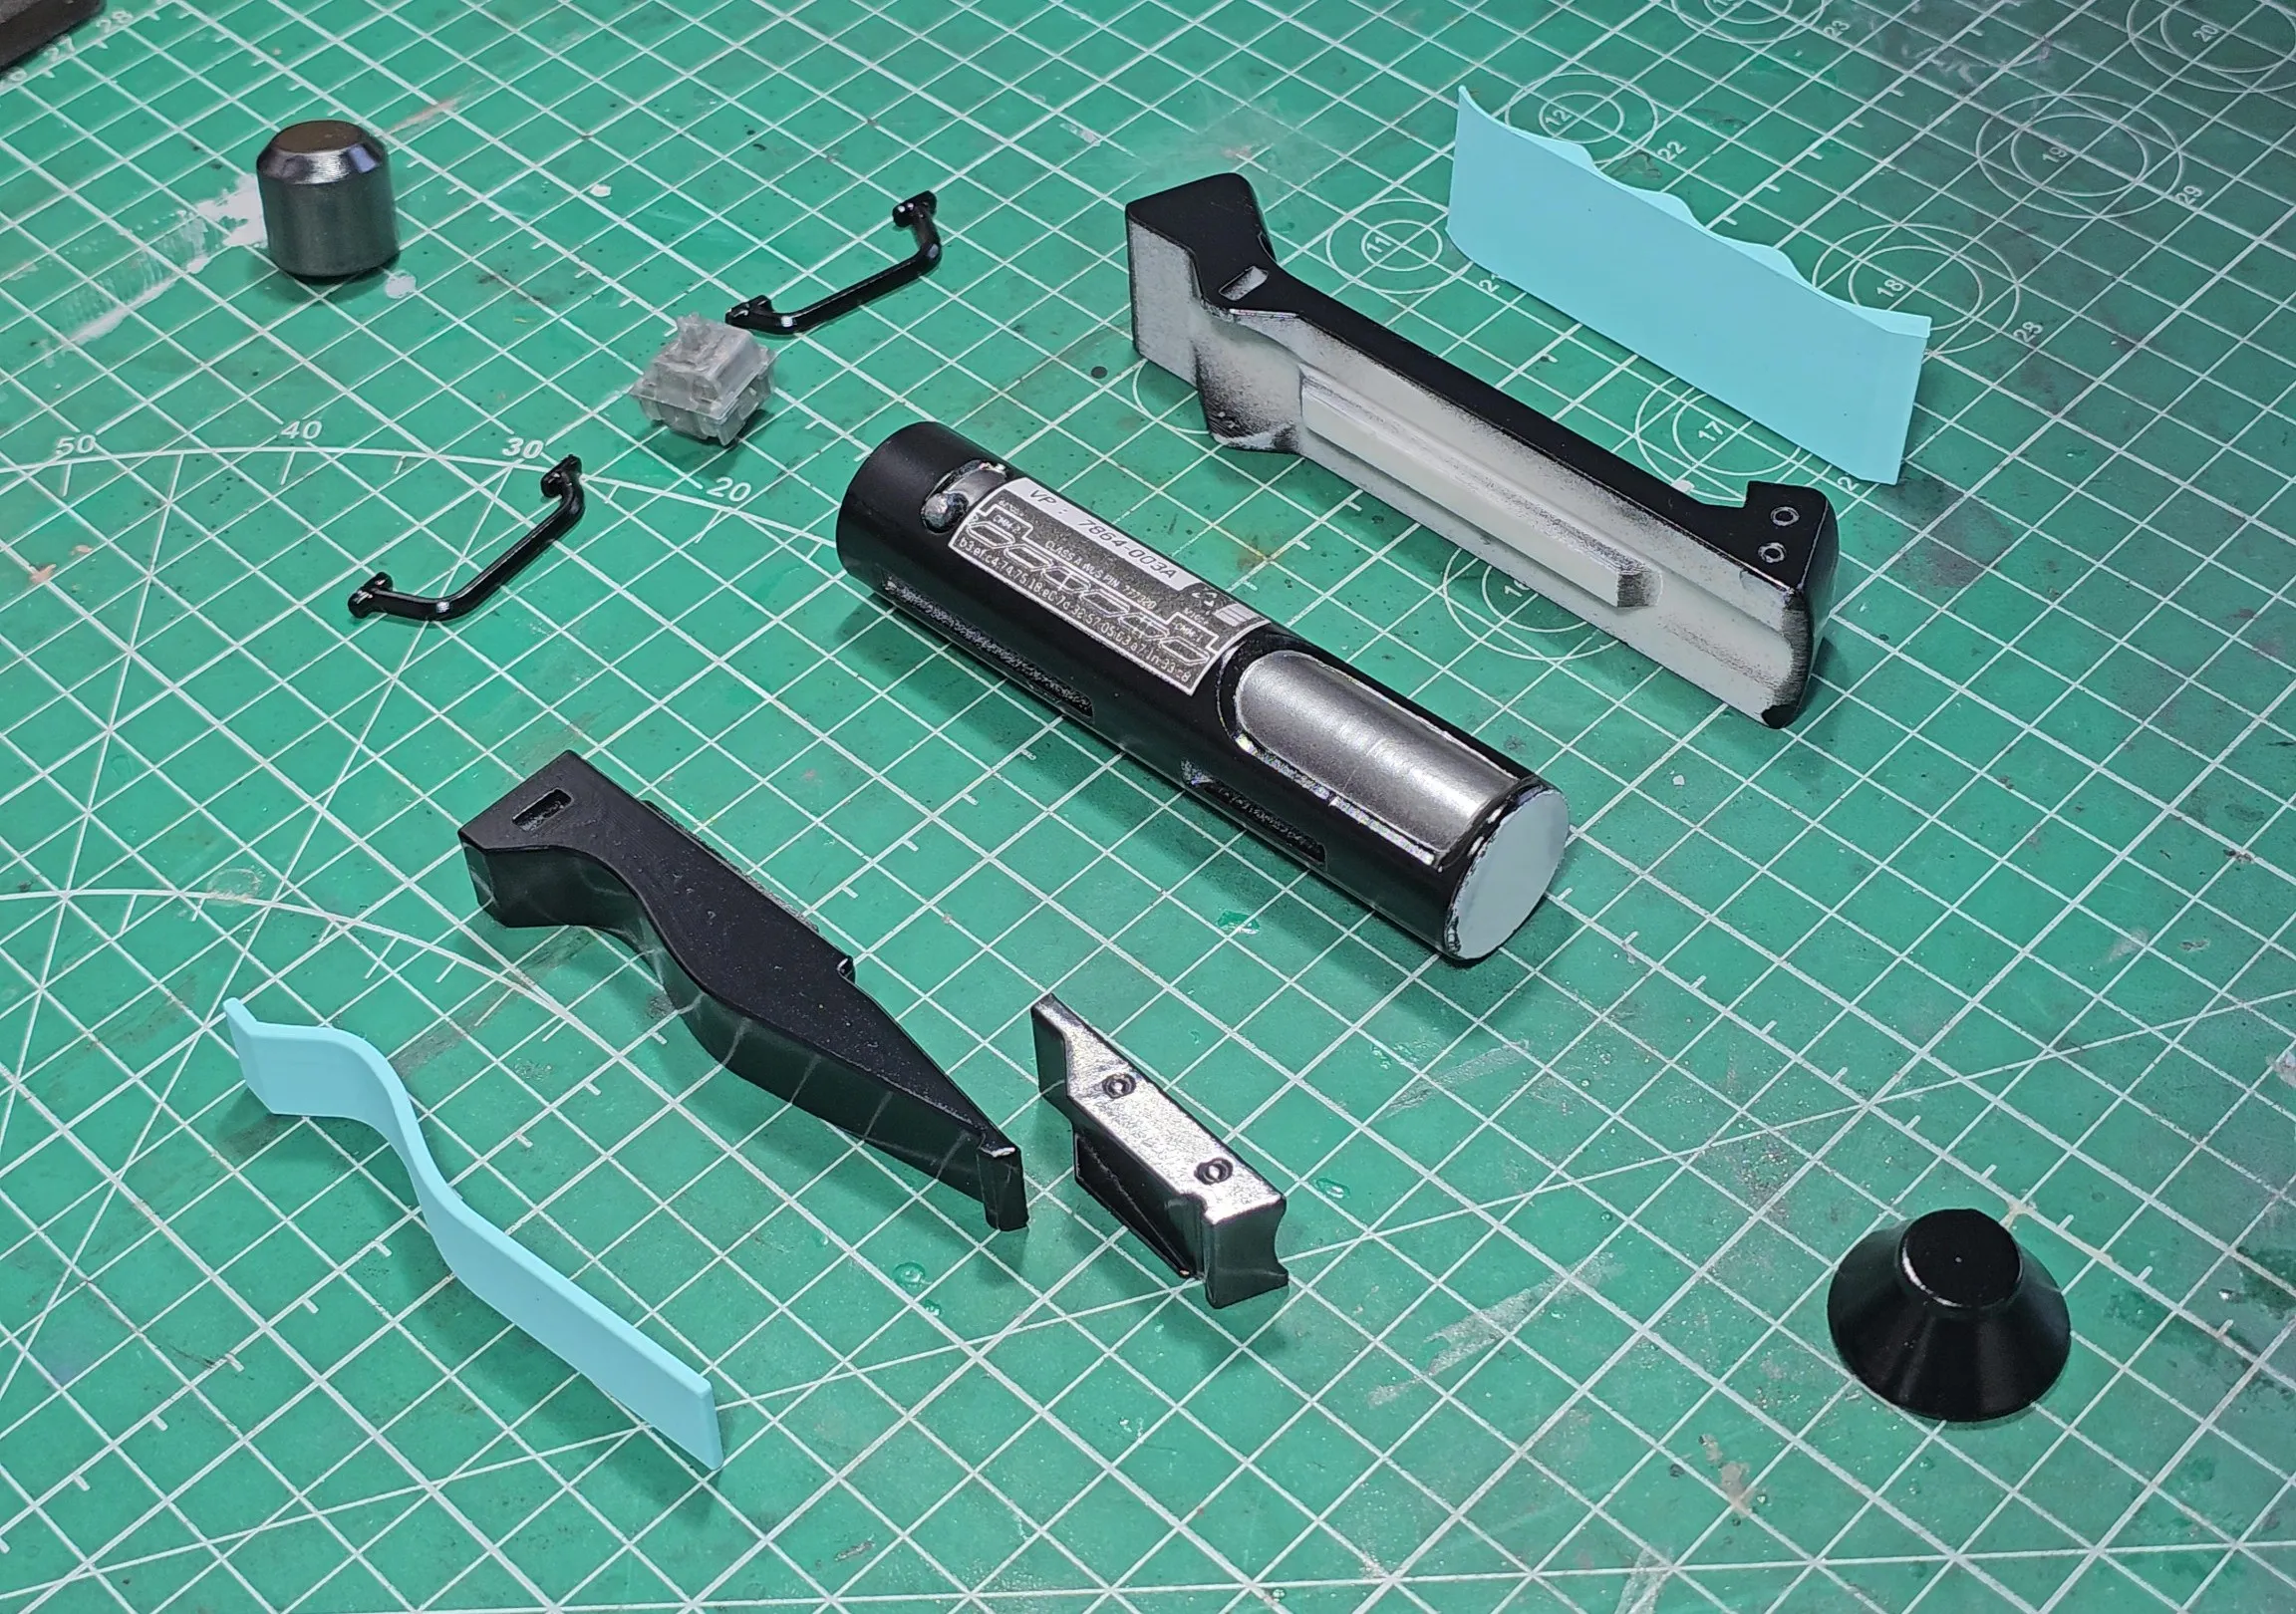
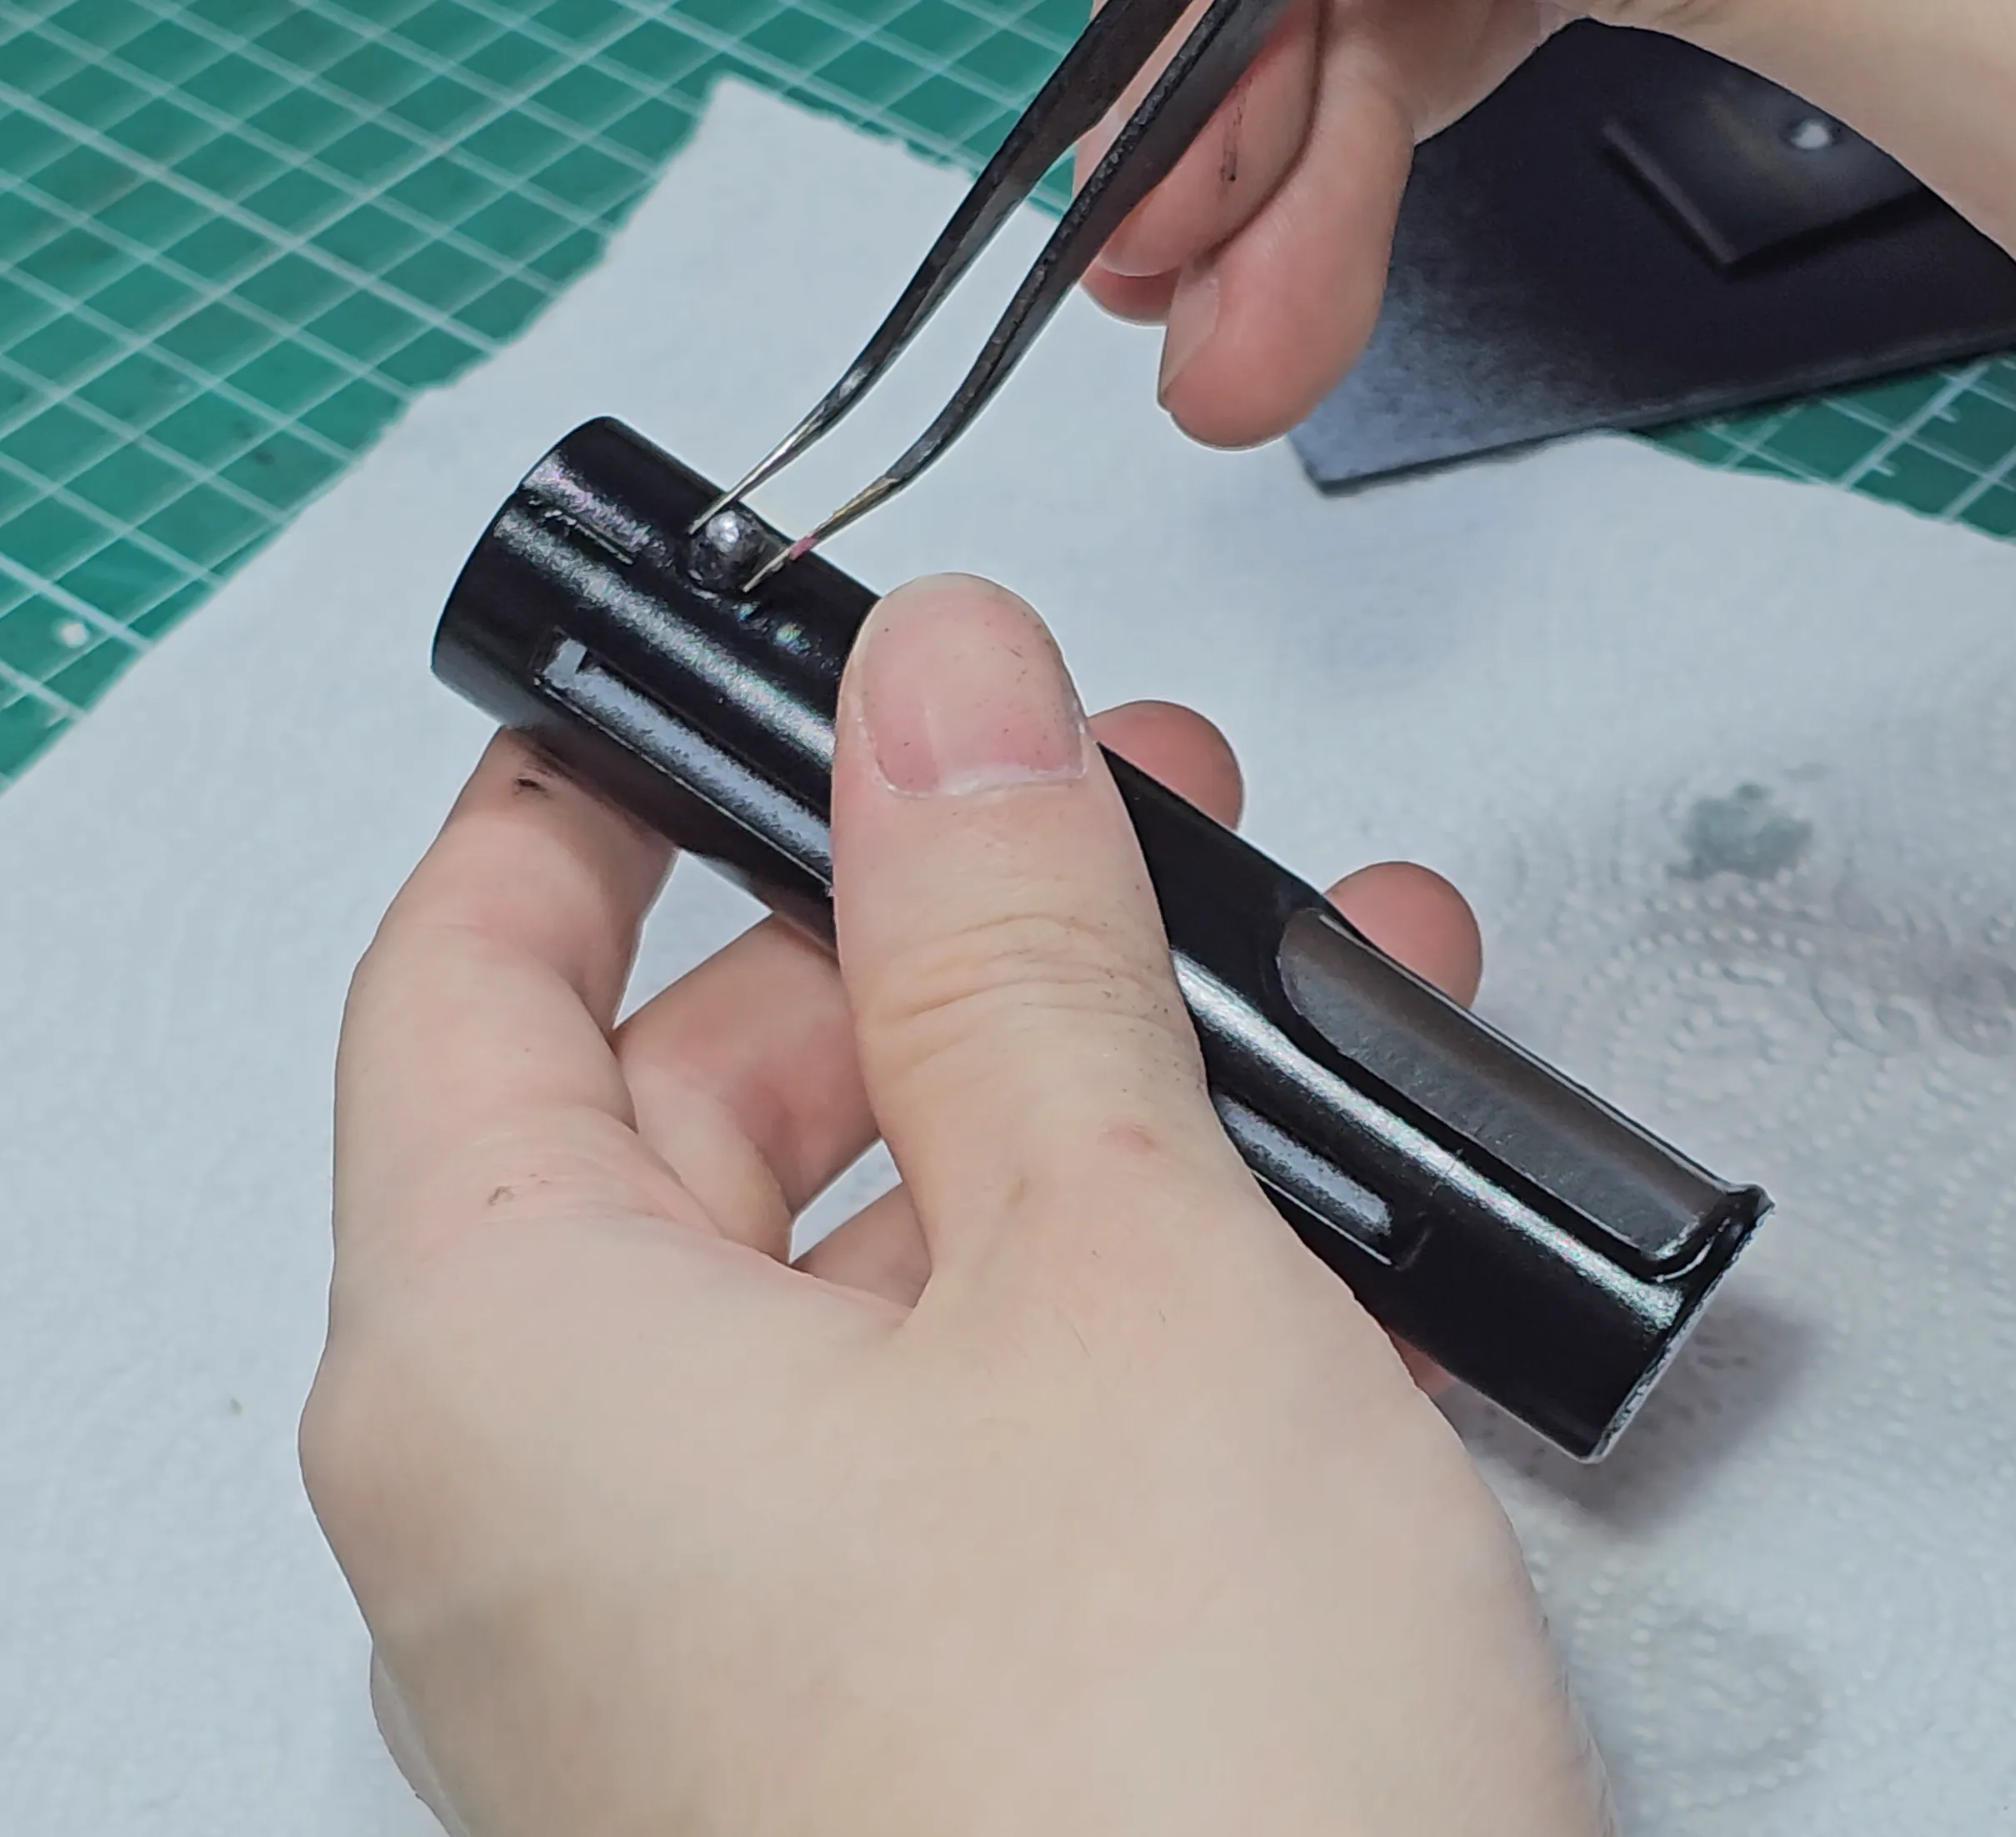 | Step 1: Glue “Toggle Button.stl” to “Body.stl”
|
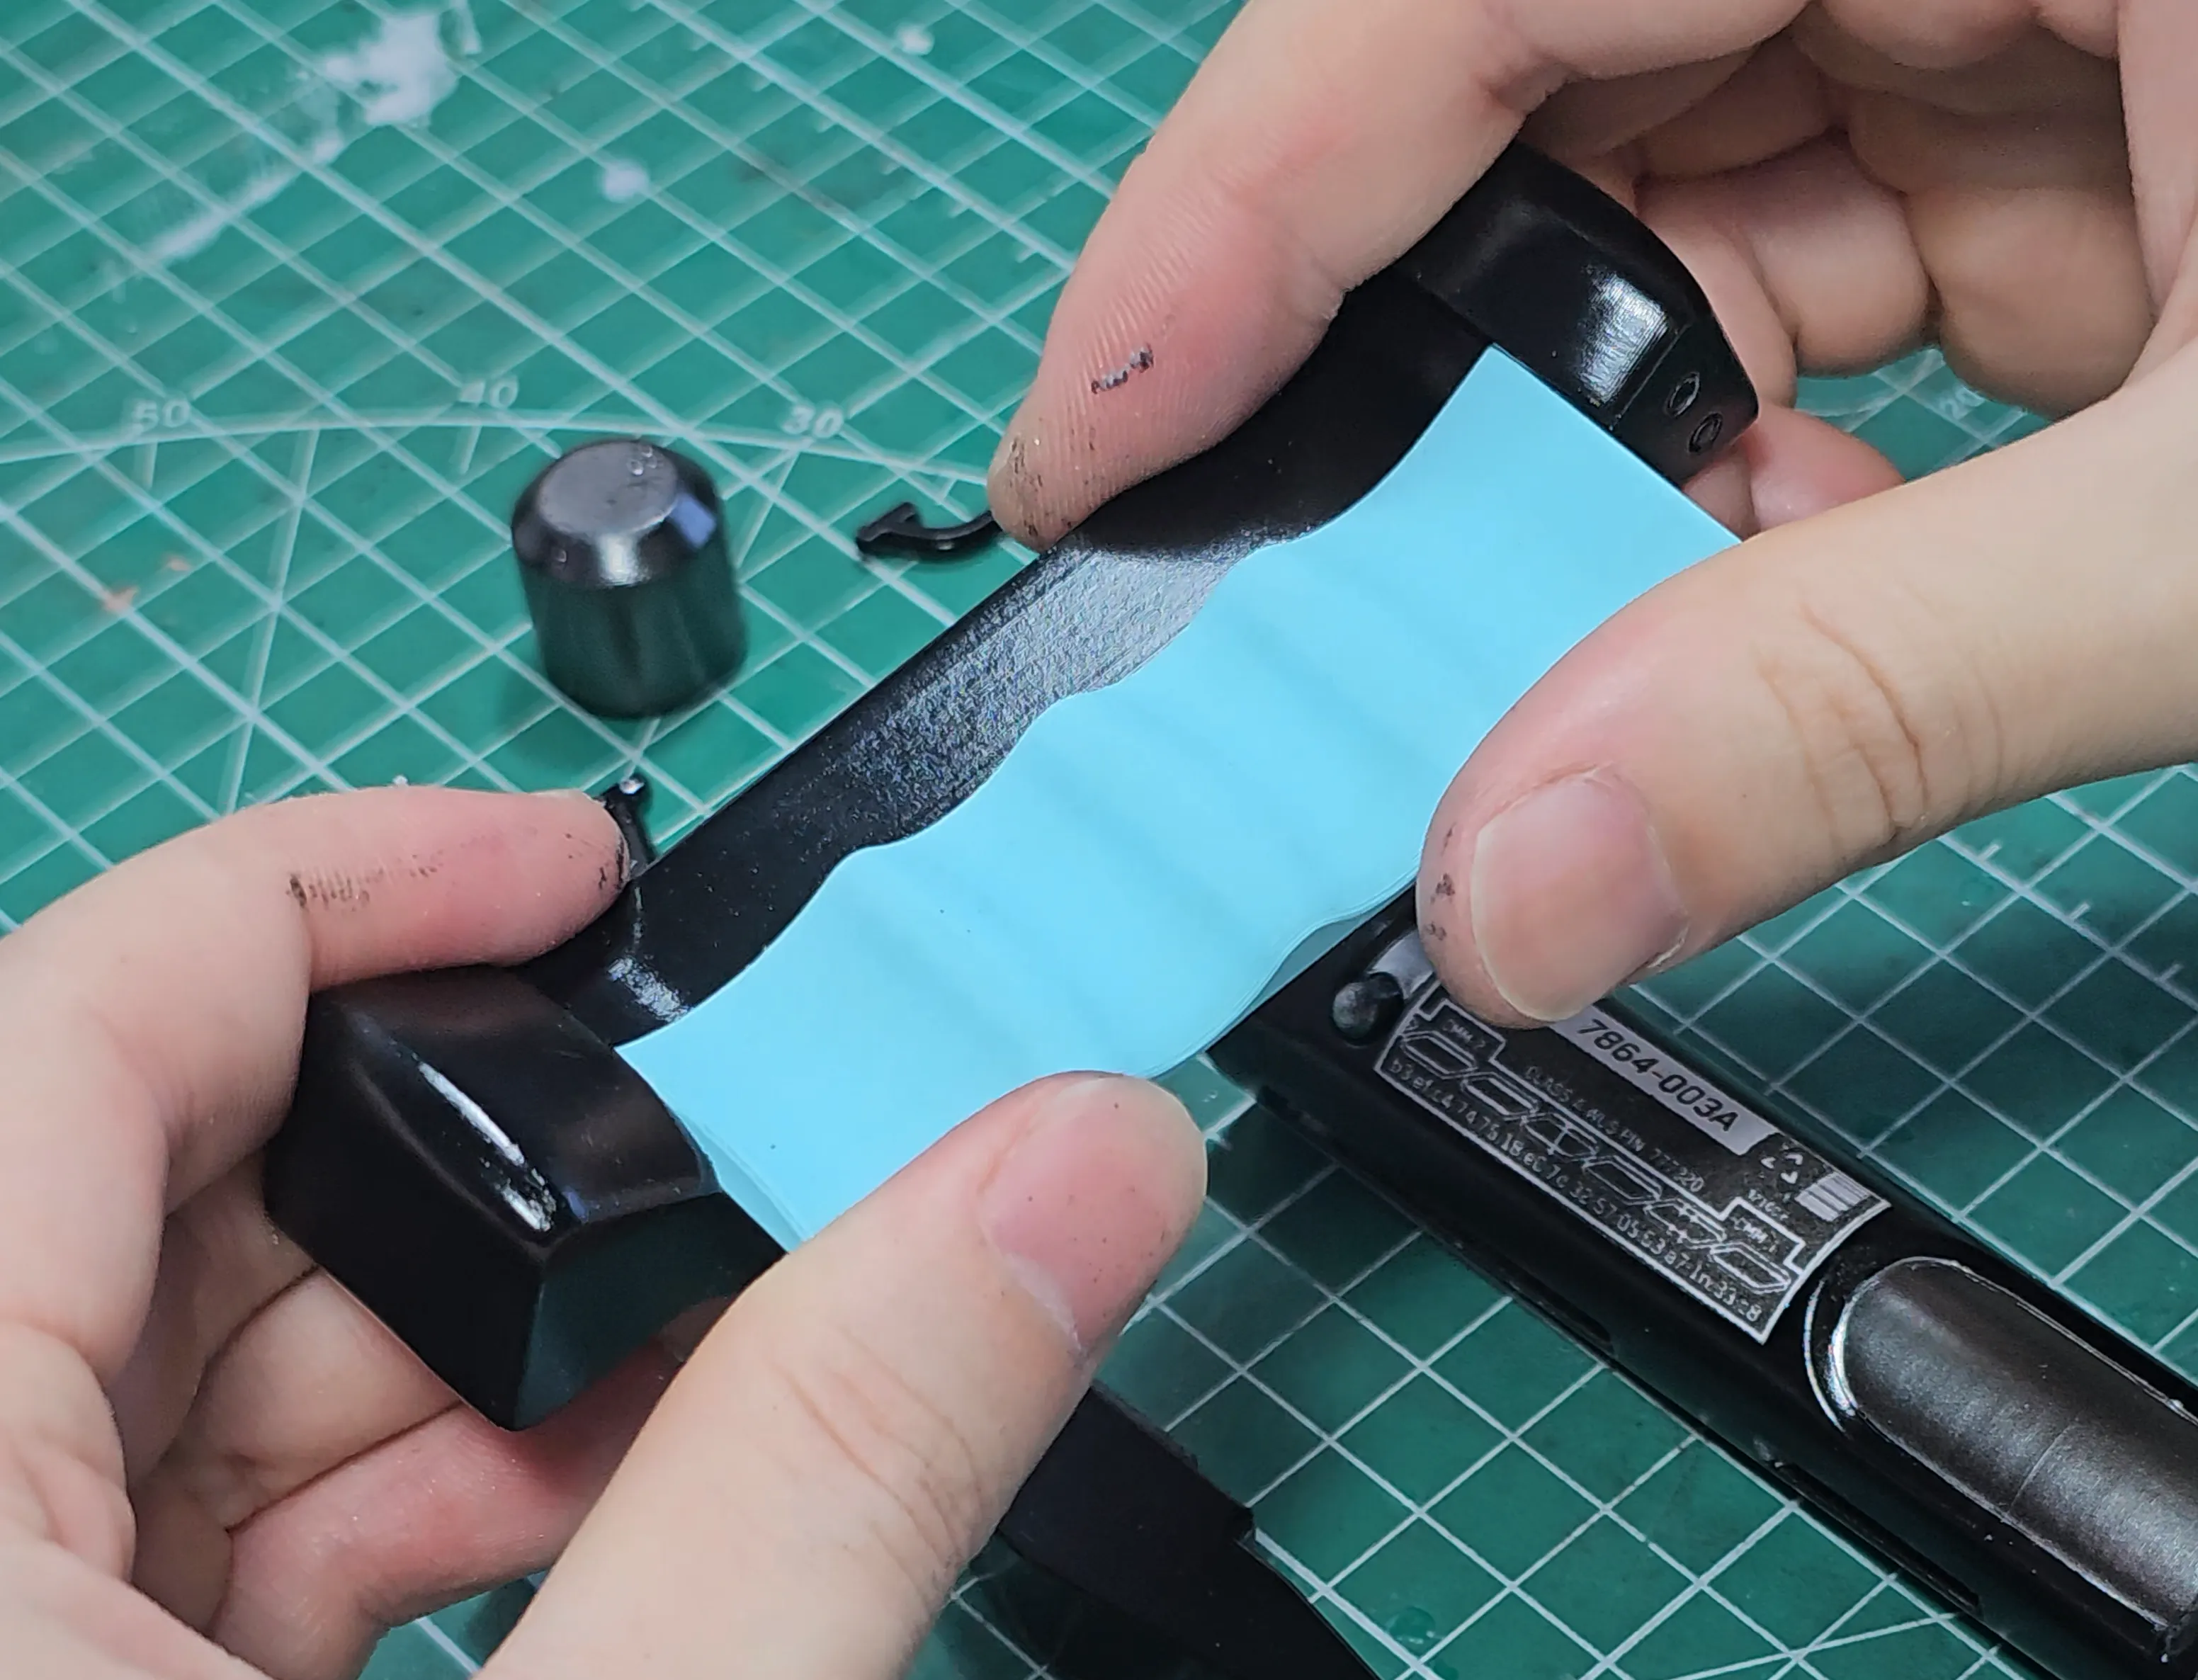 | Step 2: Glue “Finger Grip Material.stl” onto “Finger Grip.stl”
|
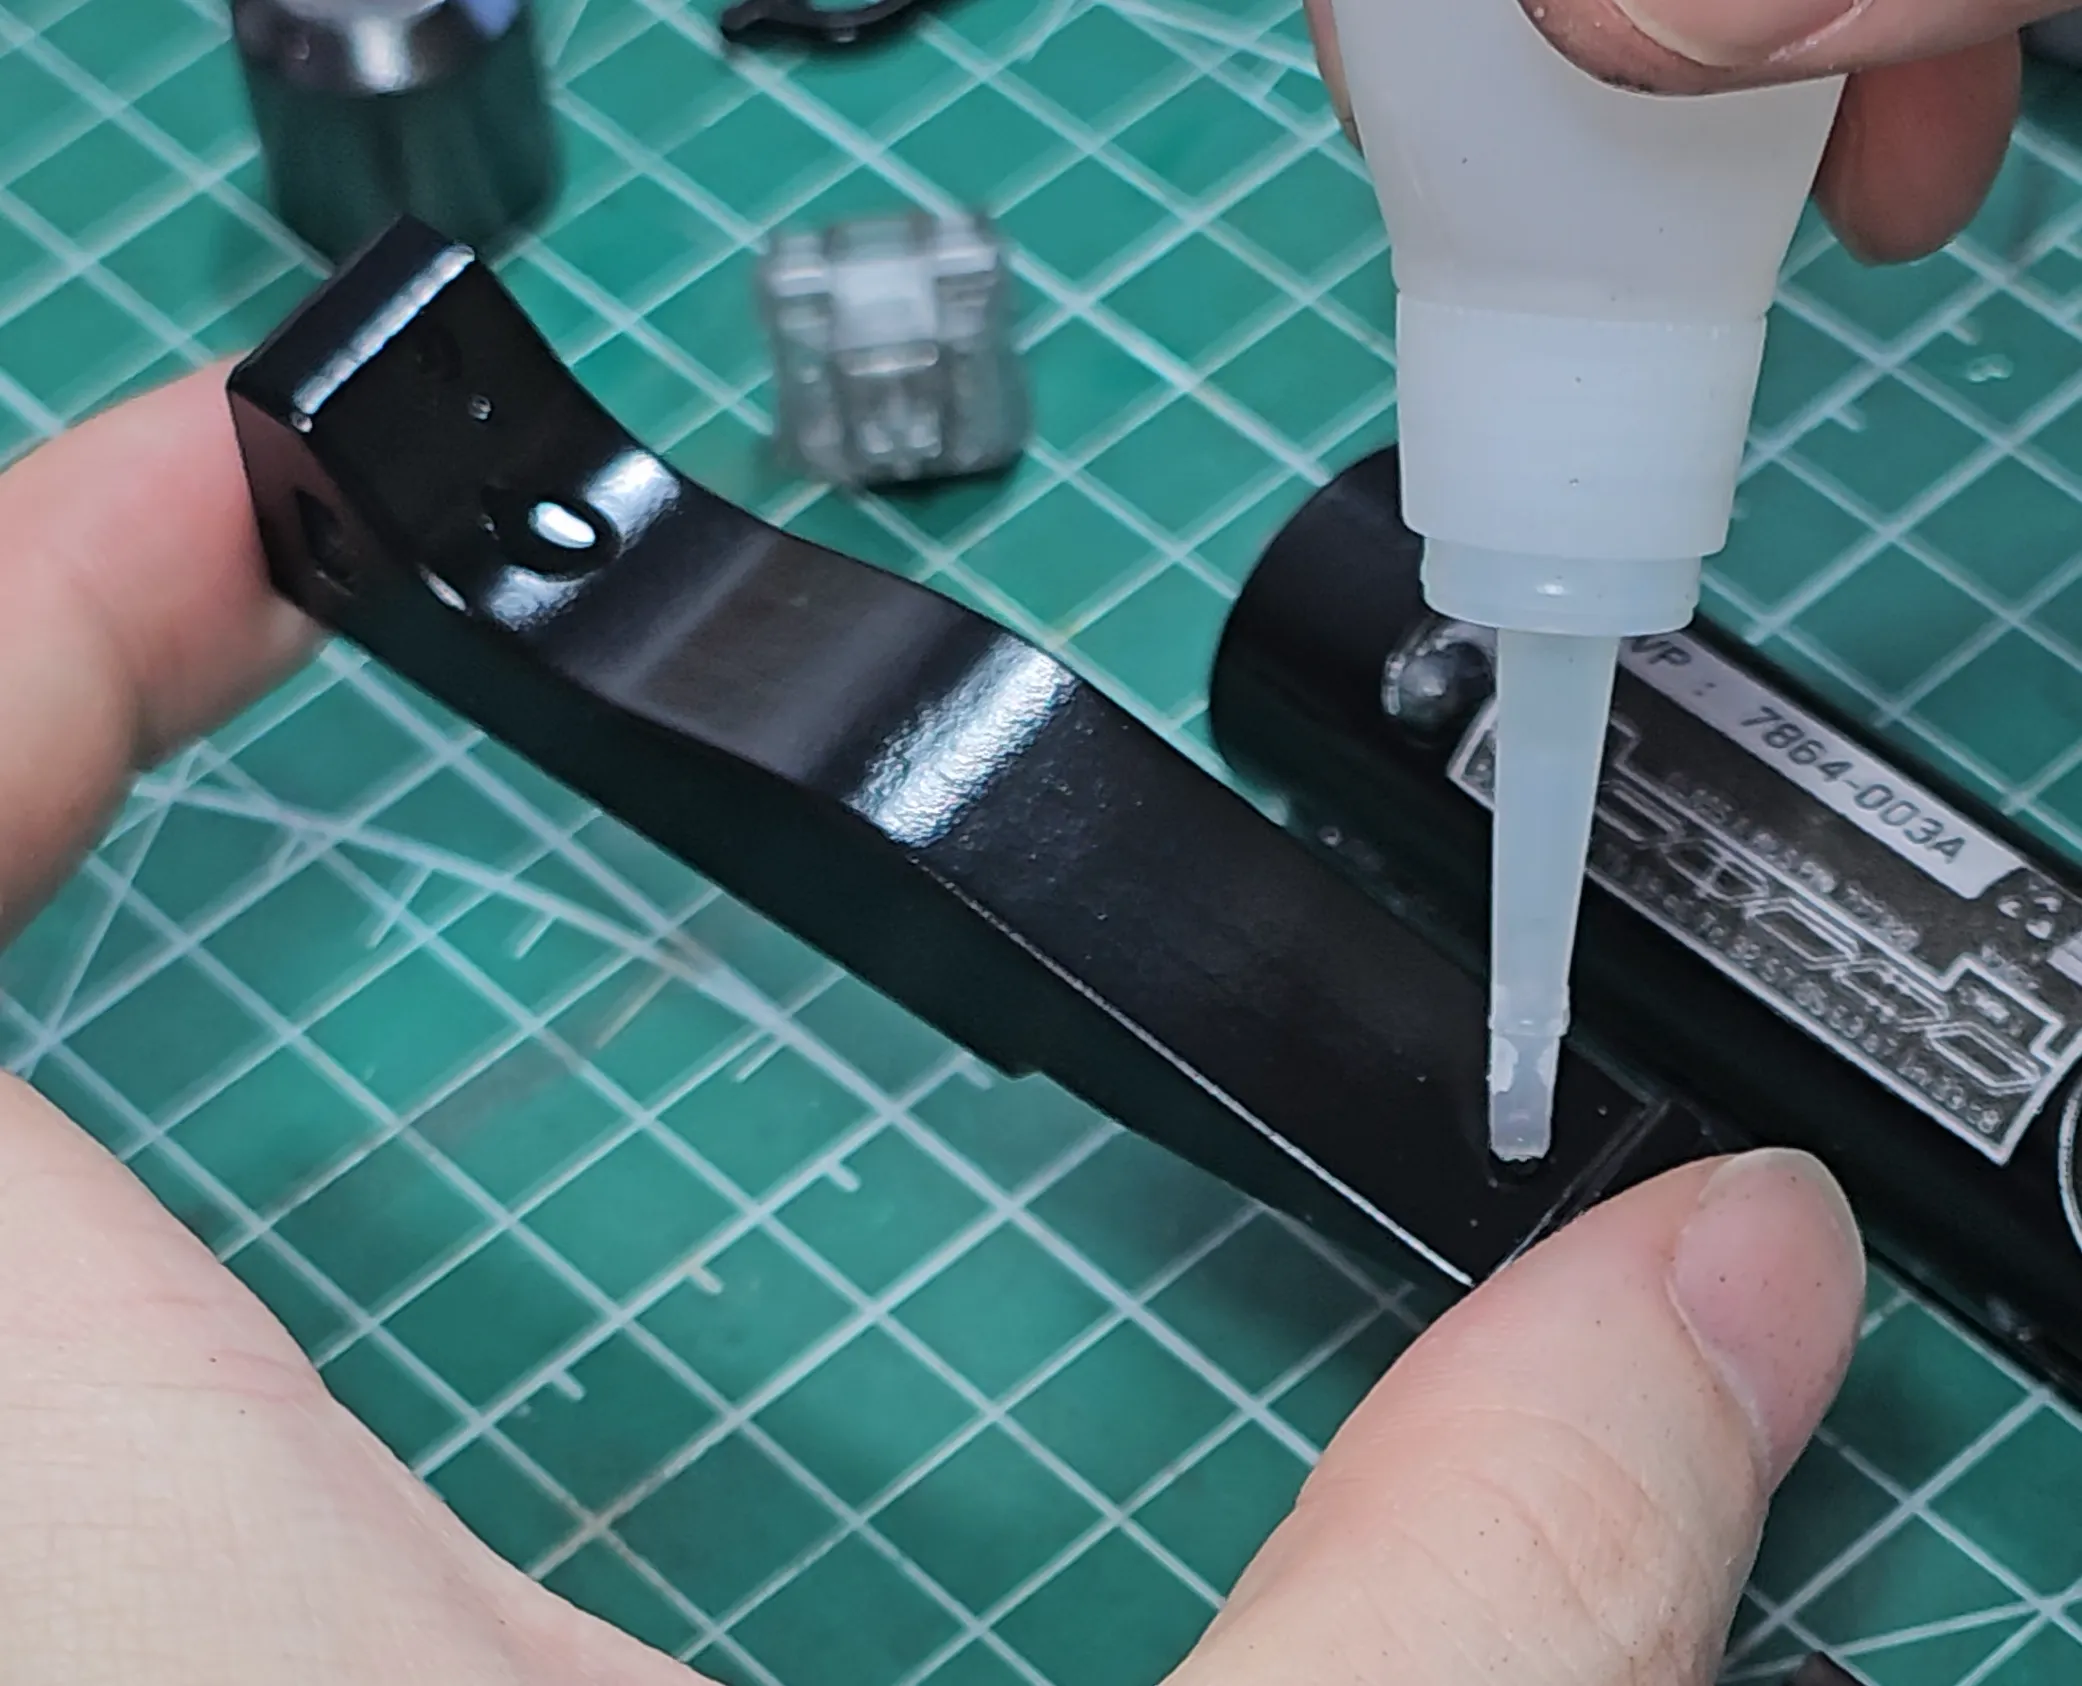 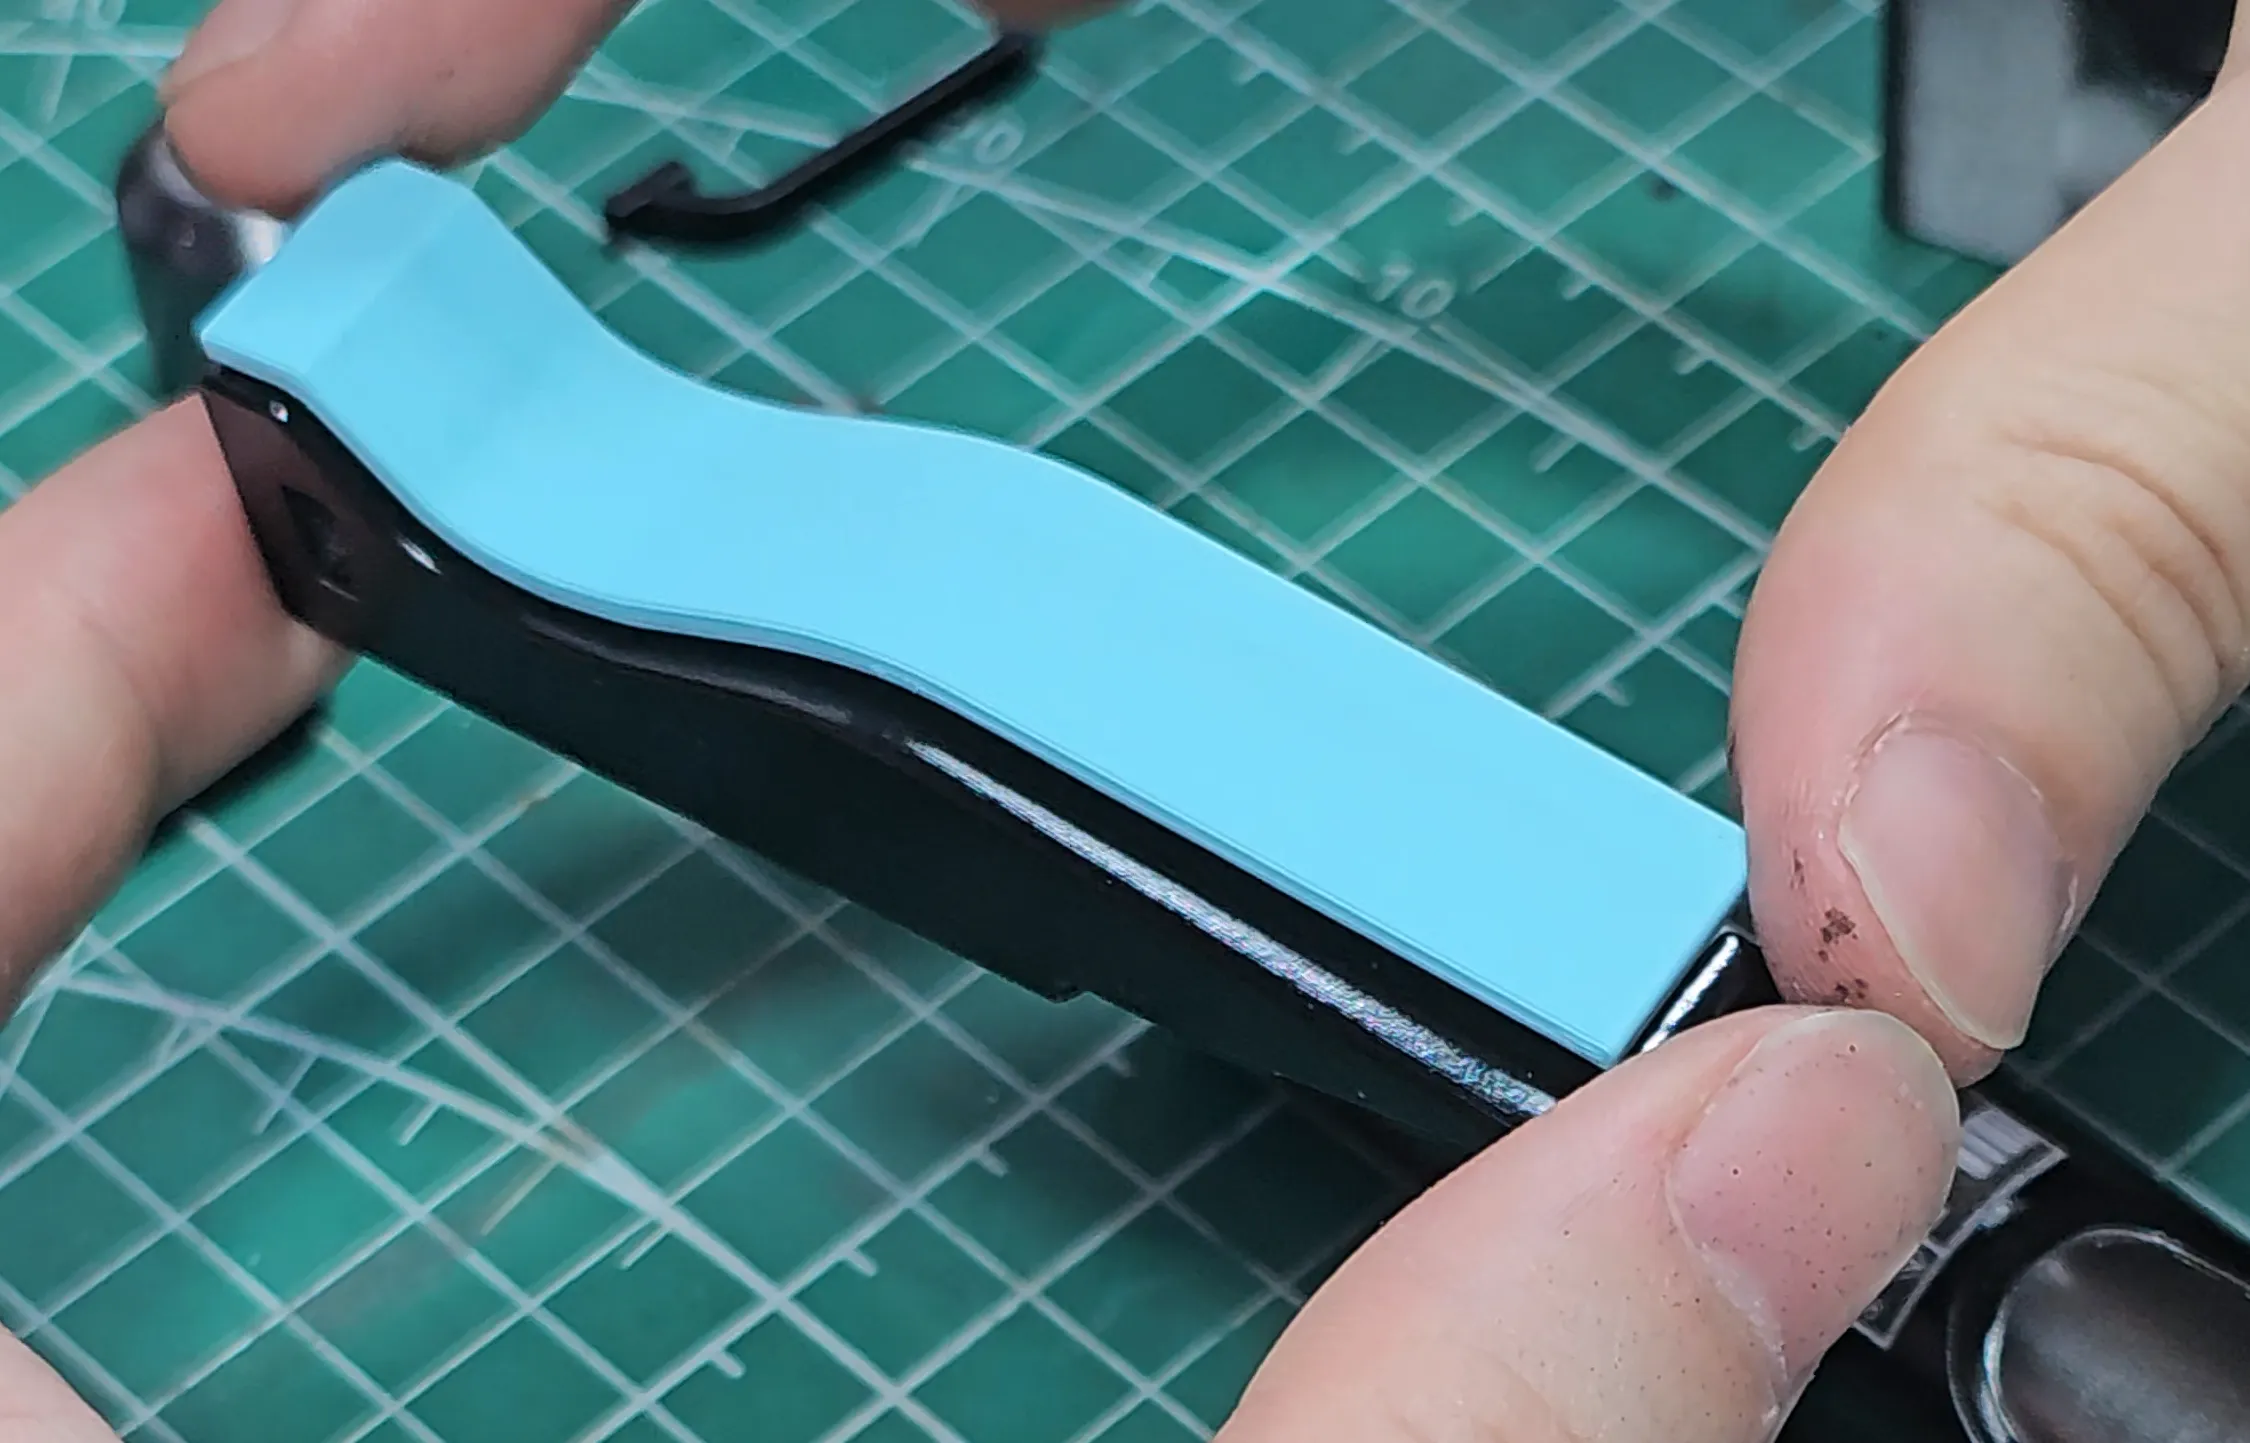 | Step 3: Glue “Palm Grip Material.stl” to “Palm Grip.stl”
|
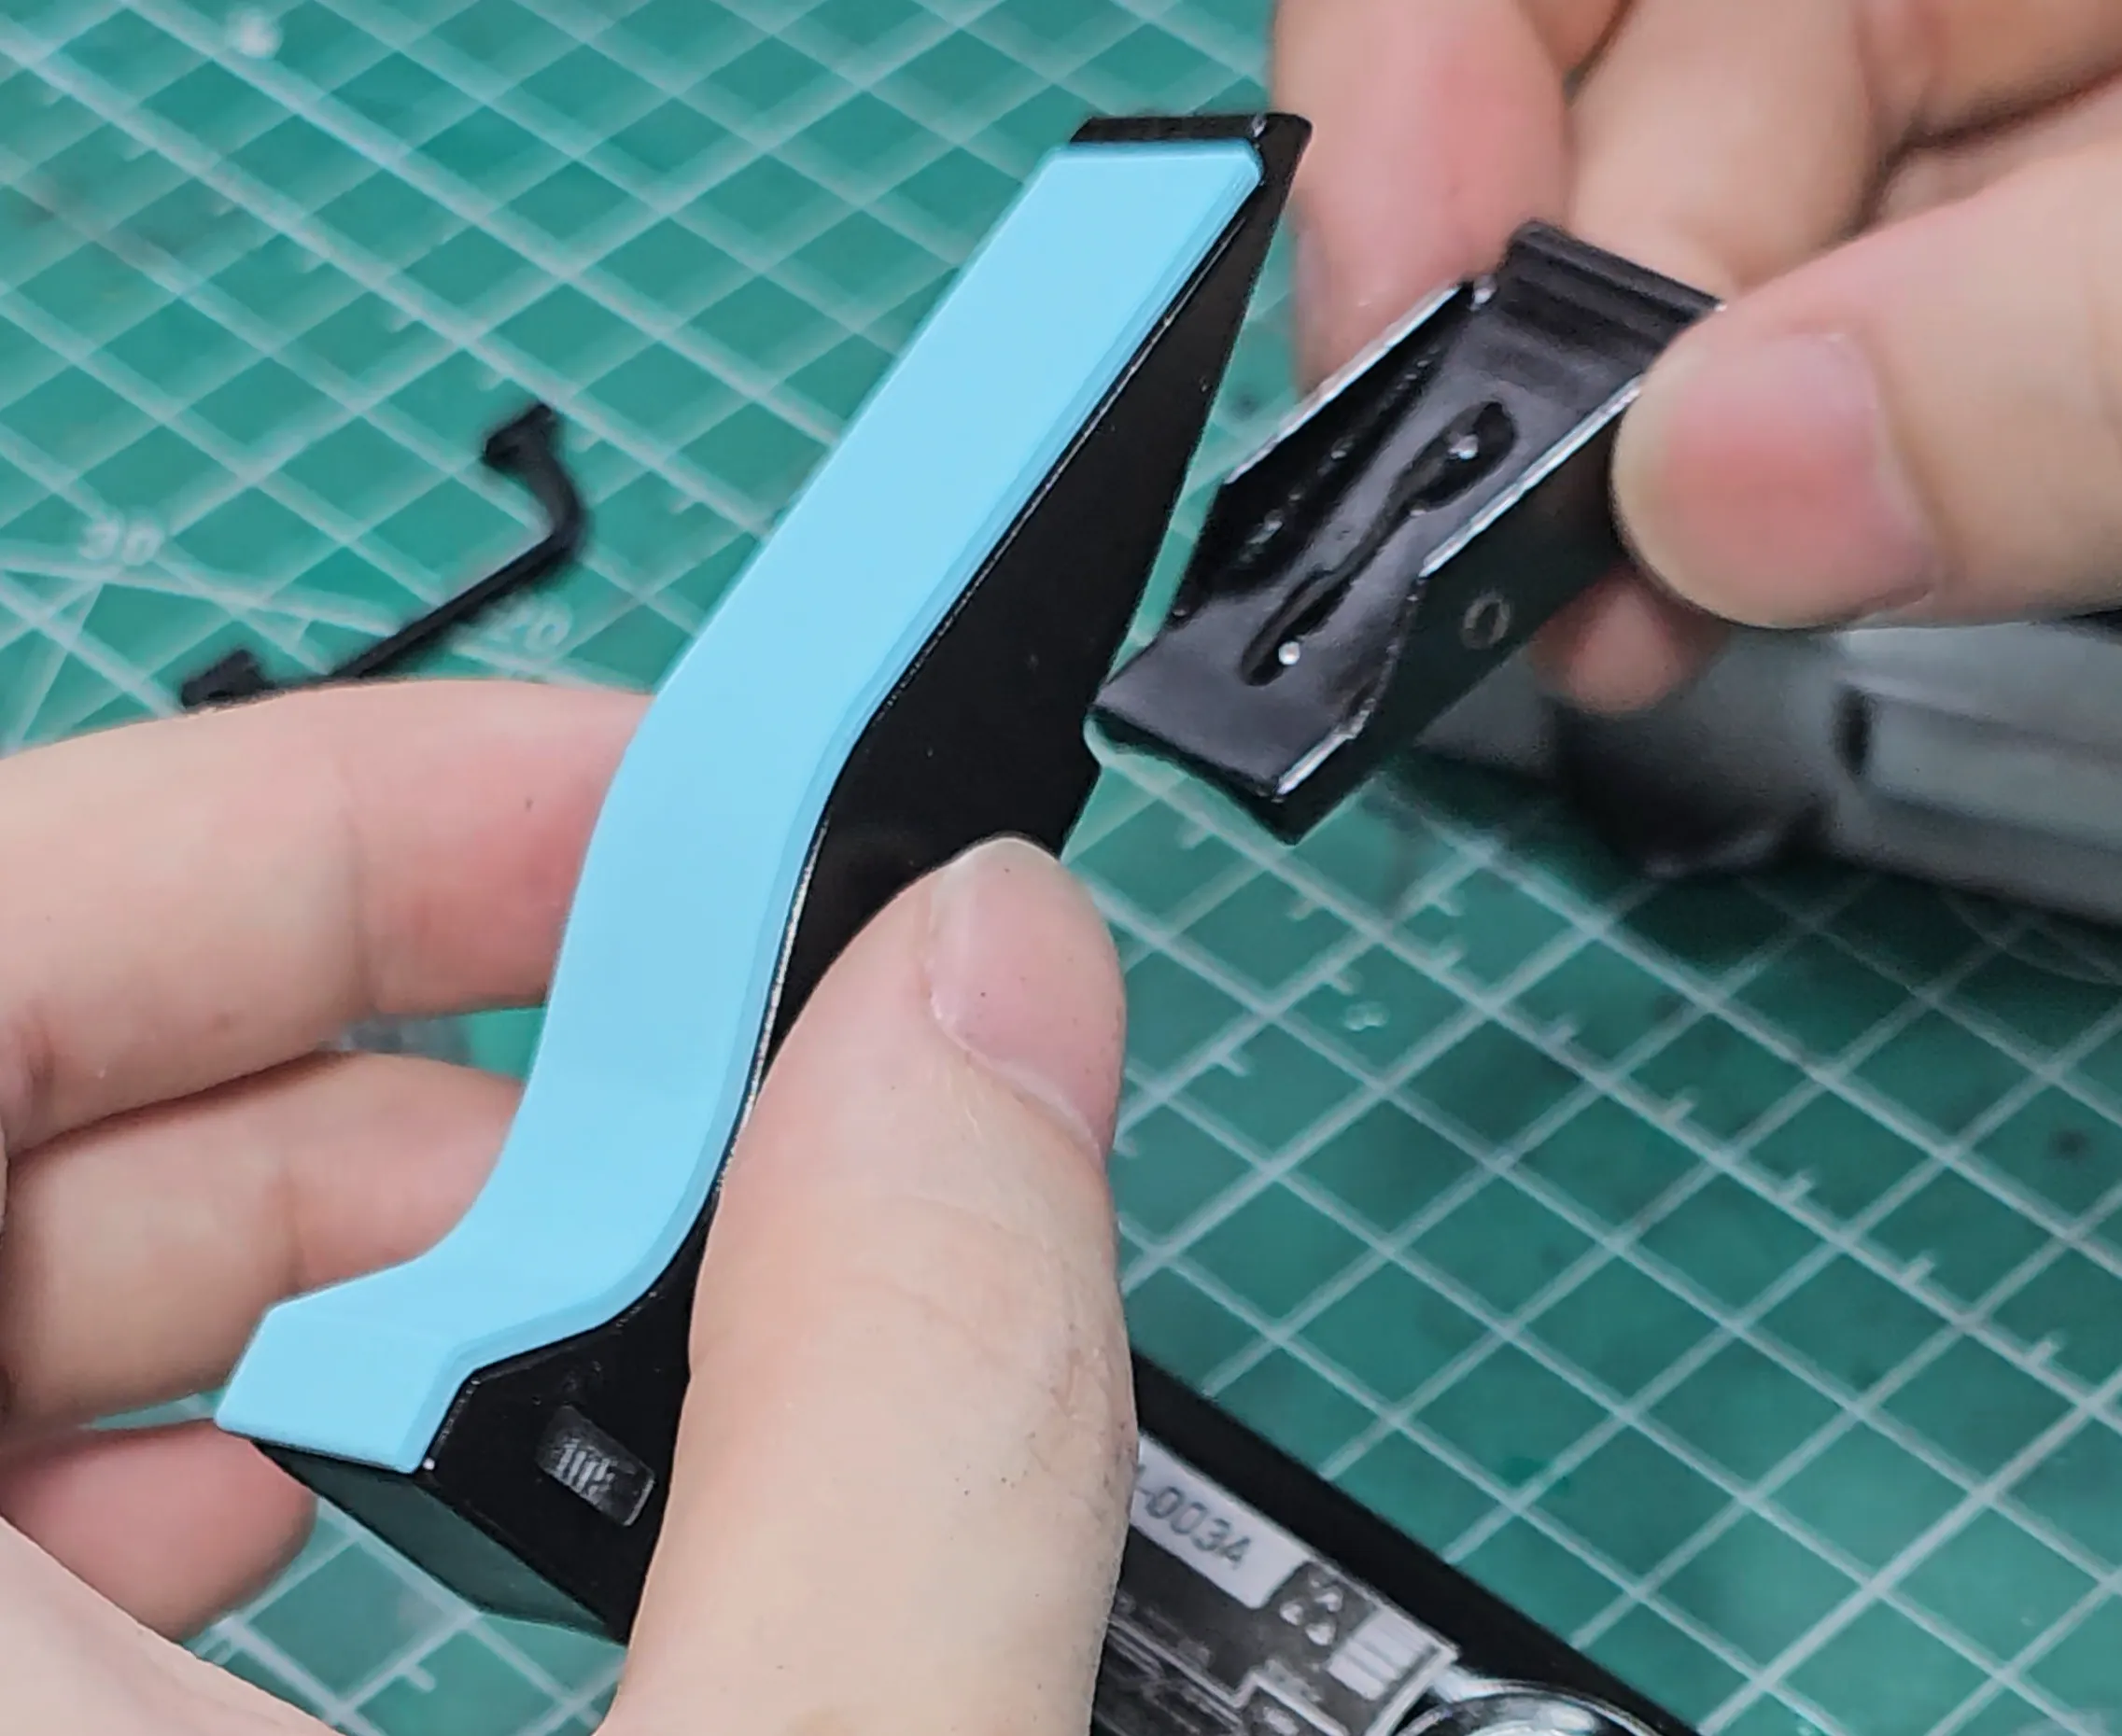 | Step 4: Glue “Palm Grip Accent.stl” to “Palm Grip.stl”
|
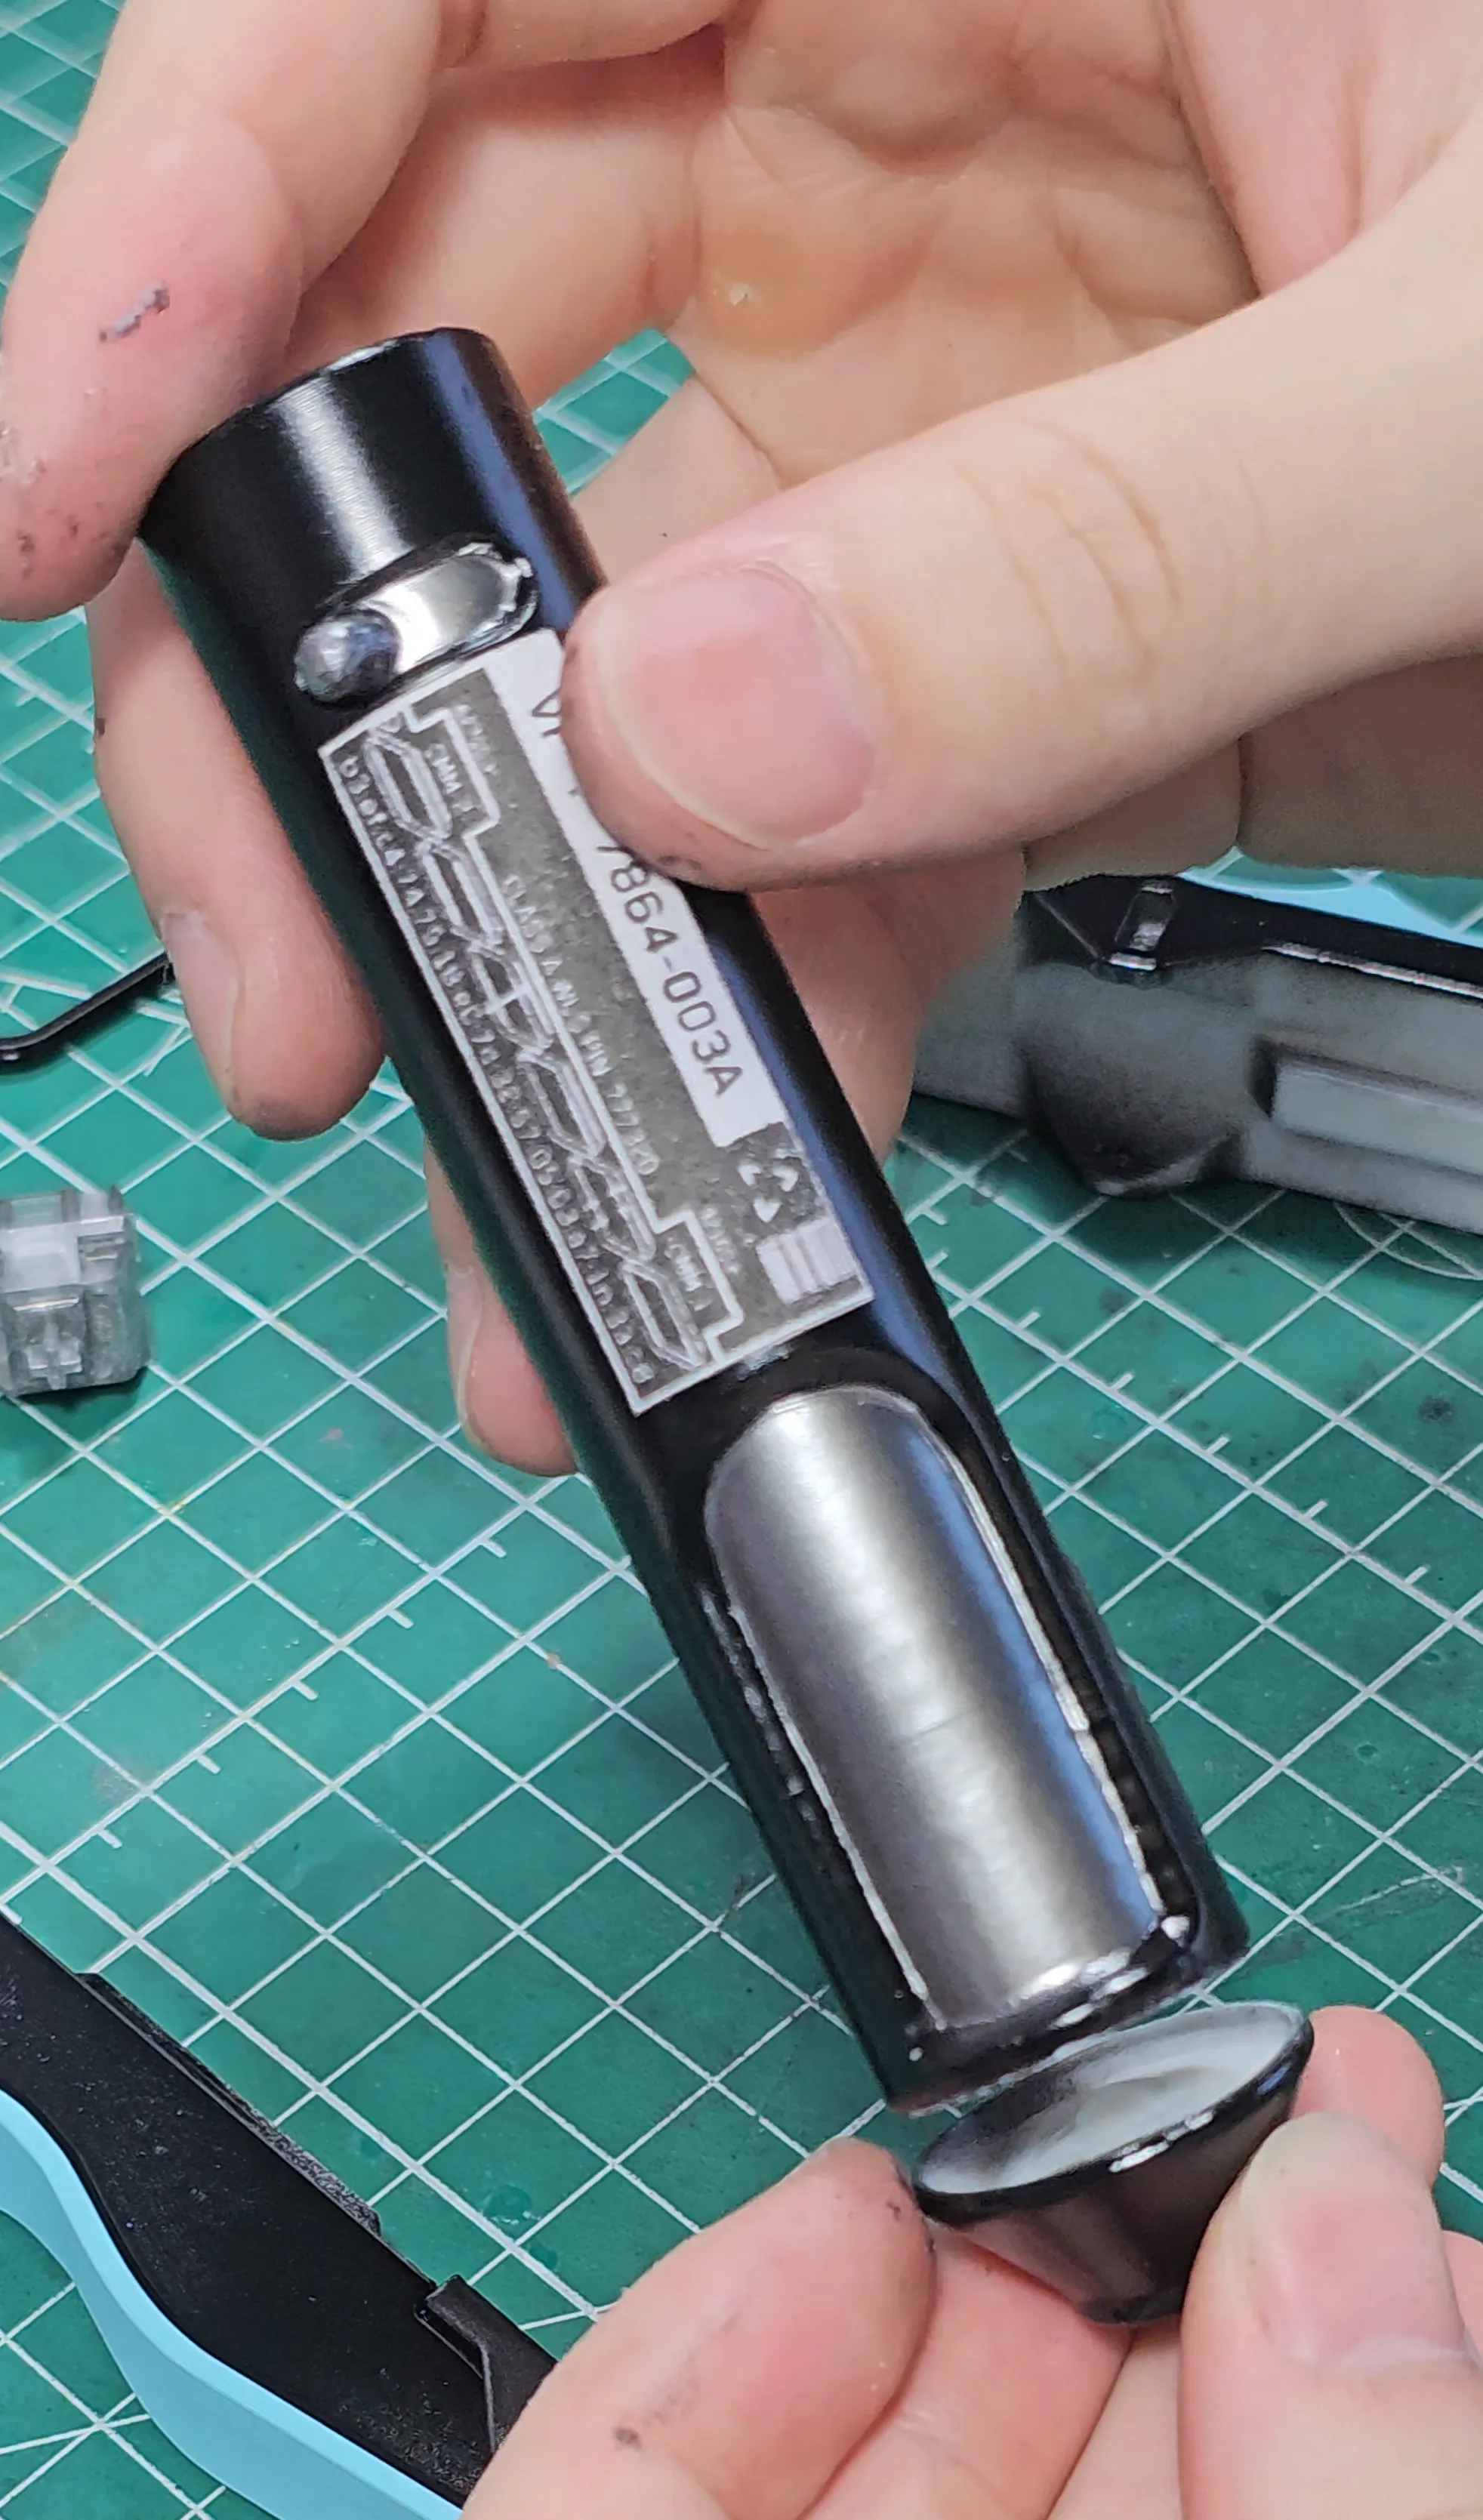 | Step 5: Glue “Nozzle.stl” to “Body.stl”
|
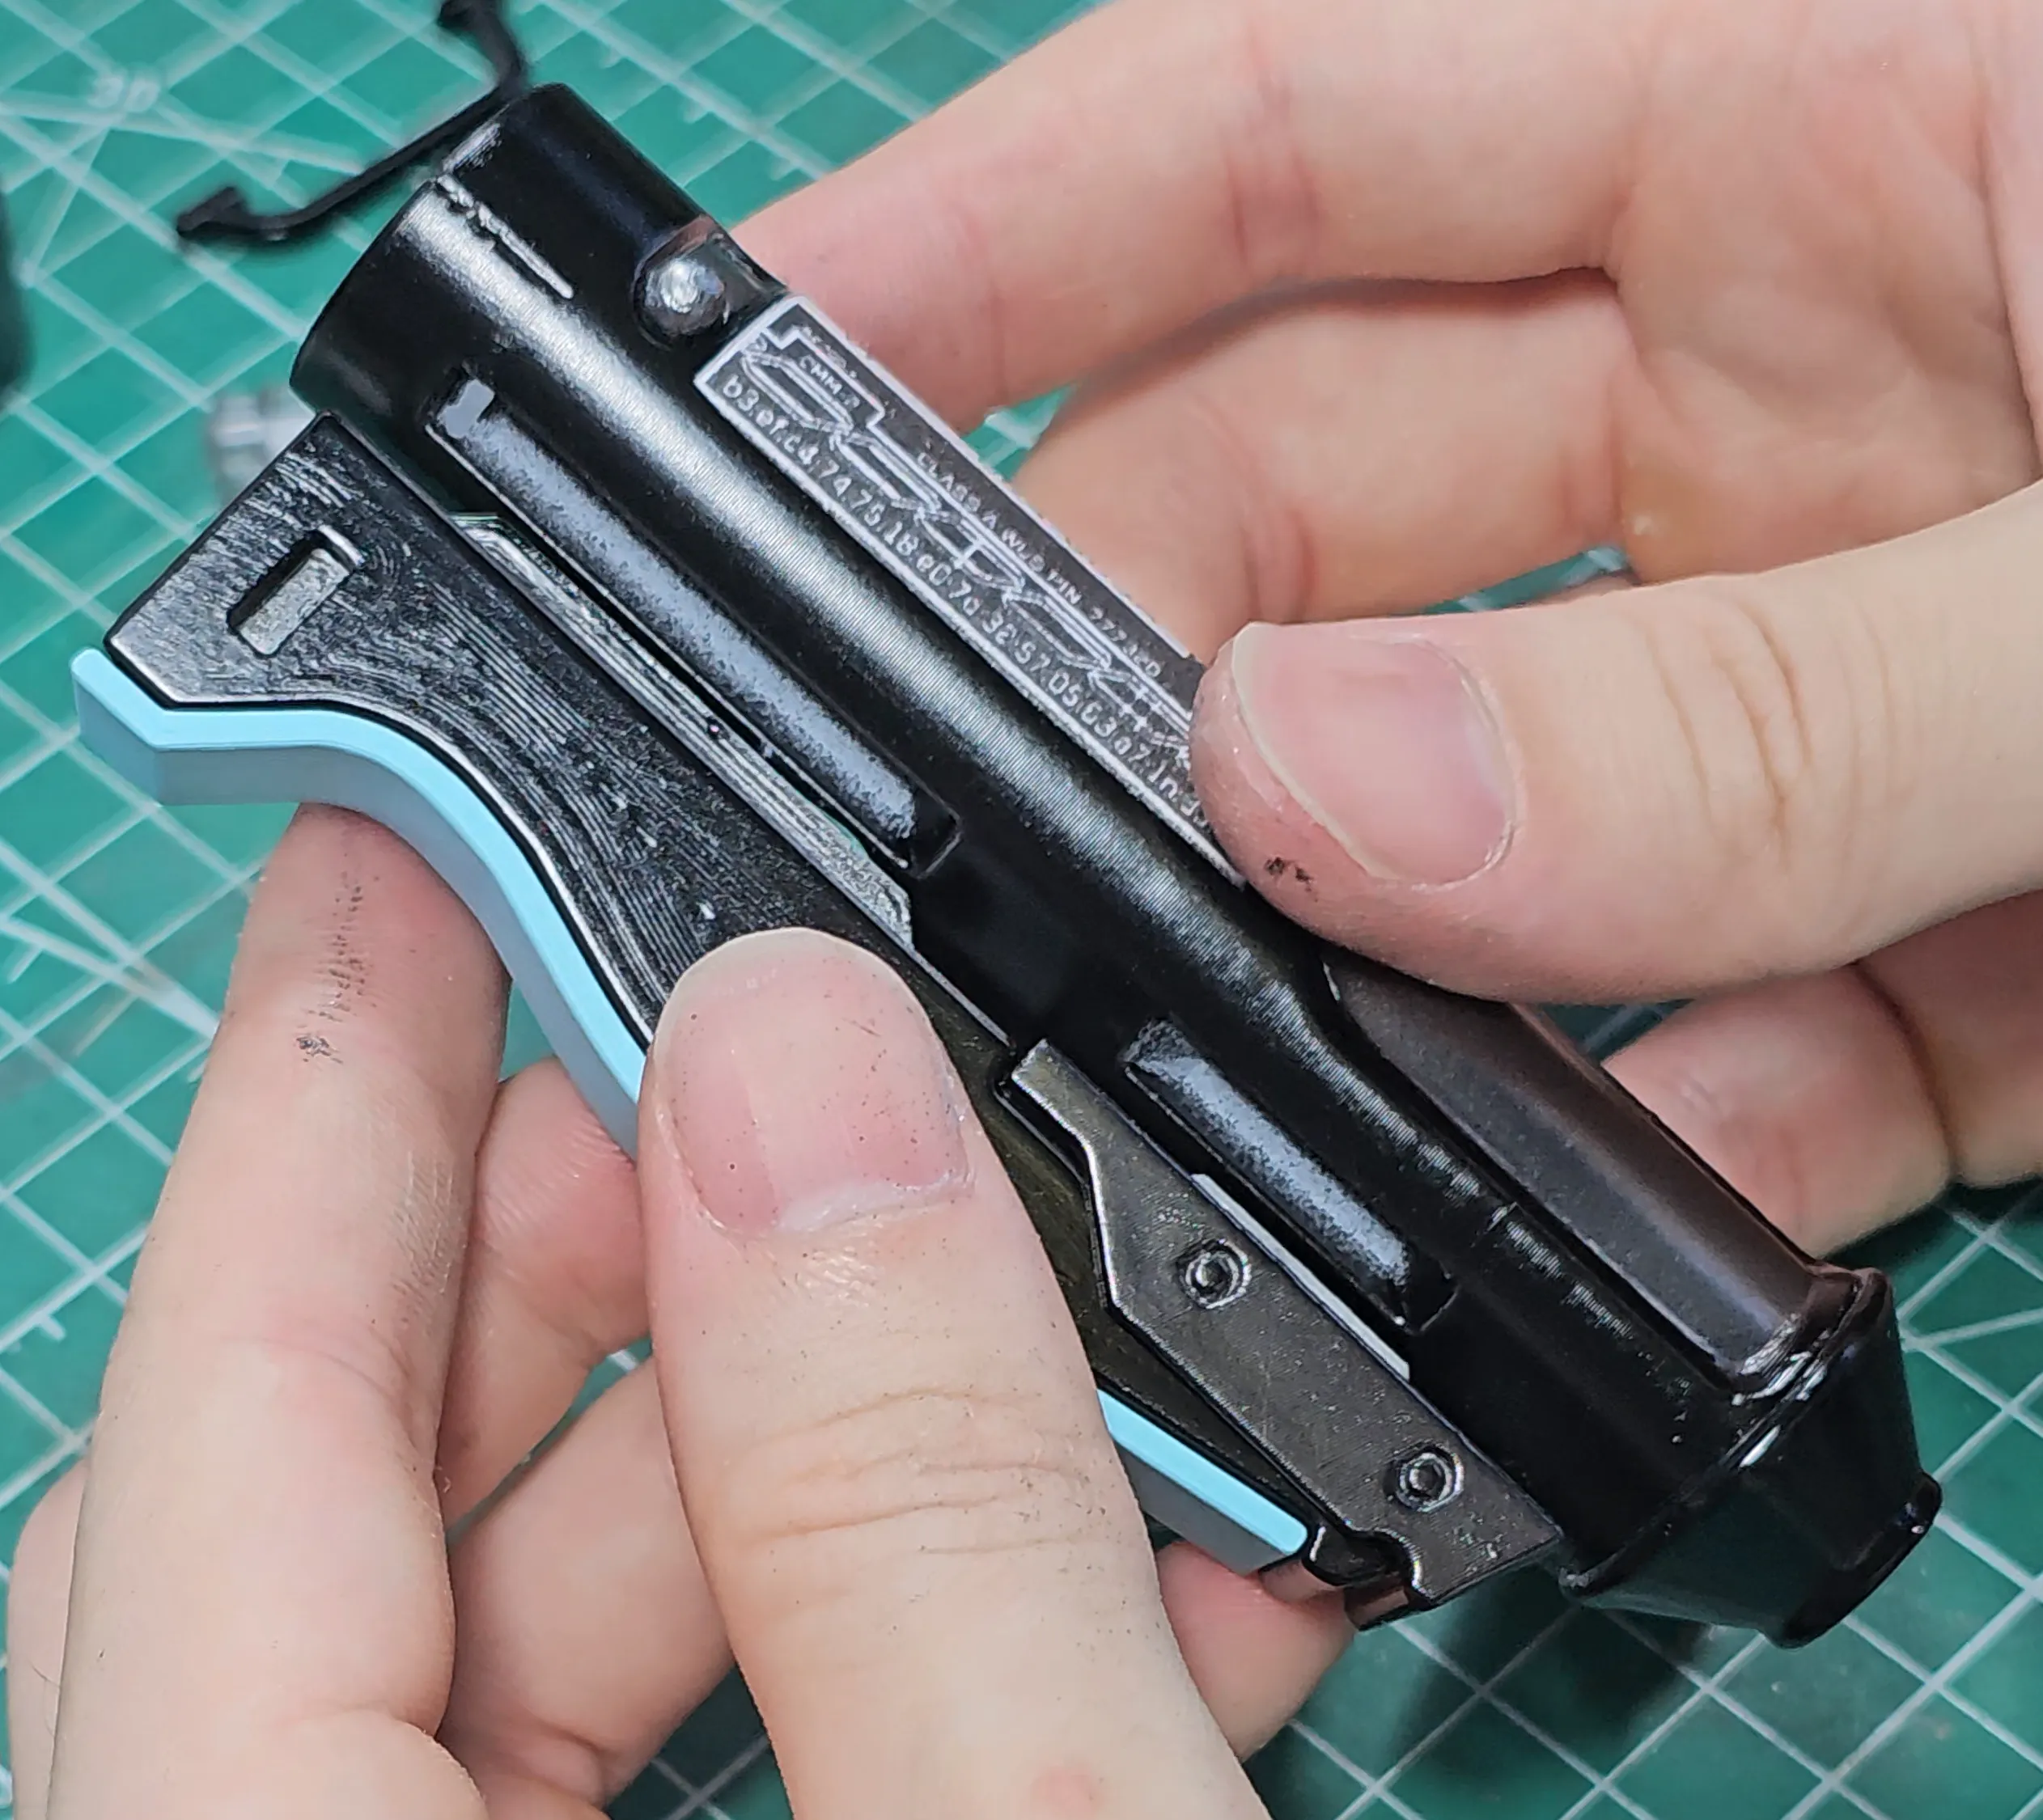 | Step 6: Glue Palm Grip assembly to the Body assembly
|
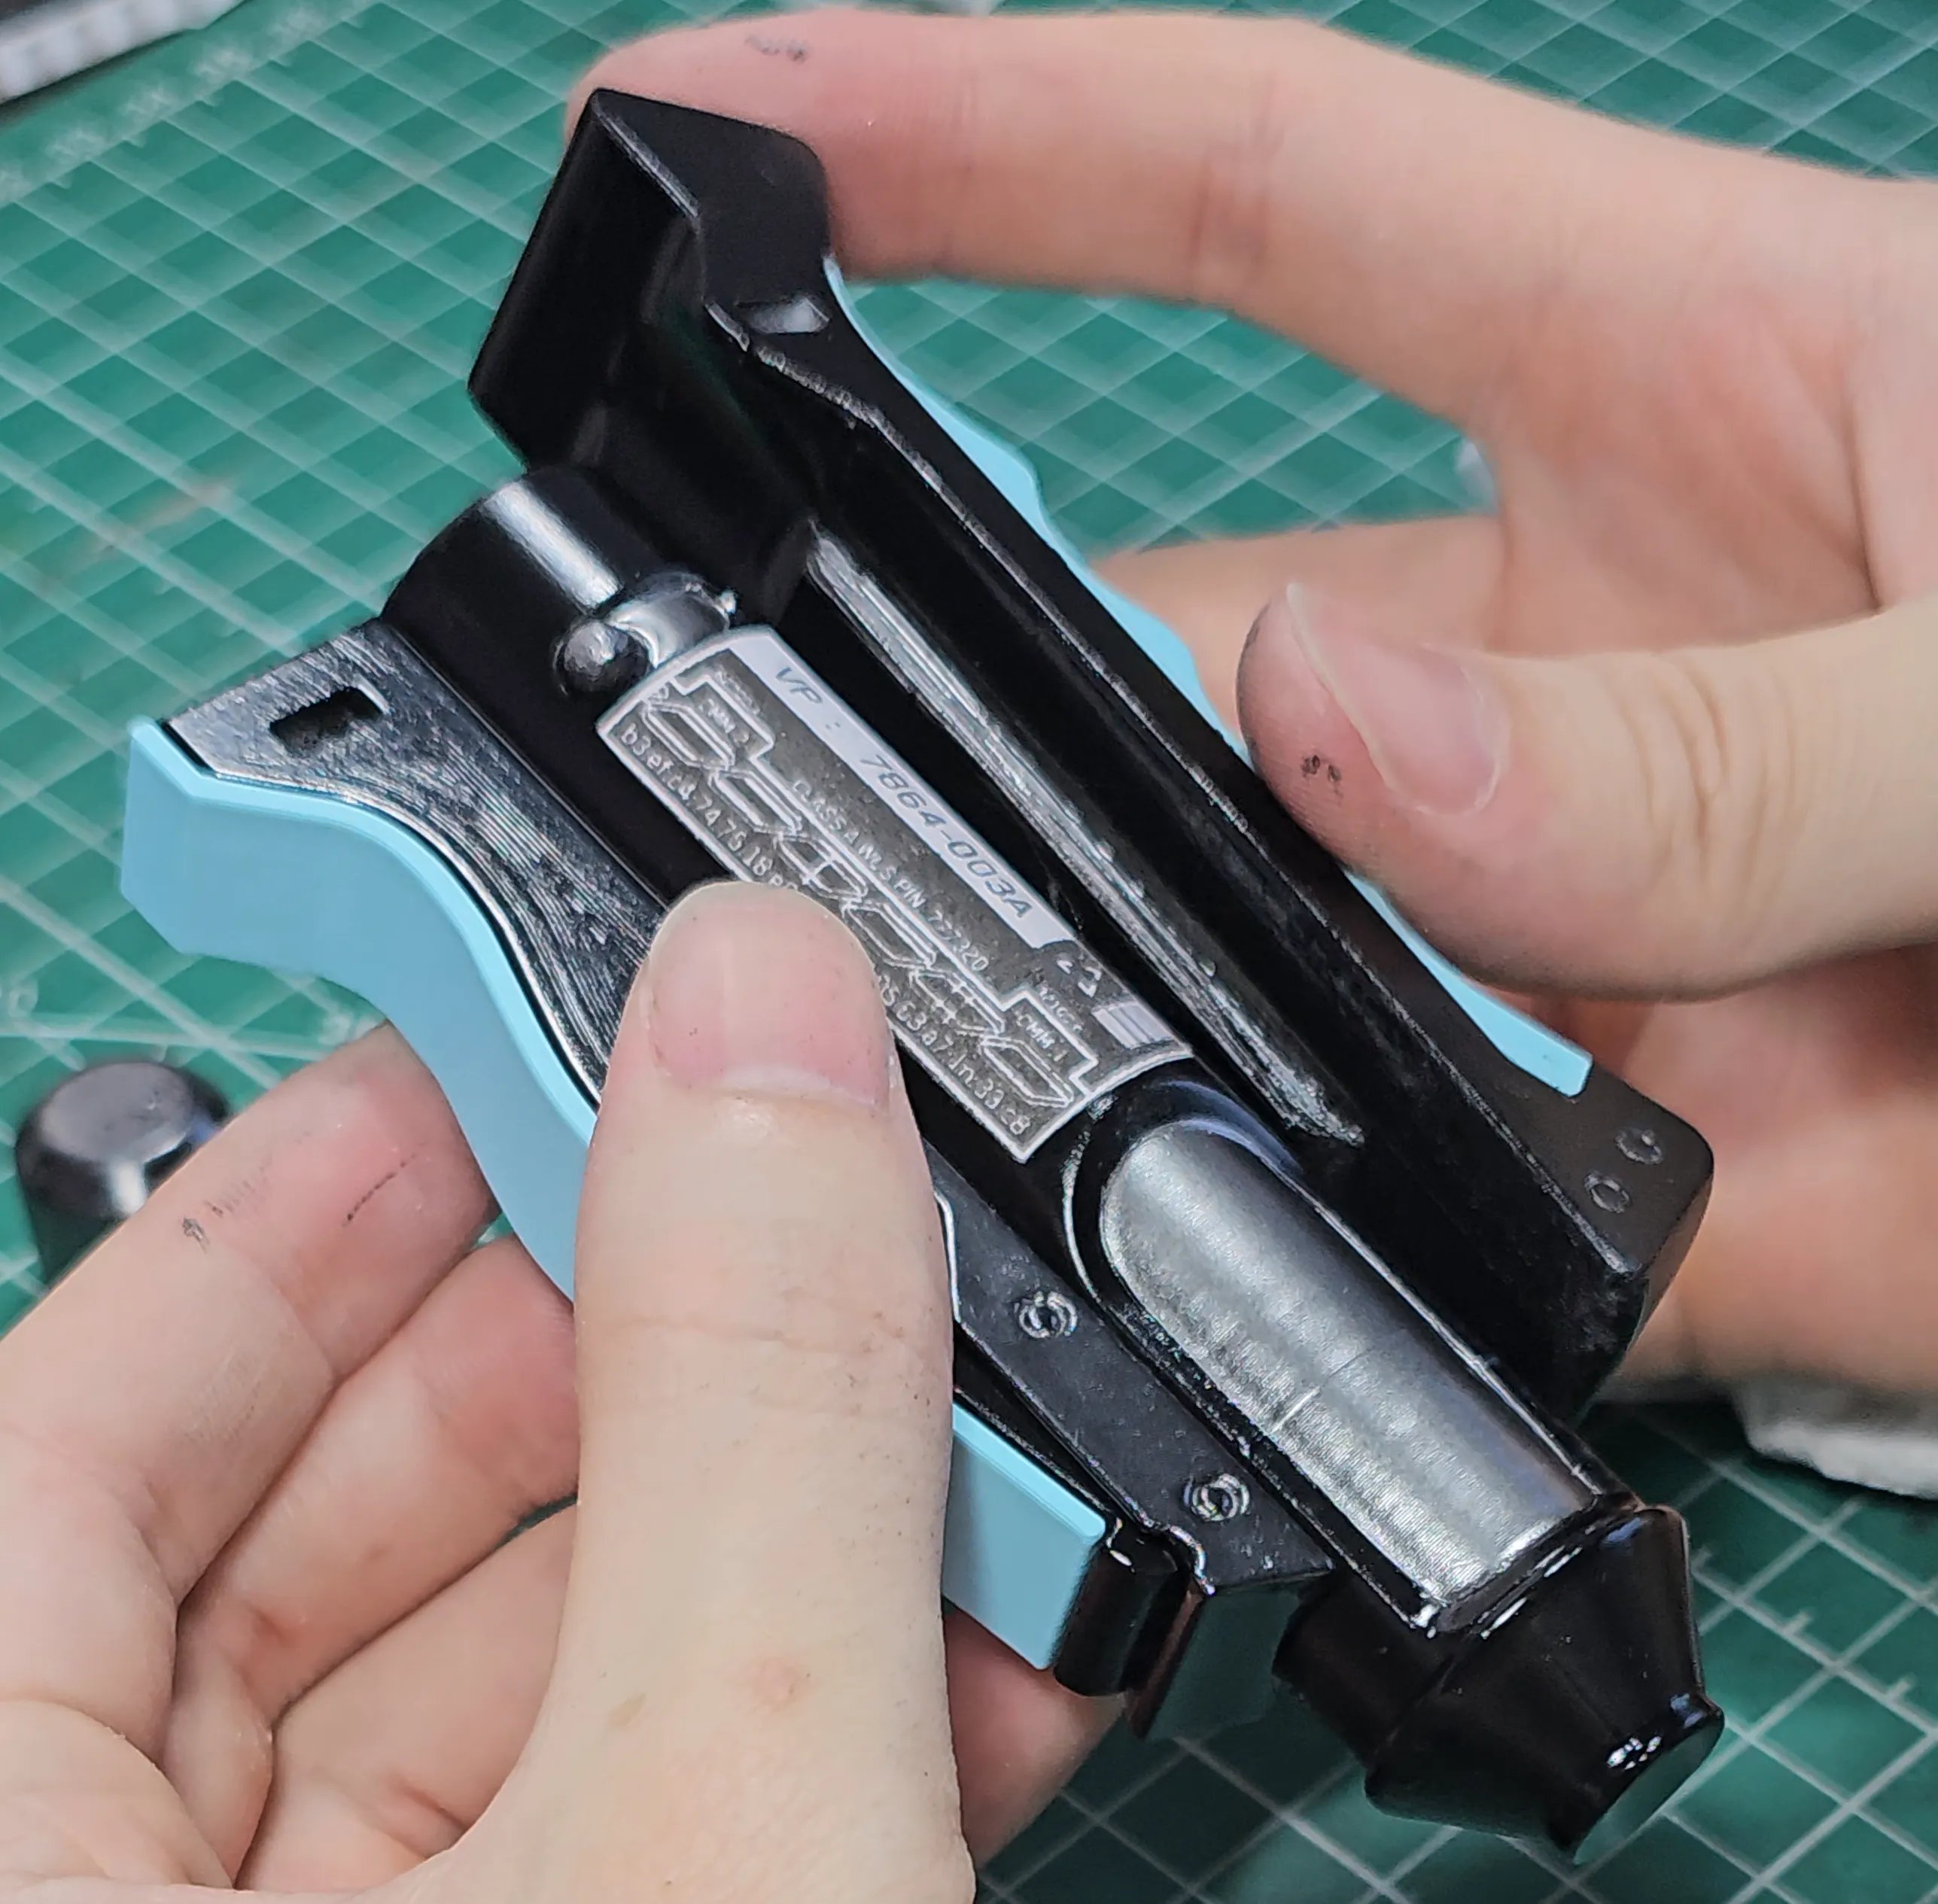 | Step 7: Glue Finger Grip Assembly to the Body assembly
|
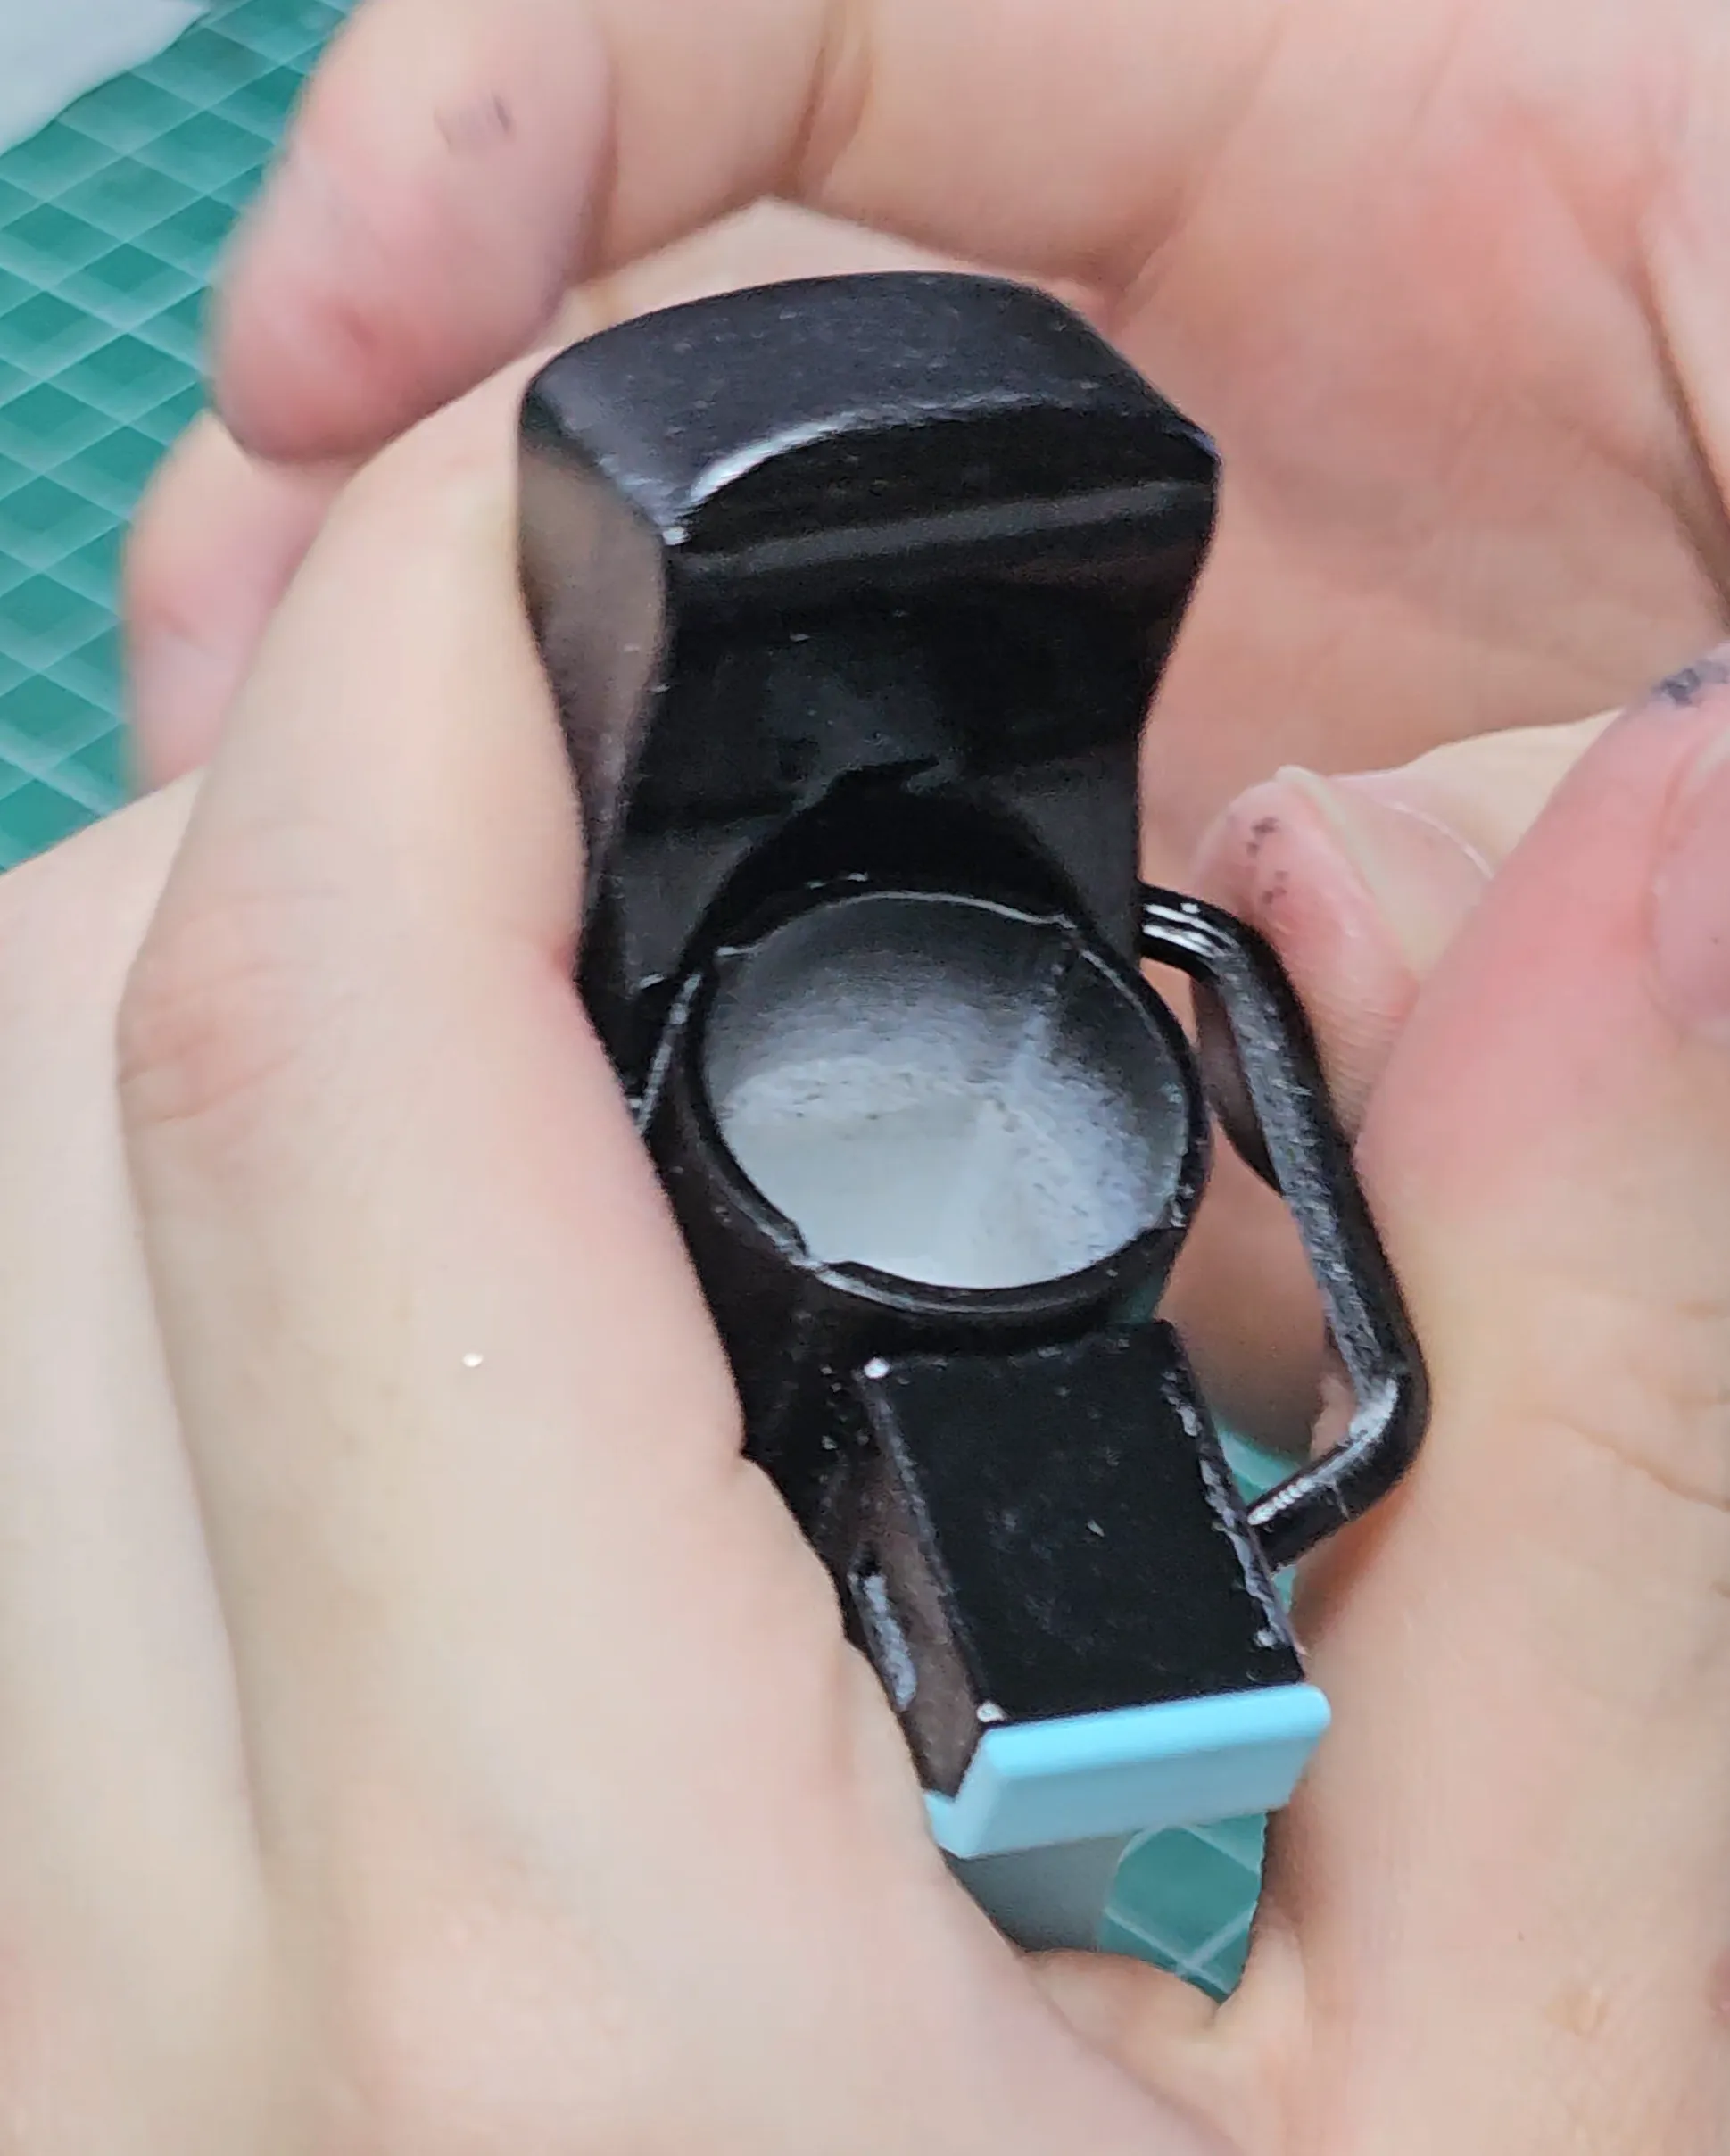 | Step 8: Glue "Wires.stl" to the assembly
|
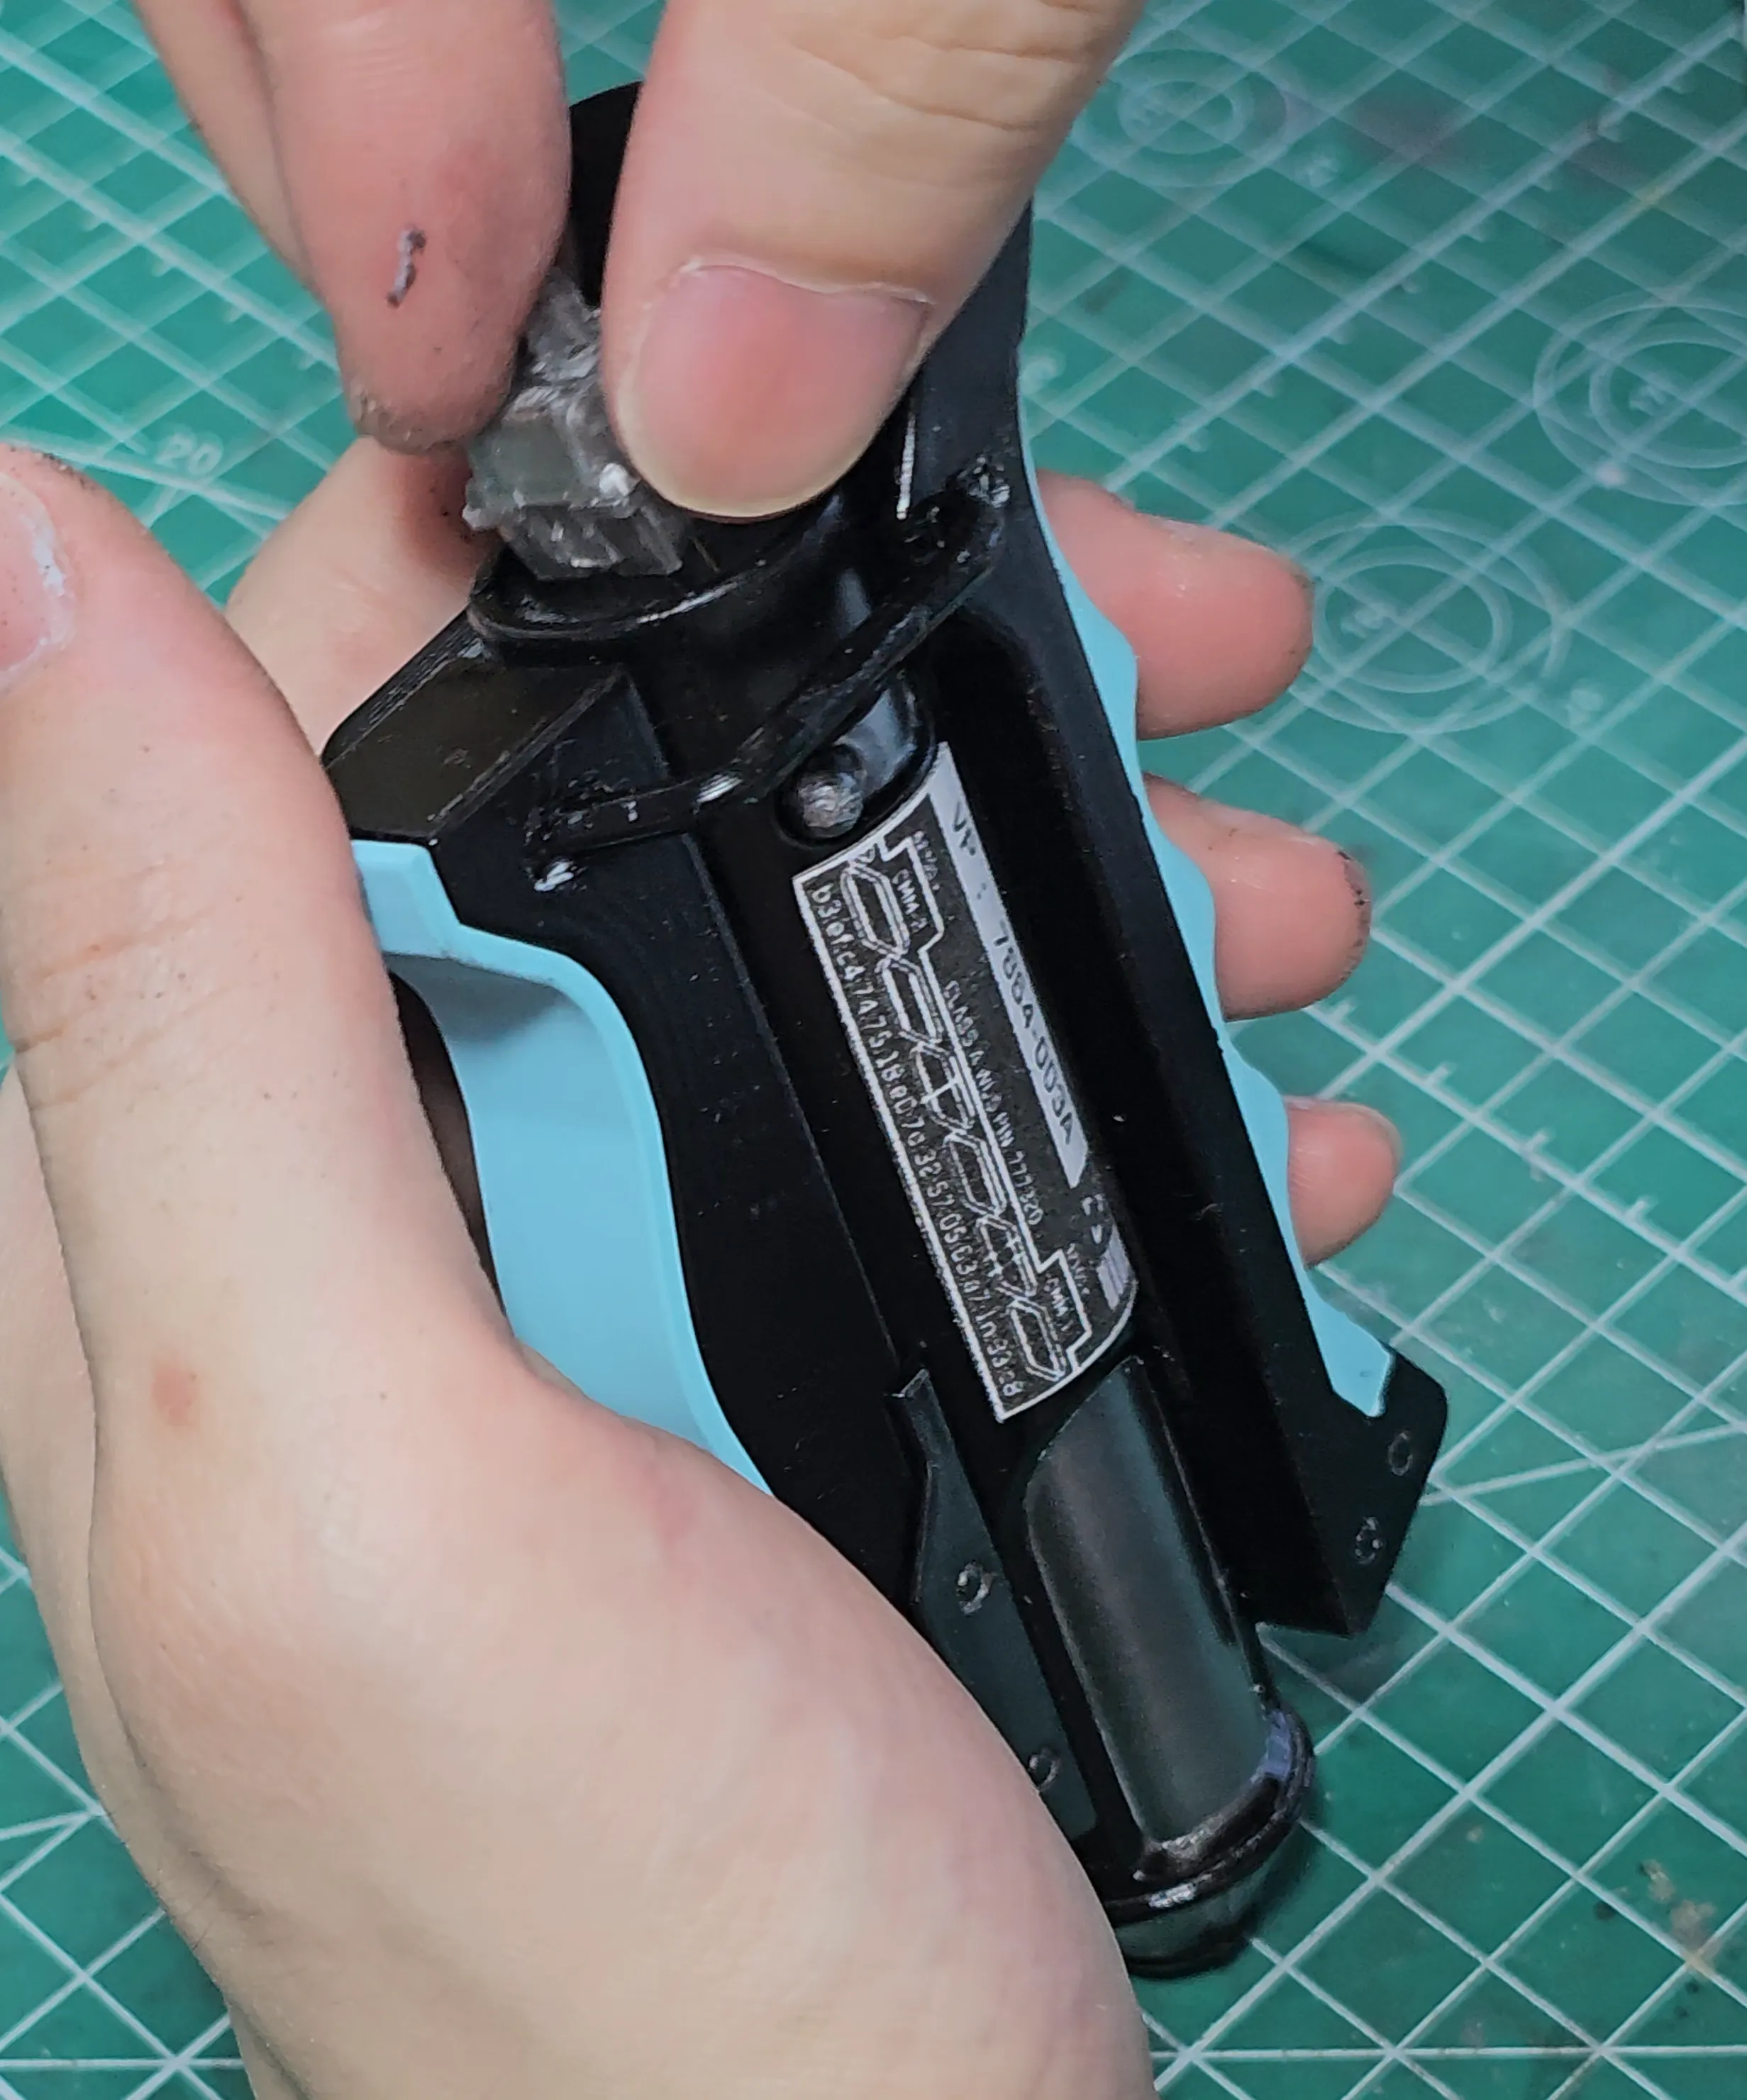 | Step 9: Insert Mechanical switch |
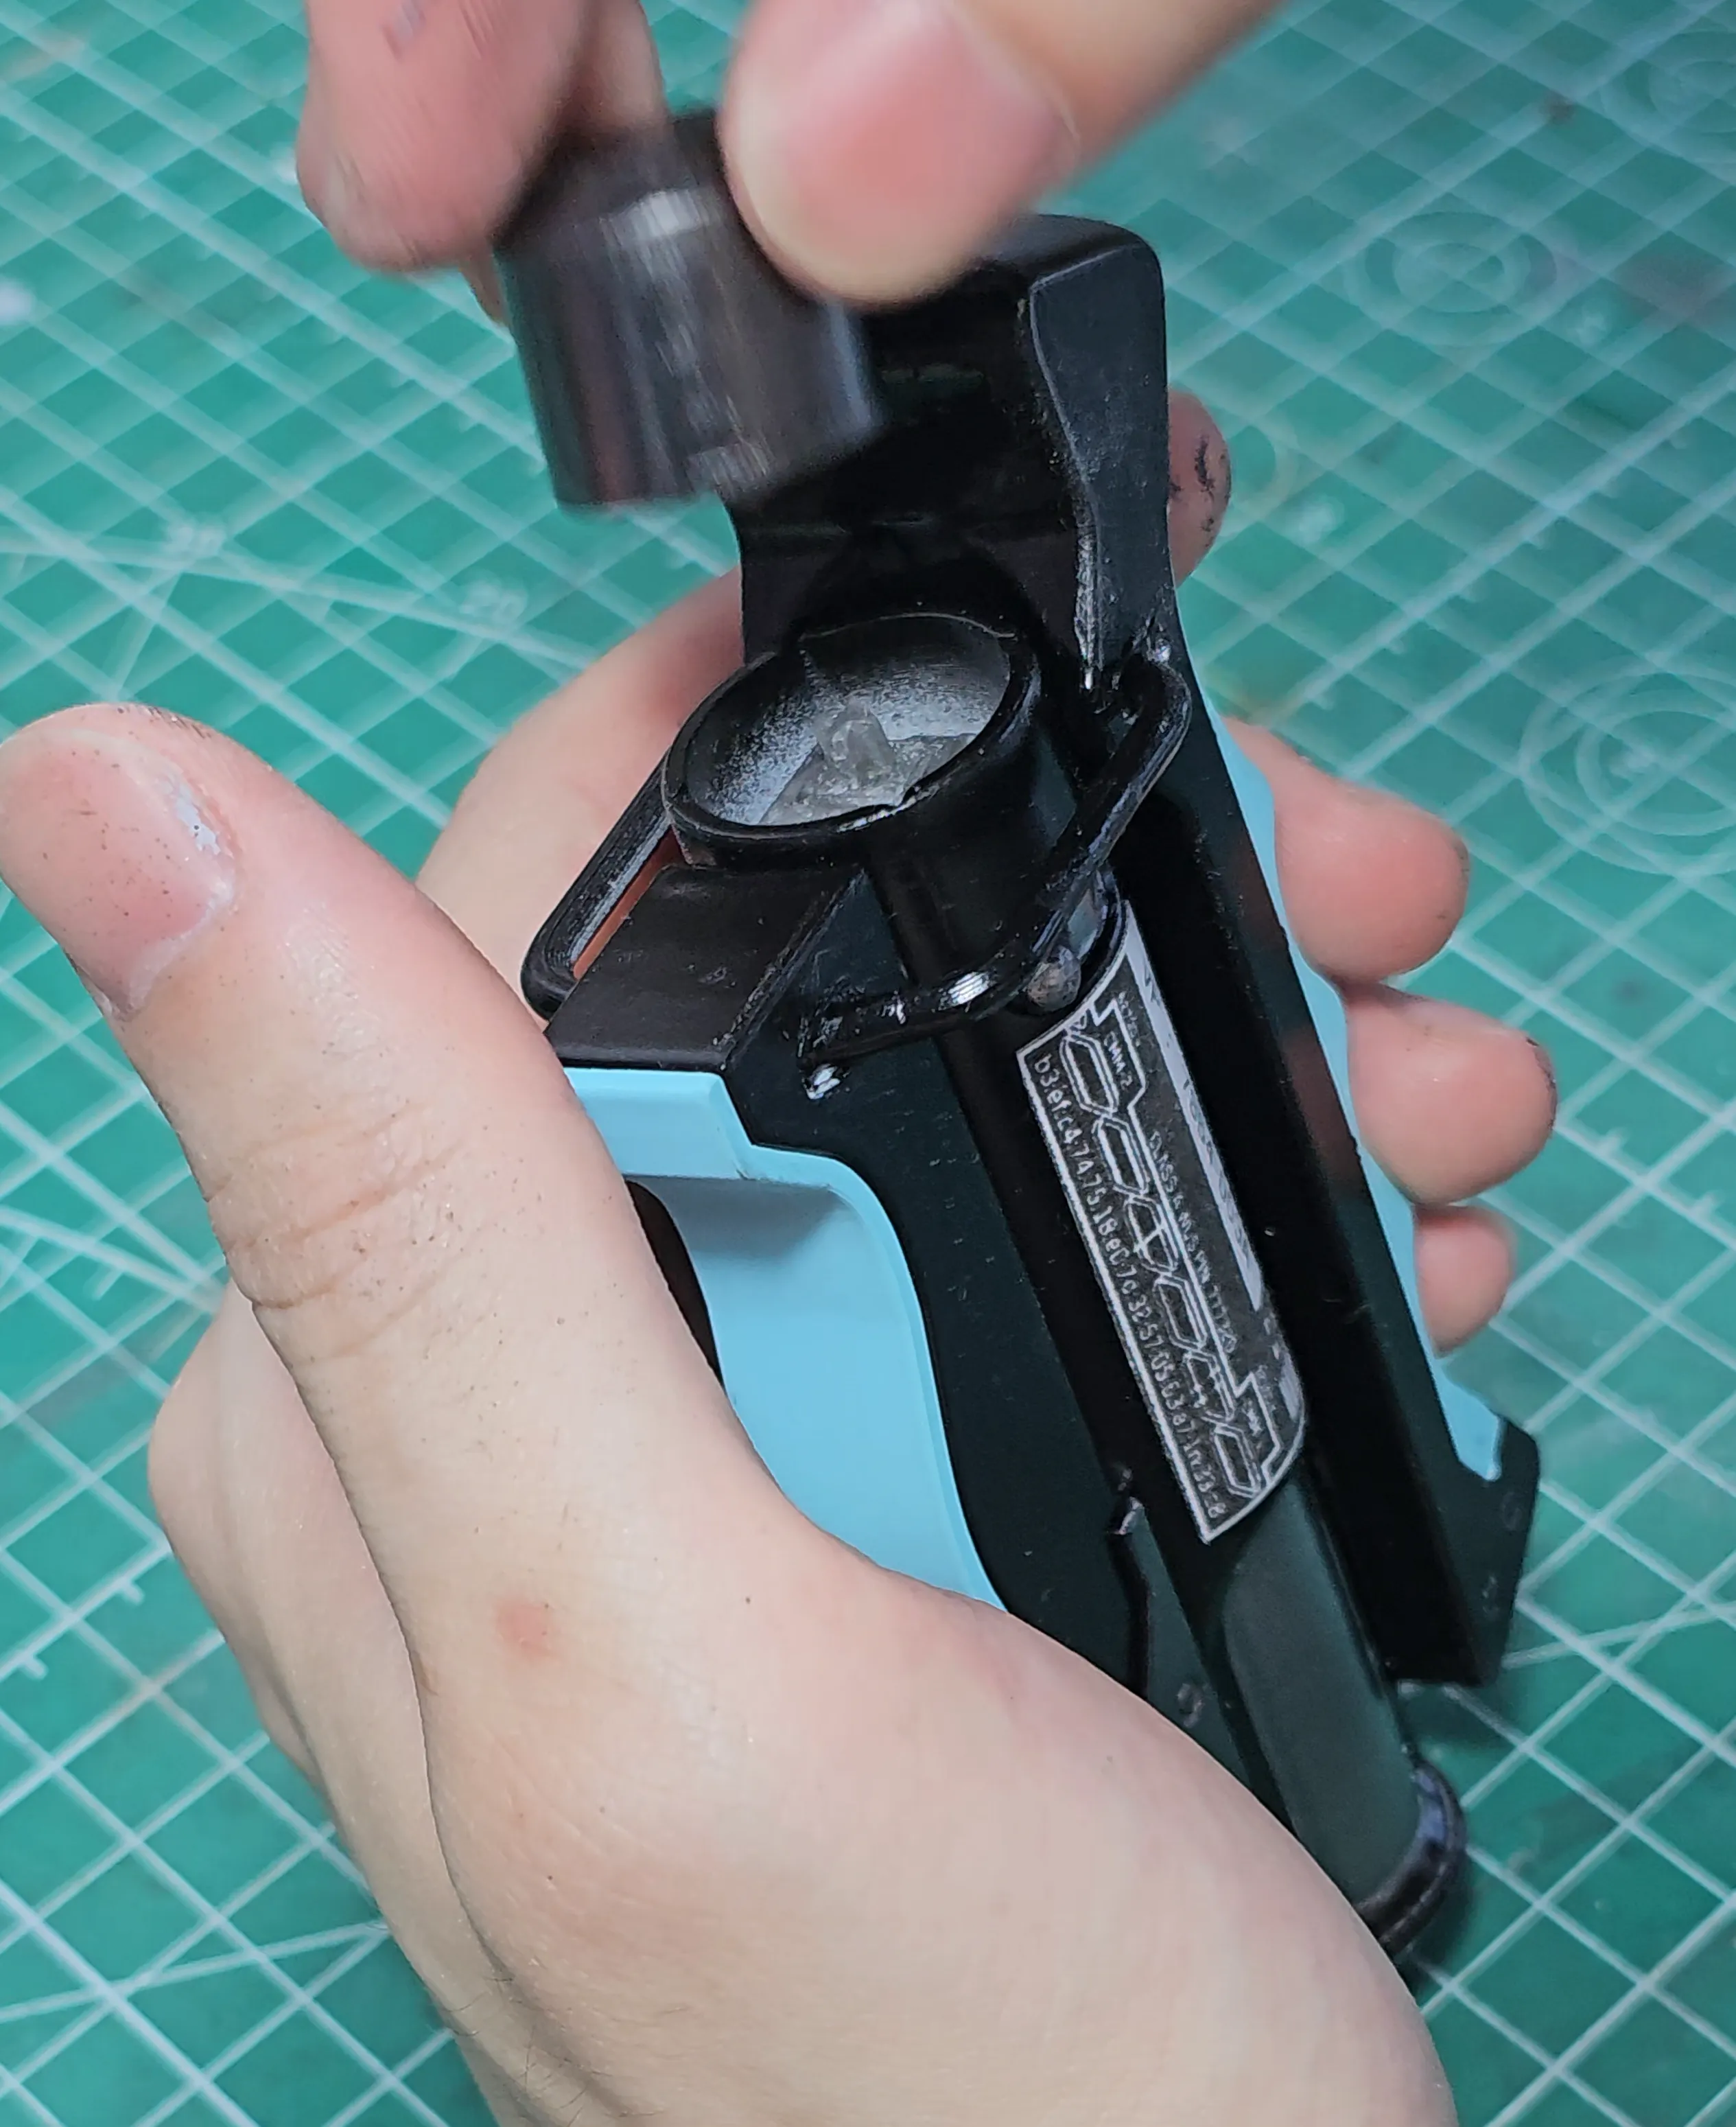 | Step 10: Insert "Thumb Button.stl"
|
Boost Me (for free)
Boosting is free and helps me afford extra stuff for my kids (cats) :)
Membership
Commercial Licenses Available
Documentation (1)

License

You shall not share, sub-license, sell, rent, host, transfer, or distribute in any way the digital or 3D printed versions of this object, nor any other derivative work of this object in its digital or physical format (including - but not limited to - remixes of this object, and hosting on other digital platforms). The objects may not be used without permission in any way whatsoever in which you charge money, or collect fees.


Comment & Rating (6)