
Smart Desk Clock with Vintage Design and 9 Layouts
Print Profile(1)
Bill of Materials
- Mini WiFi Desktop Clock x 1: This donor clock is required for this project. It will be disassembled to reuse the electronics and flashed with the custom SmartOne firmware. You can purchase a compatible clock here: https://de.aliexpress.com/item/1005010015428561.html
Description
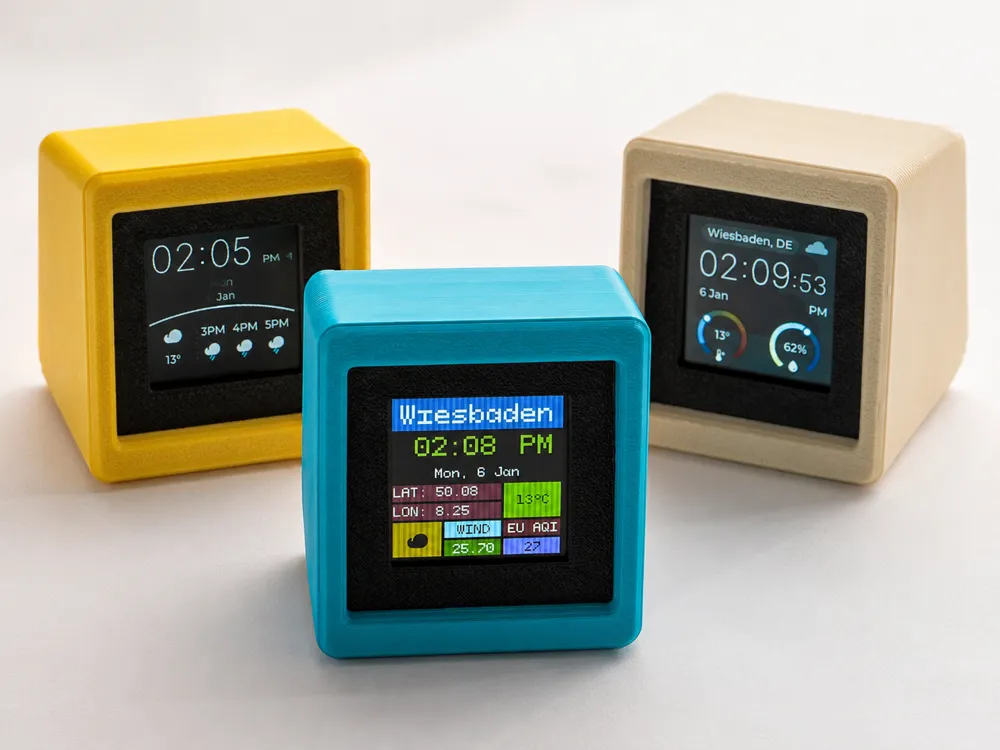
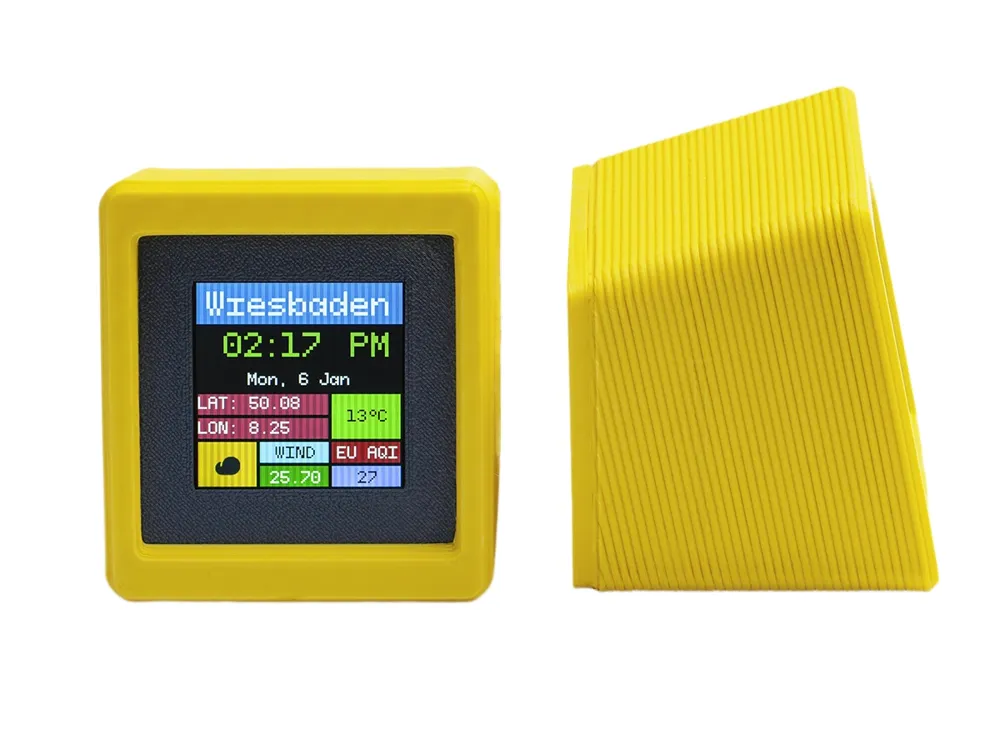
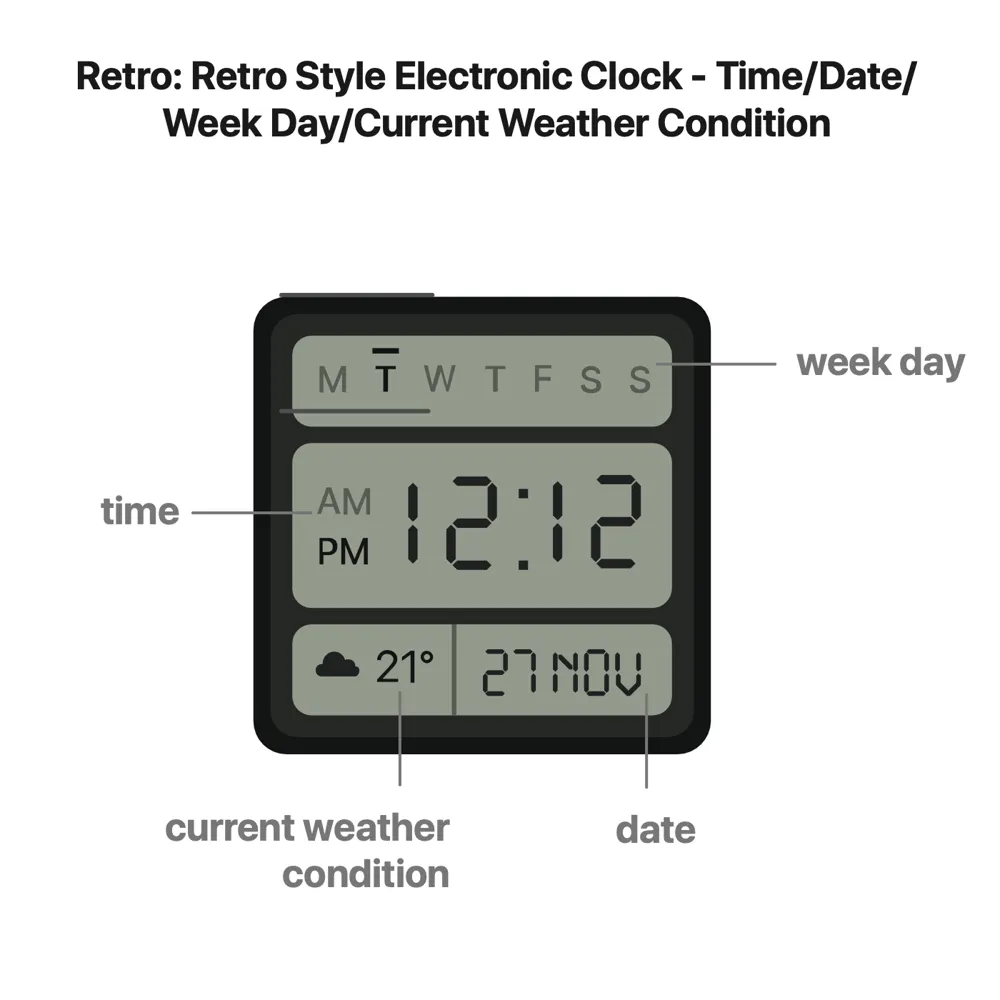
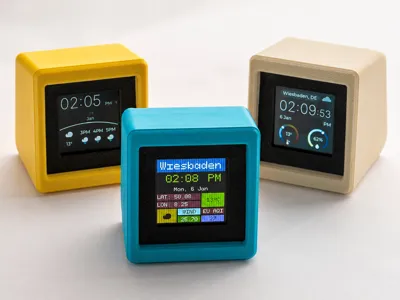
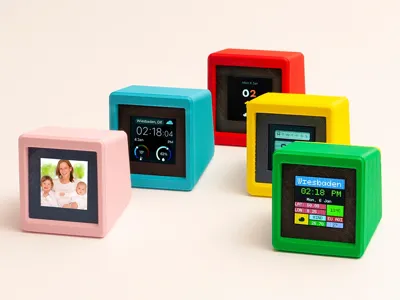
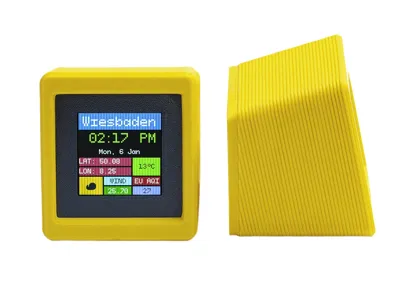
Inspired by iconic 1980s CRT monitors, this compact smart desk clock combines retro aesthetics with modern electronics. Build it yourself by 3D printing the enclosure and using the ESP8266 display board from the Wi-Fi Clock available on AliExpress.
Features
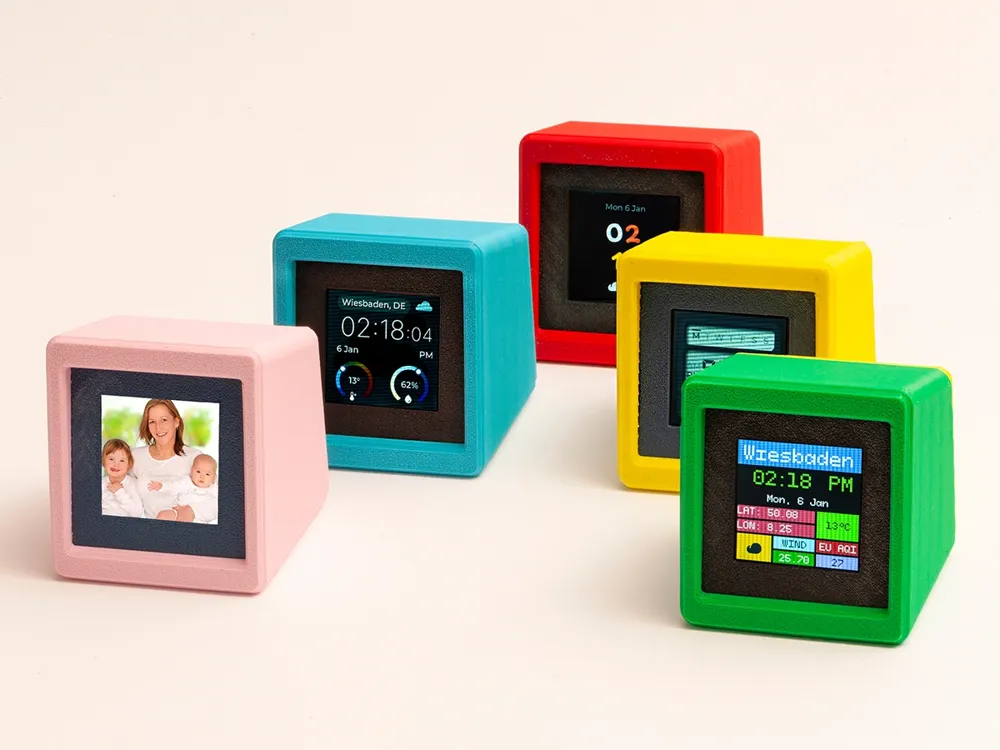
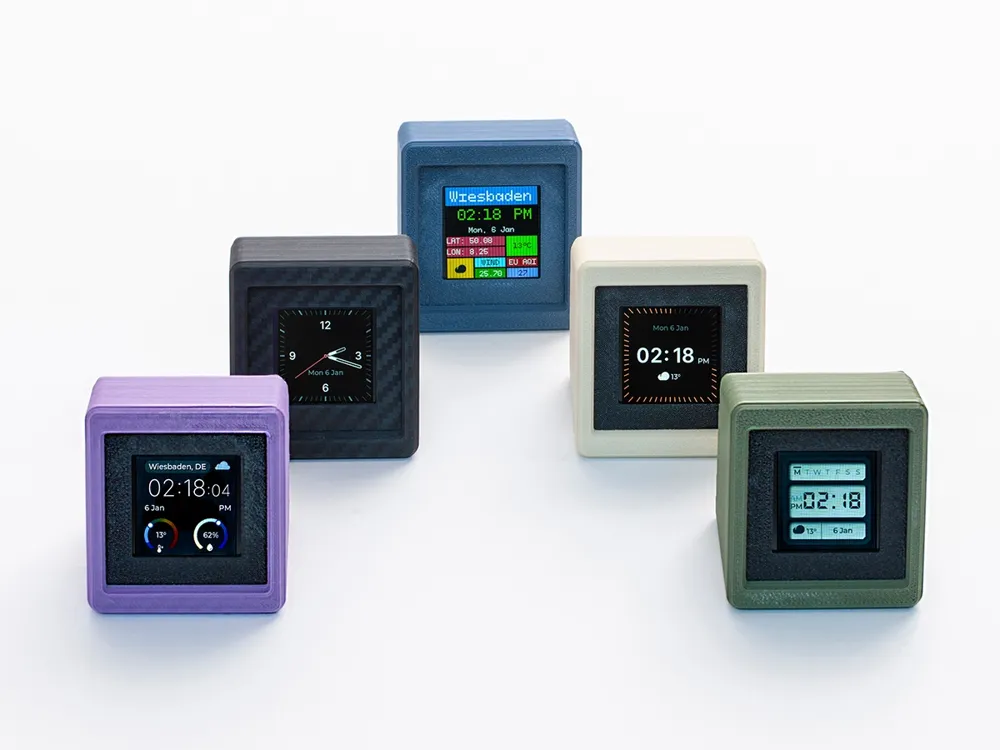
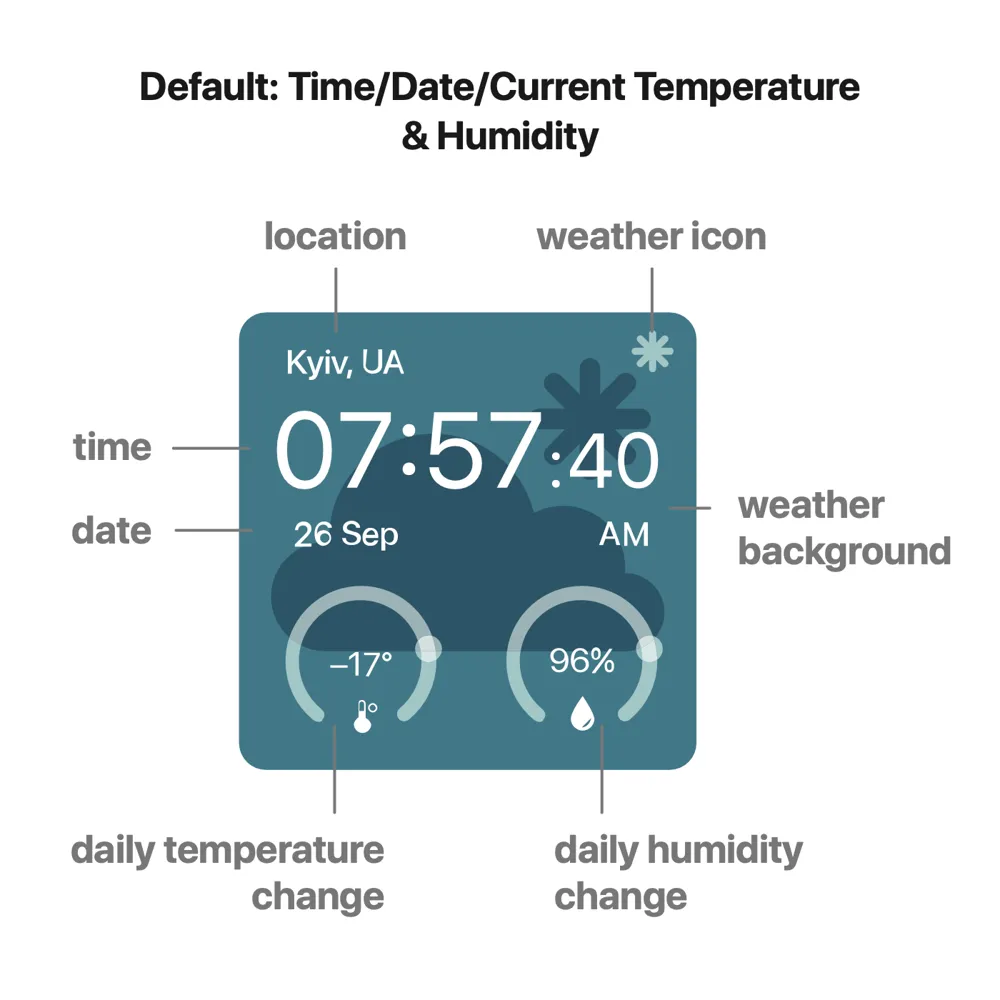
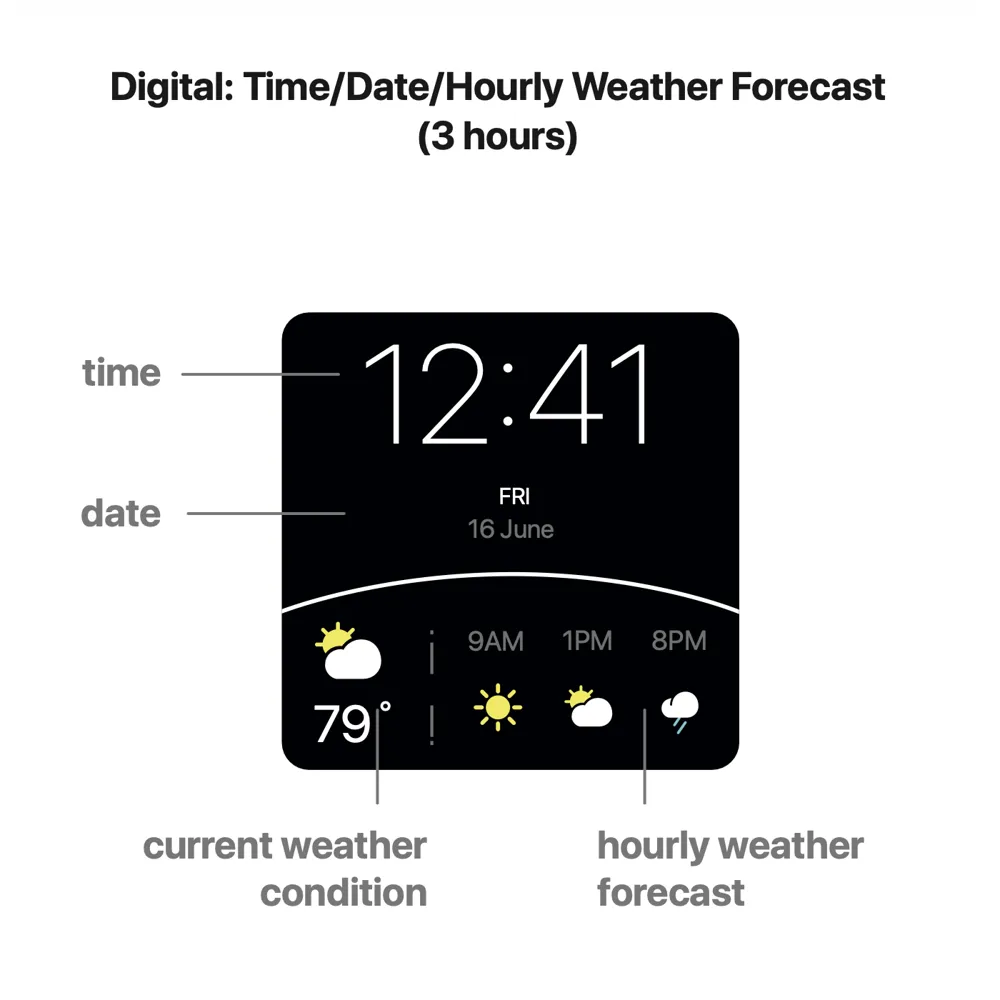
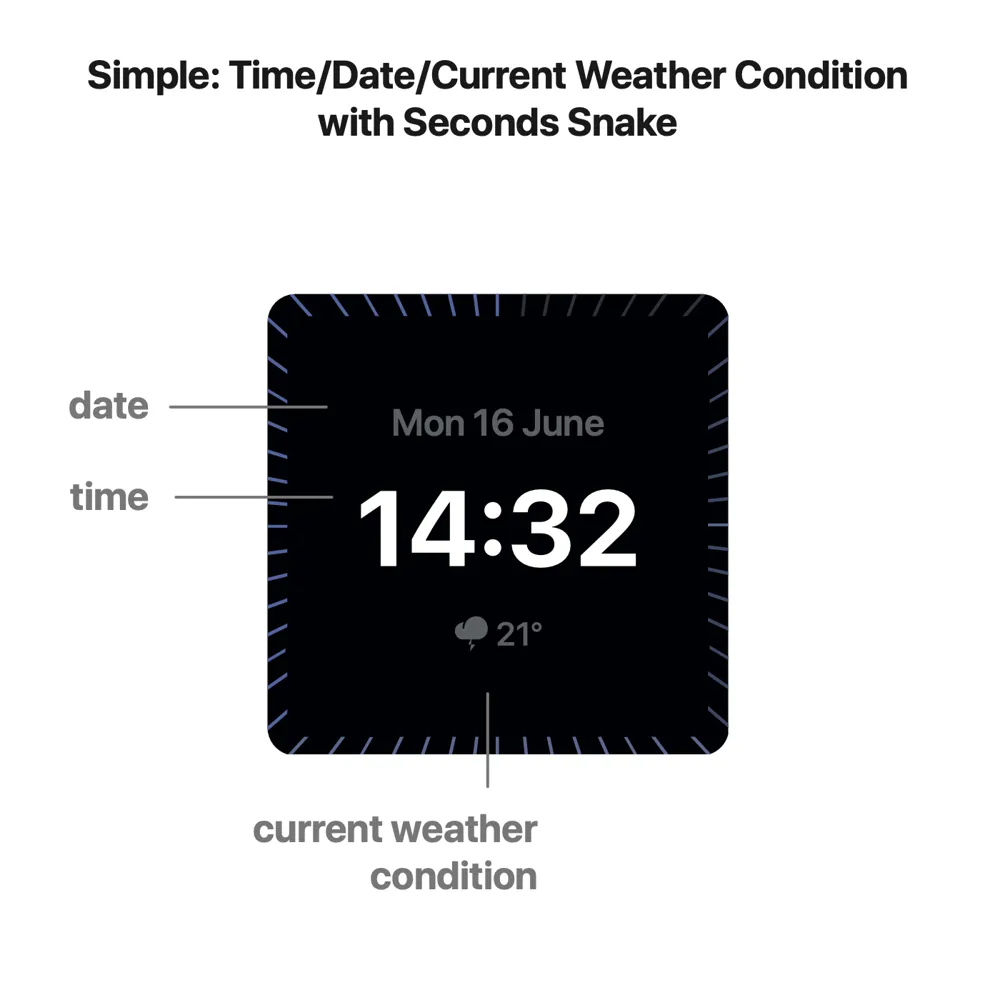
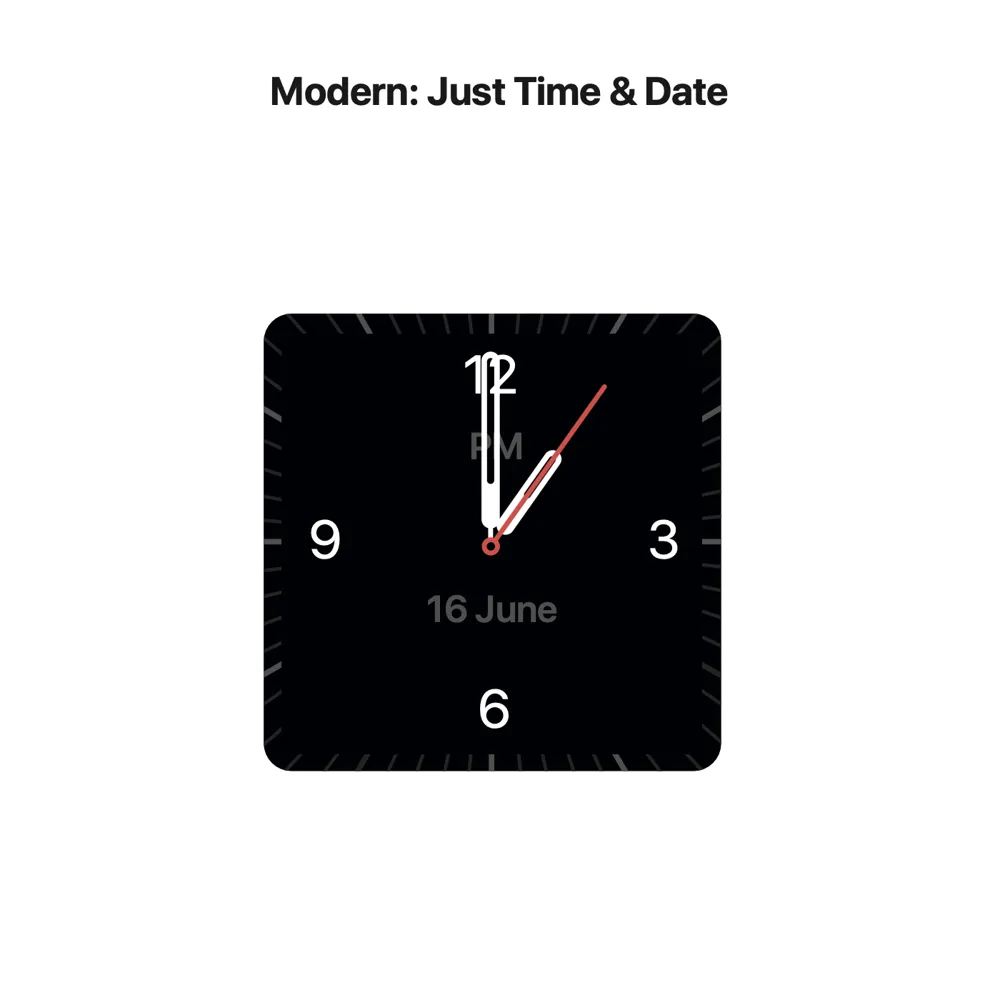
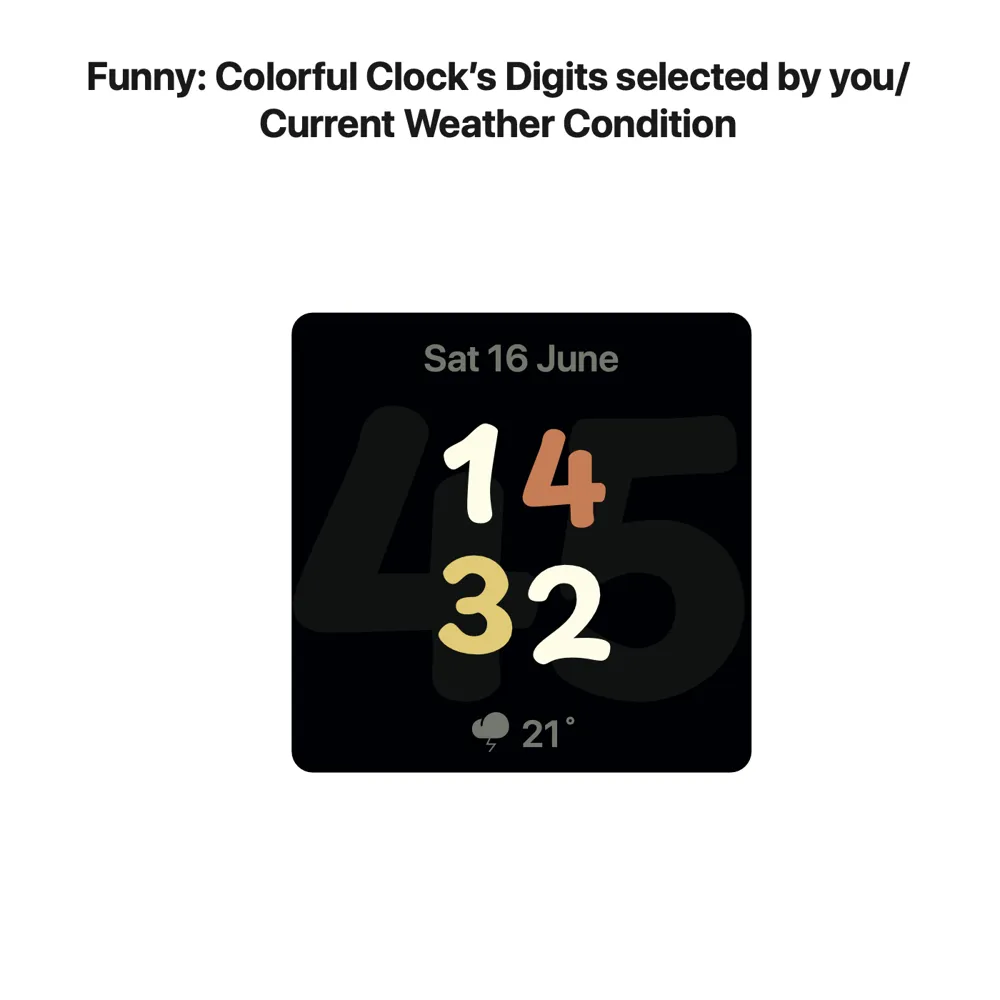
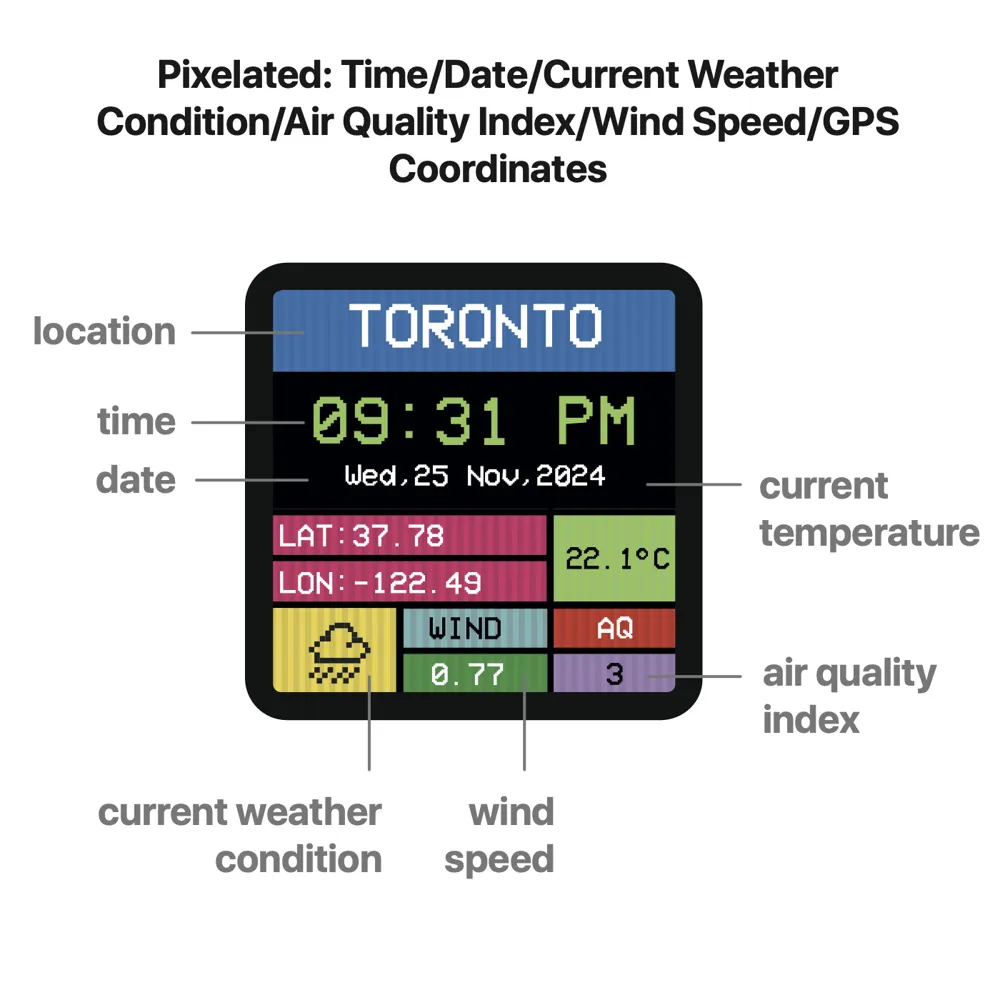
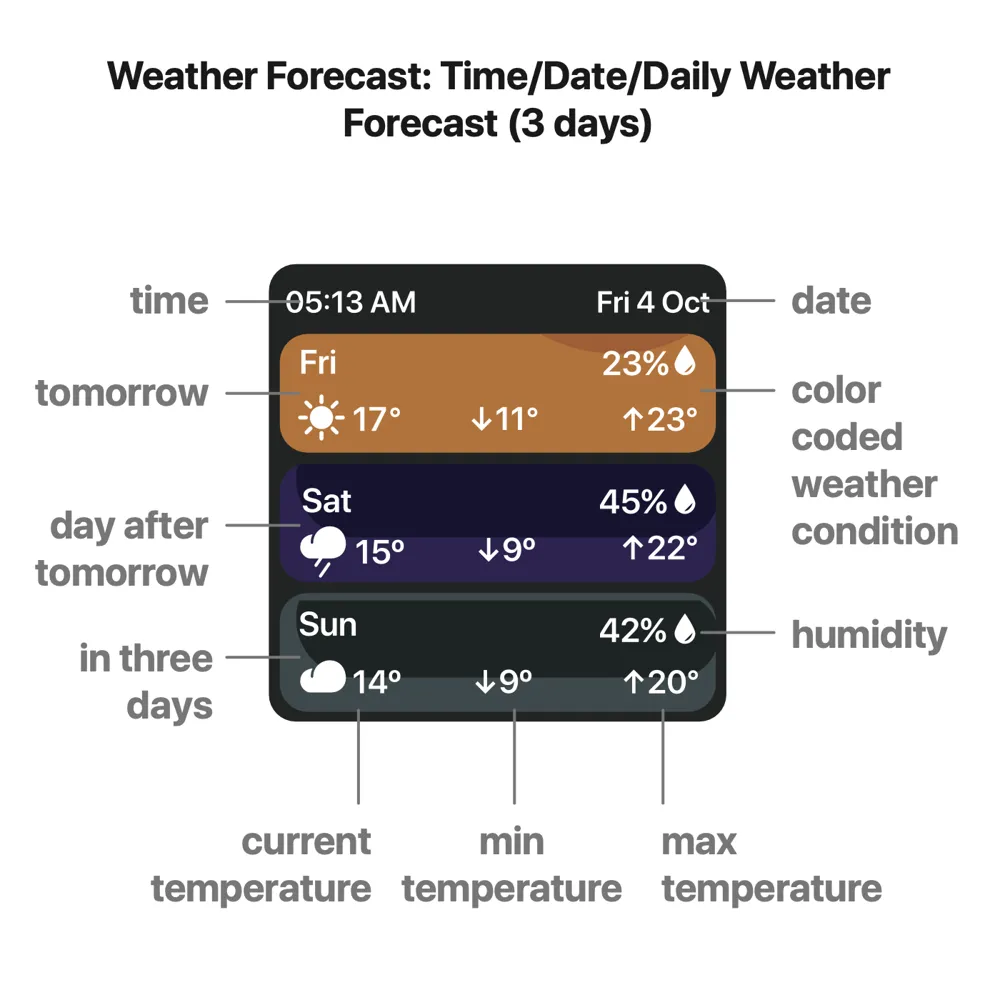
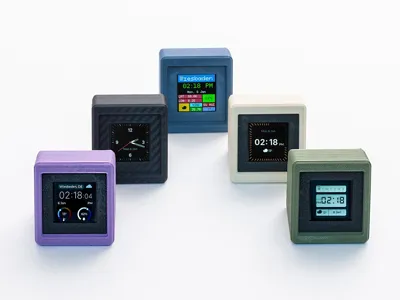
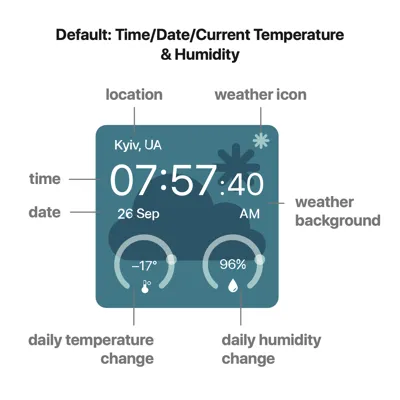
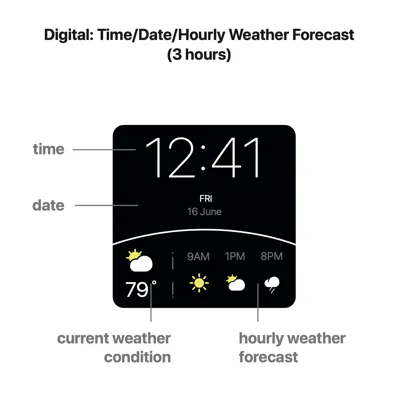
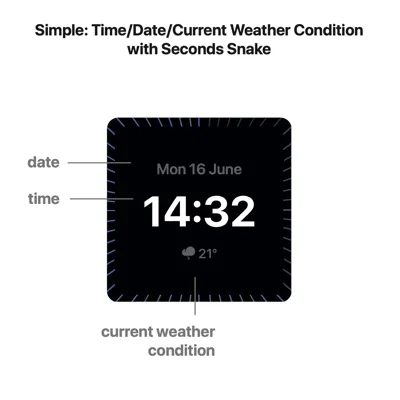
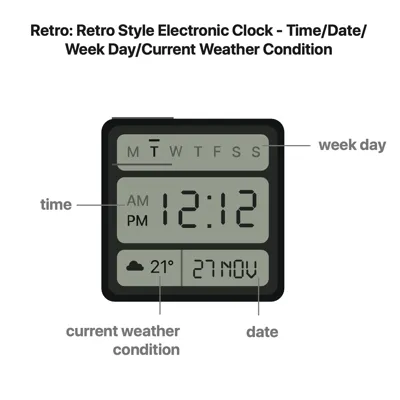
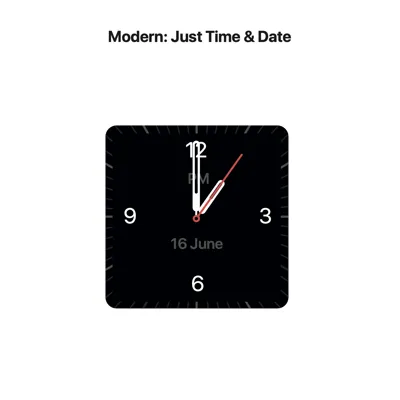
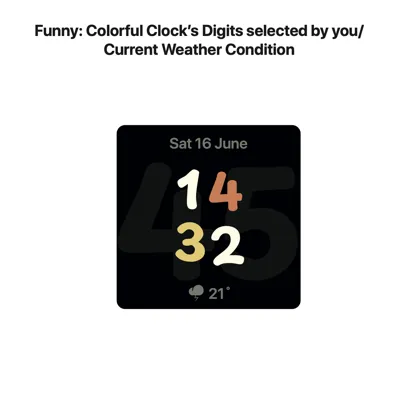
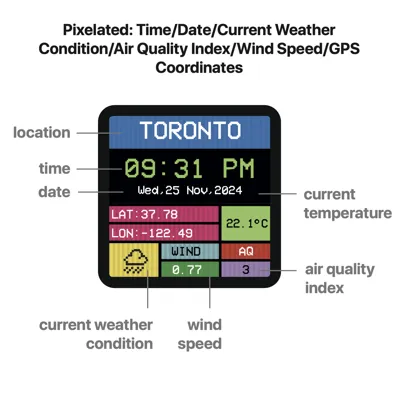
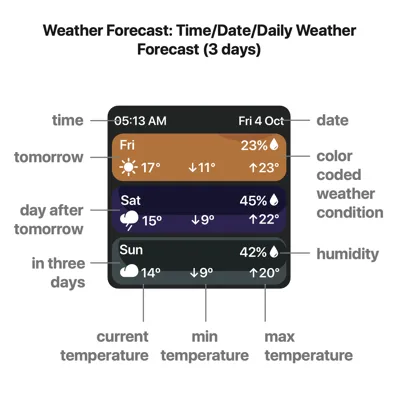
- 9 unique display layouts
- Live weather conditions
- Hourly weather forecast
- 3-day weather forecast
- Indoor temperature & humidity
- Air Quality Index (German AQI Standard)
- Wind speed
- Automatic time synchronization
- Built-in photo album (240×240 px)
- Browser-based configuration — no app required
- Fully 3D printable enclosure
Assembly Guide
1. Print the parts
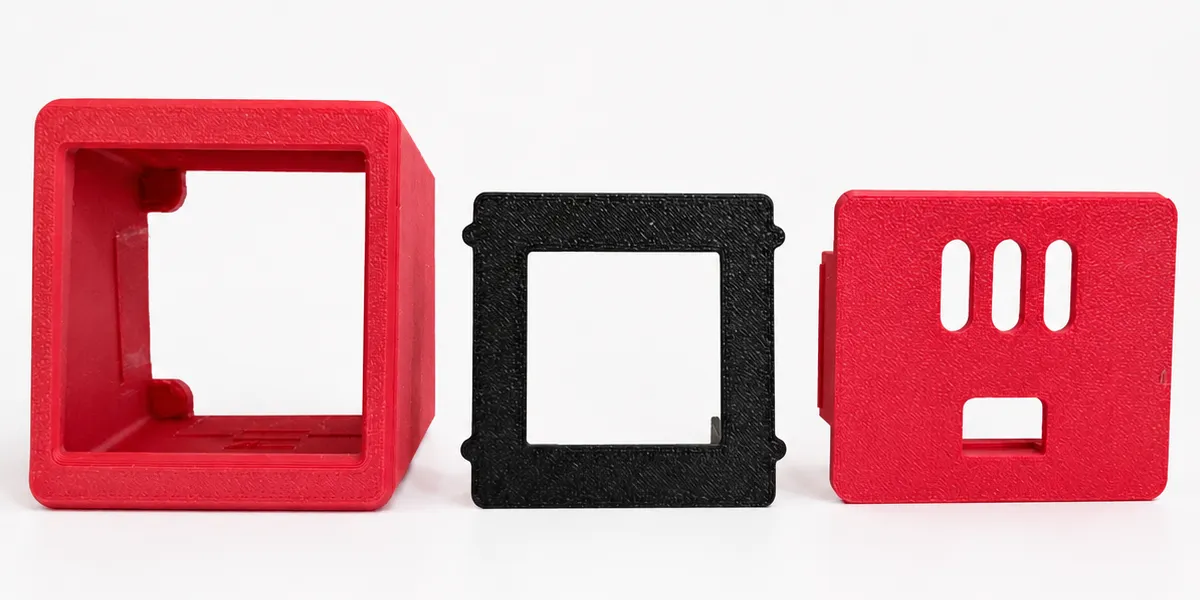
Print all three parts:
- Main enclosure
- Front display insert
- Rear cover
Tip: I recommend printing the front insert in black. It creates the illusion of a larger display and gives the clock a cleaner, more finished appearance. Any color will work, though.
2. Get the donor clock
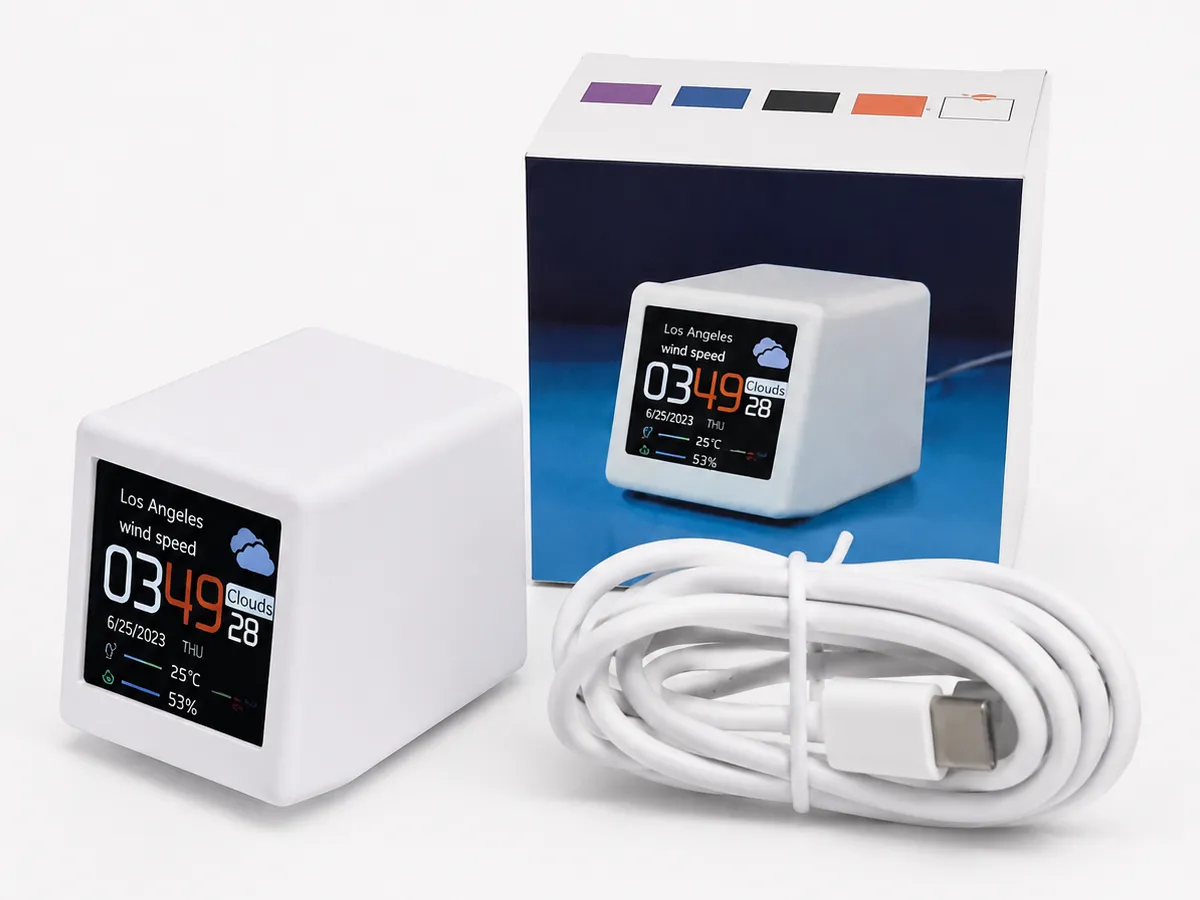
Purchase the Wi-Fi desk clock shown in the photos.
You can find it on AliExpress https://de.aliexpress.com/item/1005010015428561.html
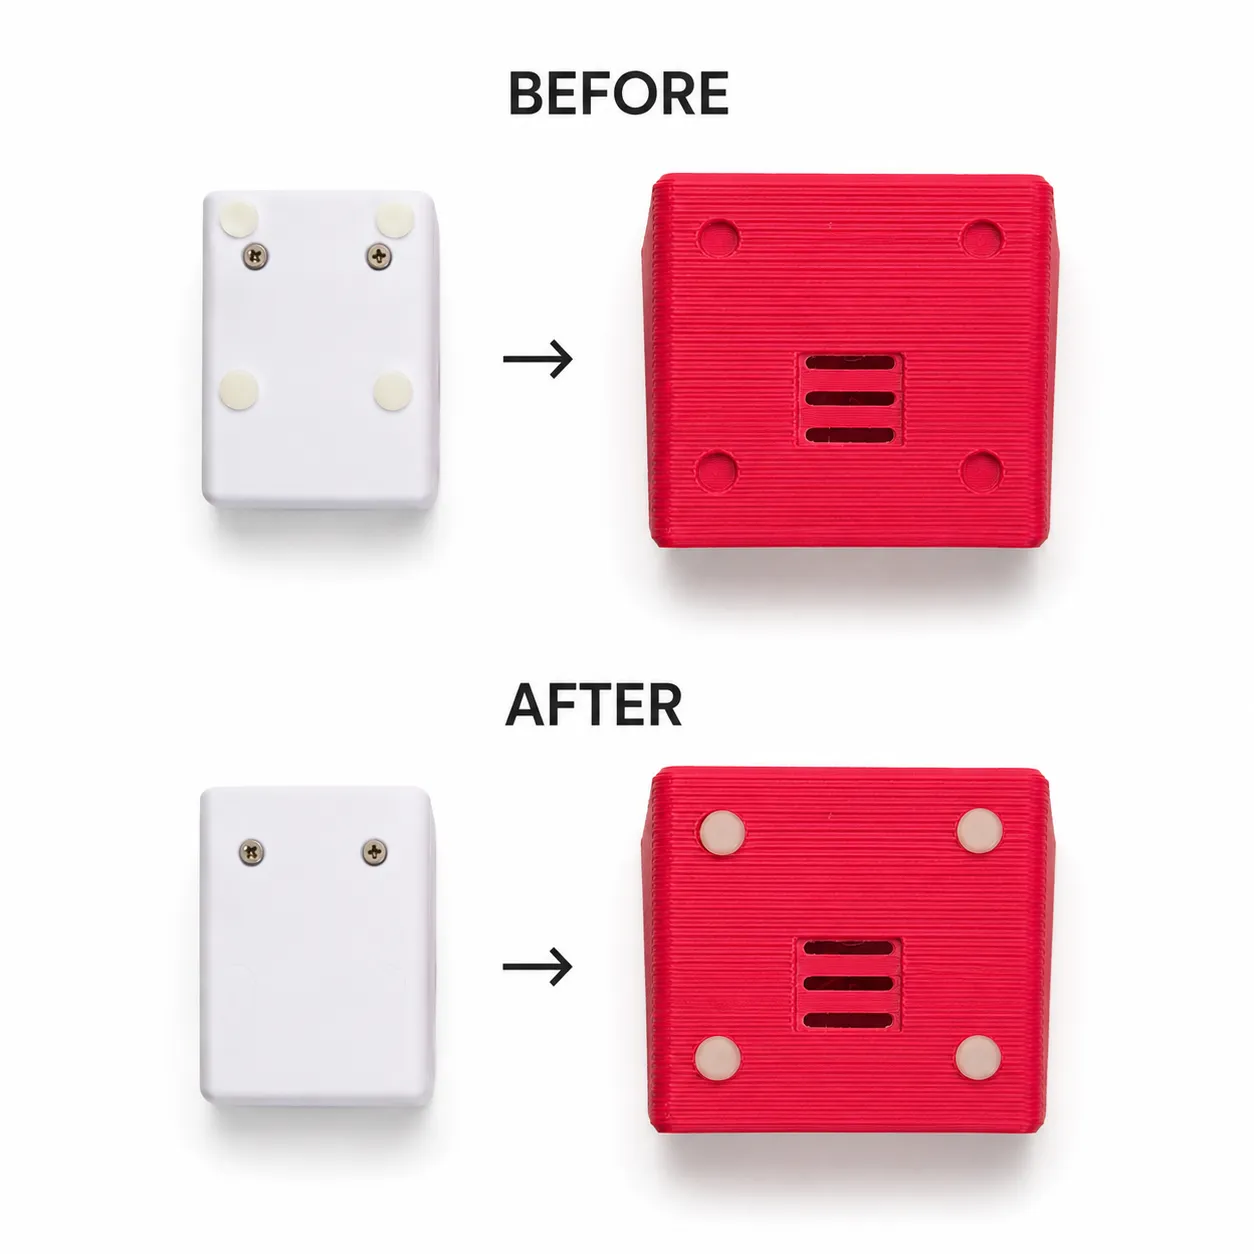
3. Move the rubber feet
Carefully remove the four rubber feet from the original clock using a sharp knife or another thin, sharp tool.
Glue them onto the matching positions on the bottom of the printed enclosure.
4. Disassemble the donor clock
Using a small Phillips screwdriver, remove the two screws from the bottom of the original clock.
Slide the electronics out of the white enclosure.
The original plastic housing is no longer needed.
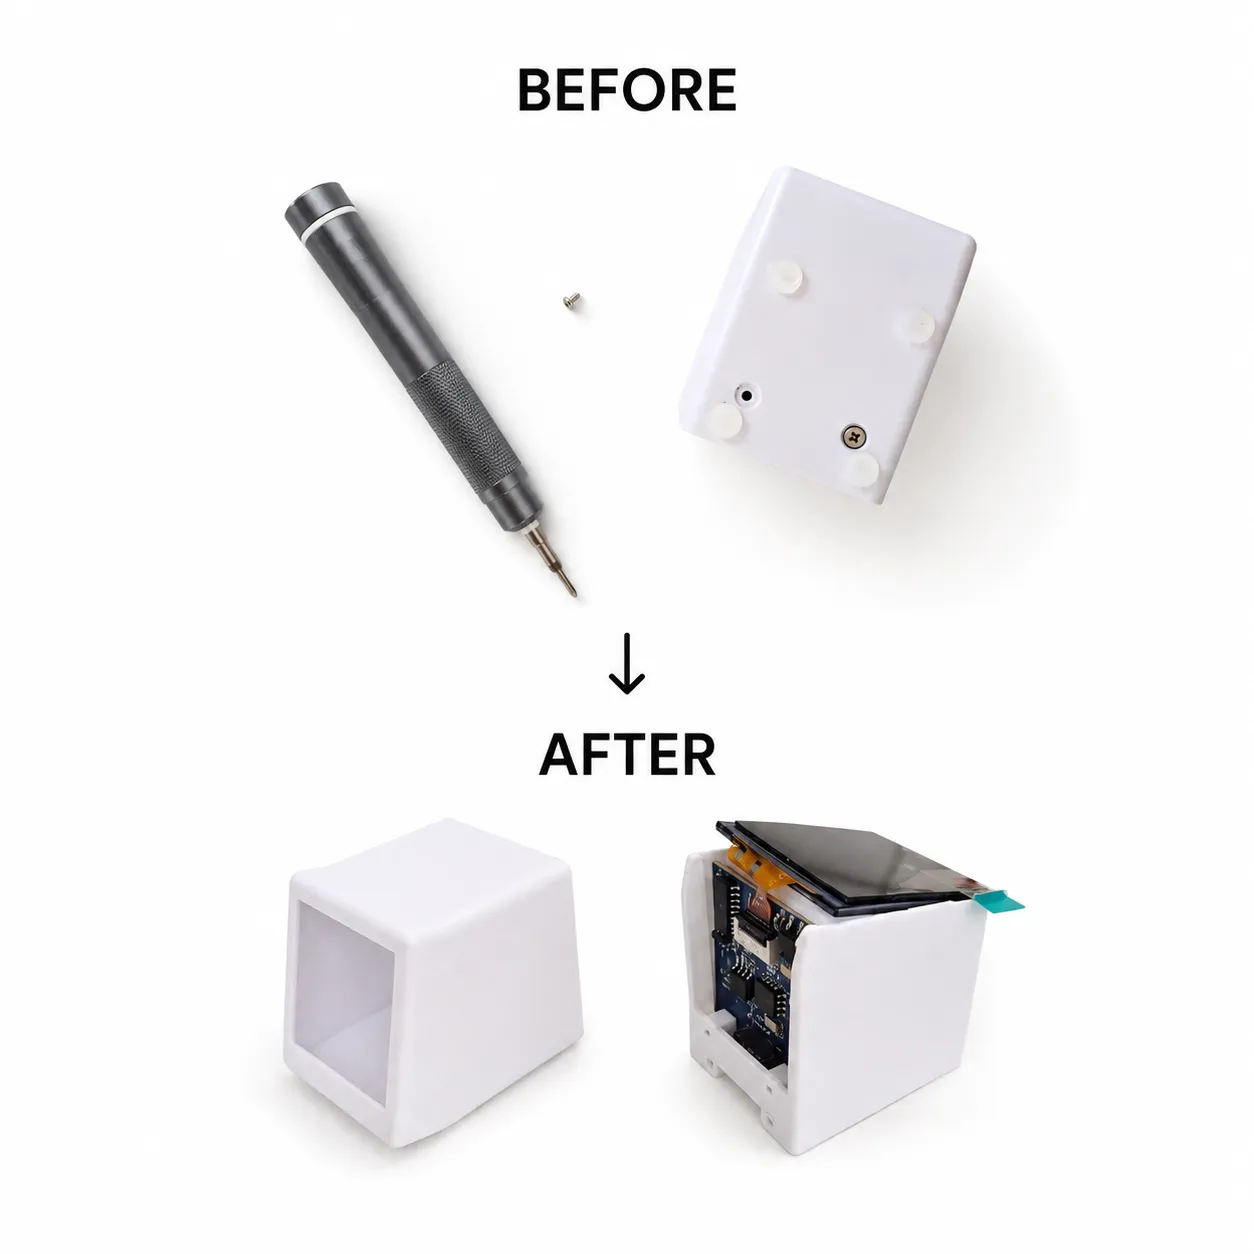
5. Assemble the new enclosure
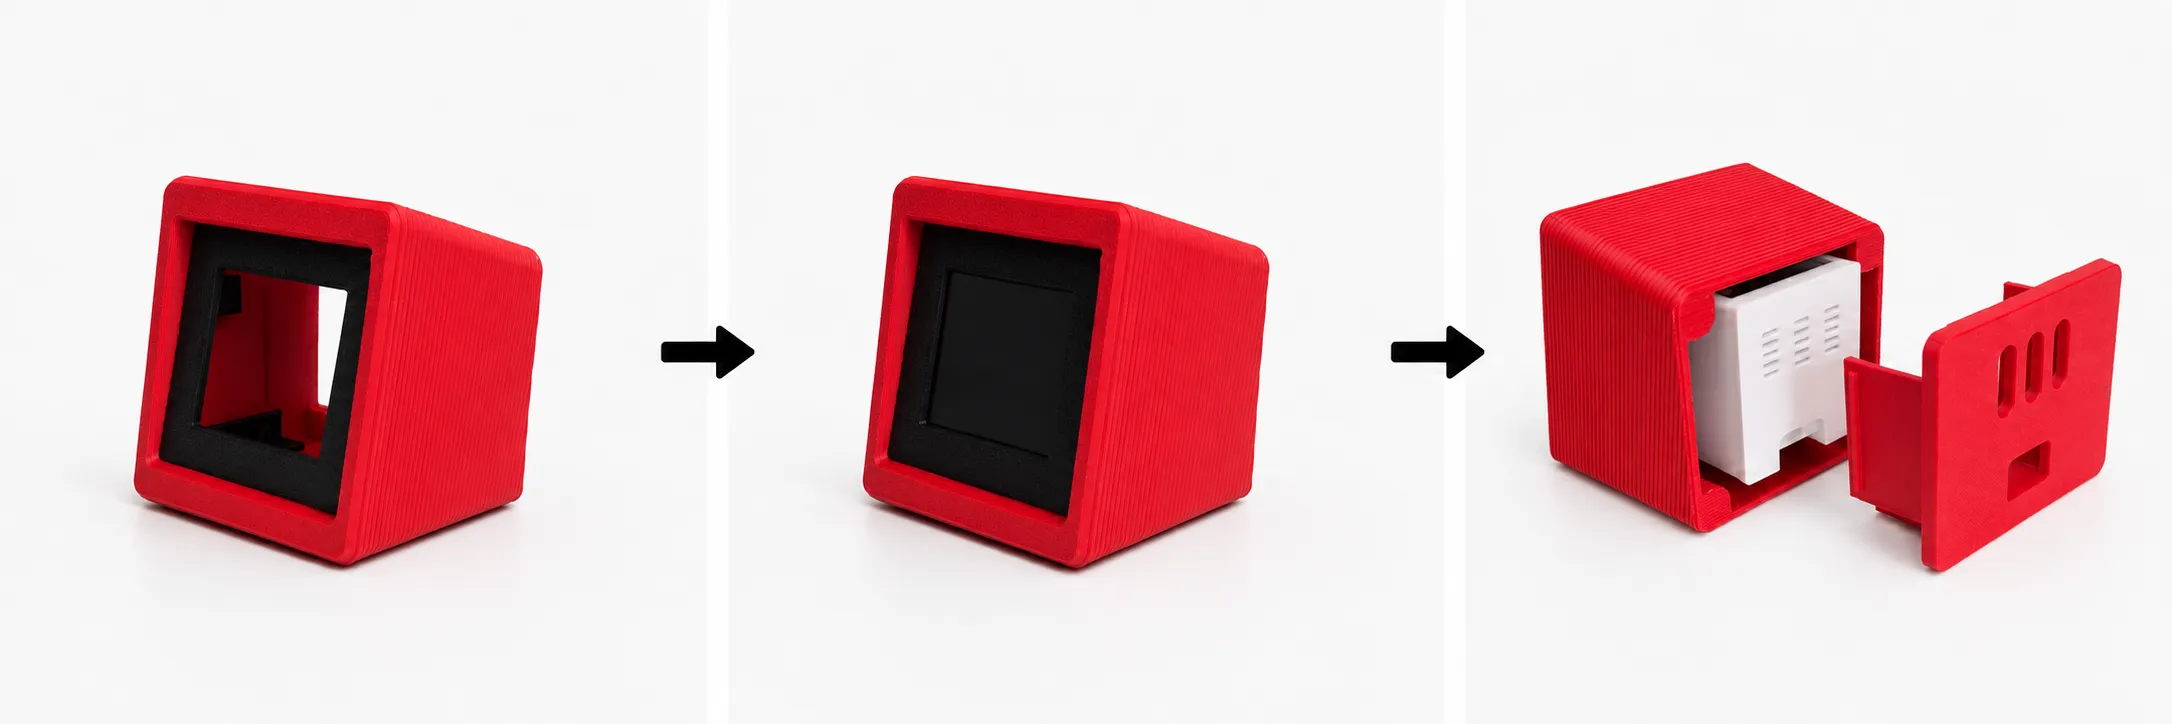
- Insert the front display insert into the matching grooves inside the printed enclosure.
- Remove the protective film from the display.
- Slide the display module into the enclosure from the rear until the display is properly seated behind the front insert.
- Install the rear cover by sliding it into the side grooves until fully seated.
Your retro desktop clock is now assembled.
6. Flash the firmware
Follow the firmware installation guide:
https://github.com/smartnmagic/smartone
After flashing, connect to the clock's Wi-Fi hotspot and complete the setup in your web browser.
7. Easy Configuration
Everything is configured directly from your web browser by opening:
http://192.168.4.1
No software or mobile app is required.
Notes
- No soldering is required.
- No modifications to the electronics are required.
- The enclosure is designed specifically for the donor clock shown above.
- Assembly only takes a few minutes and requires only a small Phillips screwdriver and a sharp tool for removing the rubber feet.
Automatic Updates
The clock automatically synchronizes with internet time servers to keep accurate time.
Weather information, Air Quality Index and wind speed are updated via Wi-Fi, making the device a practical weather station for your desk.
Hardware
- ESP8266 Wi-Fi Clock Display Board
- USB Type-C power input
- 5V DC
- 240 × 240 IPS Display
- Display size: 40 mm (1.6")
Dimensions
55 × 55 × 50 mm
2.16 × 2.16 × 1.96 in
Fully Assembled Version
Don't want to build it yourself?
A ready-to-use version is available here:
https://smartnmagic.com/collections/desk-digital-clock
Documentation (1)
License

You shall not share, sub-license, sell, rent, host, transfer, or distribute in any way the digital or 3D printed versions of this object, nor any other derivative work of this object in its digital or physical format (including, but not limited to, publishing derivative works outside the Makerworld platform or hosting on other digital platforms). The objects may not be used without permission in any way whatsoever in which you charge money or collect fees. Subject to the above restrictions, derivative works may be published only within the Makerworld platform, and all such derivative works must be licensed under the same SDFL‑C license, without modification or additional terms. You may download the digital versions of this object, 3D print it, and display images, videos, or usage demonstrations of 3D printed versions of the object on personal social media platforms or Makerworld official channels, provided that no digital versions of the object are shared or distributed.


Comment & Rating (0)