
MIM Cyberexcavator + Remote and Playground
Print Profile(6)
Bill of Materials











Description
Hey everyone, long time no see!
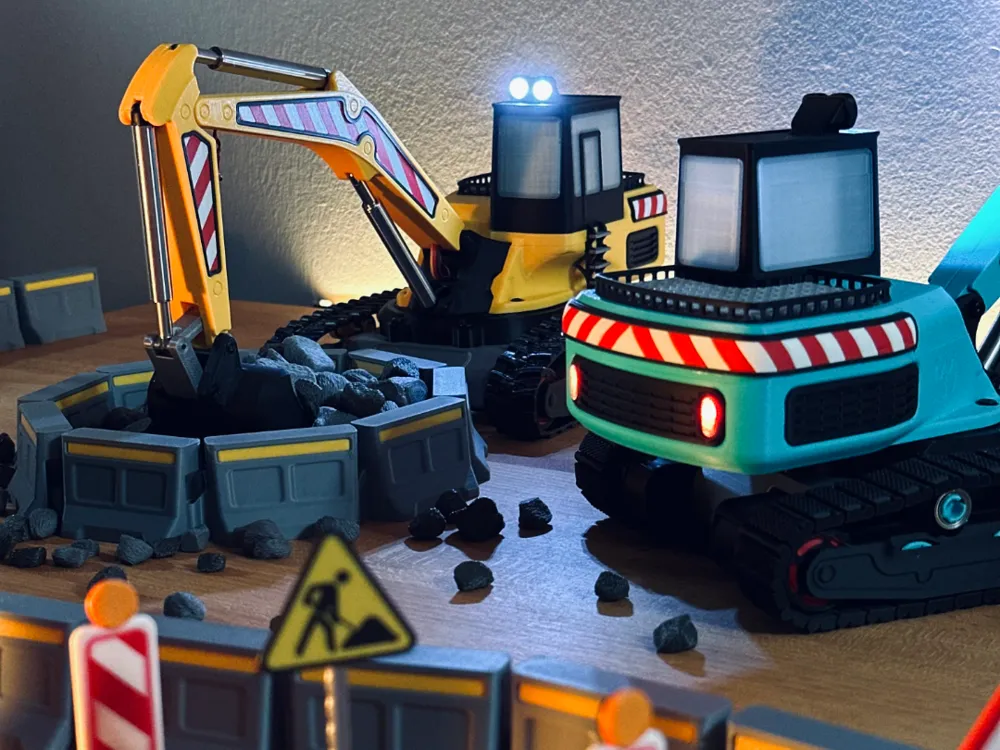
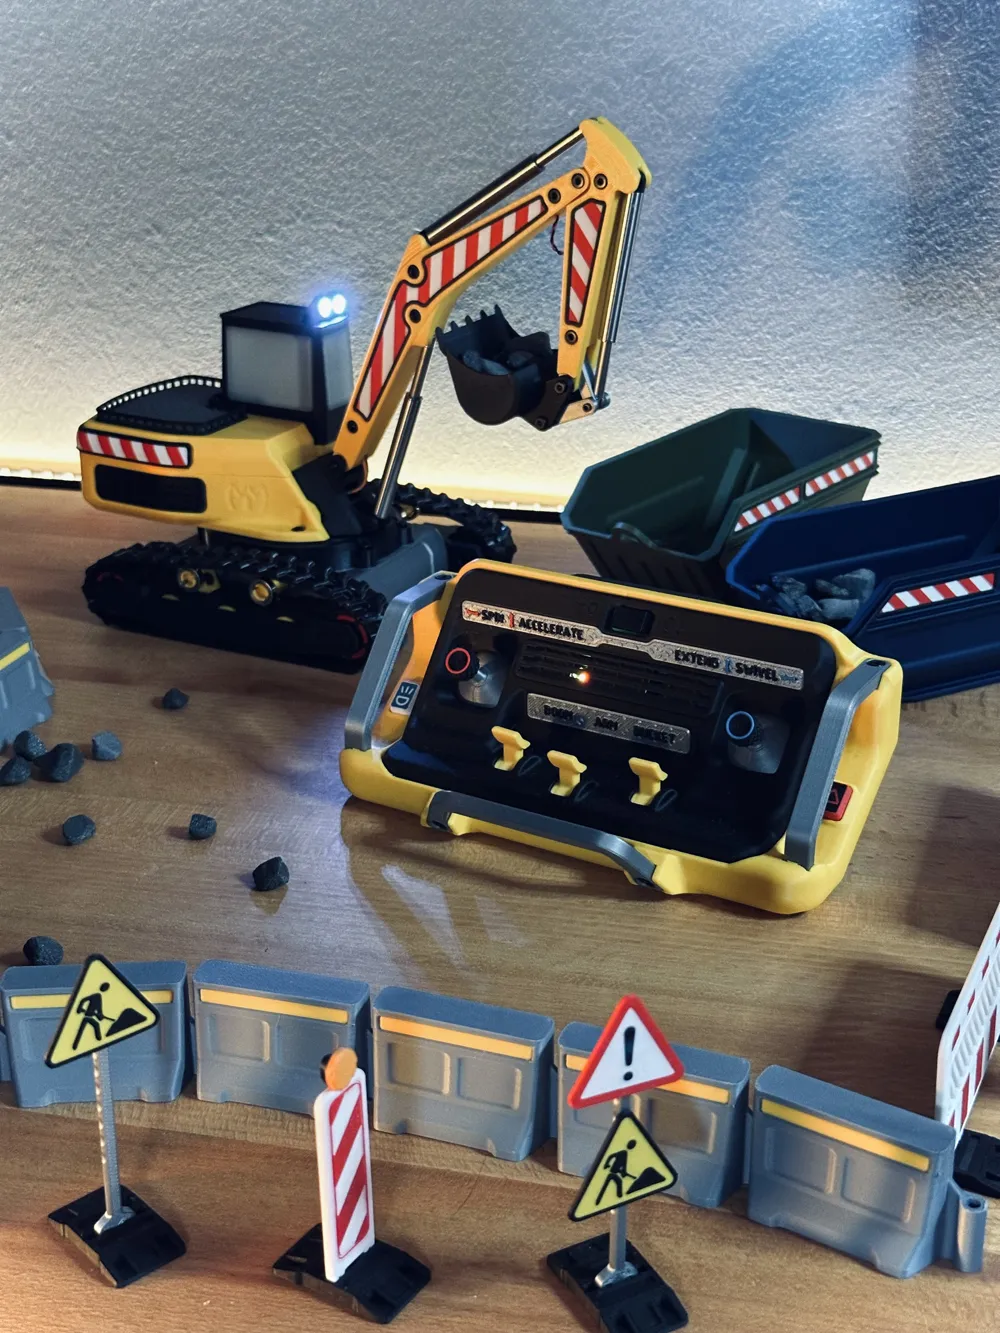
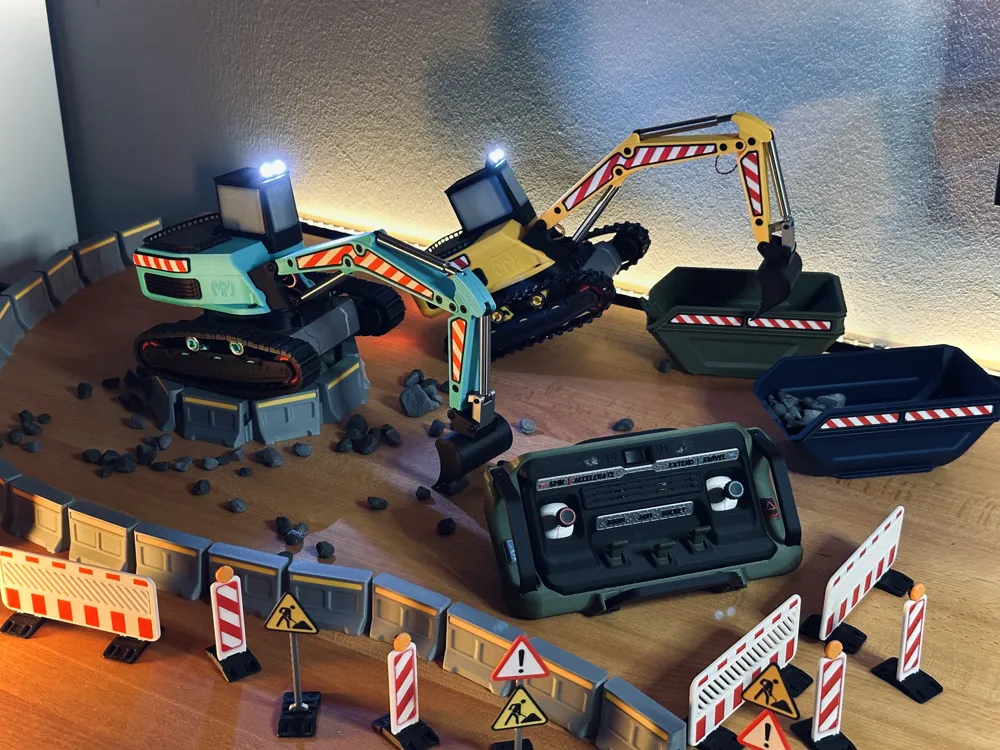

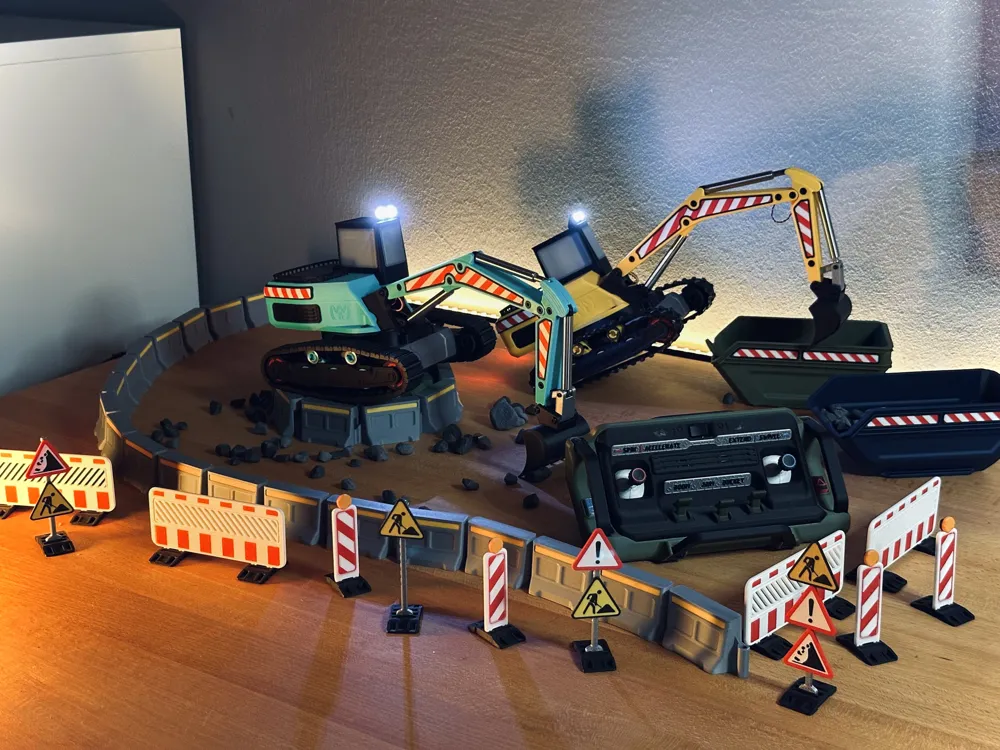
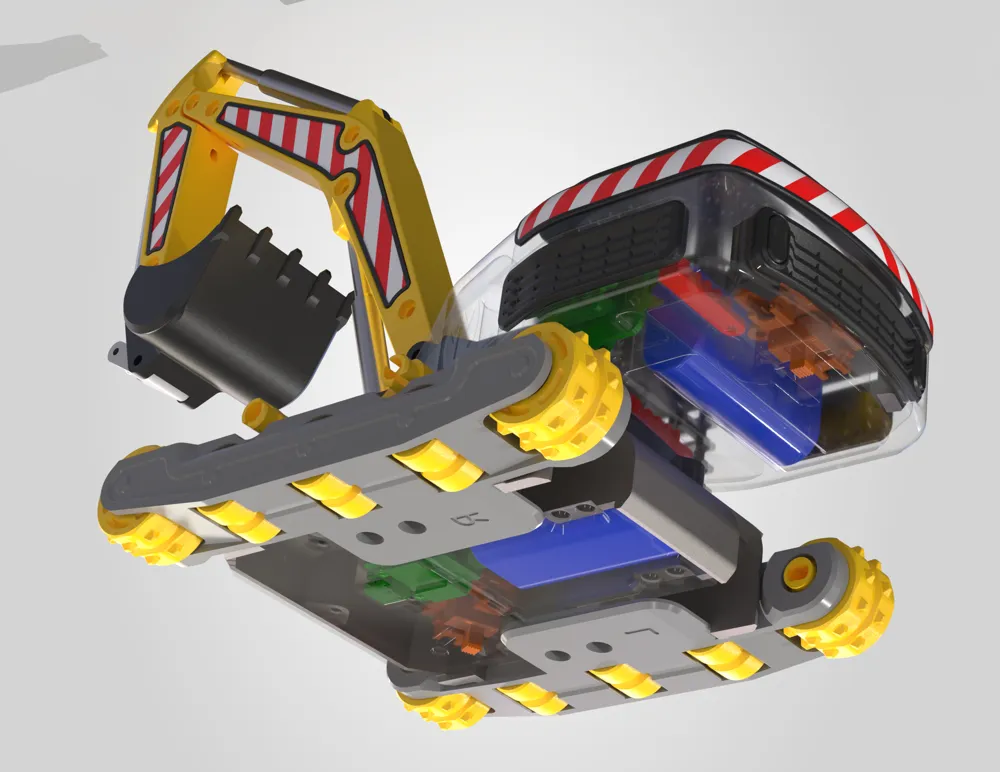
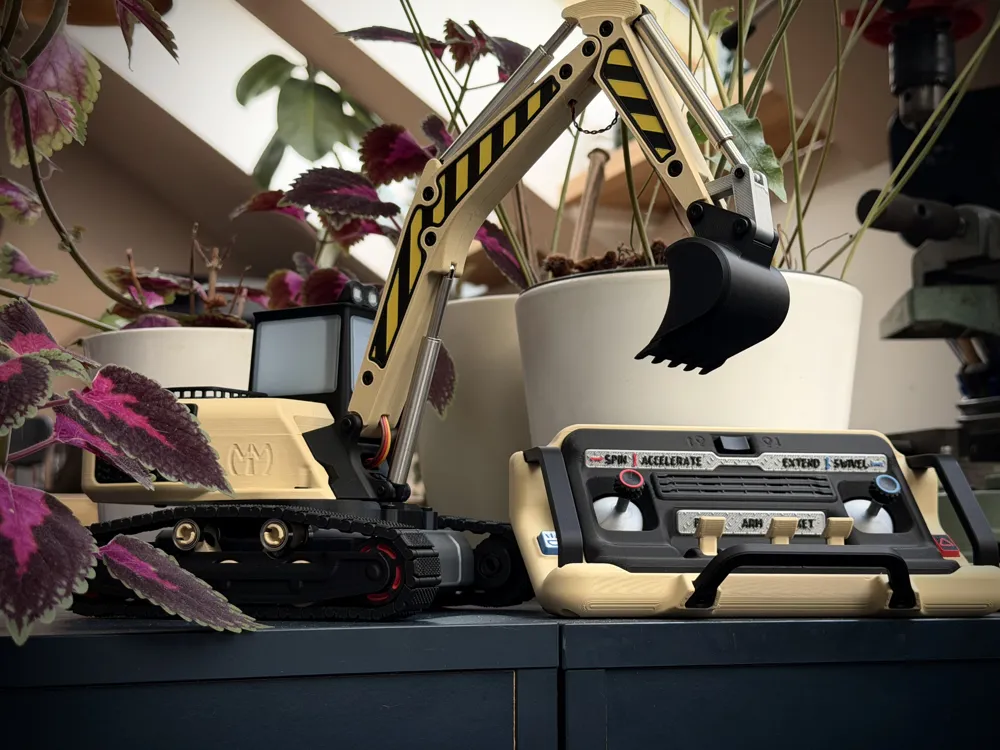
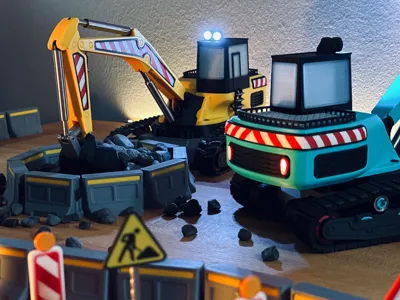
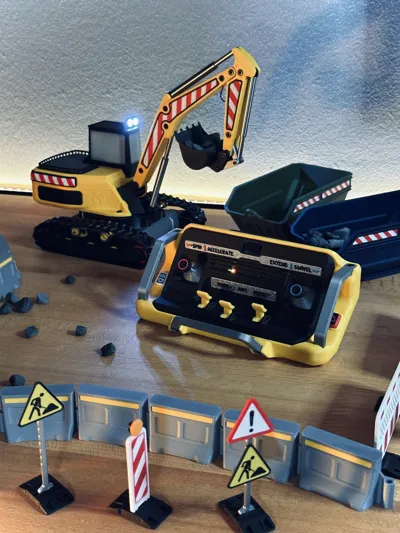
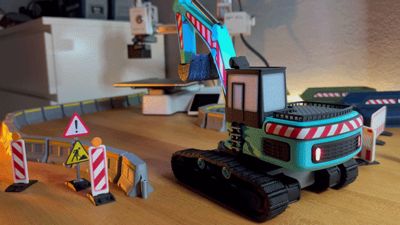
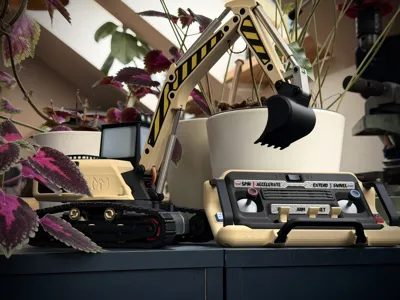
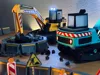
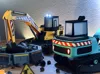
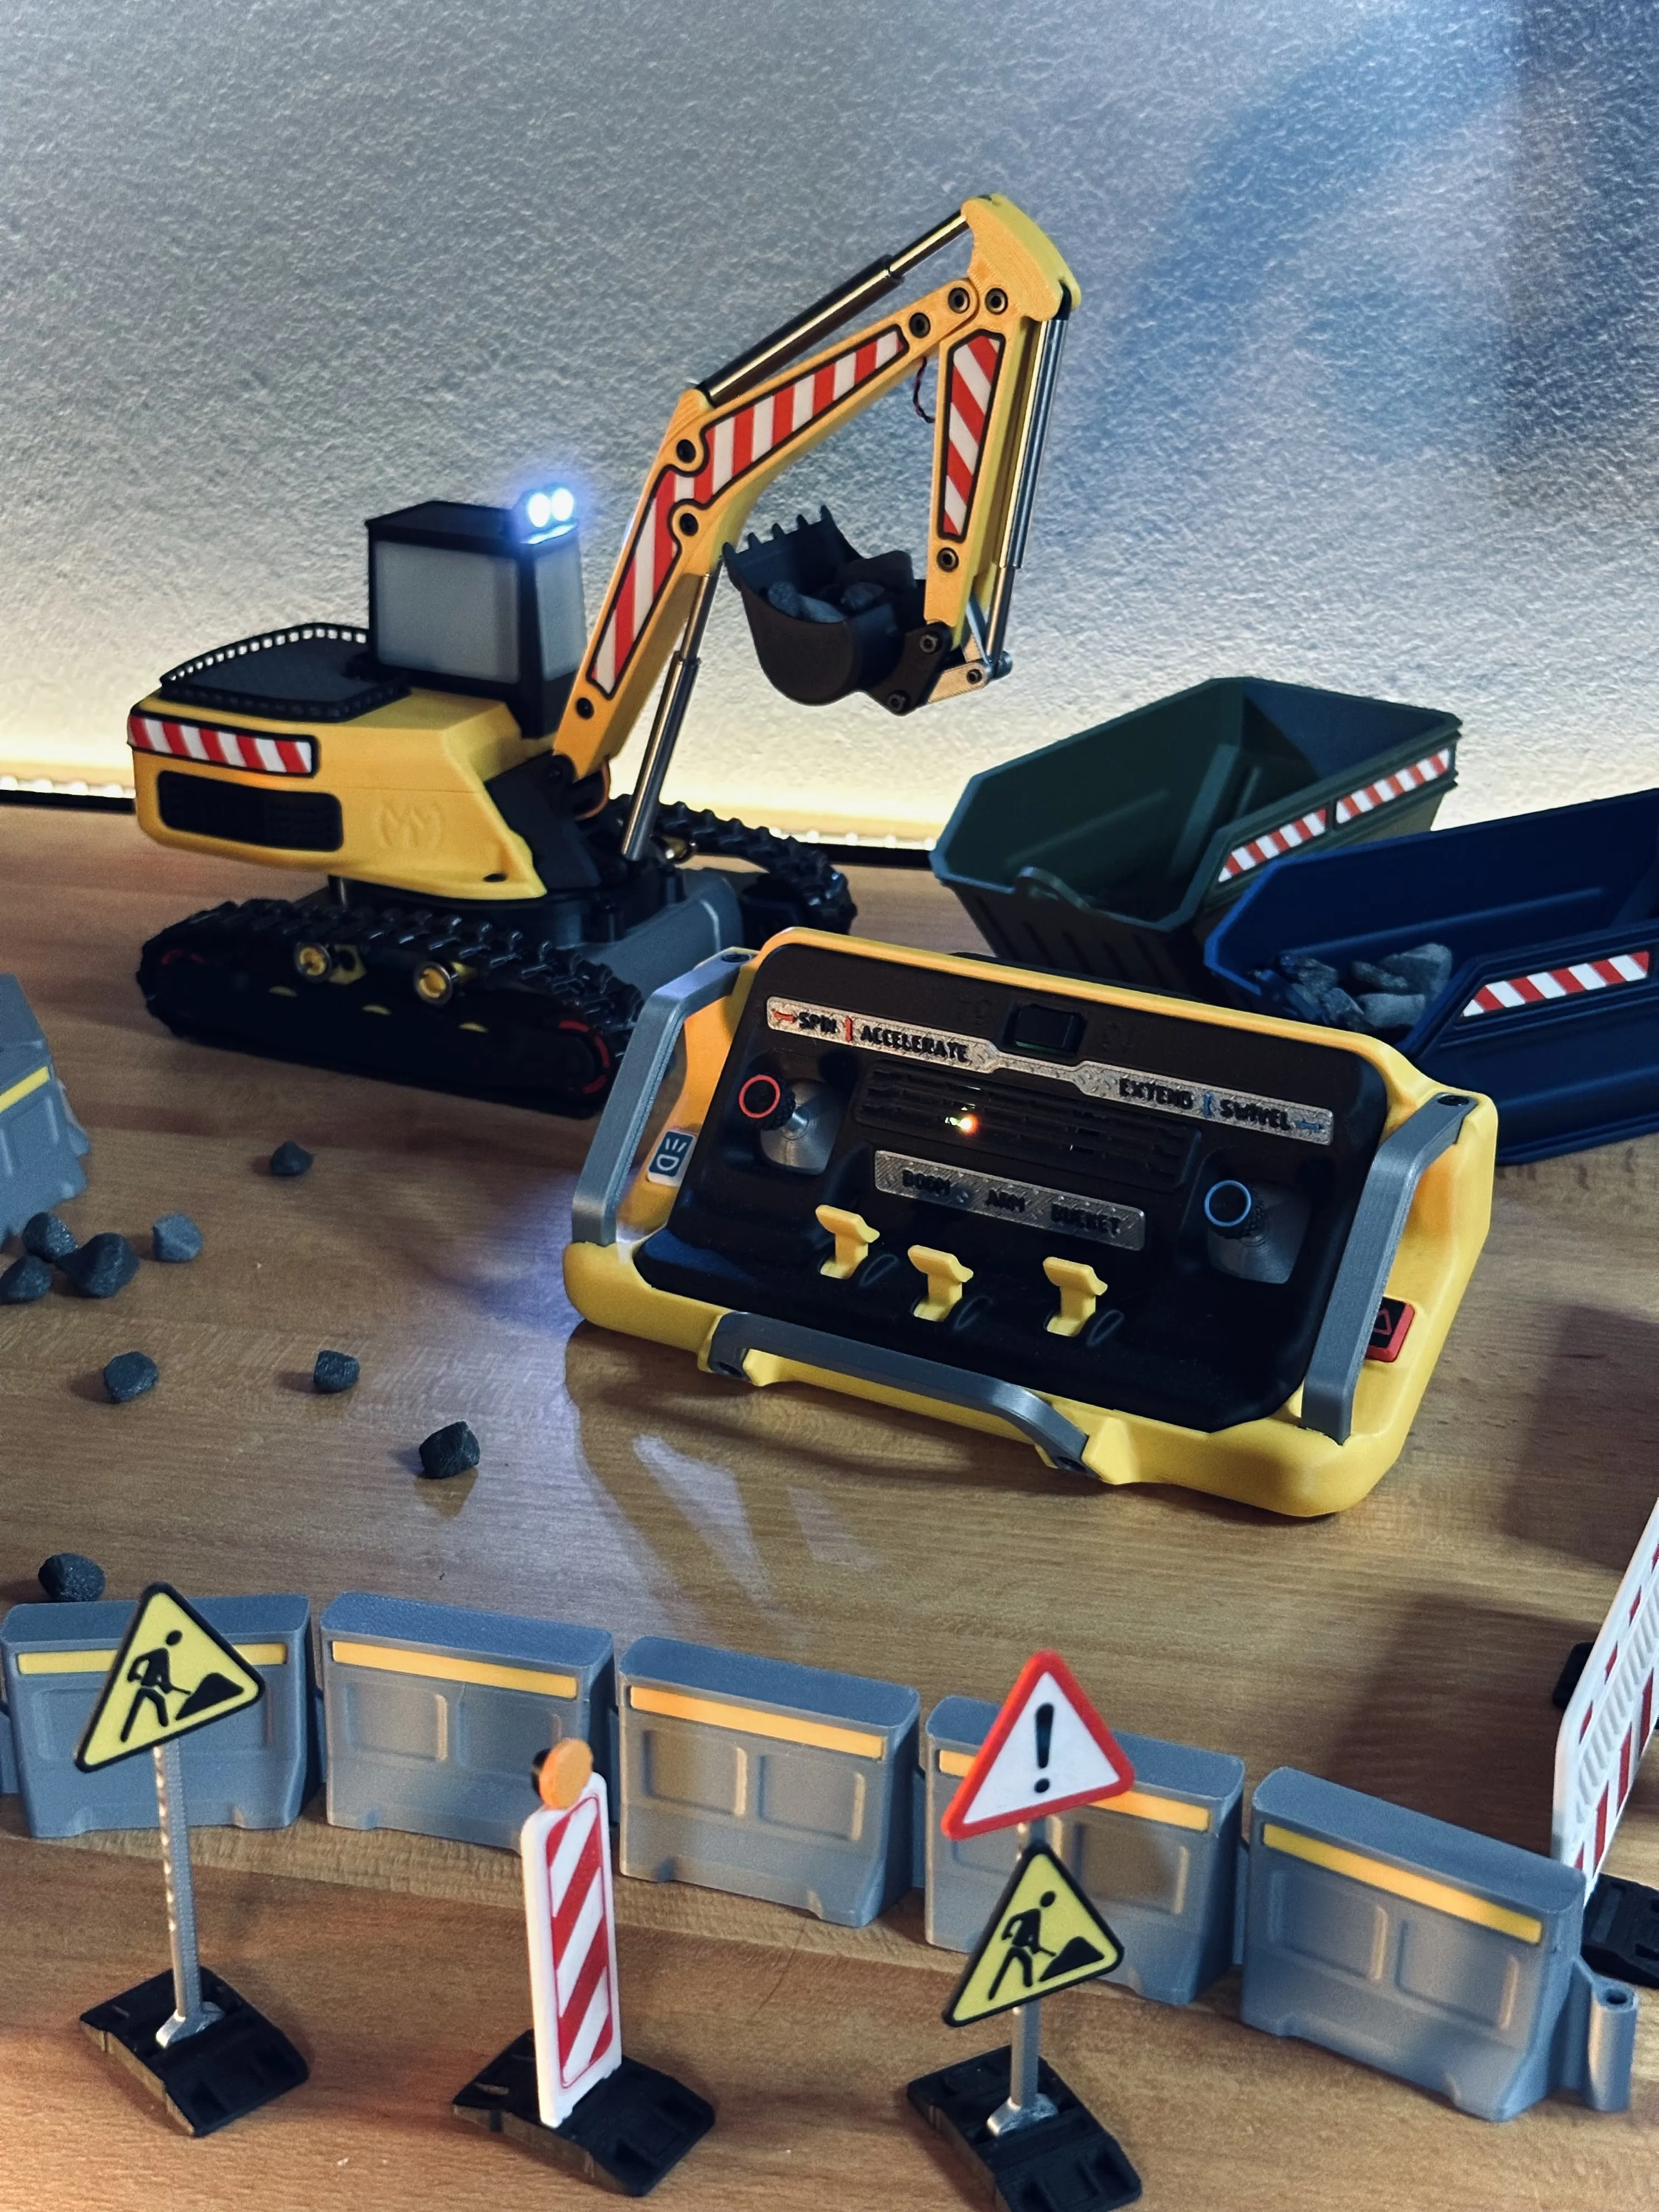
Today, I’m introducing my first Cyberbrick creation: the Cyberexcavator.
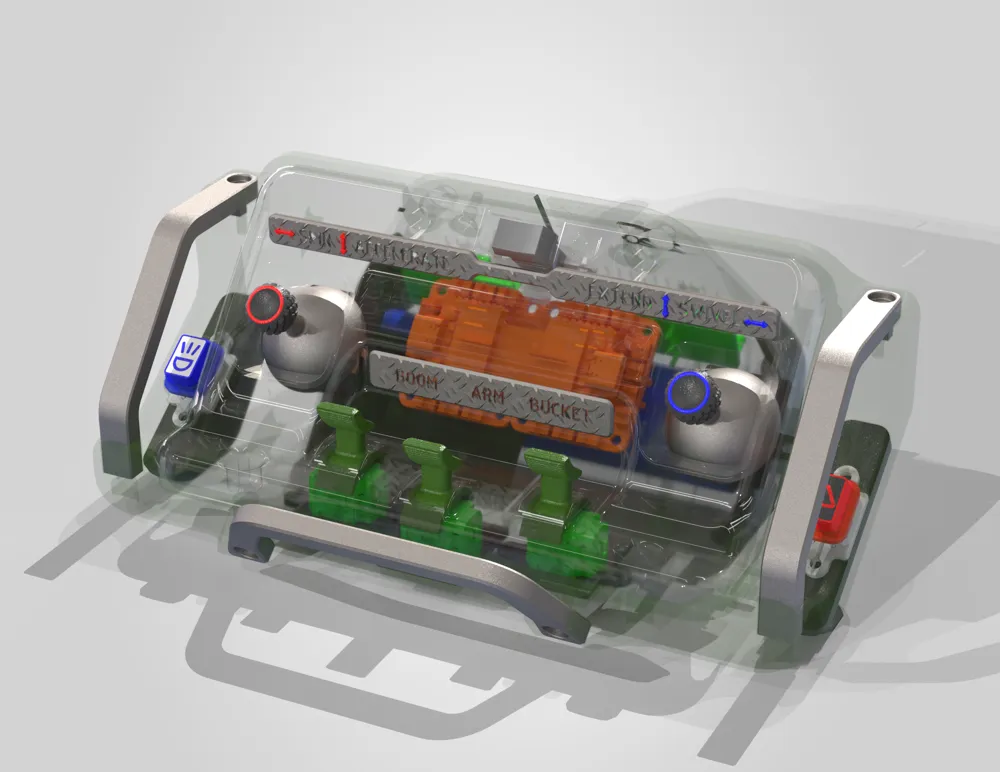
Of course, including its matching remote control.
I’ve been eyeing a project like this ever since Cyberbrick was first released.
From the very beginning, my plan was to go big and create something truly elaborate.
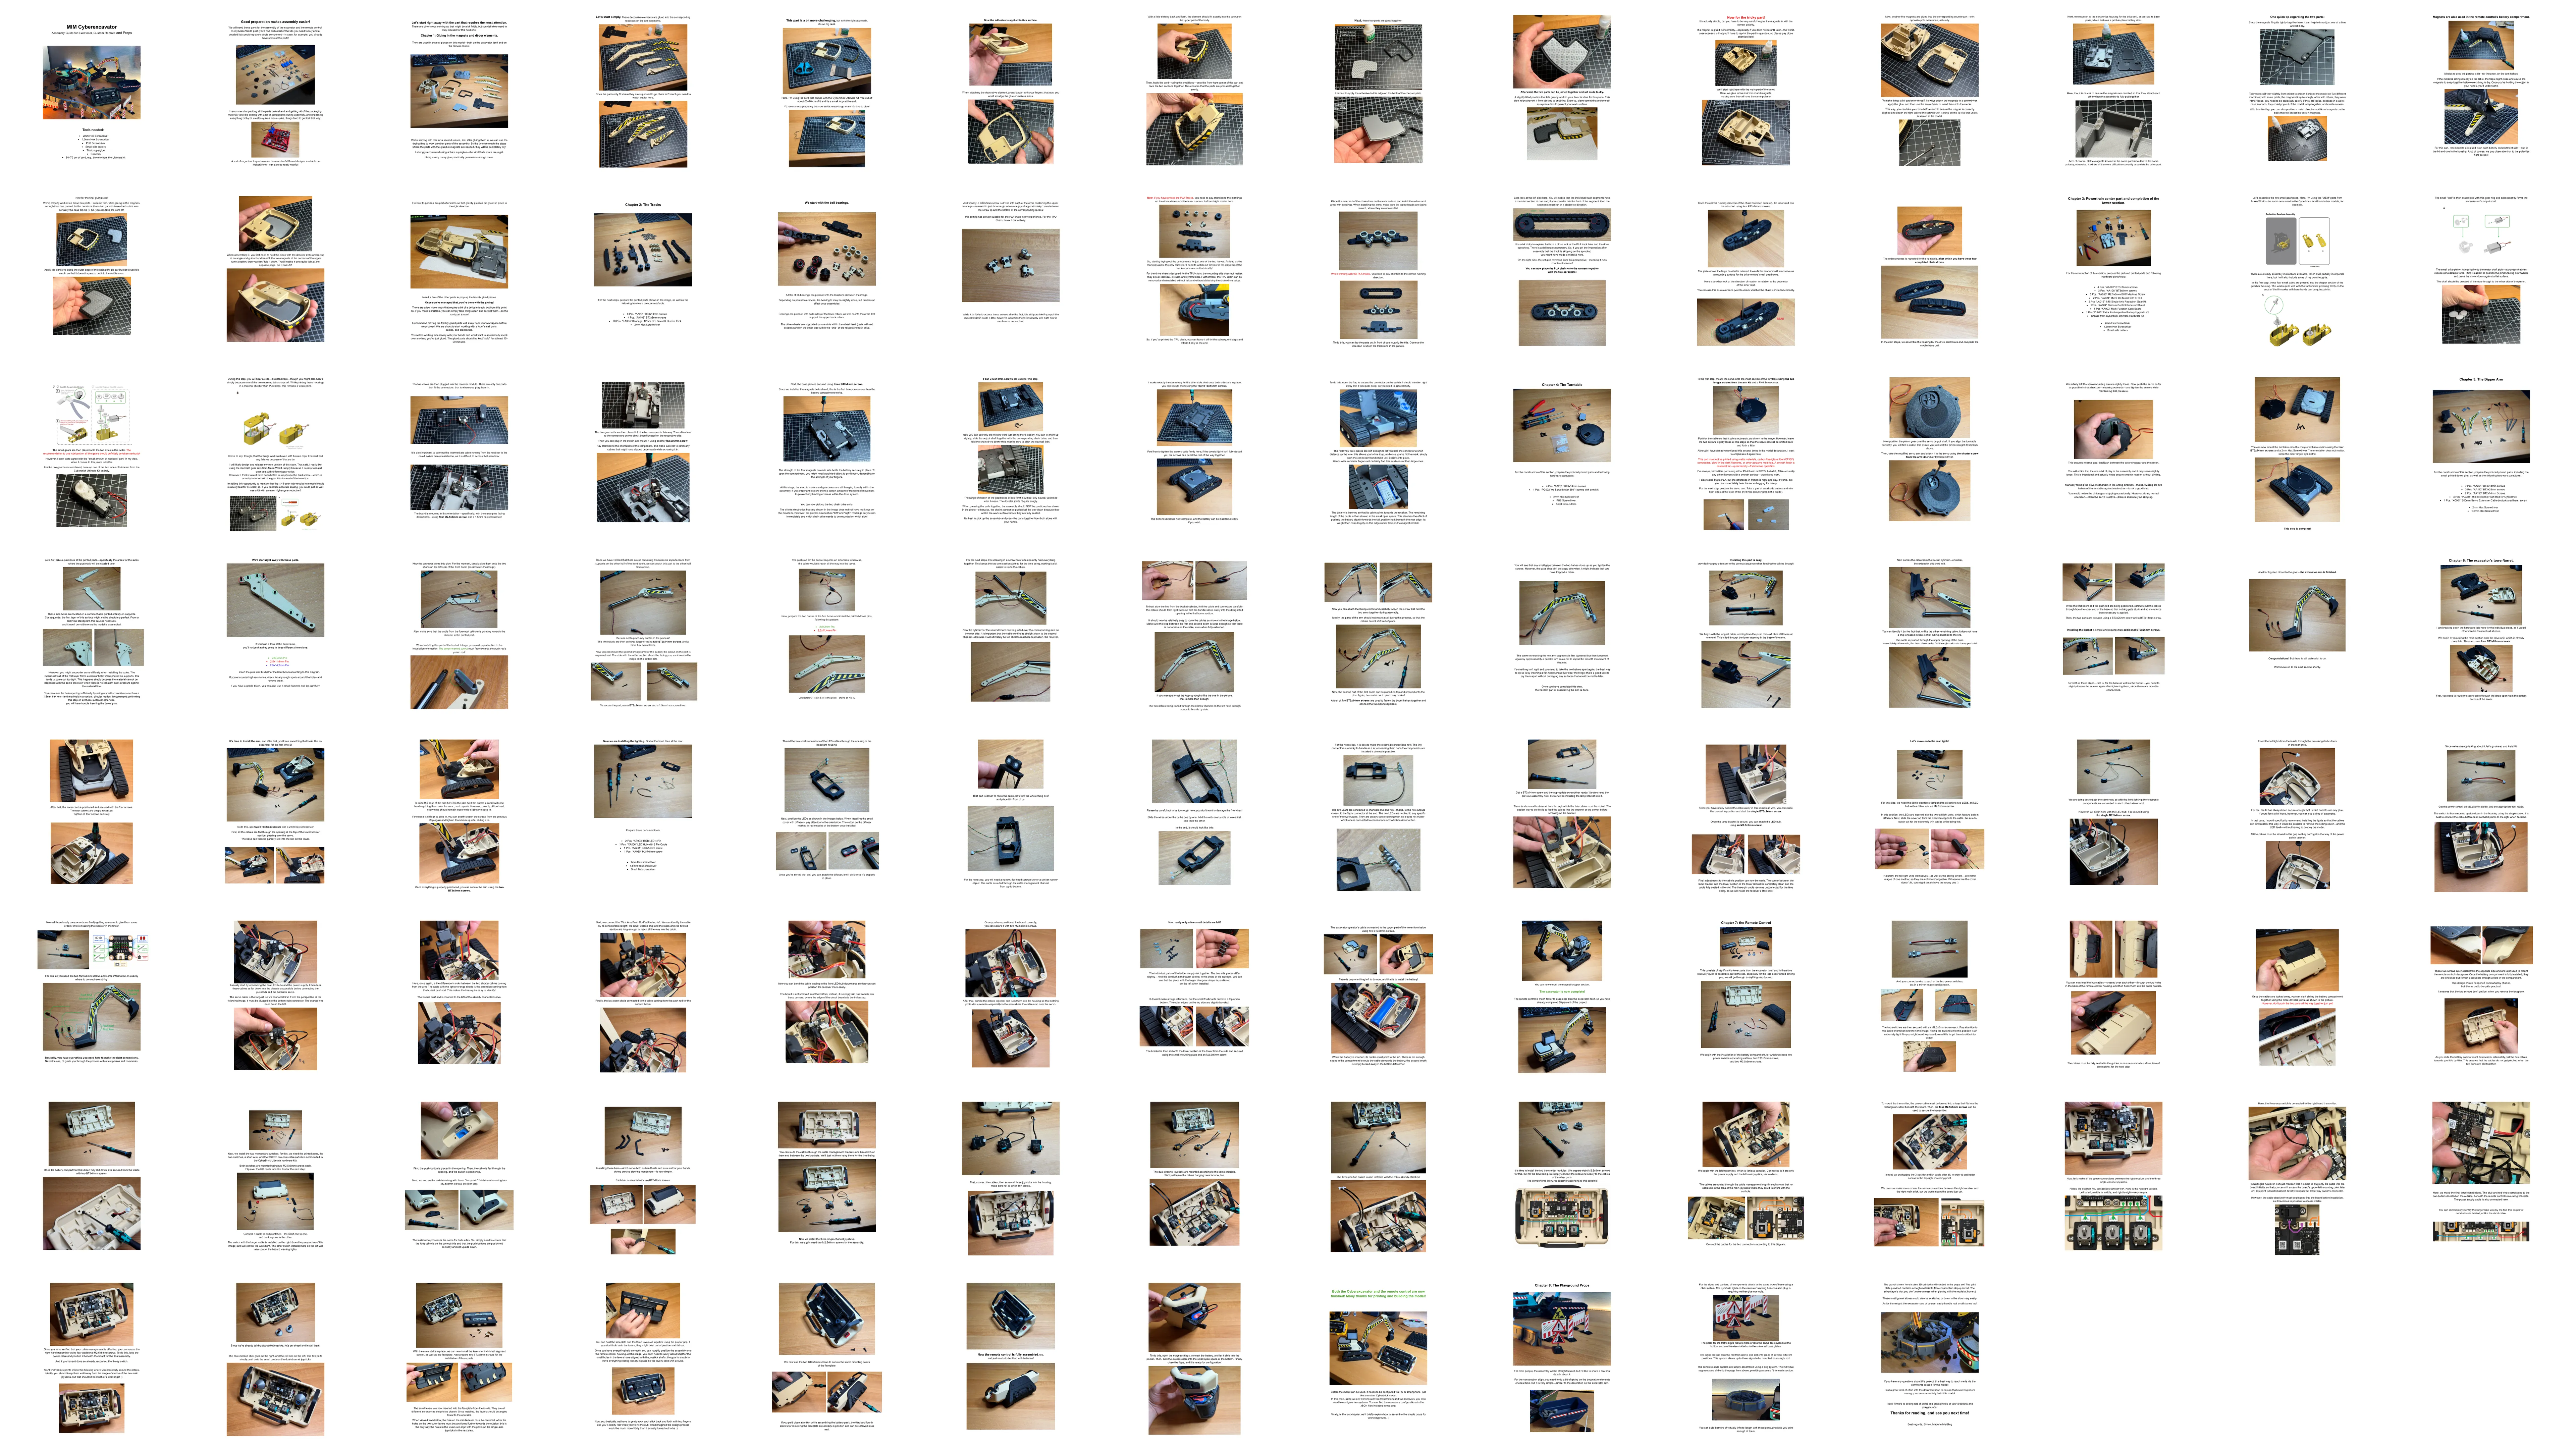
What was also extremely important to me was complete documentation of the entire assembly process. This project is complex and definitely surpasses many other Cyberbrick offerings in its complexity. Nevertheless, everything is explained in such detail in over 100 pages of assembly guide with countless photos, comments, tips, and more that even a dedicated beginner can attempt it!
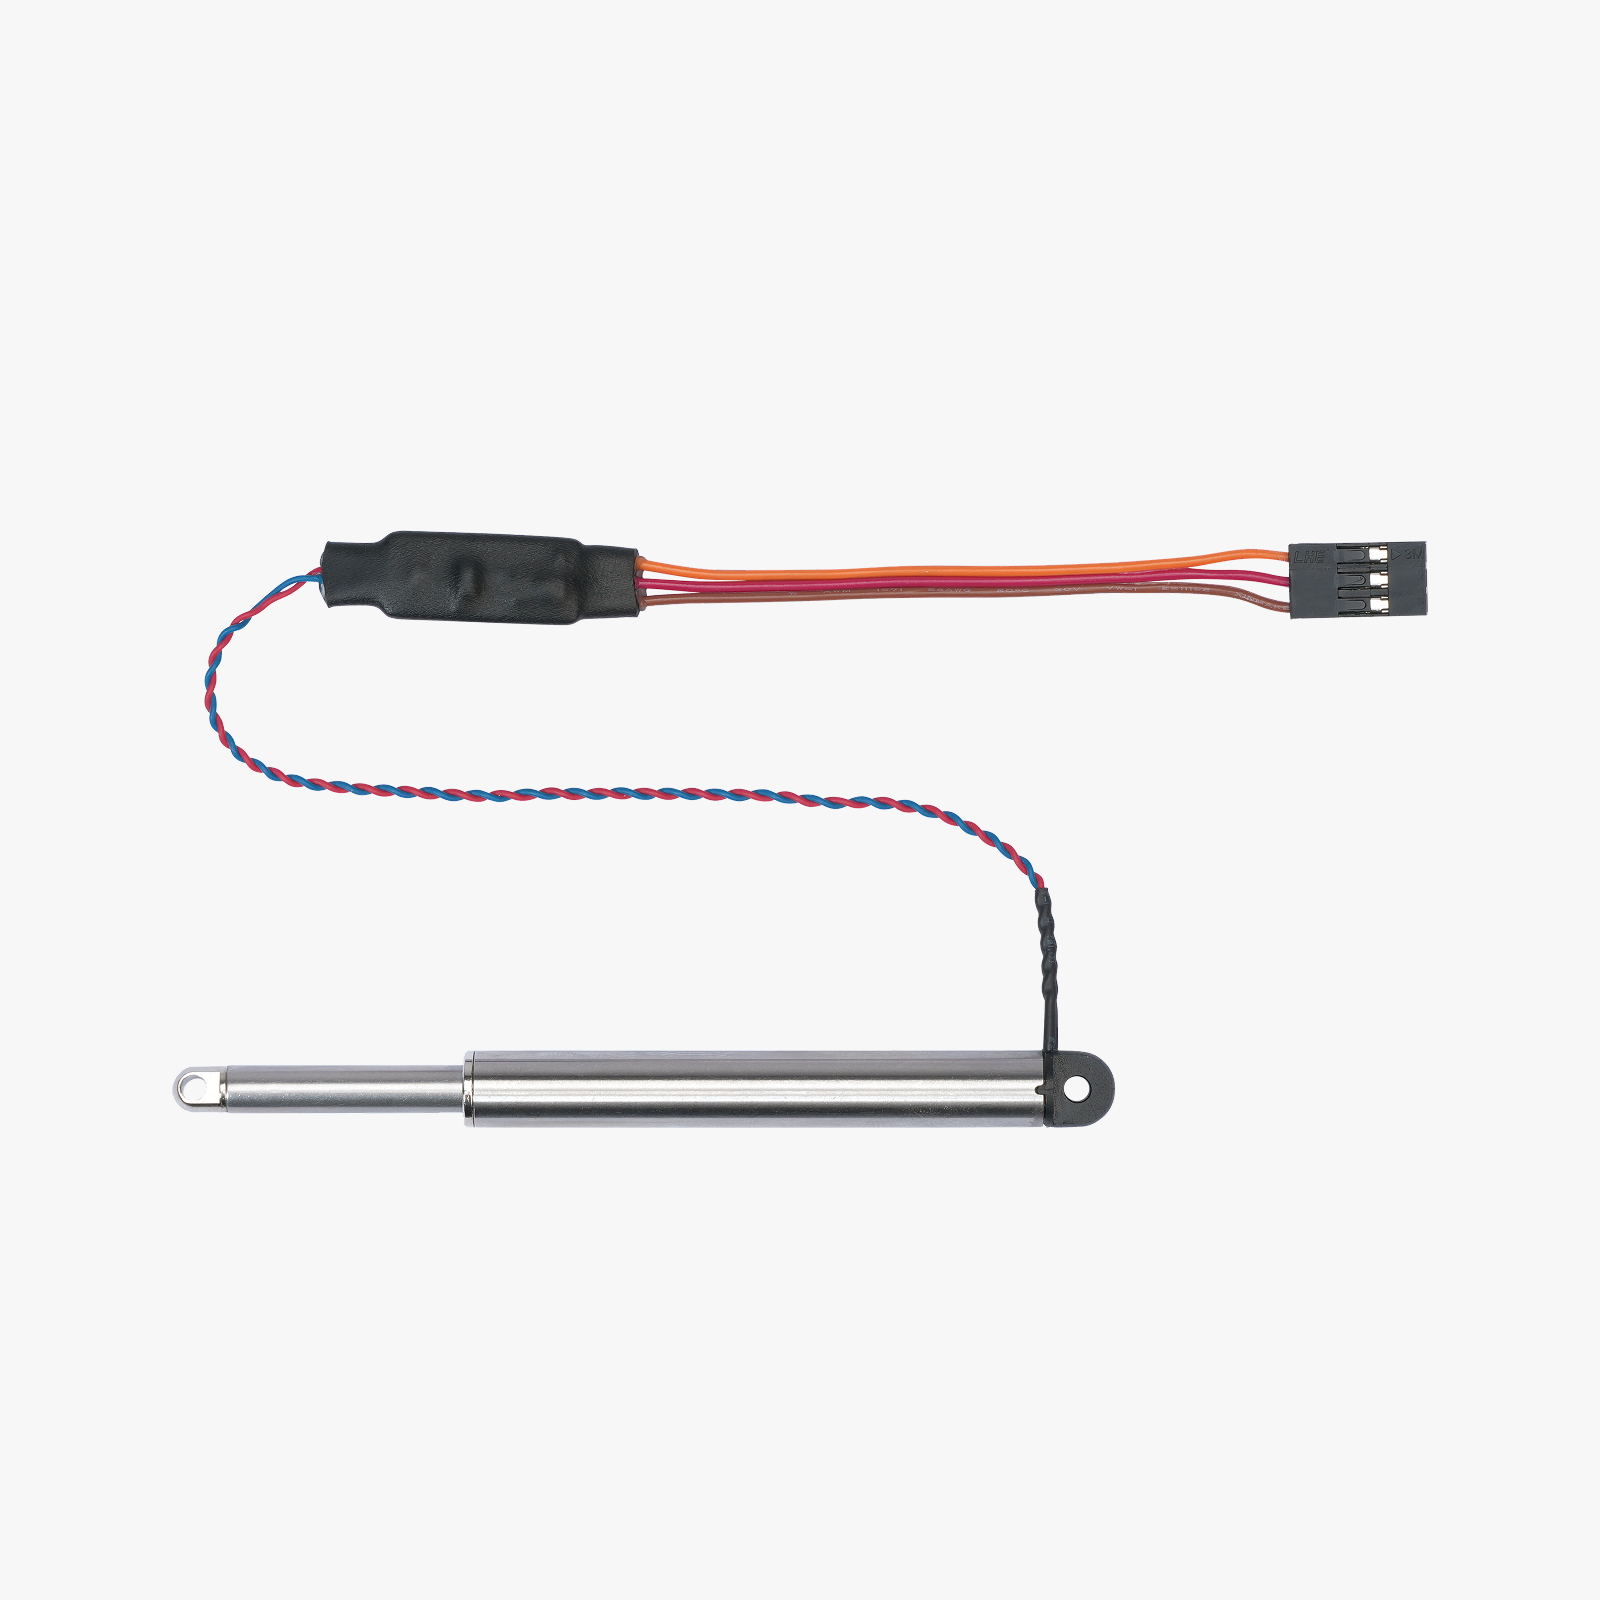
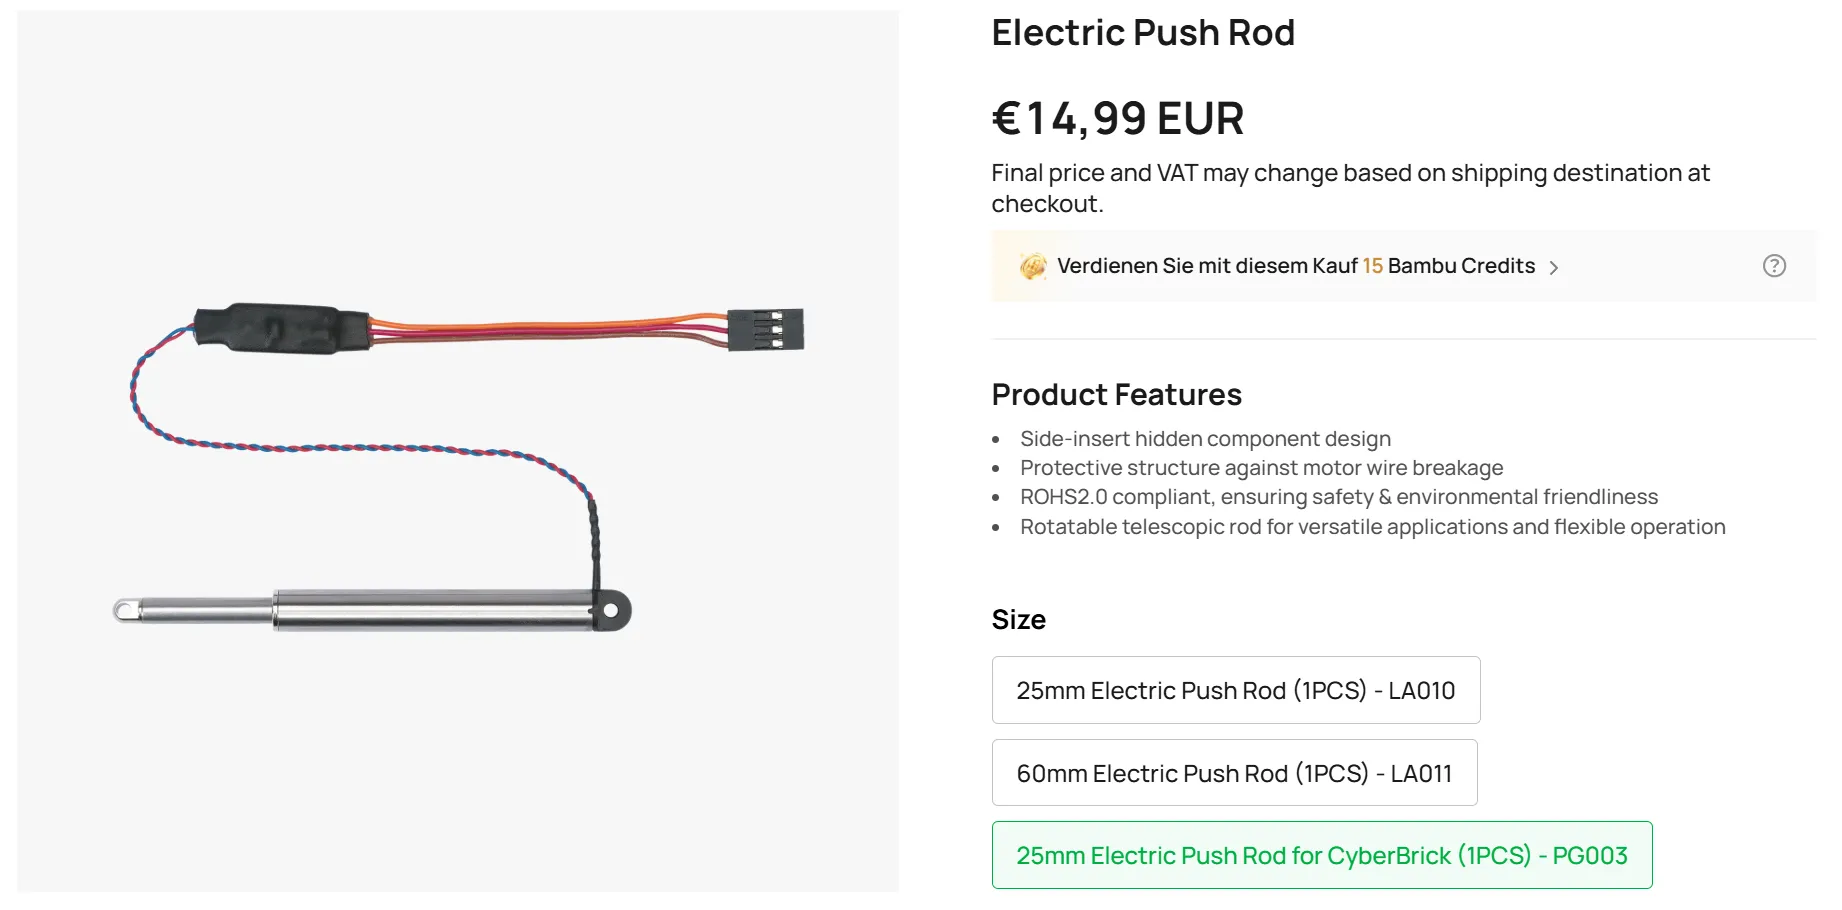
I had always set my sights on an excavator project, but it wasn't until the "Electric Push Rod for Cyberbrick" article was published by Maker Supply,
that my ideas finally became feasible.
I’ve spent many weeks working on this model - constantly making improvements, printing countless prototypes,
going through many spools of filament, and so on.

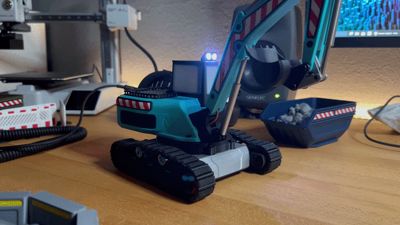
This little excavator handles small stones, sand, and the like with ease,

is very precise to control,

and of course, it can also pull off the occasional acrobatic maneuver.

Here you can see it heading back to where it came from xD.
For me, it was exactly the kind of project that’s been "almost finished" for a month and a half, simply because I kept coming up with new ideas!
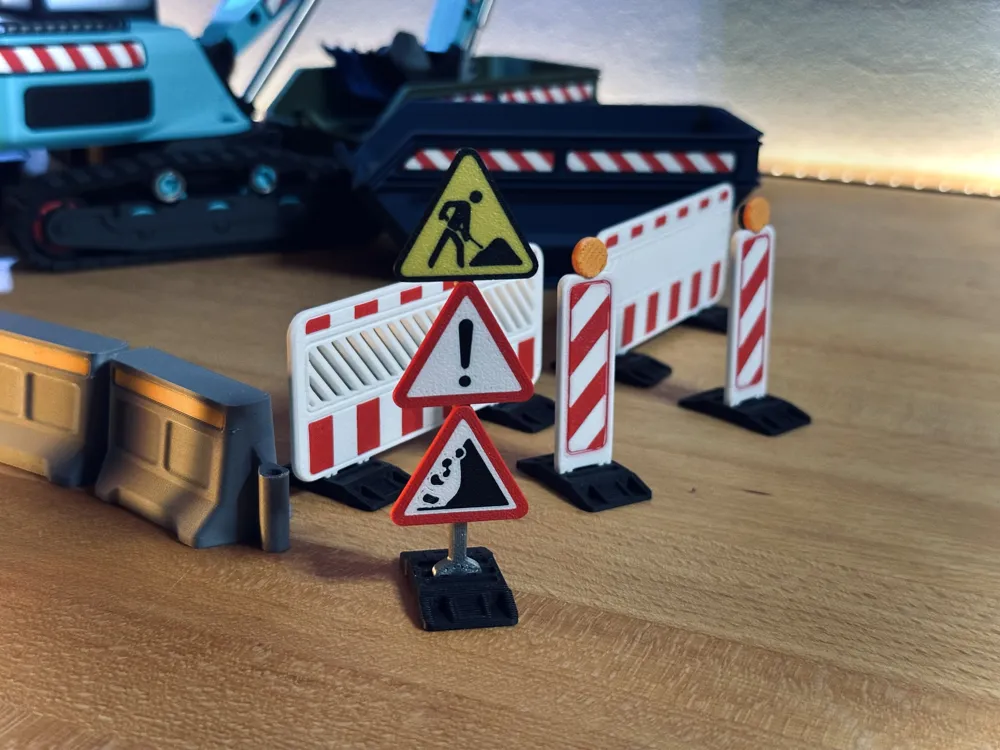

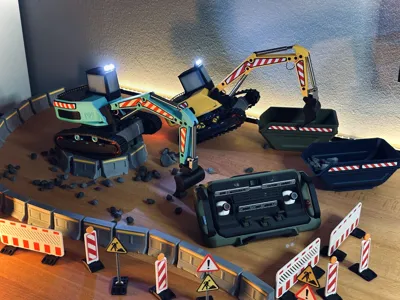
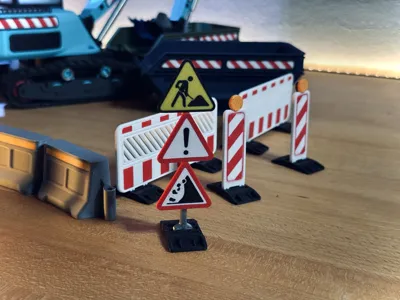
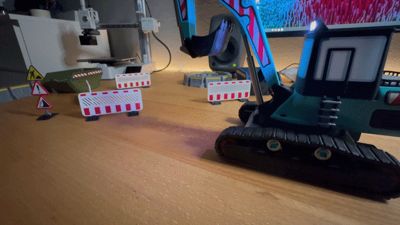
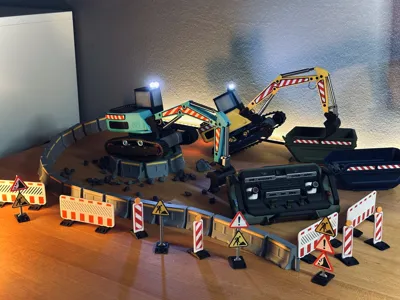
I didn't just want to create a model, but an entire playground - objects that can be interacted with, and so on.
I'll tell you a lot more about this model later, but first we have to come to a very important part,
which is probably most relevant for most people.: the hardware.
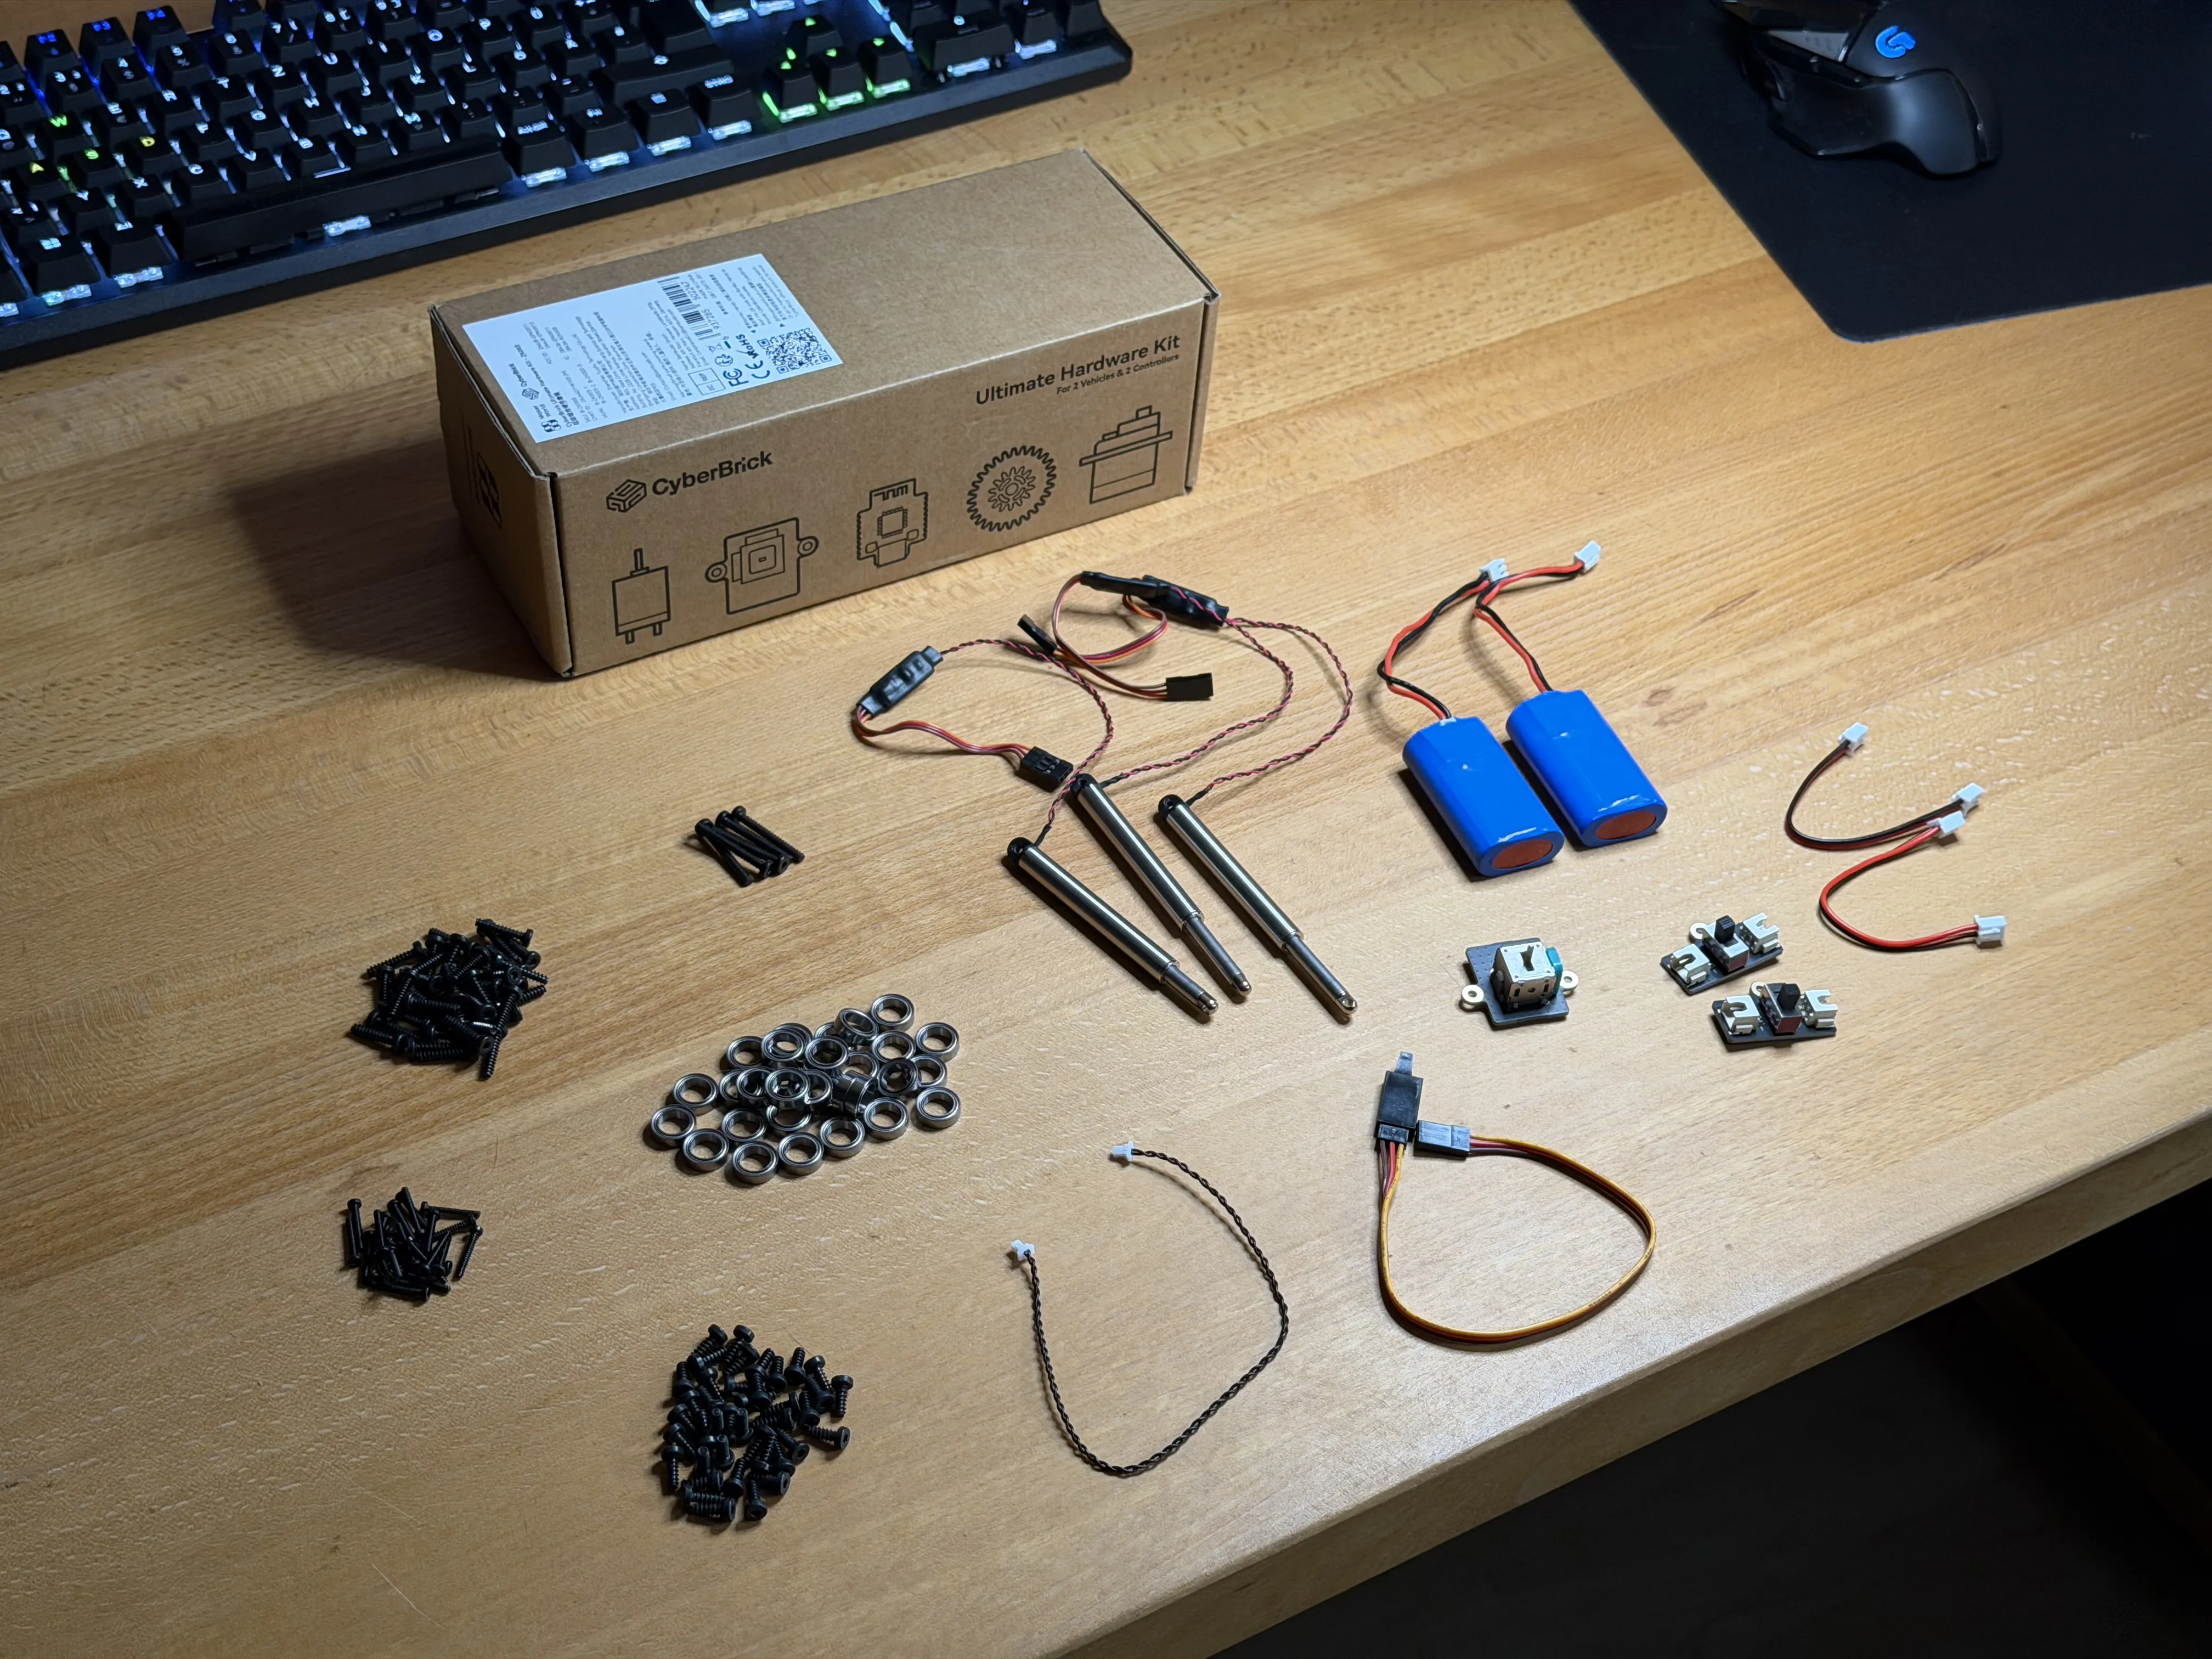
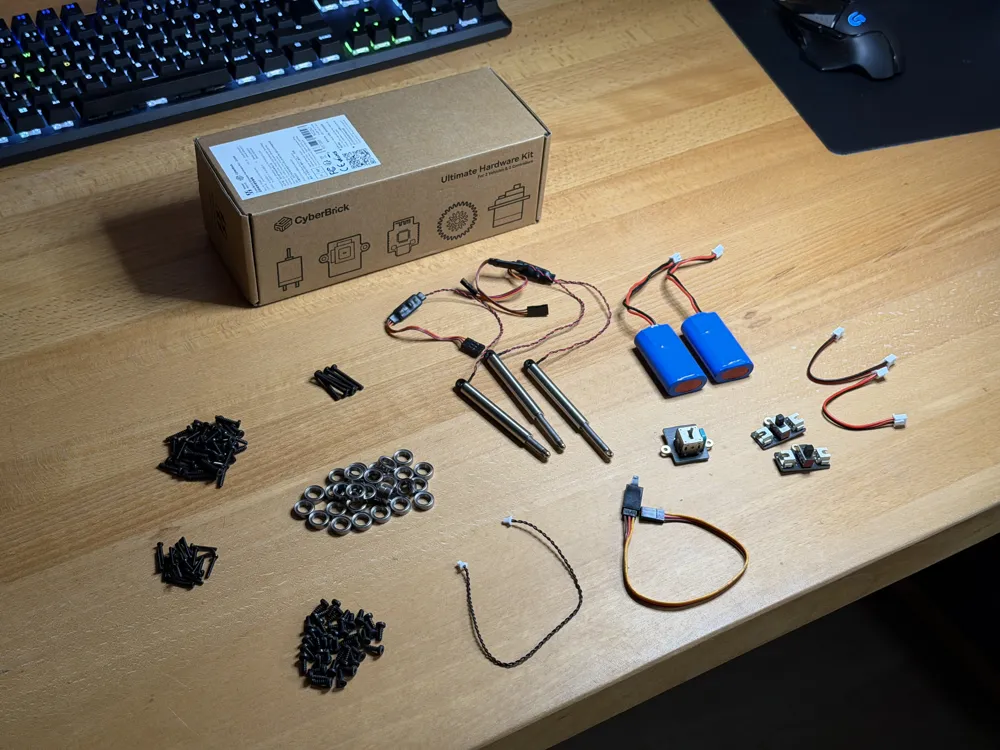
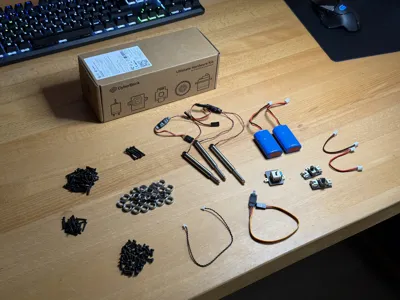
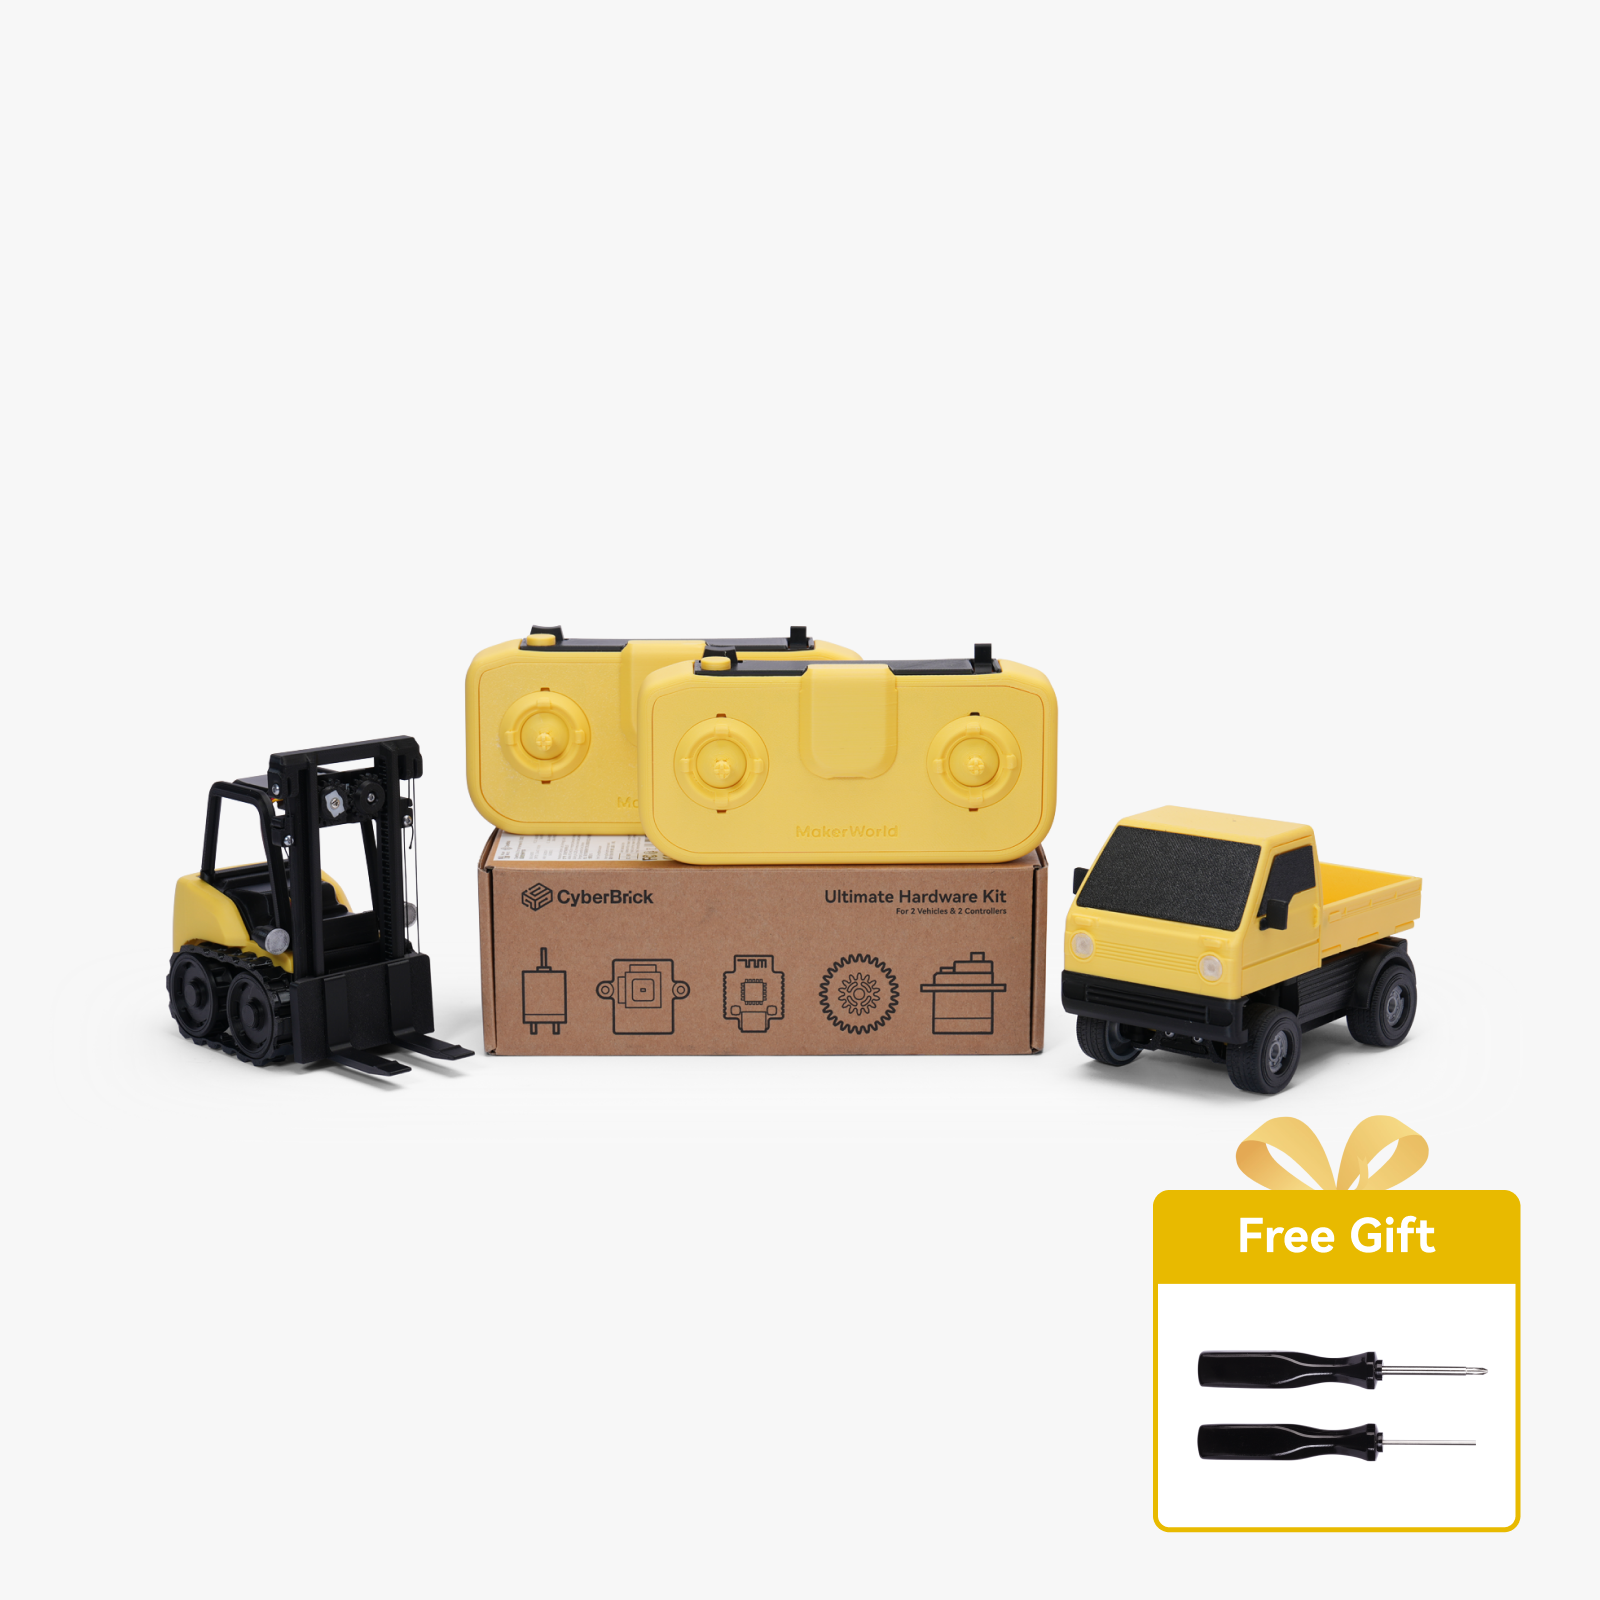
To build this model, meaning ONE excavator and ONE remote control including props, you will need the "Cyberbrick Ultimate Hardware Kit ZK003", three "Electric Pushrods PG003", some additional Cyberbrick electronic components, as well as parts such as bearings and screws.
To find exactly the items you need, it's best to take a close look at this list
(also note the quantities, as some items are needed multiple times):
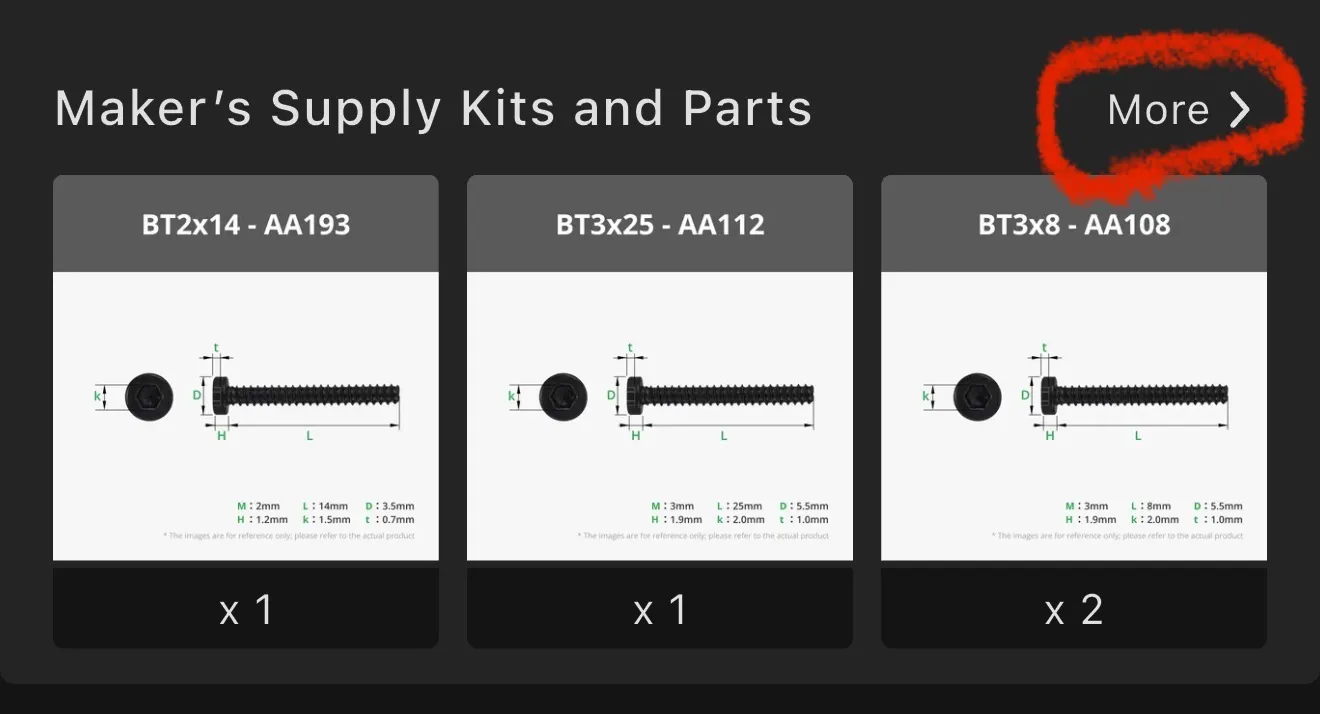
Here, you need to click on „More“ to access the full list. Each thunbnail acts like a link that will guide you to the individual components/kits in the bambu lab store.
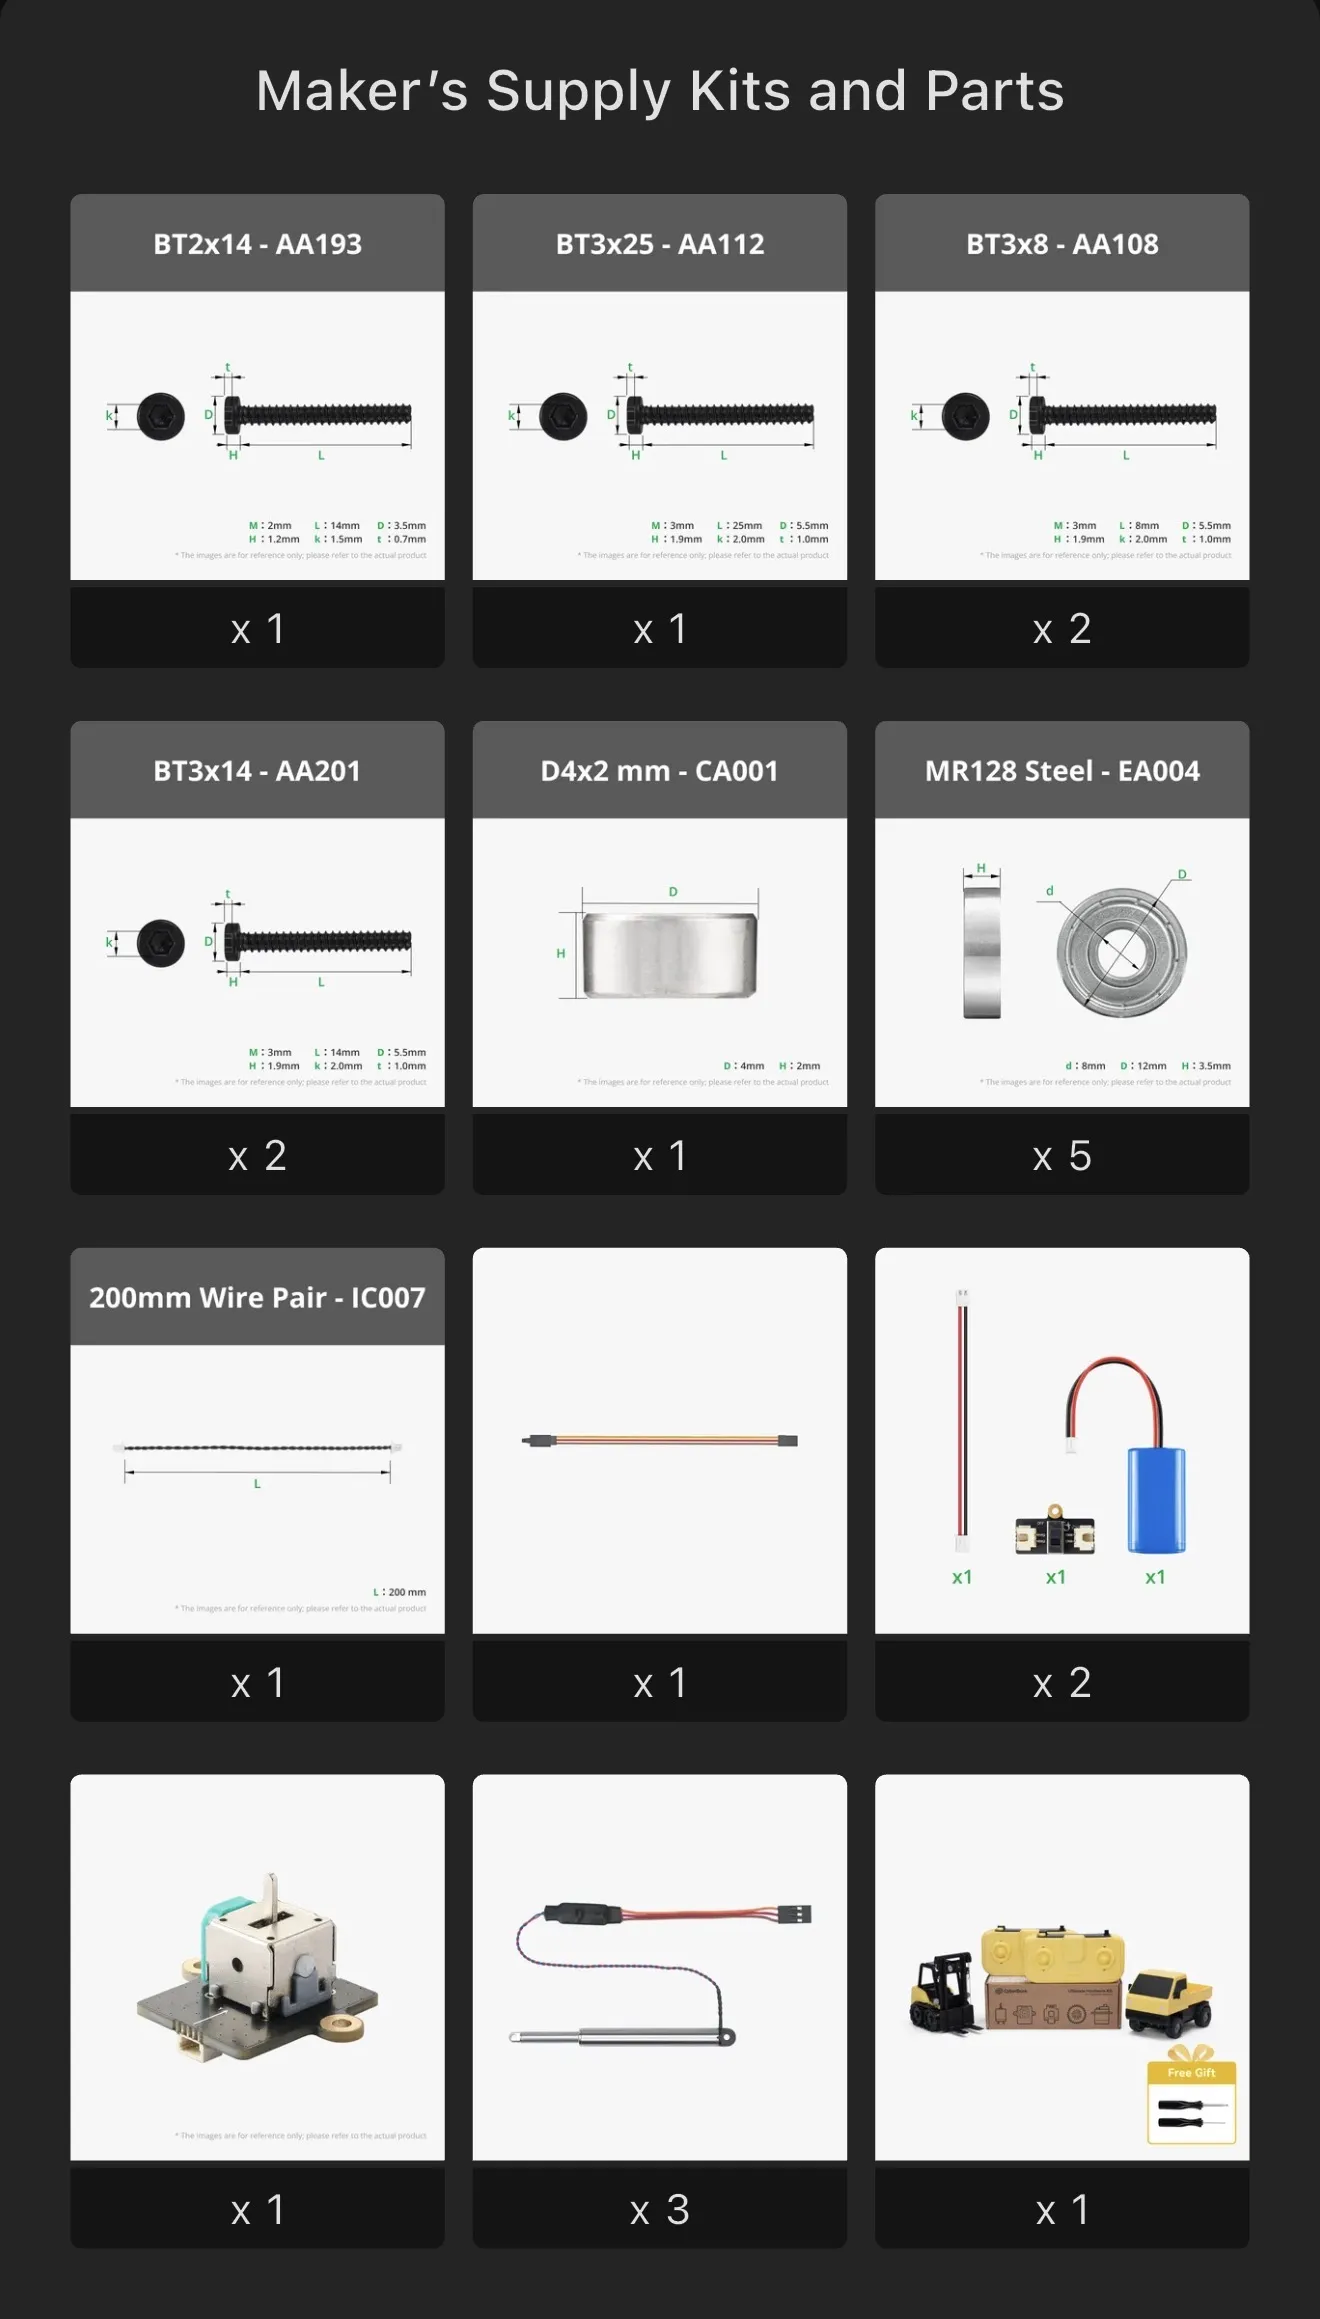
The desktop version of MakerWorld even has a button that allows you to automatically add all items to your shopping cart - so you don't have to search for everything individually!
I tried to keep the number of parts manageable, but this project wouldn't have been possible in this form with the standard kit.
What's listed here is precisely what you need to completely recreate the project. The props, which I offer here as a separate profile, naturally don't require any hardware parts and are 100% 3D printed.
Though, Not every single part from the Ultimate Hardware Kit is used.
So, if you already own some Cyberbrick components, the following list will certainly be helpful to you.
I have listed every single component individually here:
| Article | Code | Qty. |
| 200mm Servo Extension Cable 3Pin (2PCS) | XC011 | 1 |
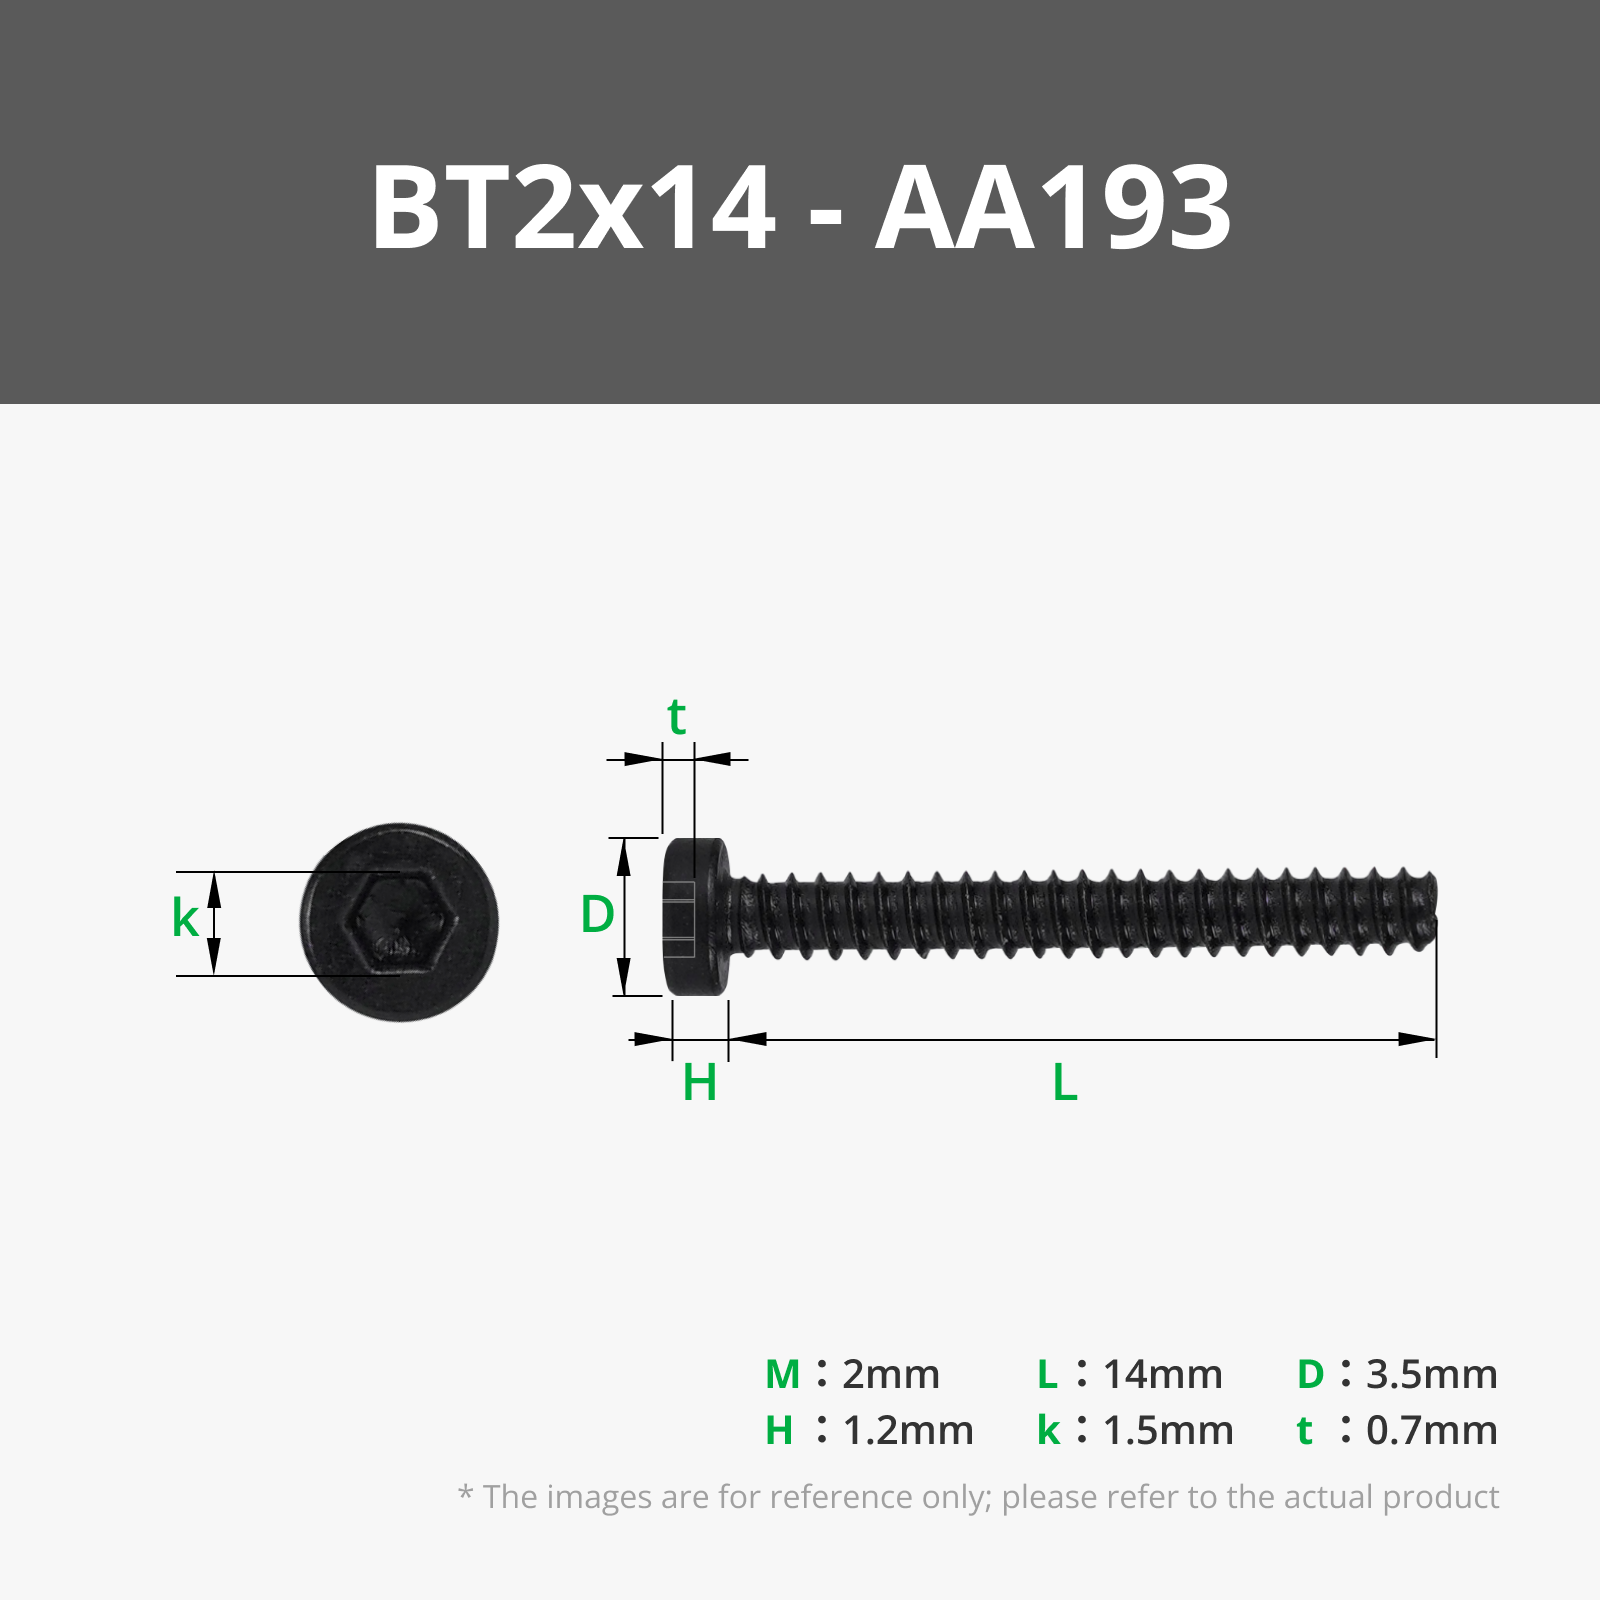
| BT2 Socket Head Cap Self Tapping Screws (SHCS) | AA193 | 1 Pack |
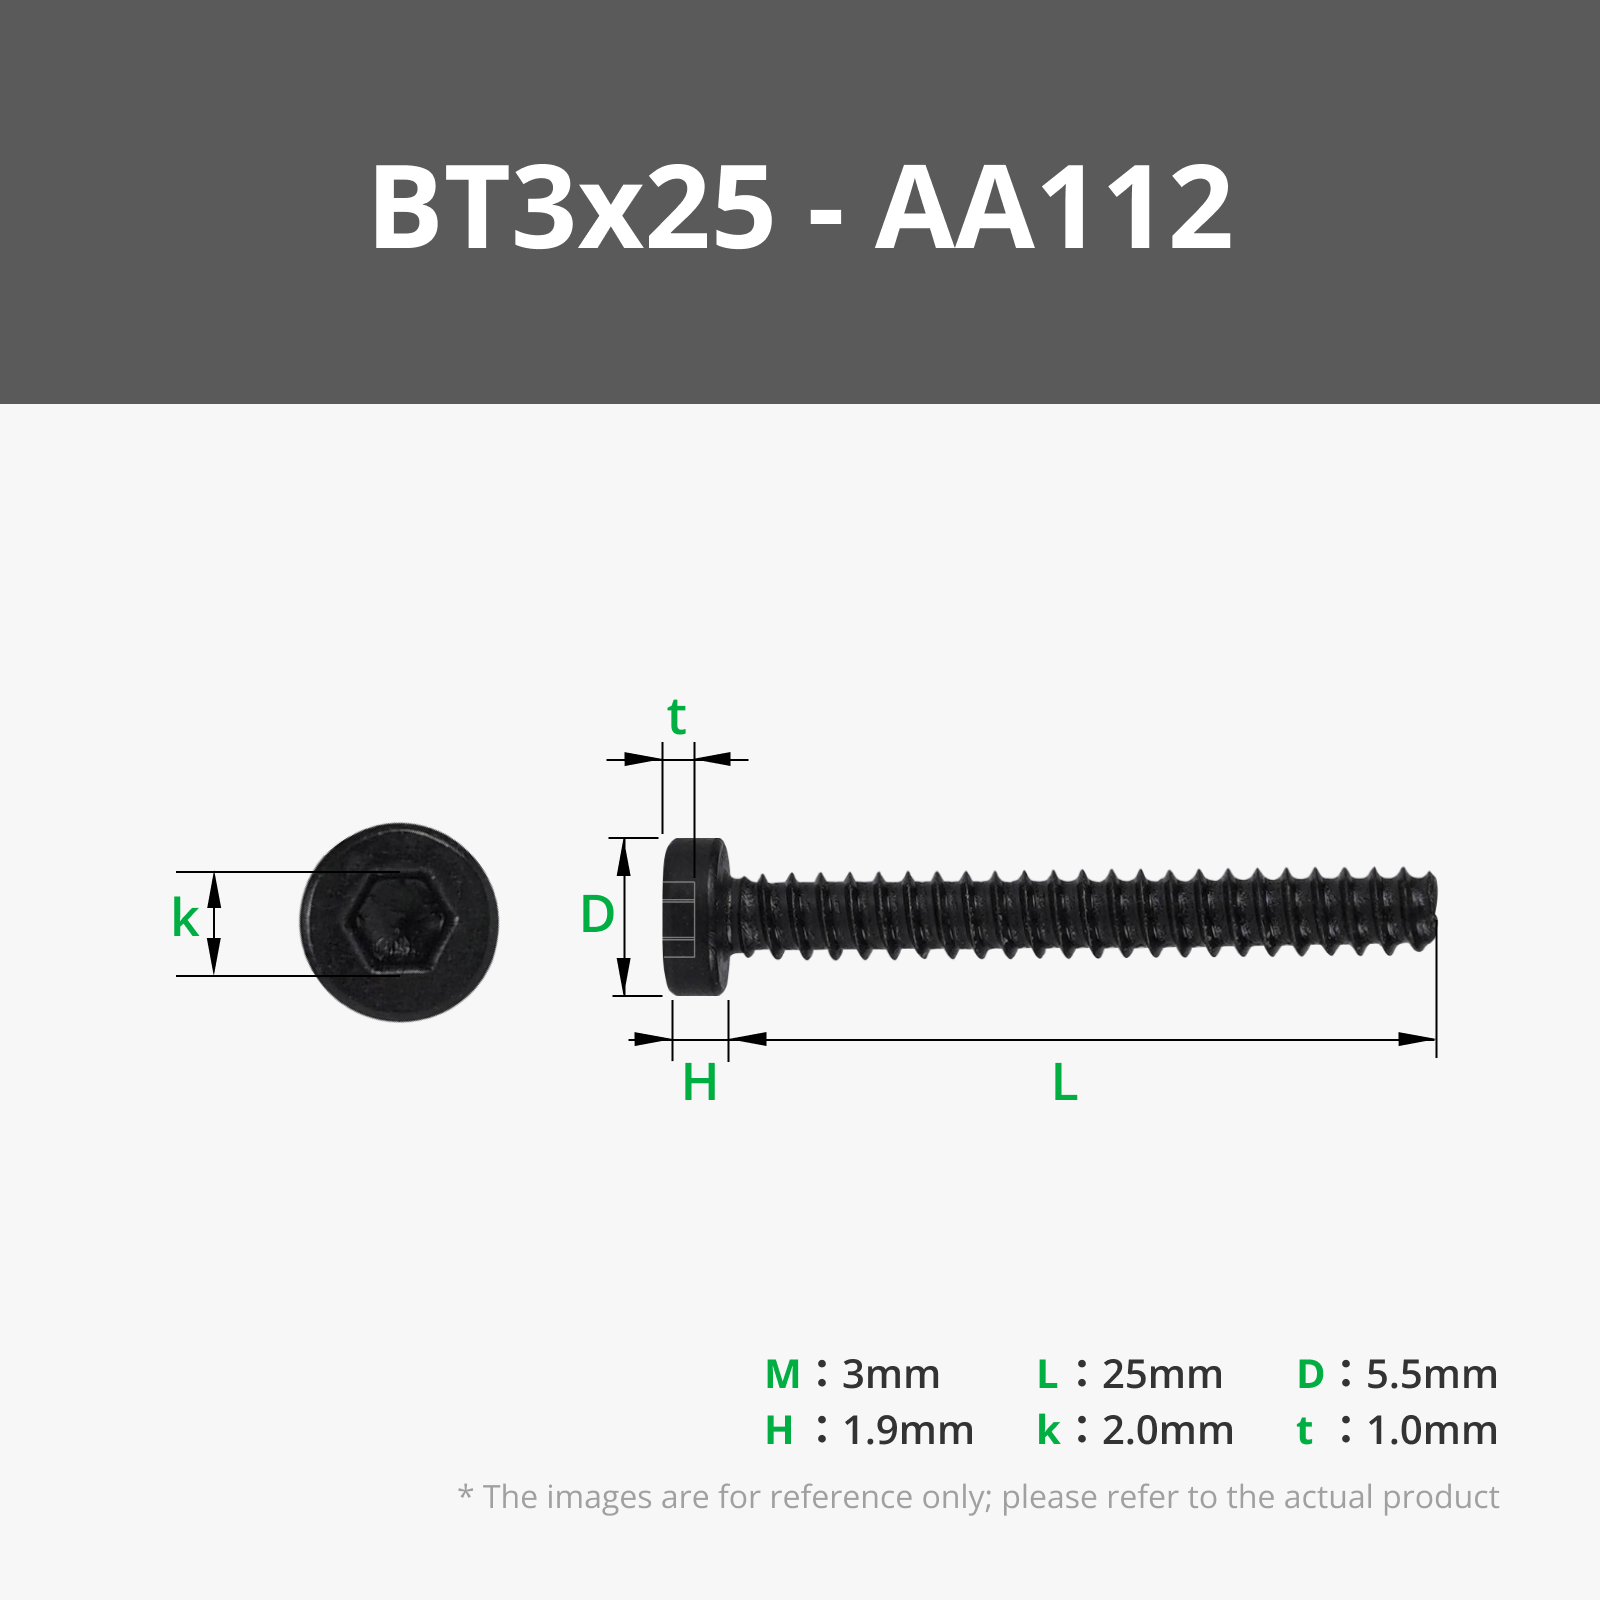
| BT3 Socket Head Cap Self Tapping Screws (SHCS) | AA112 | 1 Pack |
| BT3 Socket Head Cap Self Tapping Screws (SHCS) | AA108 | 2 Packs |
| BT3 Socket Head Cap Self Tapping Screws (SHCS) | AA201 | 2 Packs |
| Micro Steel Deep Groove Ball Bearings | EA004 | 5 Packs |
| Wire Pair with SH1.0 | IC007 | 1 |
| 030 Micro DC Motor with SH1.0 (2PCS) | LA024 | 2 Packs |
| Dual-axis Plastic Reduction Gear Kit | LA017 | 2 |
| 100mm Wire with 2Pin XH2.54 Connectors (2PCS) | XC005 | 2 Packs |
| WS2812 RGB LED with IDC0.8 4PIN (2PCS) | KB003 | 2 Packs |
| Three-Position Rocker Switch Module with 3Pin SH1.0 Connector | XA010 | 1 |
| WS2812 LED Hub with 3Pin SH1.0 Connector (1PCS) | XA006 | 2 |
| 14500 7.4V 800mAh Li-ion Battery (1PCS) | PC003 | 4 |
| Momentary Button Module with 2Pin SH1.0 Connector (1PCS) | XA008 | 2 |
| Power Switch Module with 2Pin XH2.54 Connector (1PCS) | XA007 | 4 |
| Dual-Axis Joystick Module with 3Pin SH1.0 Connectors (1PCS) | XA011 | 2 |
 | Single-Axis Joystick Module with 3Pin SH1.0 Connector (1PCS) | XA009 | 3 |
| Electric Push Rod | PG003 | 3 |
| Remote Control Transmitter Shield (1PCS) | XA005 | 2 |
 | Remote Control Receiver Shield (1PCS) | XA004 | 2 |
| Multi-Function Core Board (1PCS) | XA003 | 4 |
 | D4x2 mm Round Magnet (20PCS) | CA001 | 2 Packs |


However, if you don't own any of the parts yet, it is more cost-effective to order according to the official bill of materials that is found in this post. I’ve looked into this closely, so don't go to the trouble of recalculating it yourself :)f
Now that we have discussed everything regarding the hardware, we can return to the model and what makes it special.
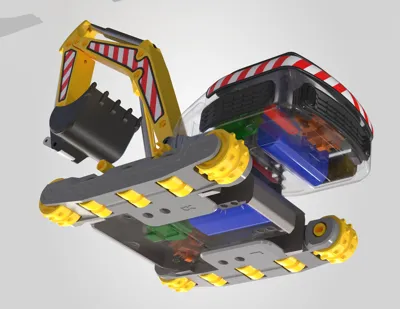
My idea for the "Cyberexcavator" was to have two completely independently controllable sections: a tracked drive unit and a turret with an excavator arm, each equipped with its own receiver.
Why? Because this eliminates the need for cables running between the two sections, allowing the turret to rotate continuously without restriction.

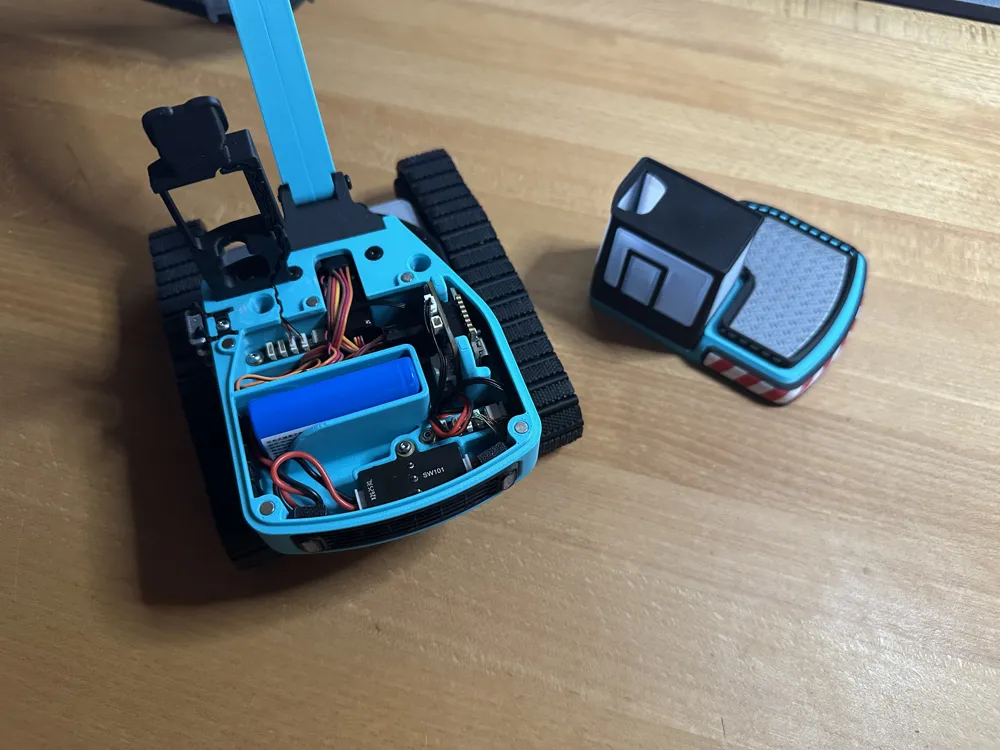
This was quite a challenge, as I wanted to keep the model as compact as possible so the scale would align reasonably well with the electric push rods. It was difficult because I had to fit a significant amount of electronics into a very tight space.
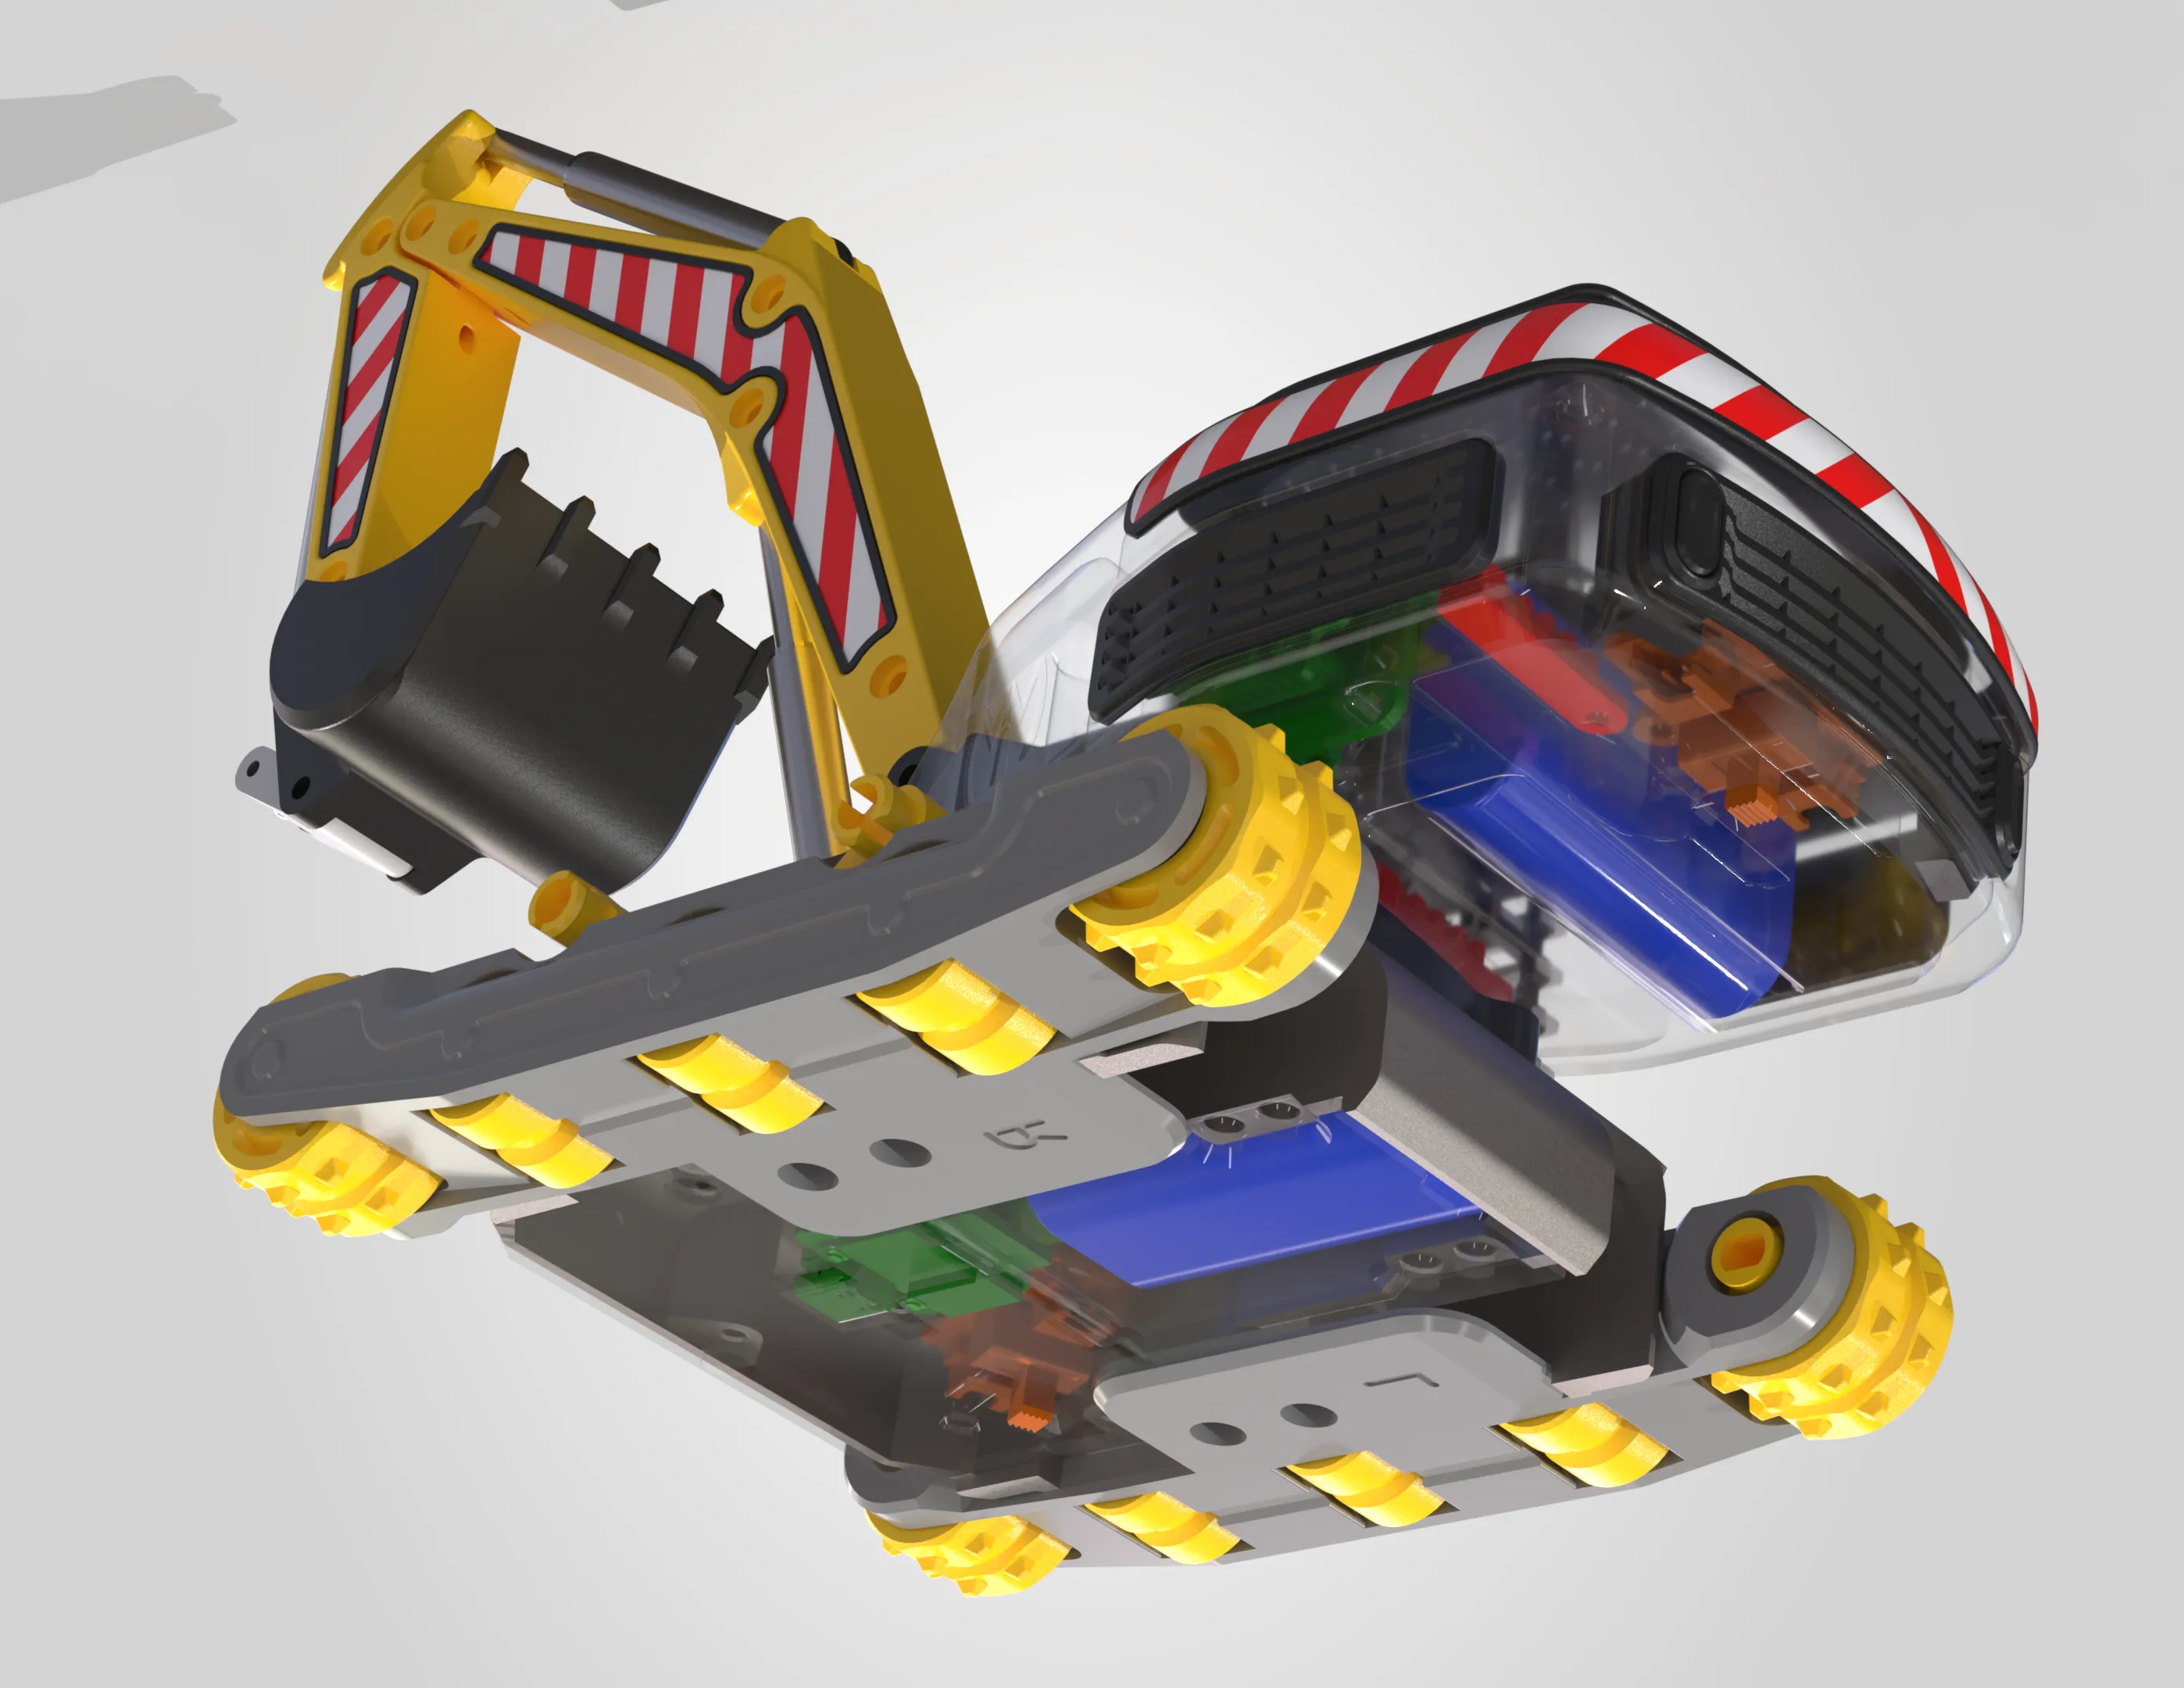
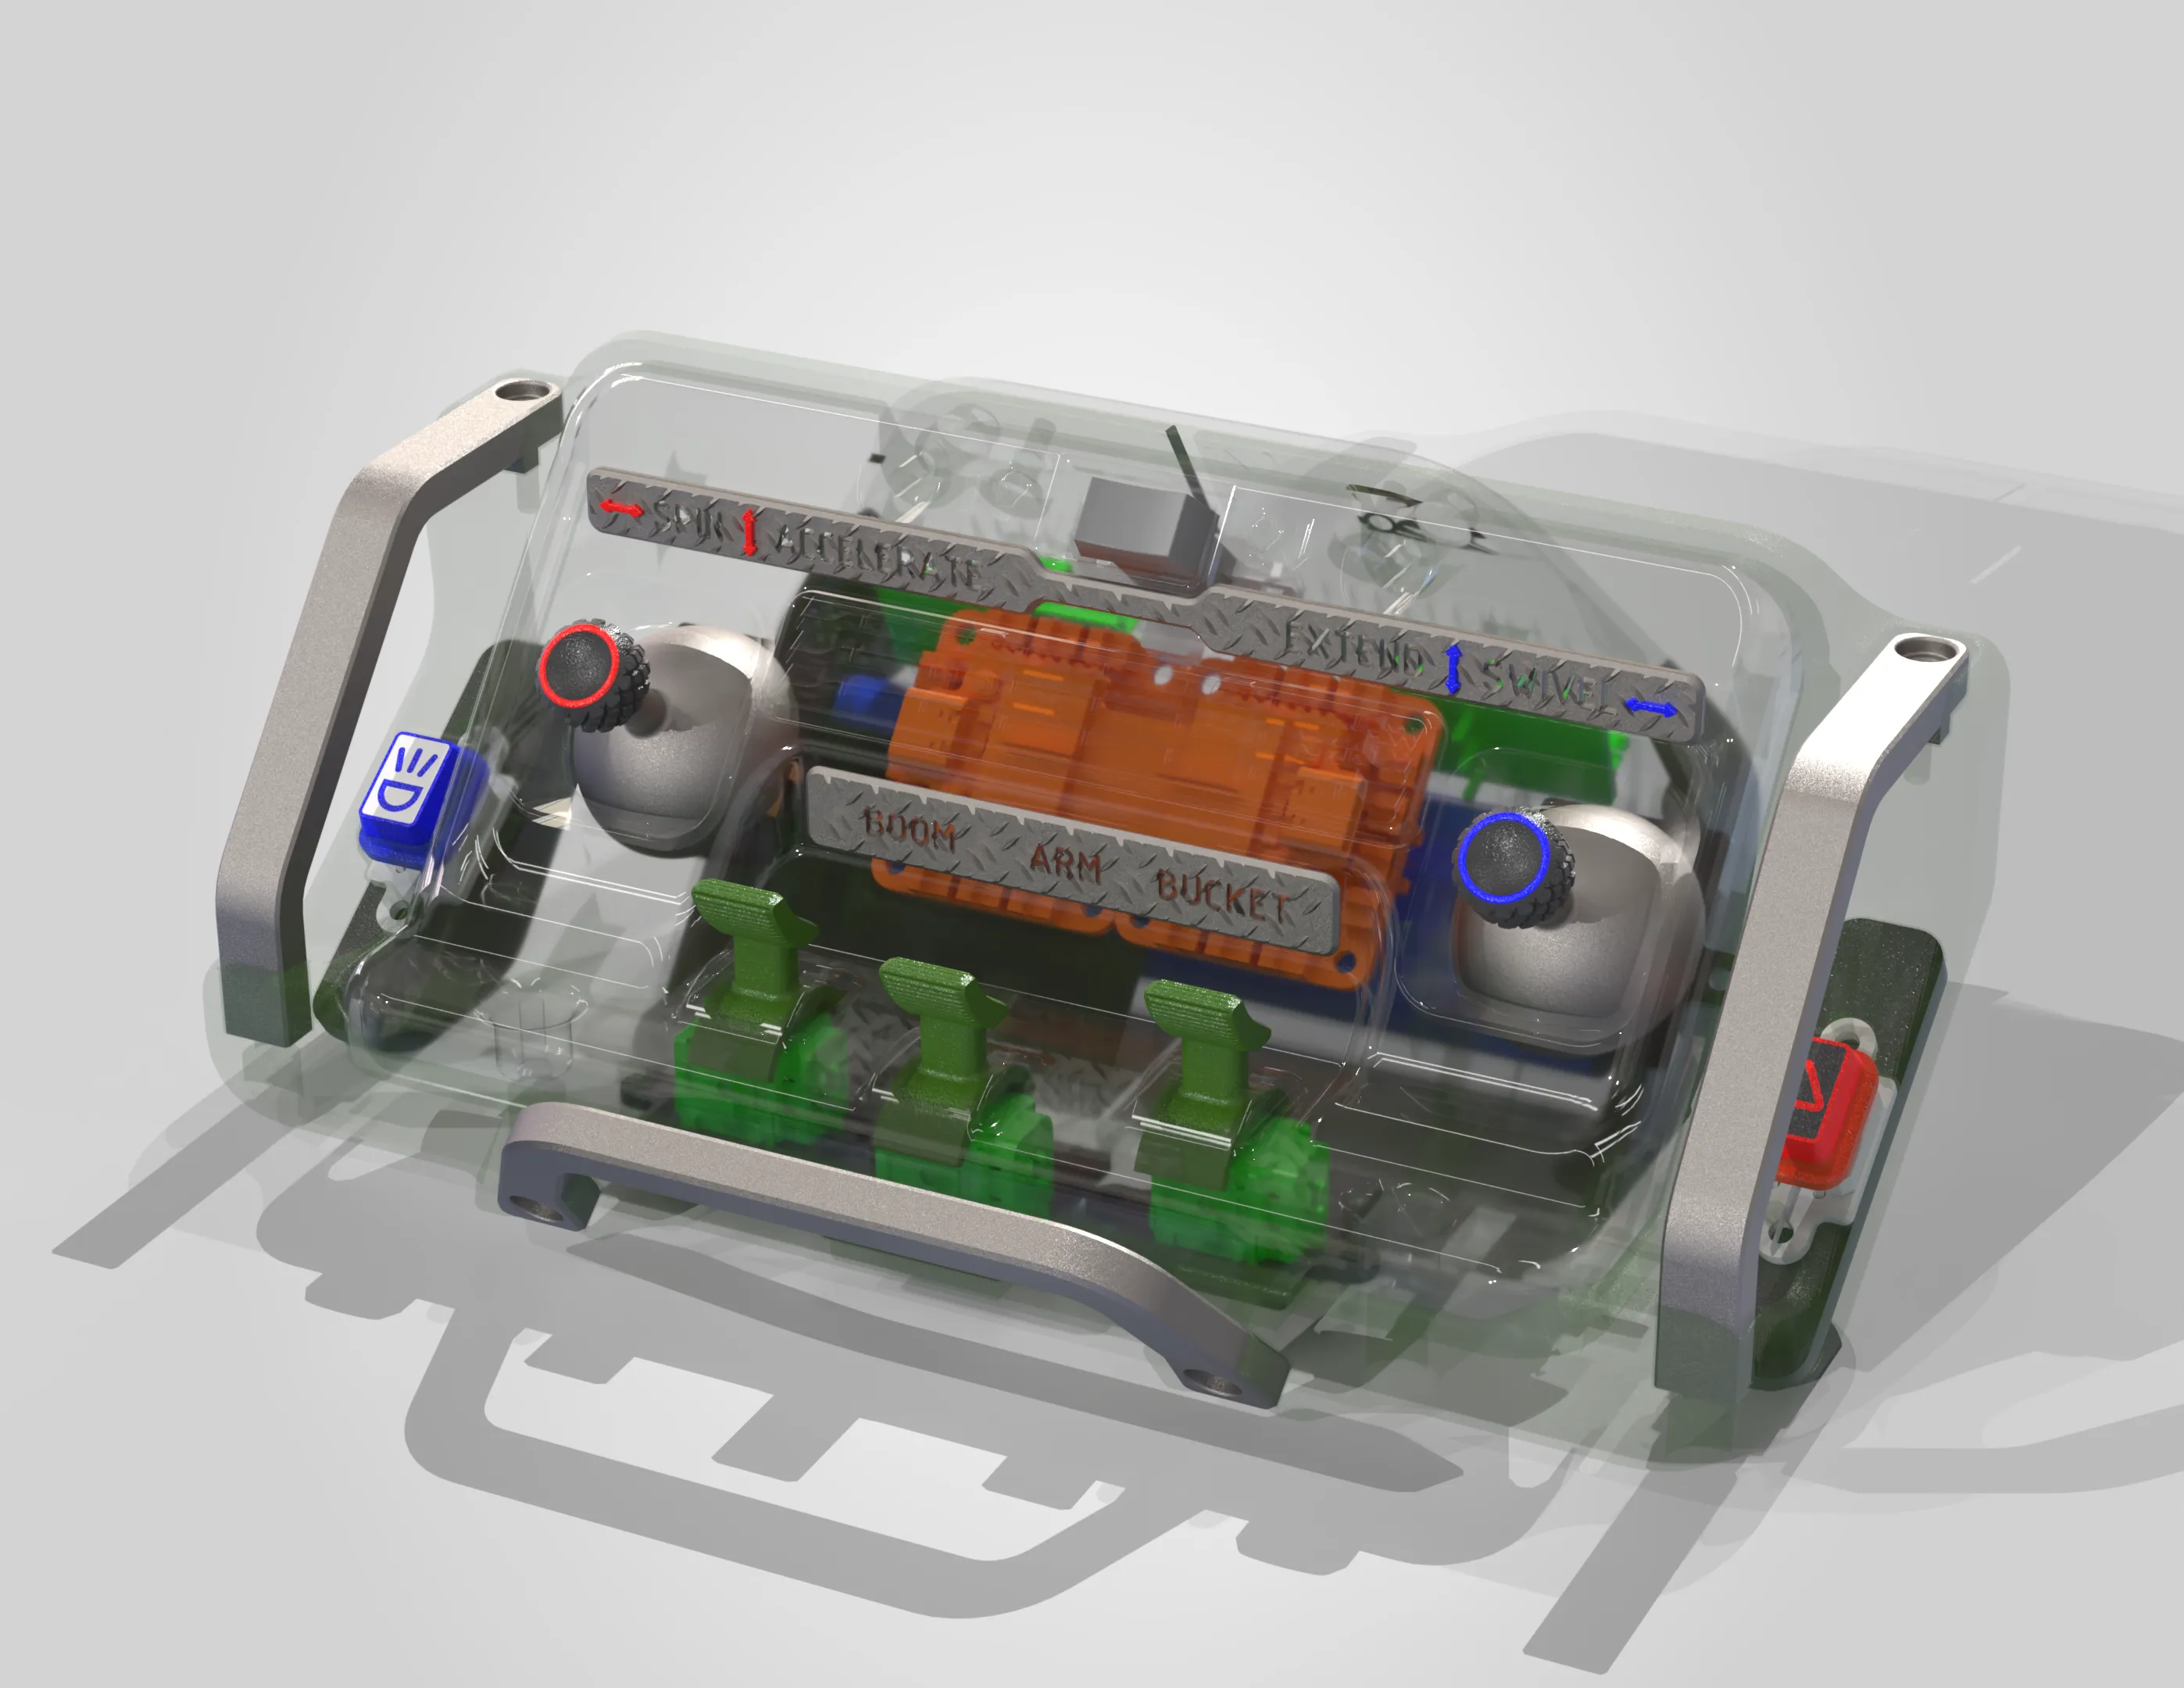
For me, it was out of the question to design a nice-looking exterior shell while the interior was a chaotic mess of cables and components; every single part has a designated spot where it is securely mounted.
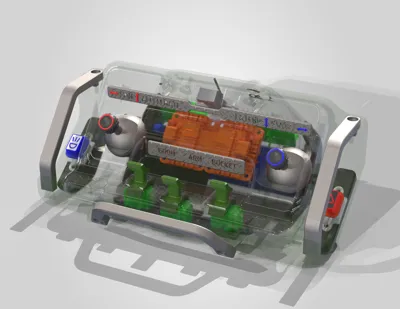
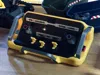
The exact same applies to the remote control.
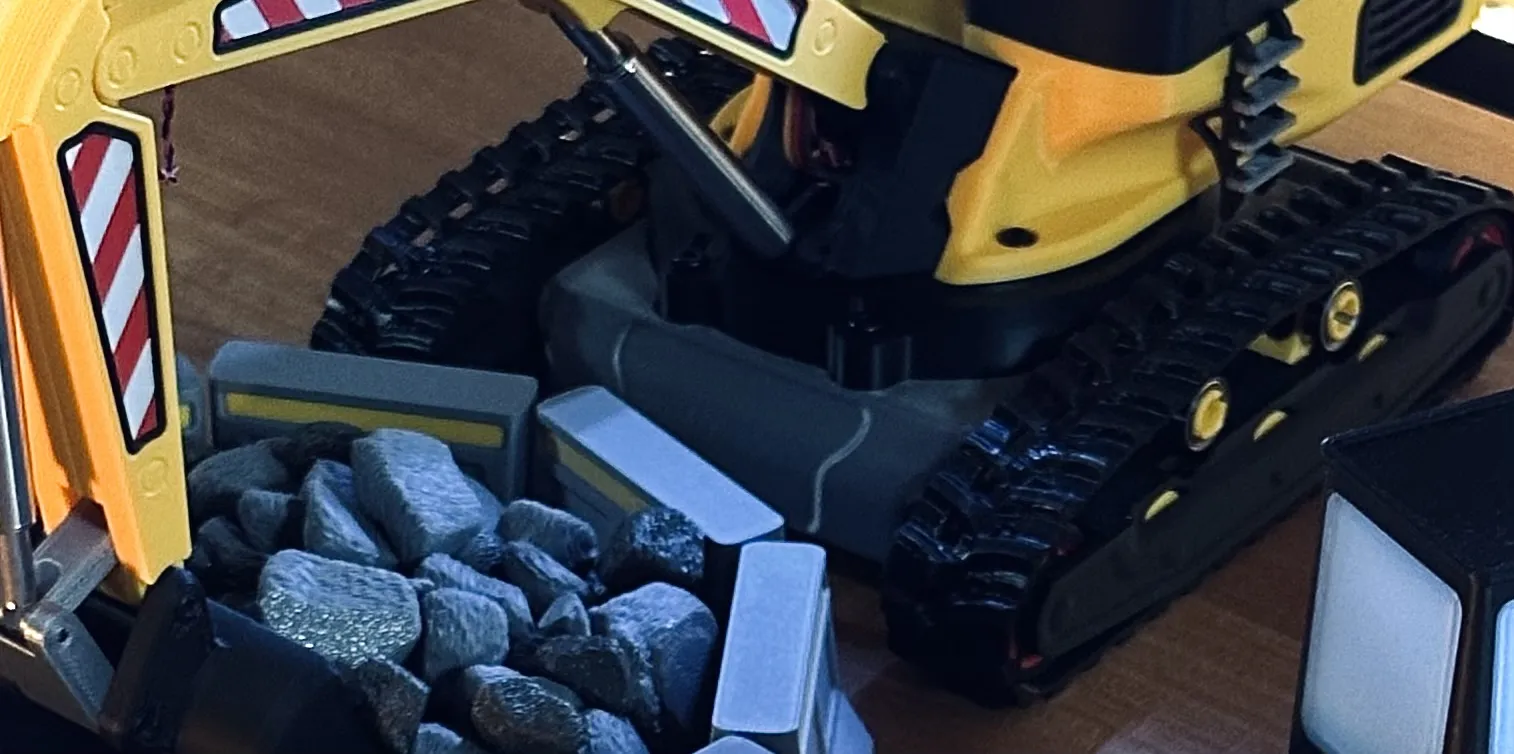
I originally designed the drive train with TPU tracks. These offer a bit more grip and deliver the best performance for climbing maneuvers.
However, the excavator doesn't spin quite as quickly on the spot with them.
The increased friction makes it harder for the tracks to slide across the surface, depending on the terrain you're driving on.
For this reason—and because I know many people are hesitant to work with TPU, I also designed a PLA track.
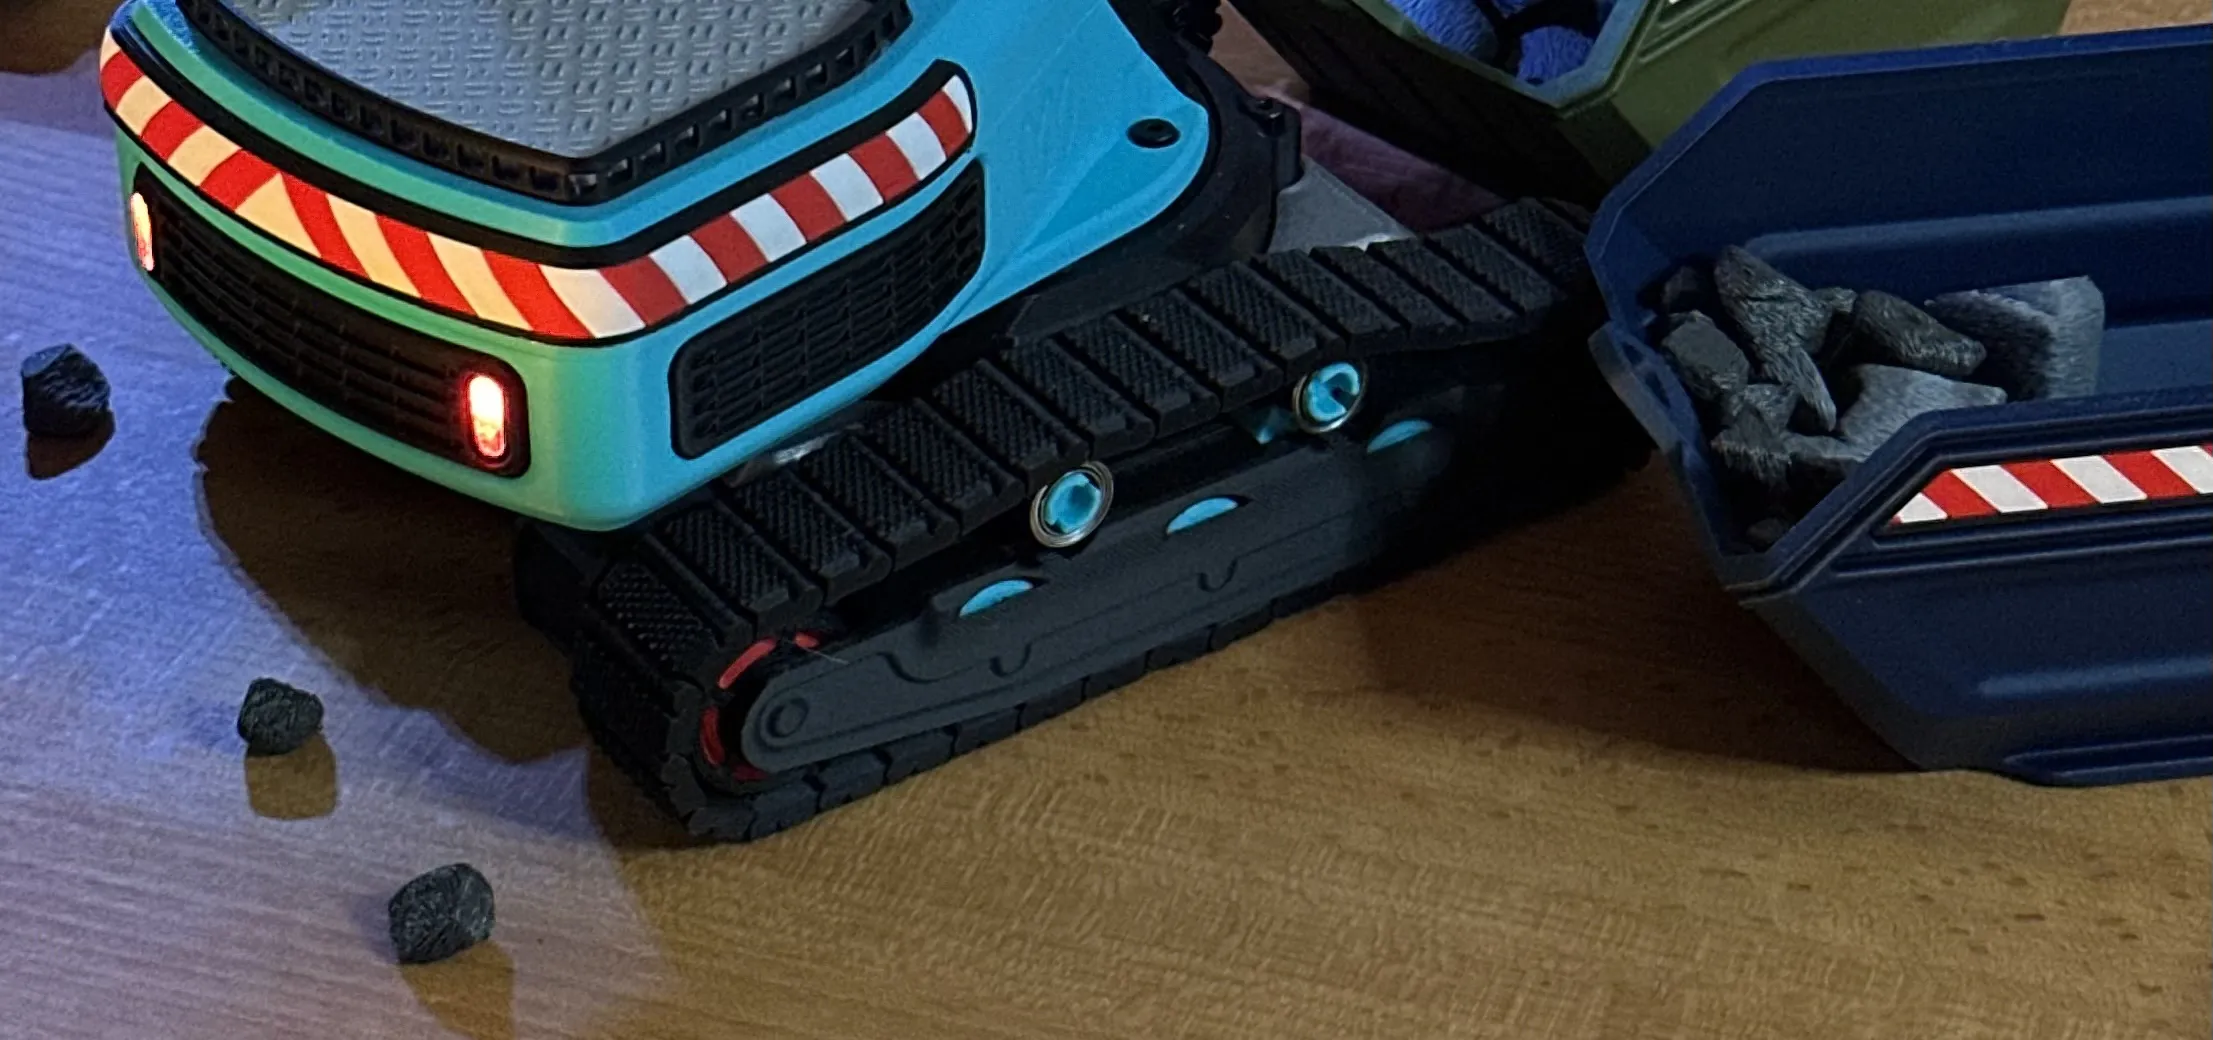
After quite a few attempts, I created a version that I personally like even better than the TPU one.
It allows for very precise and relatively snappy movement.
Pivoting on the spot works wonderfully, even on soft surfaces like a sofa, carpet, or similar.
The video where I climb onto the A1 Mini with it, features the PLA tracks; it still works very well,
though it requires a bit more finesse with the controls :)
Here you can take a look at the various prototypes and part versions that were printed to ensure everything is absolutely right!
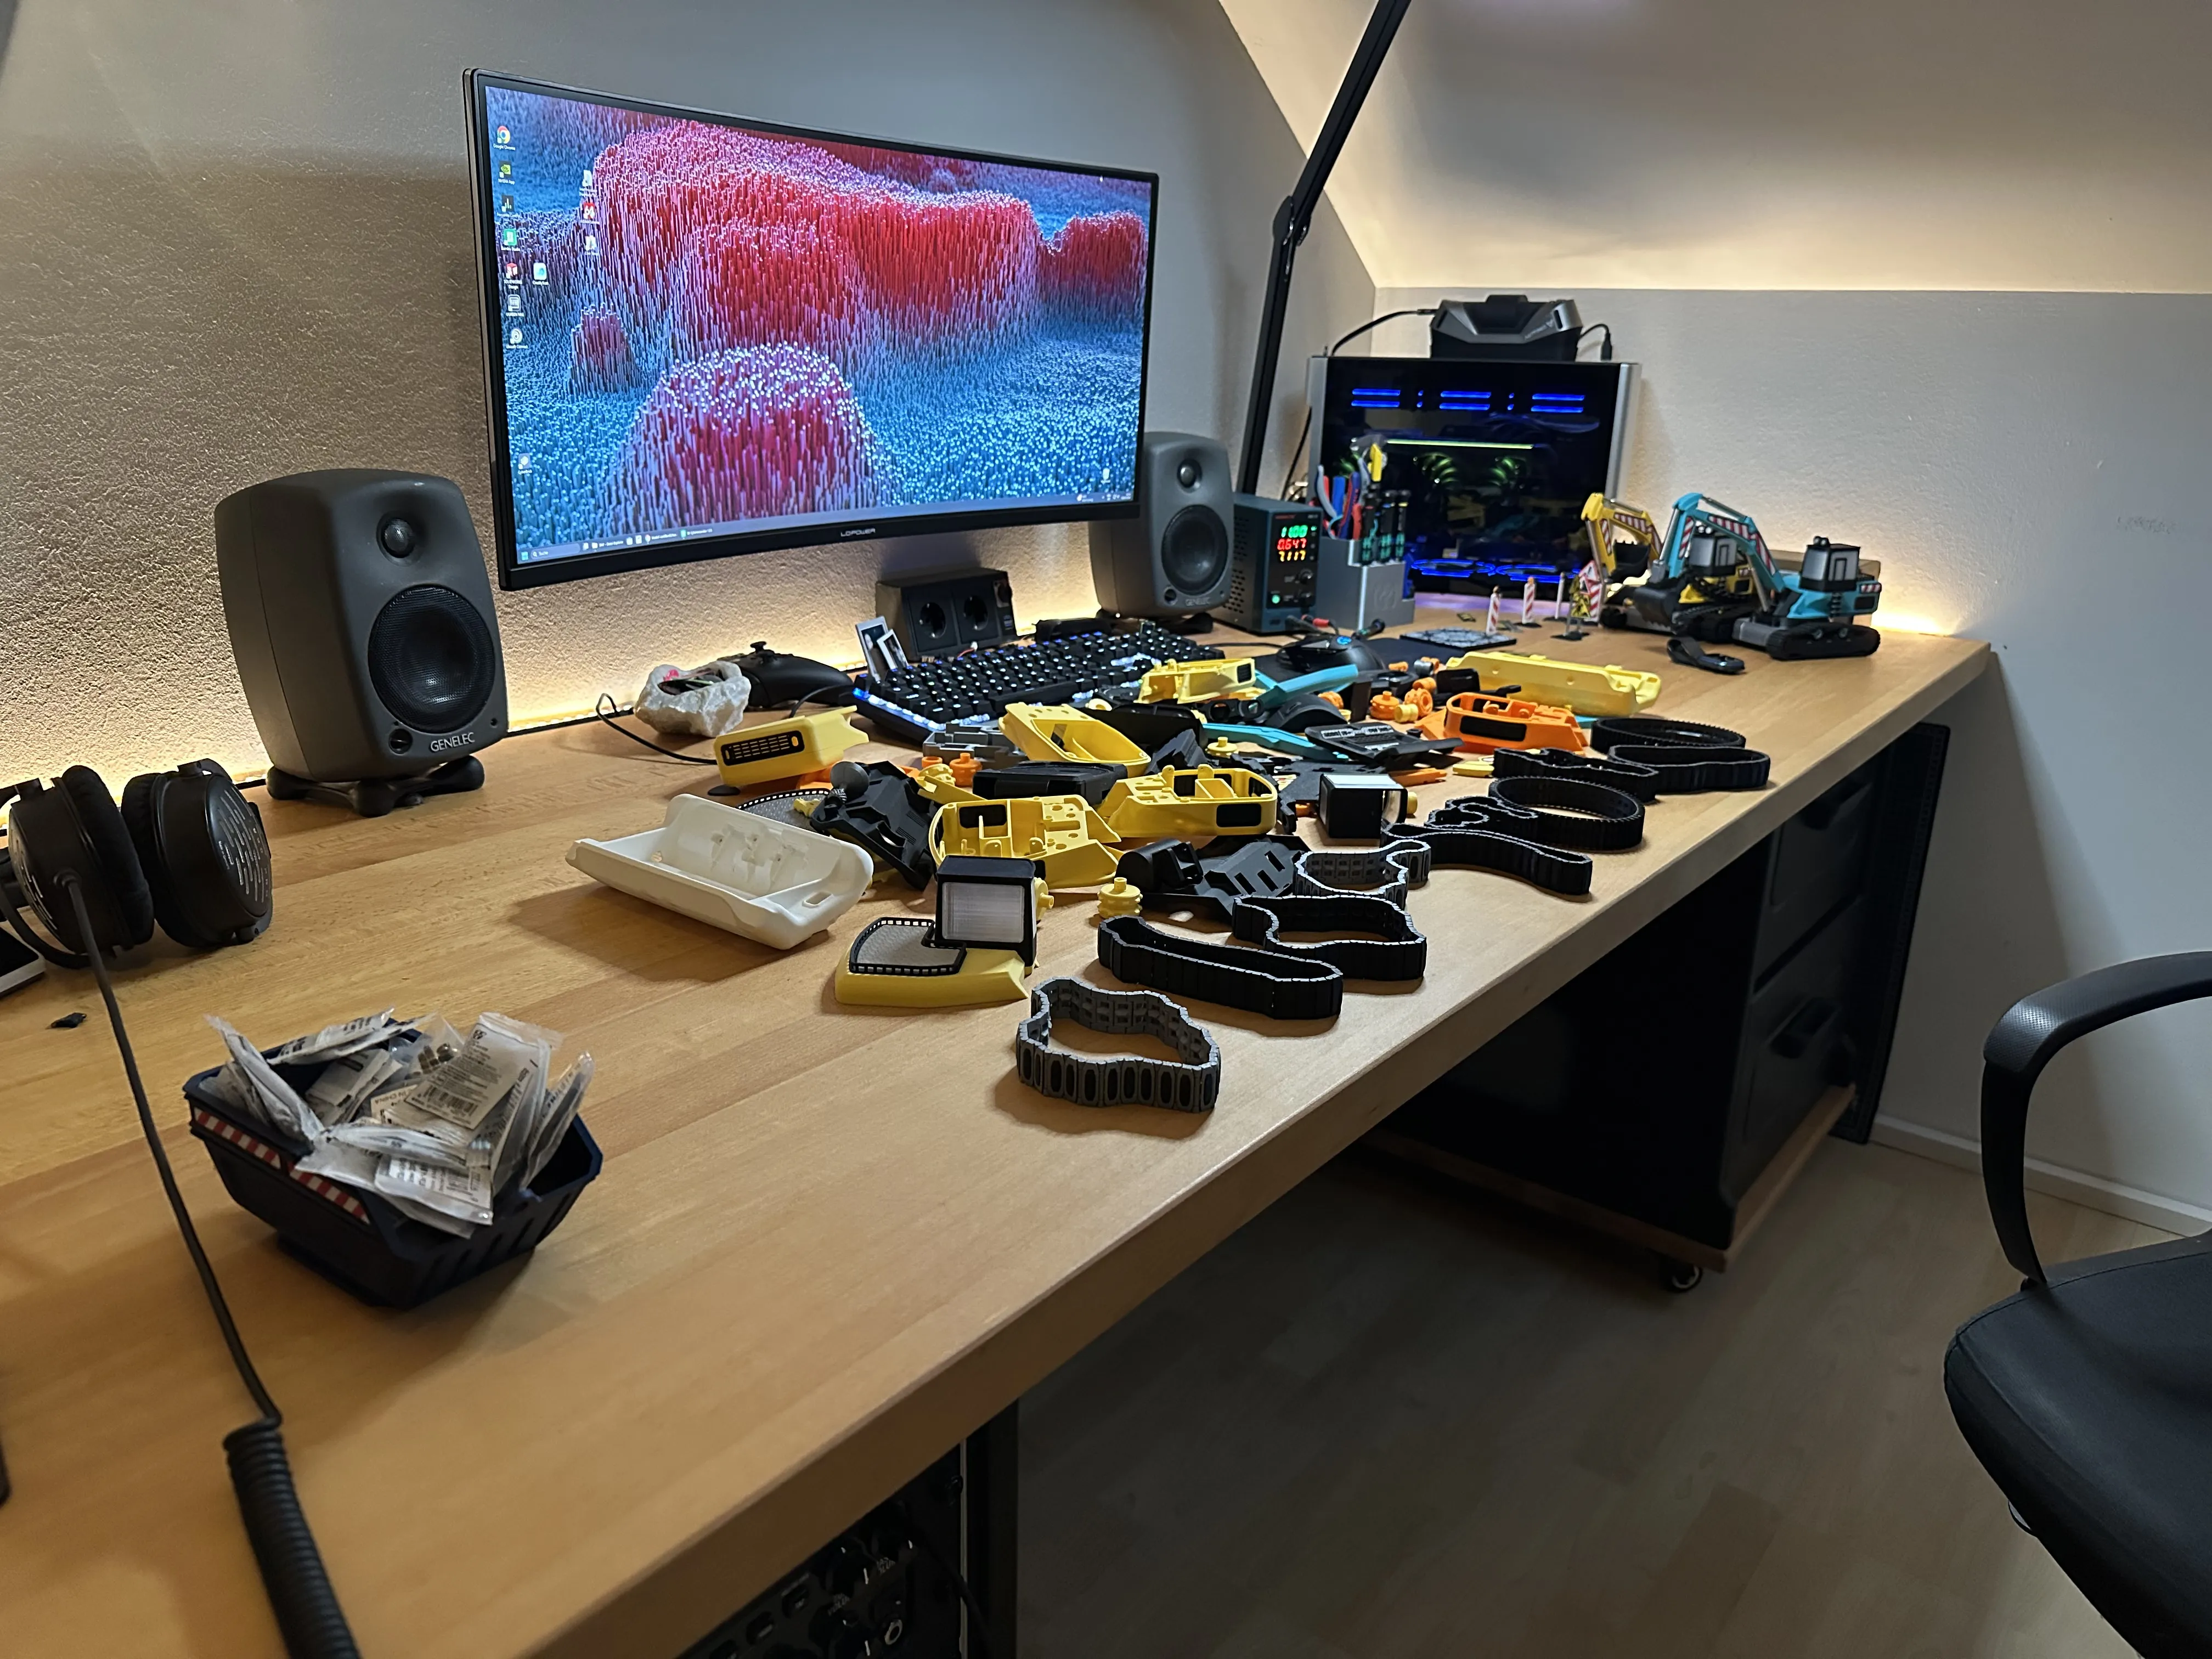
I decided to set up my main print profile with the PLA tracks. You can find the TPU tracks in a separate profile. However, those require different drive sprockets—which you'll also need to print—and these are included in that profile as well.
I cover this in more detail in the assembly guide!
I personally really like this part—the turntable that sits between the upper and lower sections of the excavator.
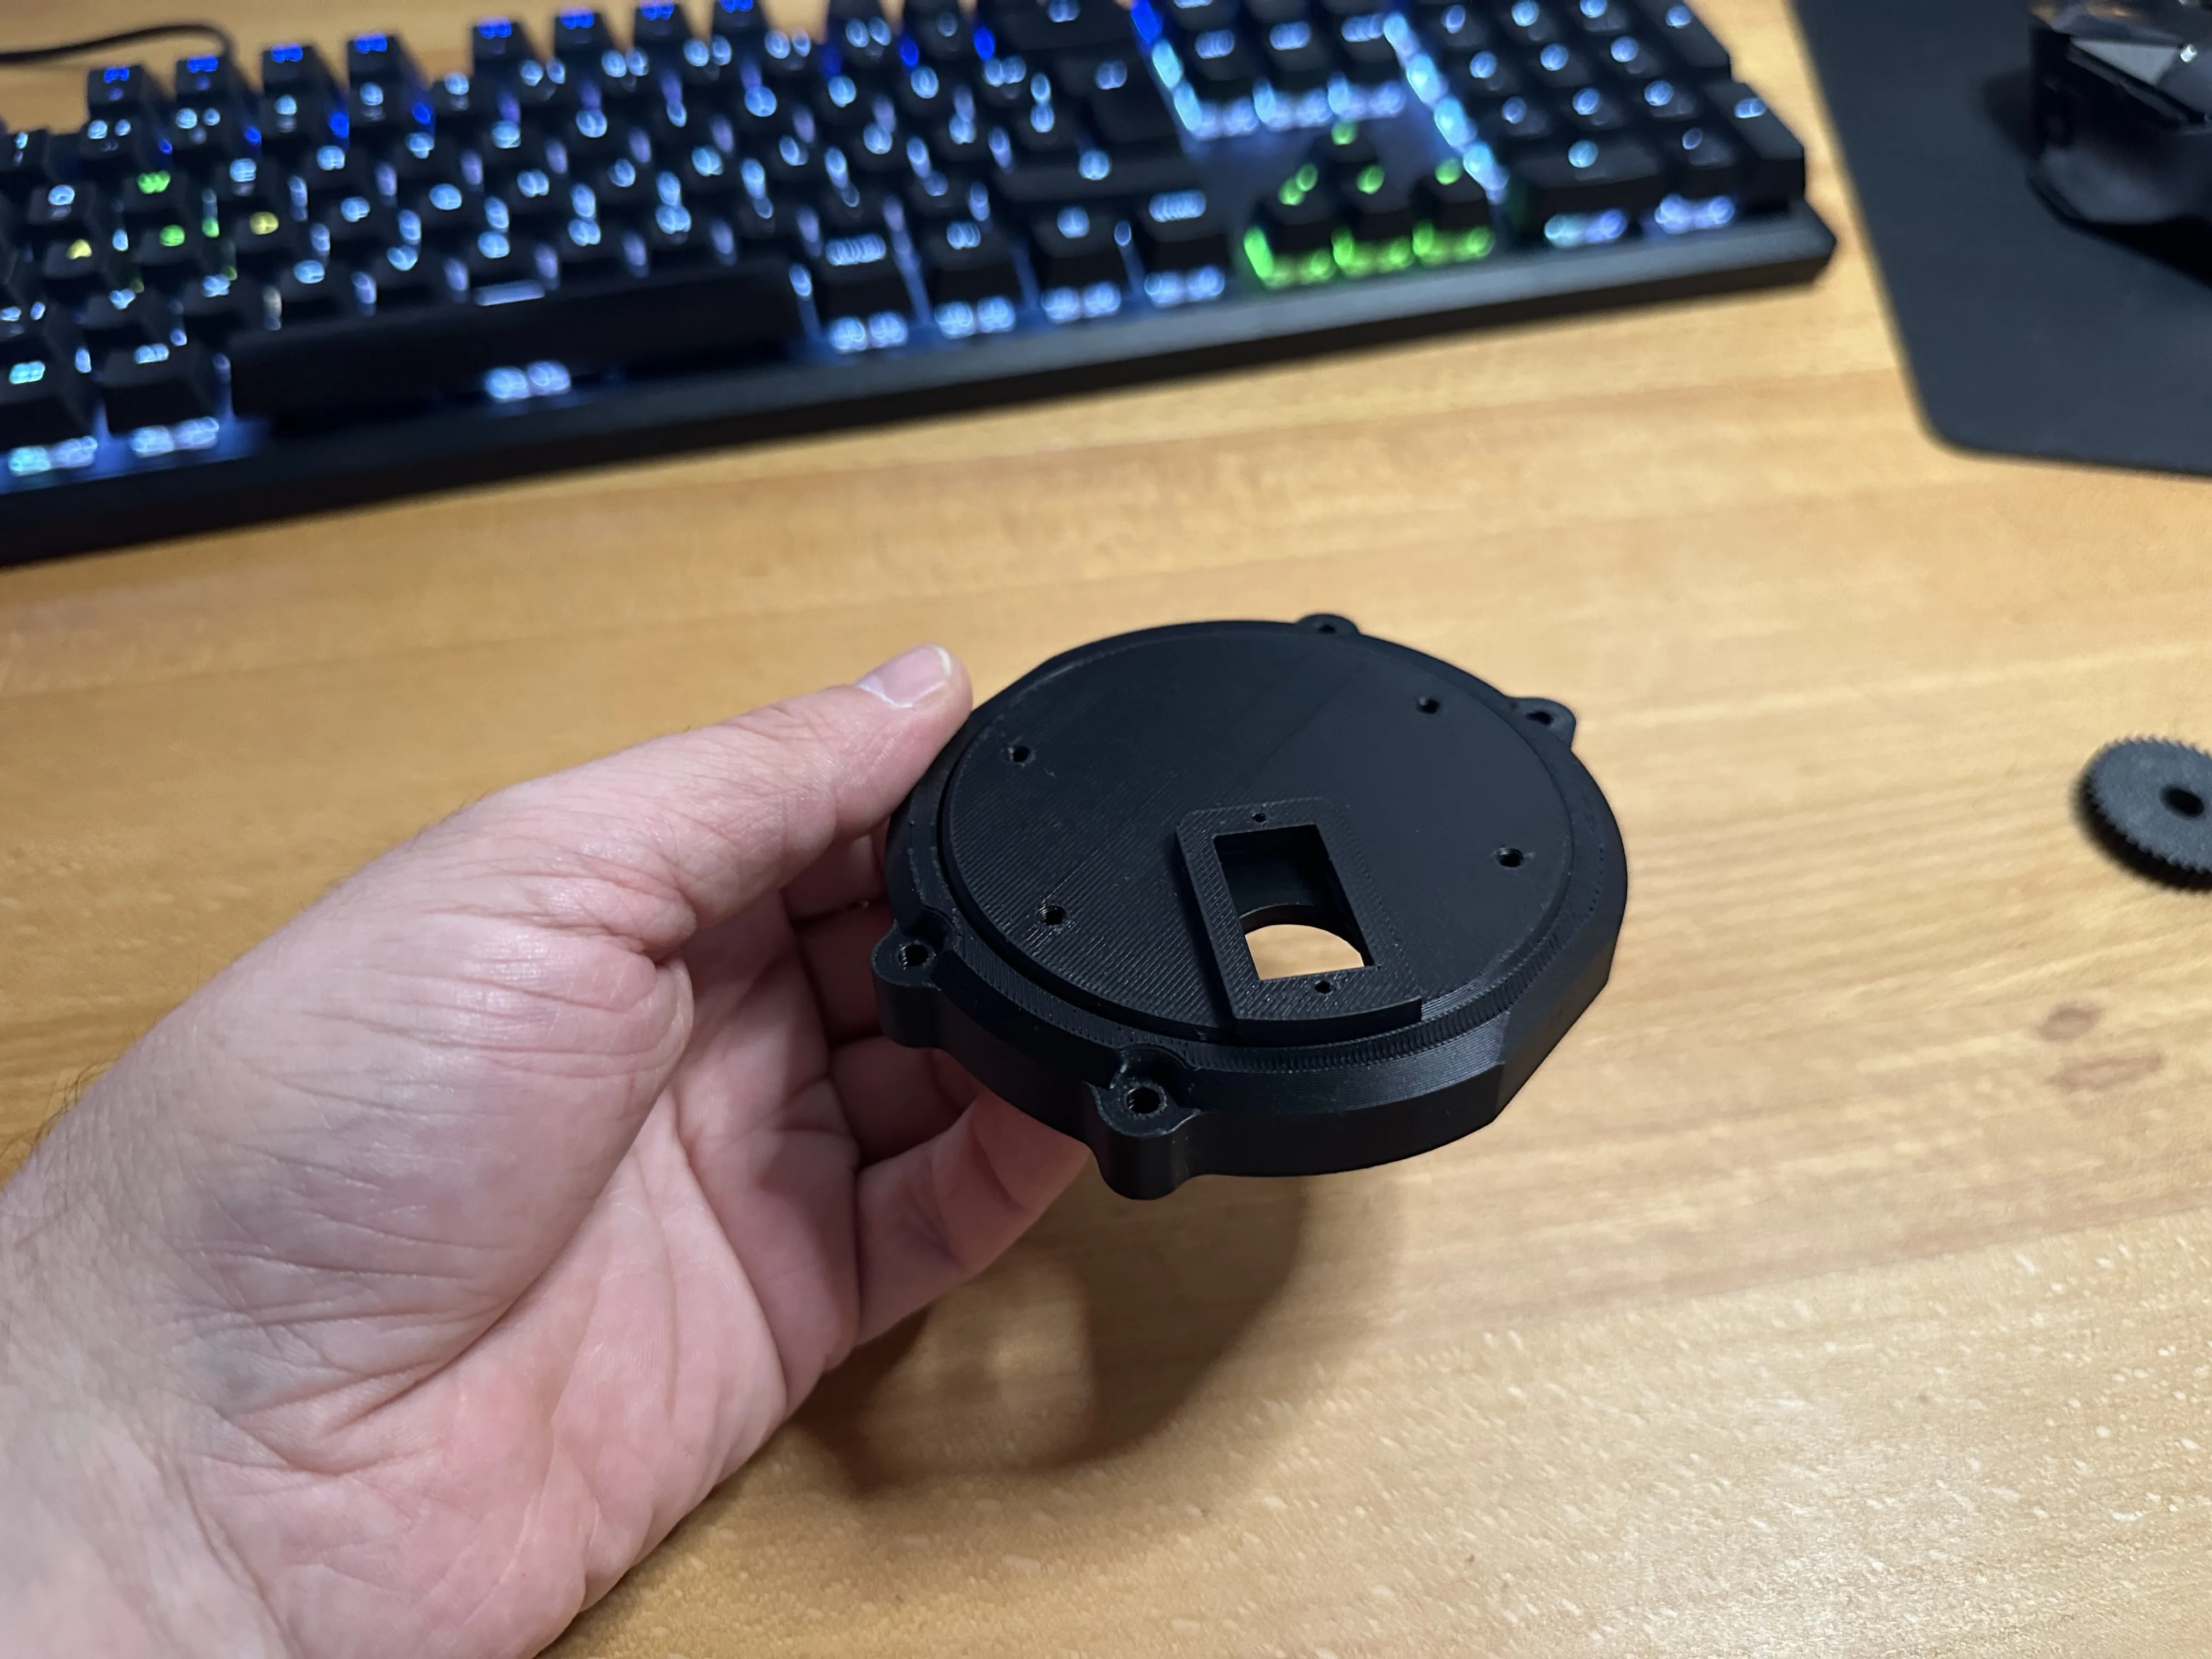
It is printed "in place." The outer ring has an internal thread that engages with the corresponding pinion gear on a servo later on.
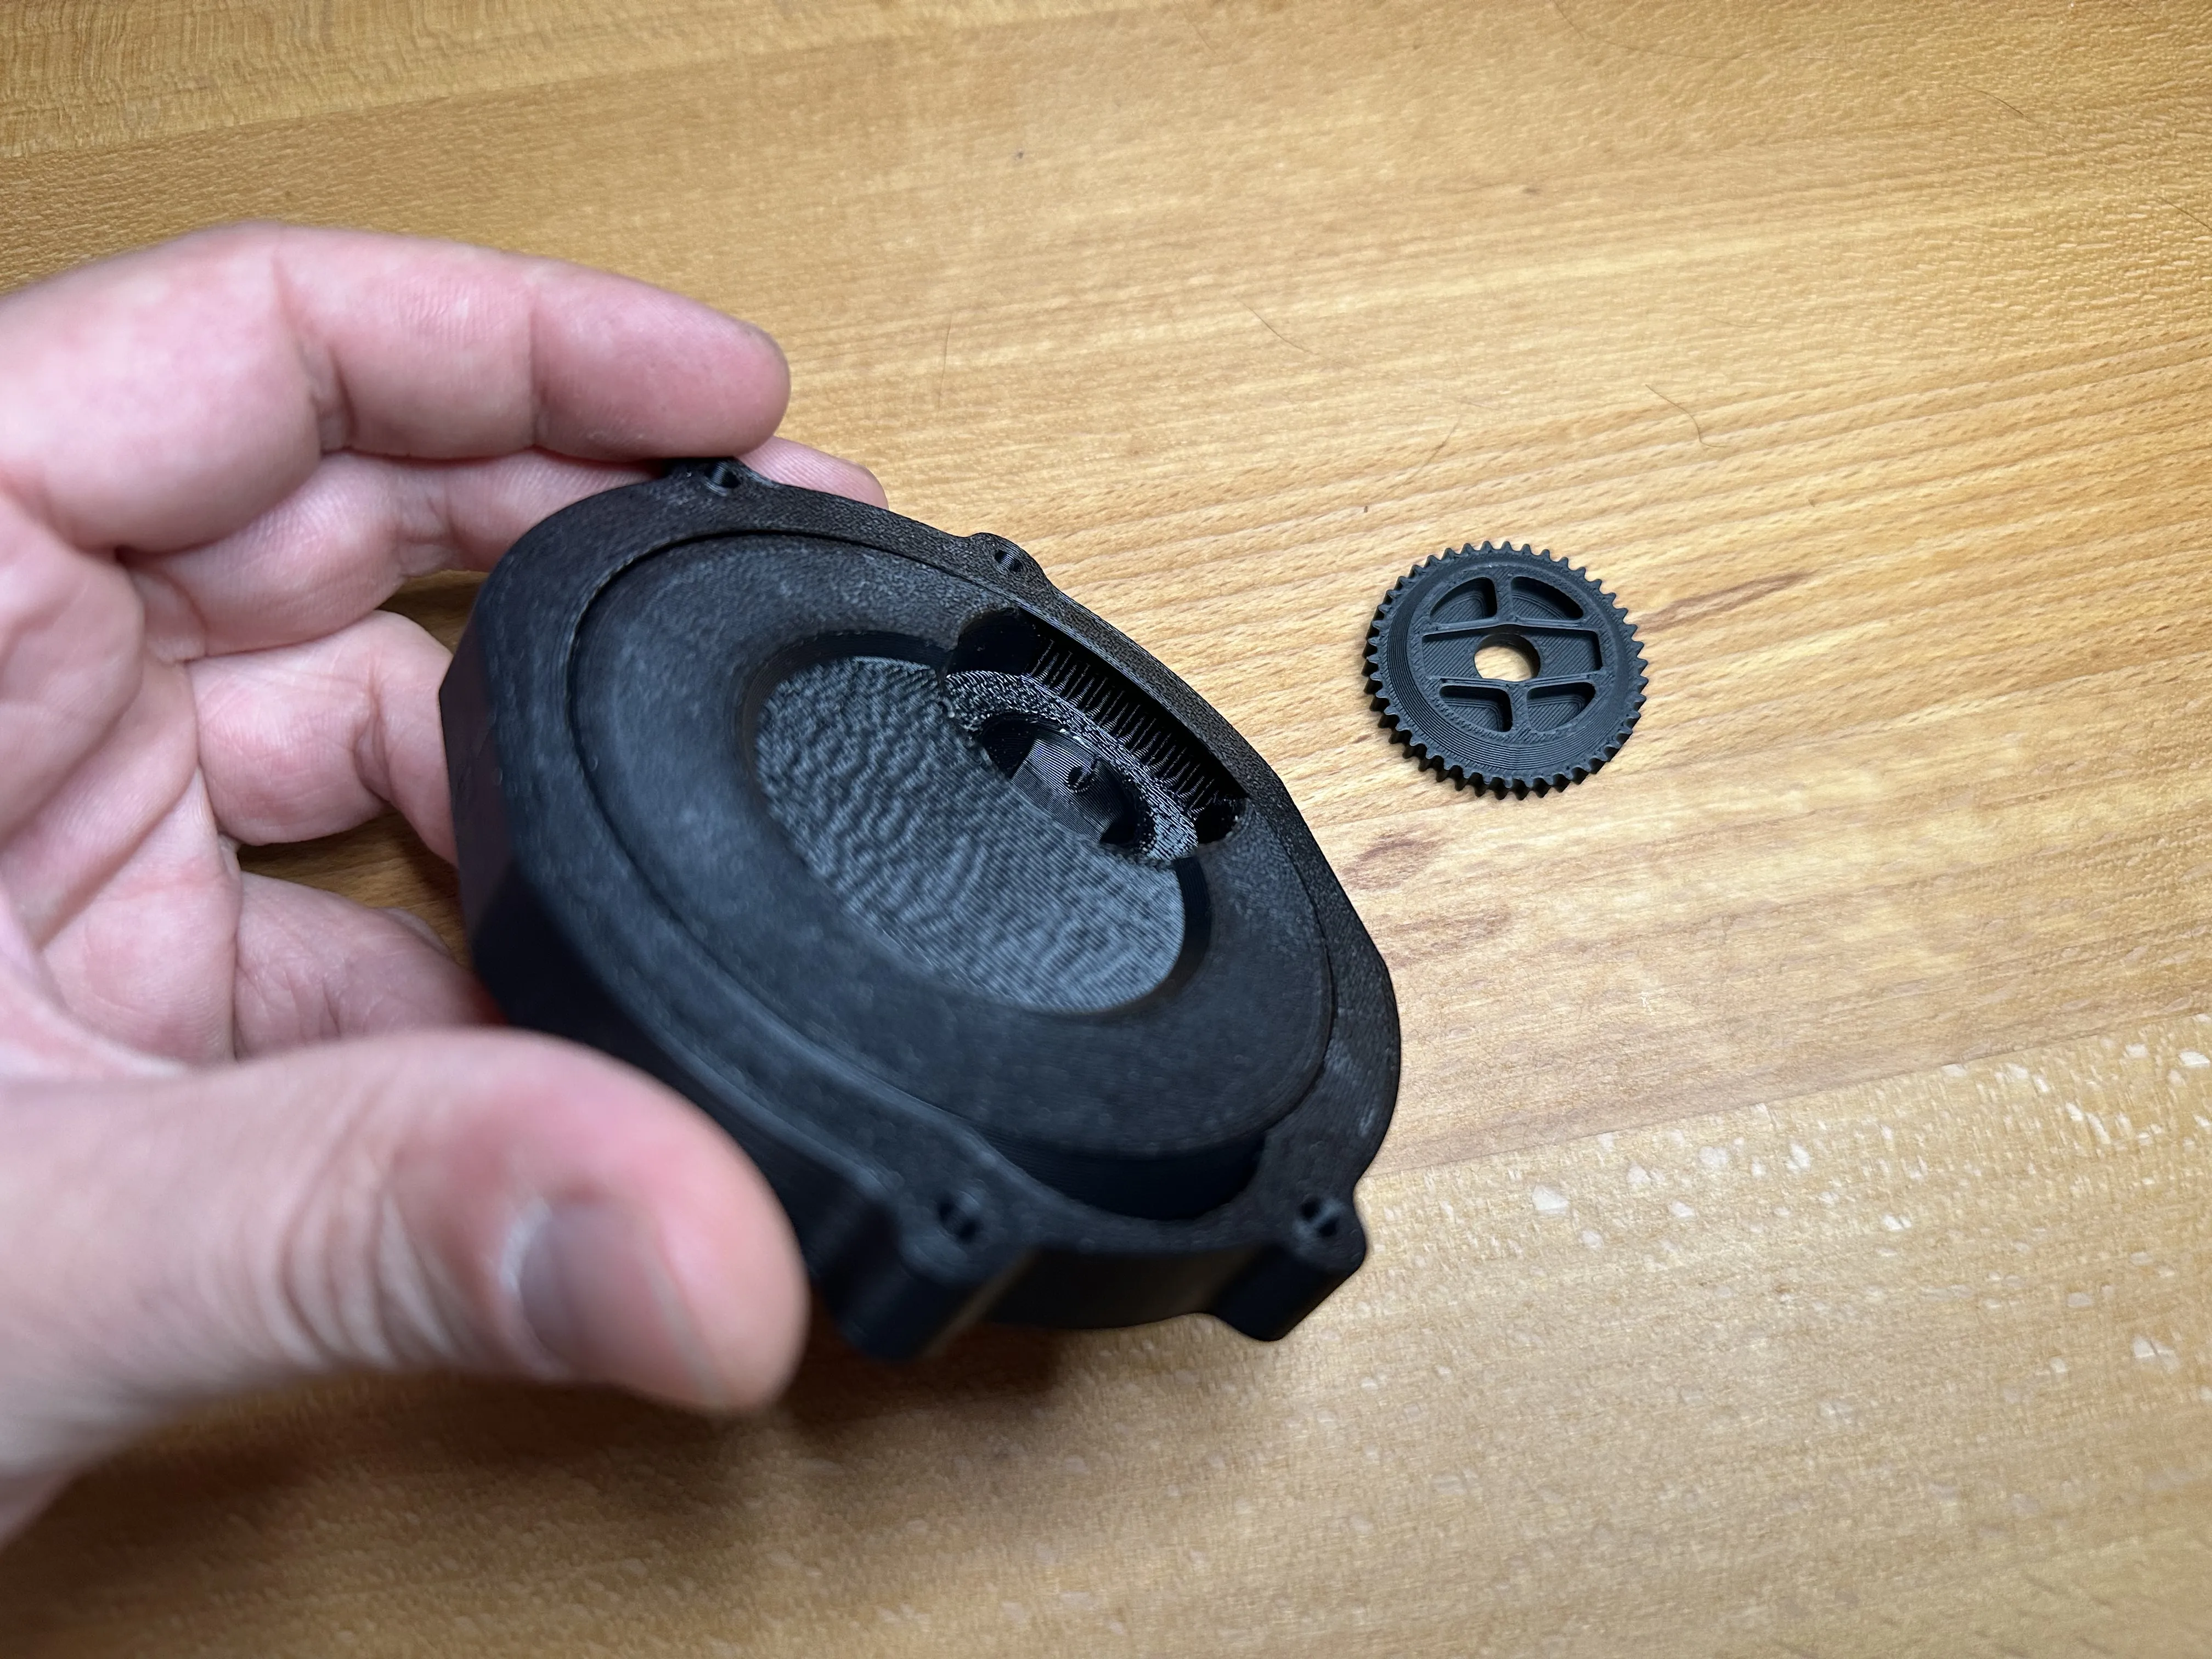
Although I have already noted this in the print plate labels, please do not print this part using matte or fiber-reinforced (CF/GF) filaments.
This part requires a filament that produces a smooth surface!
For all other parts, the choice of material is technically quite flexible.
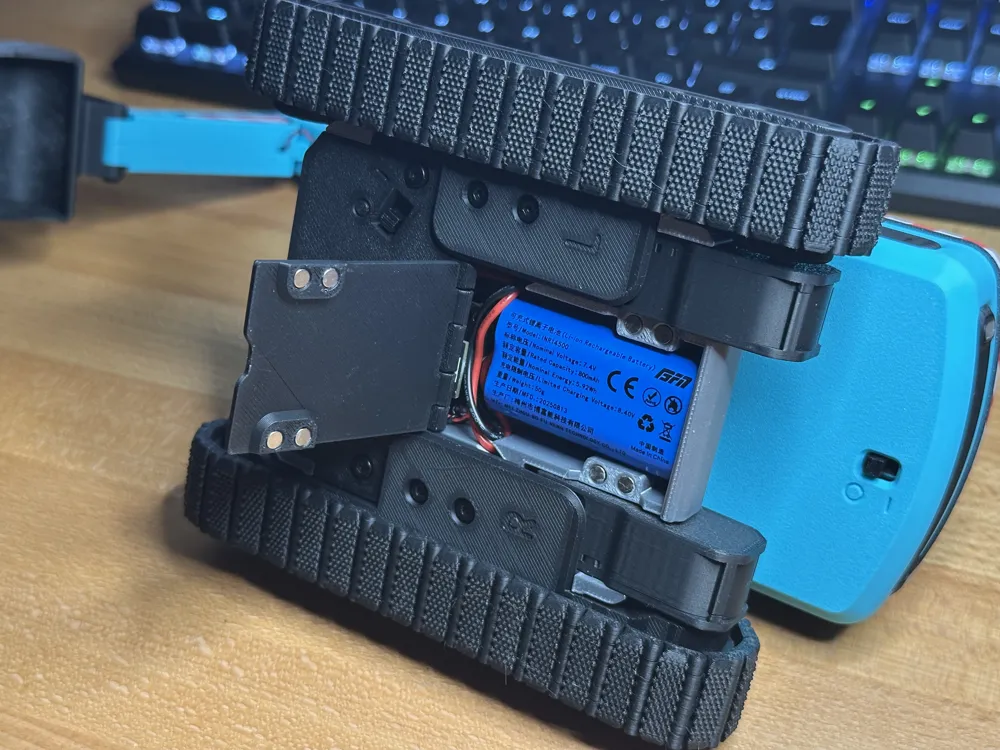
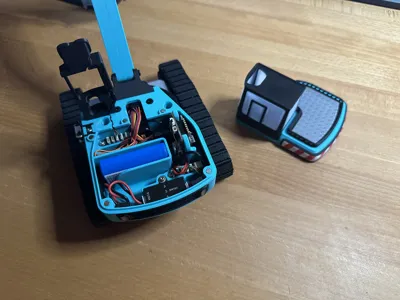
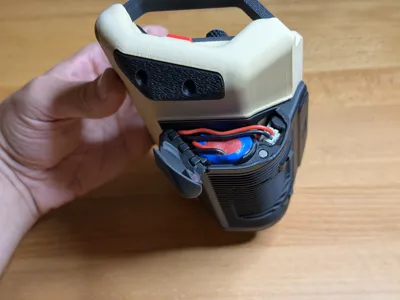
All battery compartments on this model, as well as on the remote control, are magnetic.
For the excavator, the entire upper body section is simply removed, which also provides good access to other components if needed.
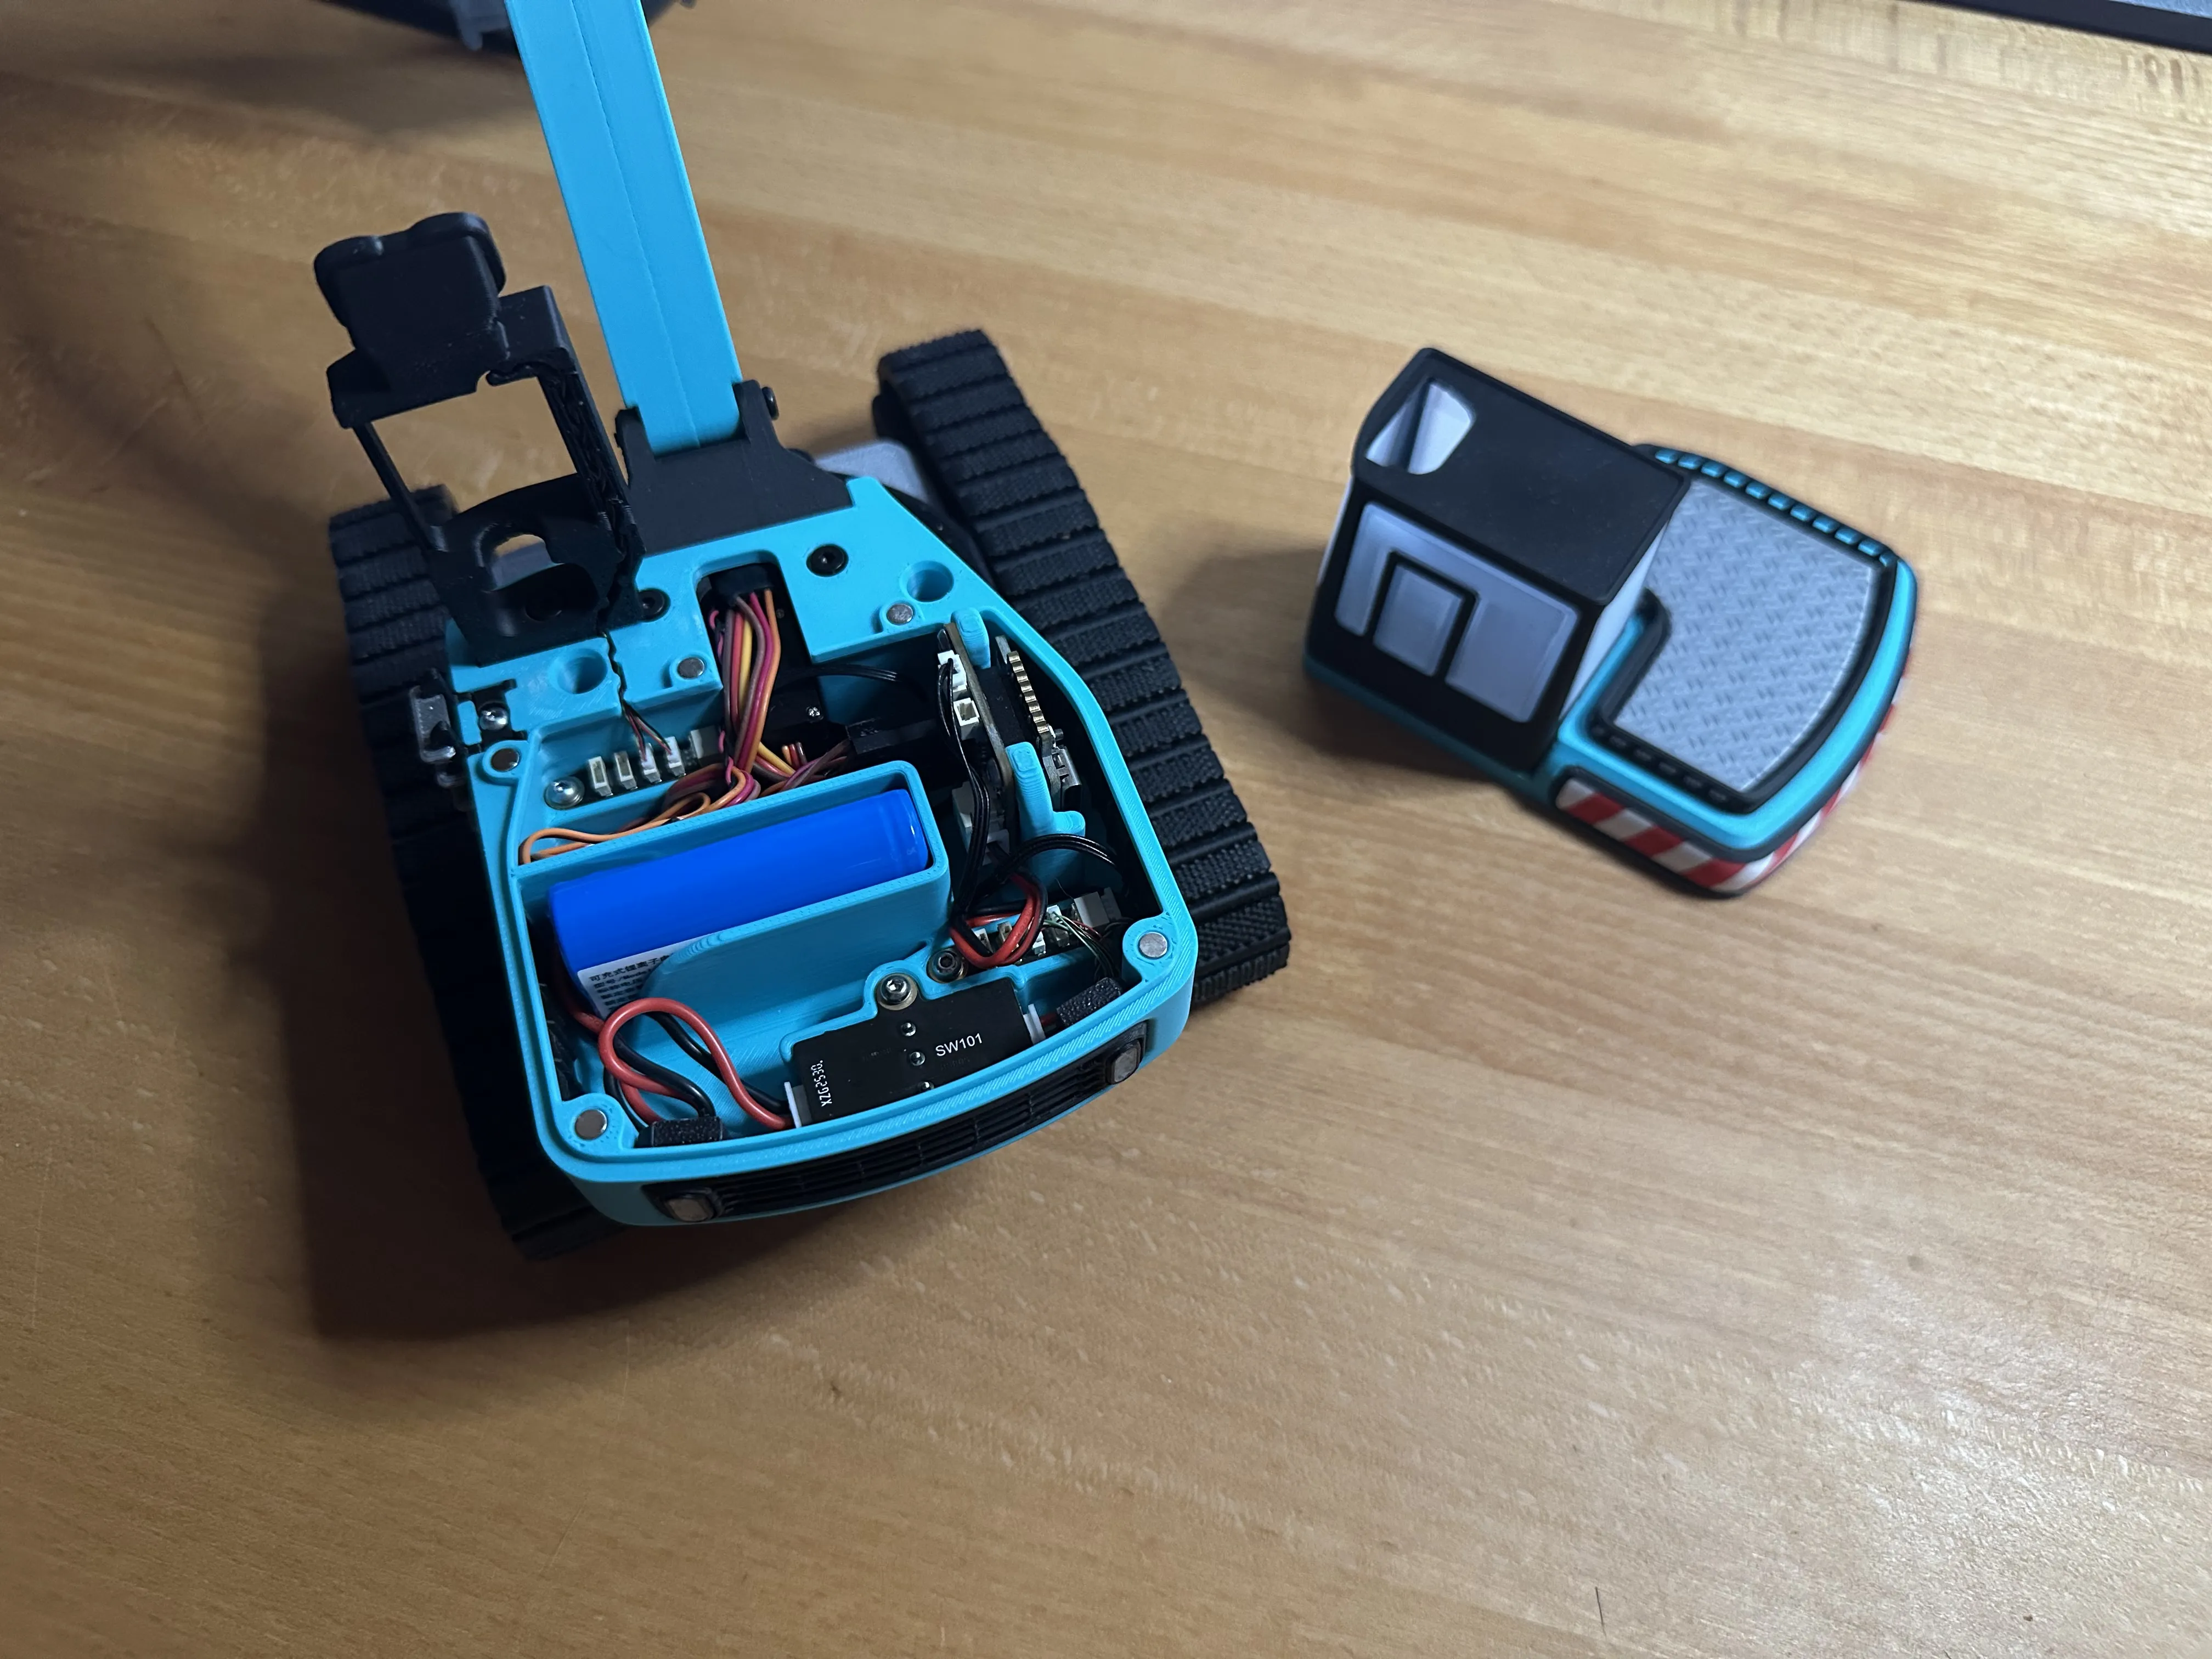
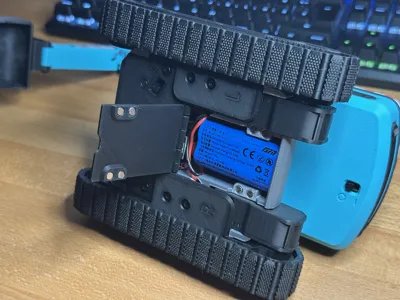
The powertrain battery can be accessed via a small flap in the base plate, which is also designed as a print-in-place part.
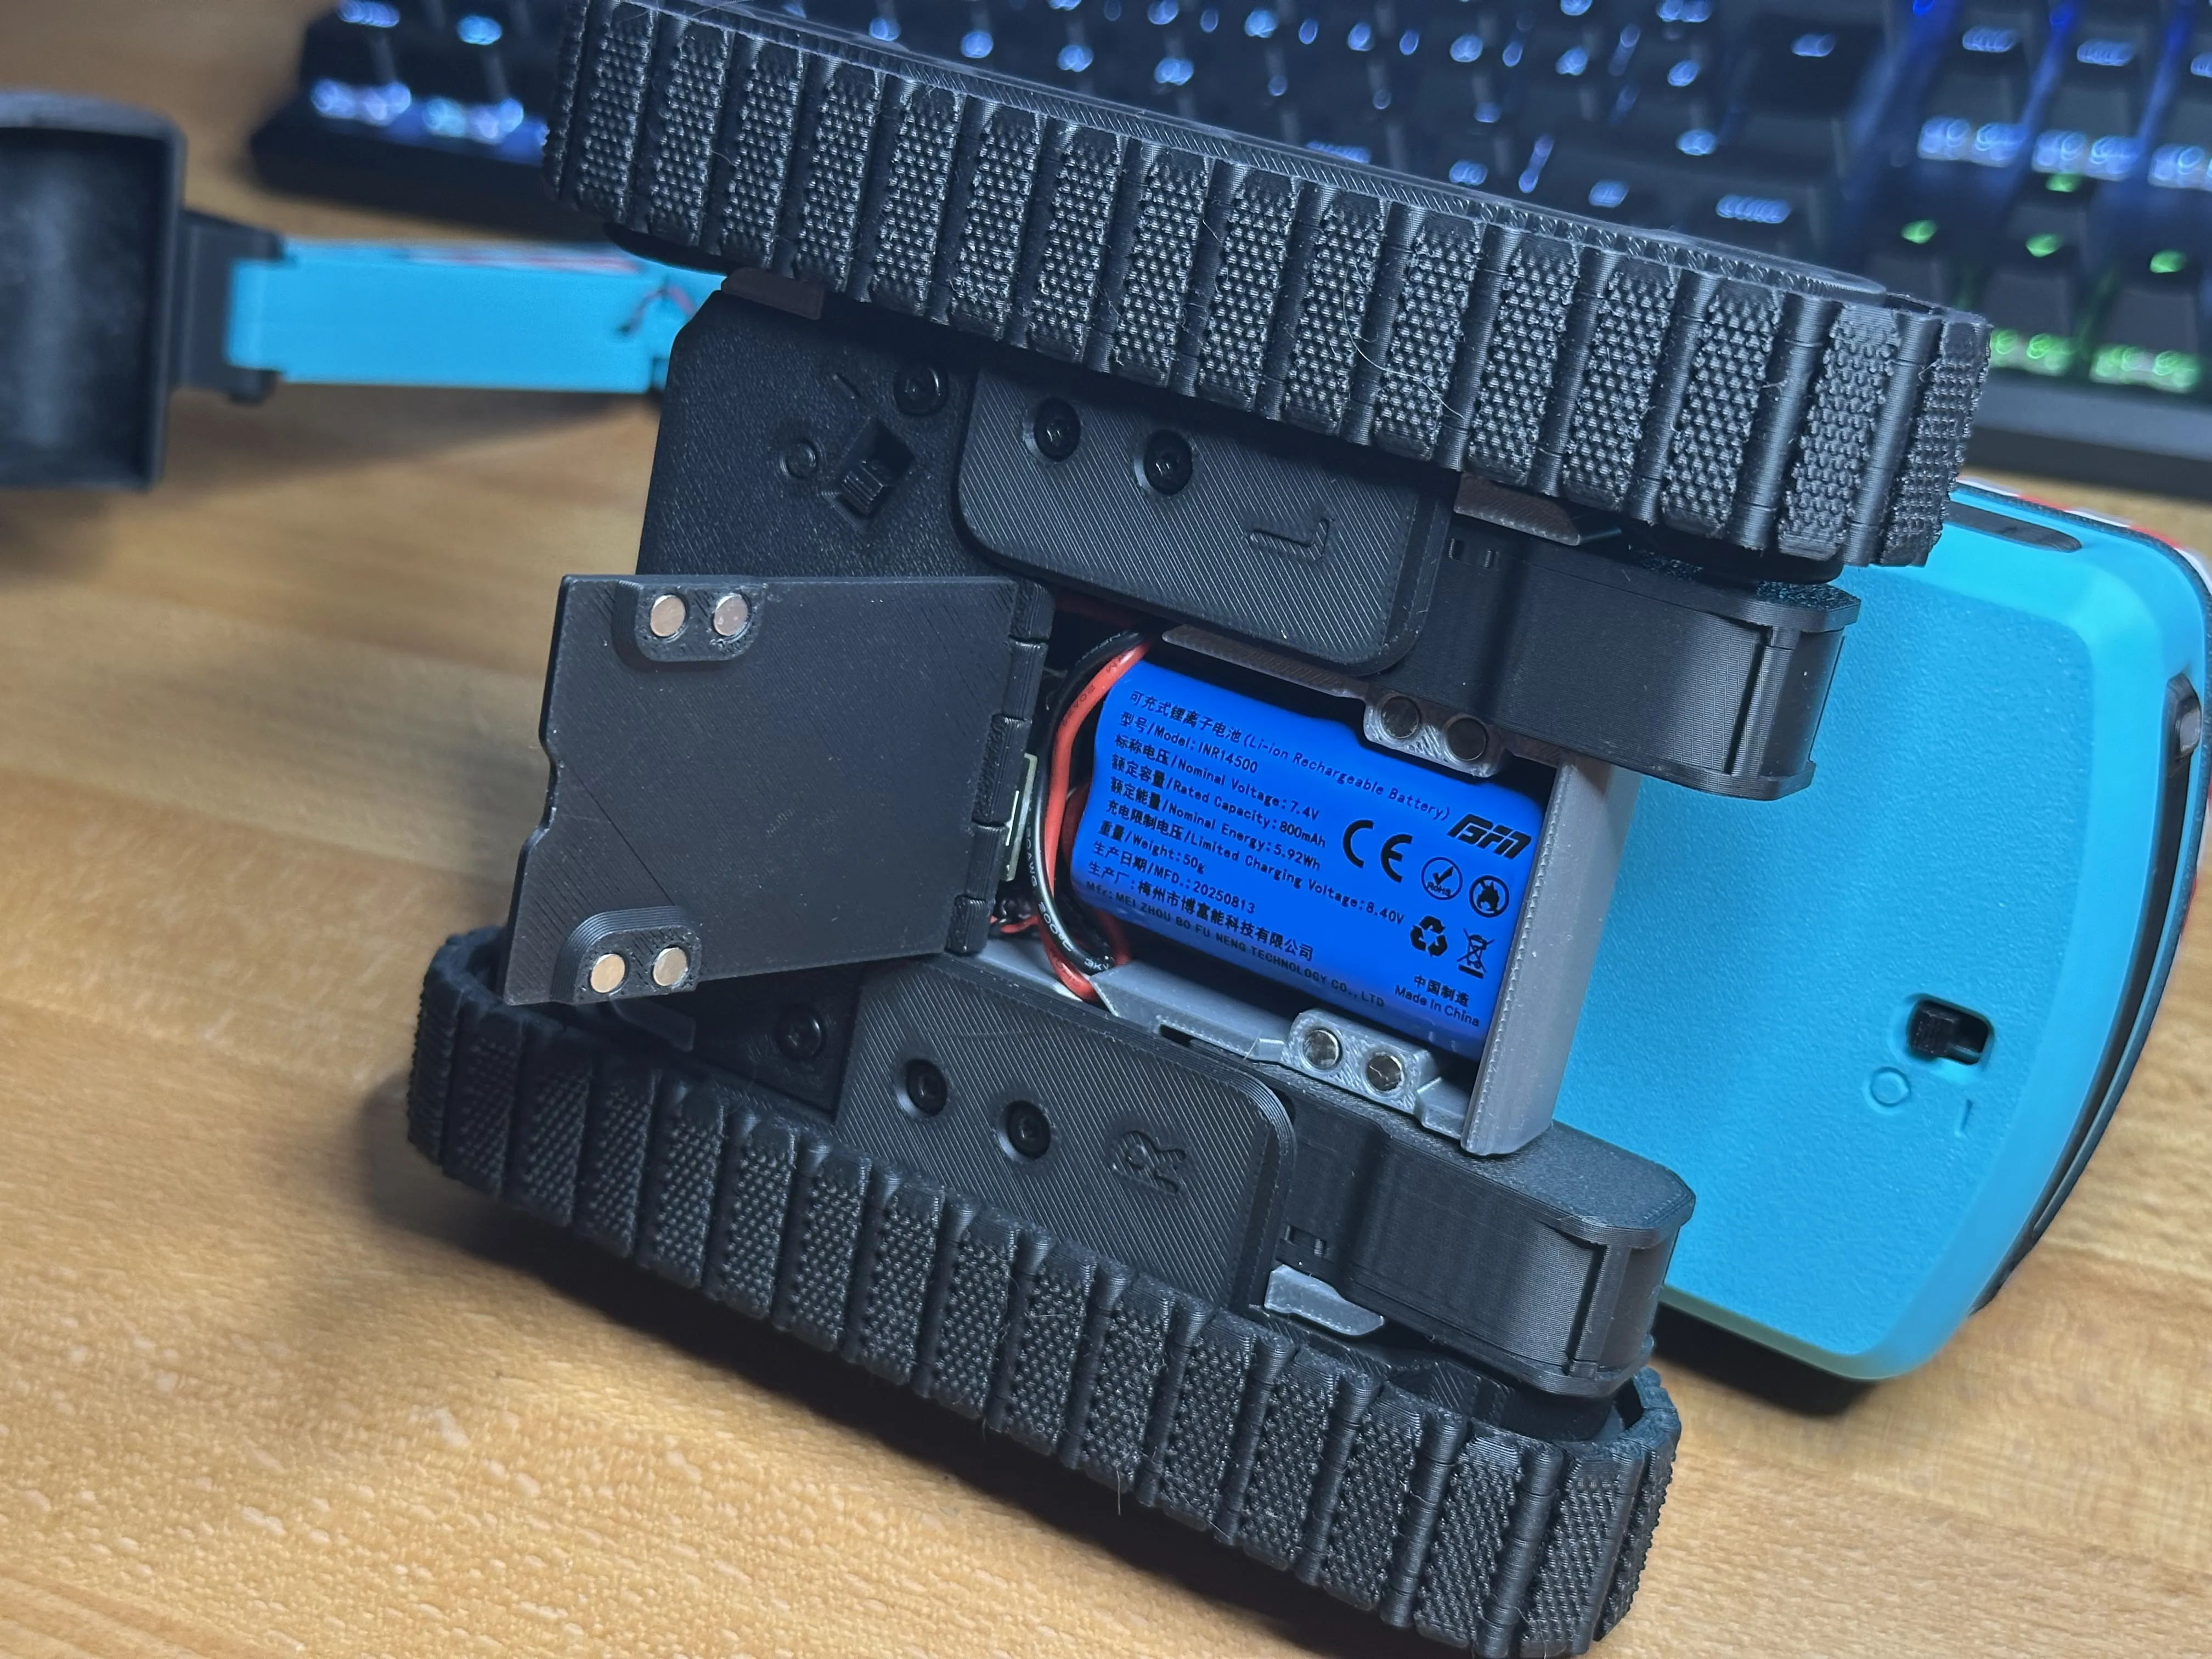
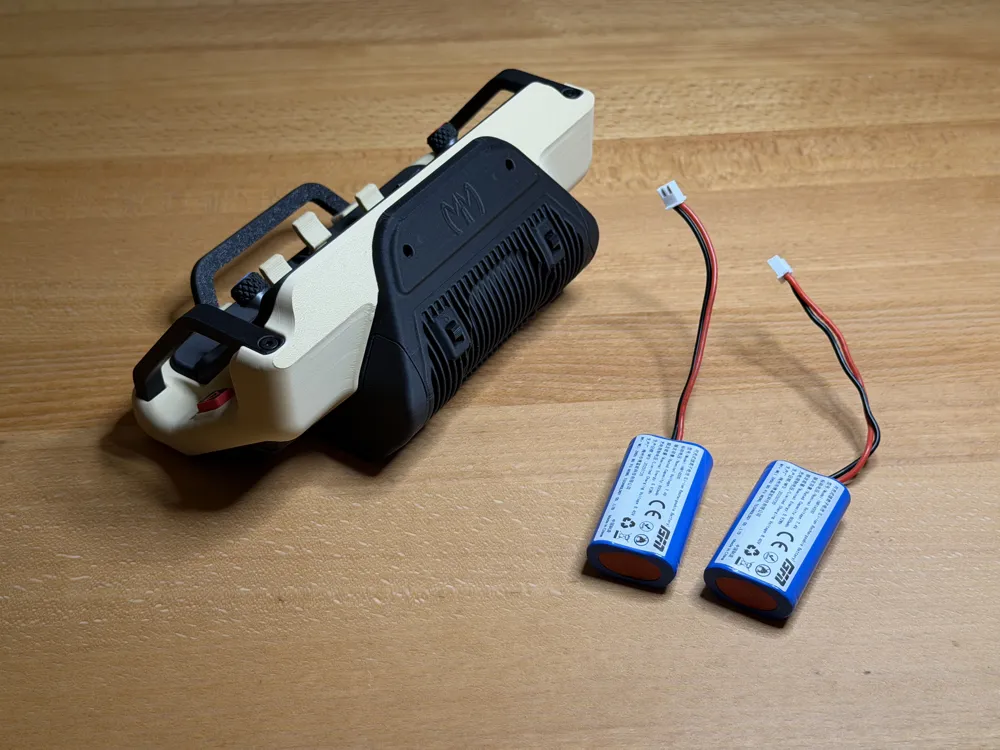
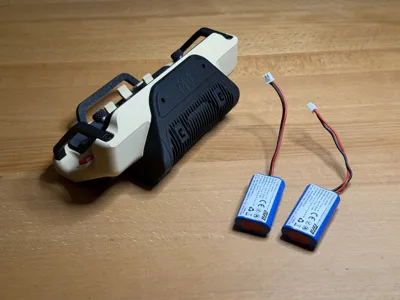
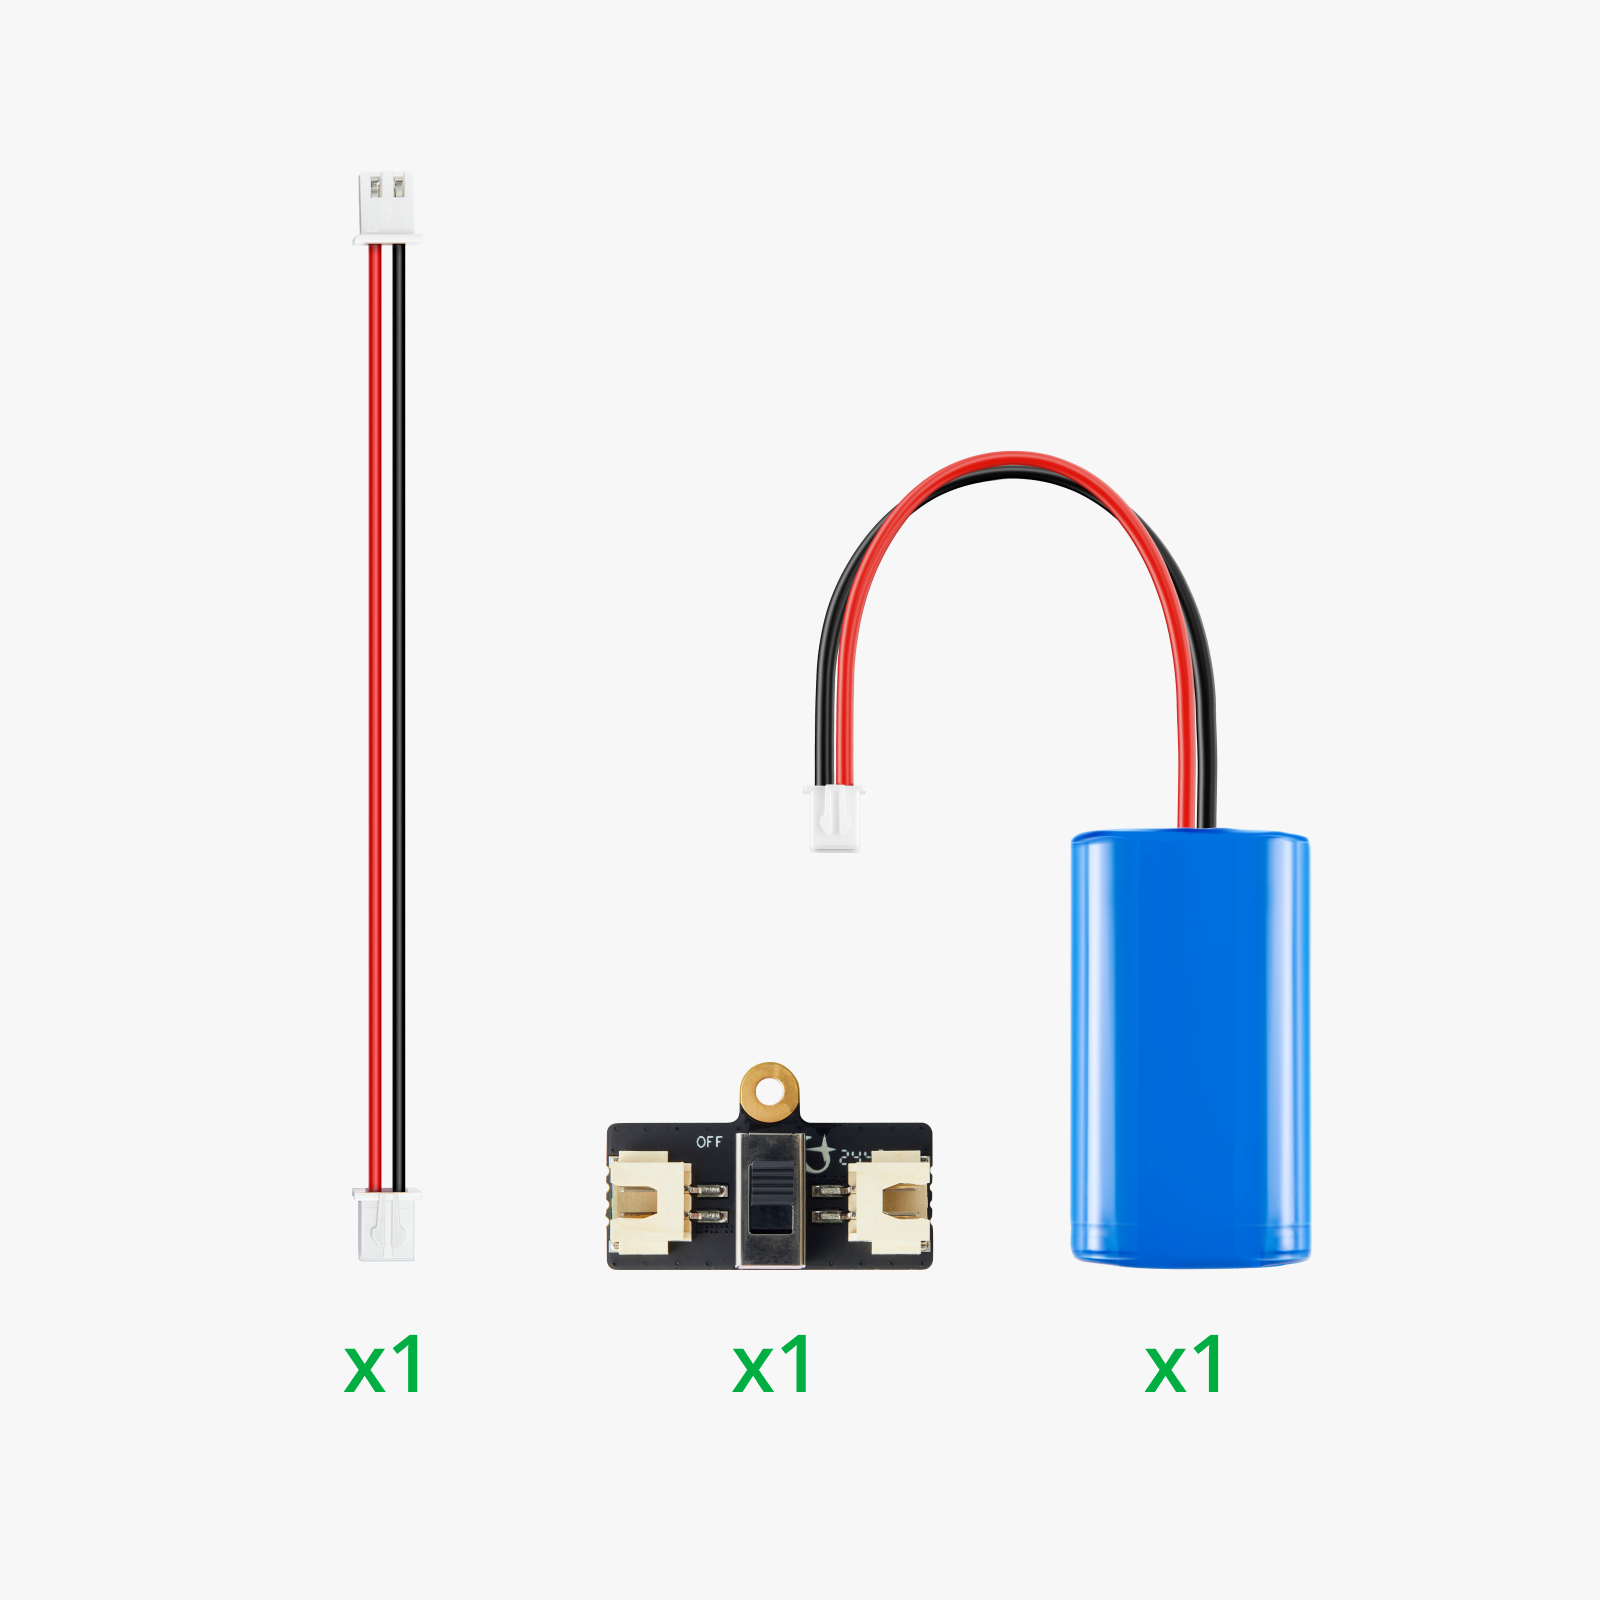
It’s much the same story with the remote control. Incidentally, I opted against the disposable battery cases included in the "Ultimate Hatdware Kit" and instead installed rechargeable batteries from the "Cyberbrick" range.
I feel that disposable batteries have no place in applications like this in 2026, and it pays for itself very quickly in terms of cost, too.
I probably spent two days working on the back section of the remote control alone.

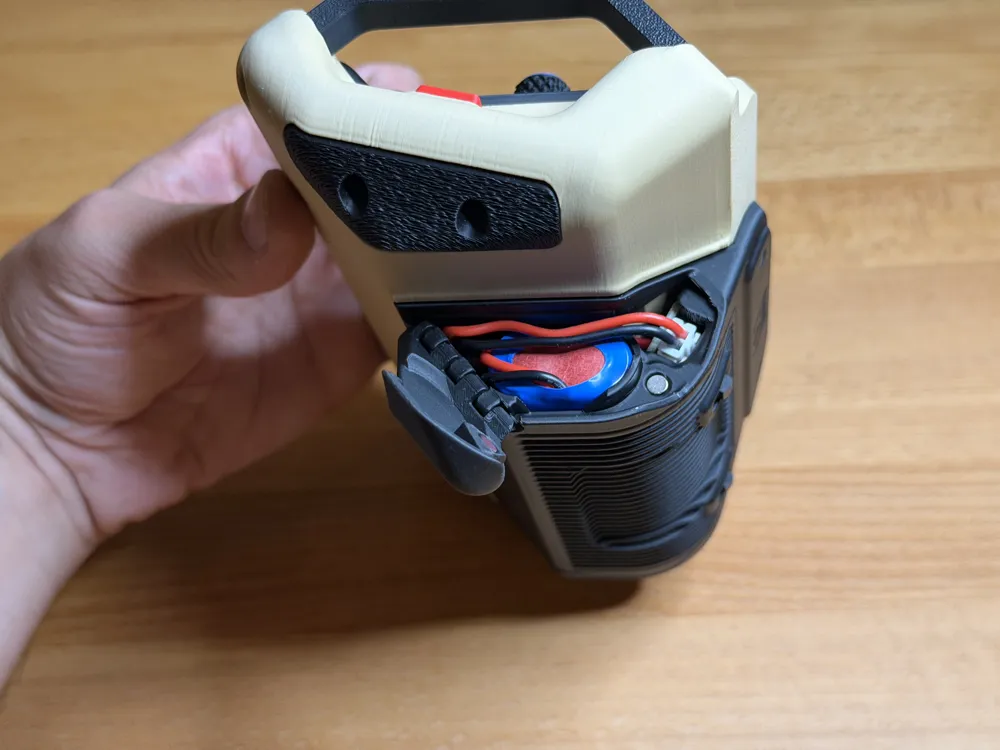
Batteries are installed on both sides, each powering a transmitter module. It, too, is printed "in place"—essentially in its closed state.
This part gives the remote control an even more industrial look, which is exactly what I’m aiming for.
If you have large hands, you might curse a bit here and there when plugging in the batteries—like I do—since it’s all pretty tight.
But with some light and a little practice, I can manage it in two seconds now.
Here are a few examples of the excavator's controls and functions:

The general lighting can be adjusted to two levels and, of course, switched off completely to save battery power.
To capture that authentic construction site feel, there is naturally a hazard warning light system,
as well as a button that sets the front LEDs to run at full power.

You only need the left stick to control the tank tracks.
With a bit of finesse - which most people will surely pick up quickly, the model handles beautifully and precisely.

There is the most to say about controlling the arm and the bucket, and consequently, there are the most controls for them.
When pushed up or down, the right main joystick functions to retract or extend the arm as a whole.
The three elements at the bottom control the individual parts of the arm independently.
The clue is that identical inputs to the transmitter cancel each other out.
This means, for example, that one of the arm segments can be "frozen" while operating the main joystick simply by engaging one of the small levers.
Here, for instance, you can see how I achieve a fairly authentic-looking "digging motion" by combining the main stick with the small left lever.
By combining the main stick and the small middle lever, for example, you can easily create a movement that allows the excavator to lift itself up. That is exactly what I do in the video when climbing onto the A1 Mini.
When I play around with the unit, I hardly ever use more than two levers at a time for the arm—that makes the whole thing relatively simple!
However, you can also make fine adjustments to the individual arm segments at any time.
I hope you now have a good idea of what to expect from this model—but feel free to reach out via the comments if anything is unclear!
The full Assembly guide can be found as a PDF in the „Assembly Guide“ section!
In conclusion, I would aslo like to say a few things about printing:


This project includes some very small parts—such as the printed dowel pins, which are only 2mm wide, used to assemble the excavator arm. It is therefore crucial that your print bed is very clean before printing this model!
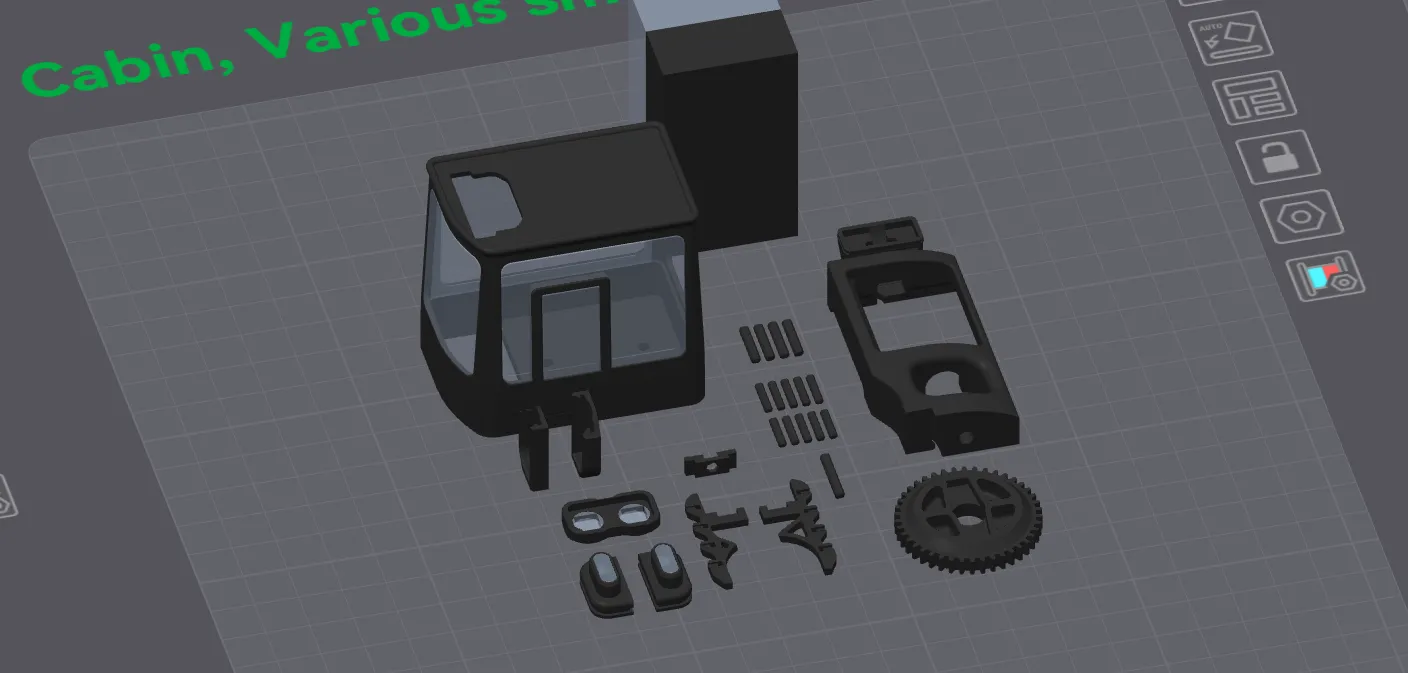
I used standard PLA for these profiles, but I am confident that most materials would perform well here, depending on your intended use for the model.
For home use, PLA is perfectly adequate. If you plan to use the excavator outdoors, you might want to use a material like ASA. However, keep in mind that you may need to scale up the parts to compensate for shrinkage.
As I mentioned earlier—and in the assembly instructions—material choice is most critical for the turntable component.
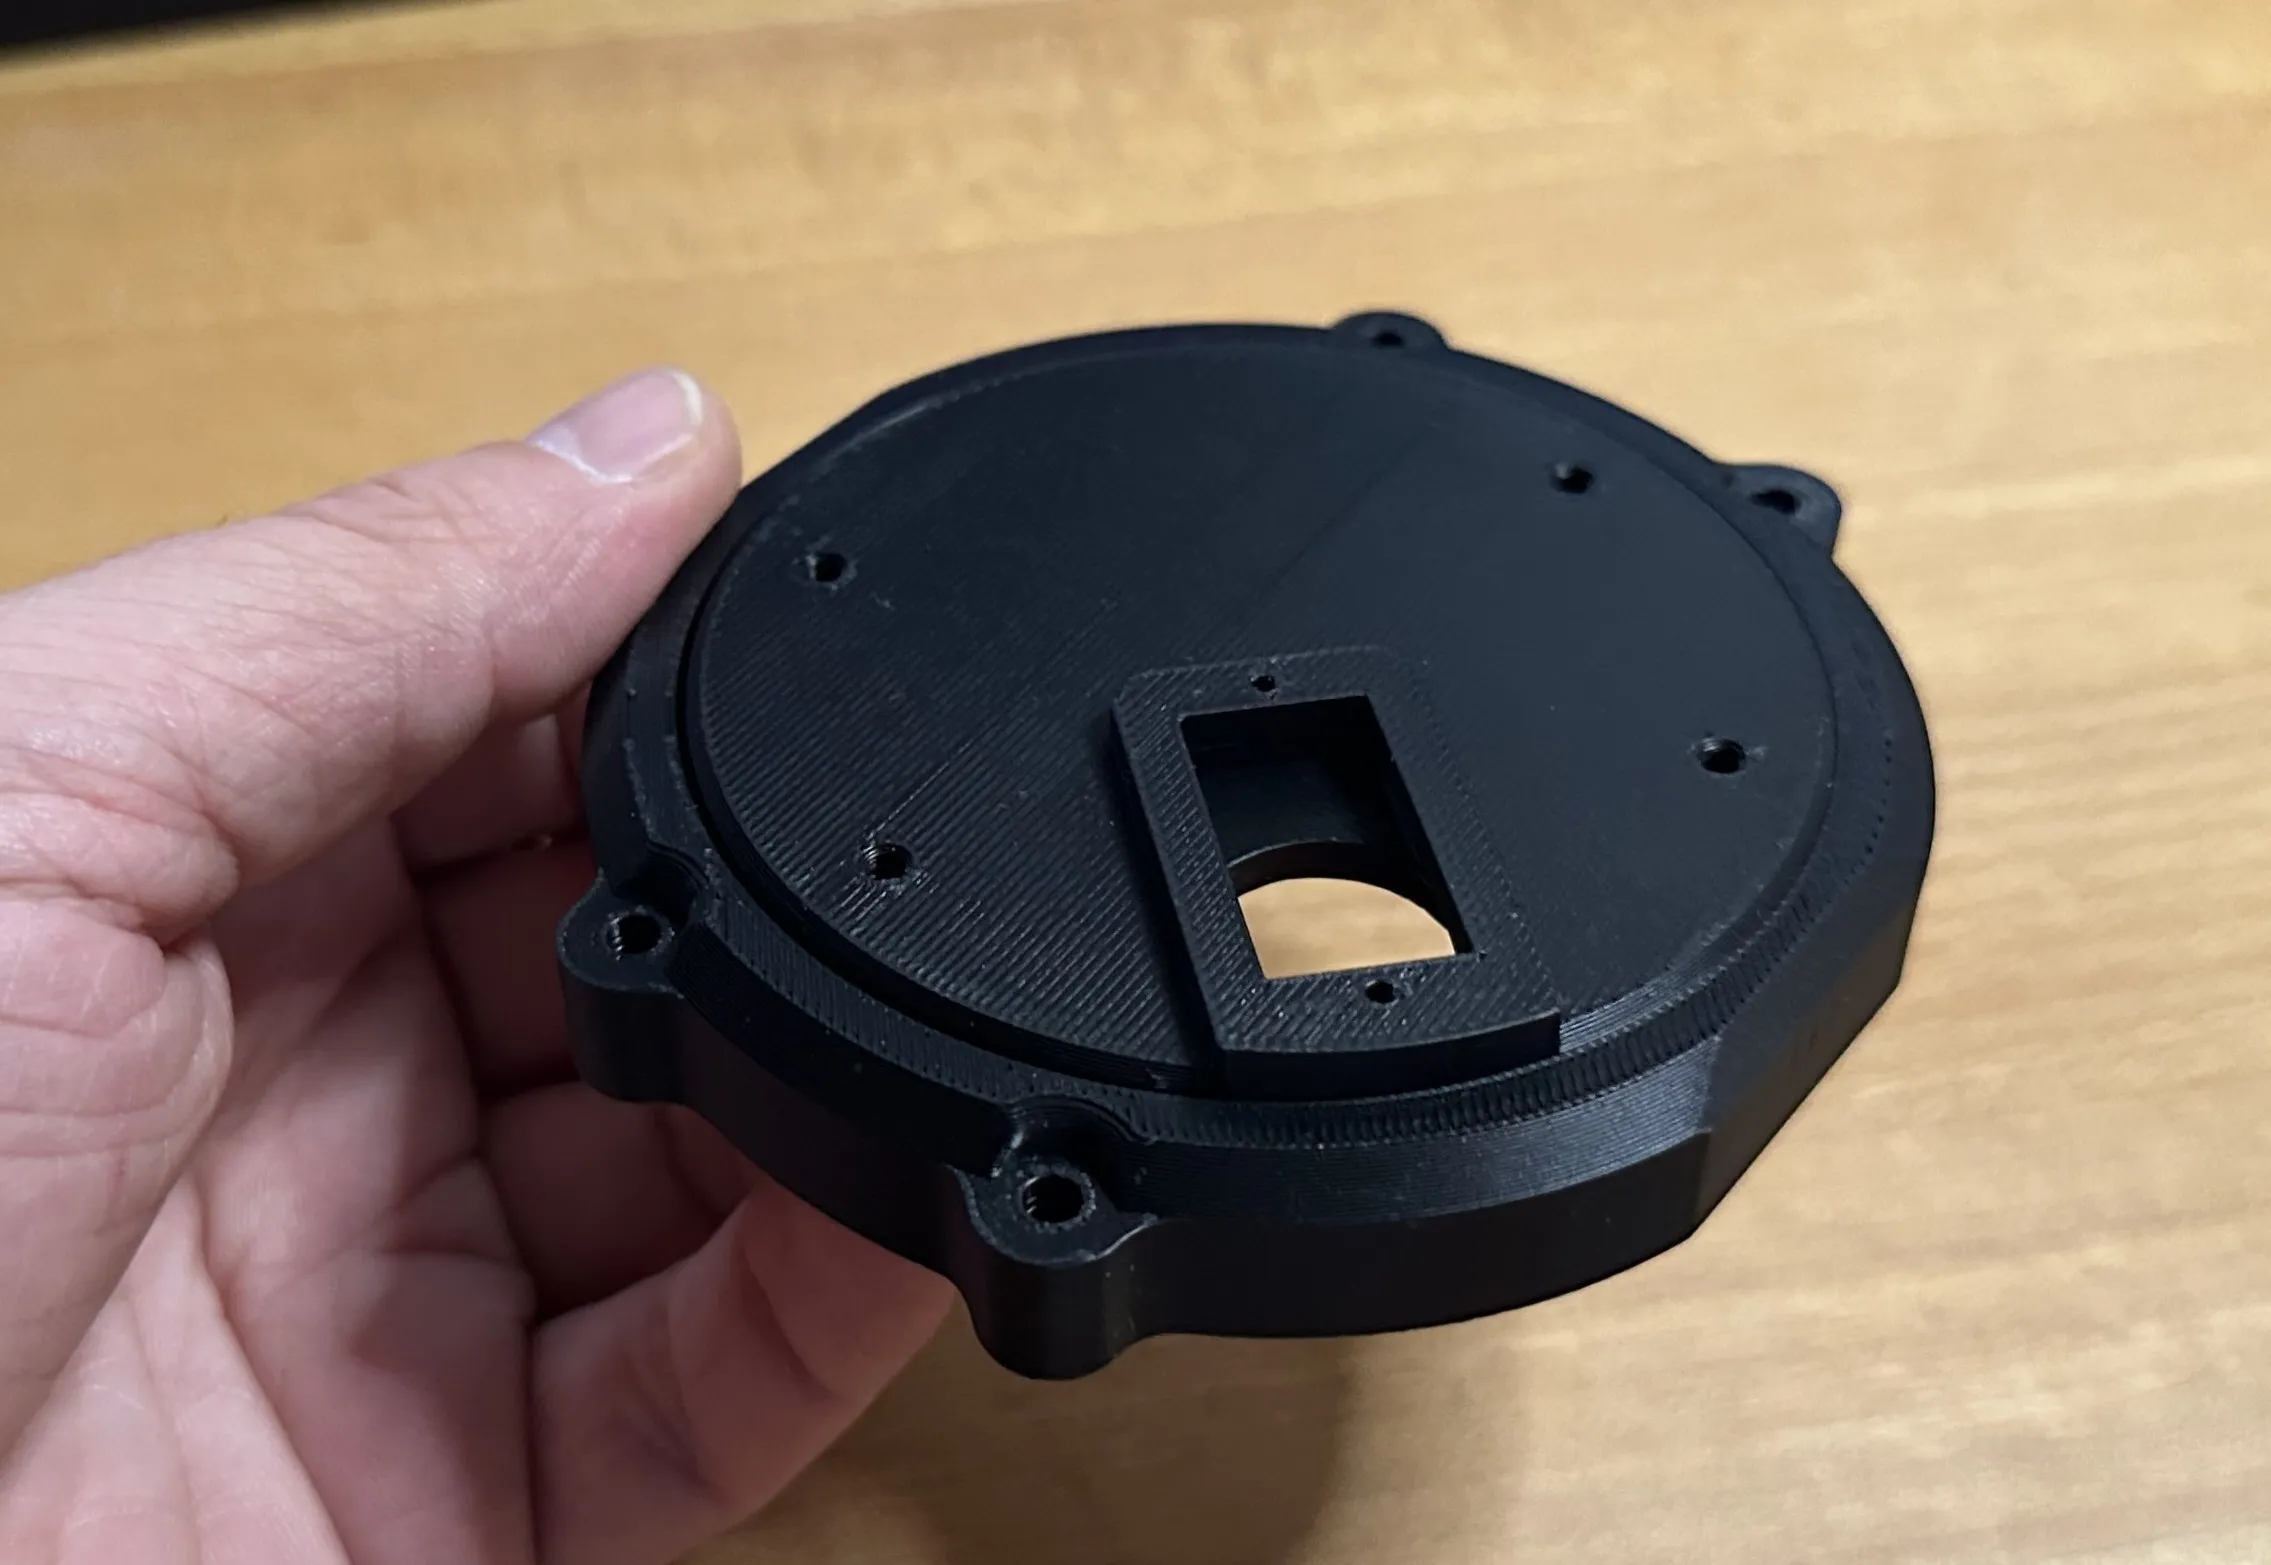
It is not necessarily about the base material itself; PLA, PETG, ABS, ASA, pure nylon, and many others would all work well. However, you should absolutely avoid printing this part using a material with a matte or rough surface finish.
So, no matte PLA, no CF/GF (carbon or glass fiber), no glow-in-the-dark, and no sparkle filaments. Basically, nothing containing particles or fibers, and nothing with a matte finish. Please make sure to heed this advice! Otherwise, the servo driving the turntable will immediately let you know that it really doesn't appreciate the increased friction!
Aside from that, I’d say this is a relatively easy model to print.
Yes, it’s a multi-color print involving quite a few color changes, but even on a single-nozzle machine,
the print time doesn't increase excessively, because it is already an extensive print anyway.
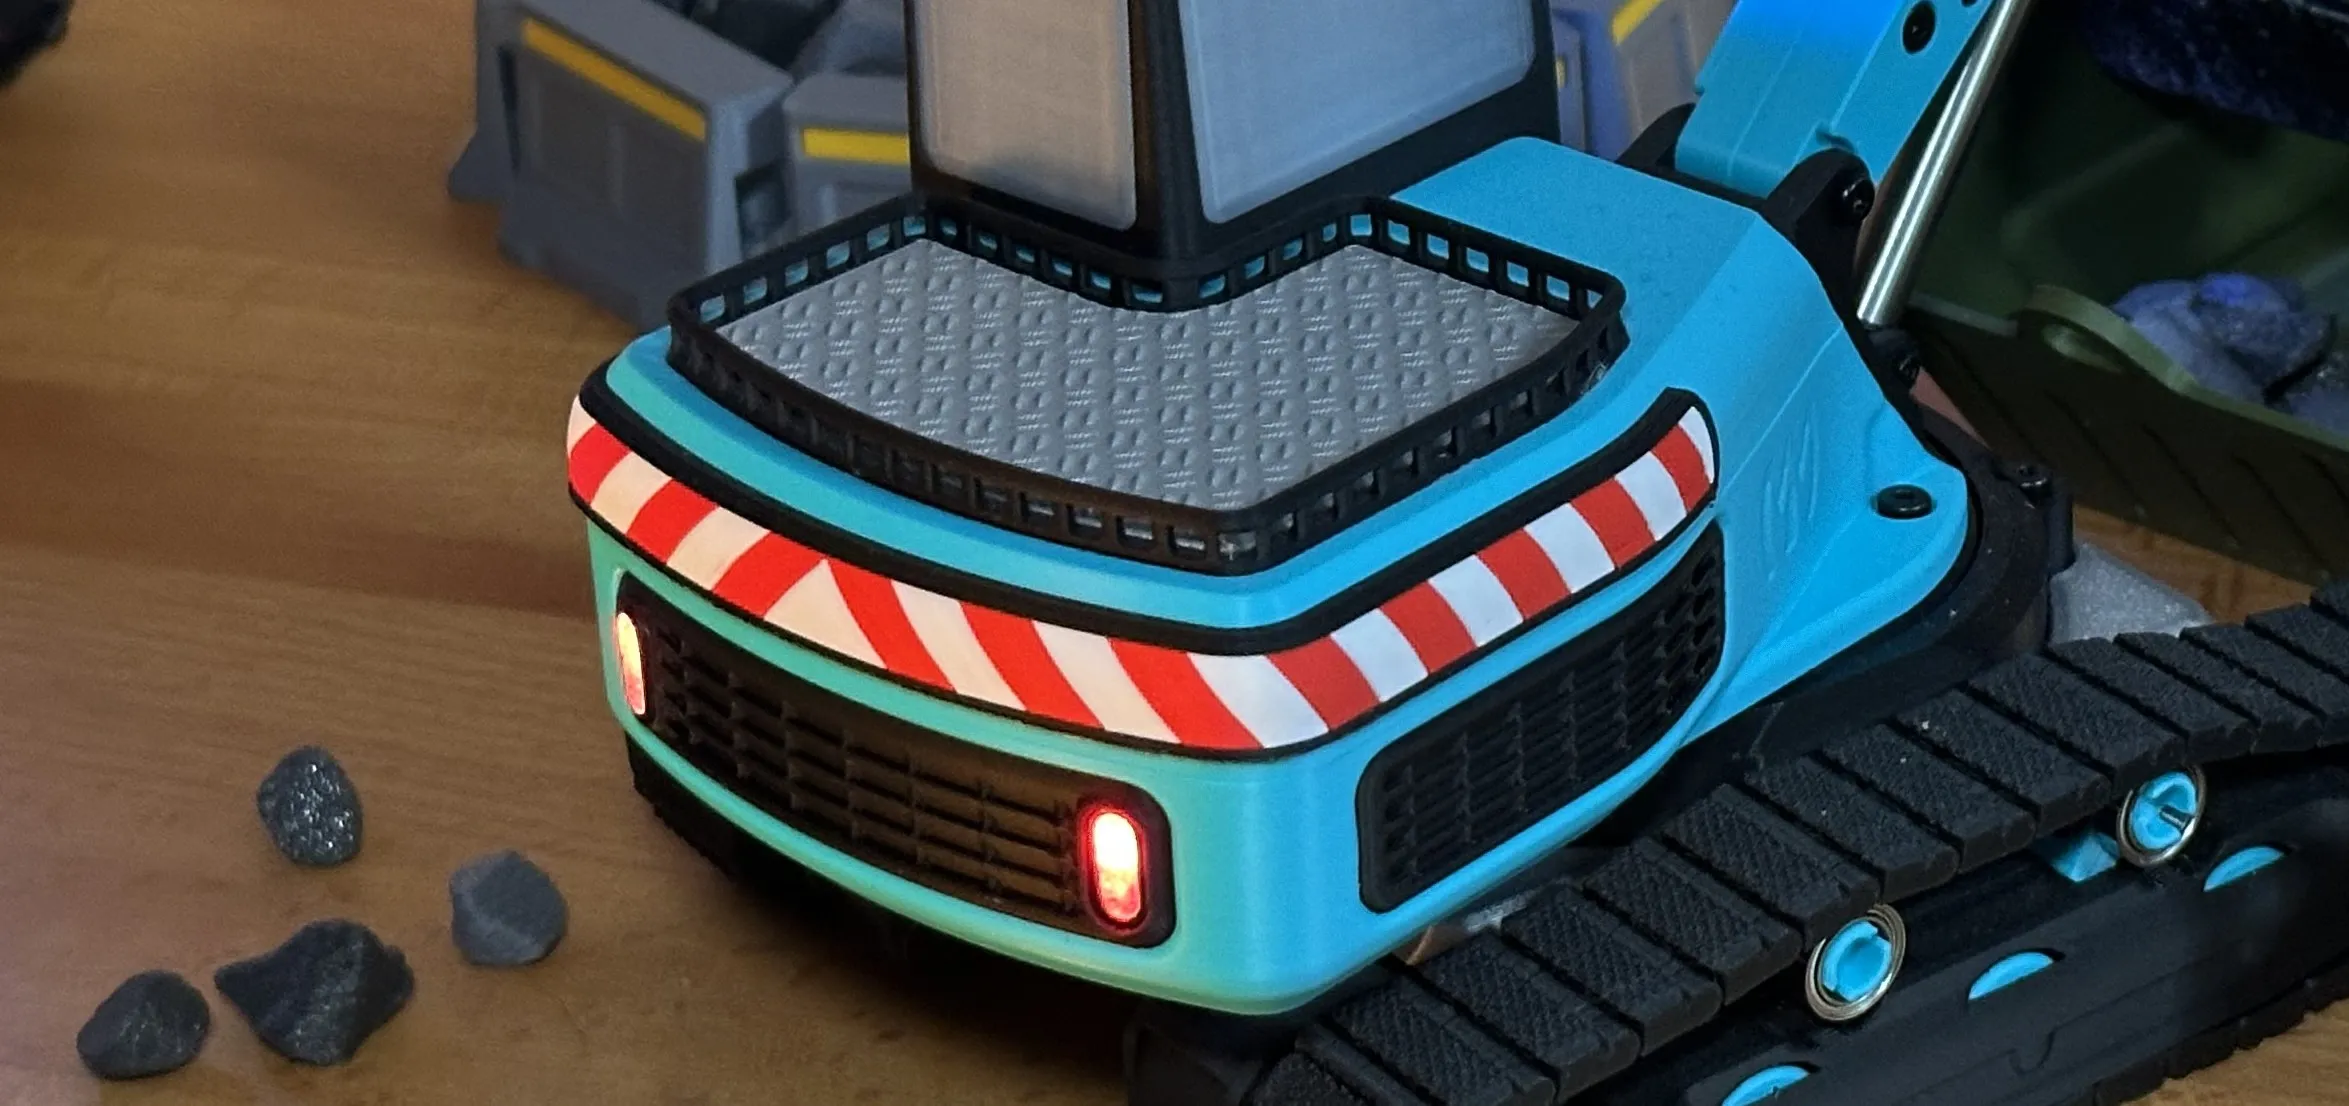
When printing the lower section of the excavator tower or the decor elelents using a single-nozzle printer,
you should either choose a color combination where the contrast in brightness isn't too extreme—unlike yellow and black—or increase
purge volumes accordingly to prevent color bleed.

Here is an example comparison image showing what can happen if insufficient material is purged during a color change,
or when two materials with high contrast are used together.
Feel free to let me know if you’d like to see a "no-AMS" profile.
However, I do think the model loses a lot of its appeal without the multi-color aspect.
The two main parts of the remote control—the housing and the faceplate—require a fair amount of support material.
That said, almost all the less-than-perfect areas will be completely hidden once the model is assembled.
I’m also considering offering a profile that uses a support interface; please let me know if there’s any interest in that.
I really enjoy using those materials myself, though I realize it’s still somewhat of a niche practice.
Be prepared to invest a fair amount of time if you want to slice this model yourself (starting from the provided STEP file). The model contains various "print-in-place" objects that first need to be isolated using the "Split to Parts" function, and so on. Therefore, if you wish to make any modifications, I recommend using my 3MF files as a starting point.This project includes some very small parts—such as the printed dowel pins, which are only 2mm wide, used to assemble the excavator arm. It is therefore crucial that your print bed is very clean before printing this model!
I hope you like the project and have fun building and playing with it.
Feel free to let me know if you’d like to see more Cyberbrick projects.
However, my main focus—printer accessories—will remain, so don't worry :)
Kind regards,
Simon, Made In Meidling
I
Documentation (1)
CyberBrick Files (2)
FAQ
License

You shall not share, sub-license, sell, rent, host, transfer, or distribute in any way the digital or 3D printed versions of this object, nor any other derivative work of this object in its digital or physical format (including - but not limited to - remixes of this object, and hosting on other digital platforms). The objects may not be used without permission in any way whatsoever in which you charge money, or collect fees.


Comment & Rating (12)