
UPGRADE Improvement for EduColon Capsule Vending Machine
Print Profile(2)
Description
Hello to all who have printed or want to print the EduColon Capsule Vending Machine,
(by the way, you can find the window parts here: https://makerworld.com/de/models/3020347-3d-window-parts-for-the-educolon-vending-machine#profileId-3393353 )
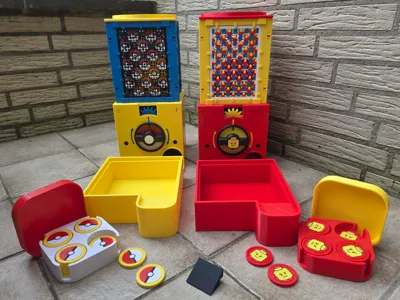
My upgrade is suitable for: https://makerworld.com/de/models/1646388-remixed-full-vending-machine-200-scale#profileId-1740186
by Naddou
by Amenthyst3D.
I also happily printed it and quickly realized that a few improvements were needed to expand the functional area, extend material durability, and allow more coins to be inserted.
First, I noticed that the internal compartment that collects the coins has a very small volume. The coins themselves are quite bulky and large, almost 5cm in diameter and 6mm thick.
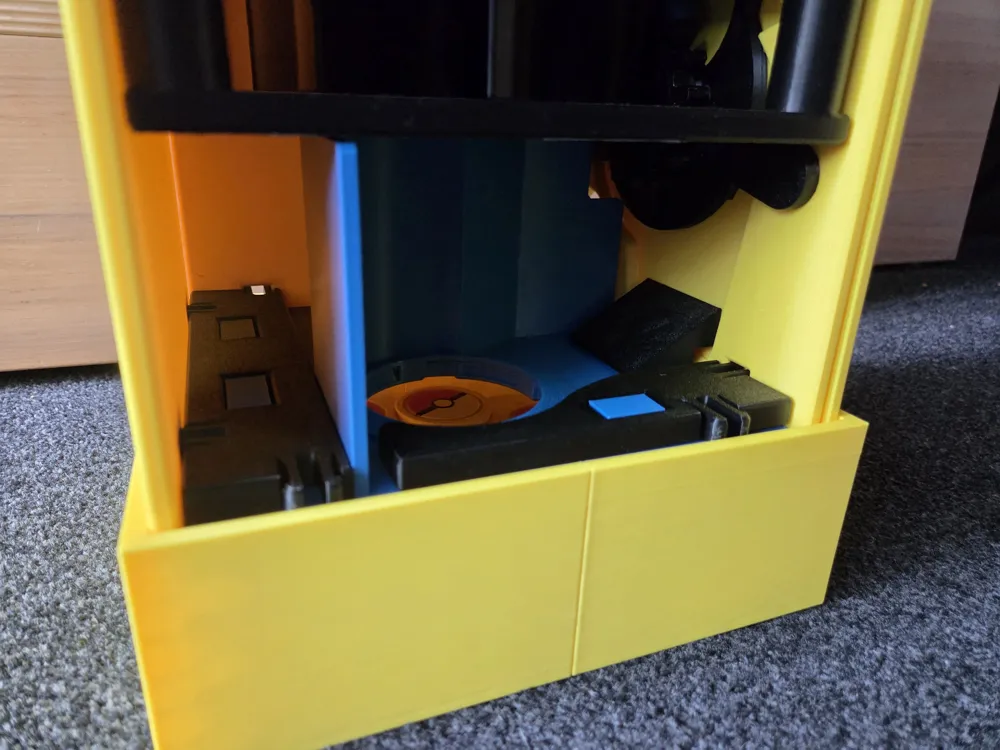
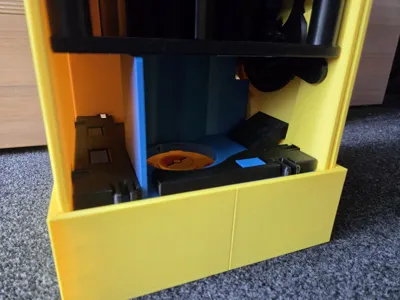

So it almost always happened that after about 5 coin insertions, the coin exit was blocked. The coin then simply got stuck at the bottom, and either the rotating wheel jammed, or the coin got stuck and just spun freely, going around again.
This is what it looked like:
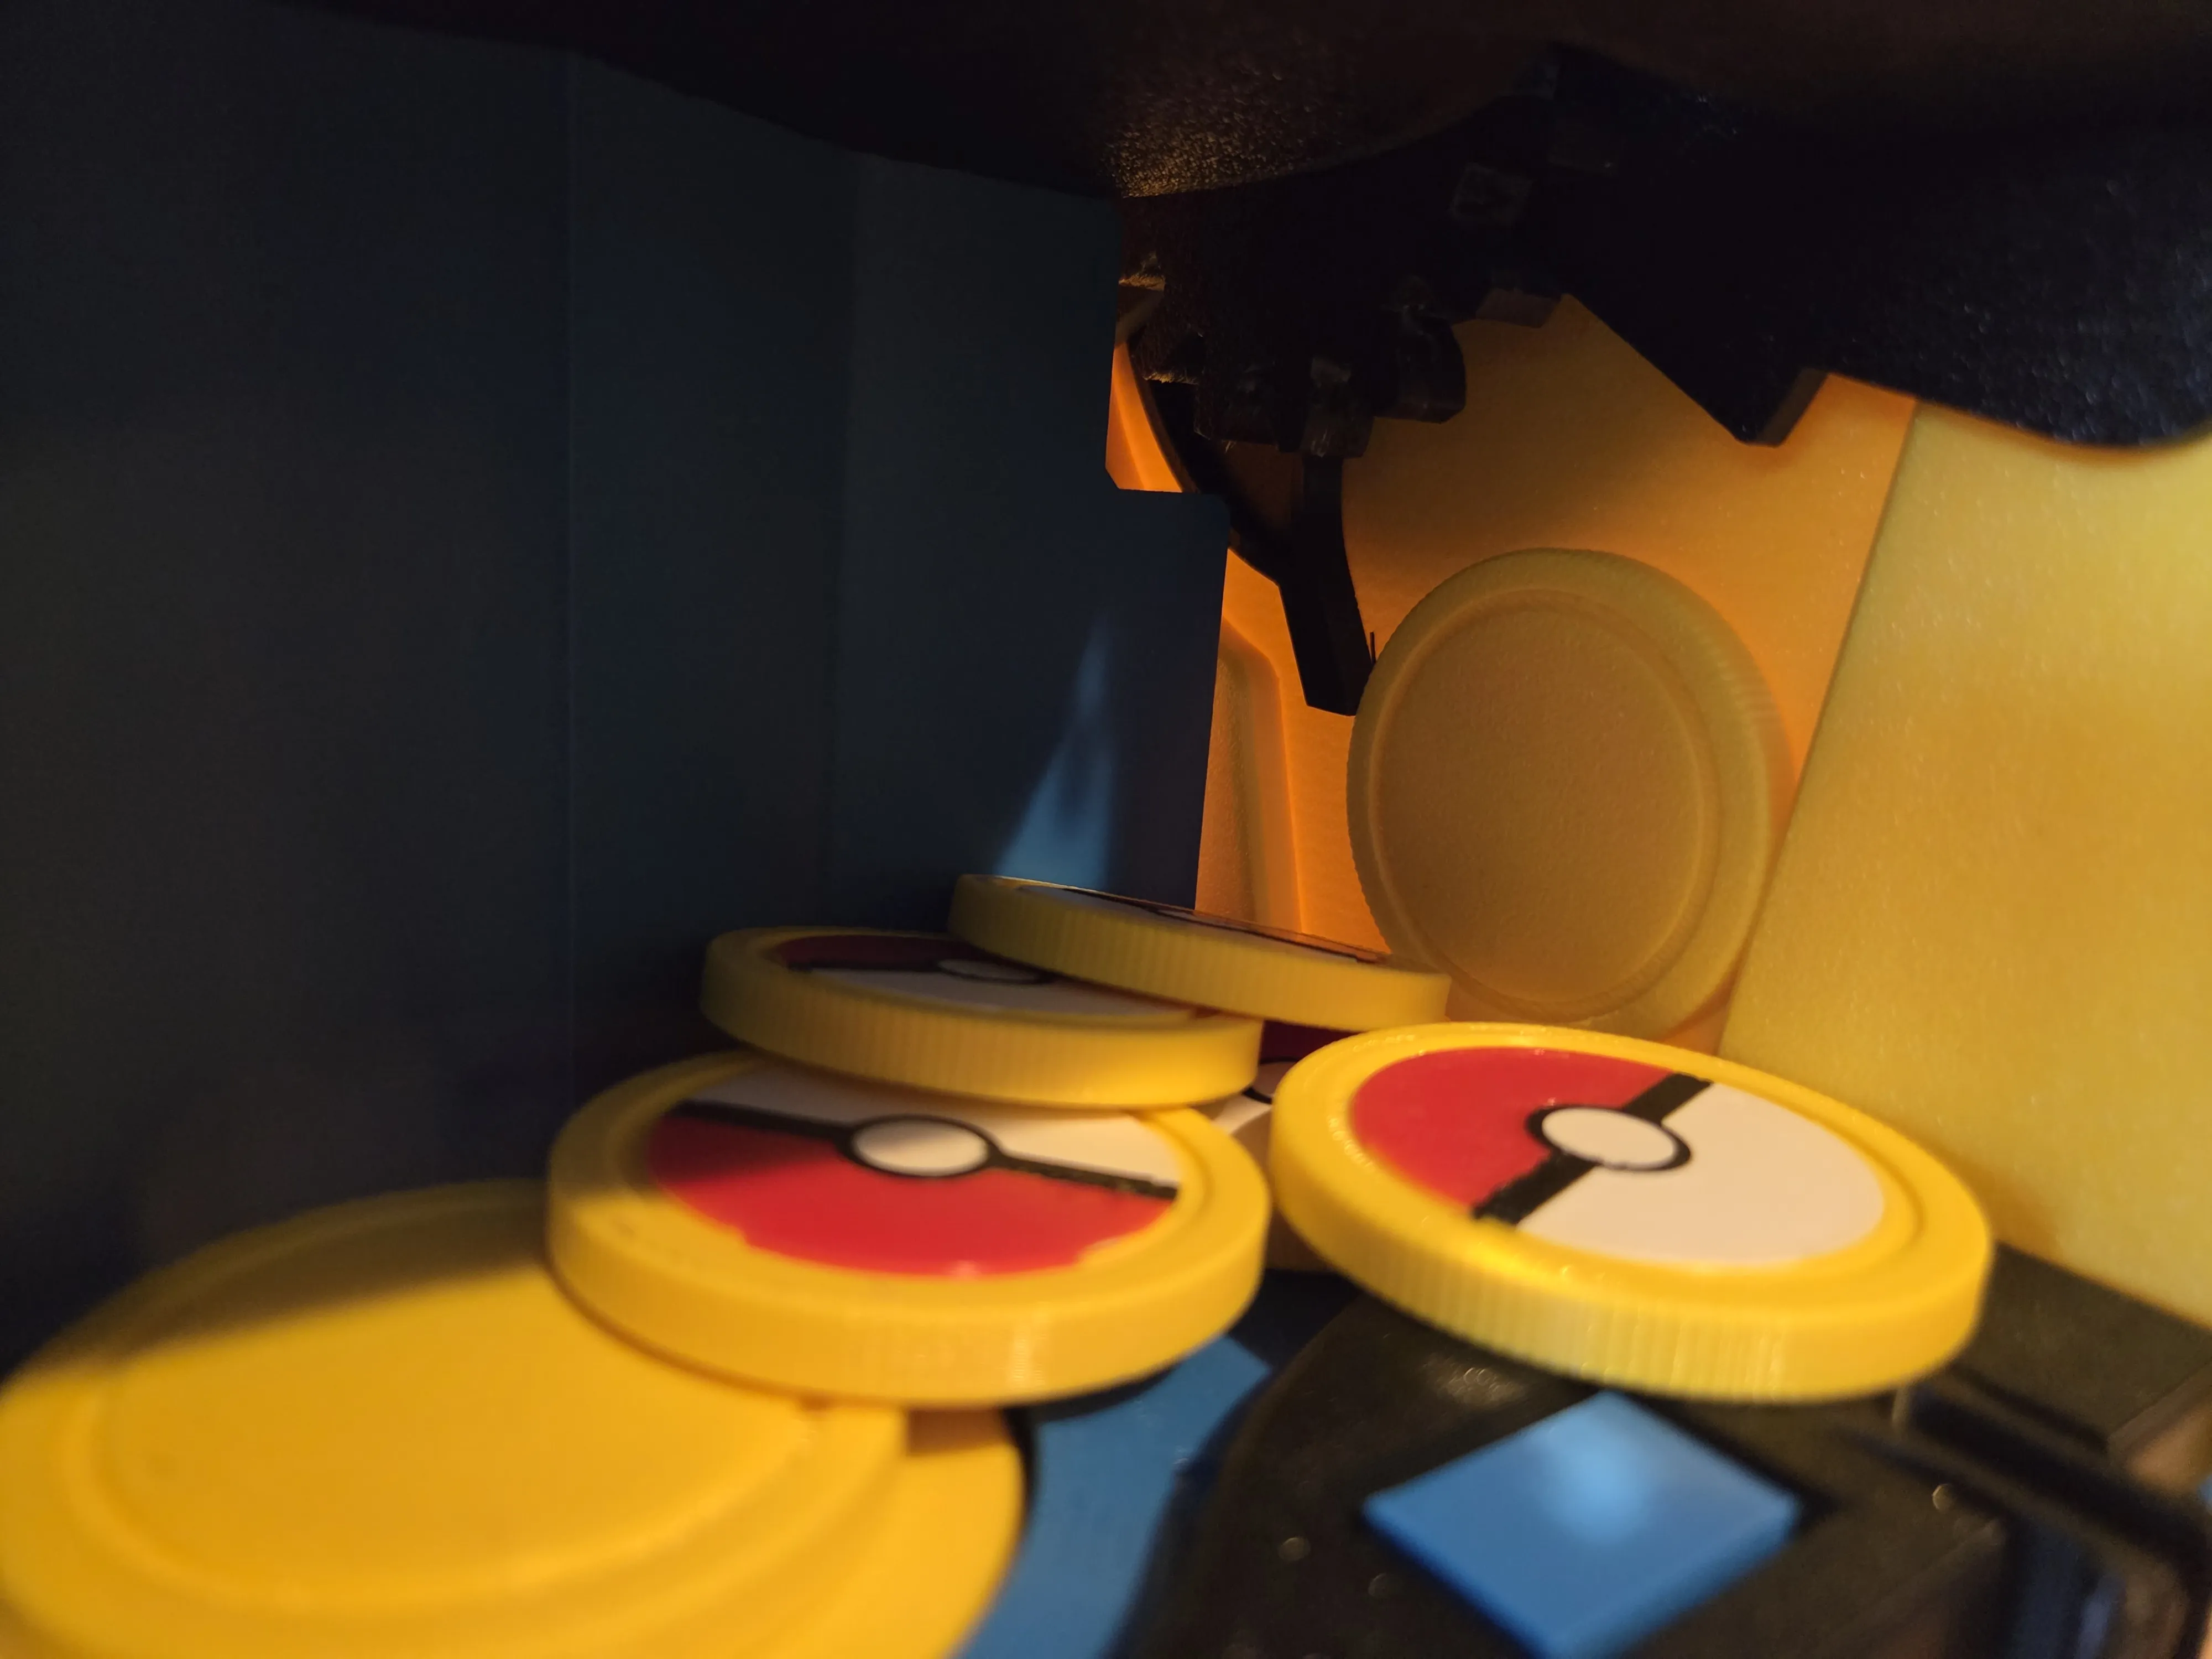
A very unfavorable situation, especially since I printed it for children and the turning mechanism must always be smooth. If you continue to force it, the mechanism controlled by the rotating wheel breaks, and you have to painstakingly disassemble the machine and replace the part.
The other option, if the coin spins multiple times within the mechanism, is also annoying, because every child wants to experience the joy of inserting their own coin.
Aside from that, I also found it annoying that I could effectively fill about 20-25 balls (5cm) into the ball container (with more, it doesn't mix and move as well) but could only insert about 5 coins before the system would jam. I didn't want to shake or empty it every 5 coins. That's no fun.
So I opened the machine again and thought about how I could improve it. Then I sat down at Fusion 360 and started to turn my thoughts into a solid body.
My upgrade reliably solves these problems and includes:
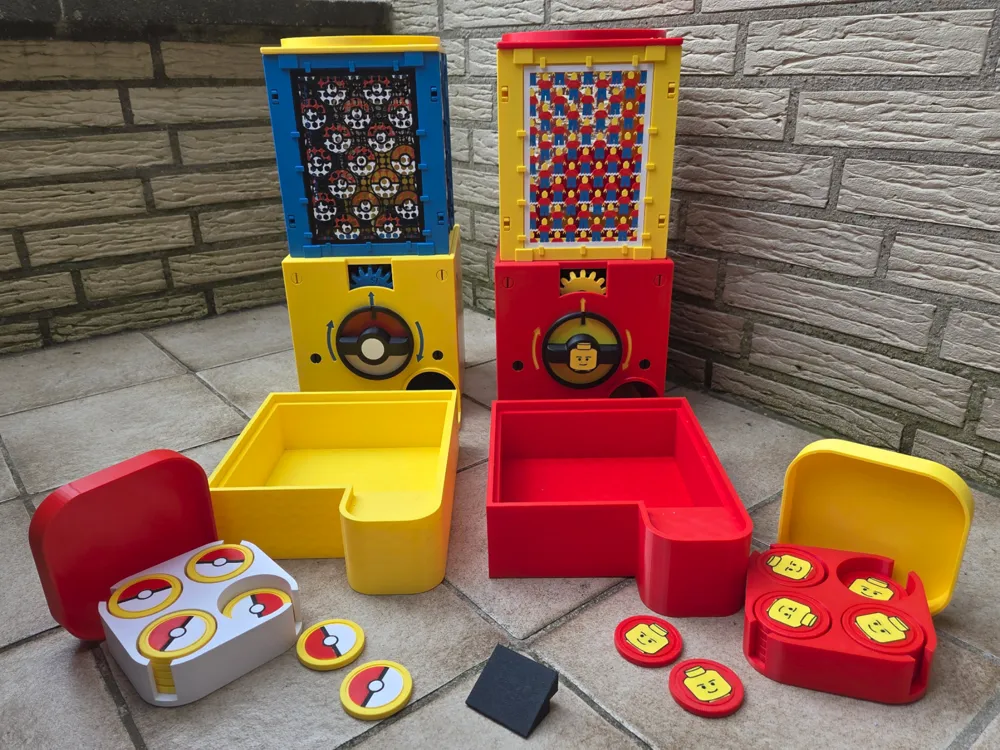
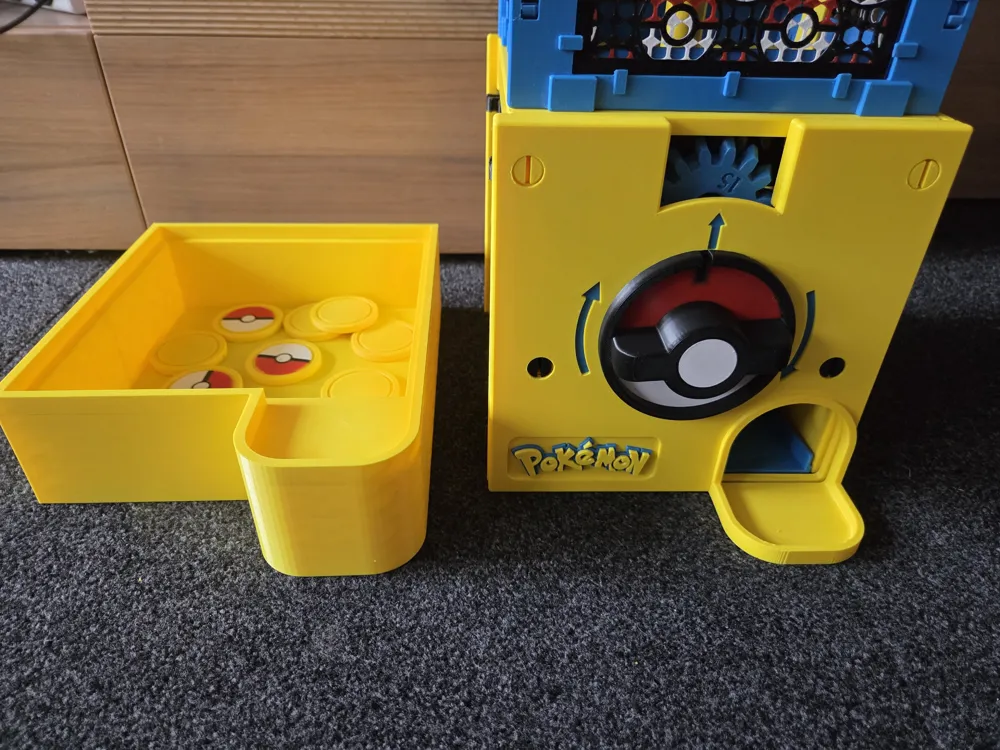
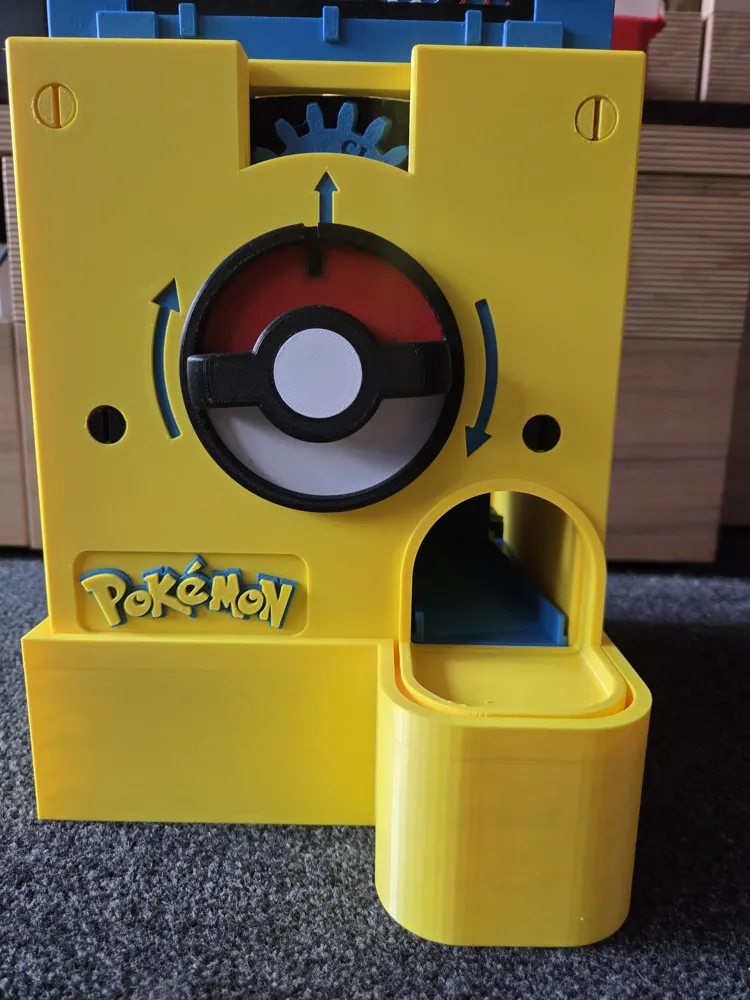
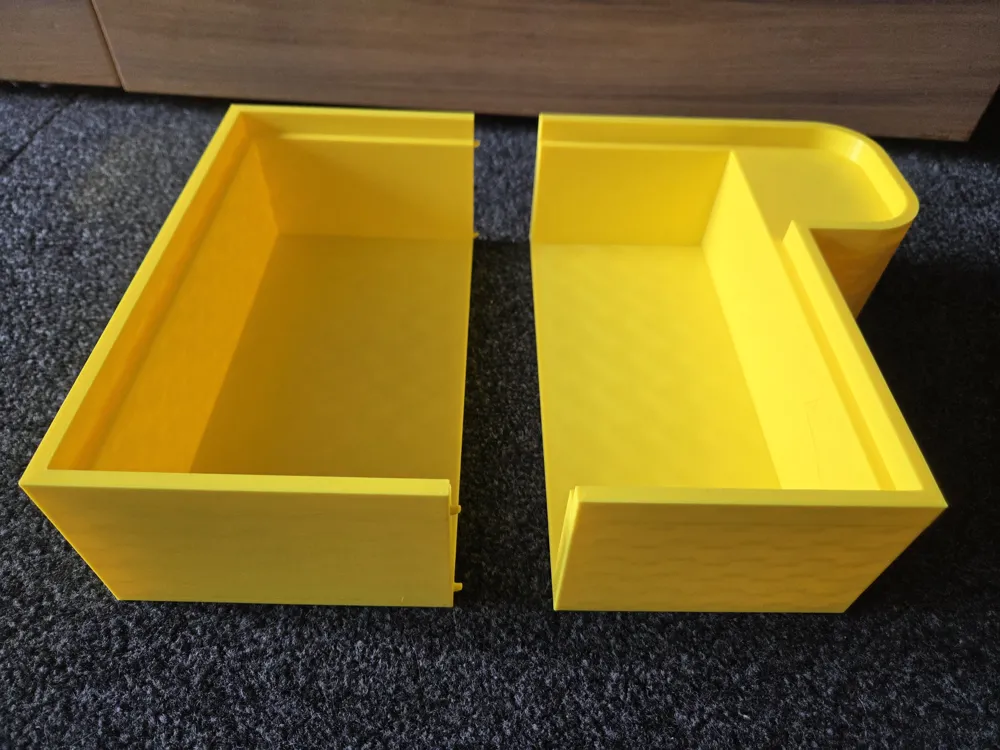
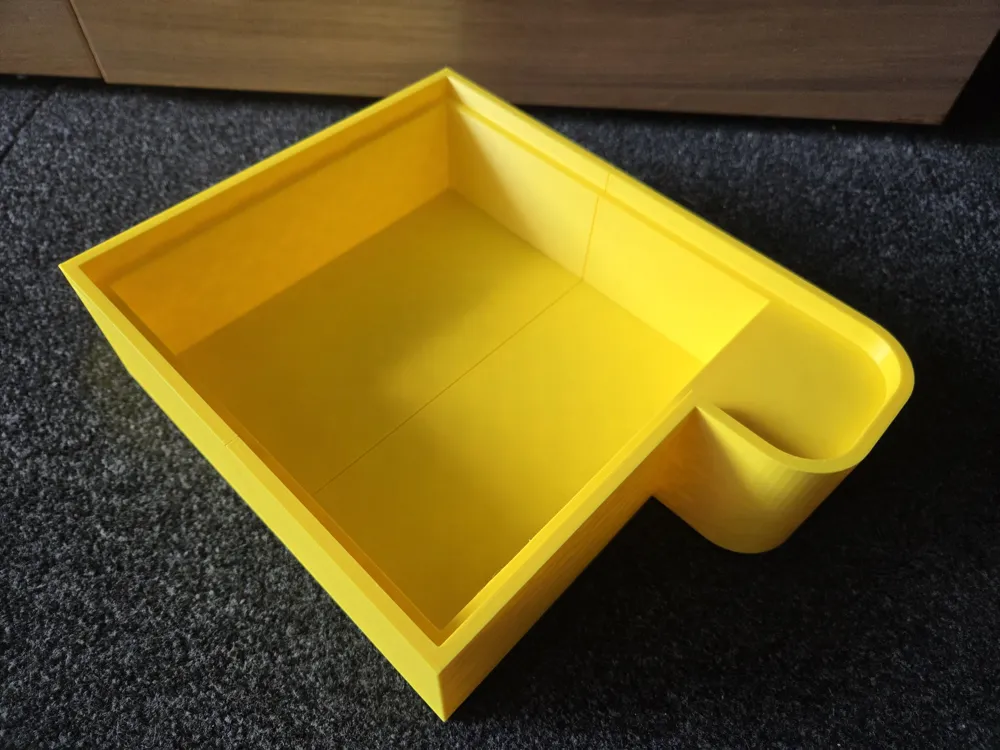

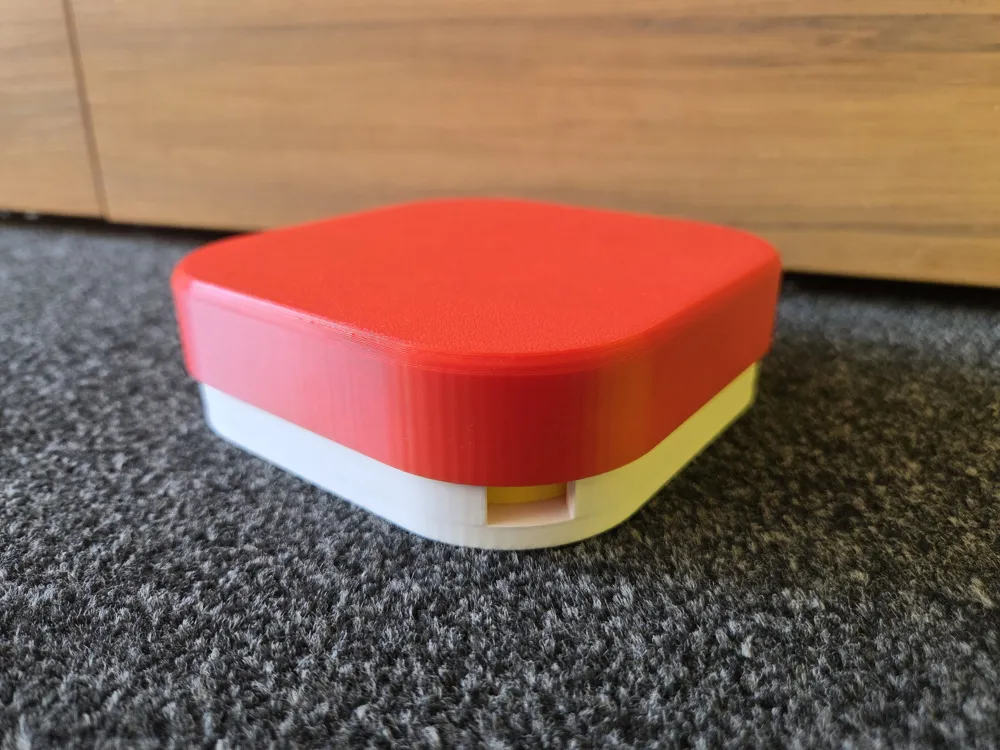
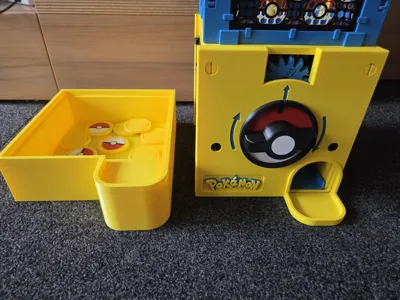
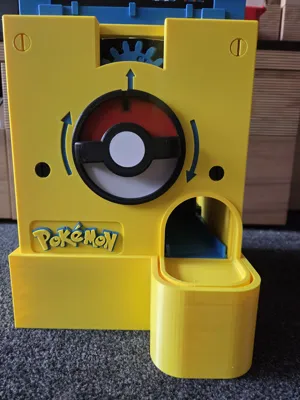
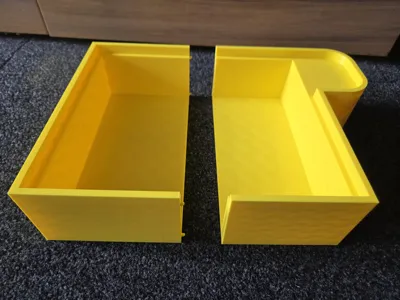
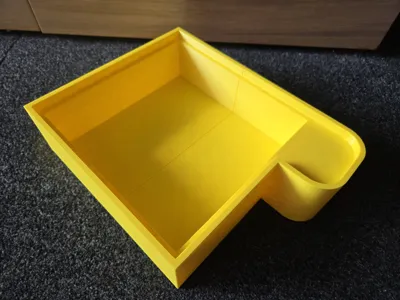
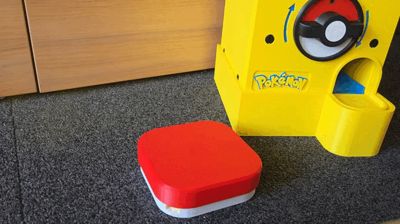
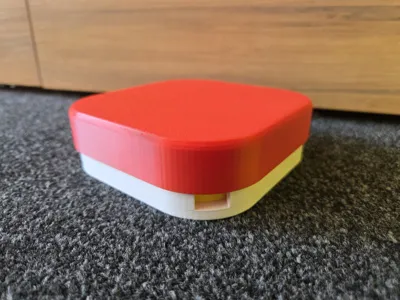

1) A larger coin collection tray as a base. The finished printed machine can simply be placed on top of this additional compartment. The lid at the bottom of the machine must be opened; it is not needed for this base and can be set aside. In conjunction with the larger chute from 2), the coins fall directly through the hole into the large collection tray, like a drain. This way, an infinite number of coins can be collected; the volume is huge.
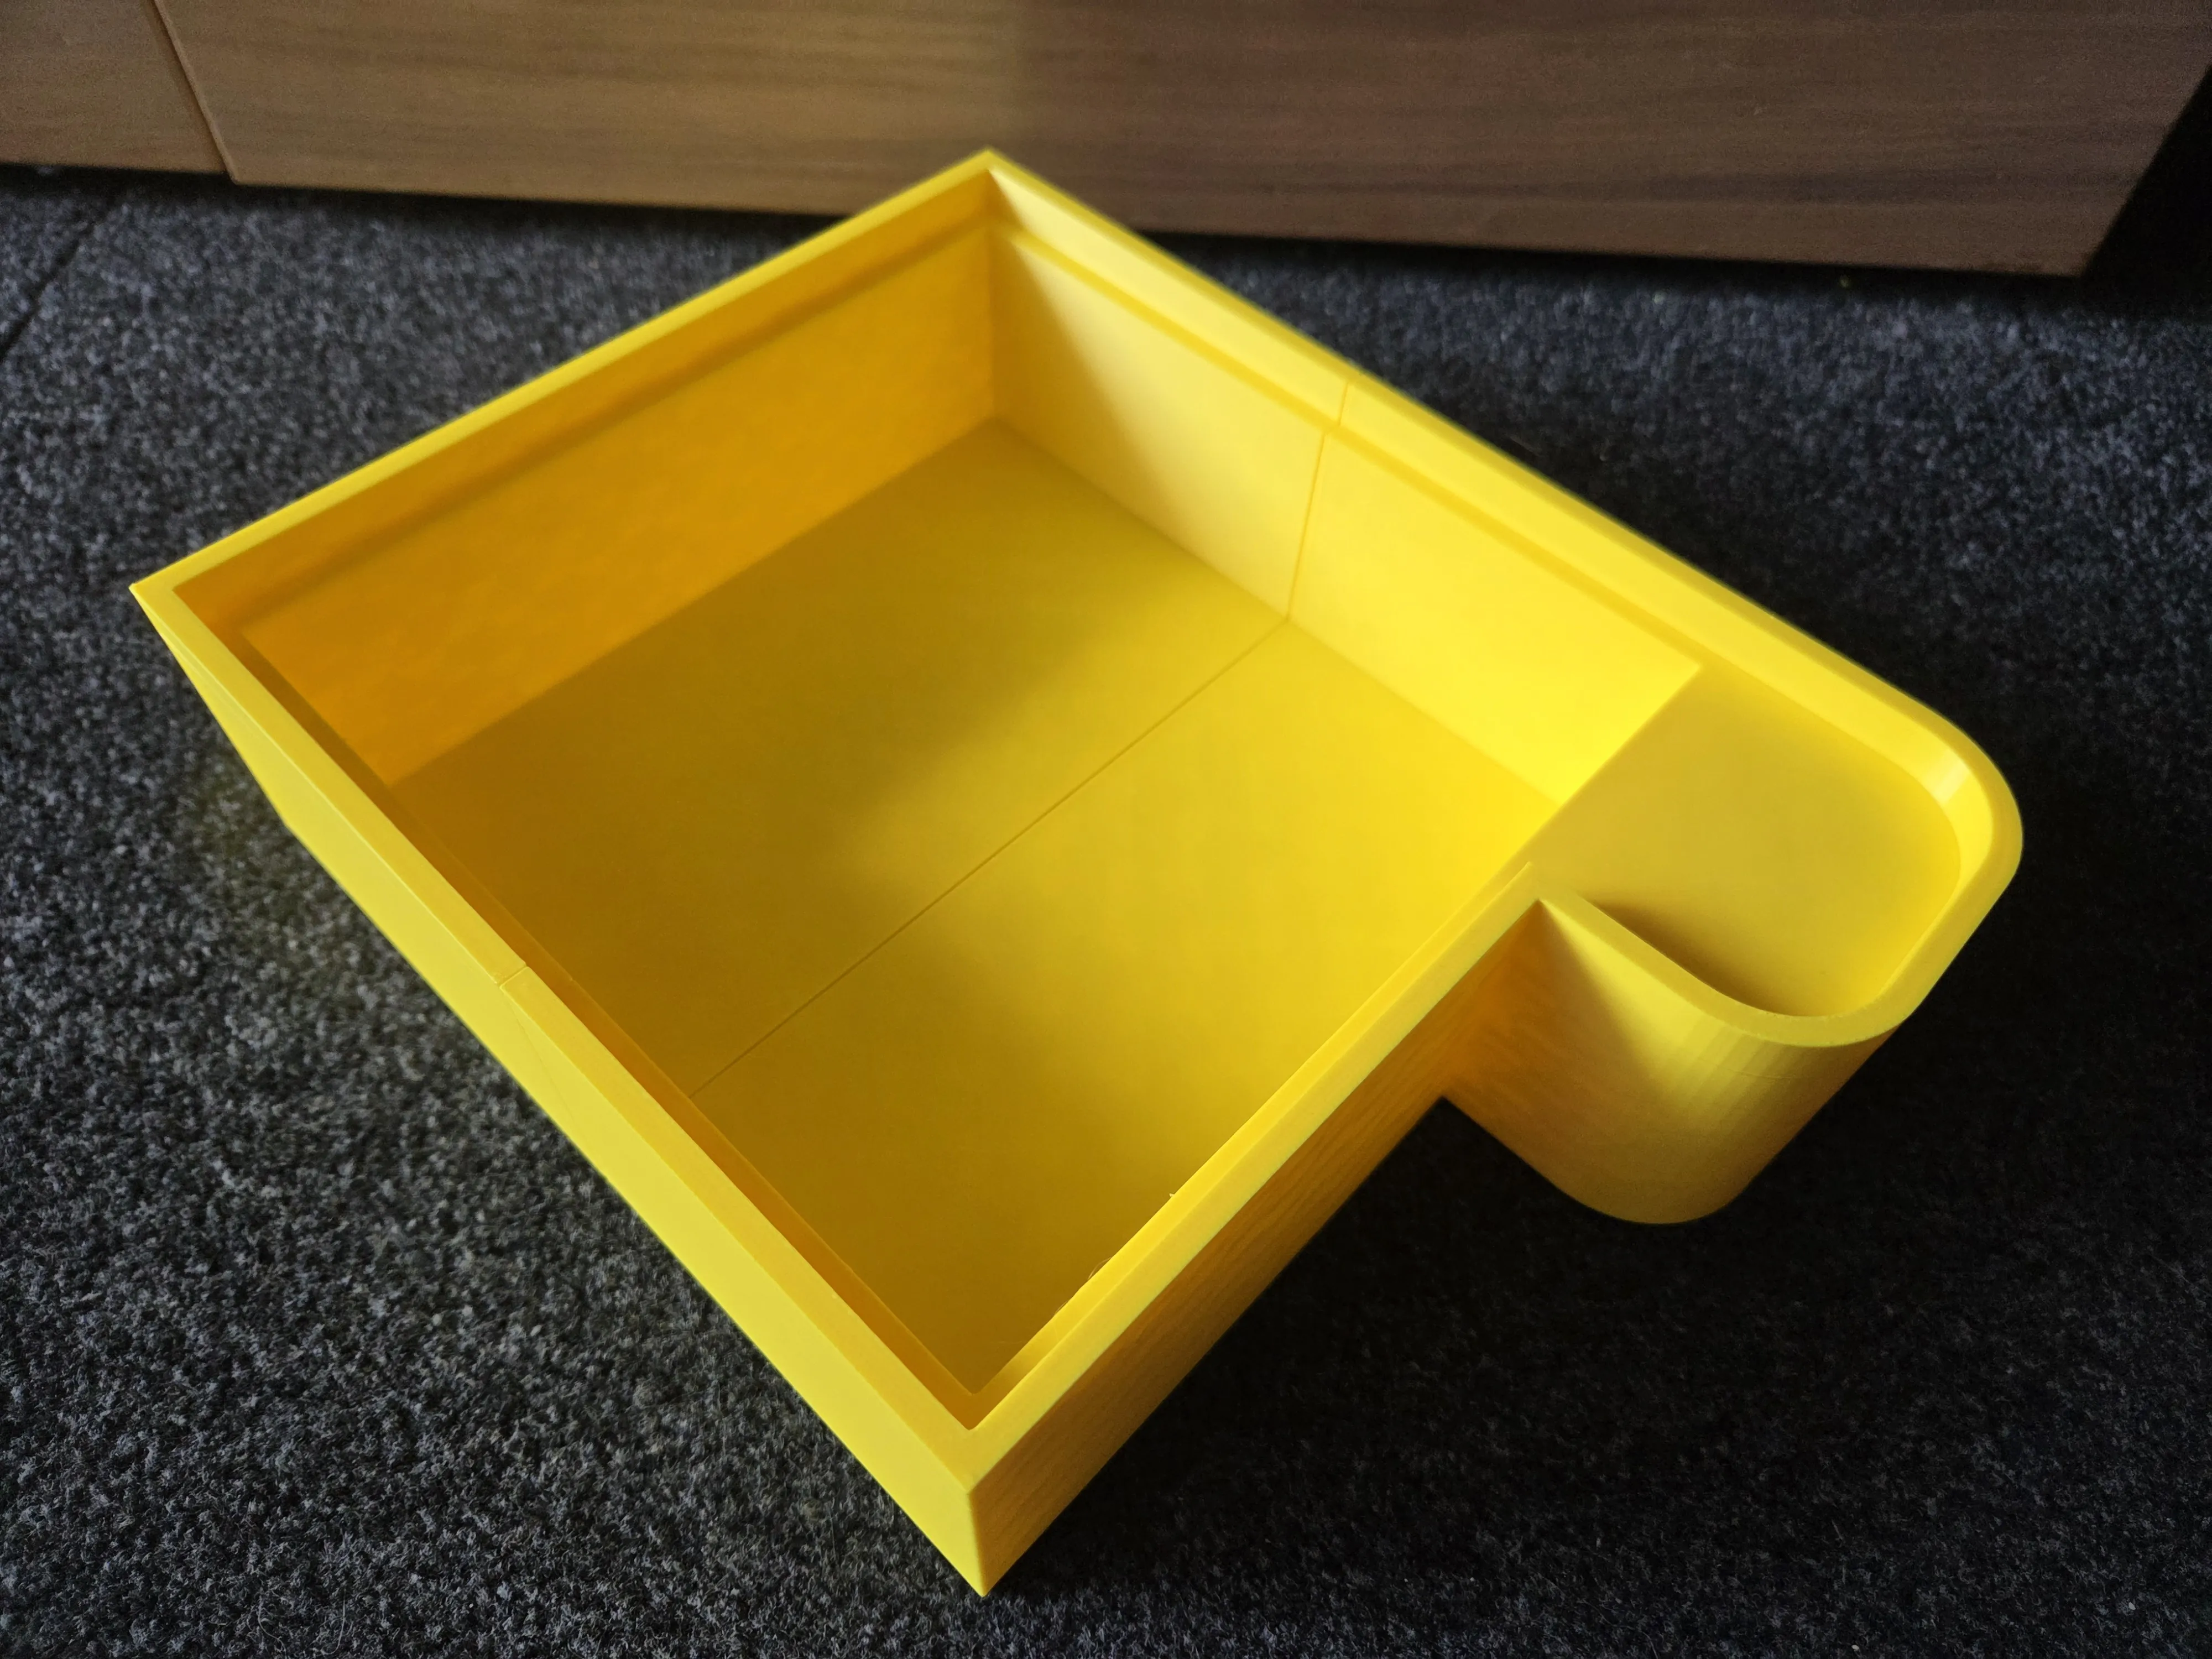

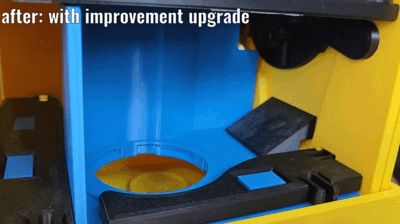
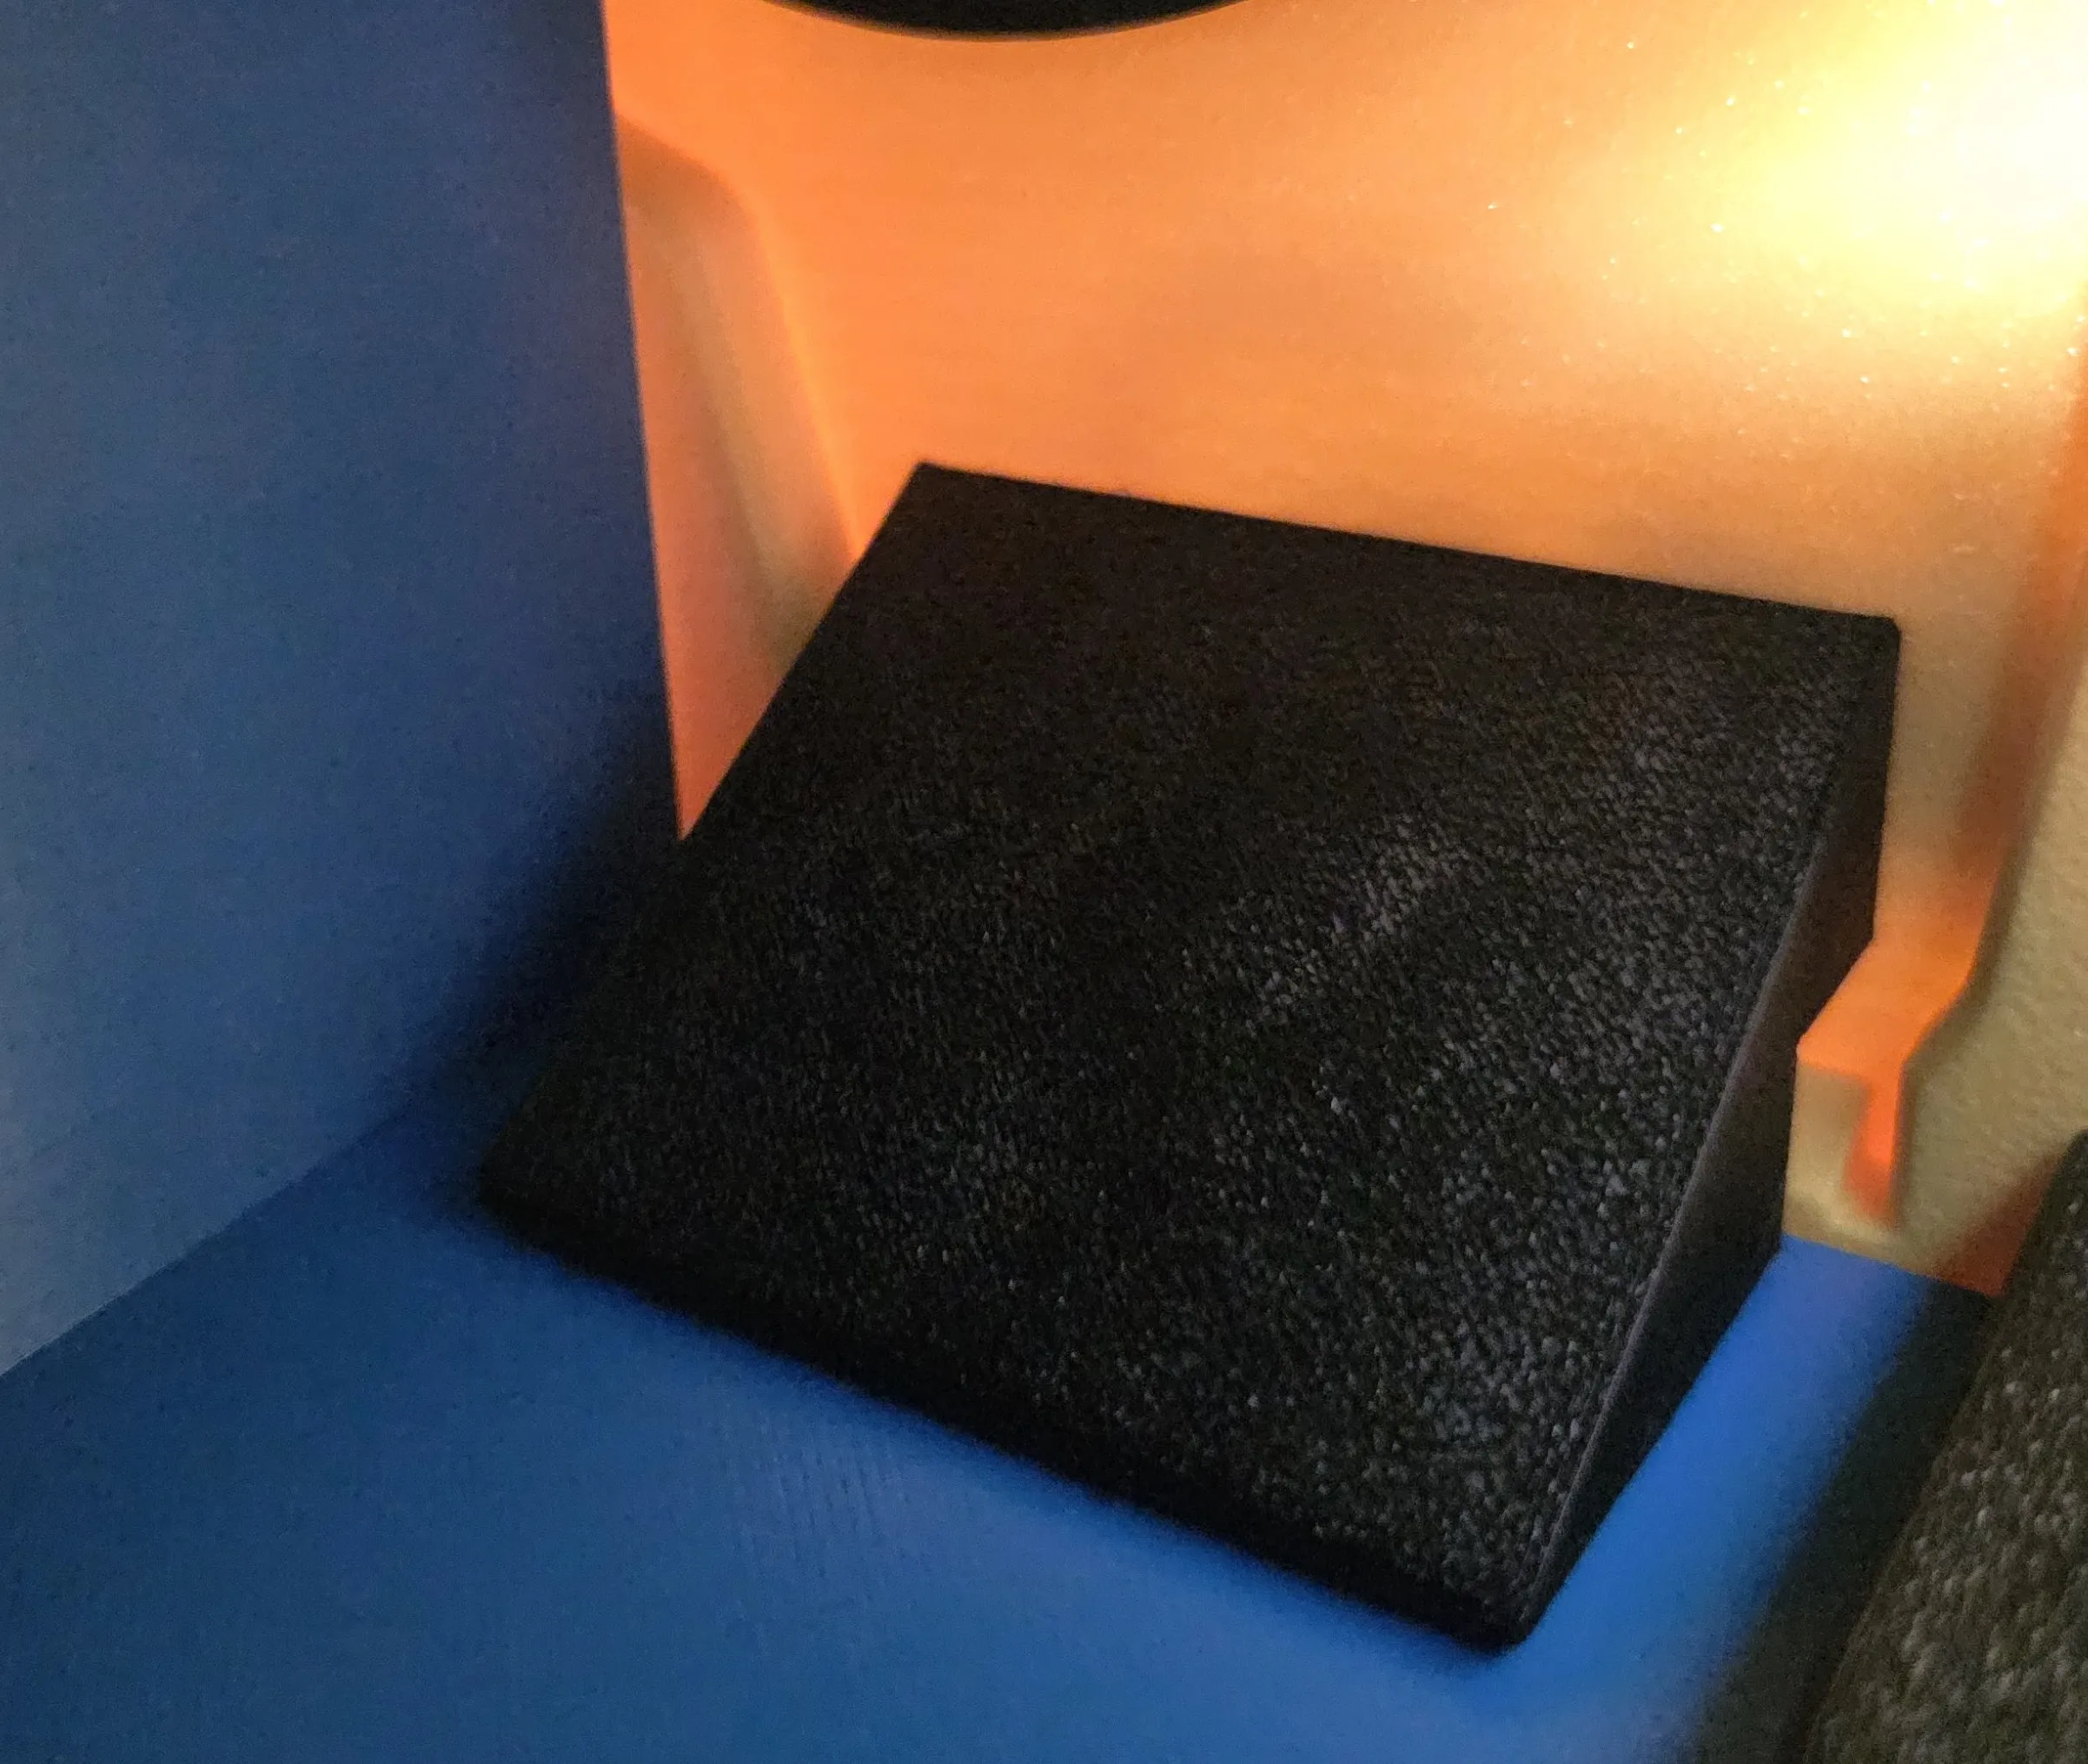
2) A larger chute for subsequent gluing (double-sided tape is sufficient, or superglue) which ensures a reliable and swift exit of the coins and protects the exit from getting stuck. The coins no longer pile up at the exit but gain more momentum to disappear further back directly through the opening in the bottom and be caught by the collection tray from 1). The chute will not be visible from the outside later, so the color is unimportant.
It is only important that you position the wedge seamlessly against the wall; it is fine if some pressure or resistance is built up against the wall.
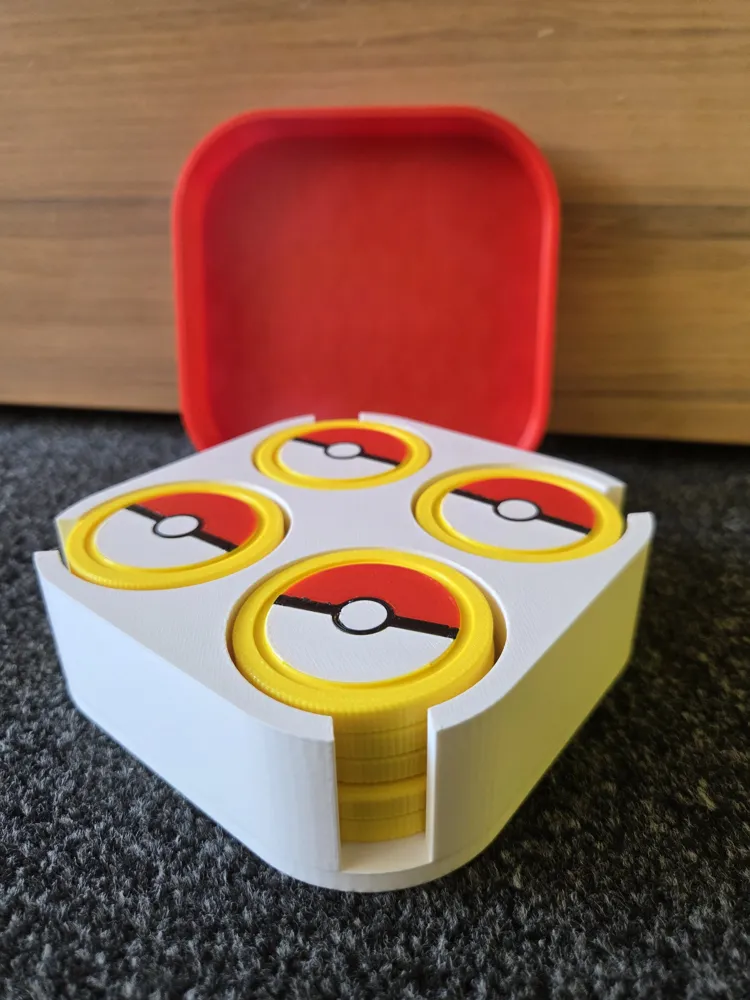
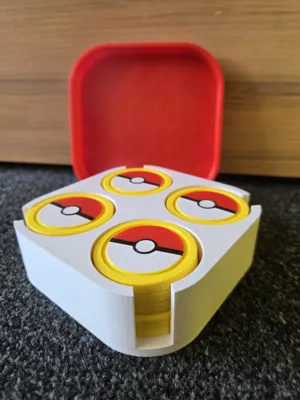
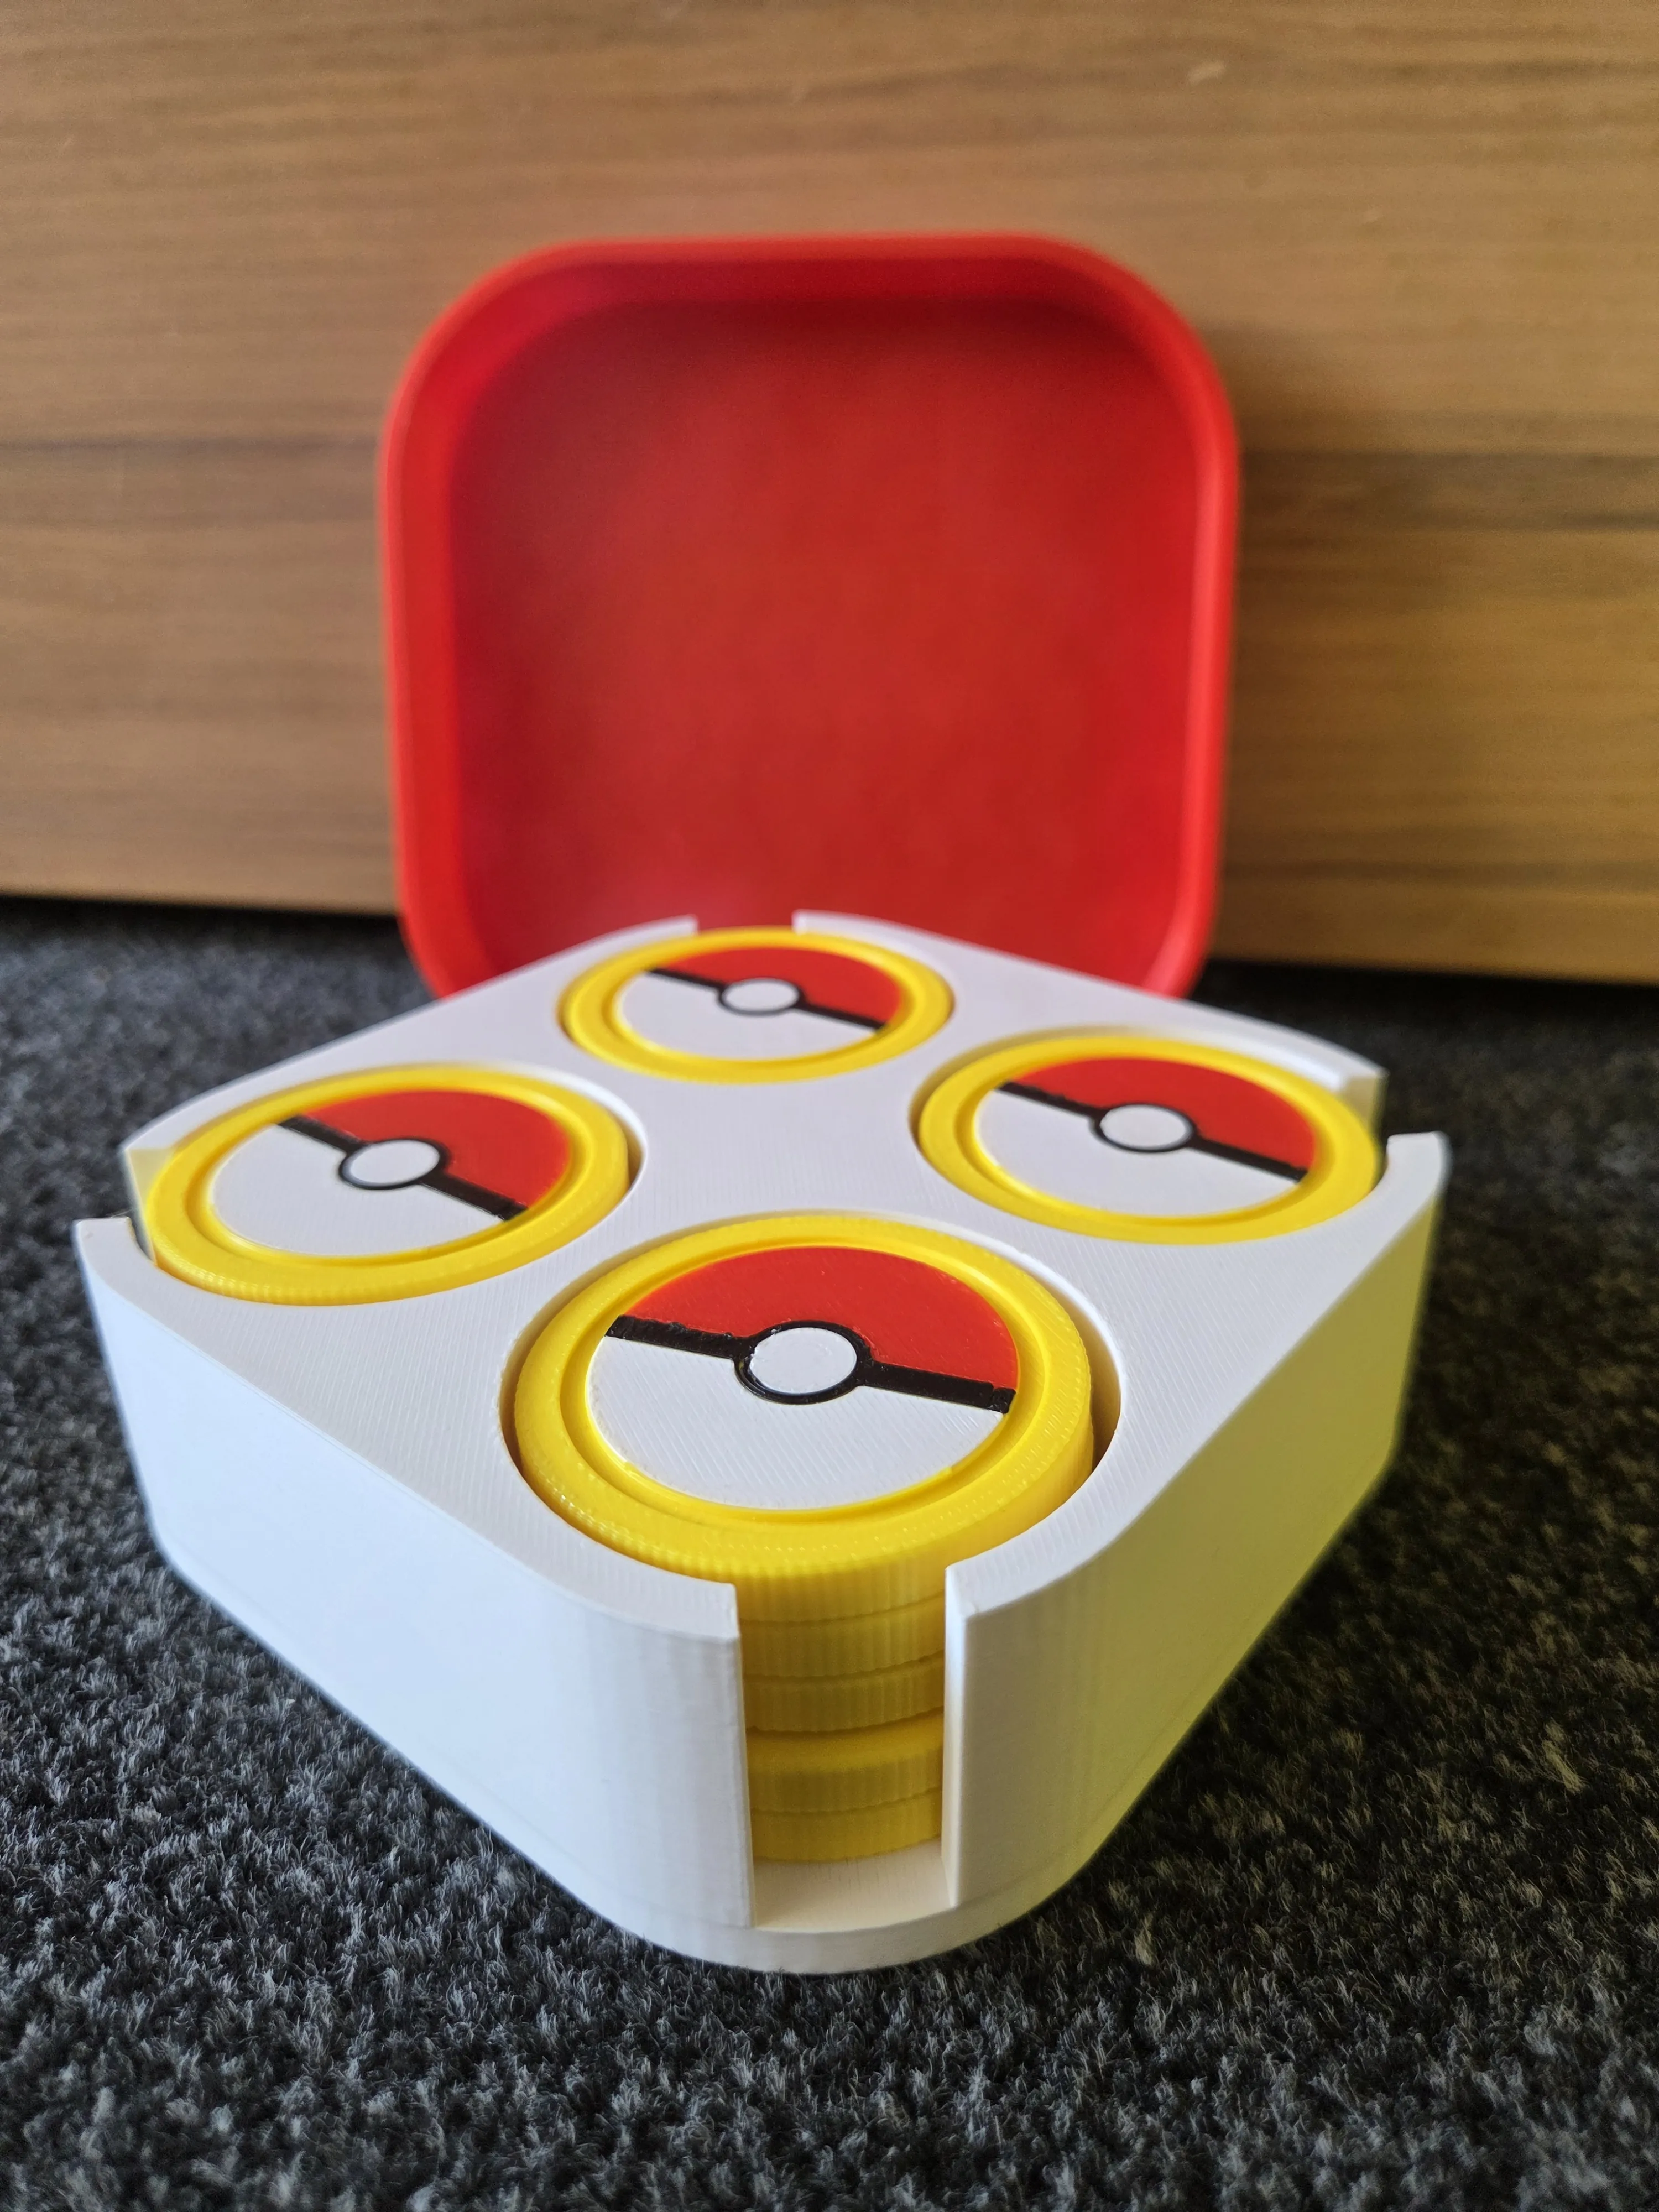
3) A transport and organization box with a lid, suitable for 20 coins. If you want to store more coins, you can scale the box in height. The calculation basis is that 1 coin has a height of 6mm.
My coins have a diameter of 49mm. They pass through the machine's mechanism perfectly and fit perfectly into the box. Each compartment can be emptied coin by coin thanks to an integrated slot. You don't have to pour them all out at once. The coin recesses have a diameter of 52mm, so if you have slightly larger coins, they will also fit.
3 quick printing tips:
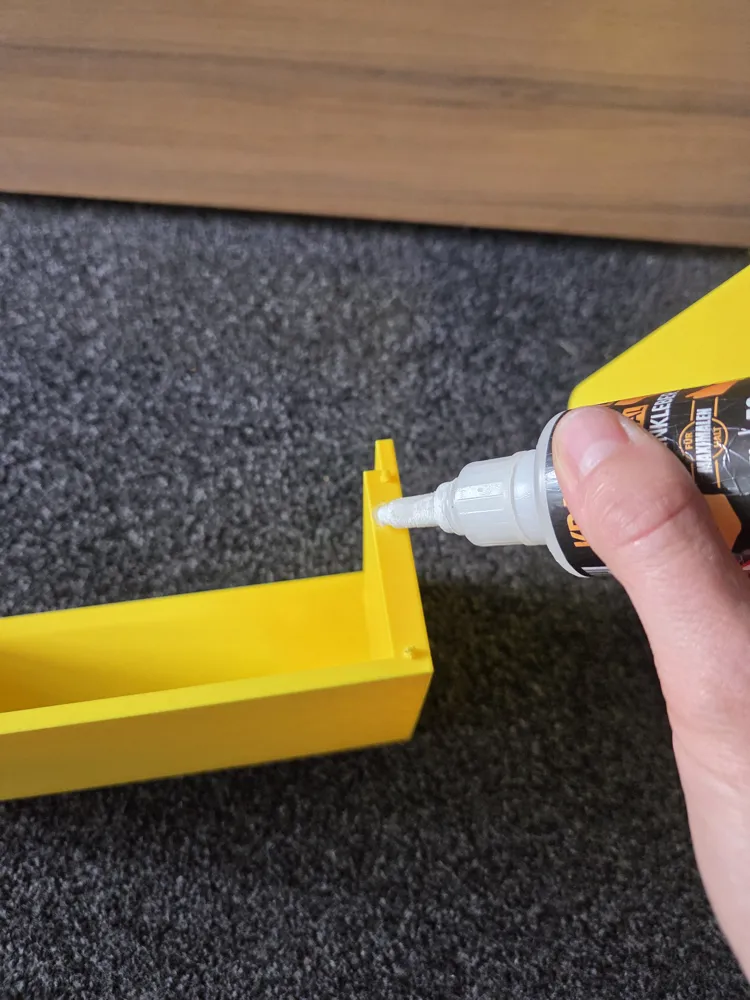
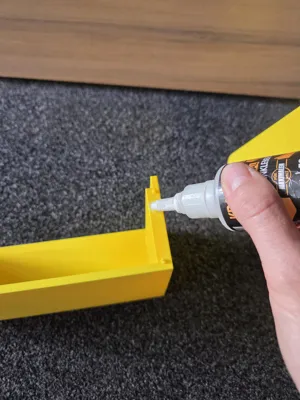
- the base container consists of 2 parts that need to be joined with 4 connectors and glued at the edges. The connectors allow for precise alignment. The print requires no supports.
- You can also reduce the infill for faster printing (e.g. 5% infill with Gyroid, that's stable enough)
- wait until the print bed has cooled down, otherwise you will damage the surface.
Here is a direct before and after comparison as a GIF: With and without my upgrade:
Boost Me (for free)
You have benefited from my upgrade, I was able to solve your problems with the upload? Leave a free and non-binding boost as a reward.
Likes, comments, and reviews are read and answered daily.
Feel free to share photos of your prints. I love to see my profiles brought to life.
License

You shall not share, sub-license, sell, rent, host, transfer, or distribute in any way the digital or 3D printed versions of this object, nor any other derivative work of this object in its digital or physical format (including - but not limited to - remixes of this object, and hosting on other digital platforms). The objects may not be used without permission in any way whatsoever in which you charge money, or collect fees.


Comment & Rating (10)