
Full Sized Surron Light Bee X
Print Profile(18)
Bill of Materials




Description
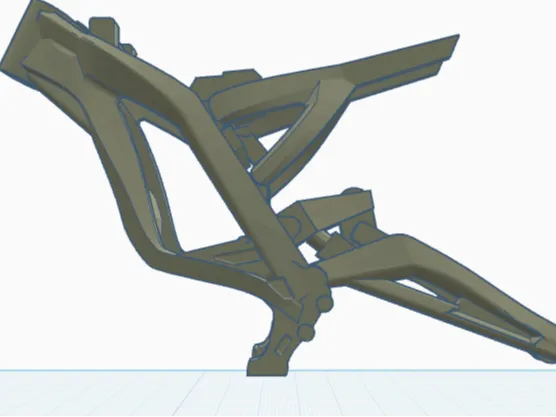
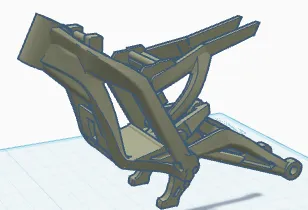
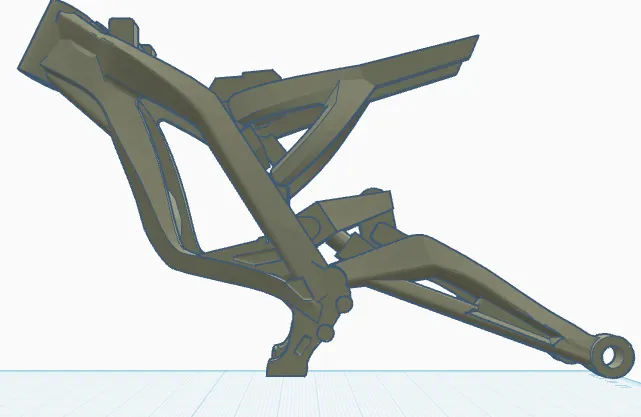
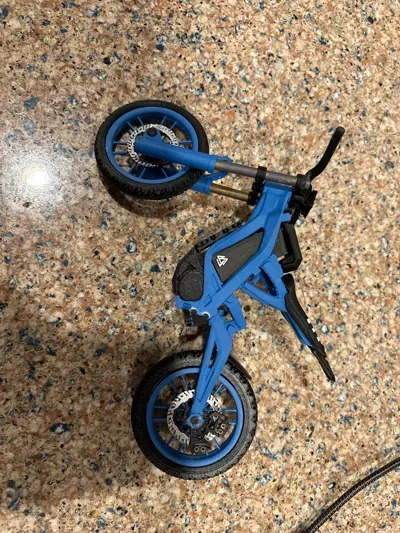
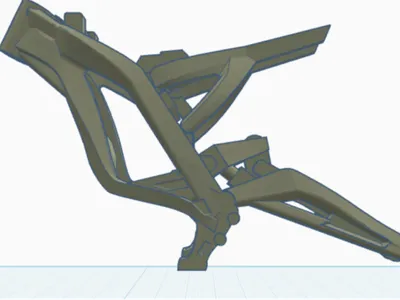
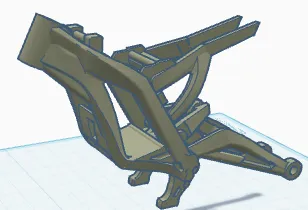
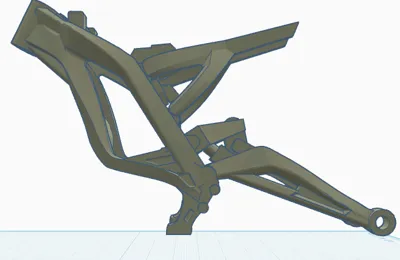
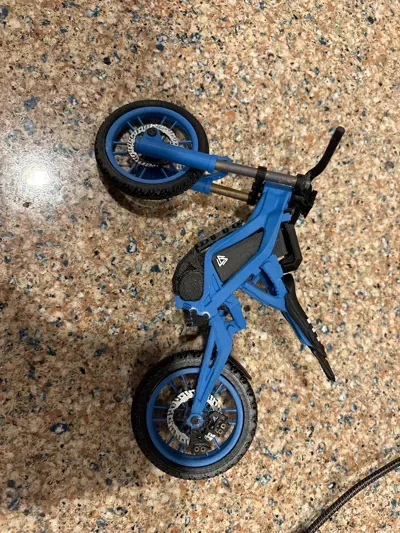
This is around a 1:1 Scale of the mini Surron created by the great @how2random. It must be glued together and instructions will be added if you guys ask.
Boost Me (for free)
INTRUCTIONS:
Tools recommended:
-Super Glue
-A vice or something to hold your parts together to help you line up while you glue
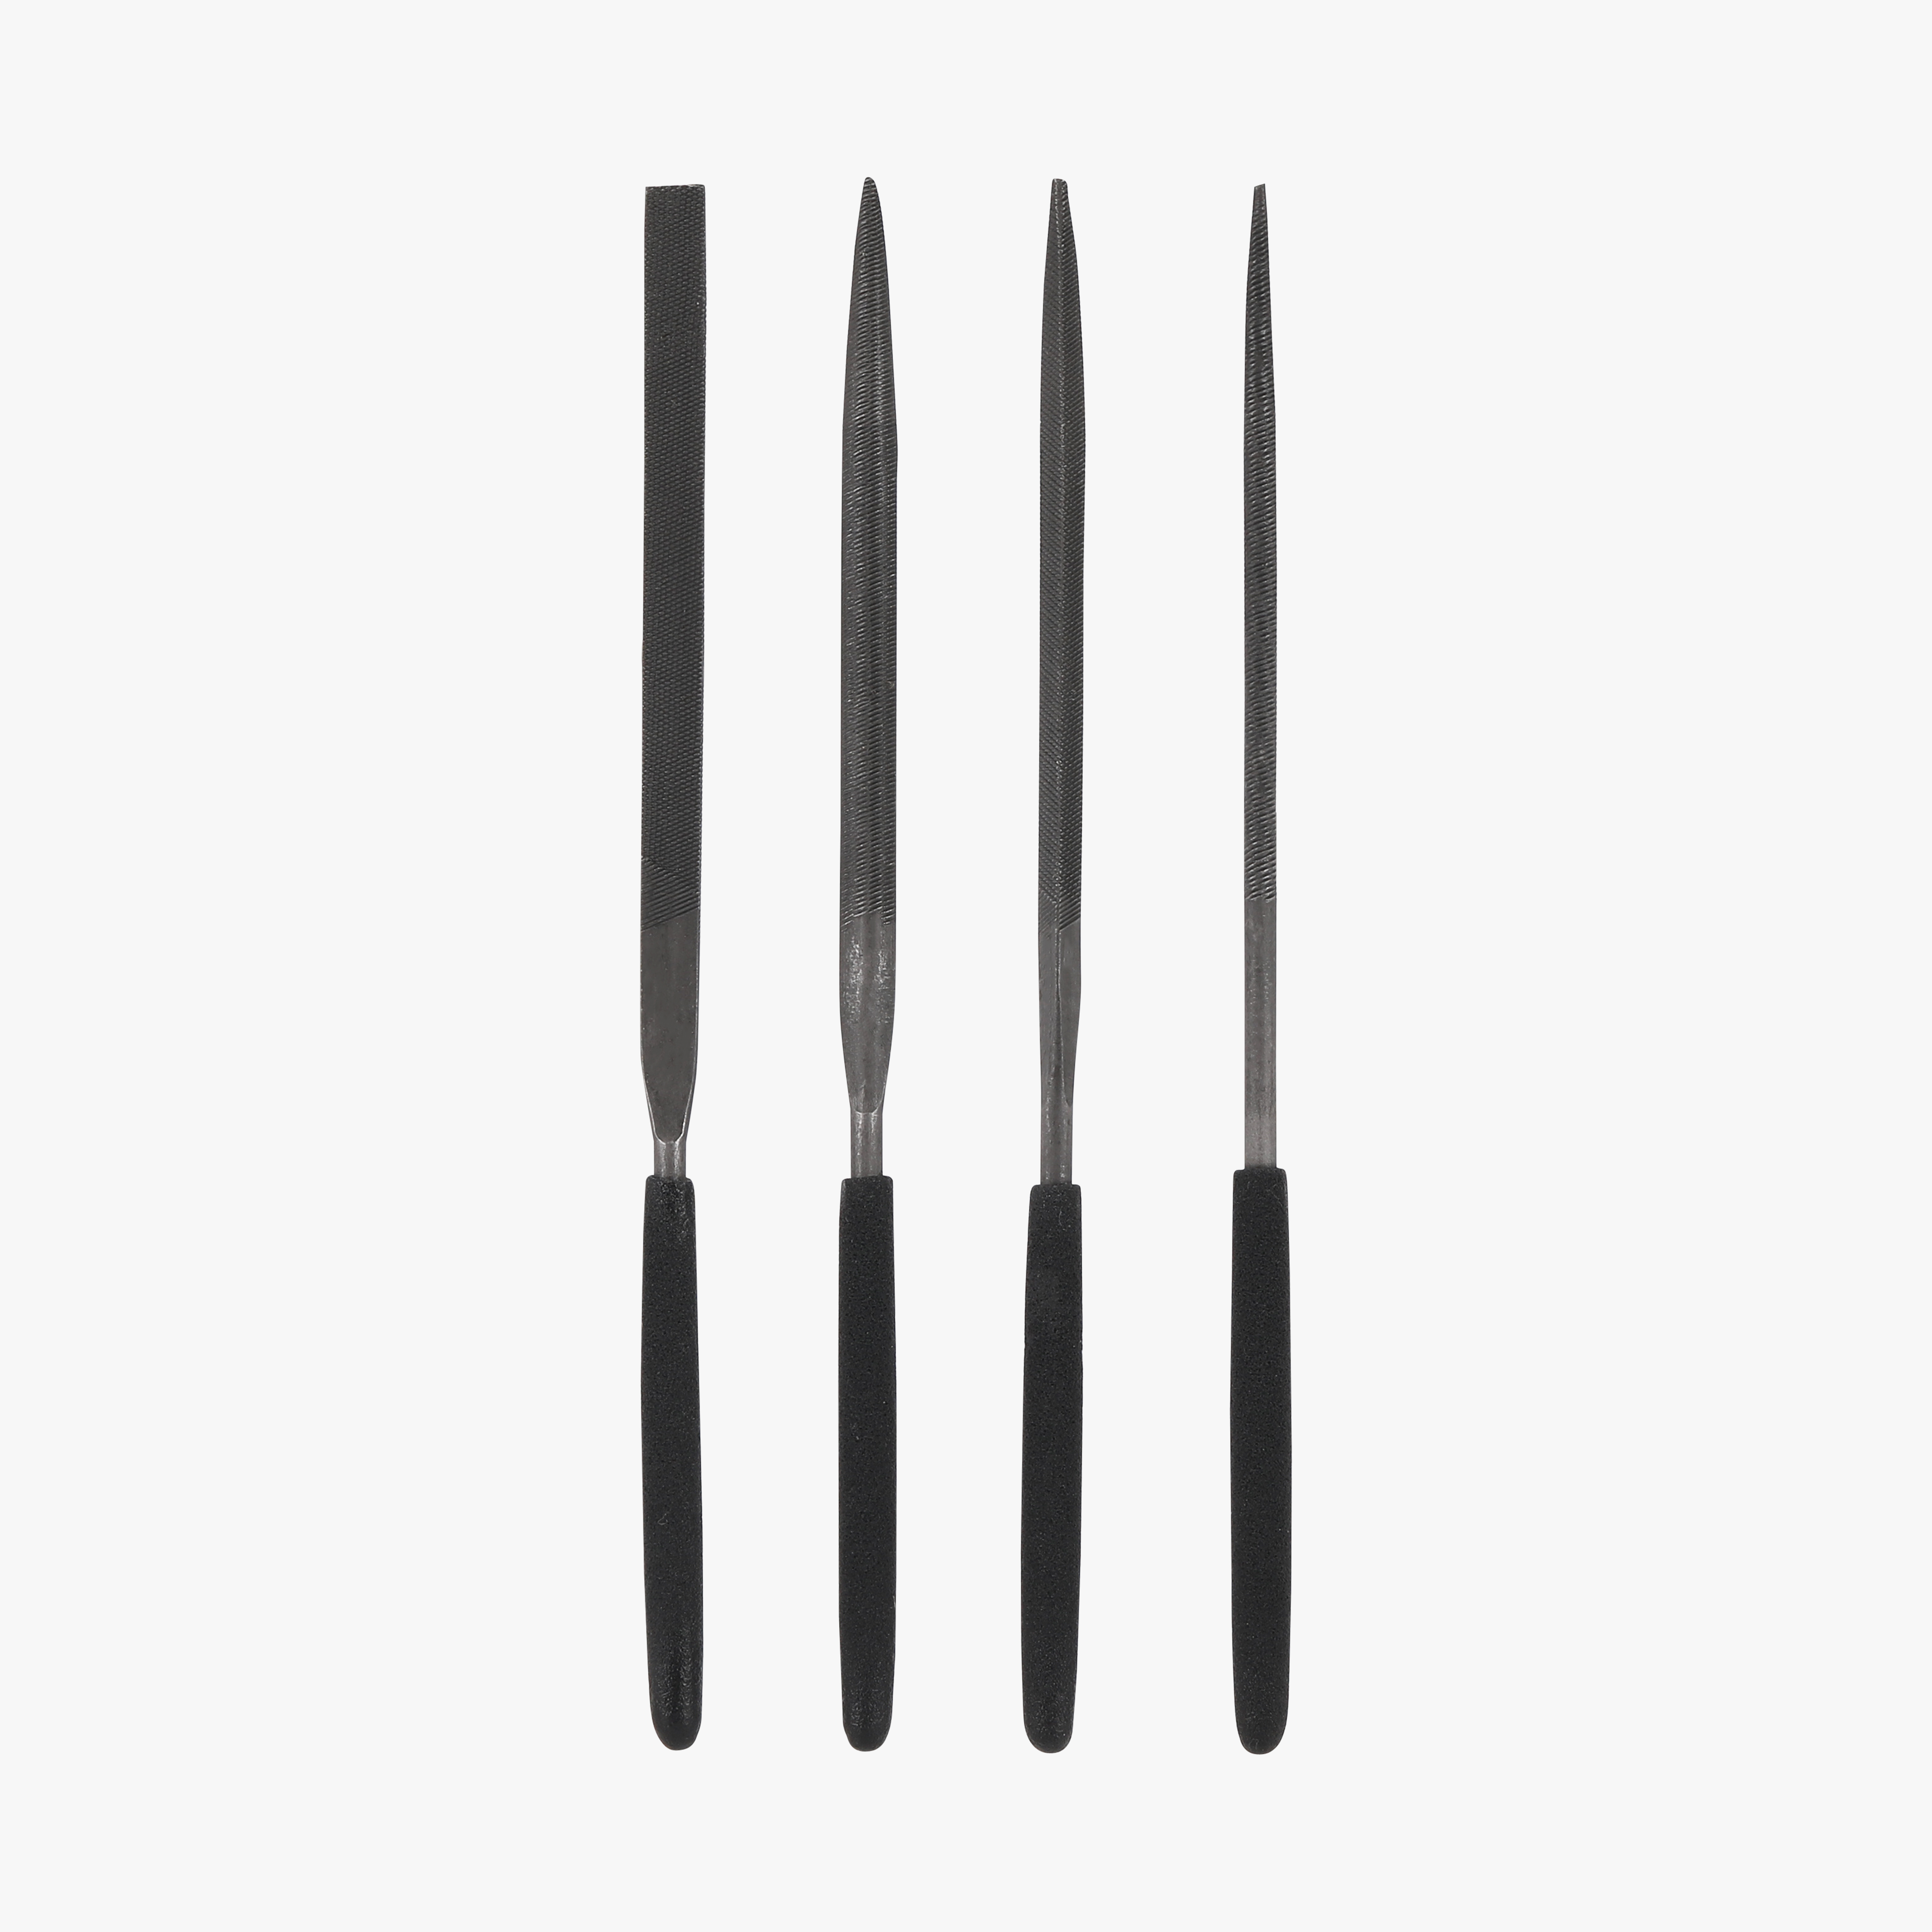
-Files or sandpaper incase part don't line up perfectly
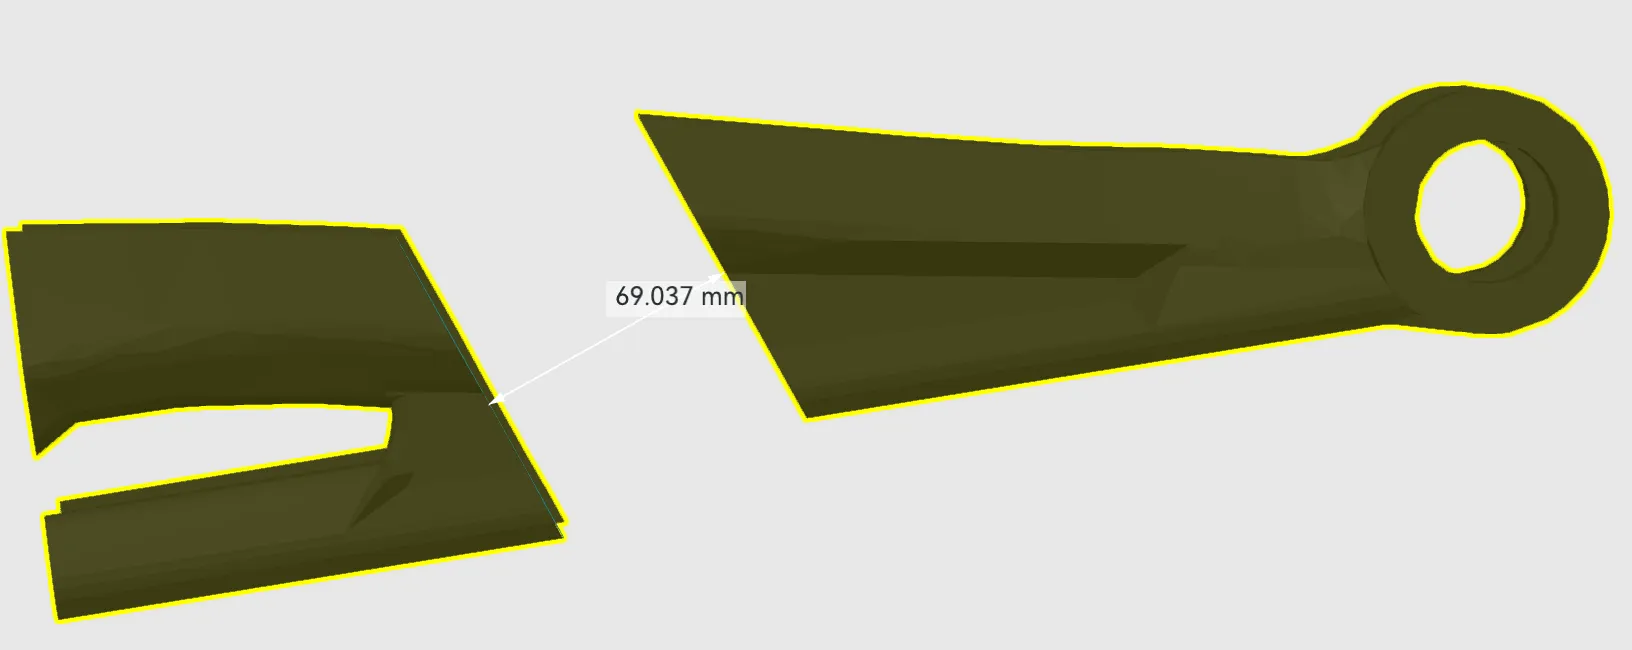
Glue Part 1 and Part 2 together, make sure it is rotated correctly, and take your time while analyzing.
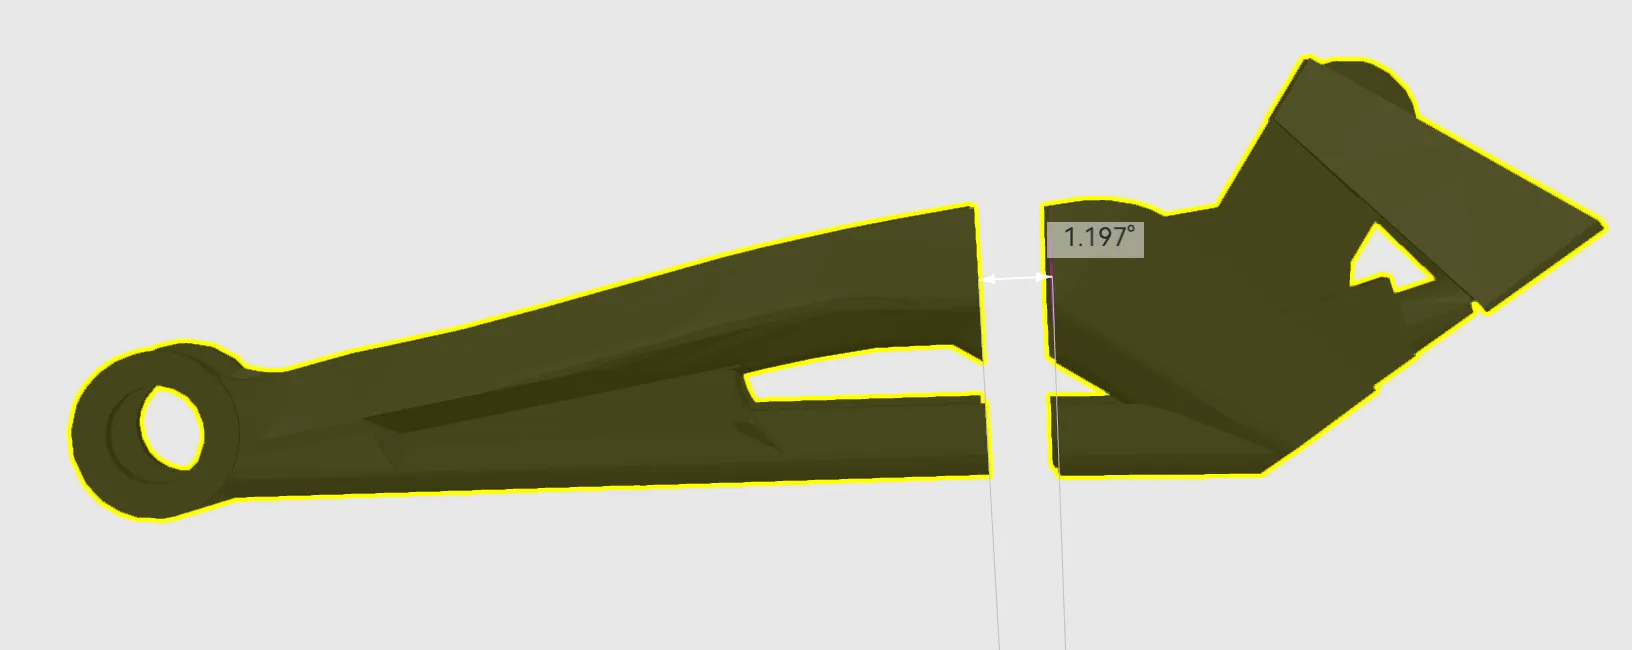
Glue the combination you created in the previous step to Part 3, make sure it is rotated correctly, and take your time while analyzing.
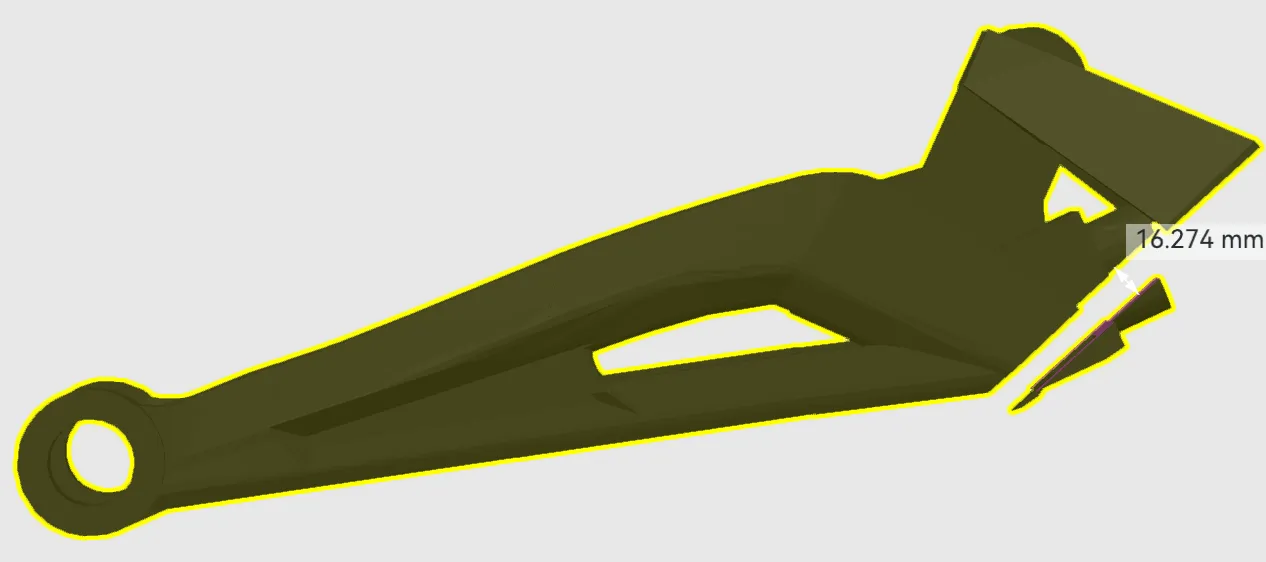
Glue The combination you created in the previous step to Part 7, make sure it is rotated correctly, and take your time while analyzing.
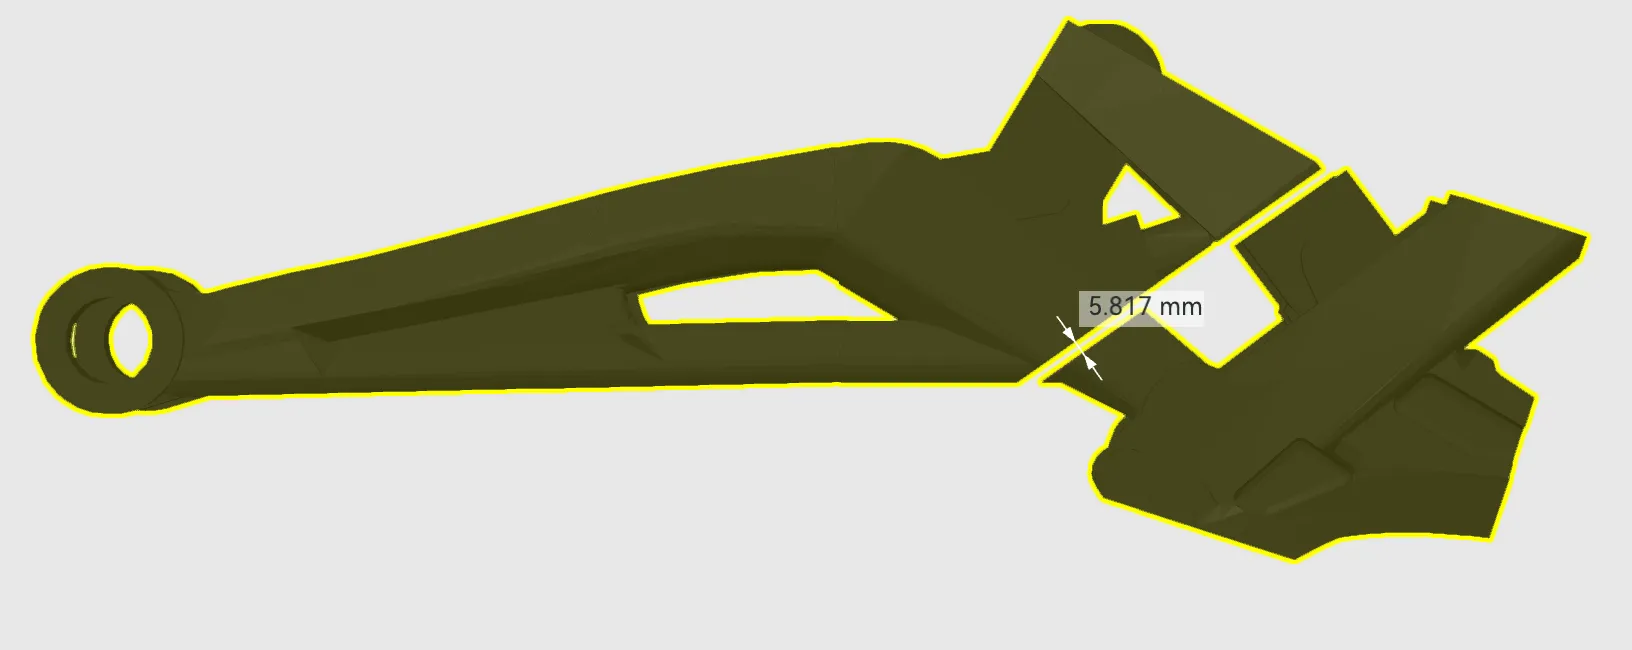
Glue the combination you created in the previous step to Part 4, make sure it is rotated correctly, and take your time while analyzing.
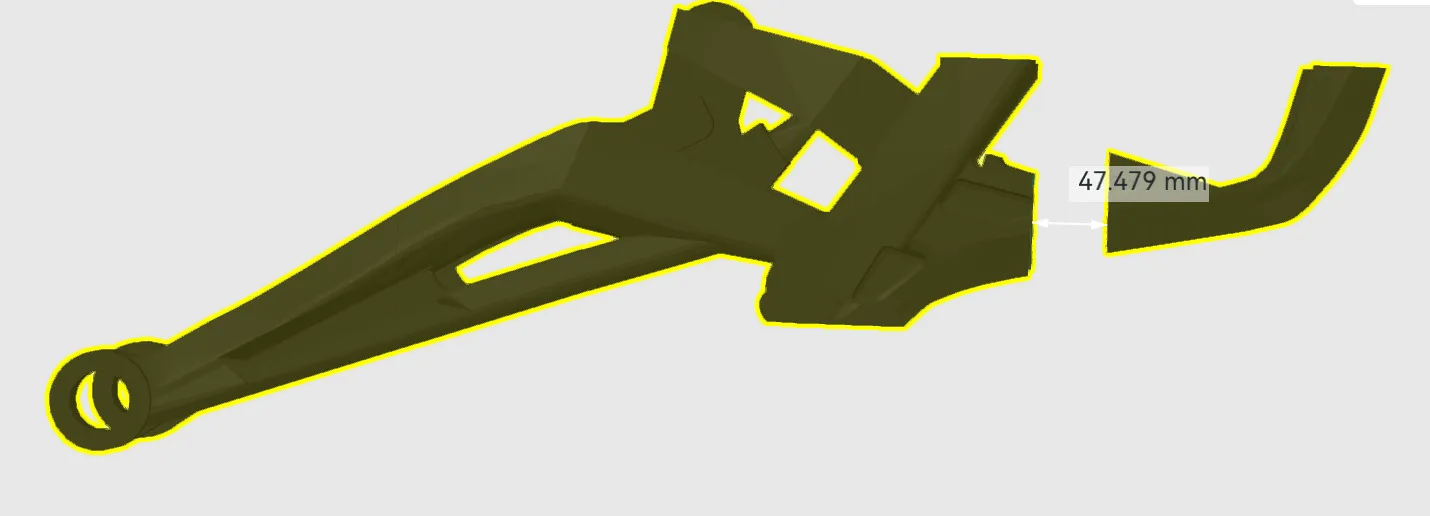
Glue the combination you created in the previous step to Part 9, make sure it is rotated correctly, and take your time while analyzing.
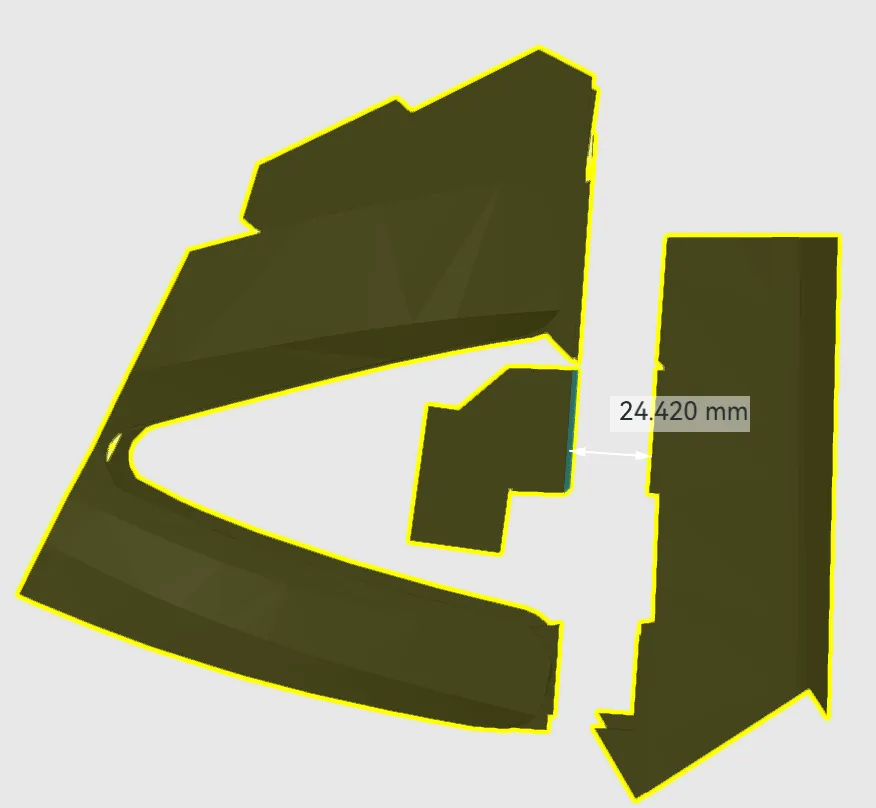
Glue Part 5 and 10 together, make sure it is rotated correctly, and take your time while analyzing.

Glue the 2 combinations of parts you just made together, make sure it is rotated correctly, and take your time while analyzing.
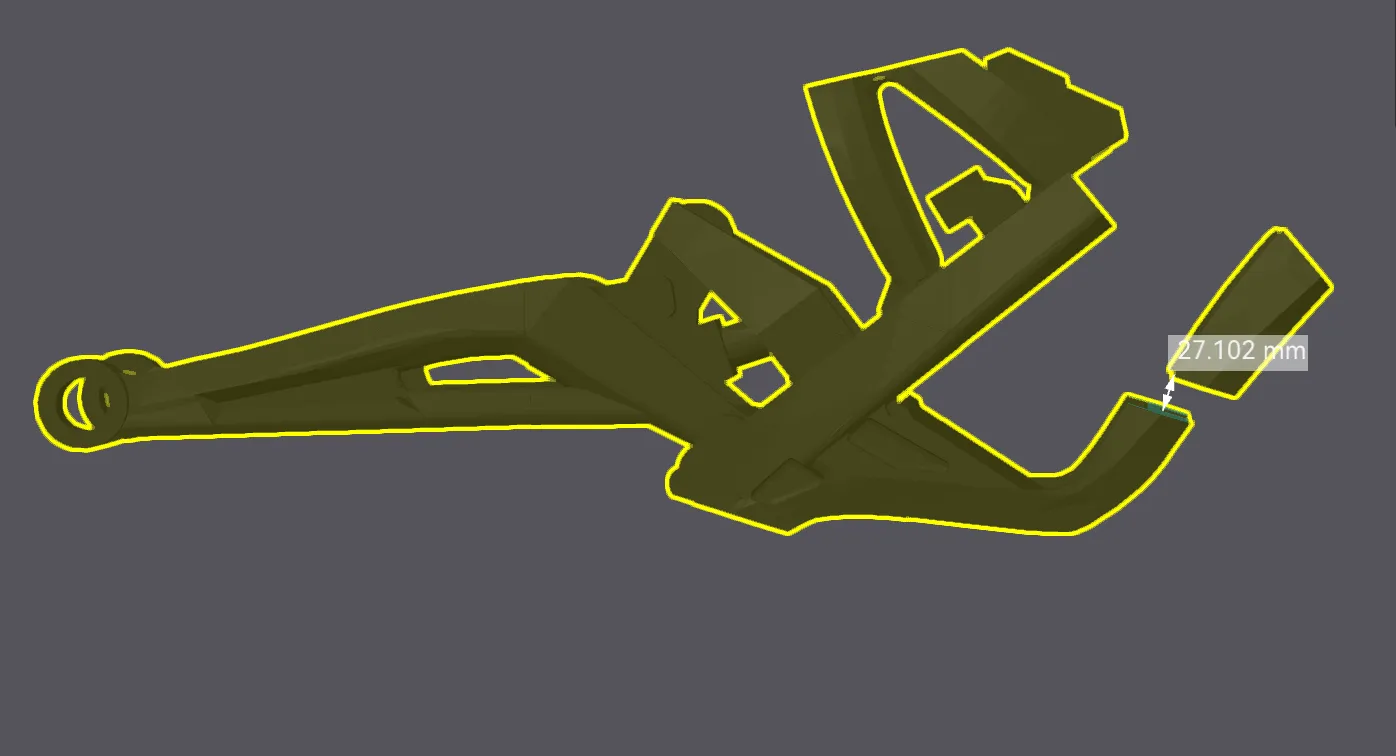
Glue the combination you created in the previous step to Part 11, make sure it is rotated correctly, and take your time while analyzing.
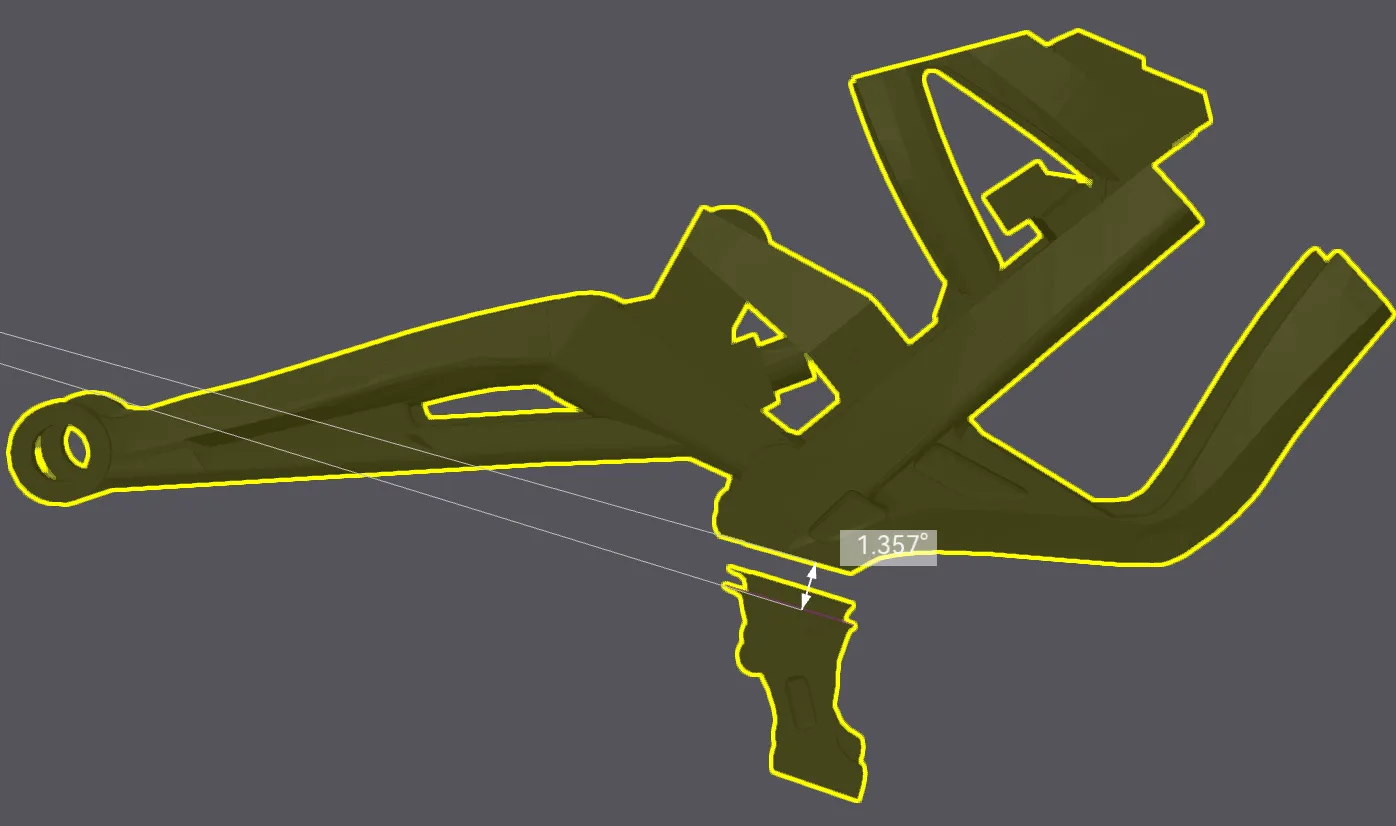
Take the combination you made in the previous step and glue the 2 thingys on part 6 to it, keep in mind, the 2 little feet should be facing away from the holes in part 1, and the tiny idents in the things of part 6 should be facing outwards.
IN THESE NEXT STEPS, YOU MUST FOCUS AS MUCH AS YOU CAN OR IT WILL BE MESSED UP
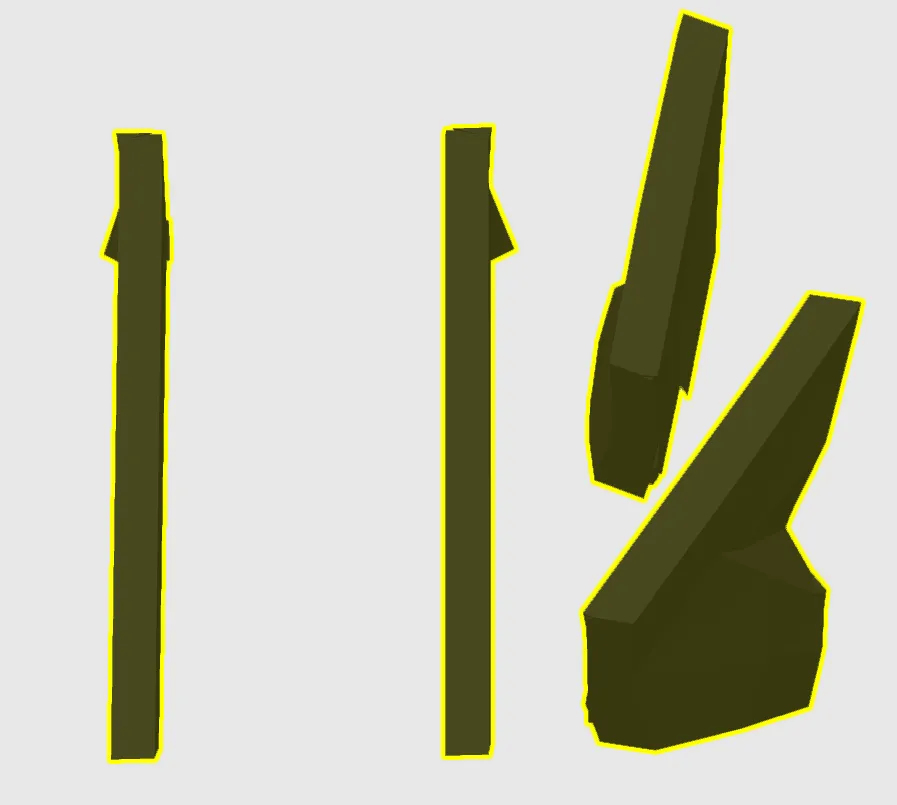
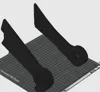
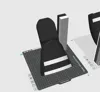
This is what plate 4 should look like, two little ears and 2 sticks, find a flat surface and place the parts on plate 4 like this. Take your time setting it up, and be carful while doing so.
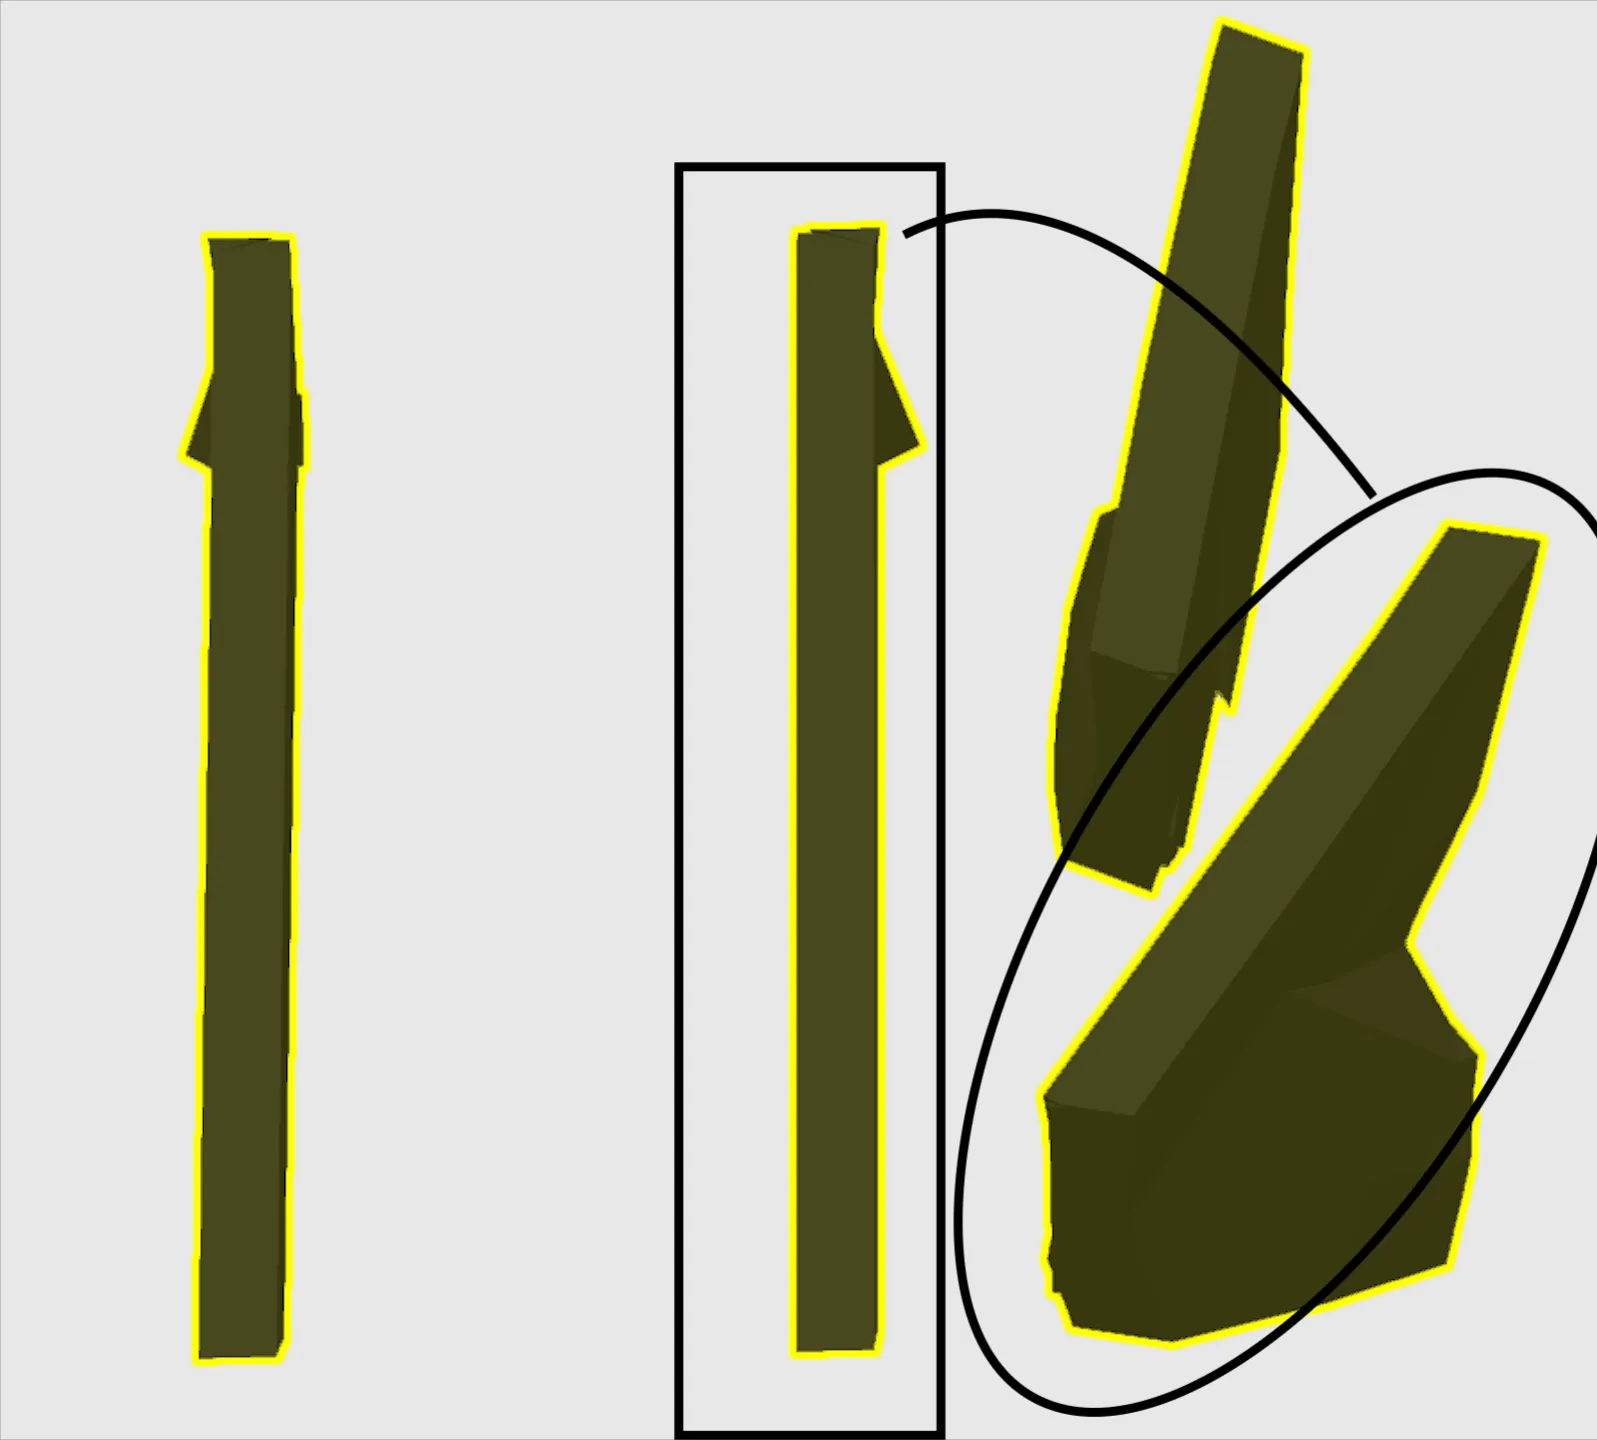
The 2 parts I have just circled and boxed in and will go together. So take these 2 parts and move them aside. I will show you what to do with them in the next step.
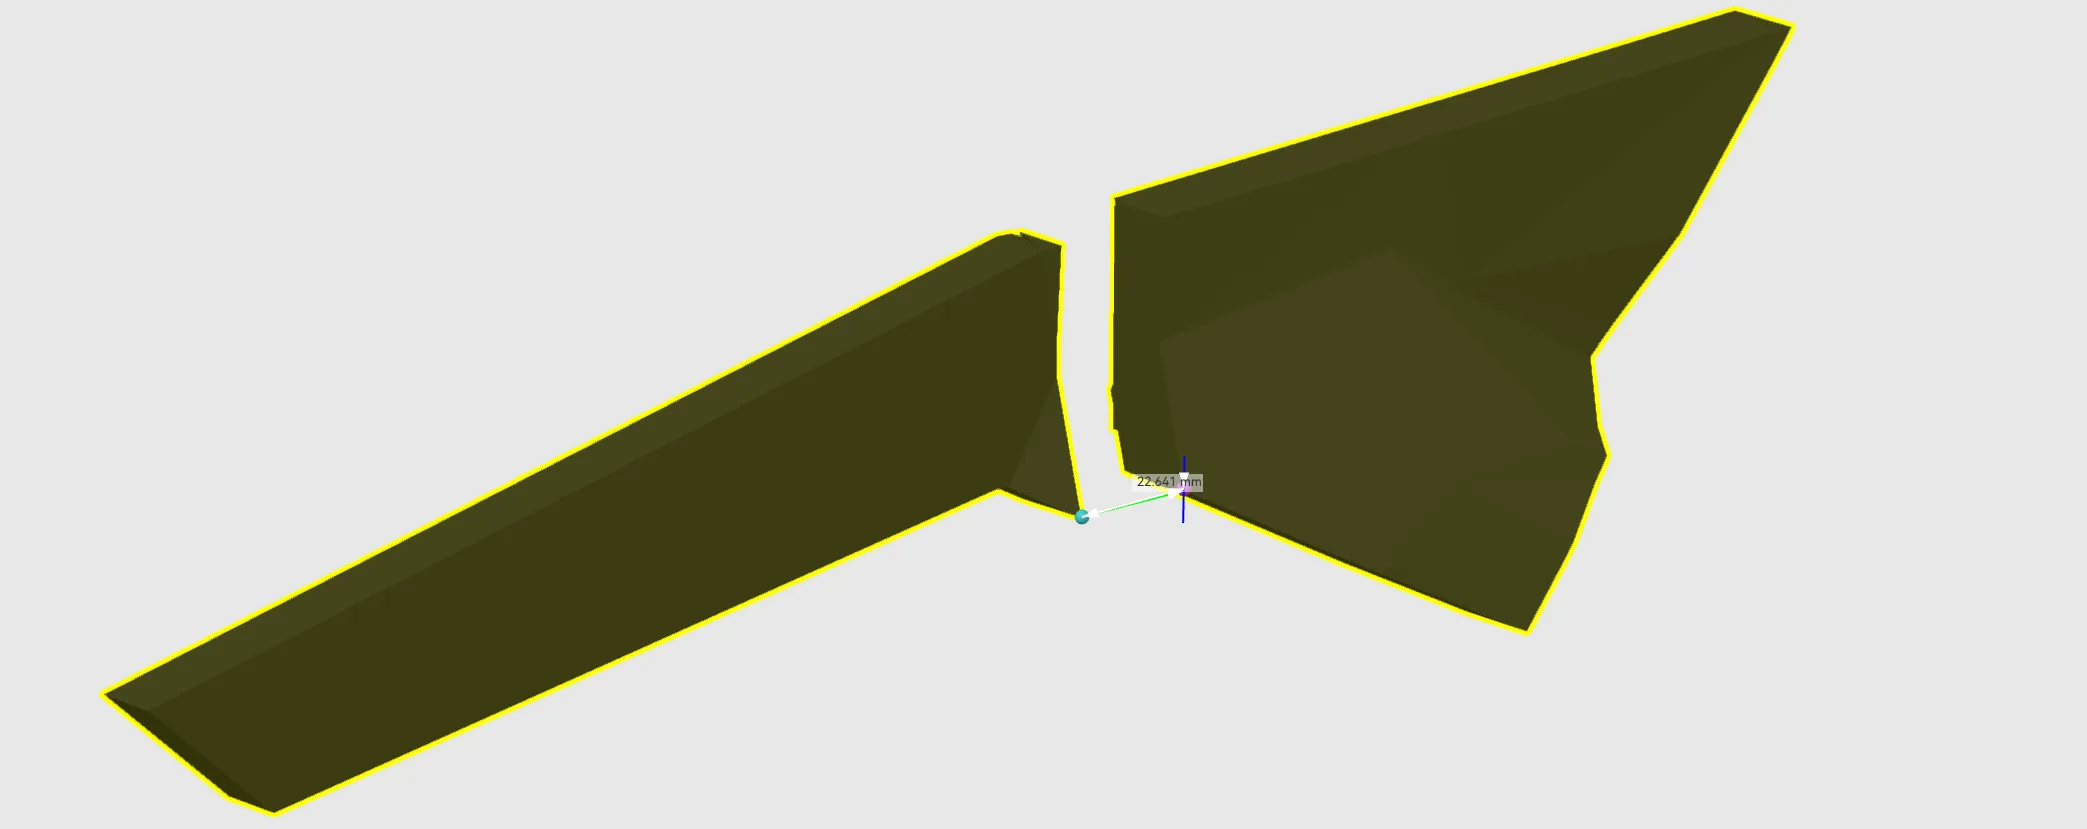
Glue them together but take these things into account. The stick should have the slope on the end facing down and the little triangle on the end should be facing the same way the ear is facing. The ear should be facing to the right side like so. Before gluing, I recommend to put them together with no glue and see if they look correct. If they don't, reread the instructions. After you do this, glue them together
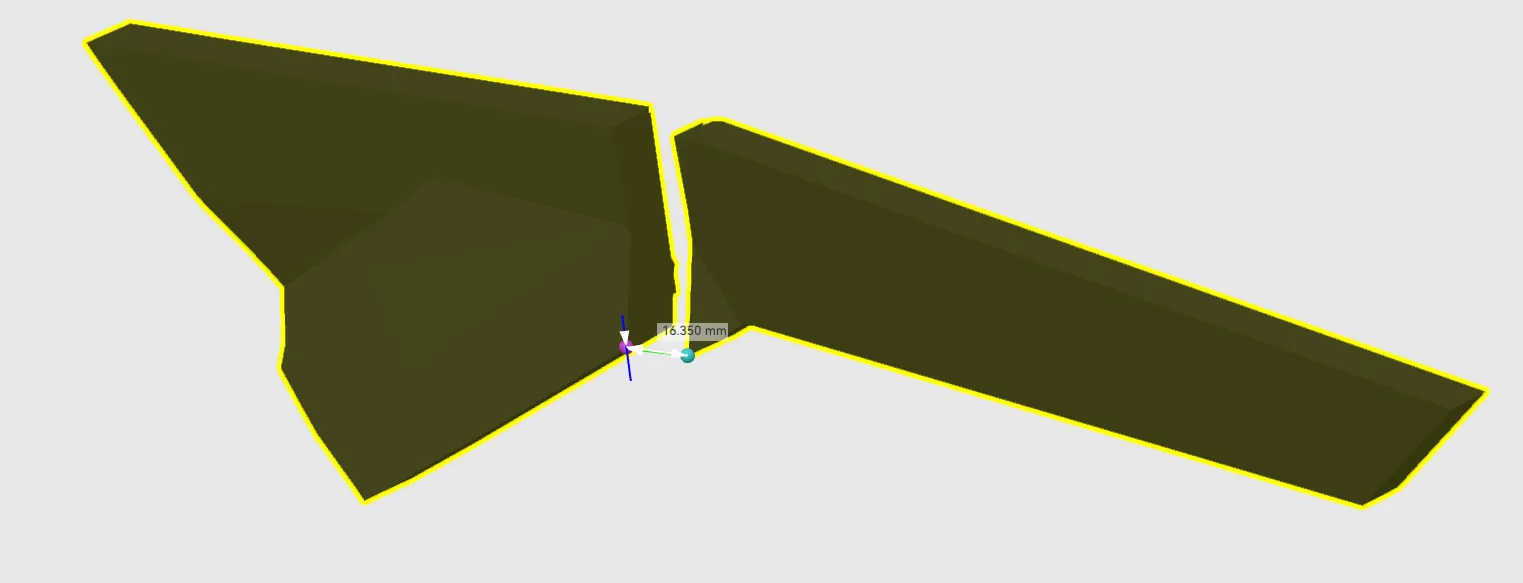
With the pieces from Plate 4 that you didn't use, do the same thing you just did but instead of the ear facing right, it should face left. And make sure the slope on the stick is facing down. After everything, glue them together.
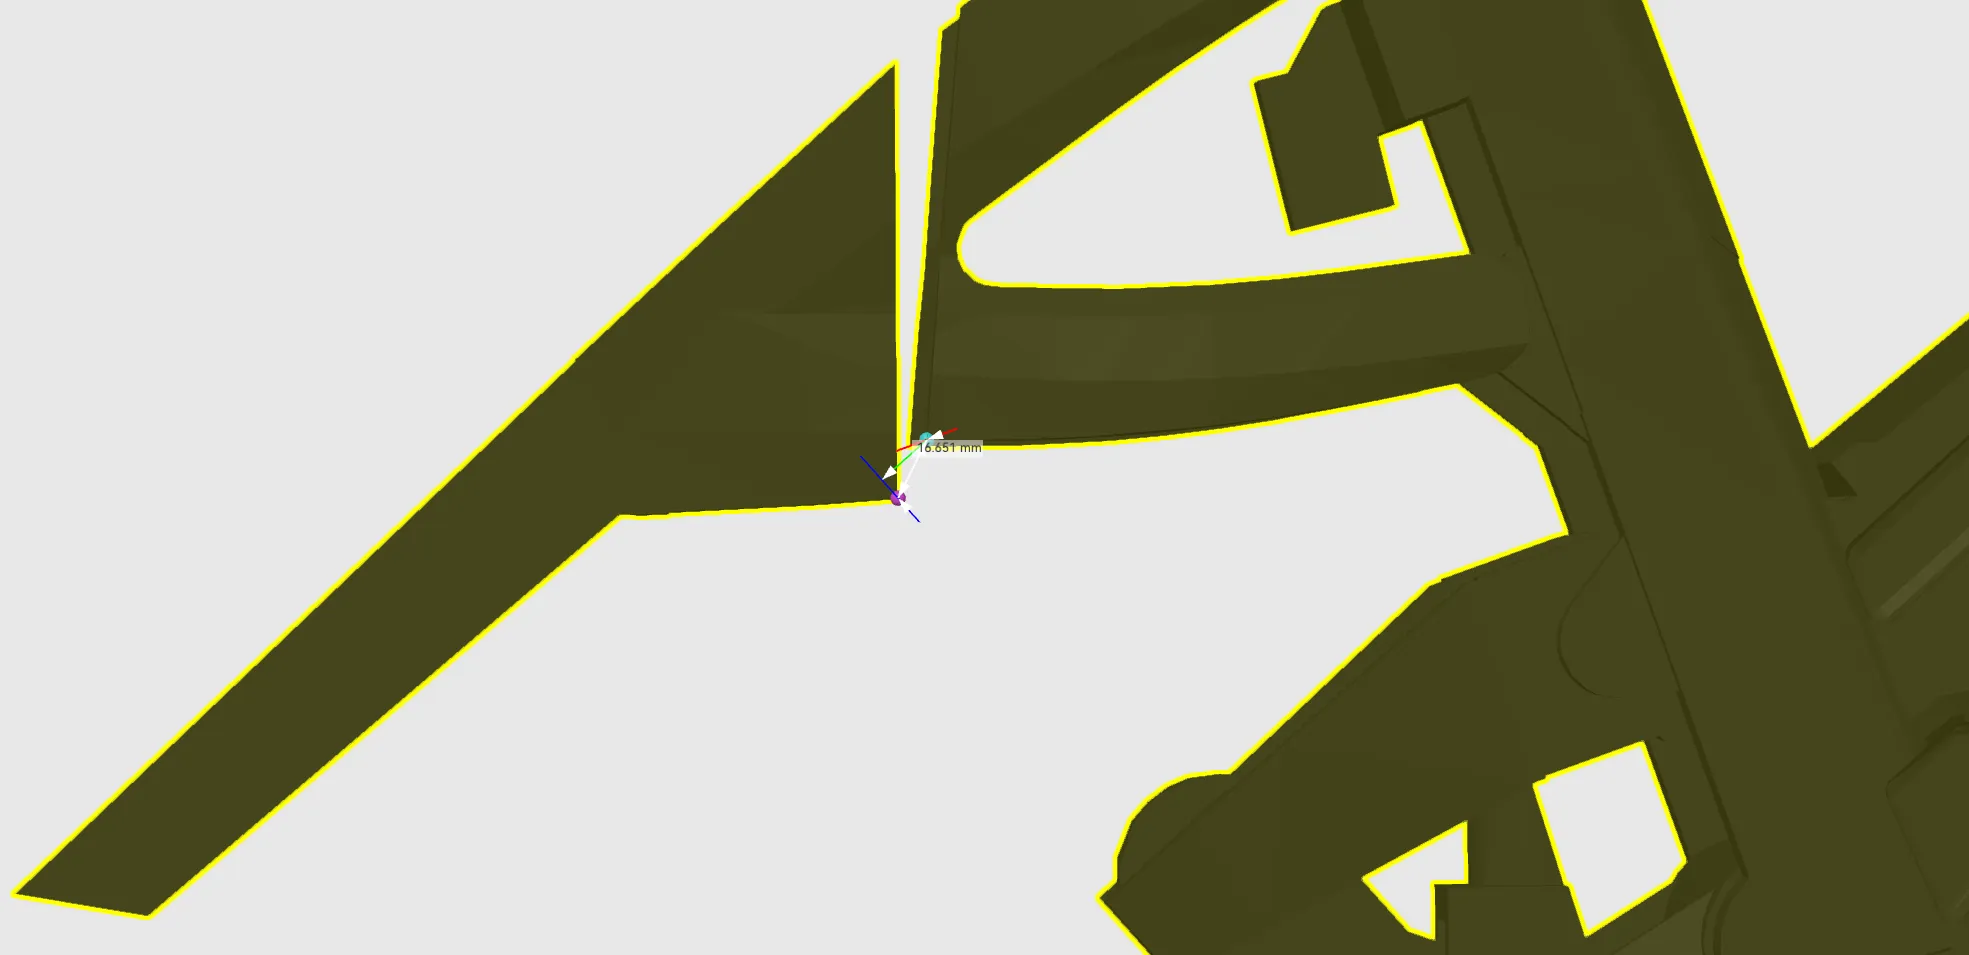
Now take the combination with the ear facing right and put it on like so onto part 5. Make sure it is going onto the right side of part 5 and not the left. Then glue it together.
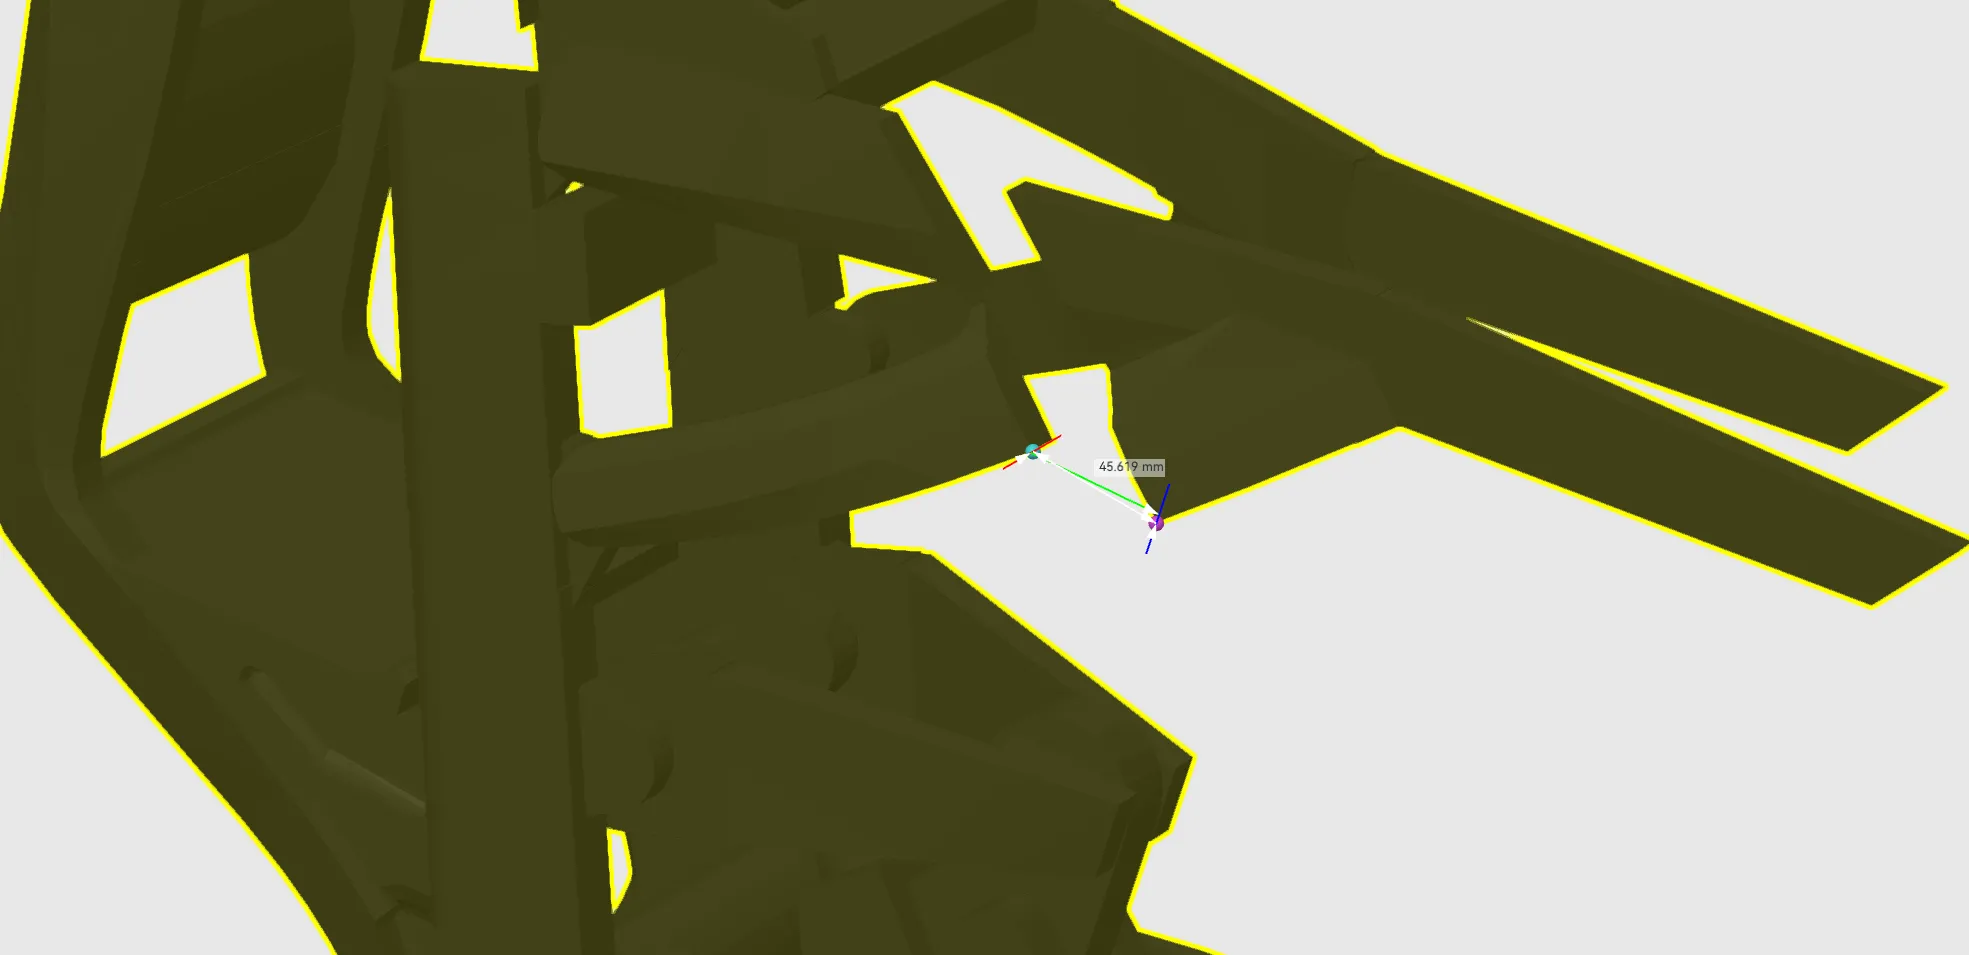
Now do the same thing has the previous step, but on the left side instead.
ALMOST DONE WITH THE FRAME!!!
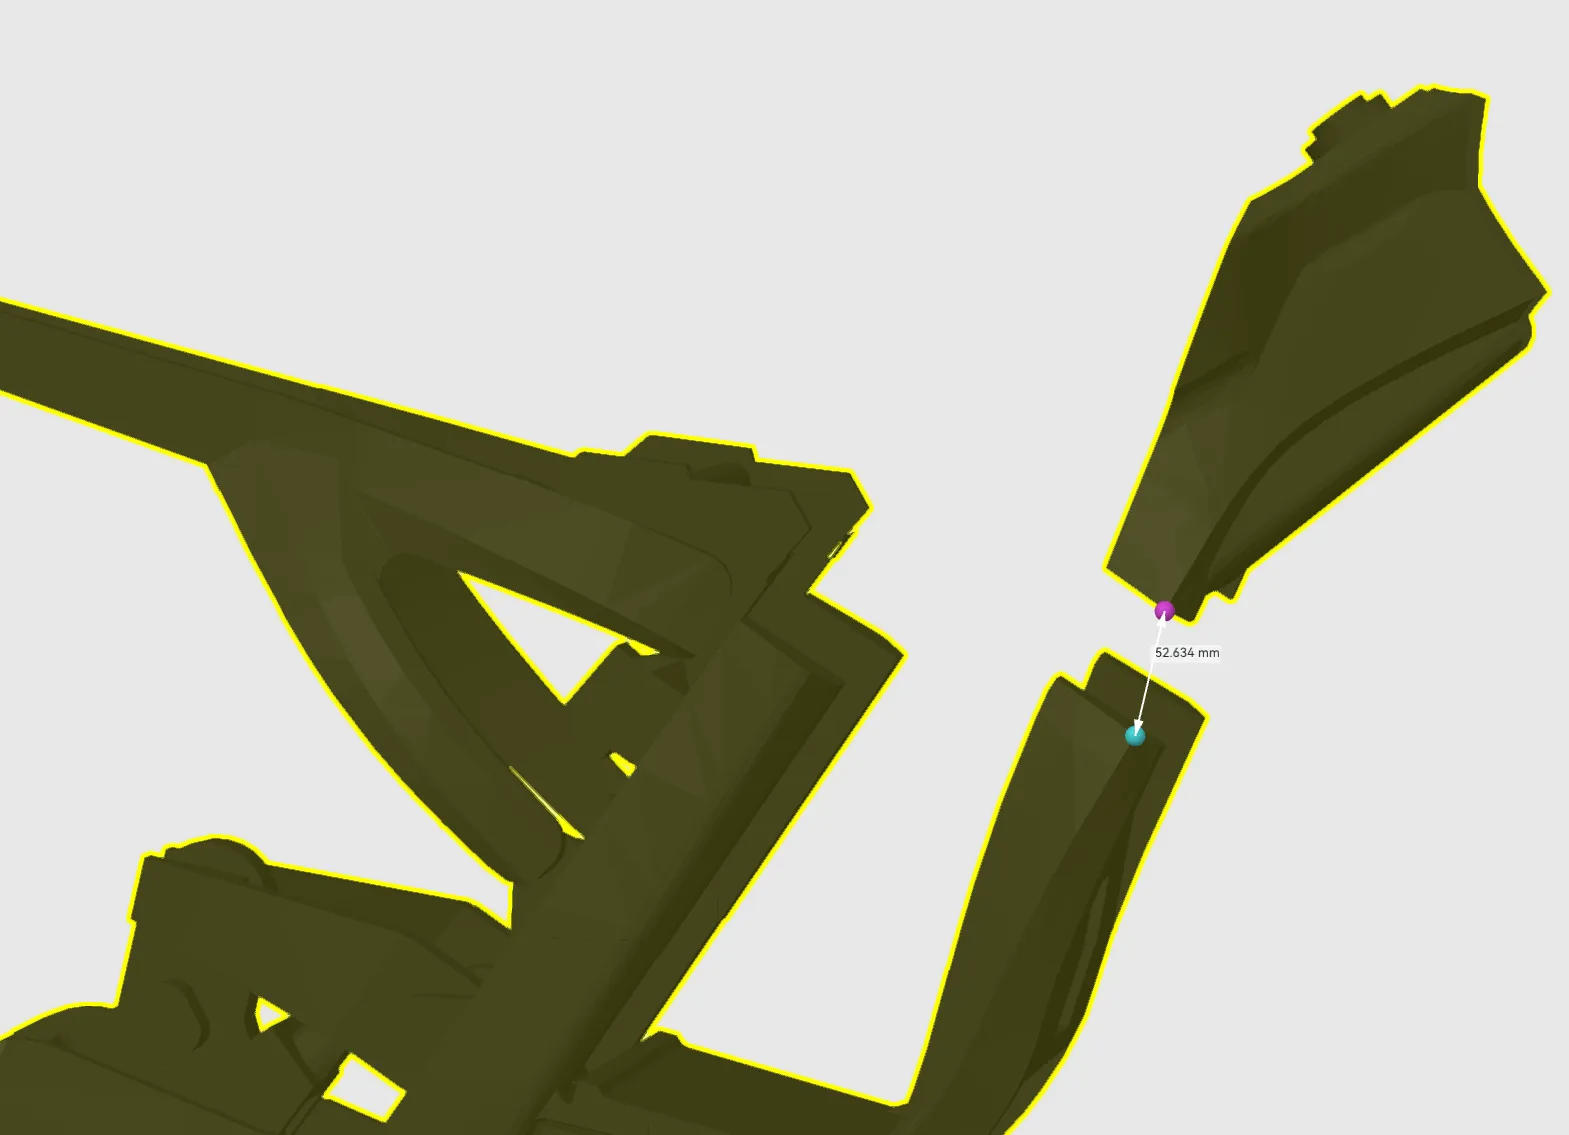
Now glue part 13 to the basically finished frame, make sure the notch where the “key” goes is facing somewhat away from the frame.
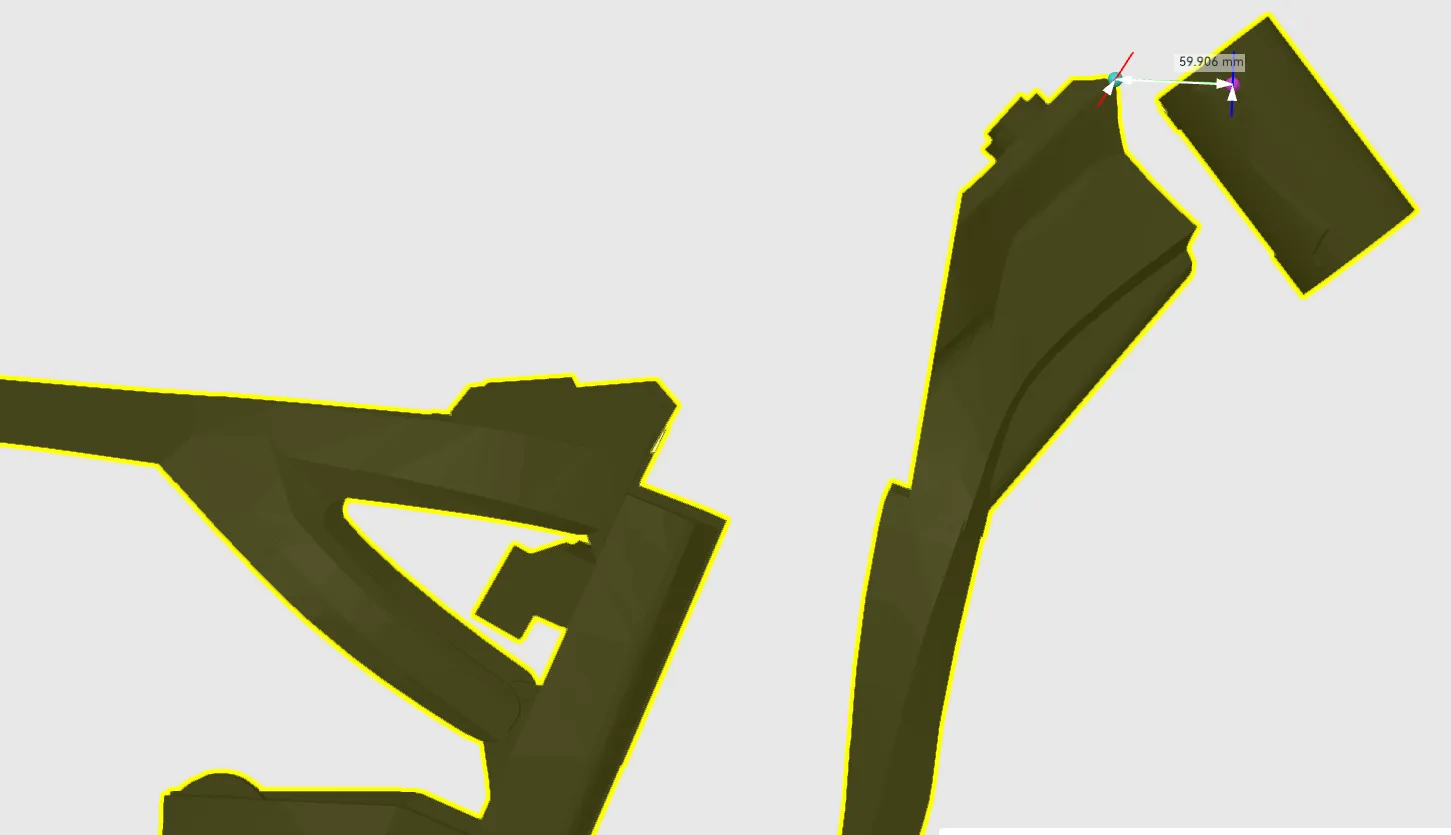
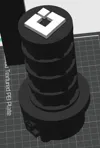
On the edge of part 13, there is a little circlular hole, now what you are going to do is you are going to take part 12 and make sure to take notice to the little details on it that almost look like hour glass and kind of stick it into the circular hole on part 13 and glue them together. Make sure the thin part on the hourglass thingy on part 12 is facing up and goes directly into part 13.
License



Comment & Rating (22)