
Anycubic Kobra 3 V2 LED Light Bar Mount
Print Profile(1)
Bill of Materials

Description
### 🇮🇹 LED Riser for Anycubic Kobra 3 V2 - Lighting Upgrade
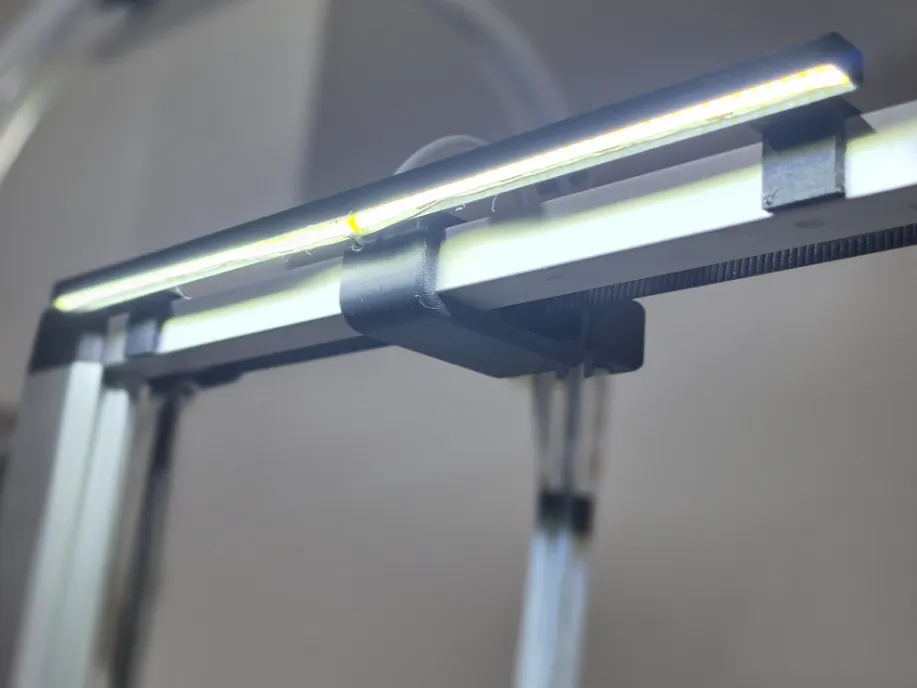
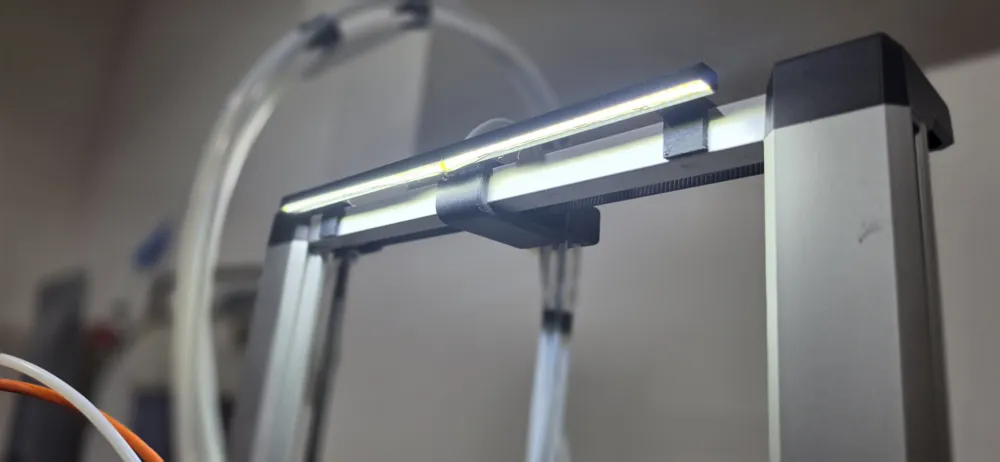
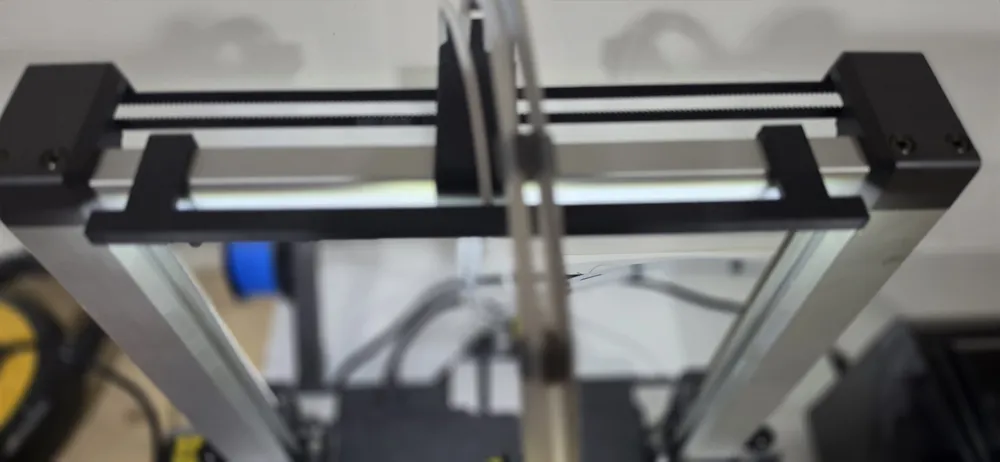
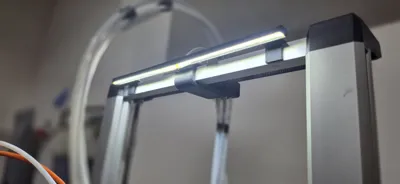
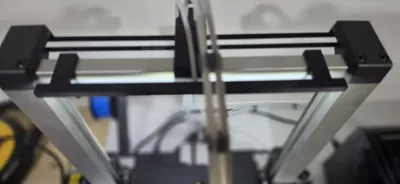
This project includes two variants for mounting an LED bar on top of the Anycubic Kobra 3 V2, improving print visibility and webcam footage.
#### 🛠️ Included Variants:
1. **Standard Version (Open Sides):** Installs without needing to desolder the LED strip cables. Perfect for a quick and "plug-and-play" setup.
2. **Central Version (Open Center):** Requires desoldering the wires, routing them through, and resoldering them in the center for cleaner and hidden cable management.
#### ⚙️ Recommended Print Settings:
* **Material:** PETG or PLA (PETG offers better vibration resistance).
* **Layer Height:** 0.20 mm.
* **Walls (Wall Loops):** 3 or 4 for maximum structural robustness of the clips.
* **Infill:** 20% - 25% (Gyroid or Grid).
* **Supports:** Not necessary (structure designed for support-free printing).
If you appreciate the design, please leave a **like** and upload a photo of your print in the comments! It will help us earn points and expand the project.
---
### 🇬🇧 Anycubic Kobra 3 V2 LED Light Bar Mount / Support Upgrade
This project features two design variations to mount a LED light bar onto the top frame of the Anycubic Kobra 3 V2, significantly improving print visibility and webcam quality.
#### 🛠️ Included Versions:
1. **Side-Open Version:** No soldering required. It snaps right onto the frame without disconnecting the LED strip wires. Perfect for a quick, hassle-free installation.
2. **Center-Open Version:** Requires desoldering the wires and rerouting them through the center slot for an ultra-clean and stealthy cable management look.
#### ⚙️ Recommended Print Settings:
* **Material:** PETG or PLA (PETG is preferred for long-term vibration resistance).
* **Layer Height:** 0.20 mm.
* **Wall Loops:** 3 or 4 for sturdy, flexible frame clips.
* **Infill:** 20% - 25% (Gyroid or Grid).
* **Supports:** No supports needed (designed for support-free printing).
If you like this model, please leave a **like** and share a photo of your printed part ("Make") in the comments section!
License

You shall not share, sub-license, sell, rent, host, transfer, or distribute in any way the digital or 3D printed versions of this object, nor any other derivative work of this object in its digital or physical format (including - but not limited to - remixes of this object, and hosting on other digital platforms). The objects may not be used without permission in any way whatsoever in which you charge money, or collect fees.


Comment & Rating (0)