
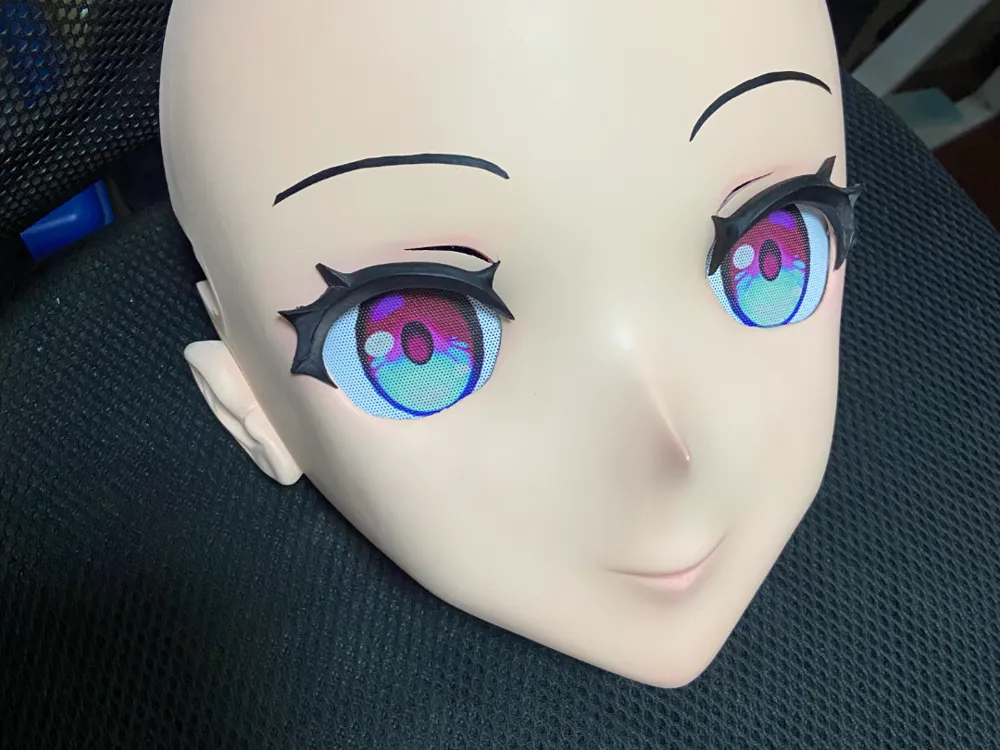
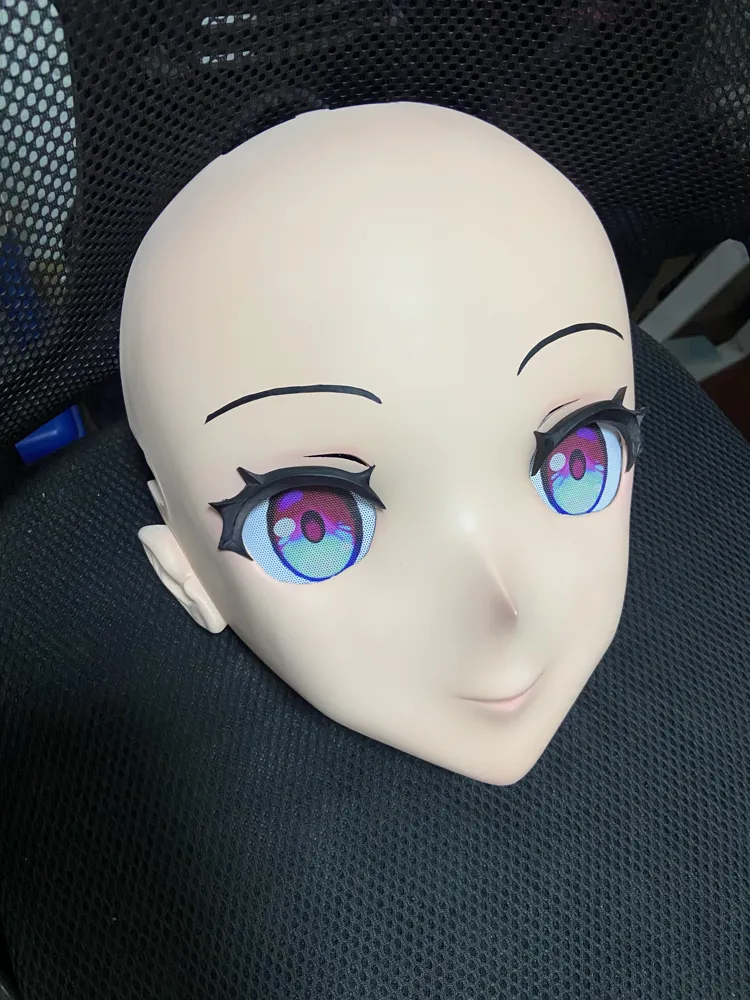
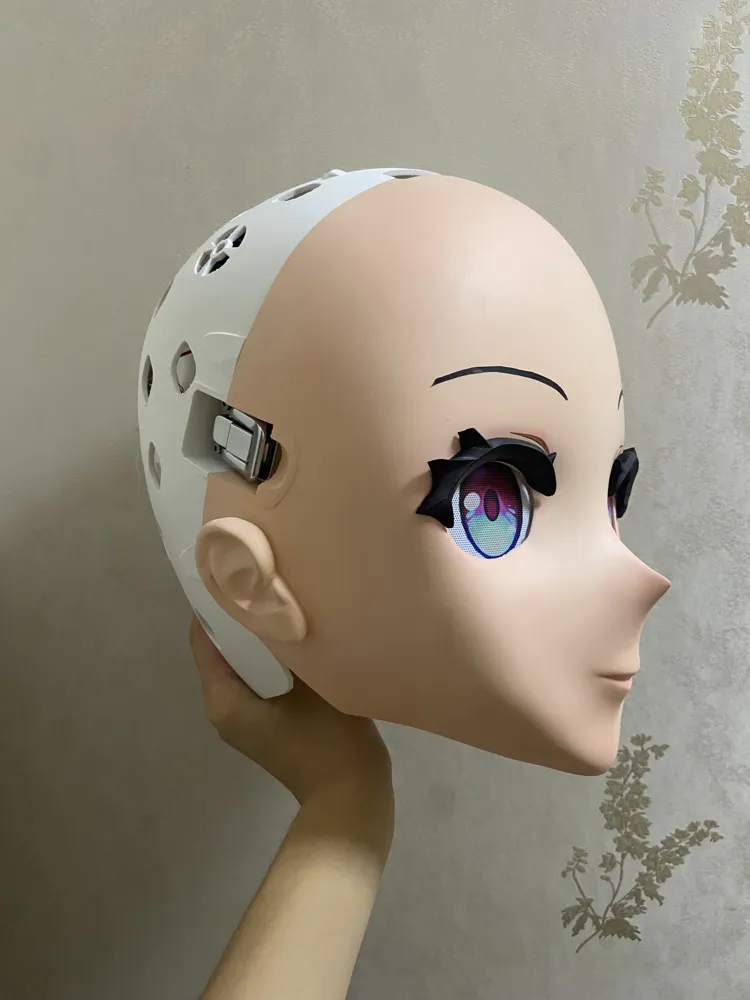
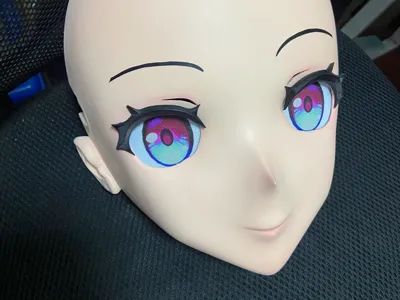
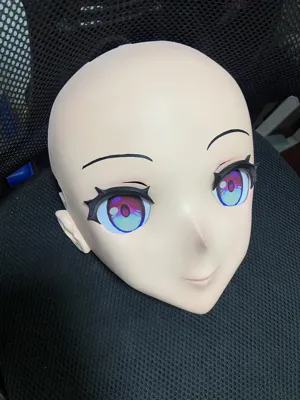
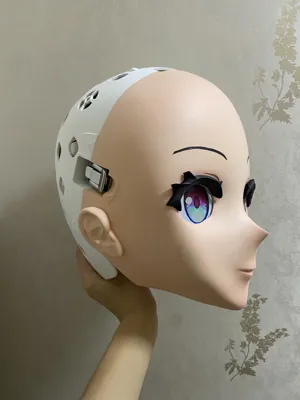
Honkai Star Rail - March 7th kigurumi head shell
Print Profile(1)
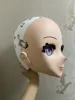
Description
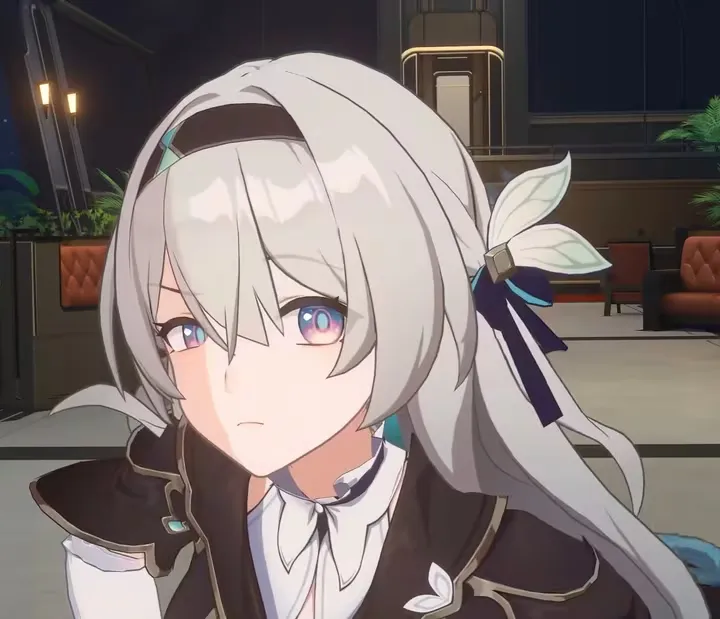
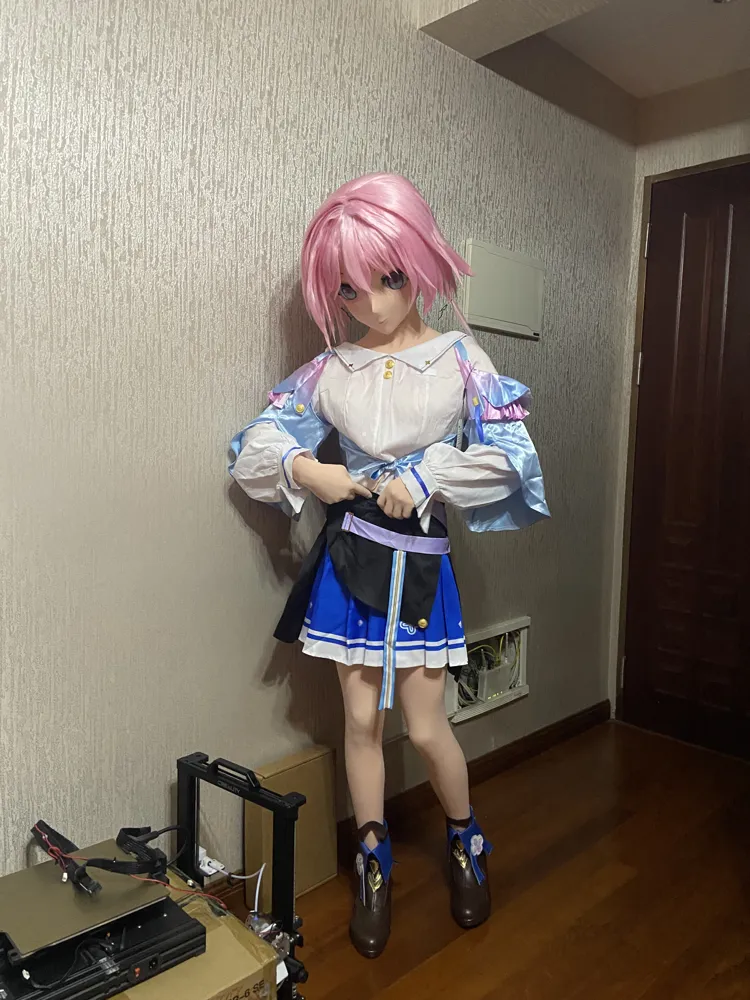
This is my wife, she is really beautiful( ̄︶ ̄)↗
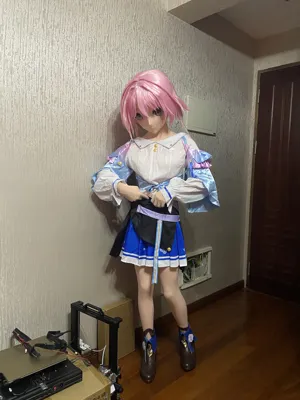
This is my wife.She is pretty( ̄︶ ̄)↗
This model references the open-source head model shared by magpie鹊跃 and was created based on the Honkai: Star Rail March 7th character model (not a standard Redhead head model)
[Open Source] Kigurumi Head Model! Blender project files provided plumAlpha_bilibili_bilibili
Blender project file download address: https://wwazs.lanzoue.com/ikNVt3ulocfg
You can adjust the overall size of the head shell using Blender, please refer to the video above for adjustment methods (requires some basic Blender knowledge)
Actually, my Blender skills are quite basic, so this file might be quite unintuitive ψ(._. )>
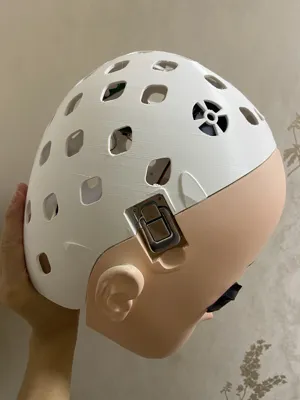
Head shell outer circumference (maximum, after front and back shells assembled): 78cm
Suitable wearer head circumference: 55~57cm
Additional parts required:
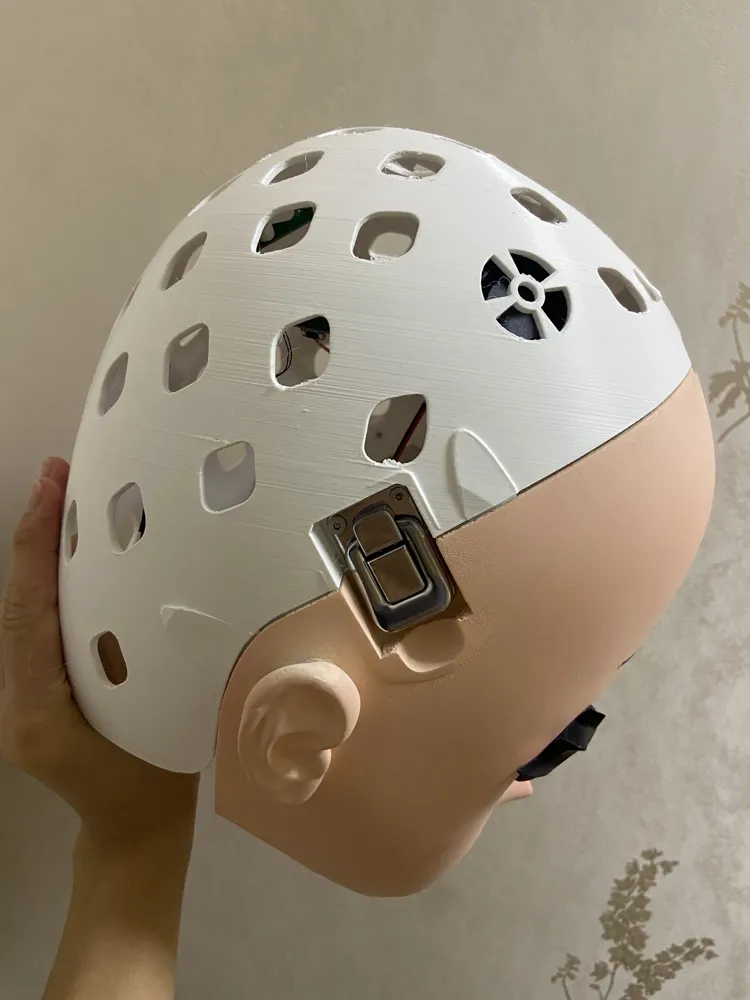
- Mandatory: a few m2*5, m3*10 screws, 3018 box locks*2, one longer screw with its matching nut*1 (specific requirements below)
- Optional: a few m3*16, m2*10 screws, 1260110 polymer lithium batteries*2, 2A 5V lithium battery charge and discharge module, 4020 turbo blowers*2
Charge and discharge module Taobao purchase link: https://e.tb.cn/h.RDb3MlH2w5xDwSo?tk=TIEGgmfRHFO (for reference only, no need to buy the exact same one)
The material list for making other kigurumi head shells varies from person to person, you can go to Bilibili to search for tutorials and prepare them yourself
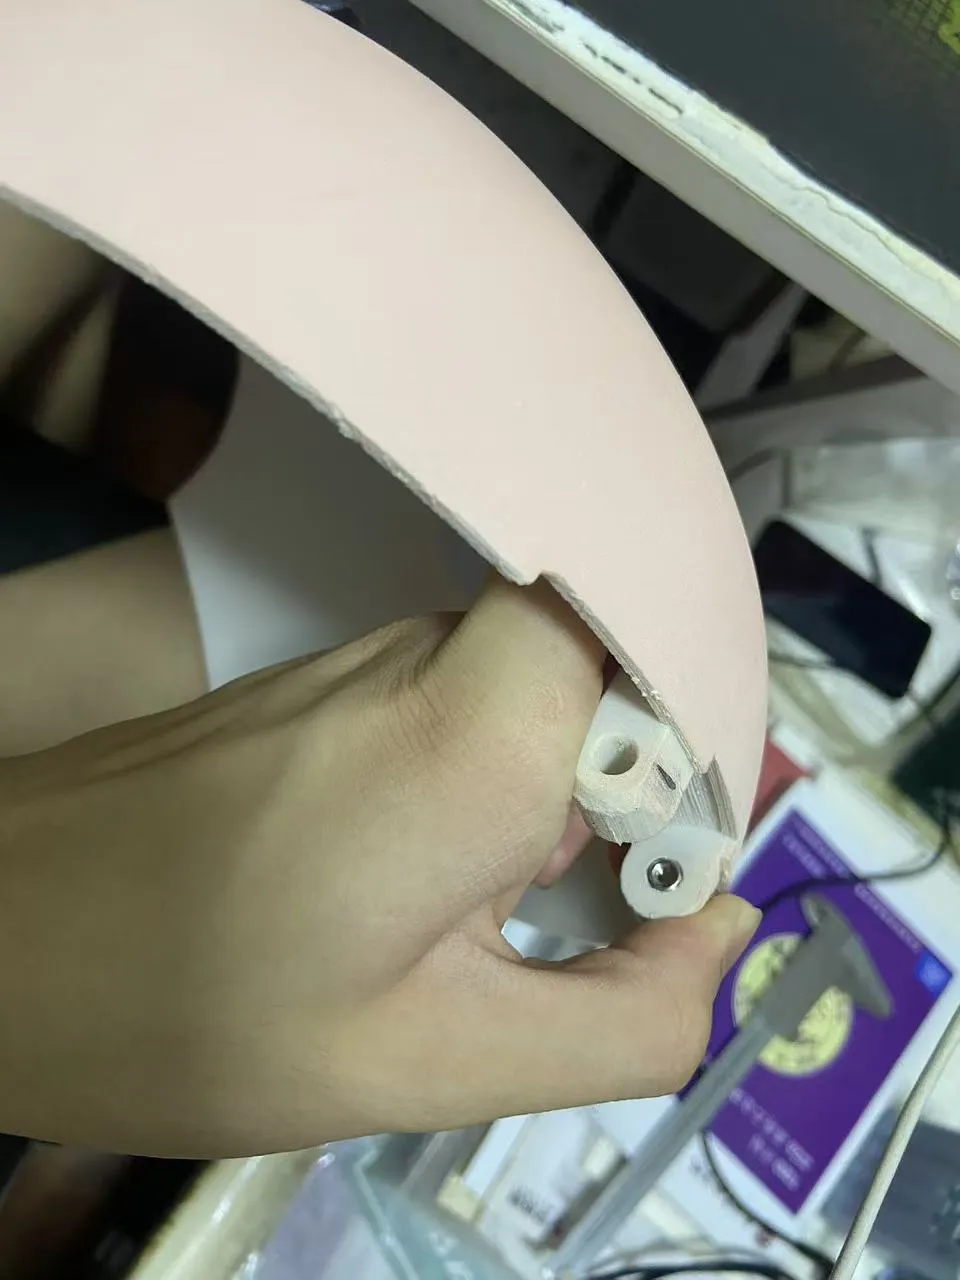
Long screws are used to connect the front and back shells, the hole diameter at the connection is about 4mm, the longest distance is 51.4mm, as shown in the figure below, you can choose the screw specifications according to your needs
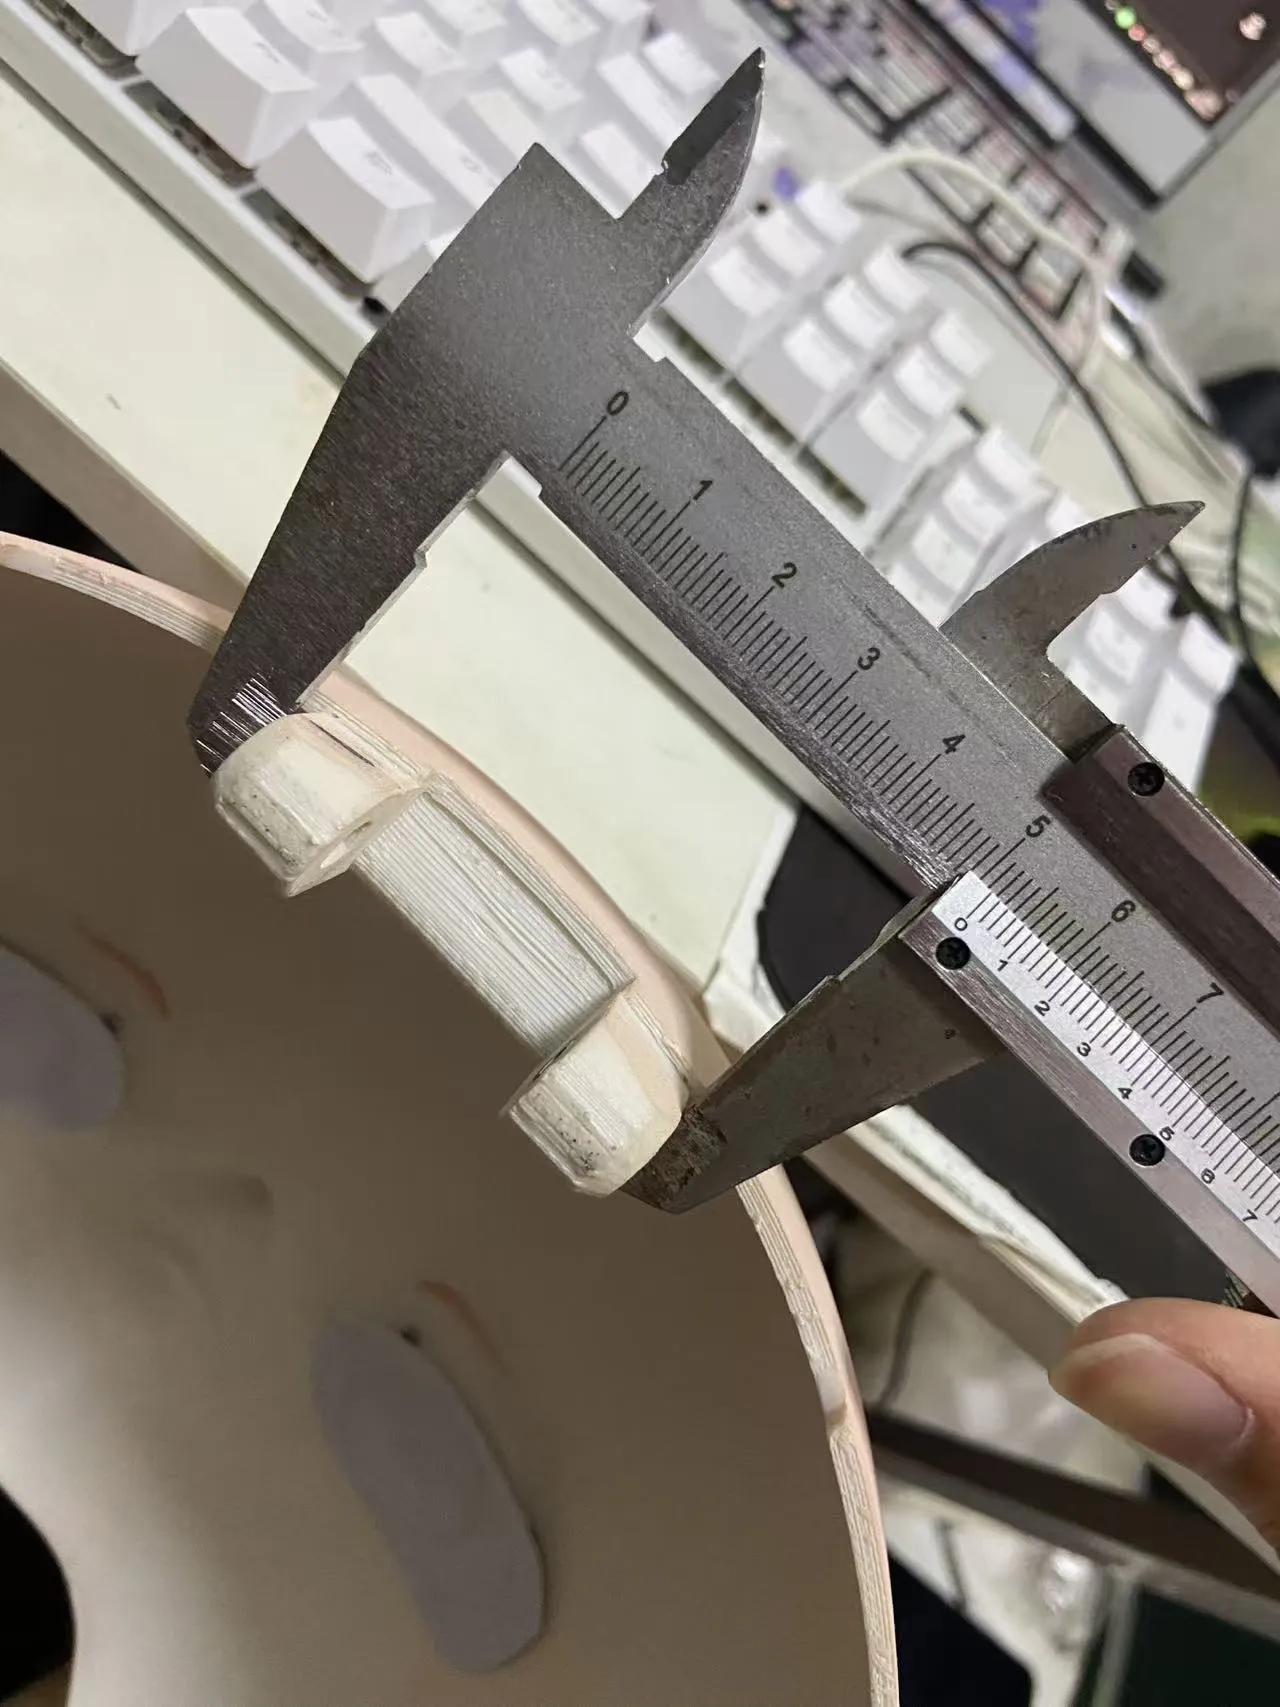
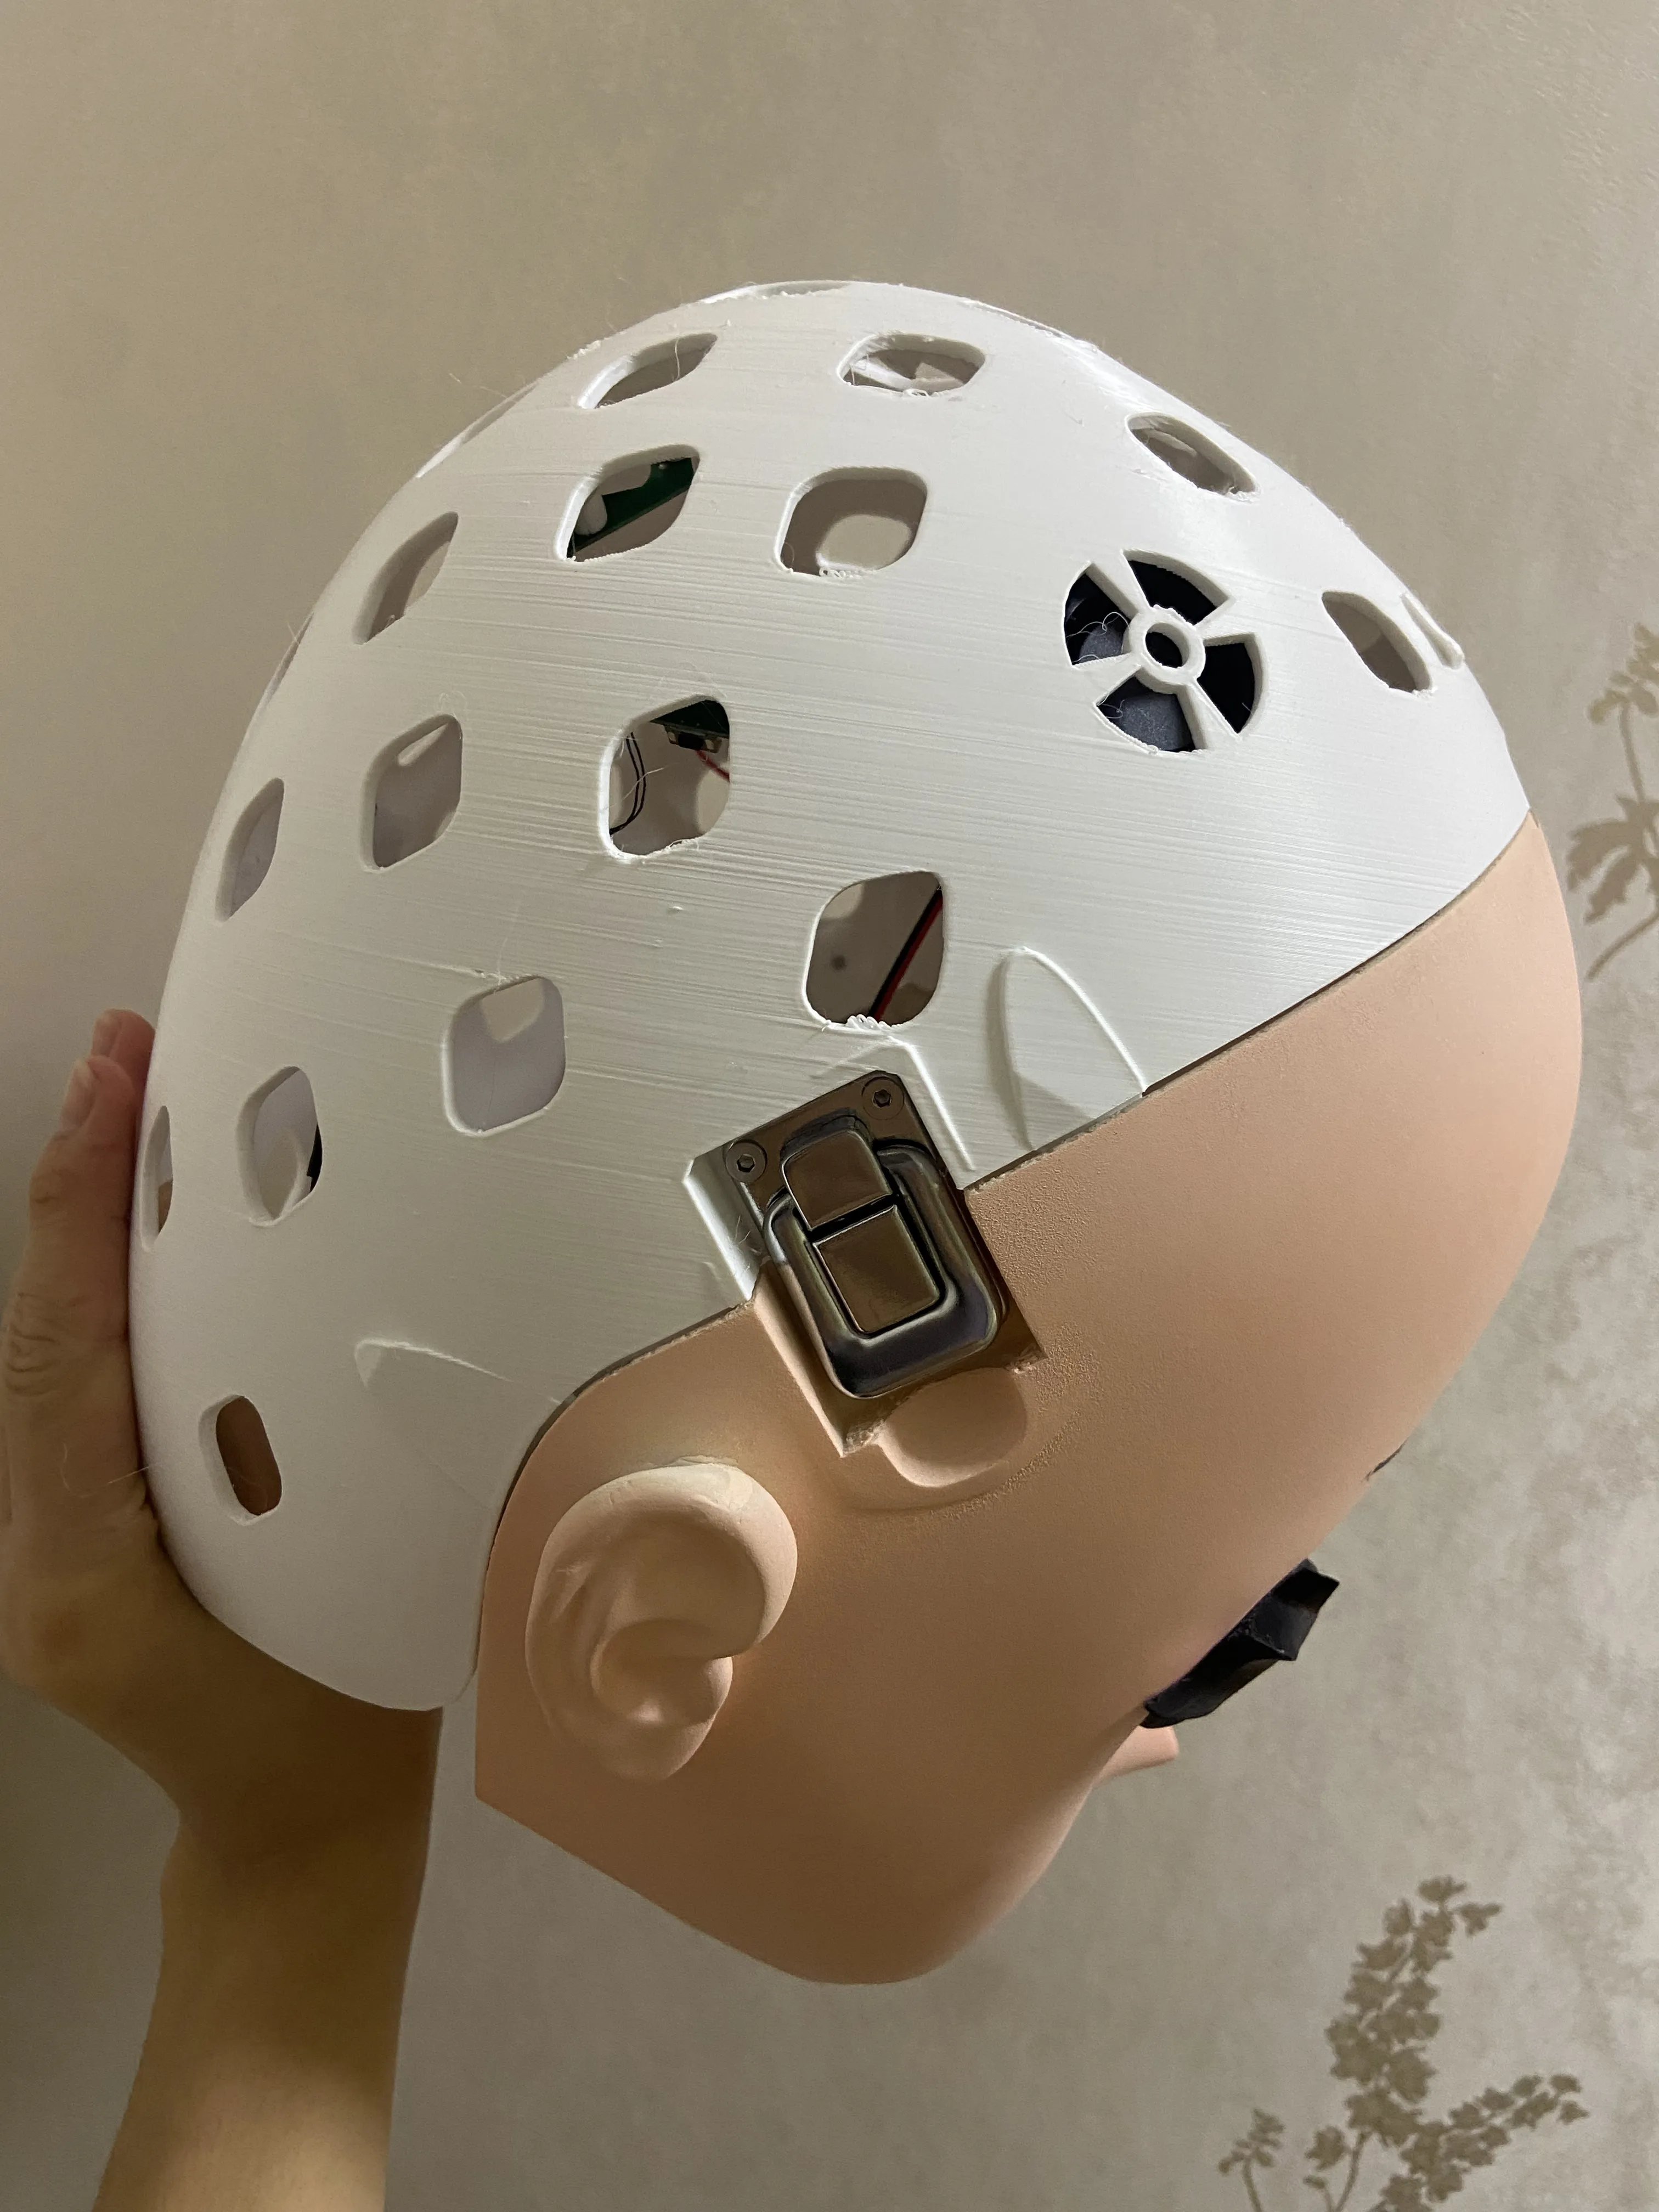
M3*10 screws are used to fix the 3018 locks, as shown in the figure
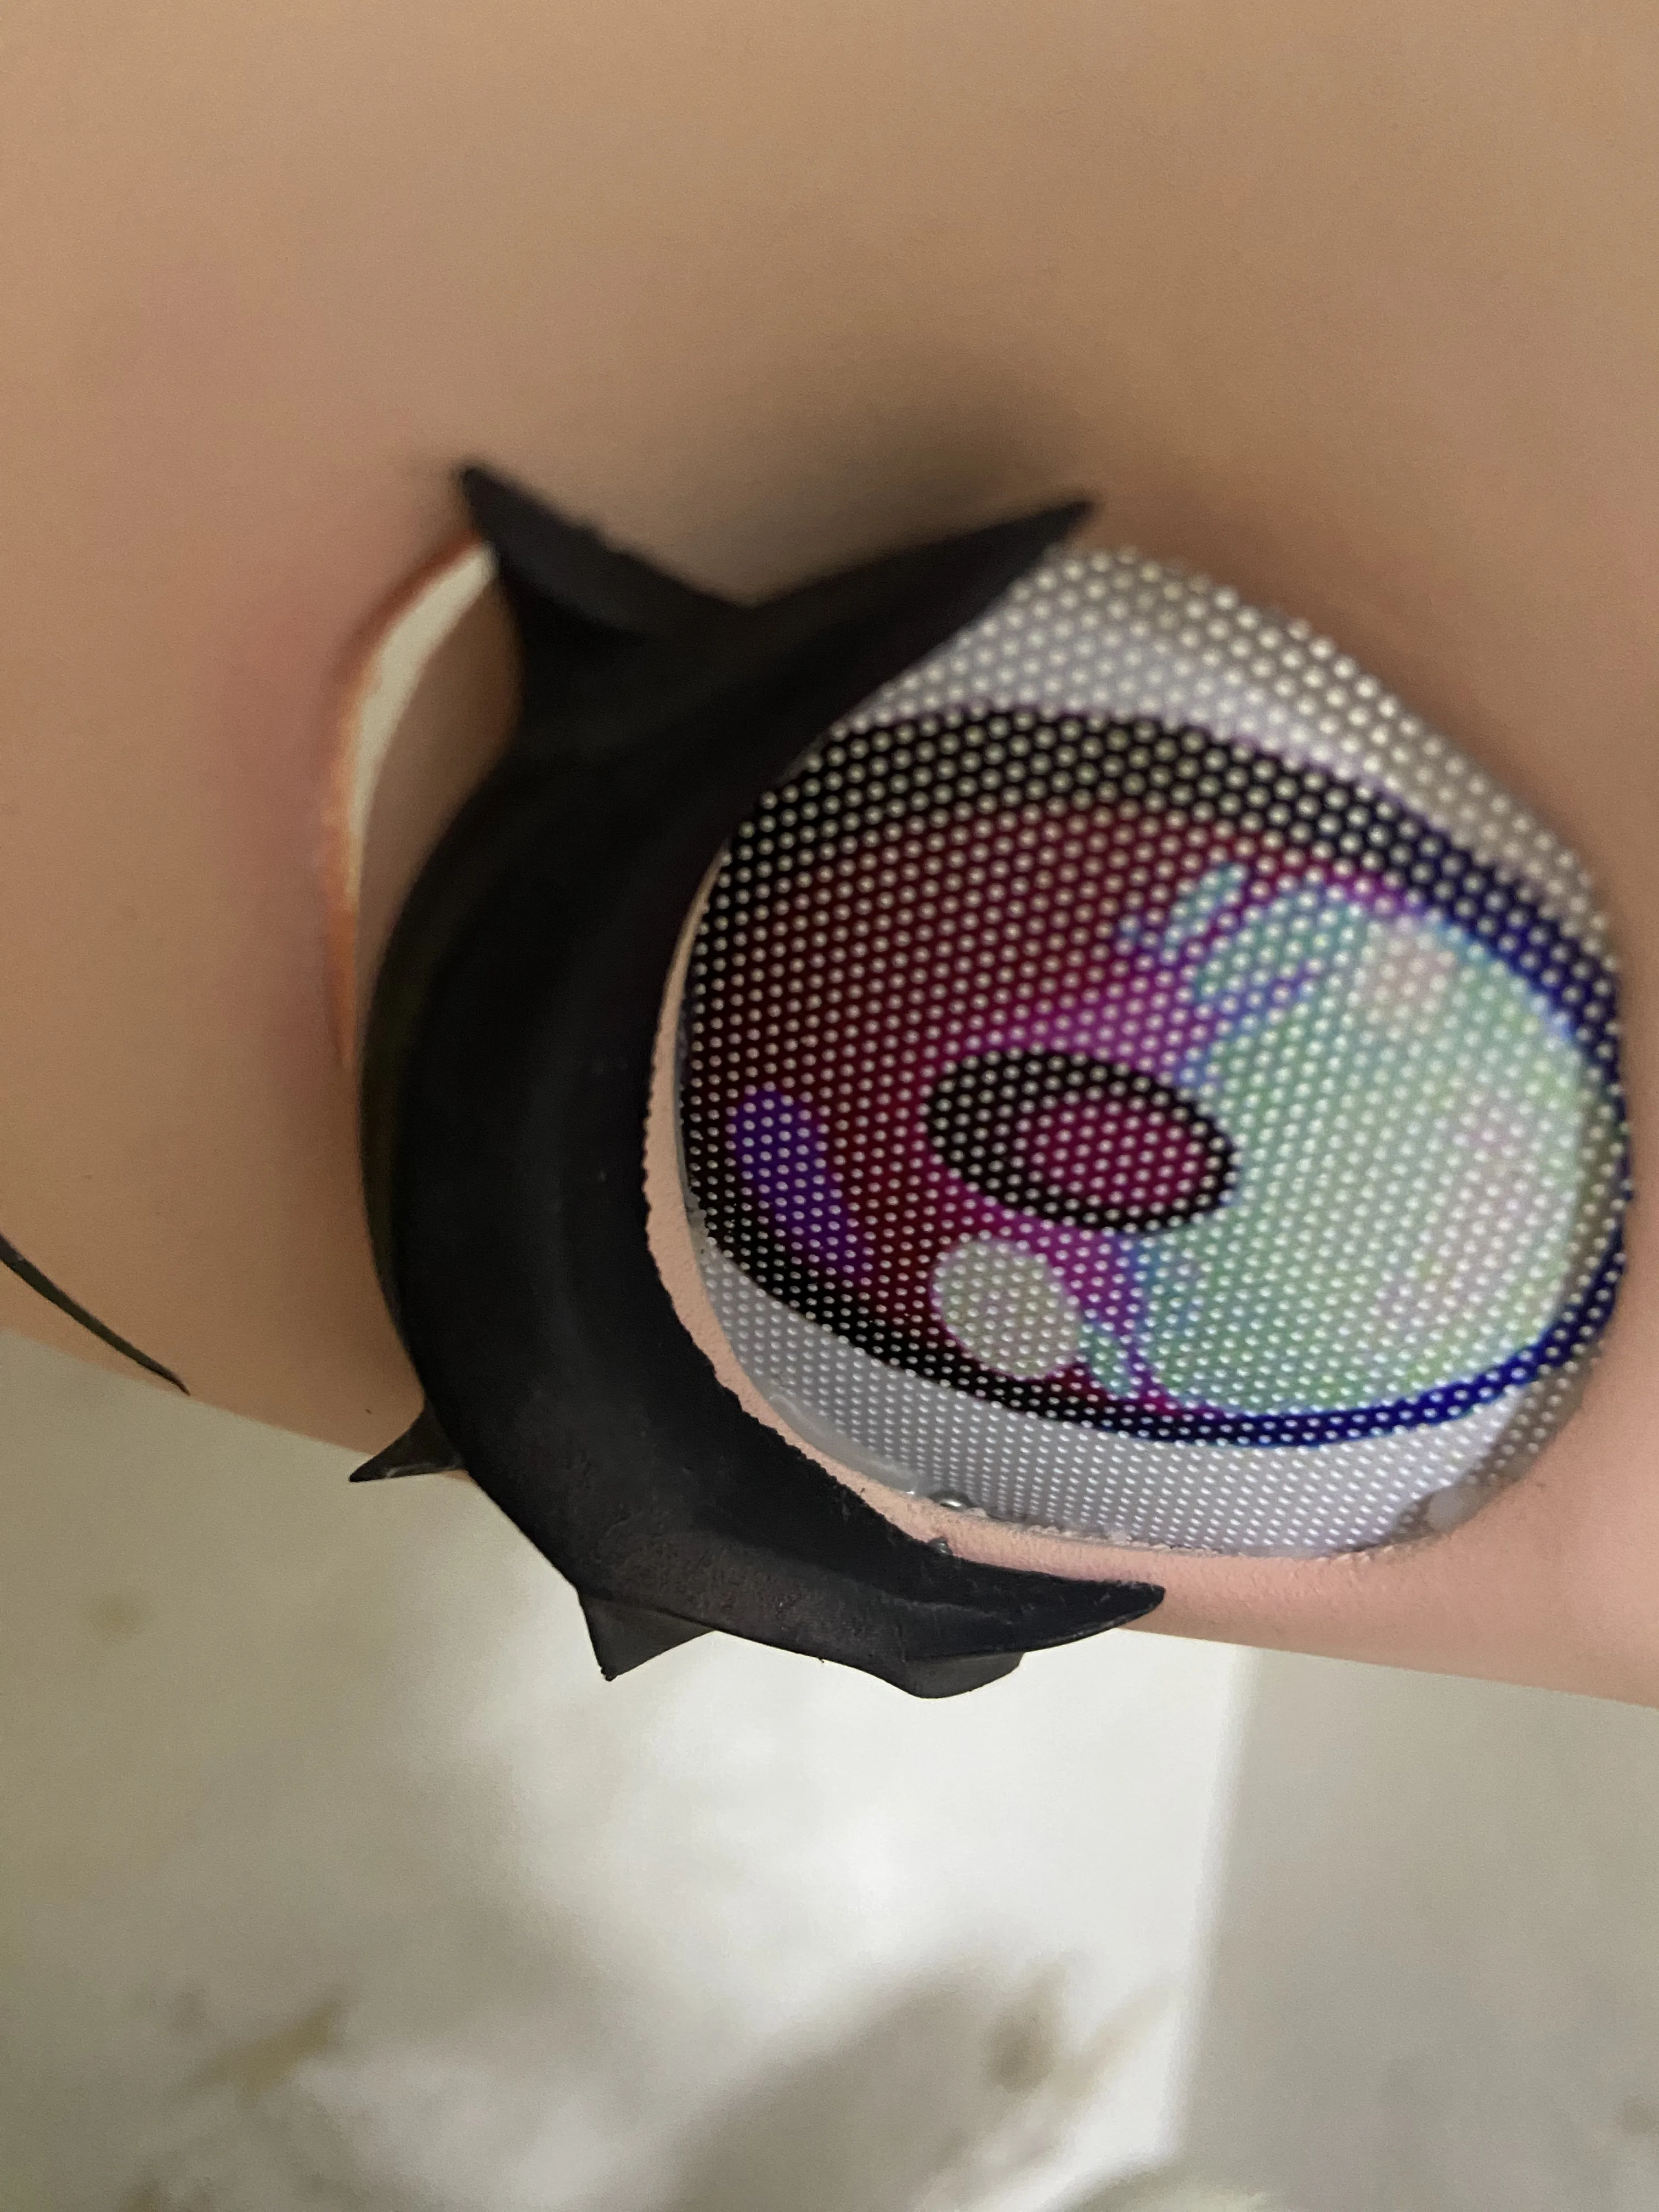
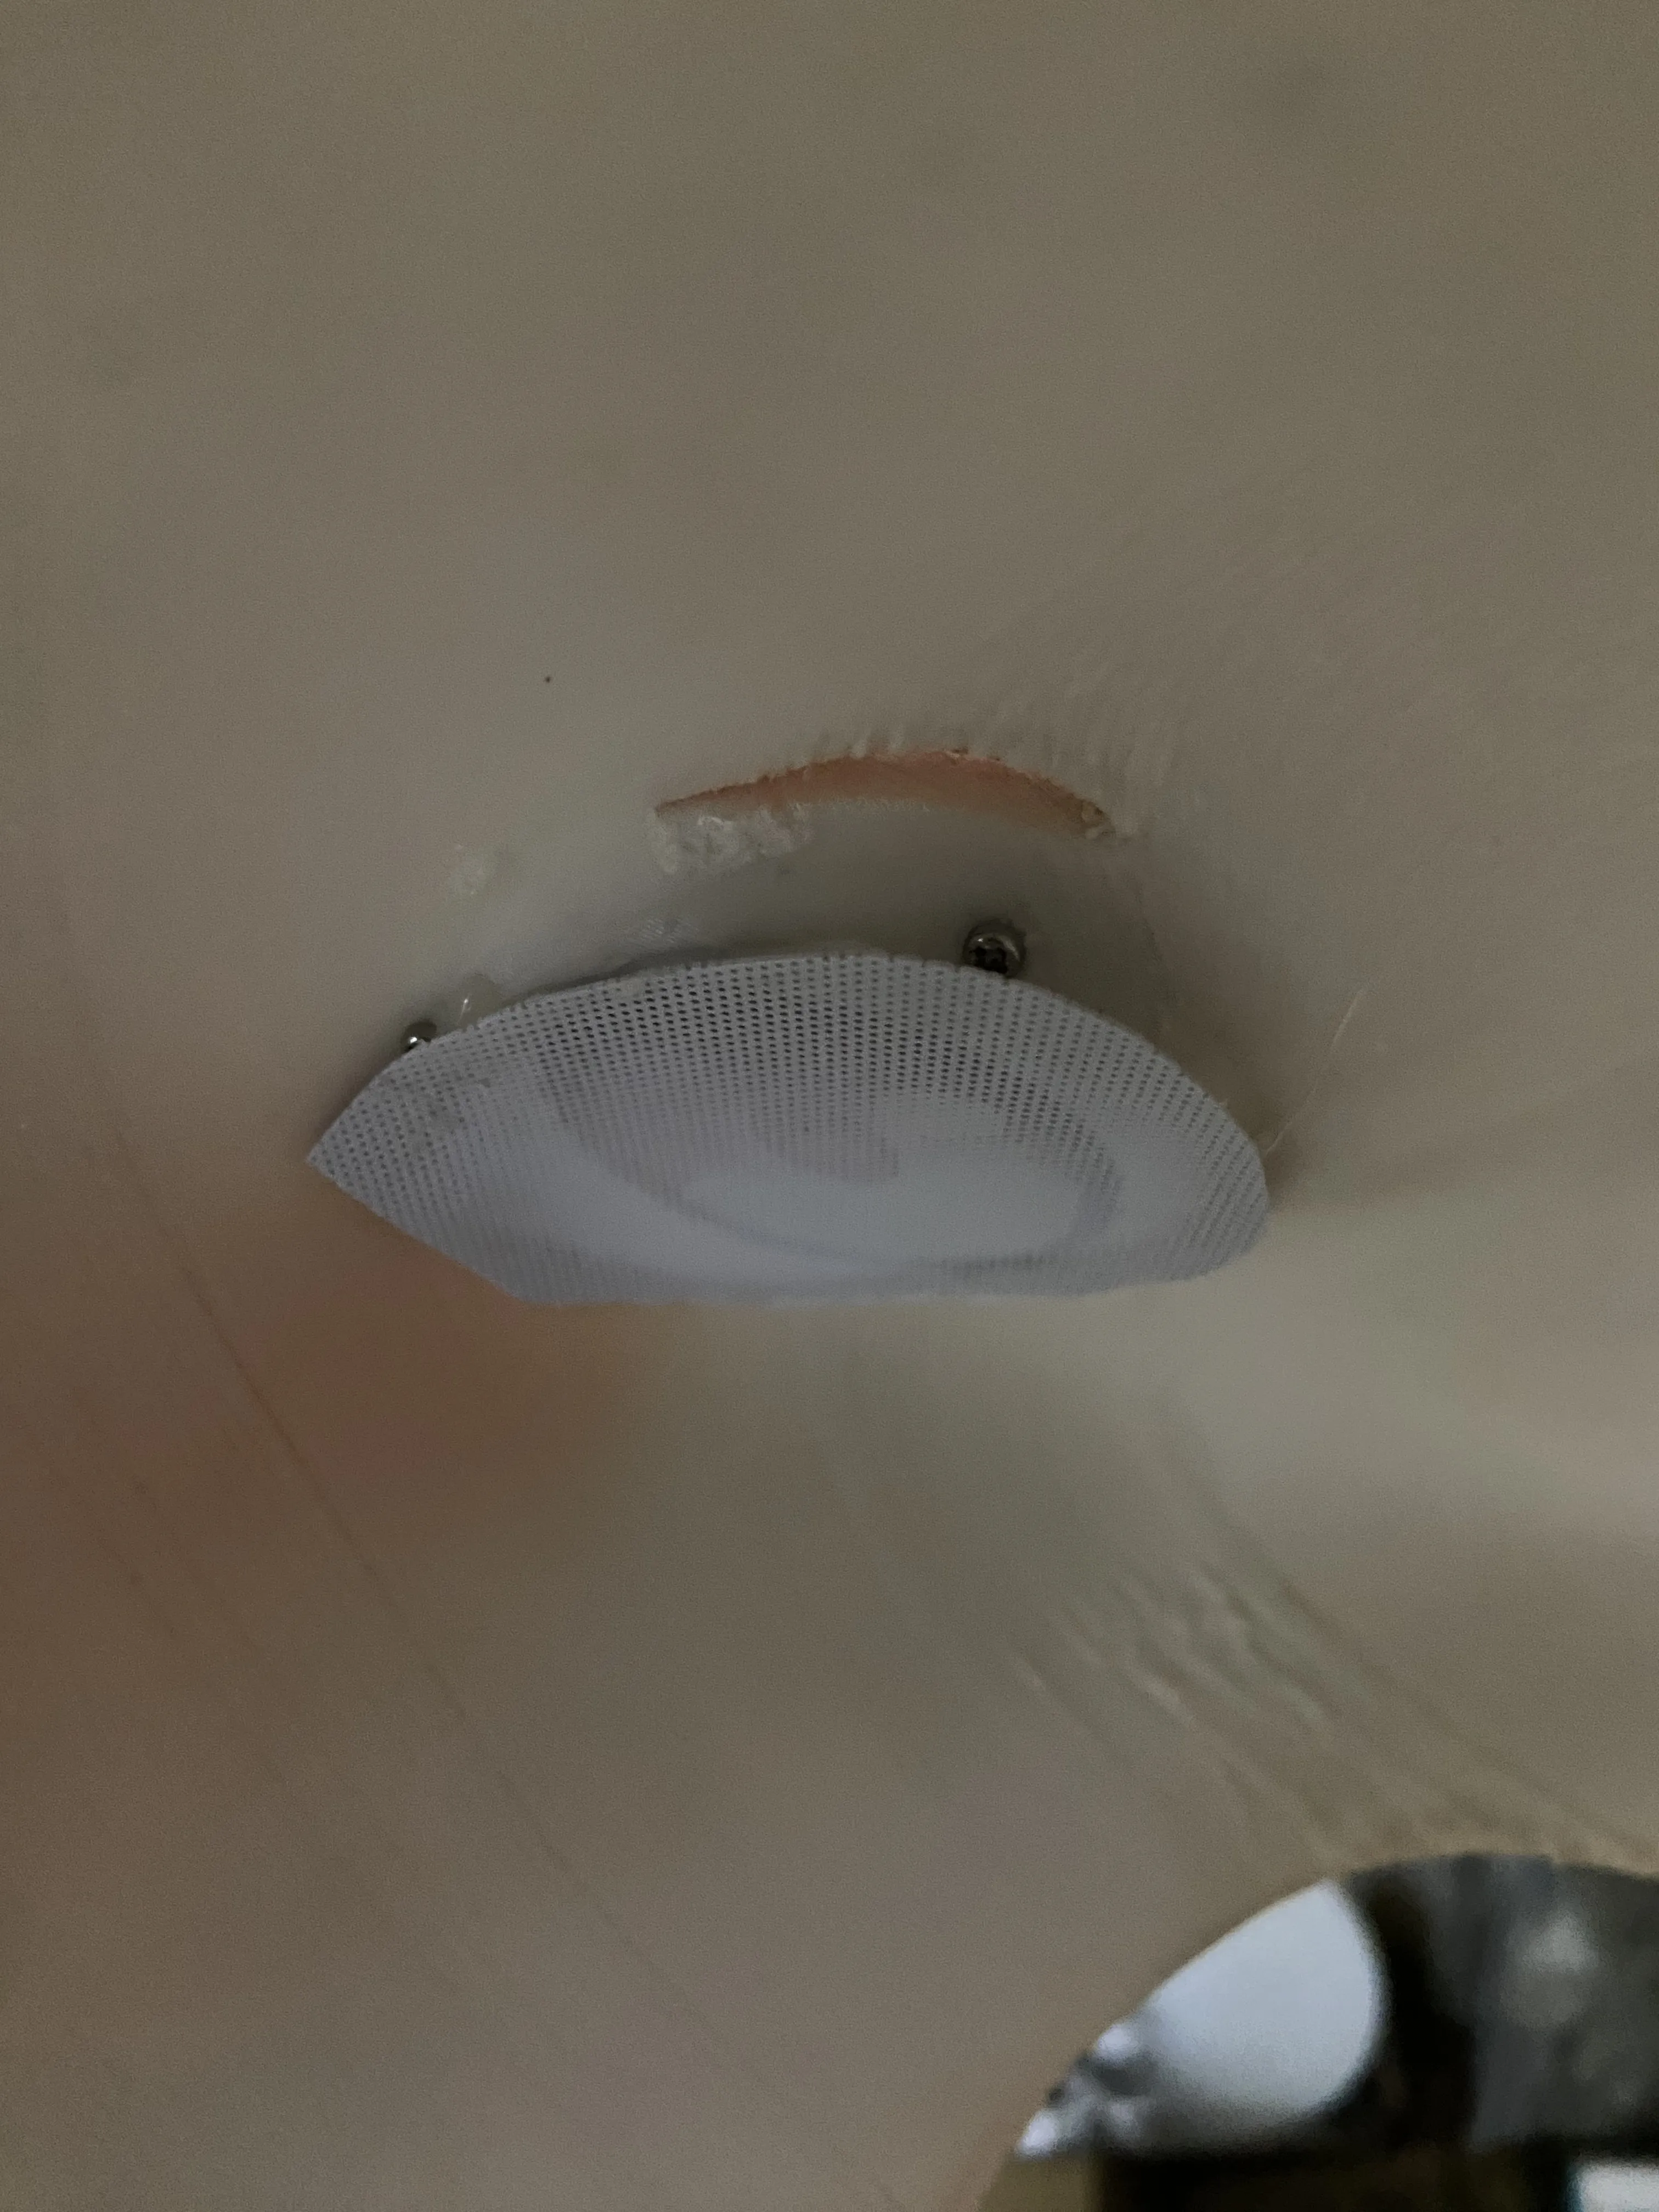
M2*5 screws are used to fix the eyelashes, 3 on each side (Of course, you can also use glue to fix them, which means you won't need m2*5 screws, but whether it's firm or not is another matter)
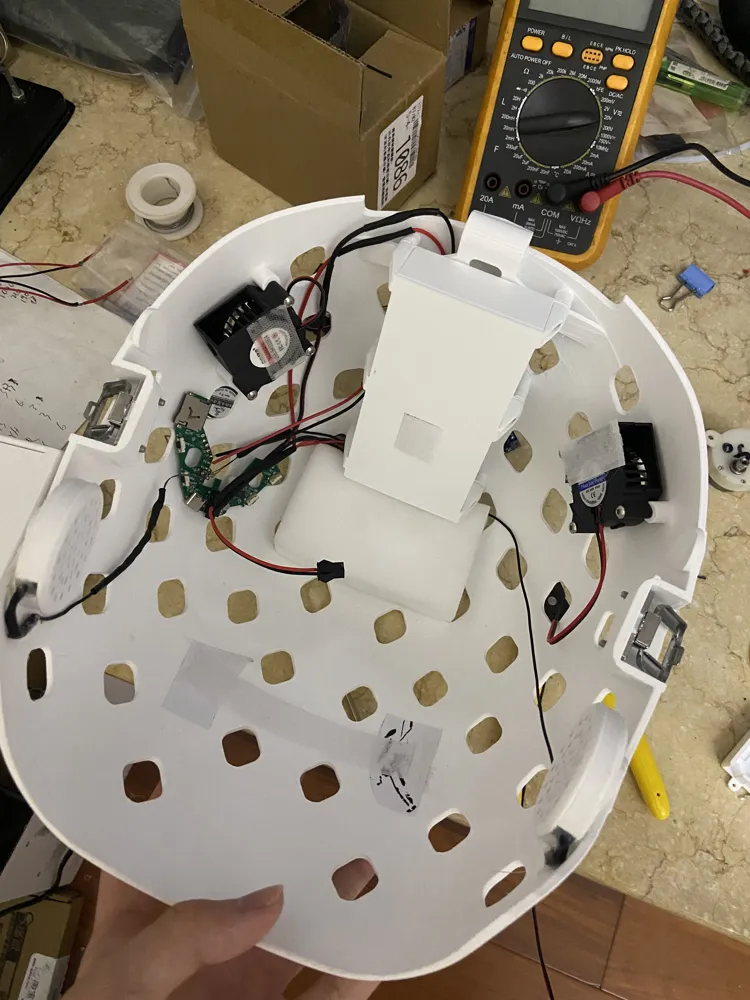
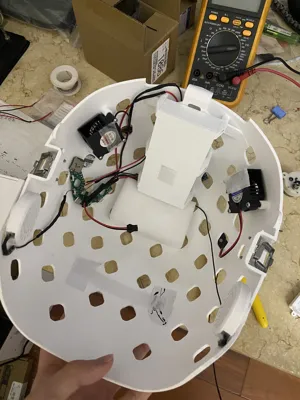
Finished assembly drawing of the rear shell, fan, and battery compartment:
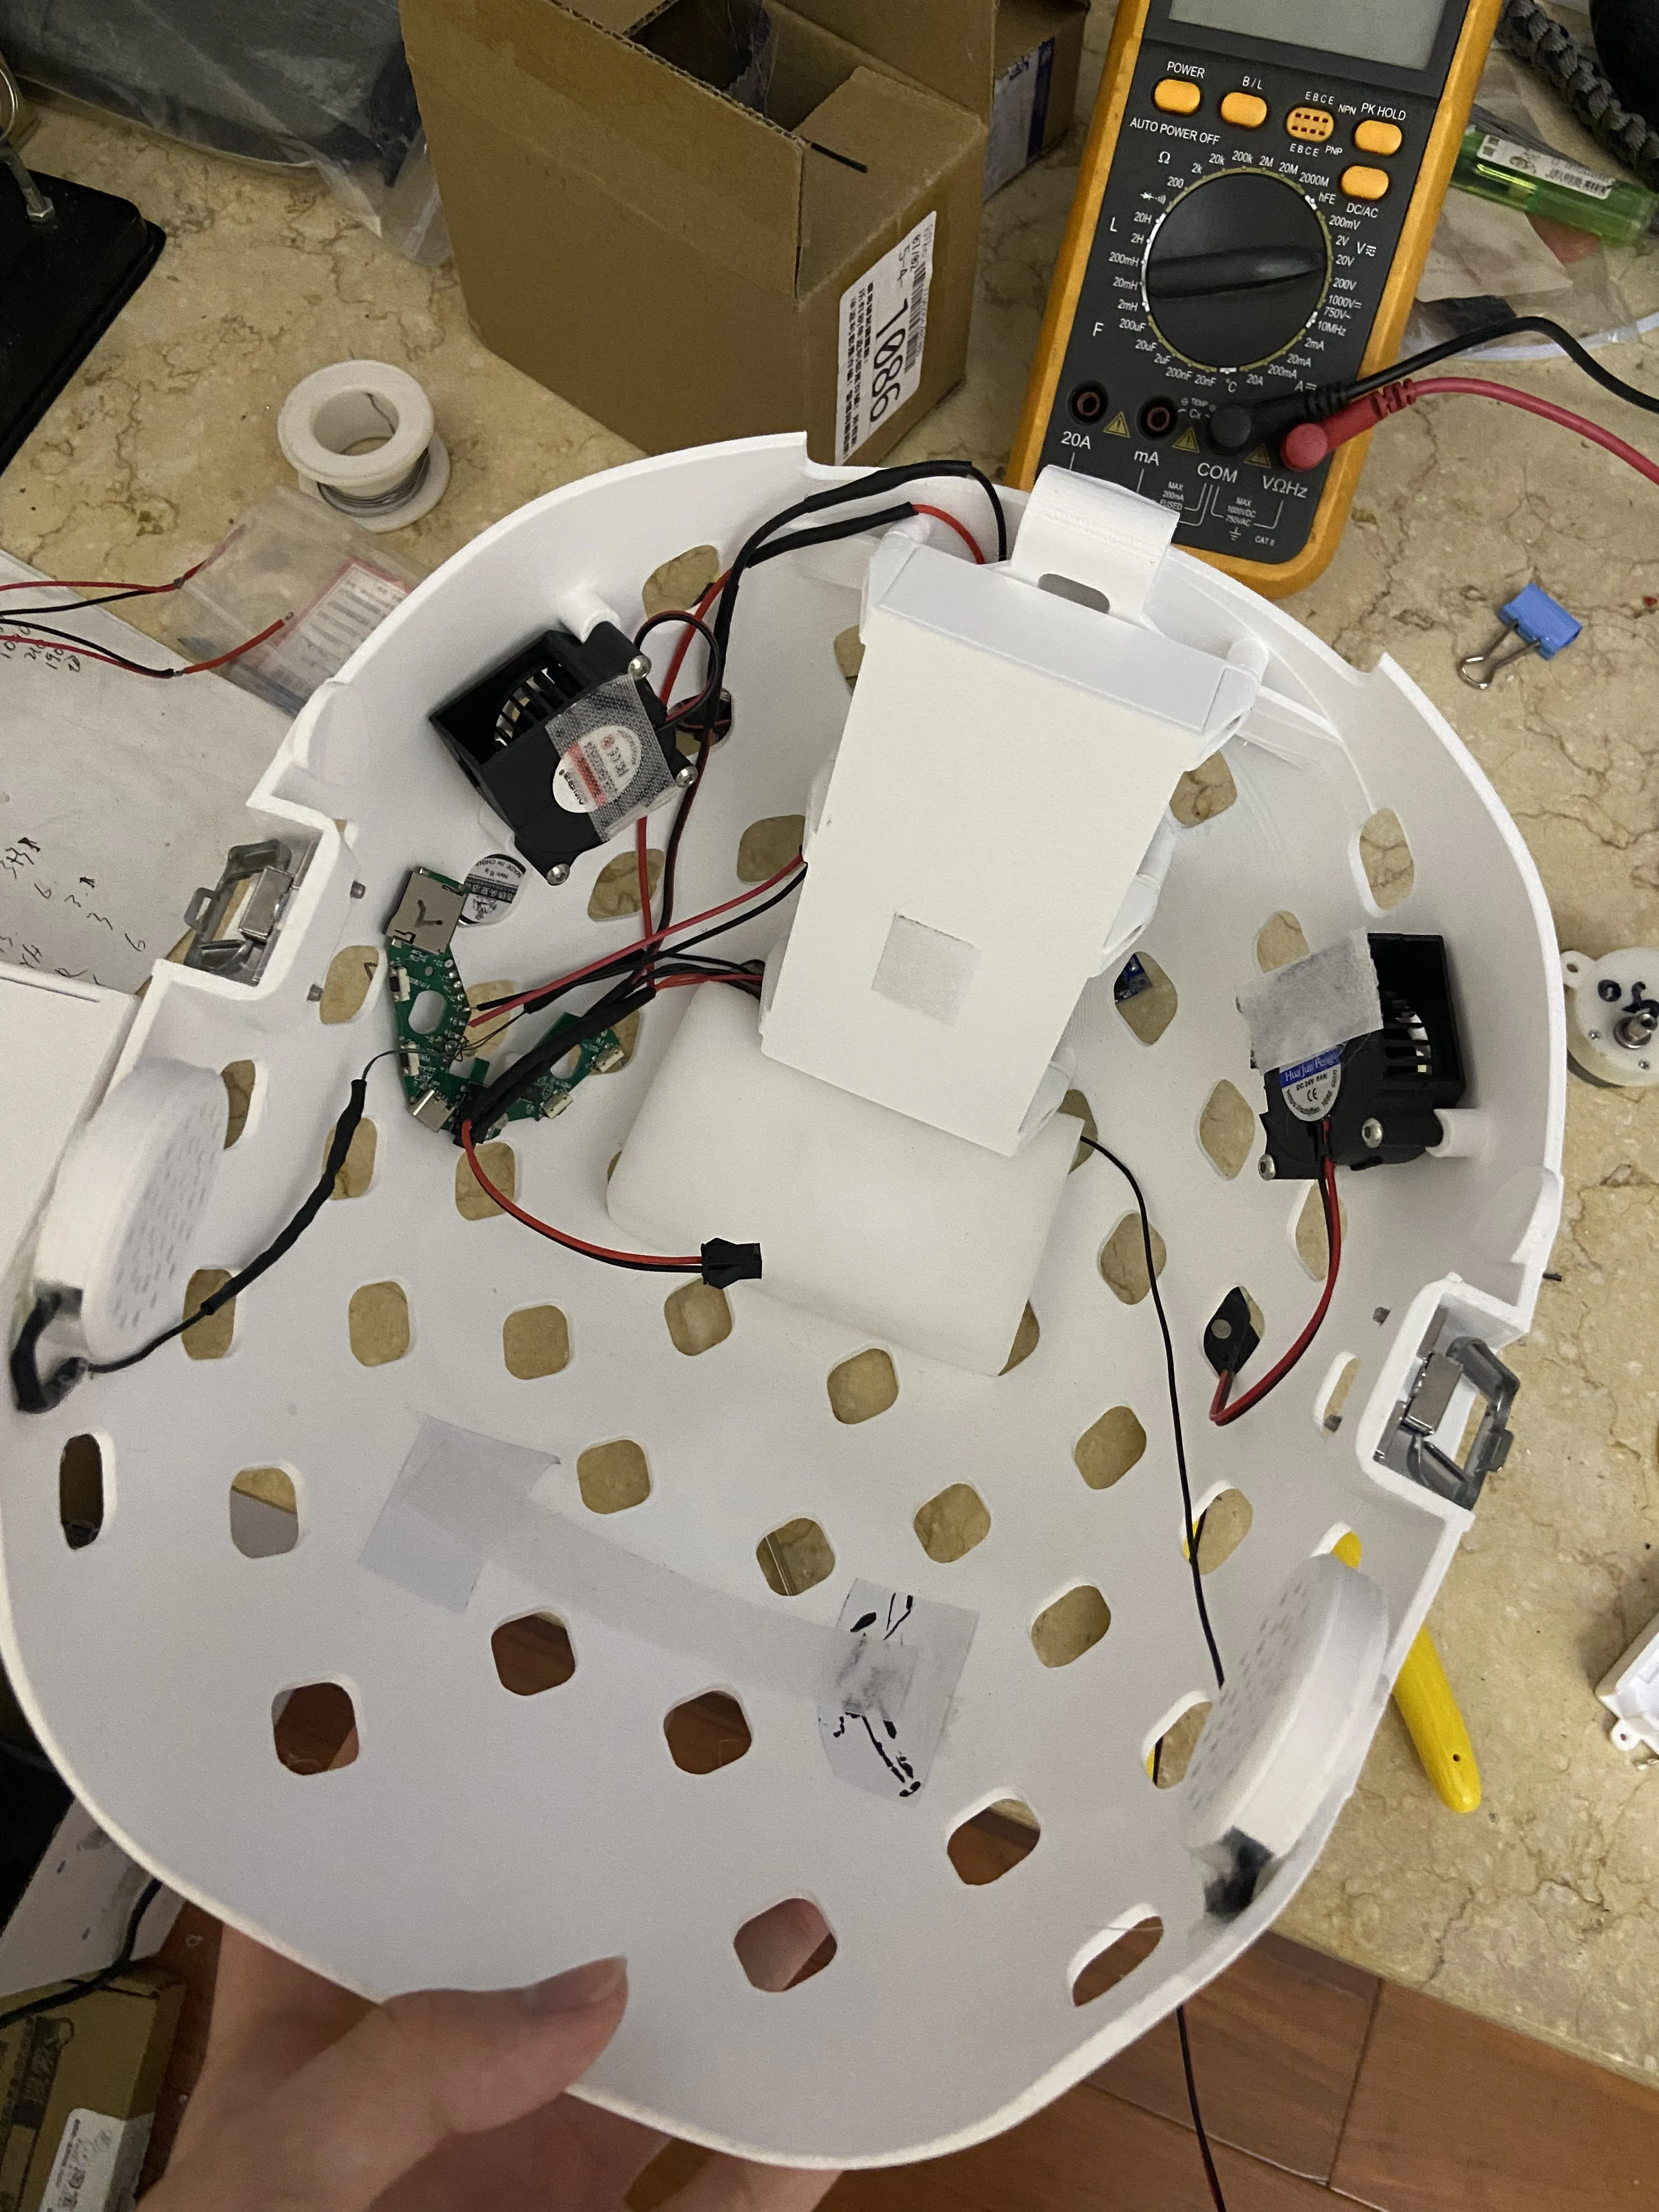
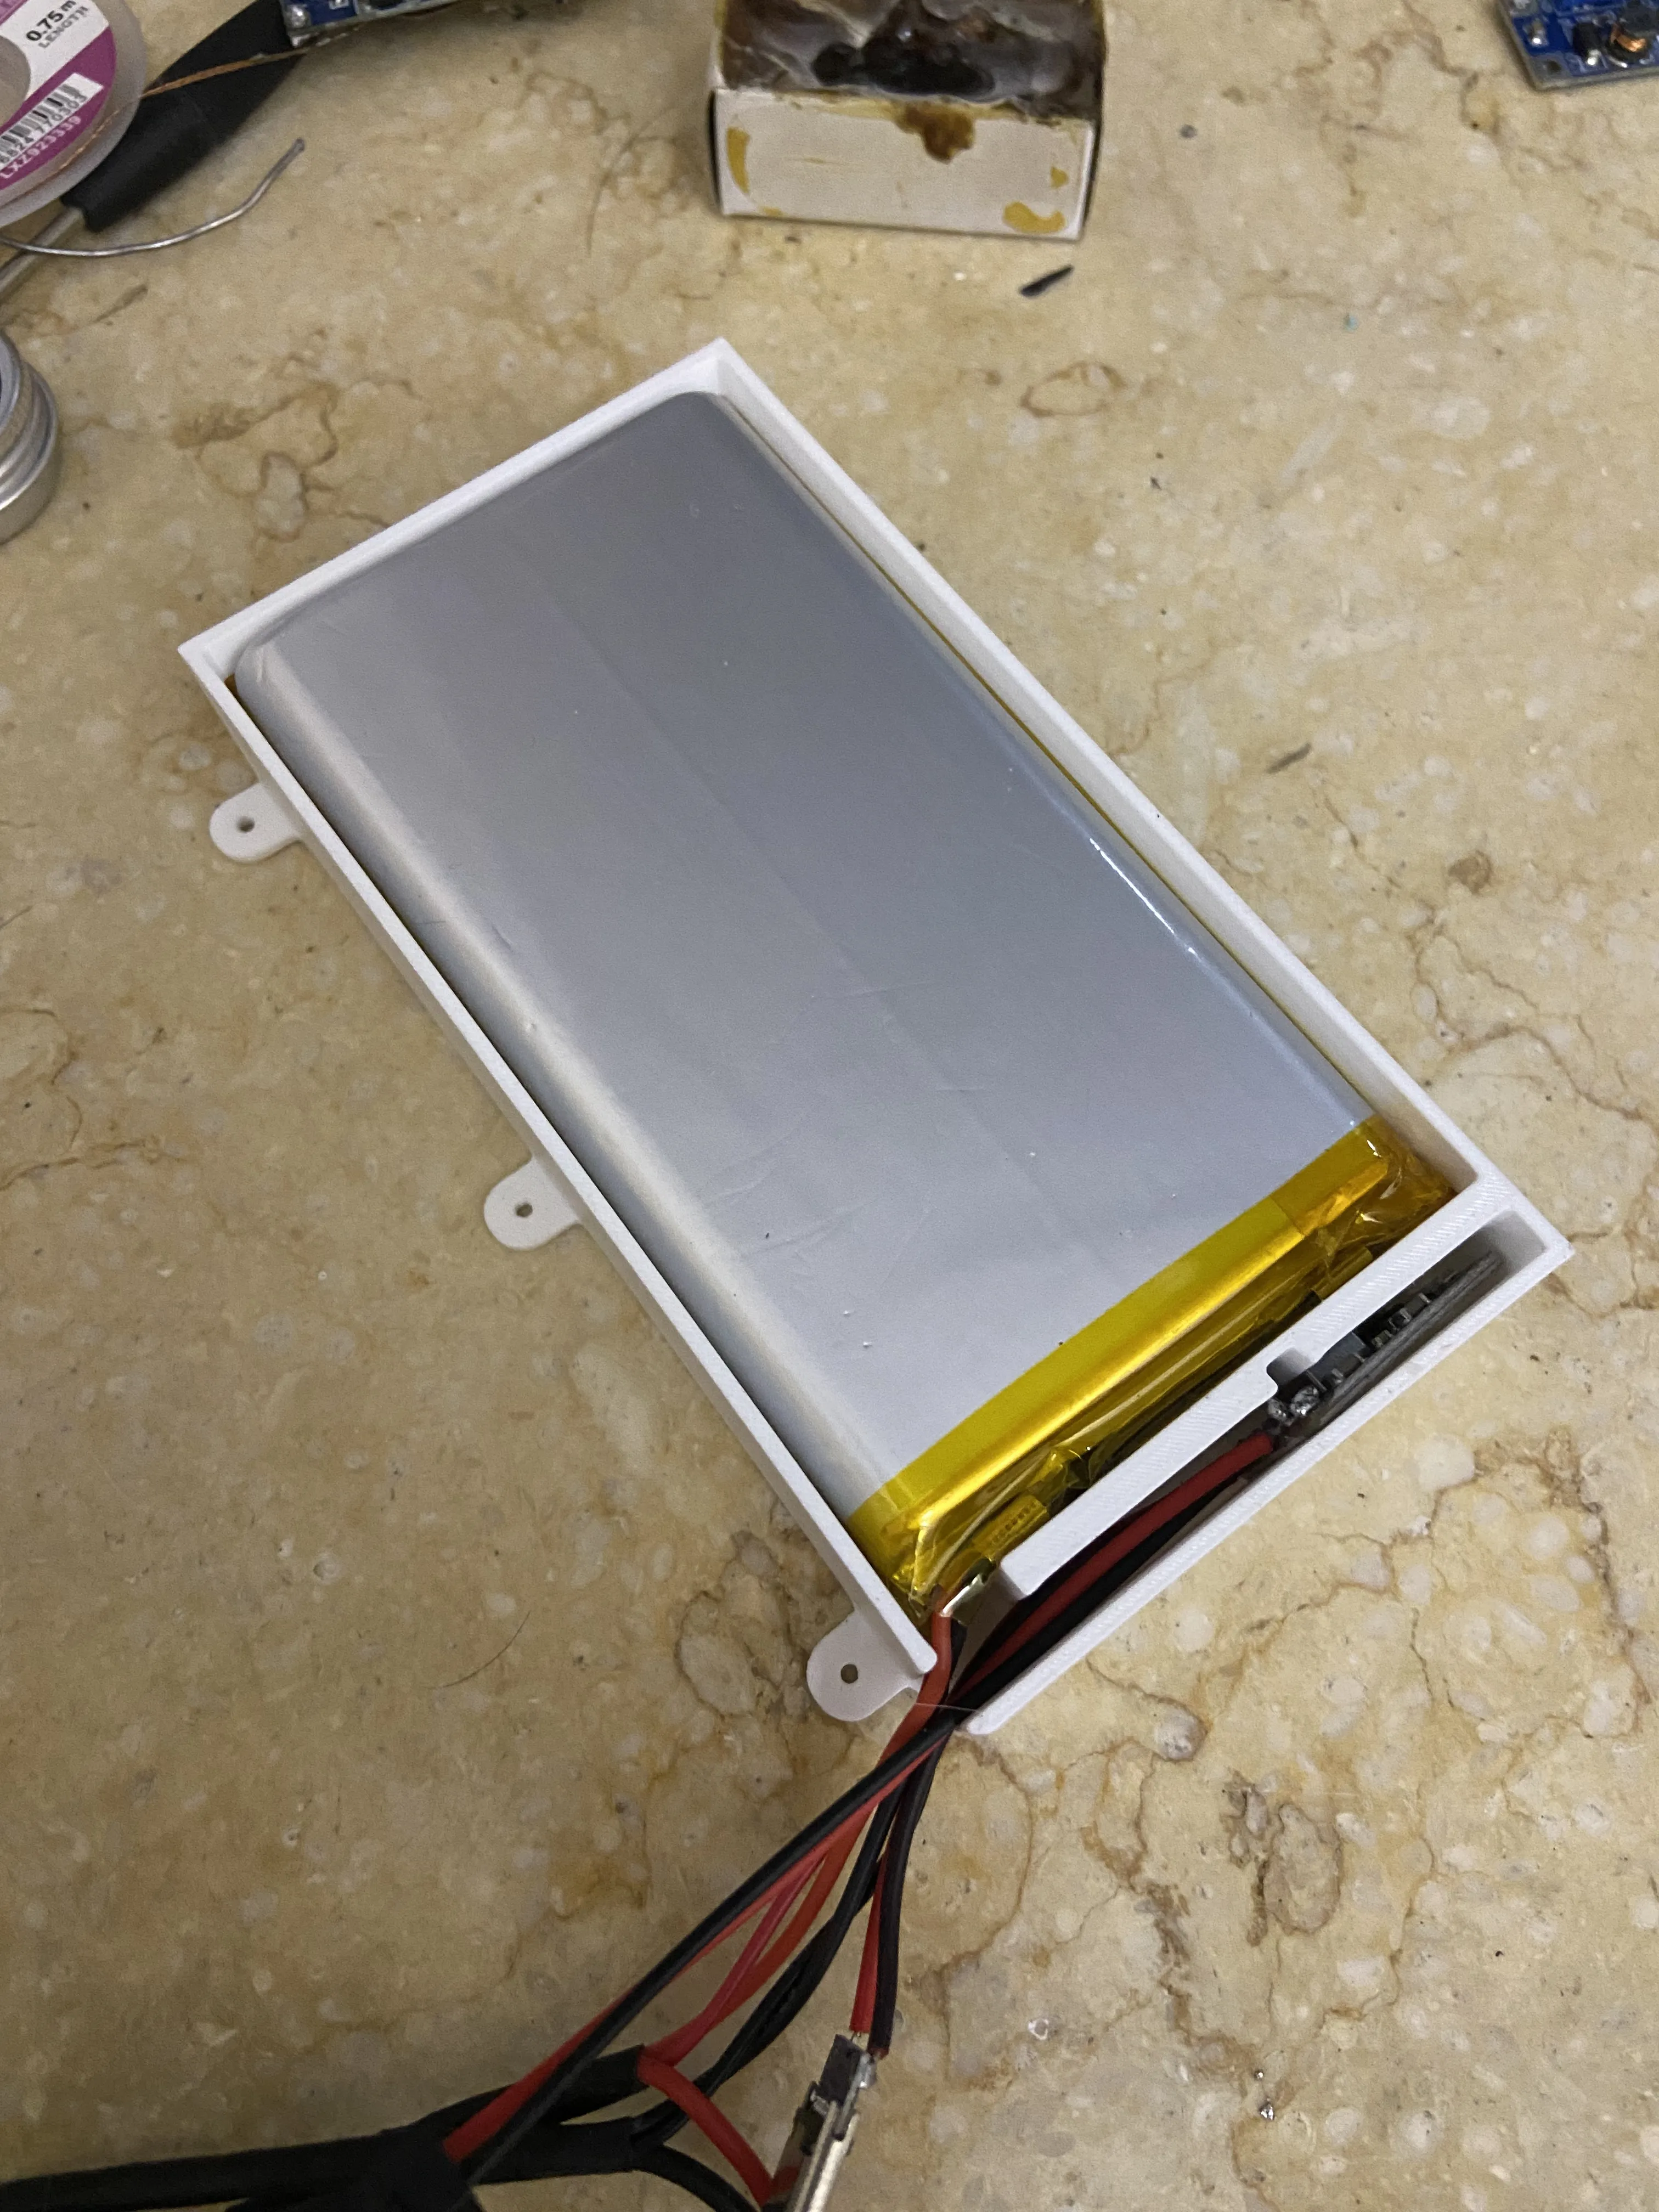
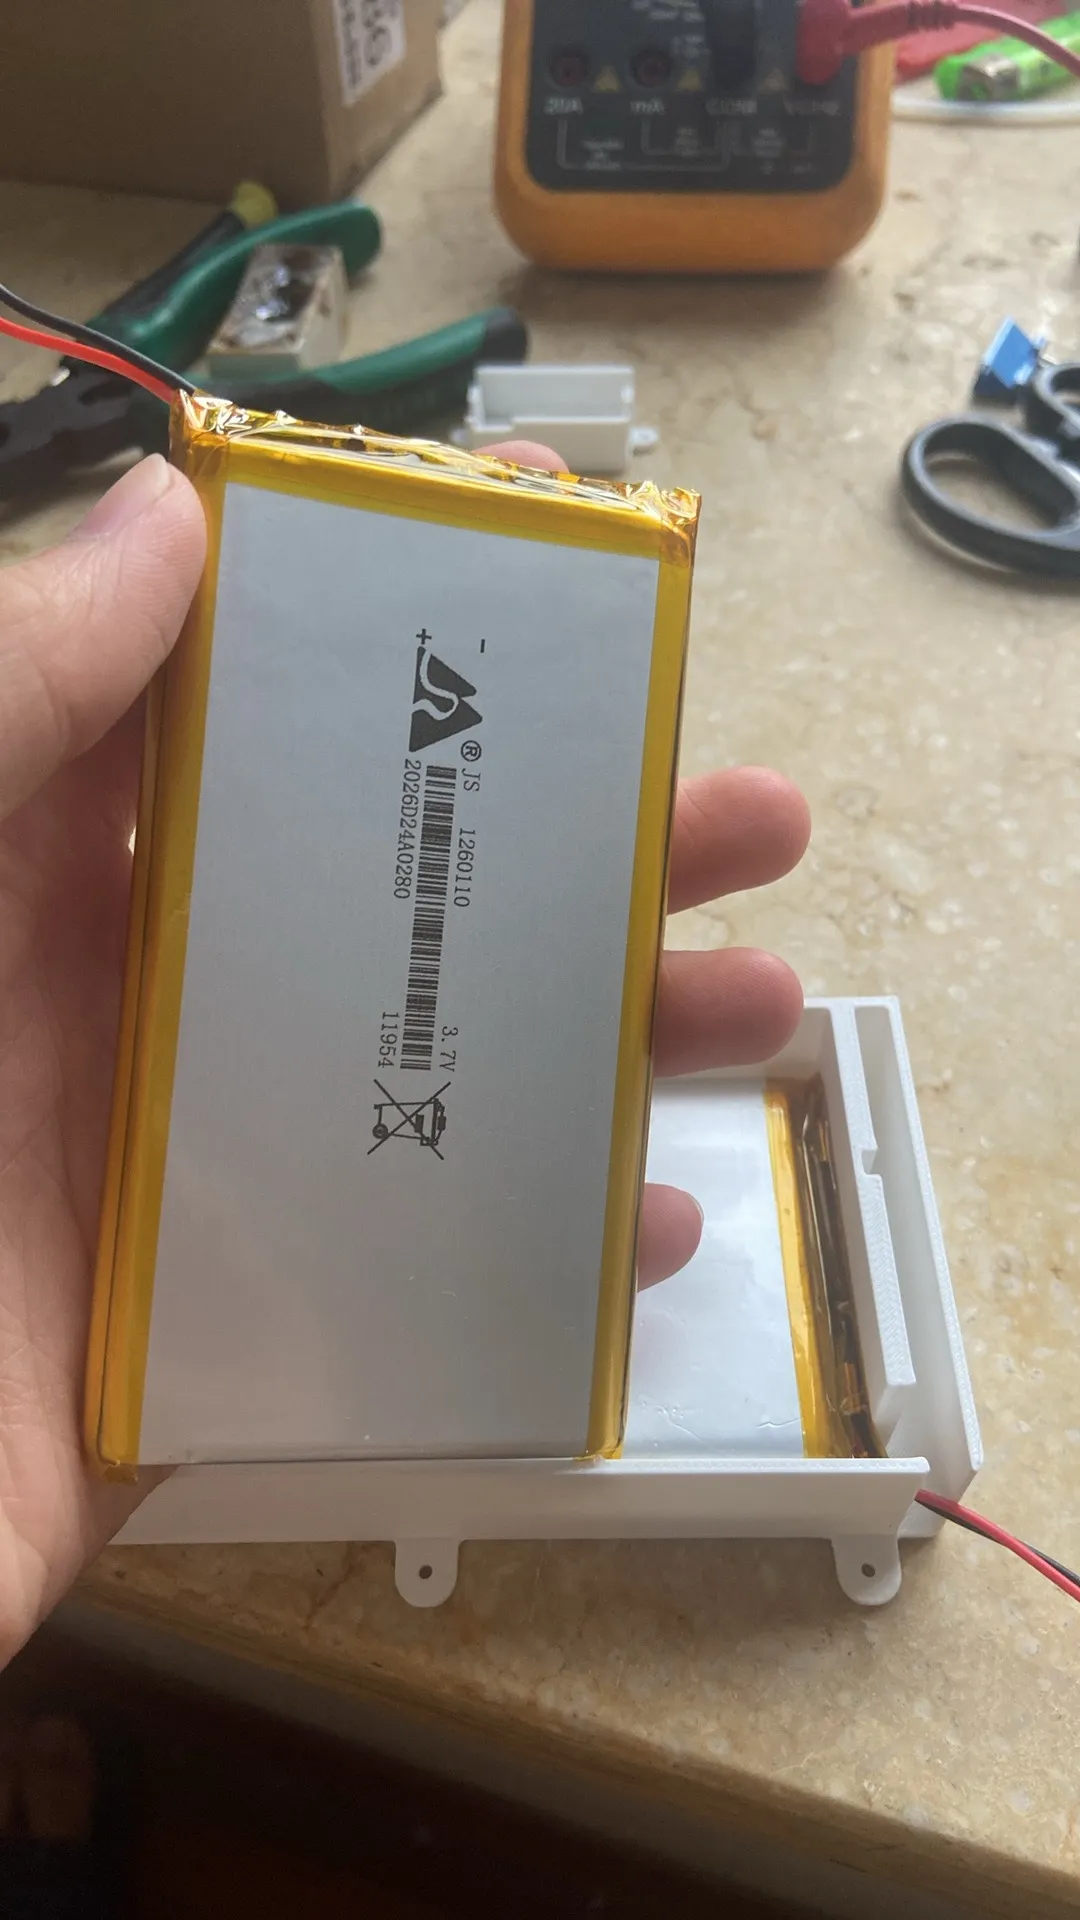
The green circuit board in Figure 1 and the two protruding white blocks below the shell can be ignored, they are Bluetooth earphones I added myself
Also, the white object below the battery compartment in Figure 1 is a sponge
Please use m2*10 screws to fix the battery compartment, and m3*16 screws to fix the turbo fan
I remember there was a March 7th kig wig model on MakerWorld, right?
Allow me to show:
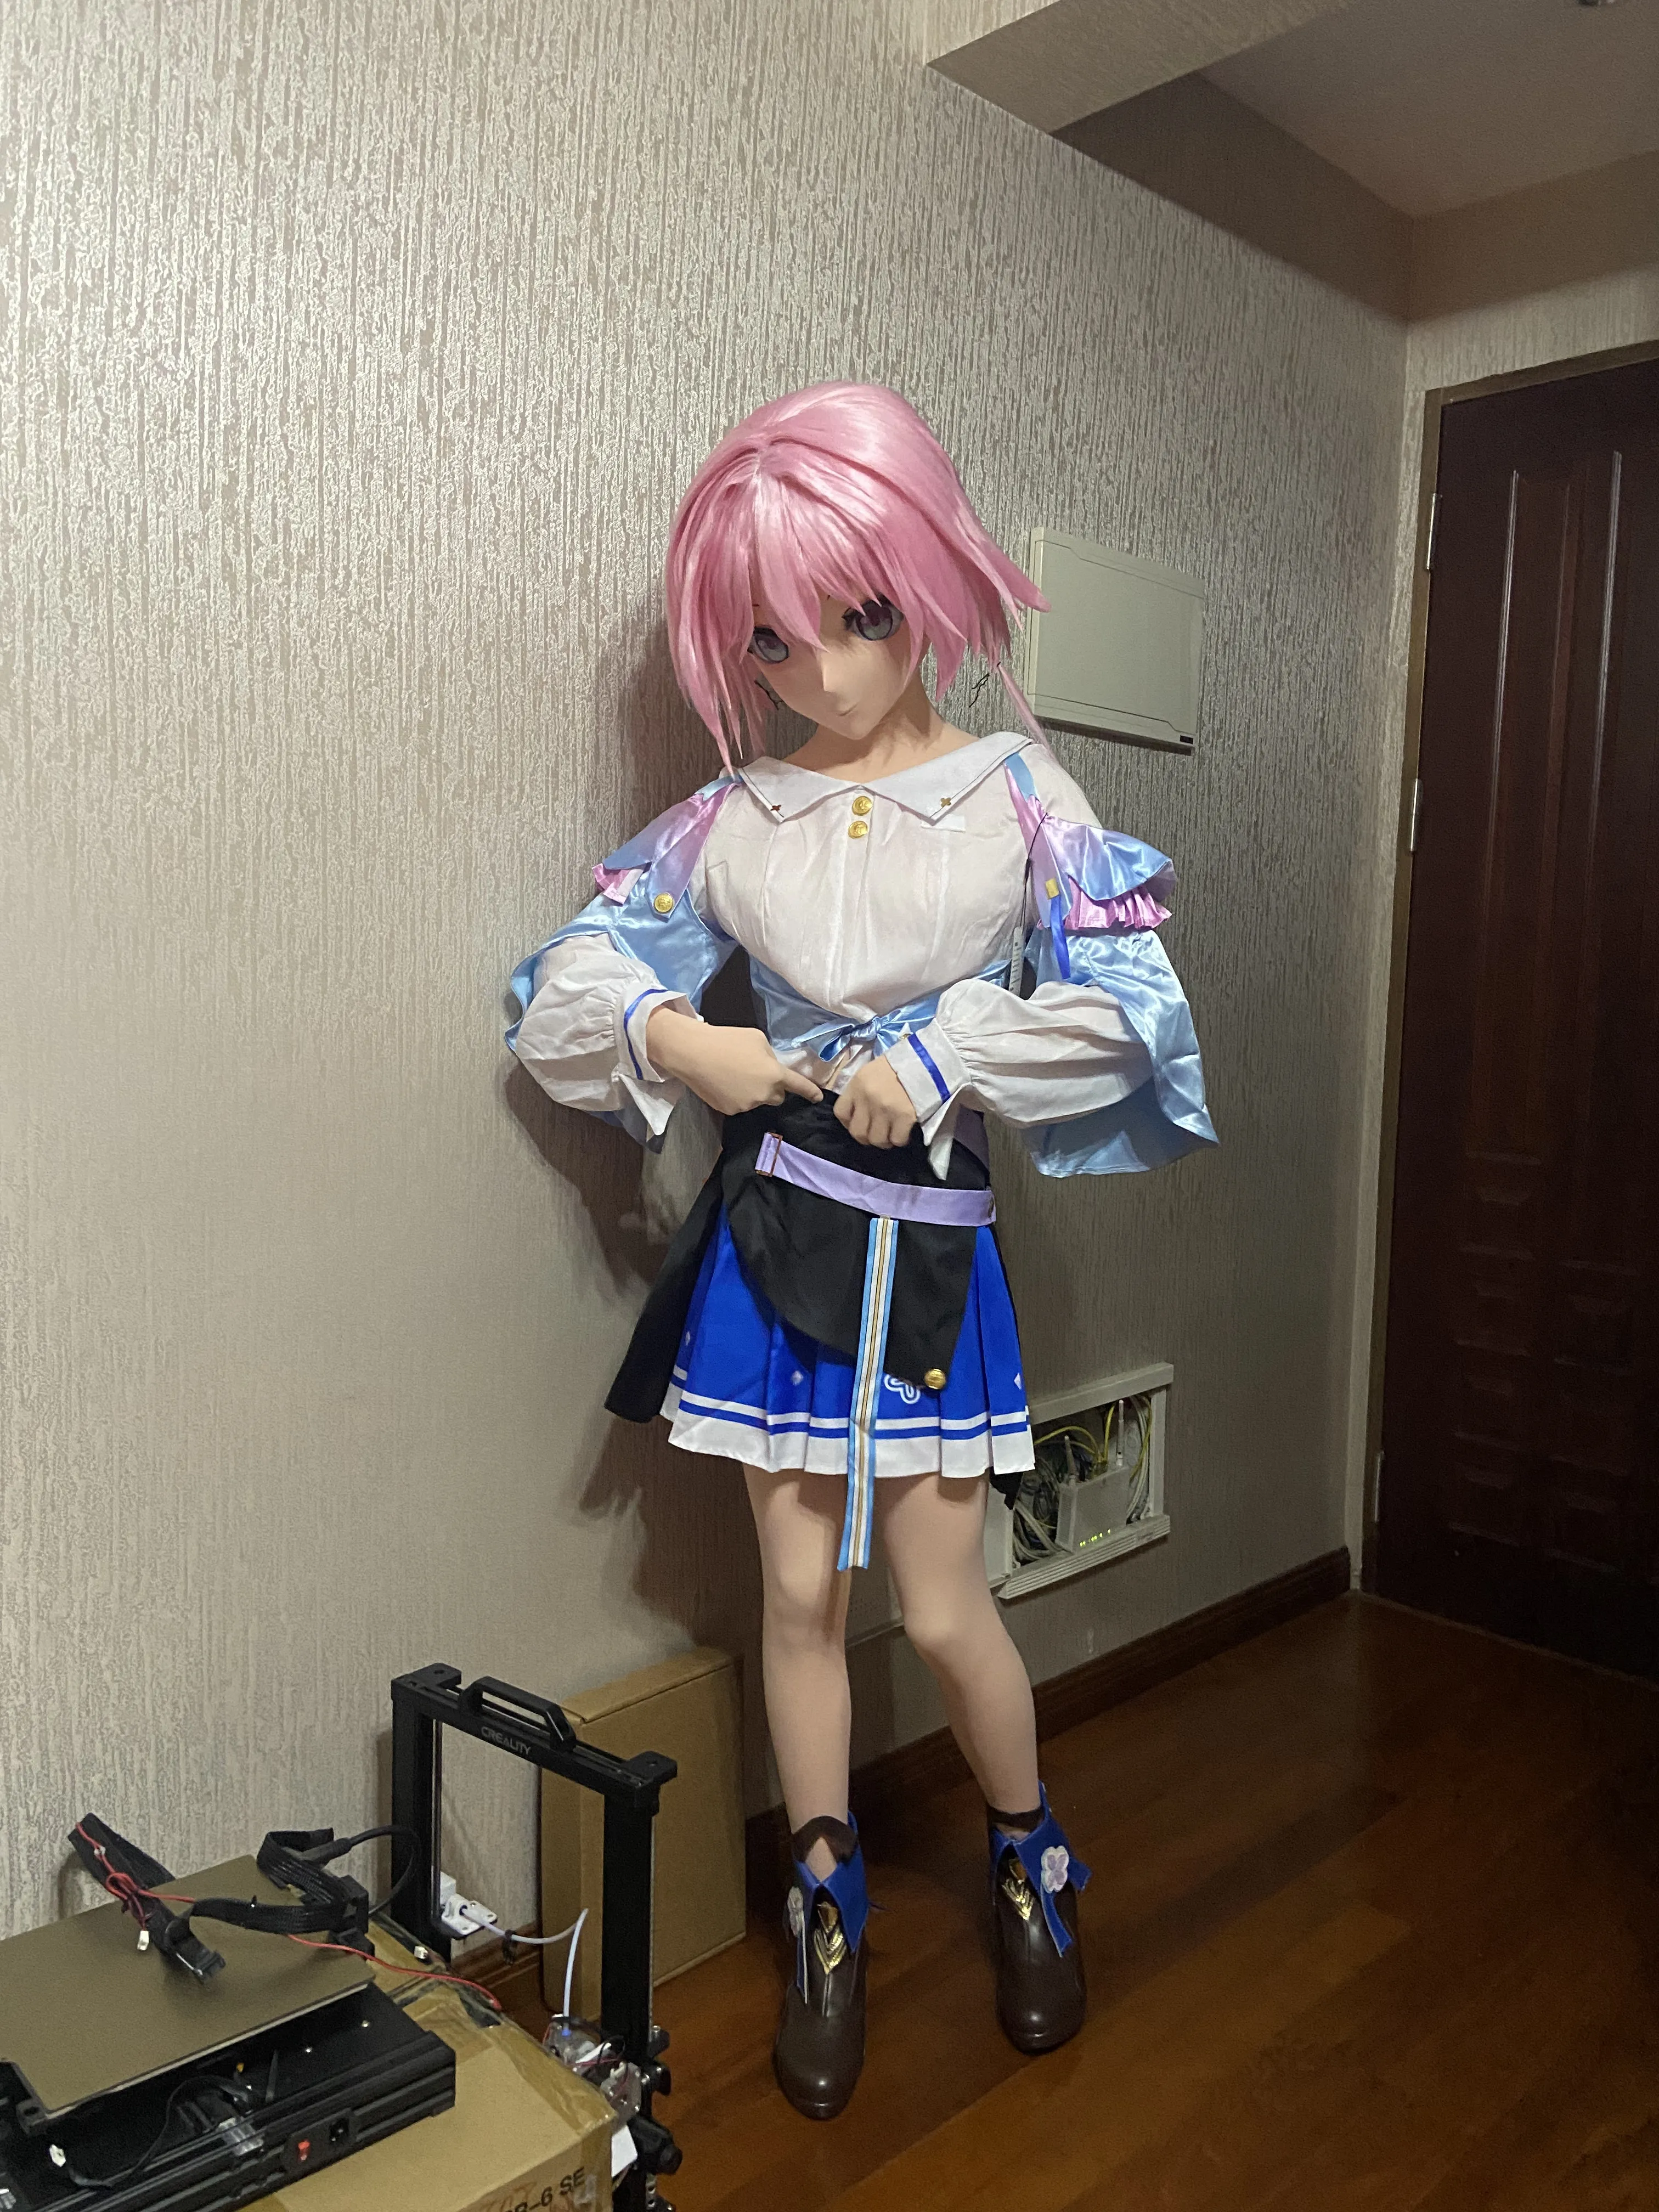
Finally, remember to leave a good review, thank you meow (ノへ ̄、)
My Bilibili homepage: No 69 Element's Personal Space - No 69 Element's Personal Page - Bilibili Videos
License



Comment & Rating (0)