
Adjustable Trim tab V3
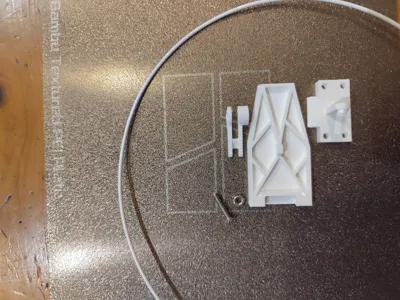
Print Profile(2)
Description
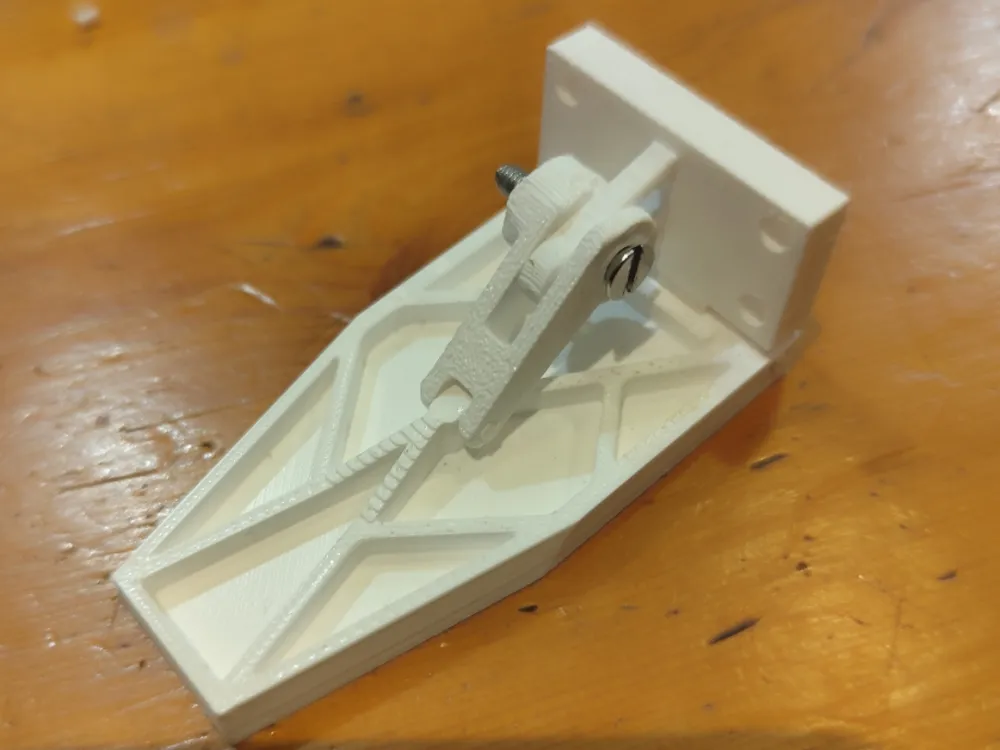
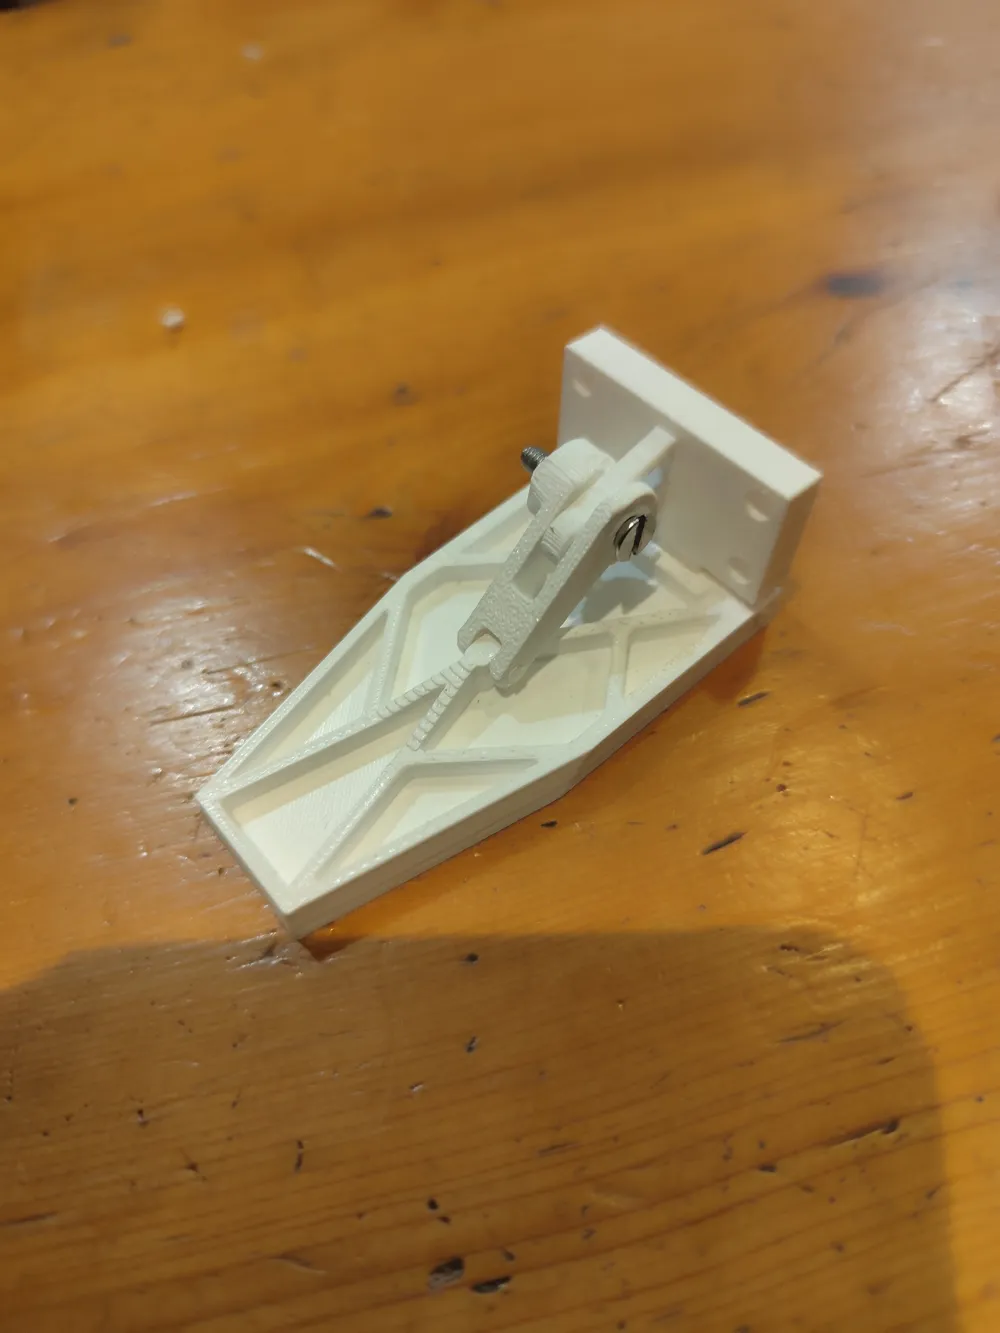
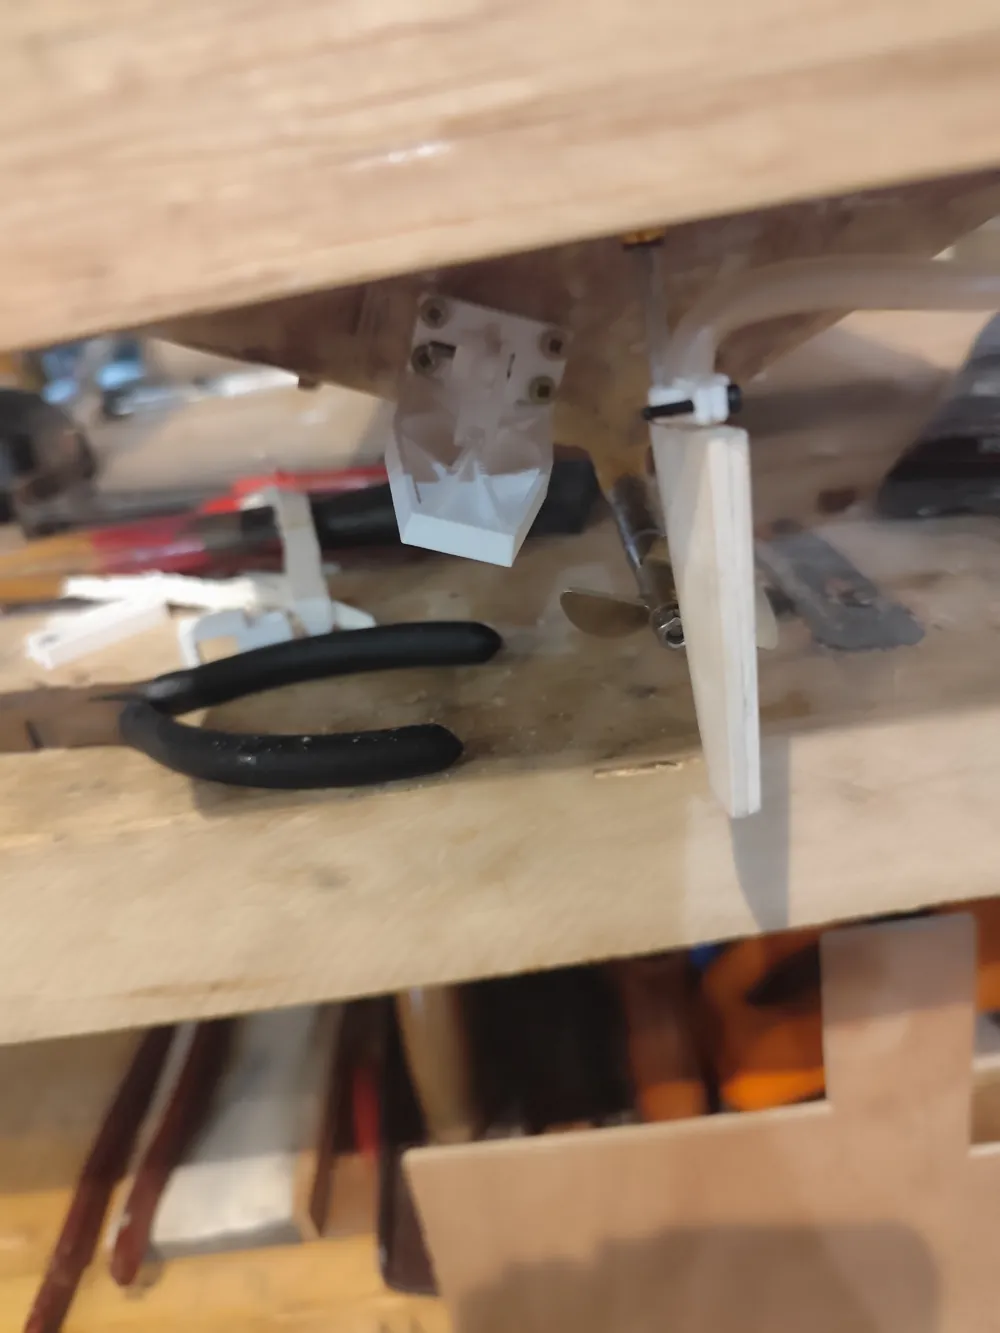
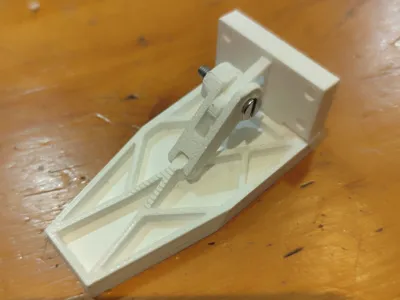
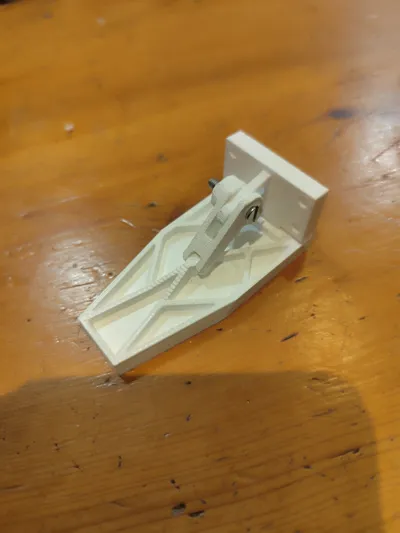
Trim tab for RC boats.
60mm x 30mm
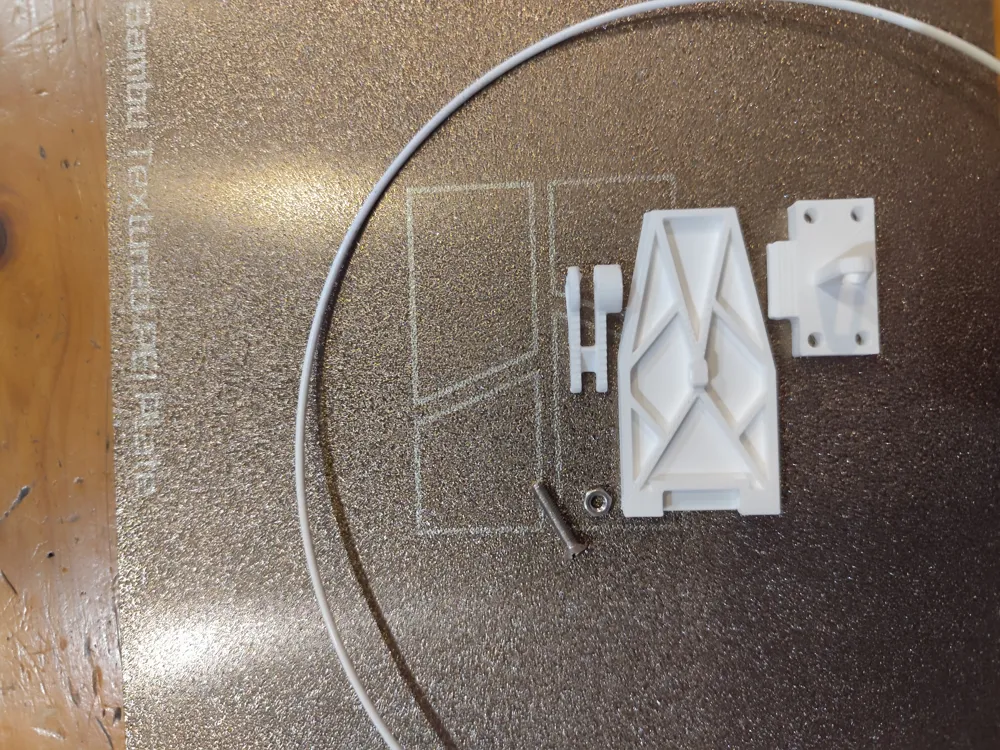
Part required :
1.75mm filament (about 40mm long)
M3 nut
M3 screw (10mm+)
Assembly :
Press the nut in the octagonal hole (pièce 3).
Press the filament in the 2 hinges (between pièce 3 and 1).
Screw the M3 screw through pièce 2 slot, and the pièce 3 hole.
Make sure that the chamfer on pièce 3 is facing down.
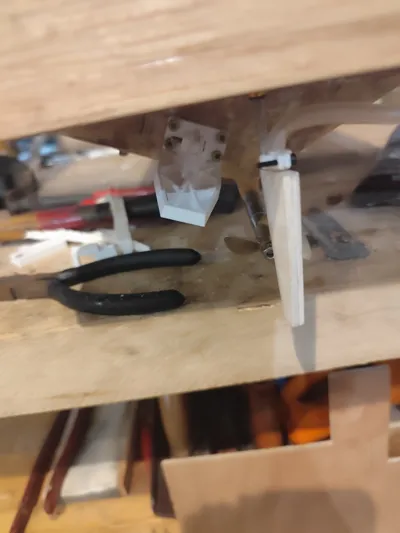
Use the mount as a jig to mark / drill the holes on the boat hull (made for the trim tab to sit 1mm under the hull plane).
Secure the trim tab with 4 screws.
Enjoy!
First print profile => trim tab
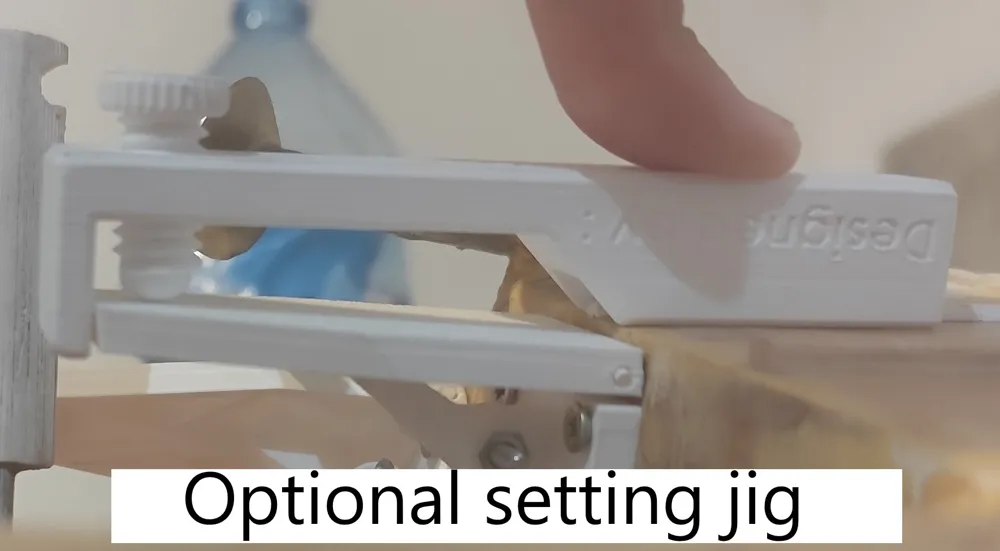
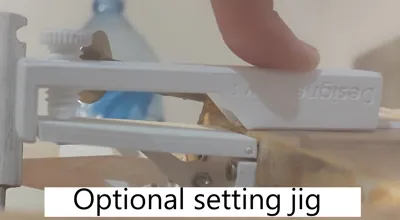
Second print profile => Setting jig (optional)
How to use :
Step 1 :
Slightly untighten the M3 screw .
Step 2 : (optional)
Use the jig as shown in picture, adjusting the jig's screw to change the angle, while the end of the jig is flush with the end corner of the tim tab.
Step 2 :
Tighten the M3 screw again.
Donate here :
https://ko-fi.com/thatoneandonlyusername
Always looking for reviews and things to fix/change/upgrade on my design, feel free to leave a comment.
License

You shall not share, sub-license, sell, rent, host, transfer, or distribute in any way the digital or 3D printed versions of this object, nor any other derivative work of this object in its digital or physical format (including - but not limited to - remixes of this object, and hosting on other digital platforms). The objects may not be used without permission in any way whatsoever in which you charge money, or collect fees.


Comment & Rating (2)