
Satisfye Zen Grip 2 Cart Filler
Print Profile(1)
Description
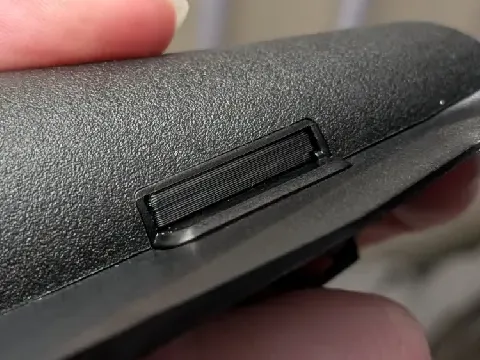
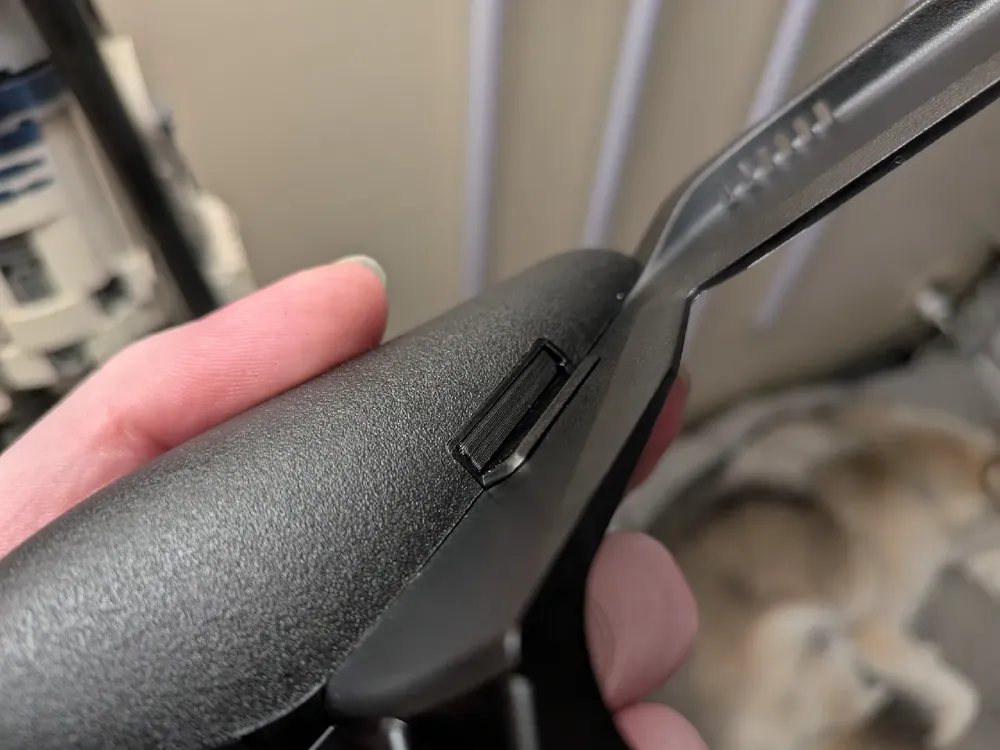
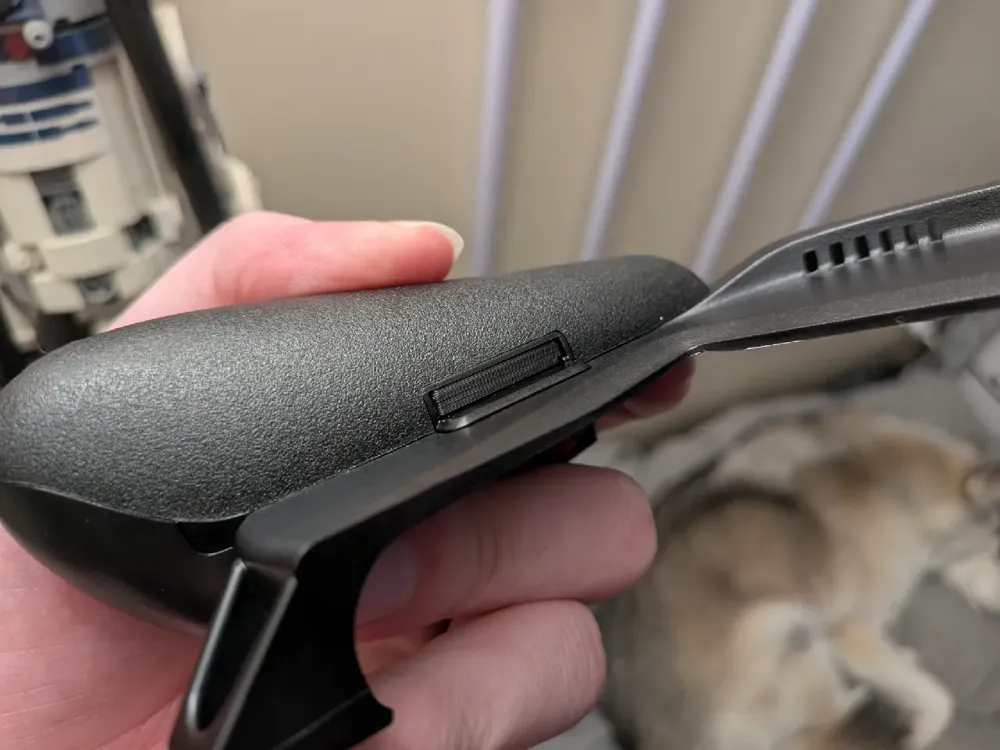
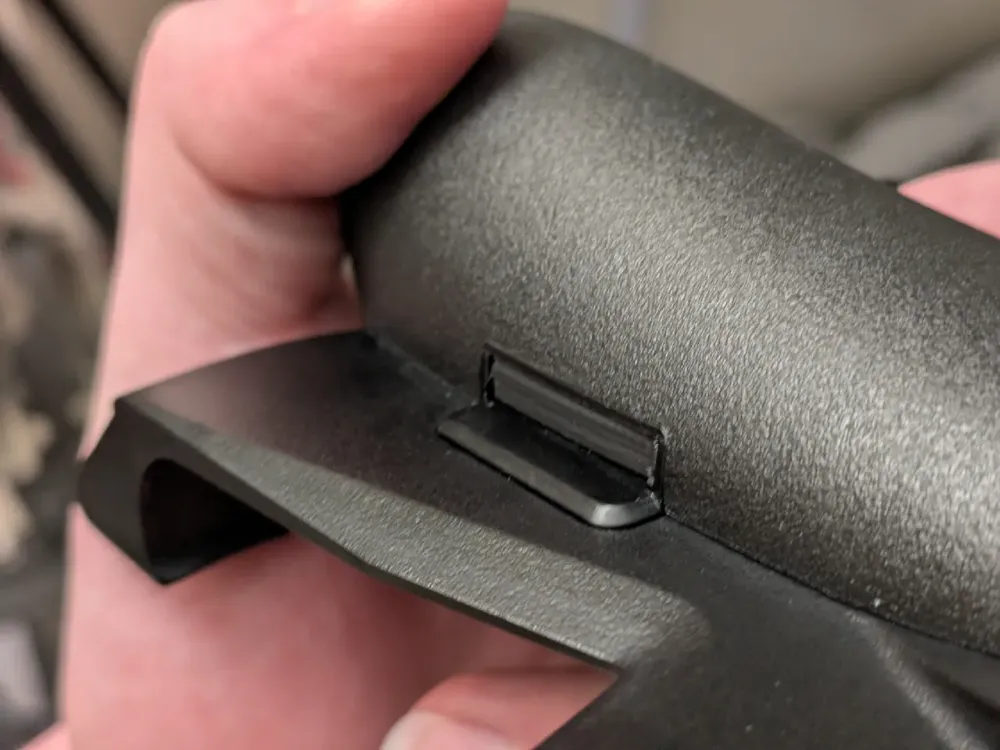
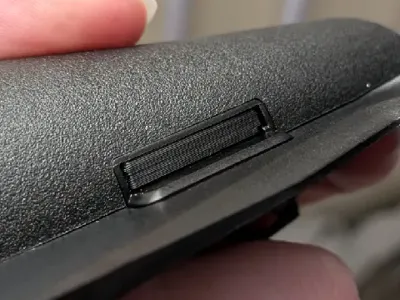
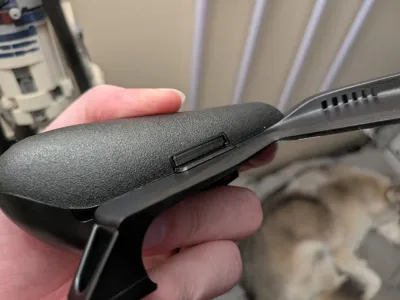
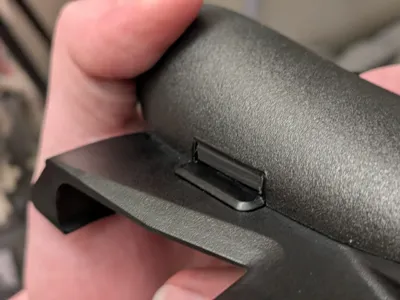
Someone in the Satisfye Discord asked if someone made a filler because they have no plans on using the cartridge slots on their Zen Grip 2. I decided to quickly throw this together. Did a single test print and it fit perfectly flush with the grip.
I did come to find out that there is a left and right variance. The left side is ~2mm longer than the right side. Satisfye Founder confirmed this for me. So you will need to print out both the left and right versions.
I printed in PLA on a textured PEI plate, only using ~2g of filament per cart, taking ~5 minutes per cart.
Non Removable: ONLY PRINT THIS IF YOU HAVE 0 PLANS ON USING THE CARTRIDGE SLOTS
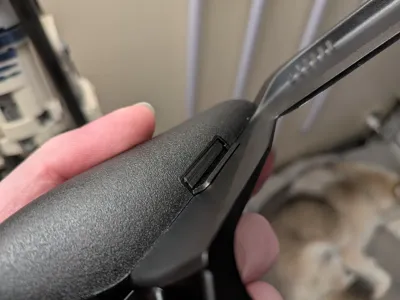
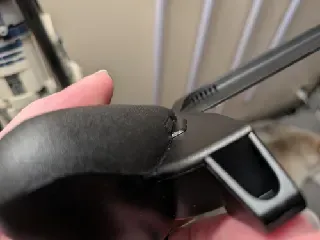
If you do print this and realize you do want to use the cartridge slots, I was able to jam tweezers INTO the print and pry it out. And I have no care to test much further with this specific model as I do want to use the slots at least currently.
Removable
It is what it says on the label. These have a notch in them so you can stick your fingernail in, or tweezers, guitar pick… SOMETHING in to easily remove them. I do have longer nails and found it to be a non issue, but I believe as long as you have any form of nails you should be able to pull it out with just that. And even with the little extra gap for you to pull it out it helps significantly with the feel of the holes, I no longer feel the sharp edges with this version.
JOYSTICK SAVERS
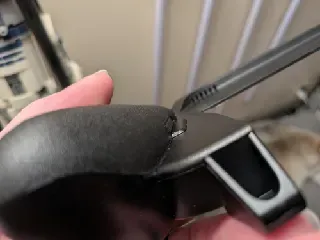
A version of the removable variant, but with slots, so you can slide them underneath the joysticks in the event you throw this in a bag, or in the travel case as some people were saying the case clicks down on the joysticks. Simply slide them underneath the joystick, I find going in from the screen side is the easiest way, and when you want to use the device just slide them out with the notches, and tuck them away in the Cart slots in the grip. I did make this version really quickly, but the test prints appear to work. Let me know if there are any problems. Recommend printing with the notch facing the print bed, so the curve where the joysticks go curves downwards. Along with having tree supports. You can print it in the opposite orientation but it seems like the curve gets lost in the print… Still completely functional but less visually pleasing. Might need to rework this in the future.
License

You shall not share, sub-license, sell, rent, host, transfer, or distribute in any way the digital or 3D printed versions of this object, nor any other derivative work of this object in its digital or physical format (including - but not limited to - remixes of this object, and hosting on other digital platforms). The objects may not be used without permission in any way whatsoever in which you charge money, or collect fees.


Comment & Rating (0)