
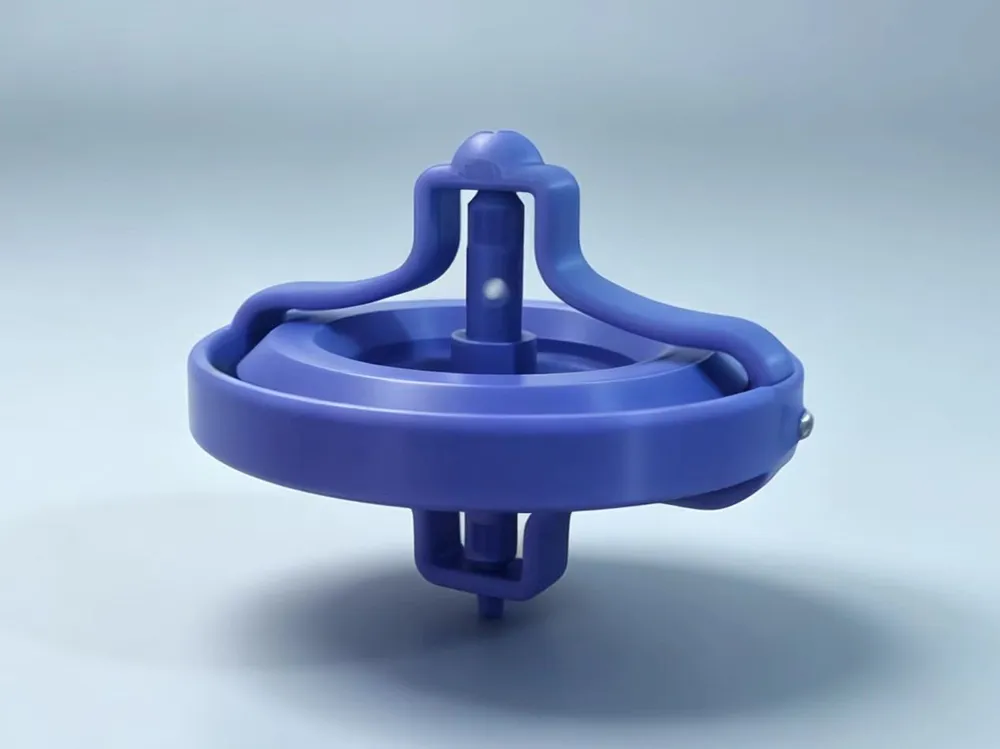
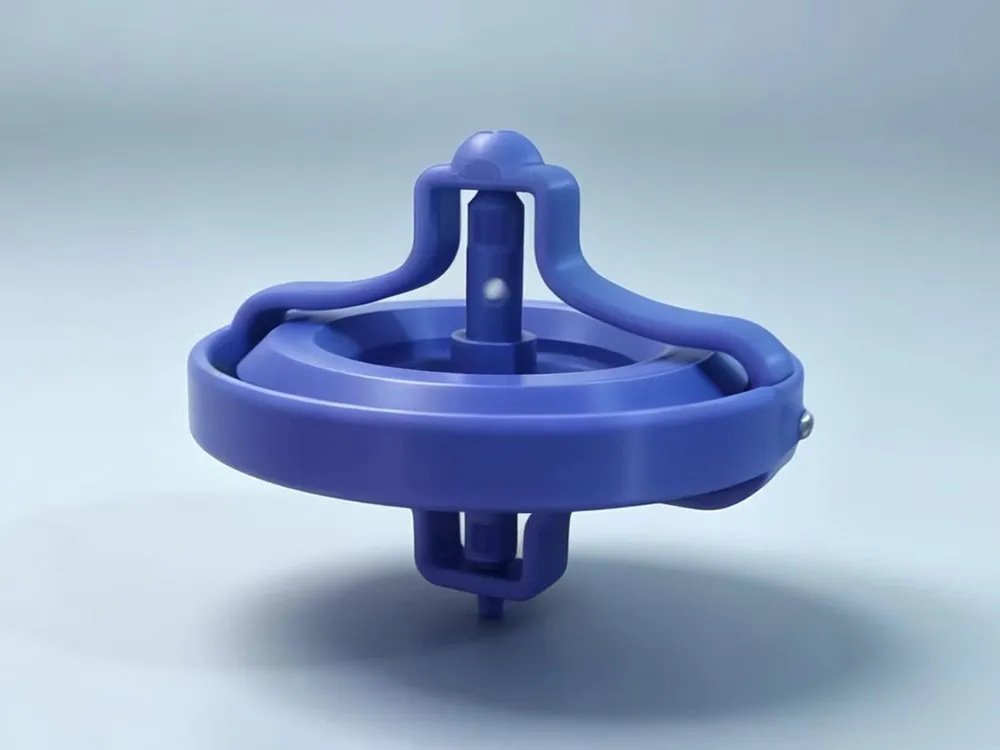

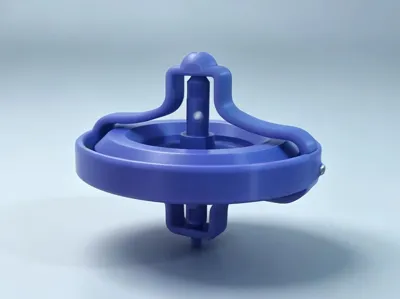
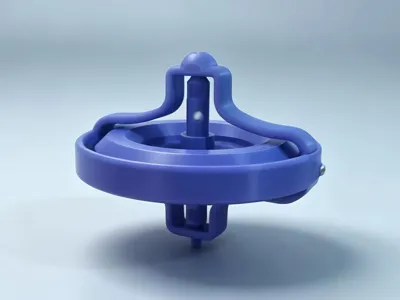
Anti-gravity Gyroscope V2.5 (no hardware)
Print Profile(5)
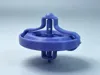
Description
Boost Me (for free)
Please refer to the following instructions
Unique Fun Features



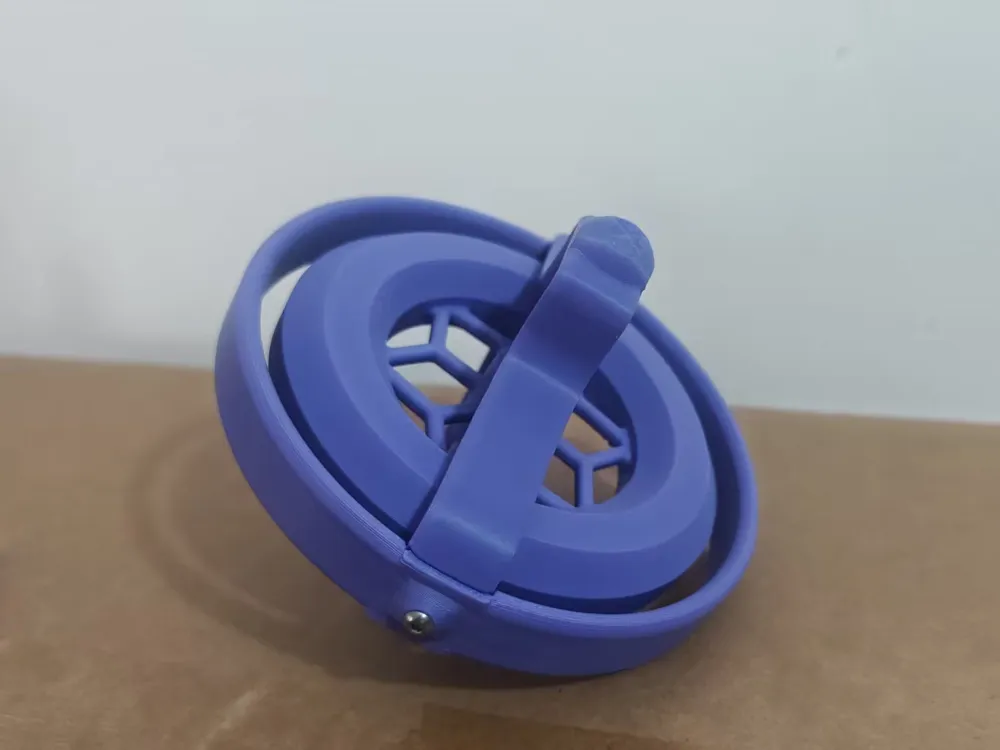
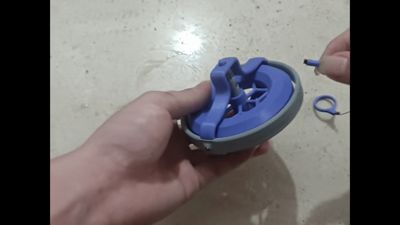
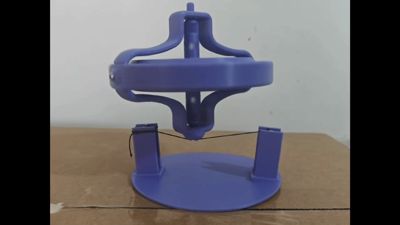
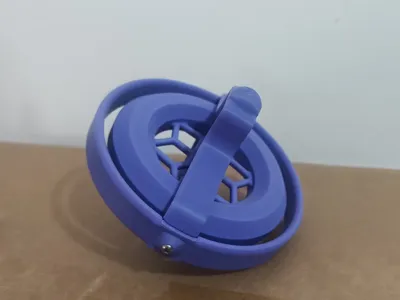
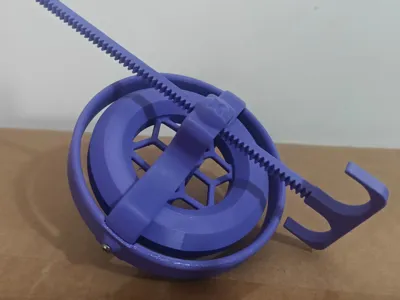
Anti-gravity balance rotation relies on gyroscopic torque, remaining stable and upright even when tilted at various angles, providing an intuitive experience of wonderful physical balance
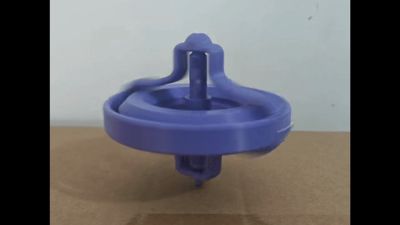
A gentle flick allows for long-lasting self-rotation; the low-resistance, smooth axis enables high-speed, durable rotation, offering stress relief and visual appeal
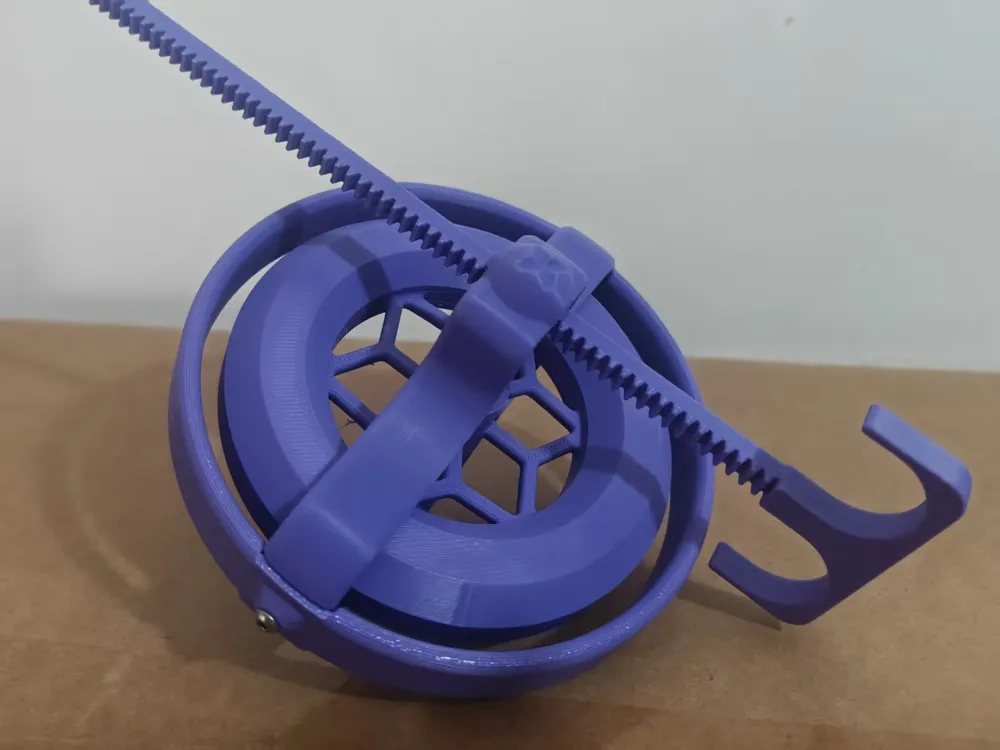
Freestyle handheld control: The handheld stand can be freely lifted, translated, and flipped, and its fixed-axis characteristic prevents it from tipping over easily, unlocking various fancy operations
How to Use

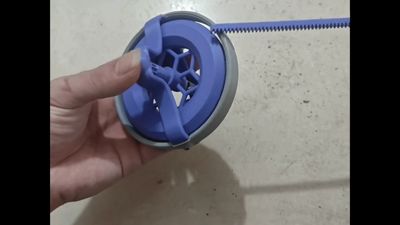
This gyroscope supports two methods of use: chain and rope, requiring a rope for connection
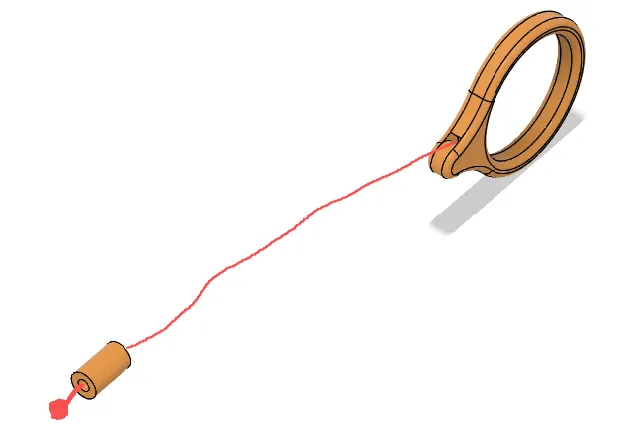
Standard Version
Simplifies redundant structures, requires no extra hardware accessories, can be assembled quickly by hand, with a low barrier to entry
Upgraded Version
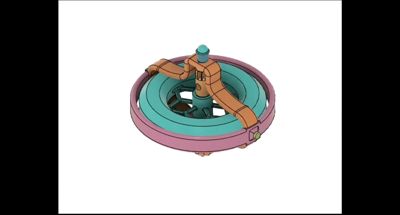
Improves stability during weighted operation, theoretically lasting longer than the standard version, but parts have changed and become more complex Printing this version does not accept negative reviews, as it tests your printer and hands-on ability For assembly, please refer to the instructions below
Modification holes are reserved on the body: Both sides are compatible with M2.5-6mm screws; screws can be omitted and glue used instead
Precautions for Use
1 Pins are often difficult to insert due to uneven 3D printing shrinkage You can manually sand the pins or print this part separately
2 Apply lubricant to the pin joints for smoother rotation and longer self-rotation time
3 If parts become loose after adding accessories, apply a small amount of glue to reinforce them
Upgraded Version Assembly Instructions
1 The threaded connection of the weighted axis uses a small tolerance gap, requiring significant force to press and twist the knob during assembly The holes on the main shaft can be used with a wrench for assistance
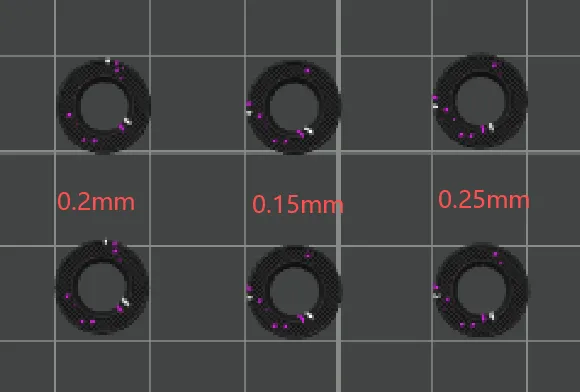
2 After printing, there will be 6 retaining rings, with two per set, totaling 3 pairs of different models You need to insert each set of retaining rings into the main shaft for testing and select the set with the smallest yet smoothest gap for assembly
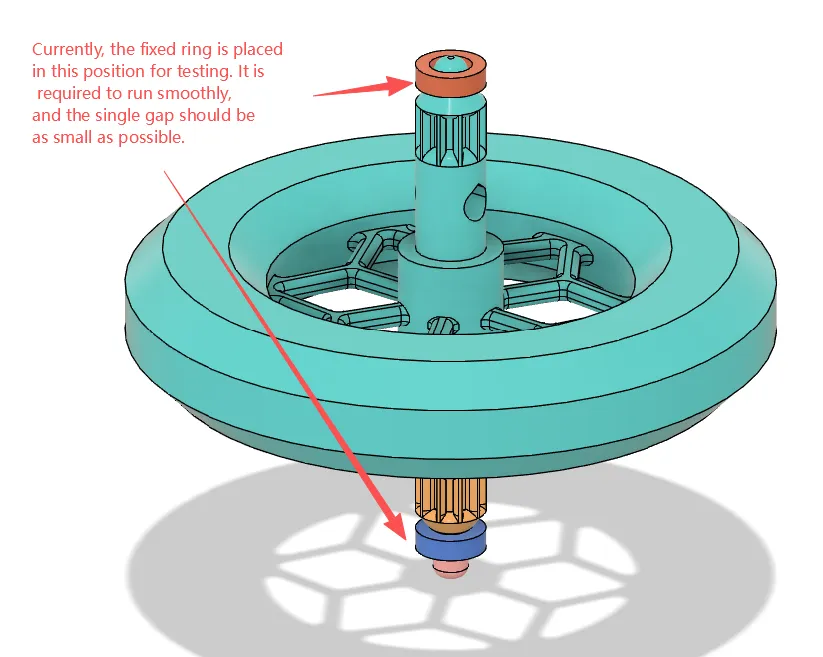
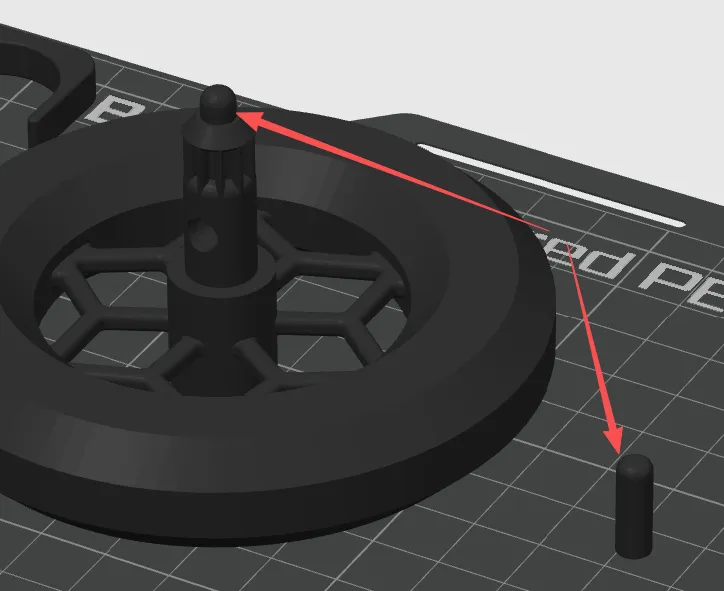
The main shaft pin may have an irregular cylindrical shape due to seams You can manually sand off the seams to allow the retaining rings to operate more smoothly
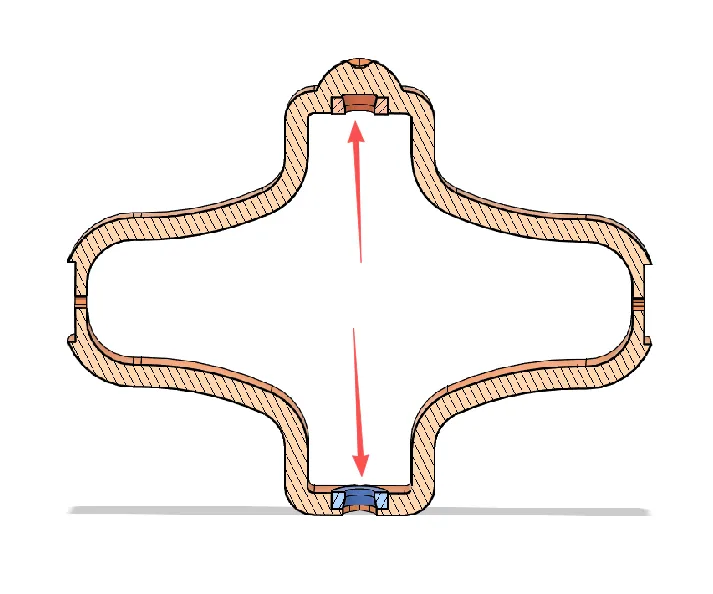
Install the retaining rings in the designated positions and apply glue to secure them Please note that the small diameter of the retaining ring should face inward and the large diameter should face outward
Subsequent installation is the same as the original version
Documentation (1)

License

You shall not share, sub-license, sell, rent, host, transfer, or distribute in any way the digital or 3D printed versions of this object, nor any other derivative work of this object in its digital or physical format (including - but not limited to - remixes of this object, and hosting on other digital platforms). The objects may not be used without permission in any way whatsoever in which you charge money, or collect fees.


Comment & Rating (5)