
Light and Fast Dual AMS Mount for H/X/P Series
Print Profile(2)

Description
Most of my models are shared under a Makerworld exclusive license with REMIXES ALLOWED. They are posted exclusive so I can earn points for filament, but in the spirit of the open source community that made 3D printing what it is, I highly encourage adaptations and expansions on my work.
If you like my designs, be sure to follow me so you know when I publish new models.
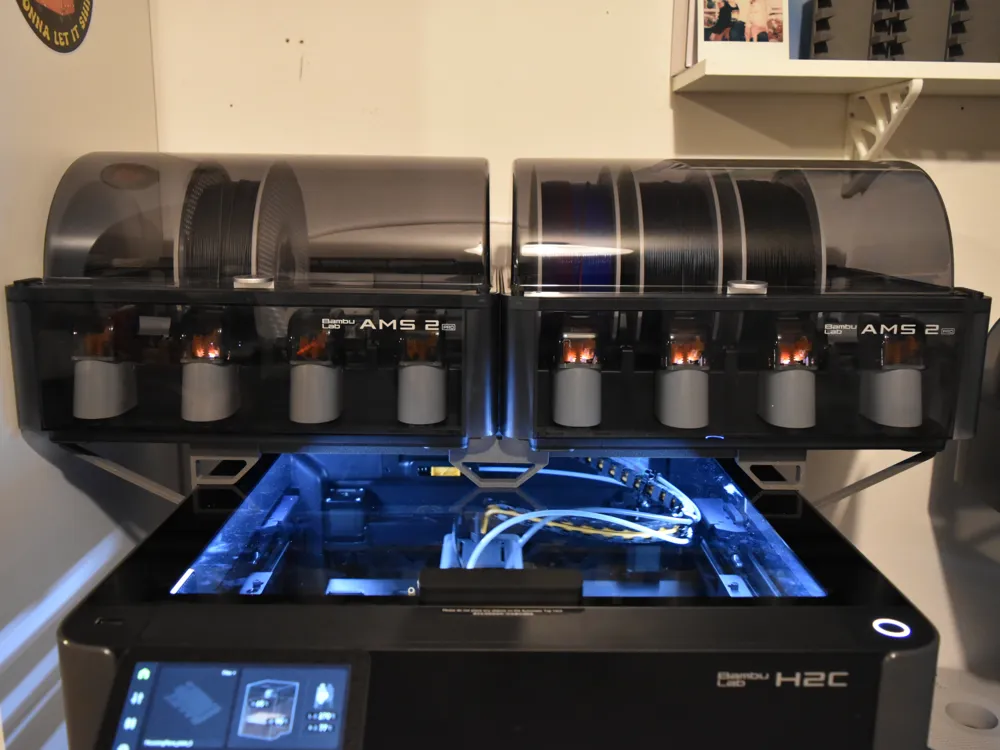
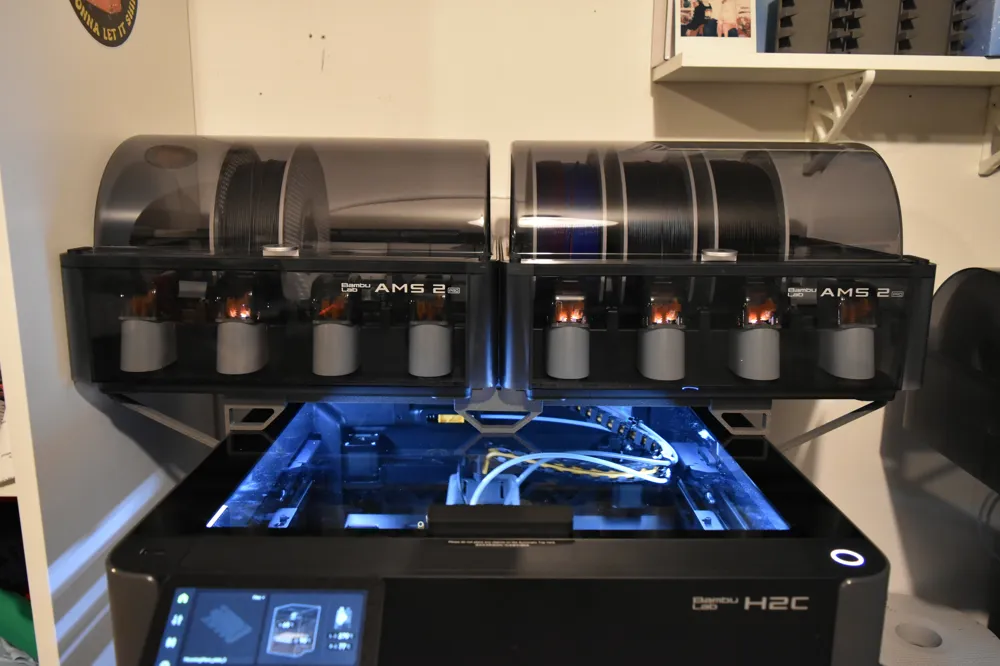
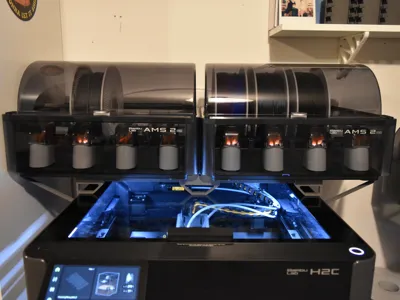
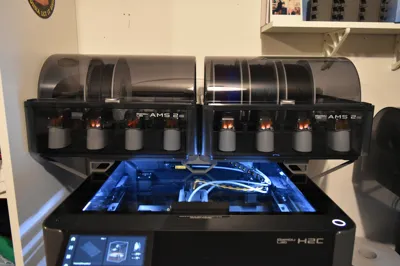
I wanted a mount that didn't take too long to print or require too much material so I designed a mount that utilizes the weight of the AMS itself to help the mount clamp against the machine and keep the structure light.

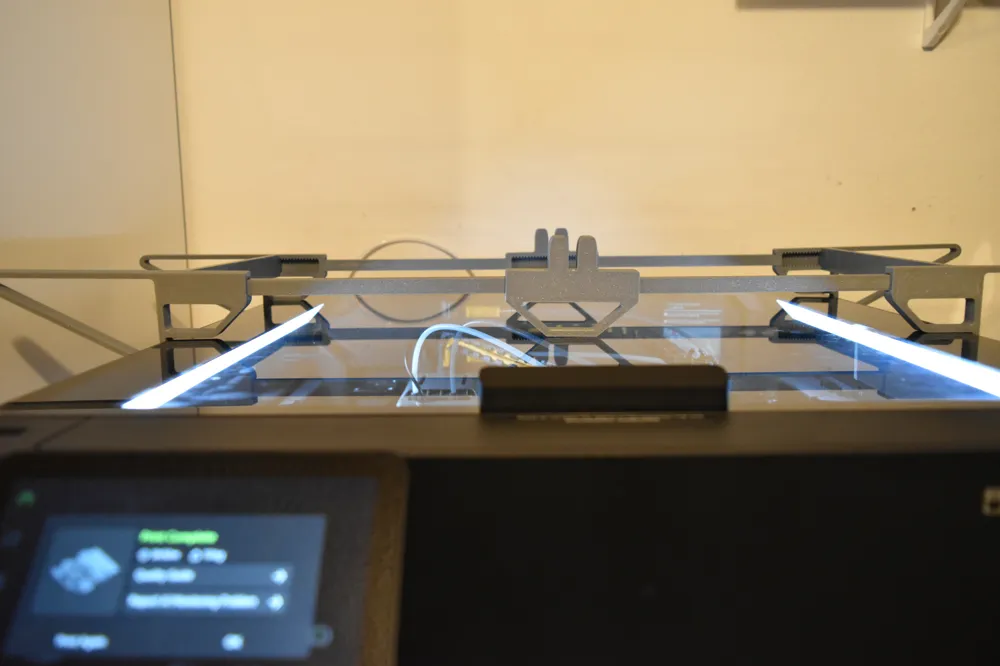
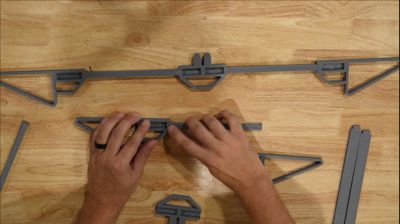
Unfortunately, the machines are not exactly the overall dimensions that Bambu cites. To accommodate this, the structure is broken into pieces that can be connected at various lengths to accommodate various printer sizes. This also makes them compatible with various models of Bambu machines. I also managed to fit all the parts in a single X/P series bed.
| H2C/H2S/H2D | P2S | X1C /X1E | P1S/P1P | AMS 2 | AMS (3 Cavity) | AMS (5 Cavity) | |
| Verified | X | X | X | X | X | ||
| Compatible | X | X | |||||
| Incompatible |
Note for High Temp Users: High temp printing with chamber heating will heat the printer glass beyond the glass transition temperature of PLA. This will cause warping of the structure. Please print the mount from a high temp plastic if you plan on printing chamber heated materials. If you only print PLA, this should not be an issue.
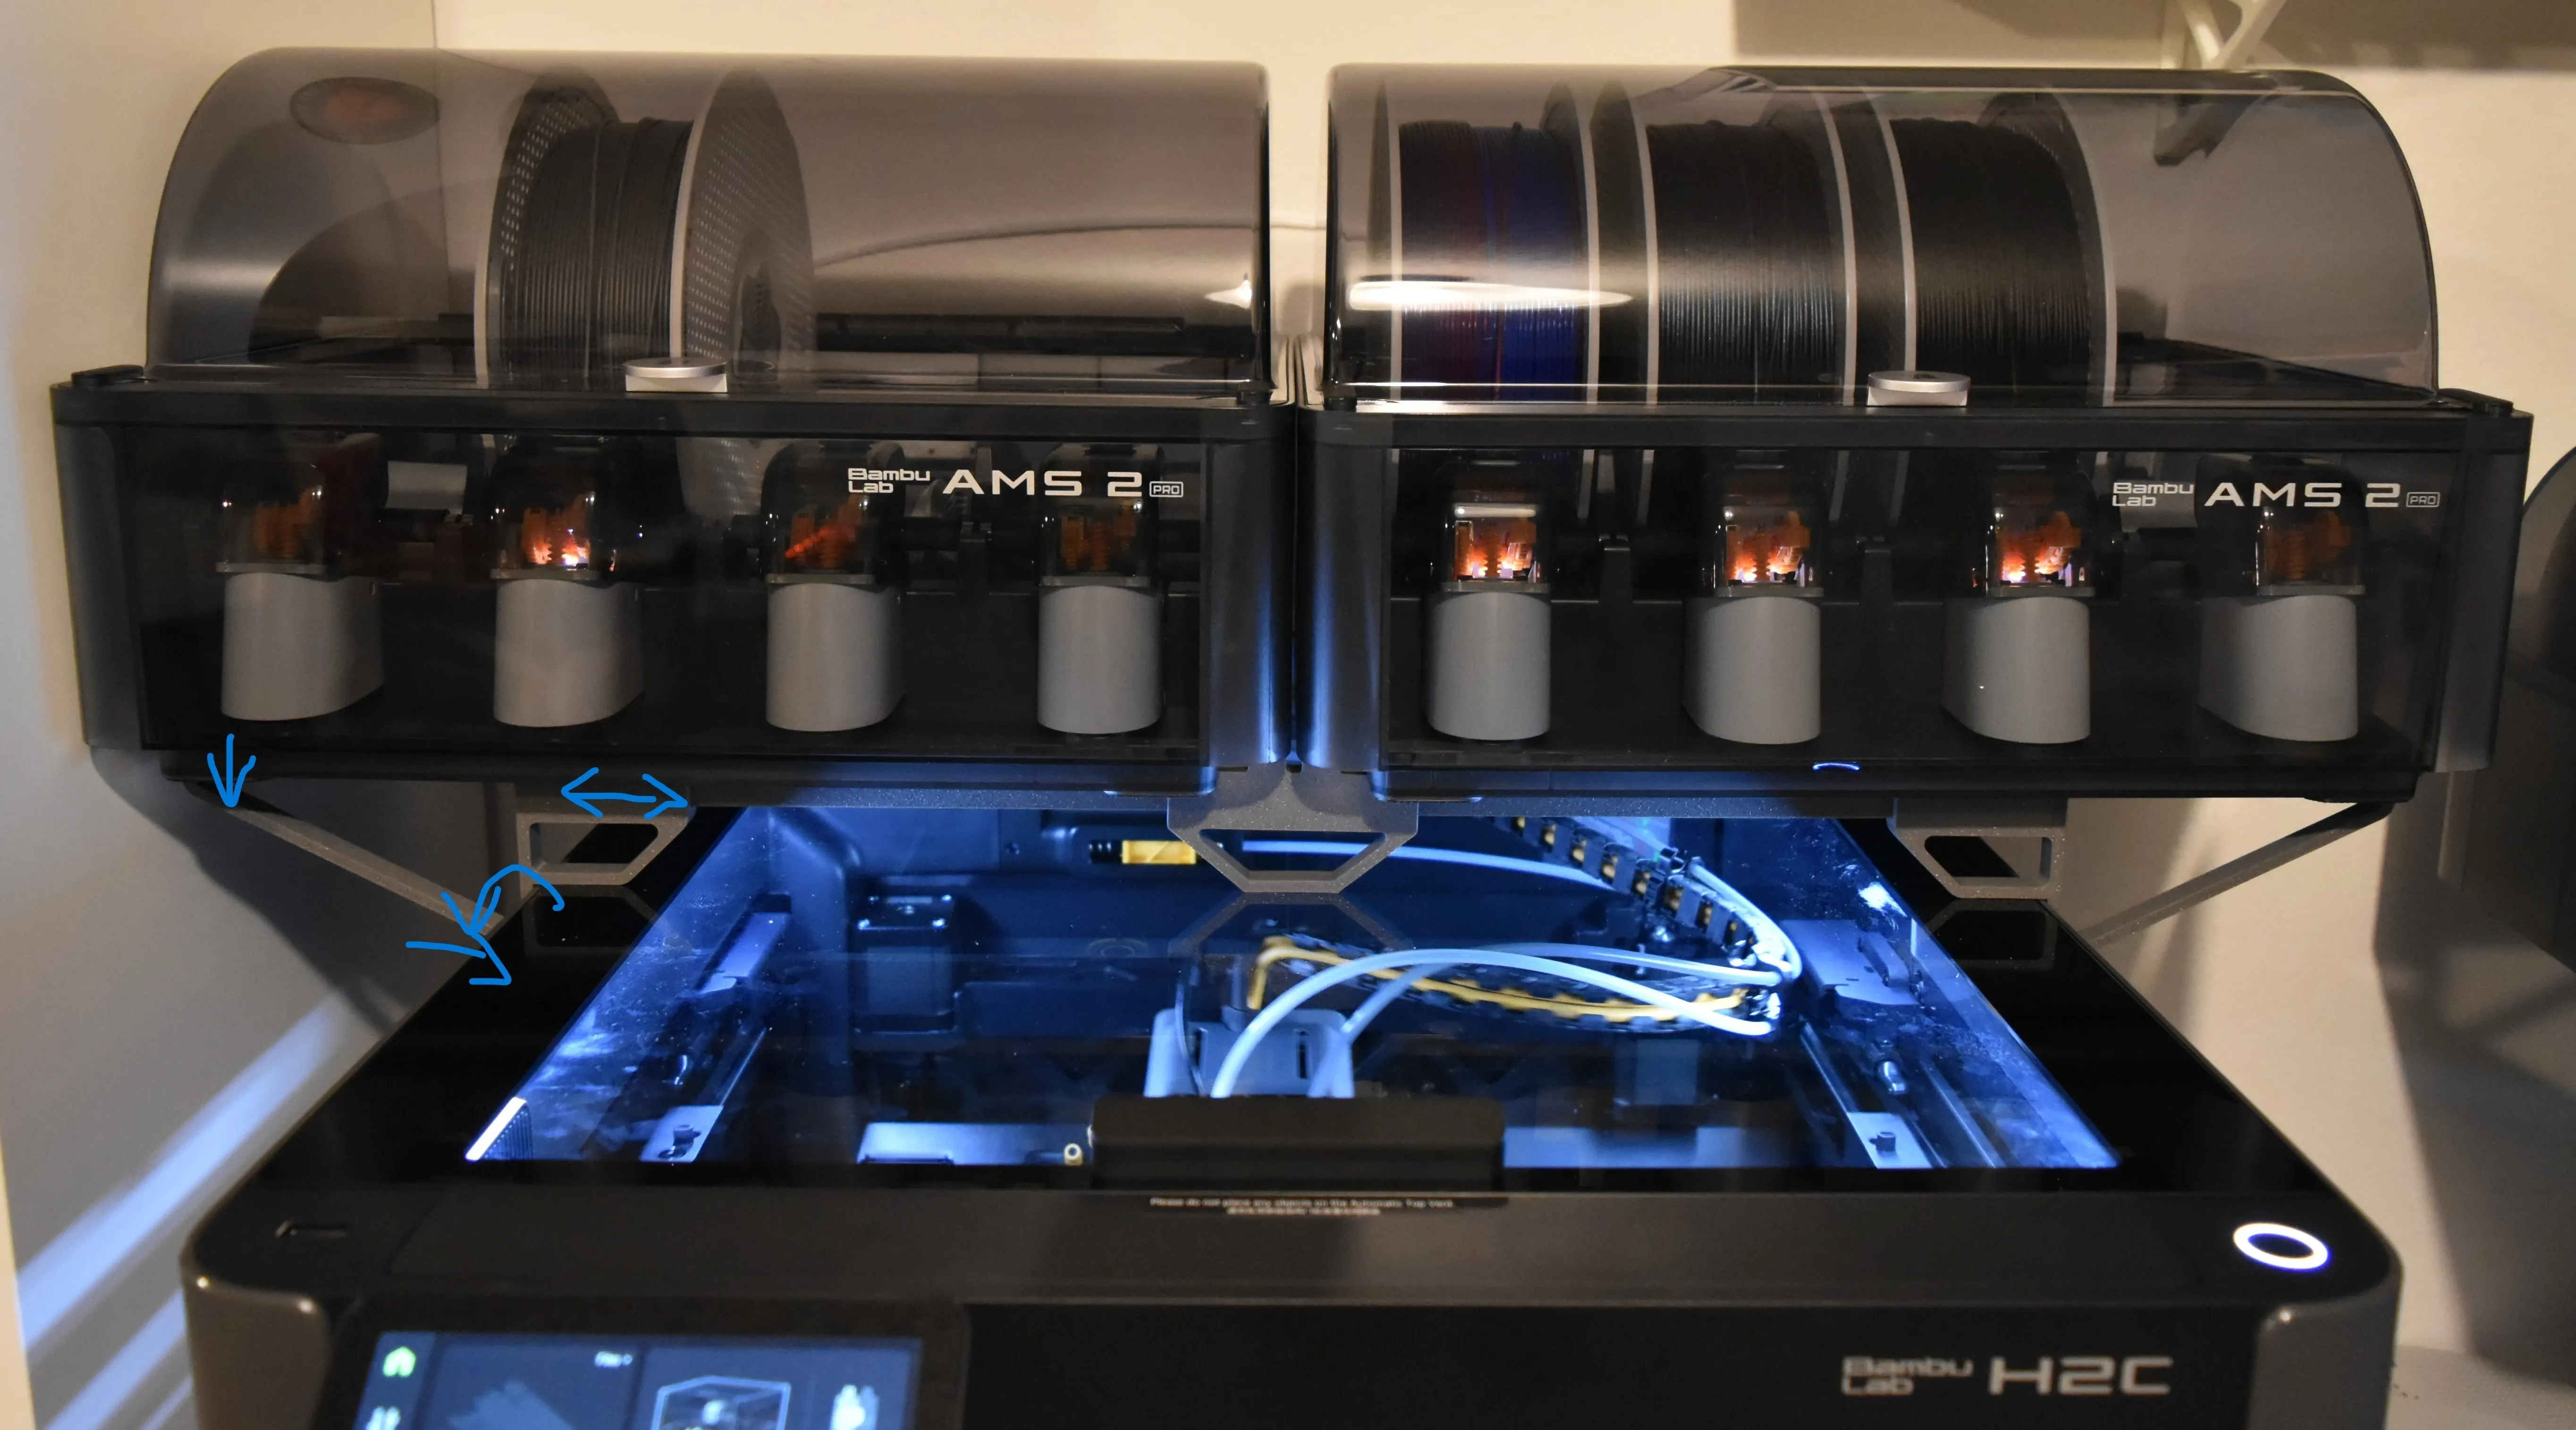
Here is how the structure works:
- AMS weight hanging over the edge of the machine pushes down, forcing supports to pivot around the edge of the machine.
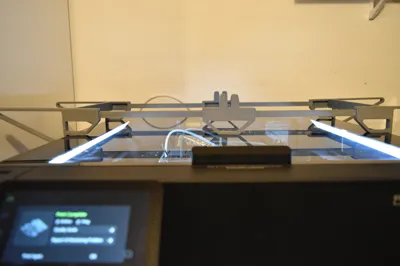
- Supports are retained by central tension member, which drives force into the side of the machine.
- Forces driving into side of machine increase friction between support and machine, improving grip.
- Small nubs on the central support posts retain both AMS units against each other, and prevent them from moving when the printer shakes.
Size the frames so they are snug to the machine. If the notches only allow a slightly loose or slightly tight fit, choose the tight one. Once the weight of the AMS is loaded on top, any bowing in the structure will flatten out.

The assembly utilizes toothed connections which are finely tuned to slide together and retain themselves with the layer lines of the print. If parts are too tight, they can likely be tapped together with a hammer without issue, just dont expect to get them back apart. If too loose, you can scale just the tensioning rods (the thin rectangular parts) to 101% to get a tighter fit.
This gif shows the assembly process:
Boost Me (for free)
Boosting helps me buy filament to keep printing new prototypes!
Membership
Want to sell my models? Subscribe to a commercial membership and sell away!
License

You may create derivative works based on this object, provided that all such derivative works are published exclusively on the MakerWorld platform and include proper attribution to the original creator. You may not share, upload, host, distribute, or publish this object—or any derivative work of this object—on any other digital platform, marketplace, or distribution channel. Commercial use of this object and any derivative works is strictly prohibited. This includes, but is not limited to, selling, renting, sublicensing, or using the object in any context in which you receive monetary compensation or other financial benefits.


Comment & Rating (15)