
Minimal 40° Desktop Synth Stand – Lightweight

Print Profile(1)
Description
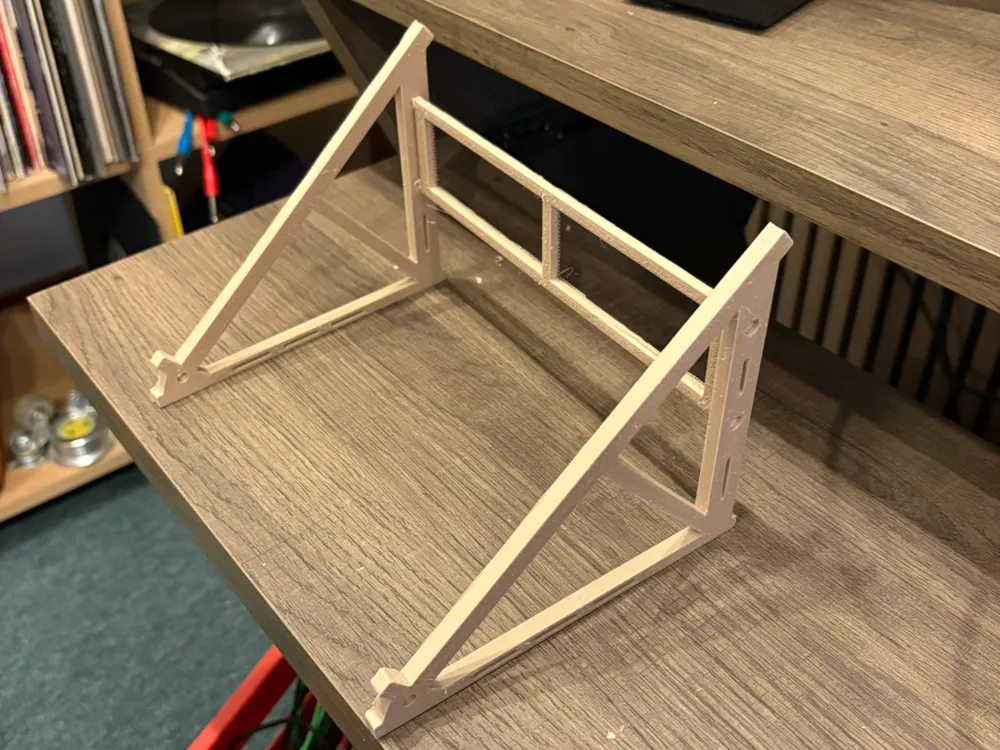
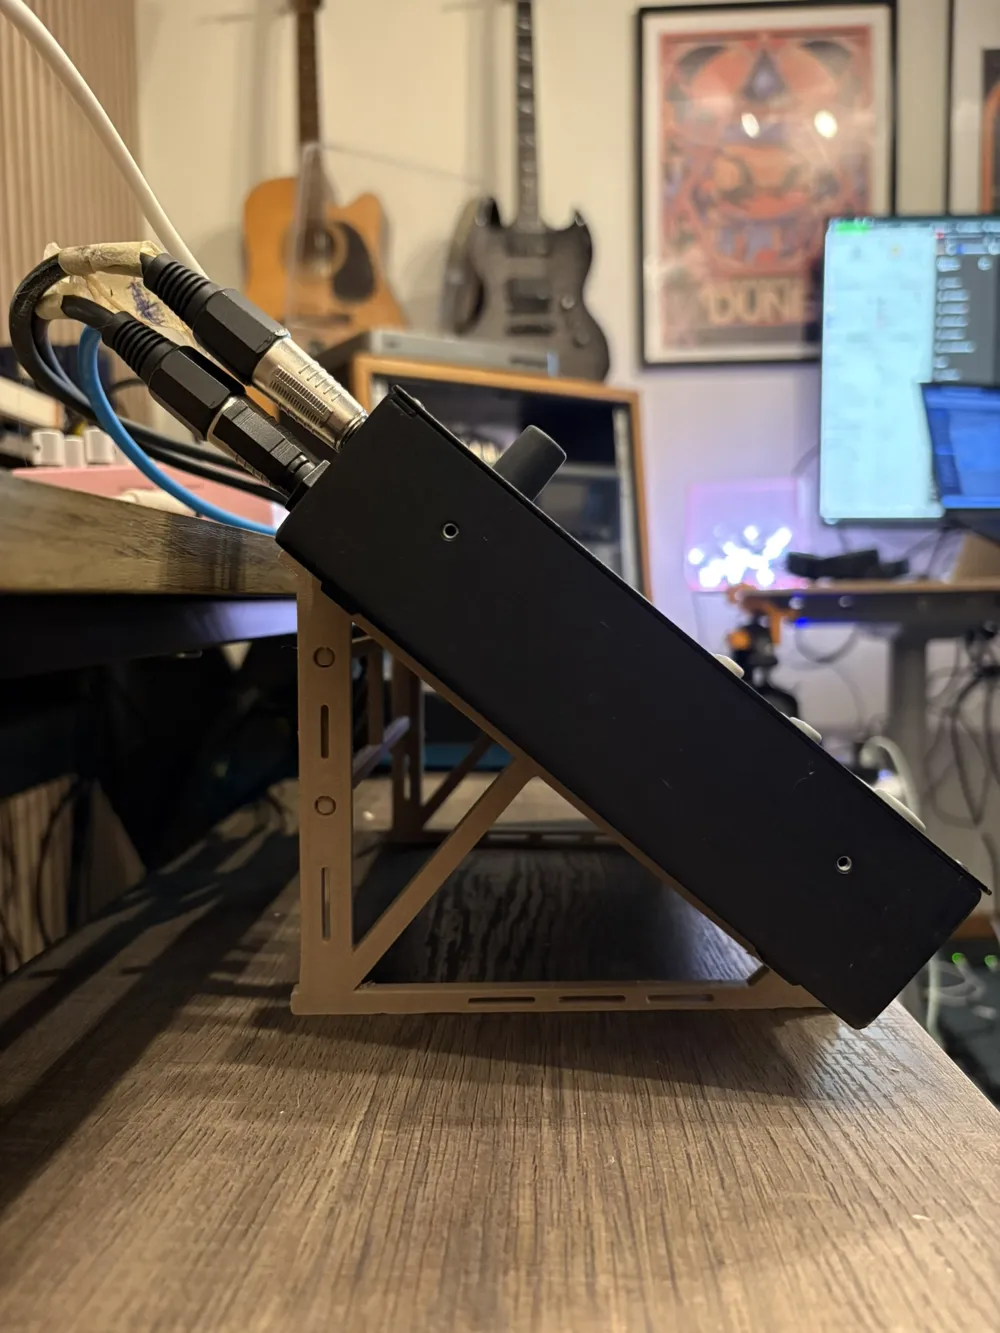
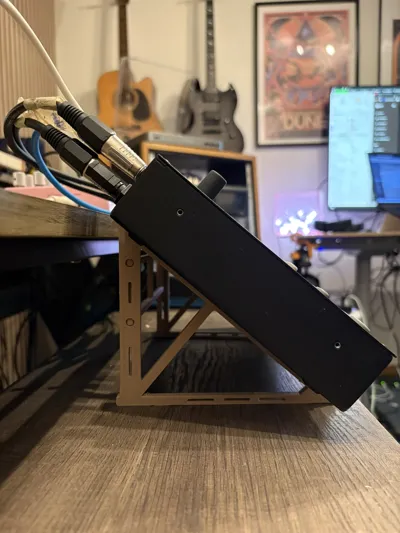
This is a compact, low-filament desktop synth stand designed for devices with roughly 180 mm depth.
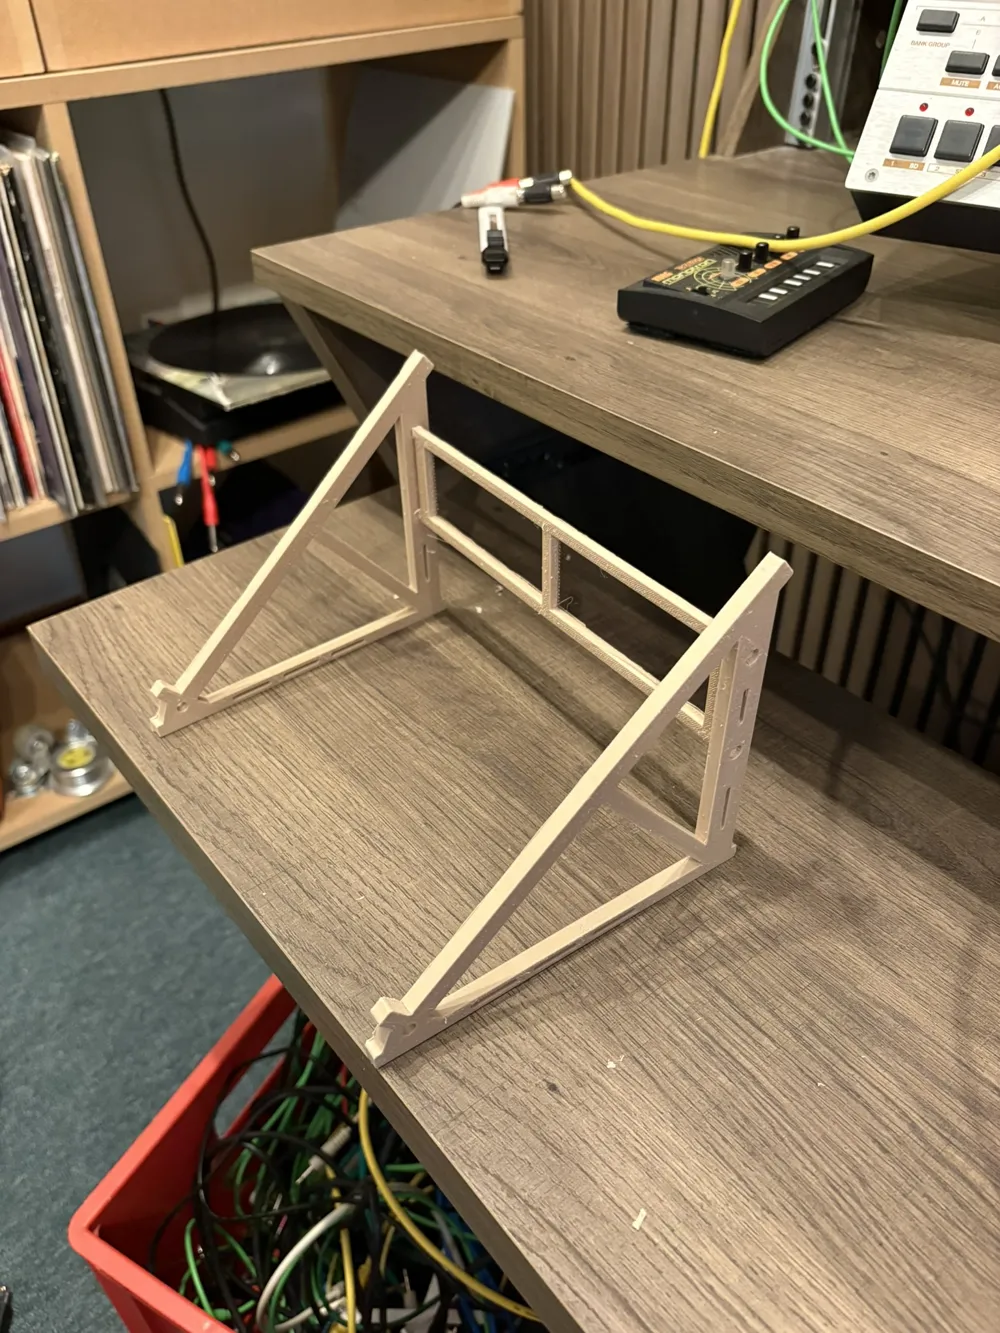
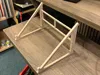
The stand uses two lightweight side brackets connected by a removable rear cross-brace. The geometry focuses material where it matters: the synth support rail, front retention lip, base, rear upright, and internal support strut. The remaining areas are opened up with lightening cut-outs to reduce print time and filament use.
The synth rests on a continuous smooth 40° support rail, with a front lip set perpendicular to the rail so the device cannot slide forward.
The rear cross-brace keeps the two side brackets aligned and makes the stand substantially more rigid from side to side. It uses one rounded rectangular peg on each end, fitting into matching sockets in the rear uprights. This gives a larger glue area and prevents the brace from twisting.
Features
- Designed for a synth or controller around 180 mm deep
- 40° desktop angle
- Lightweight skeletal construction
- Smooth, uninterrupted synth support rail
- Front retaining lip perpendicular to the support surface
- Rear cross-brace with a central stiffening strut
- Rounded rectangular tongue-and-slot rear connectors
- Low-filament lightening holes in the base, rear upright, and front gusset
- Prints without supports (except for pegs for brace)
Printing
Parts to print
- 2 × Side bracket
- 1 × Rear cross-brace
Recommended settings
For the side brackets:
- Material: PLA, PLA+, or PETG
- Layer height: 0.20 mm
- Walls: 4
- Top/bottom layers: 5
- Infill: 15% gyroid or adaptive cubic
- Supports: No
- Brim: 4 mm recommended, especially for PETG or a first test print
For the rear cross-brace:
- Walls: 4
- Infill: 20–25%
- Supports: Yes
- Print slowly enough for clean connector pegs; around 50–70 mm/s outer-wall speed is a good starting point.
Assembly
- Print two identical side brackets and one rear cross-brace.
- Test-fit the rectangular brace pegs into the rear sockets before using glue.
- Place the brackets on a flat surface, with the support rails facing inward/upward.
- Insert the rear cross-brace into both rear uprights.
- Once the fit is confirmed, add a small amount of suitable glue to the connector pegs and sockets.
- Keep the stand square while the glue cures.
For PLA or PETG, a small amount of CA glue can work, though two-part epoxy generally provides a more forgiving and durable structural joint.
Fit and tuning
The rear brace sockets include clearance for normal FDM printing, but fit can vary by printer and material.
If the brace is too tight:
- Lightly clean the socket with a small file or hobby knife
License



Comment & Rating (0)