Search models, users, collections, and posts

Print Profile(1)
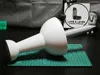
0.2mm layer, 3 walls, 15% infill
Designer
13.9 h
5 plates
Open in Bambu Studio
Boost
1
6
0
0
1
0
Released
Description
- # Giant Pushpin Wall Decor (With Realistic Wall Crack Effect)
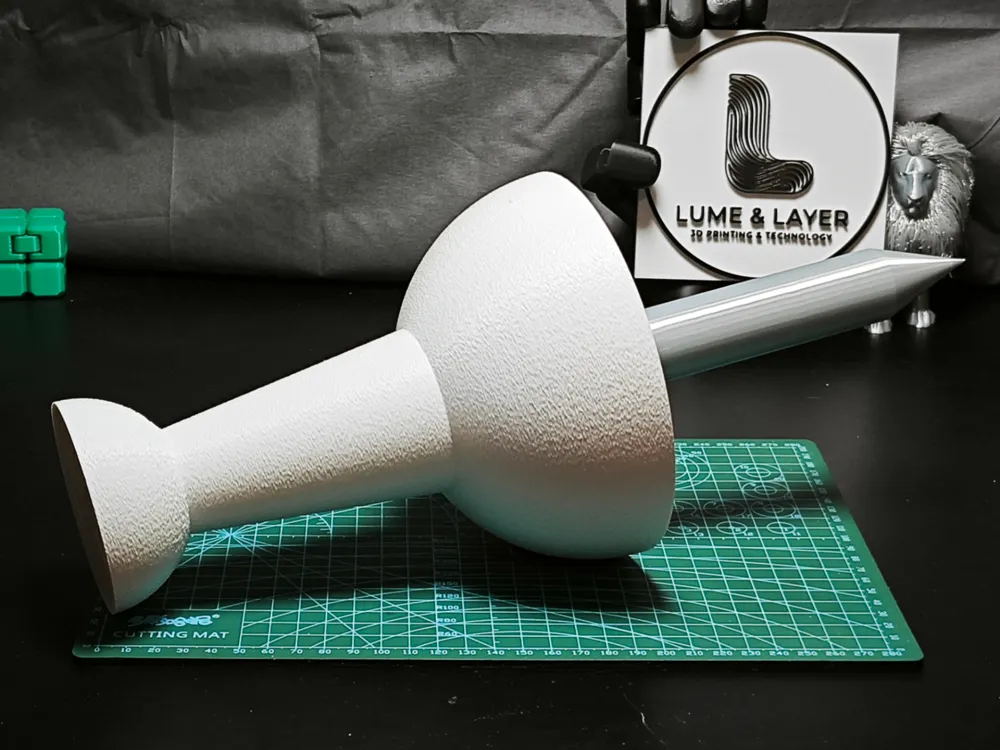
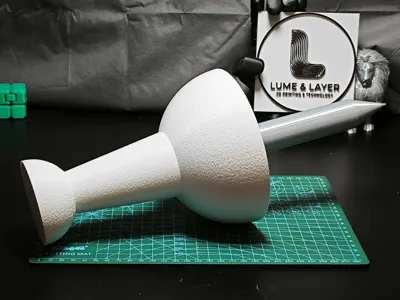
- Bring a fun, whimsical, and modern touch to your room, office, or makerspace with this **Giant 50cm Pushpin**!
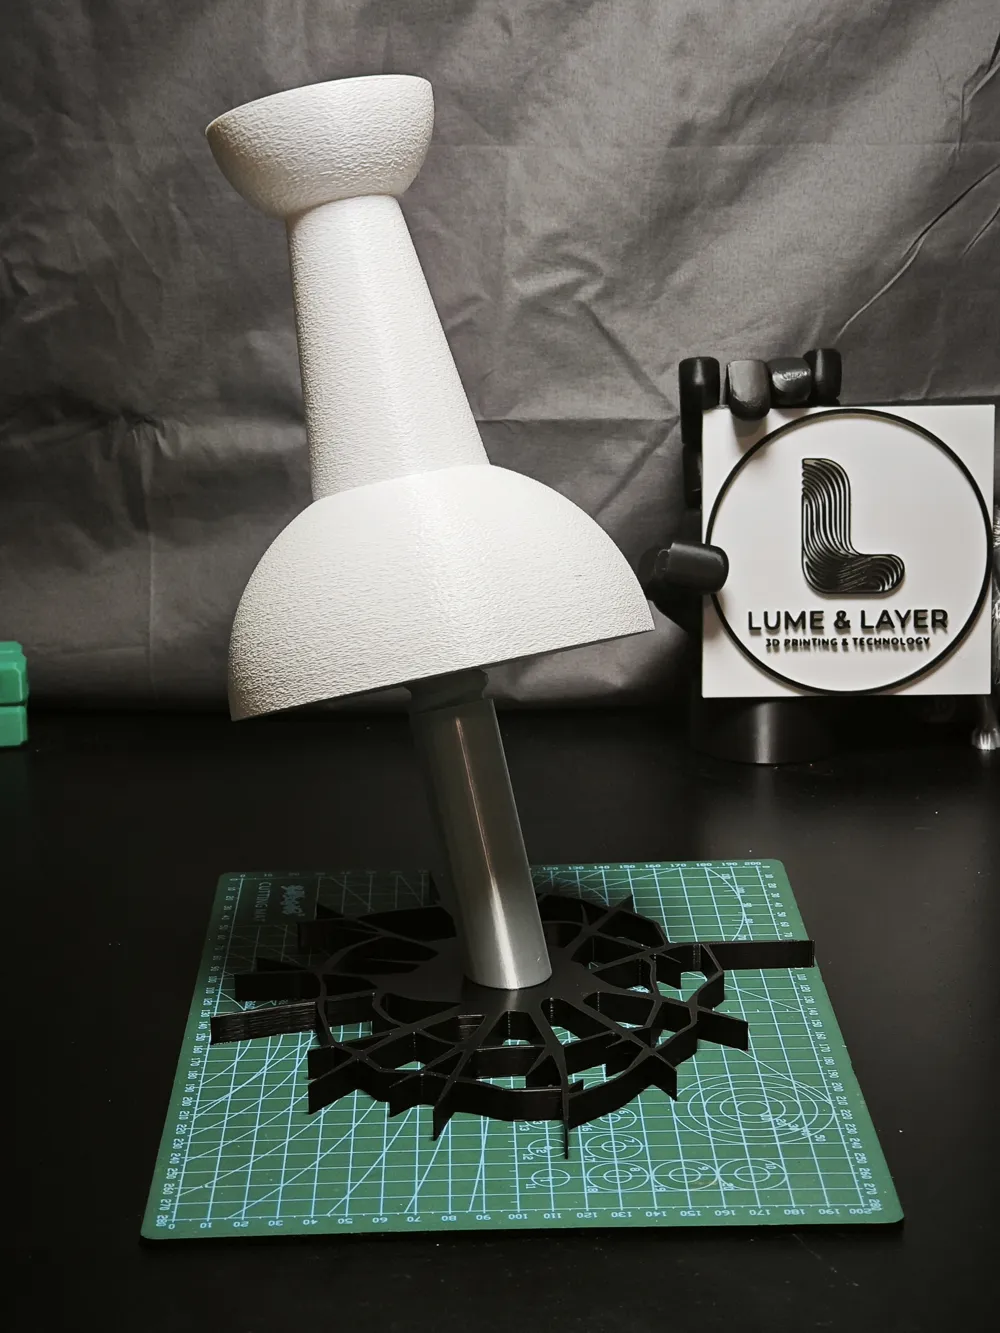
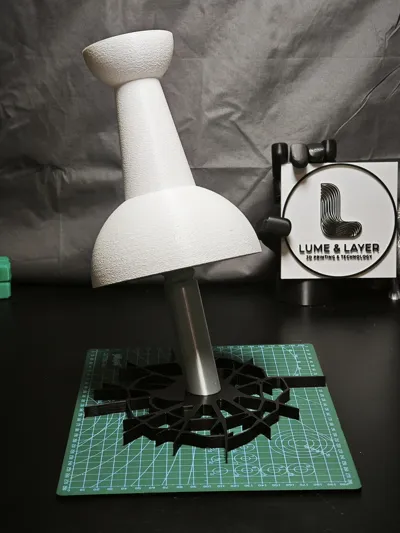
- This design features a highly realistic **"wall crack" illusion**, making it look like a giant has slammed a massive thumbtack directly into your wall, cracking the drywall!
- It features a modular, screw-together design. We have also included a **Kid-Safe Rounded Tip** variant so children can safely play with it as a giant toy prop!
- ---
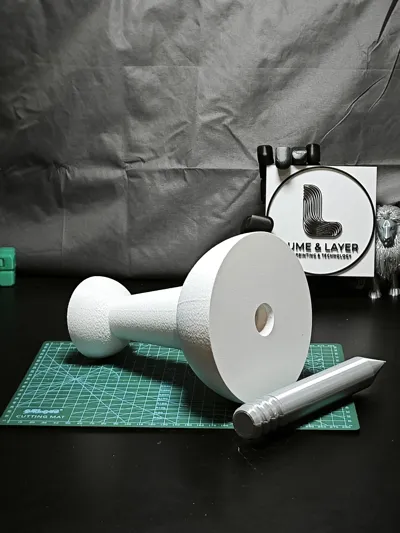
- ## 🧩 The 5 Modular Parts (Choose What to Print)
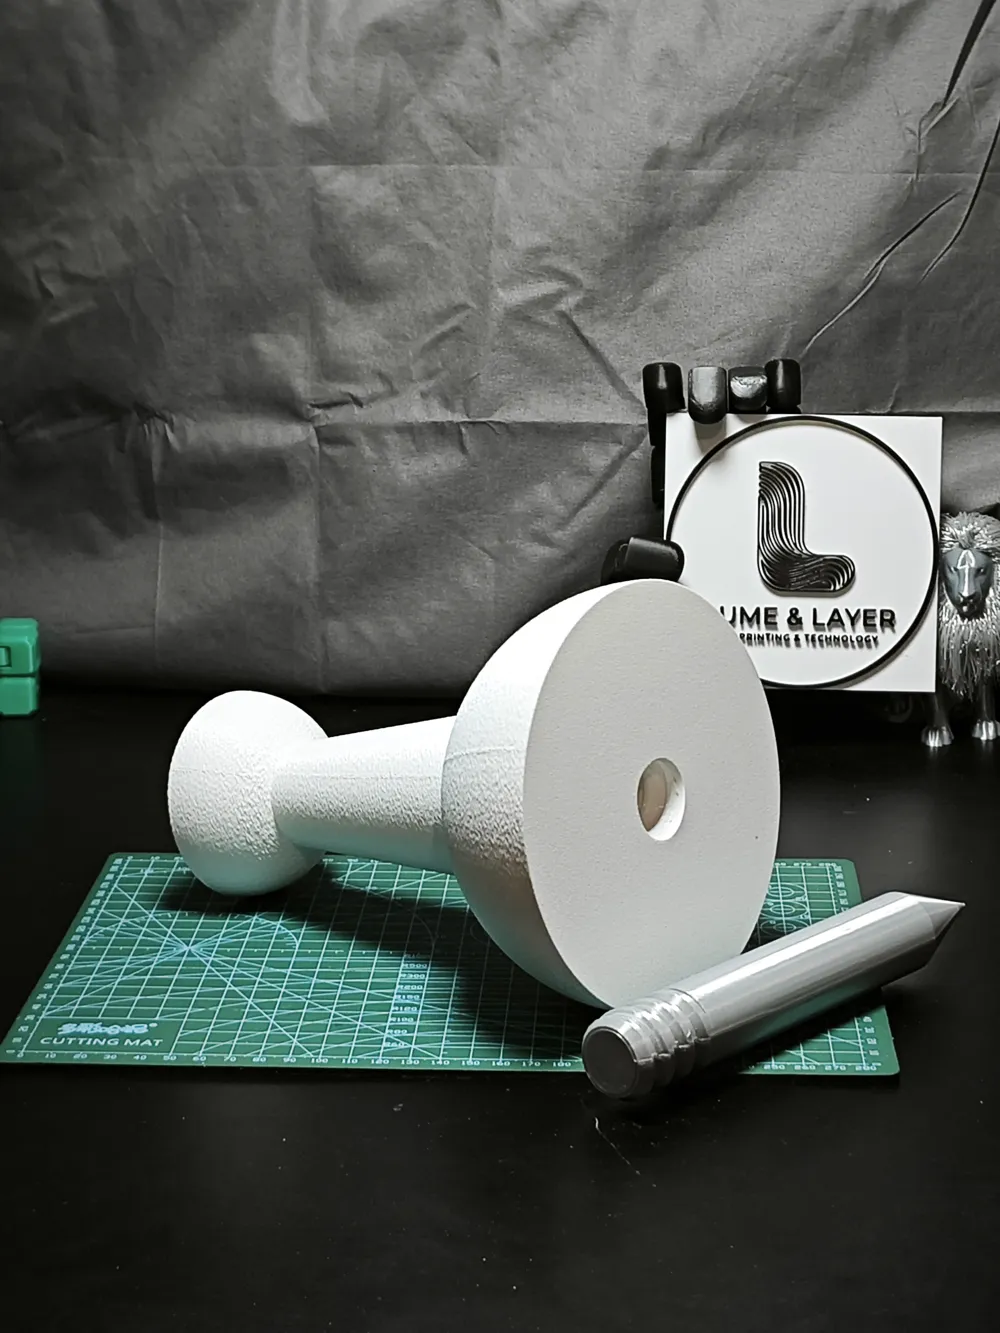
- * **1. Pin Cap (The Head):** The main colored body of the pushpin.
- * **2. Sharp Needle Tip (Standard):** The classic pointy metallic tip for a realistic look.
- * **3. Rounded Safety Needle Tip (Kid-Friendly) [NEW]:** A blunt, rounded alternative tip to prevent any accidental pokes or injuries.
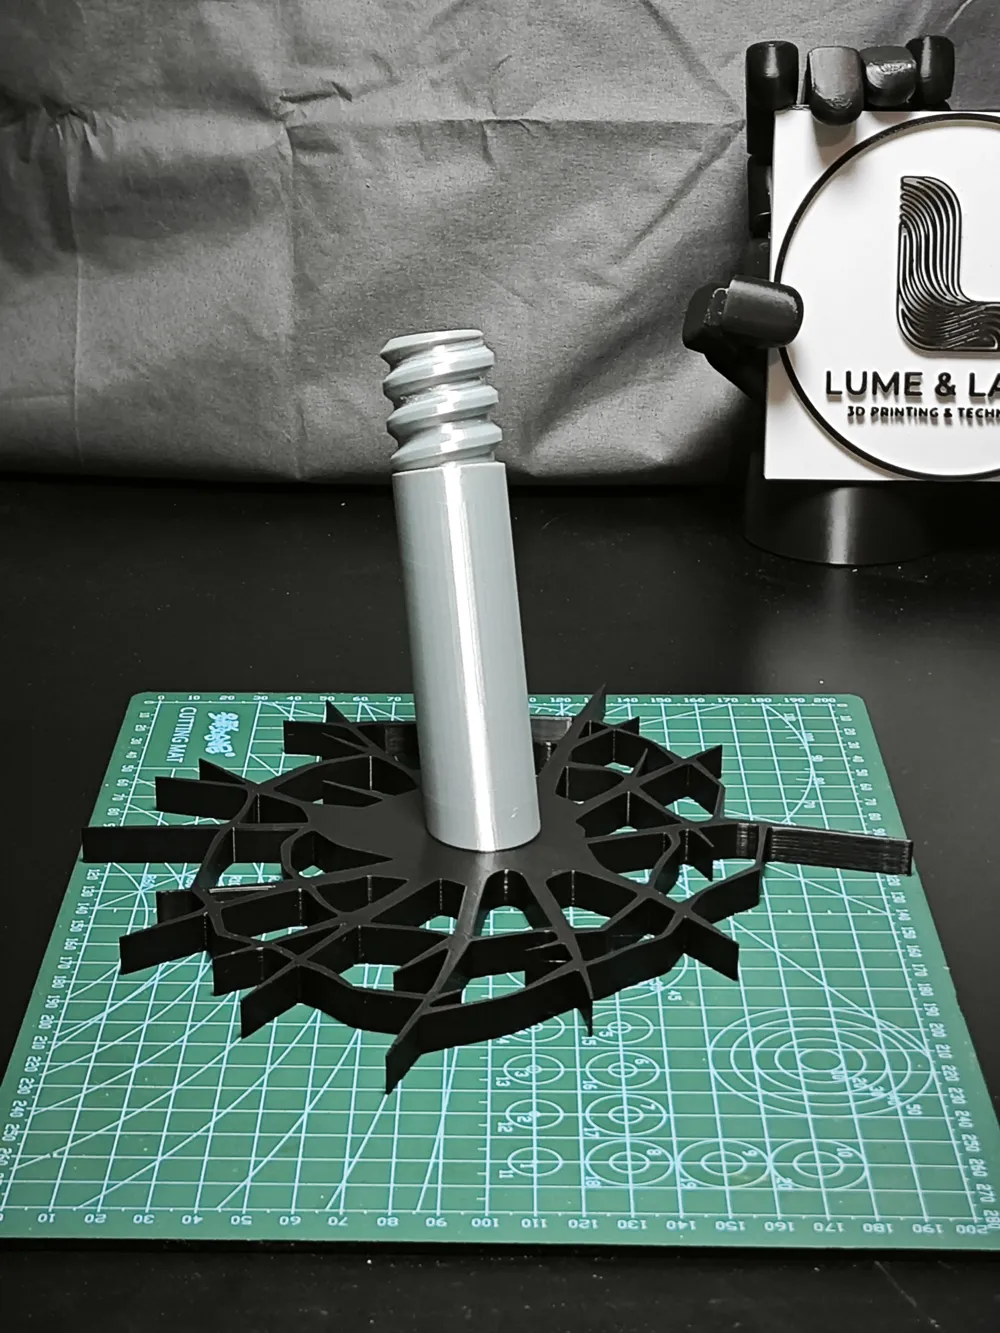
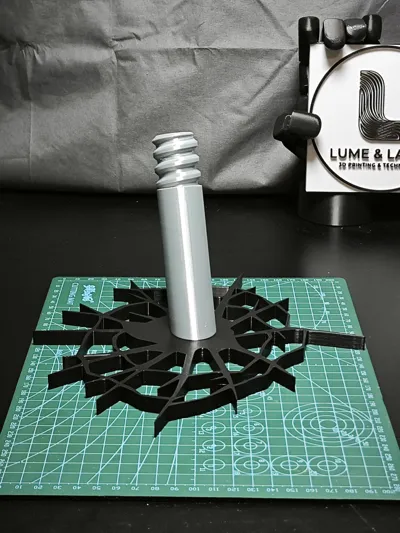
- * **4. Wall Crack A (Sleeve):** The outer crack plate with an angled hollow guide tube.
- * **5. Wall Crack B (Screw Core):** The inner crack plate with an angled threaded rod that slots through Crack A.
- ---
- ## 🛠️ Two Ways to Assemble (2-in-1 Design)
- ### Mode 1: The Wall-Mount "Drywall Crack" Illusion (Recommended)
- This mode creates the illusion of the pushpin being hammered into the wall.
- 1. Print **Wall Crack A (Sleeve)** and **Wall Crack B (Screw Core)** in a contrasting color (like Black or Dark Grey) to make the cracks pop on your wall.
- 2. Align **Wall Crack A** over **Wall Crack B**. The threaded rod of Part B will slide right through the hollow sleeve of Part A.
- 3. Mount the combined crack plates to your wall (using double-sided mounting tape or screws).
- 4. Screw the **Pin Cap** directly onto the protruding threaded rod. The thread will lock the entire assembly securely onto the wall!
- ### Mode 2: The Standalone Giant Pushpin (Desk Toy / Prop)
- If you want a giant, complete pushpin to sit on your desk or for kids to play with:
- 1. Choose either the **Sharp Needle Tip** (for display) OR the **Rounded Safety Needle Tip** (for play).
- 2. Simply screw your chosen tip directly into the female thread at the bottom of the **Pin Cap**.
- ---
- ## 🎨 Filament & Color Suggestions
- * **The Pin Cap:** Print with bright, vibrant PLA (Classic Red, Blue, Yellow, or Green).
- * **The Needle Tips (Sharp or Rounded):** Print with **Silk Silver PLA** to give it a realistic metallic finish.
- * **The Crack Parts (A & B):** Print in **Black** or **Dark Charcoal Grey**. Against a light-colored wall, this creates a deep, dramatic 3D shadow effect for the cracks!
- ---
- ## ⚙️ Recommended Print Settings
- * **Layer Height:** 0.2mm - 0.24mm.
- * **Wall Loops:** 3 loops (important for the threaded parts to prevent the screws from snapping).
- ---
- *If you love this design, please leave a ⭐⭐⭐⭐⭐ rating and share your photos! Let's see how awesome this looks on your walls!*
License

This user content is licensed under a
Creative Commons Attribution


Comment & Rating (0)