
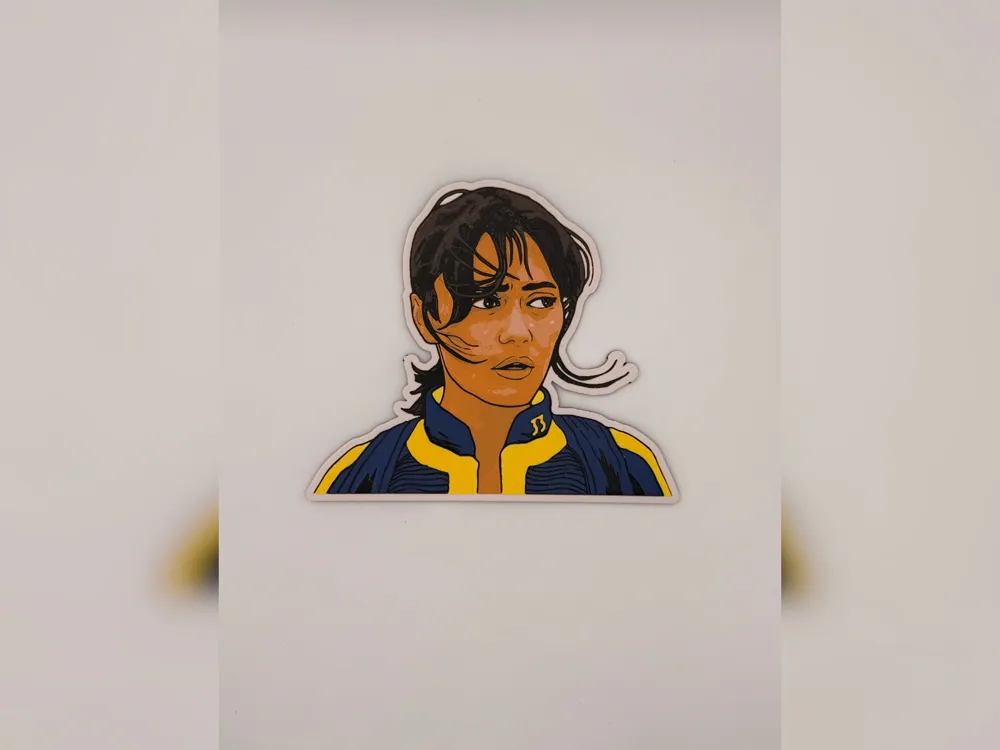
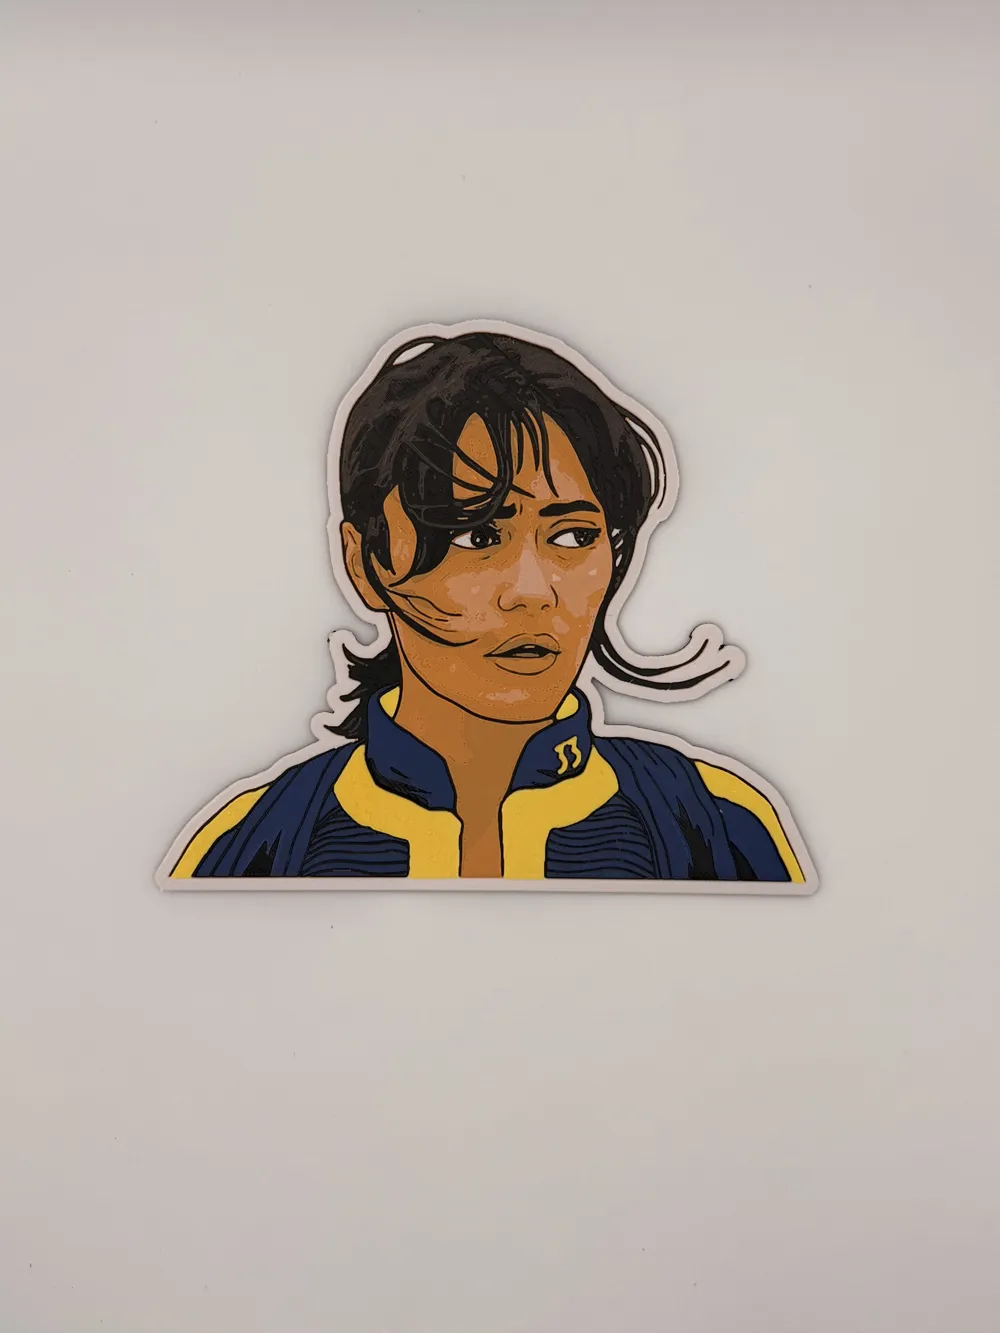
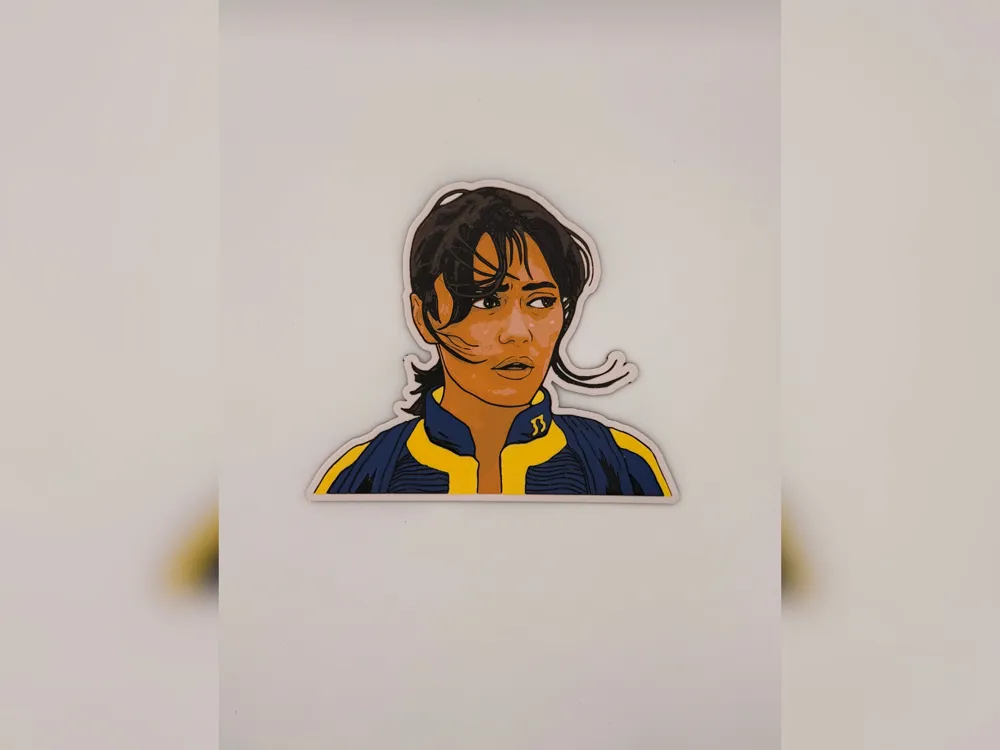
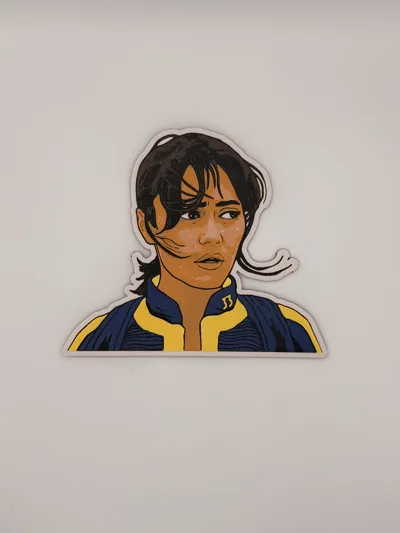
Lucy Fallout Vault 33 Portrait hueforge cutout
Print Profile(1)
Description
☕ Enjoying my work? Consider buying me a coffee – buymeacoffee.com/jdau
Boost Me (for free)
I hope you find something here that you enjoy printing. Ratings, Boosts, and requests are always welcome, and they help keep new designs coming.
Lucy MacLean steps out of Vault 33 with the determined expression that defined one of the breakout characters from the Fallout series.
The custom cutout profile follows the character silhouette instead of using a traditional rectangular frame, making it feel more like a premium display piece than a standard wall panel. It looks equally at home on a gaming shelf, next to Fallout collectibles, in a media room, or as part of a display celebrating one of gaming's most recognisable post-apocalyptic worlds.
The six-colour palette produces crisp separation between the vault suit, skin tones, and facial features while the white border gives the finished print a clean, finished edge. Whether you're a long-time Fallout fan or discovered the series through the recent television adaptation, this is a distinctive display piece that stands out without needing a large footprint.
Print Settings:
- 100% infill
- Sparse Infill Pattern: Rectilinear
- 0.08mm layer height
- 0.16mm initial layer
- Model size: 186.91x200mm
- Optional: You can use a height range modifier up to 0.48mm to print the solid base layers at a higher layer height, such as 0.24mm.
Filaments used:
- #000000 PLA BambuLab Basic Black, TD: 0.6
- #101a61 PLA BambuLab Blue, TD: 2.2
- #673f30 PLA BambuLab Brown, TD: 1.1
- #f99963 PLA BambuLab Matte Mandarin Orange, TD: 3
- #ffffff PLA BambuLab Basic Jade White, TD: 5
- #fec600 PLA BambuLab Basic Sunflower Yellow, TD: 5
This print uses 6 unique filaments.
Similar filament colours may be used, including close Bambu Lab or equivalent alternatives, but results may vary depending on filament brand, colour, transparency, and calibration.
Swap Instructions:
- Start with Black.
- At layer #8 (0.72mm), swap to Blue.
- At layer #11 (0.96mm), swap to Black.
- At layer #15 (1.28mm), swap to Brown.
- At layer #17 (1.44mm), swap to Matte Mandarin Orange.
- At layer #22 (1.84mm), swap to Jade White.
- At layer #32 (2.64mm), swap to Sunflower Yellow for the rest.
Printing More Than 4 Colours With One AMS
This model uses more than 4 colours, but it can still be printed with a single AMS.
Start the print from Bambu Studio or the Bambu Handy app so that you can manually map the filament colours to AMS slots.
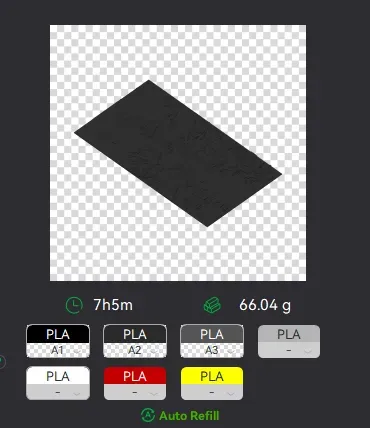
Load the first 4 filaments into the AMS and map them to slots 1-4.
For the later colours, map them again to the same AMS slots. Once the printer has finished using an earlier colour, remove that spool and replace it with the next required colour.
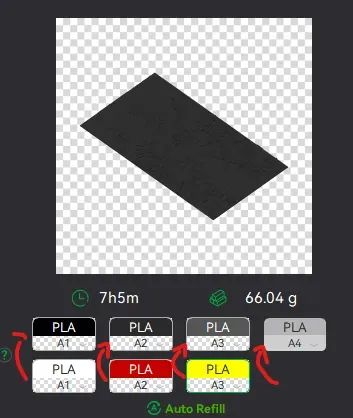
For example:
- When Blue is finished, replace it with Jade White.
- When Brown is finished, replace it with Sunflower Yellow.
You can swap the physical spool while the print is still running, as long as that colour is no longer needed.
Make sure each filament is mapped correctly before starting the print.
Extra Tips for hueforge prints!
- Set your filament temps to 10c lower ~ 210c
- Ensure detect narrow internal solid infill is off
- Resizing! Ensure that you unselect “uniform scale”, and only modify the X & Y axis, the Z axis MUST remain the same
Setting your retraction length to ½ of what it currently is will reduce stringing
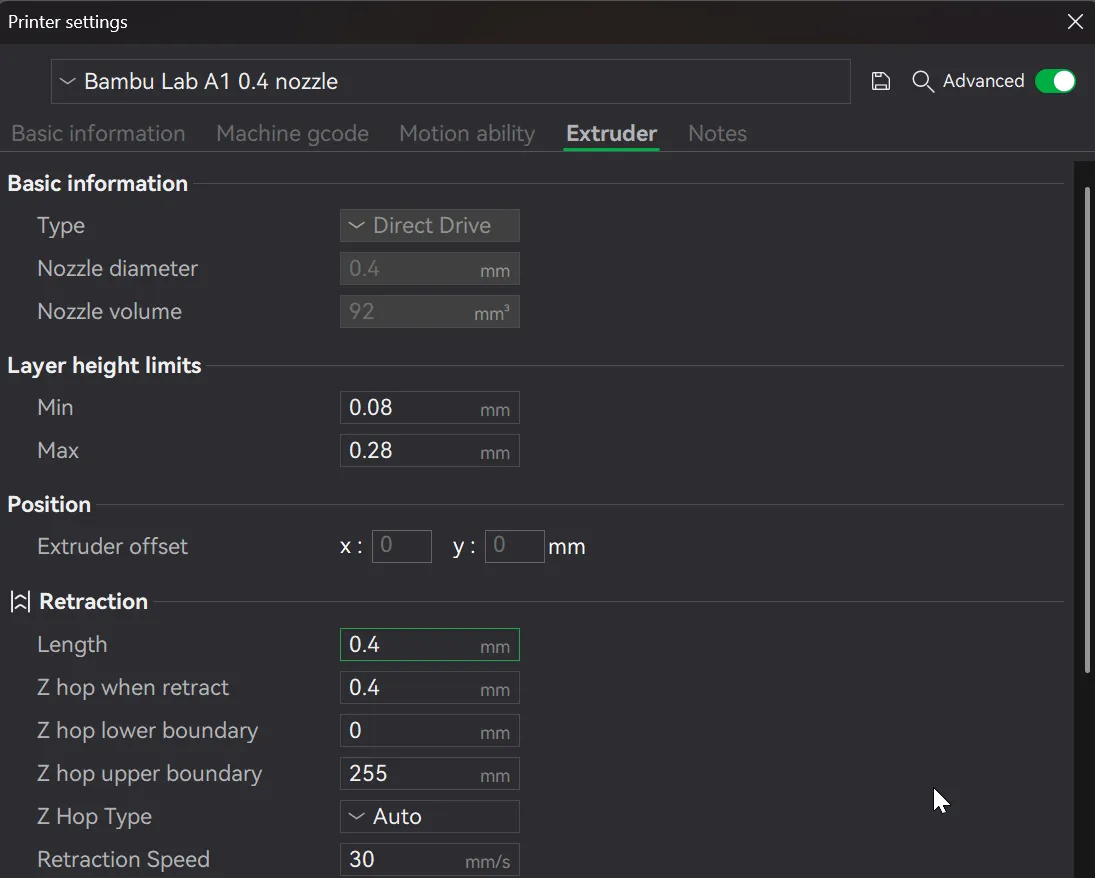
To speed up printing, you can use a height range modifier - Only do this after the swaps/pauses have been inserted and the model sliced first!
i.e. where a model has the following listed: "Optional height range modifier supported up to 0.72mm where noted."
1. Right click on the body under the Objects tab, and select height range modifier
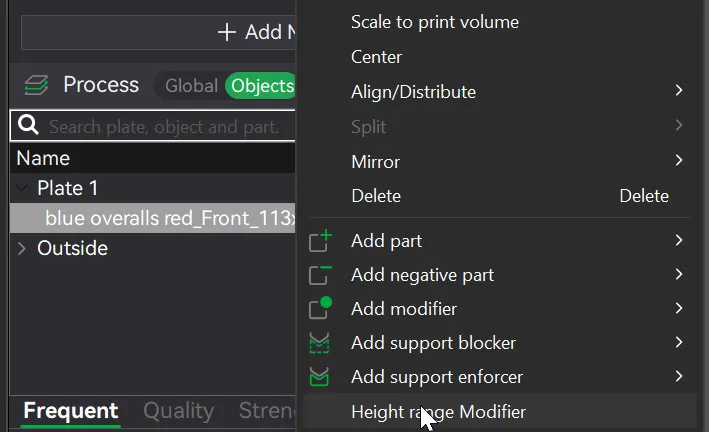
2. Change the two values specified below
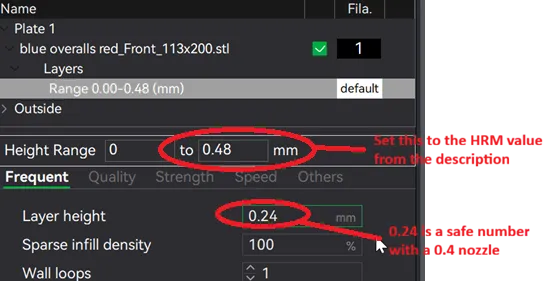
3. Reslice and watch your print time drop down!
License



Comment & Rating (0)