
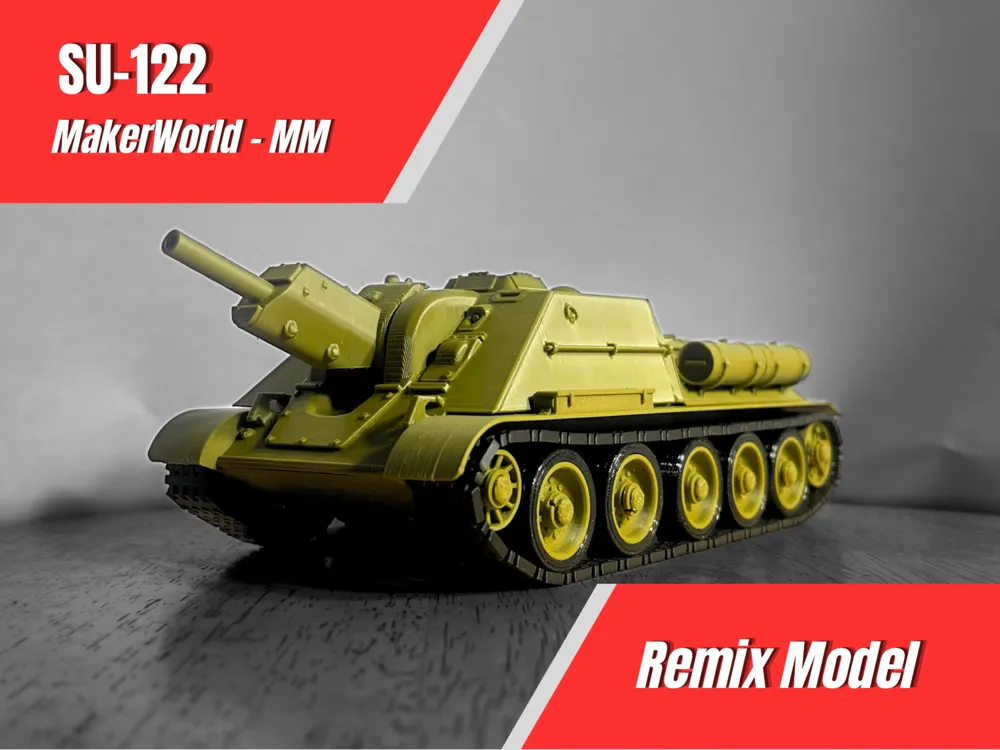
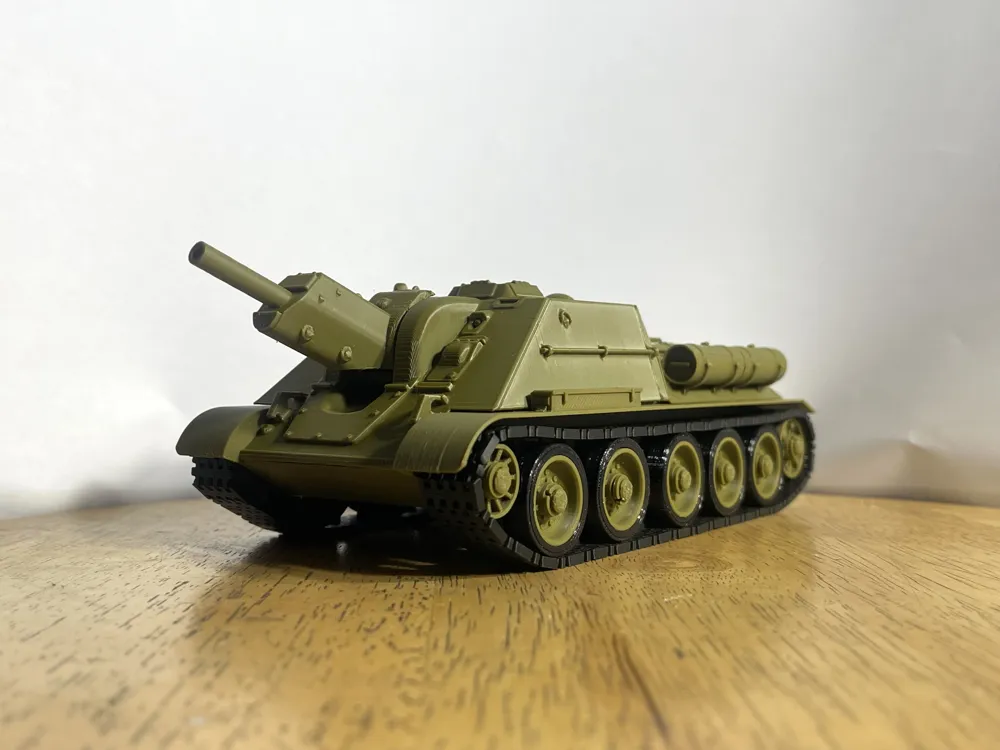
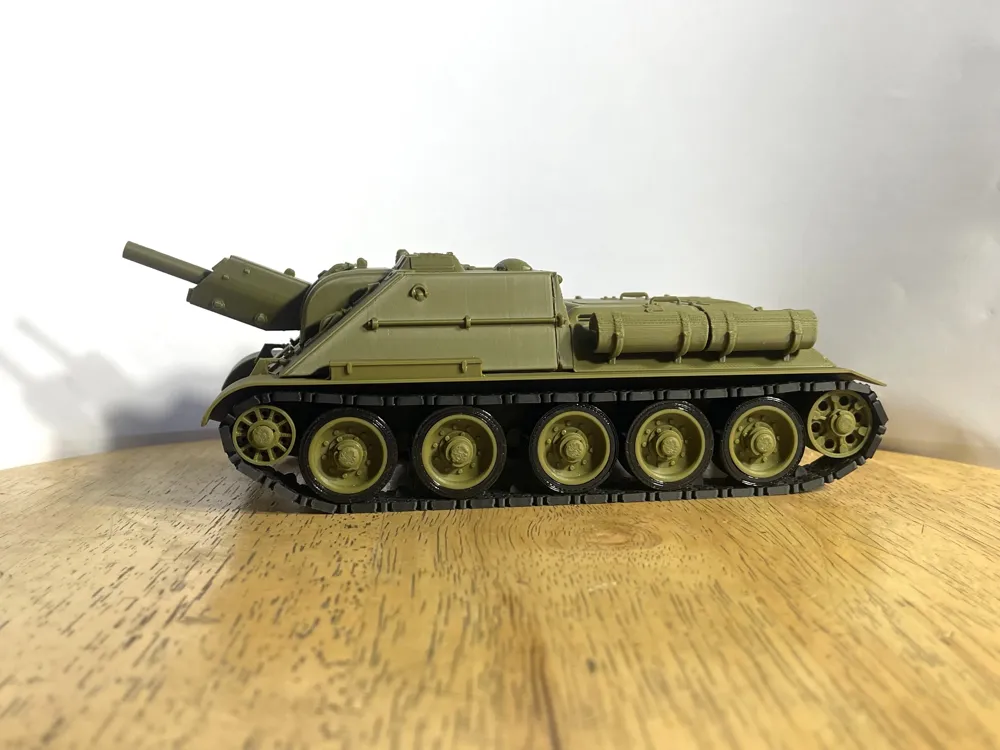
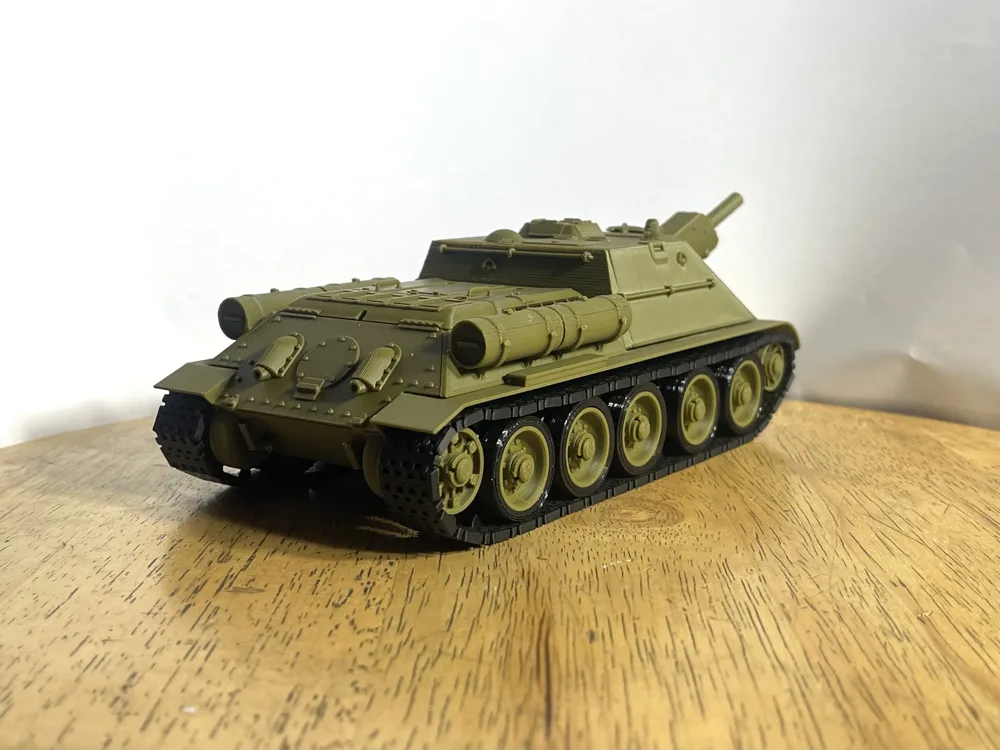
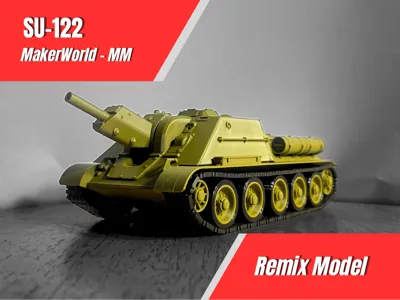
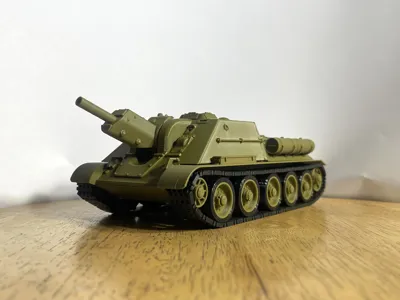
1/35 SU-122
Print Profile(1)
Description
#T34evolution #Contests #Hostedbycreator
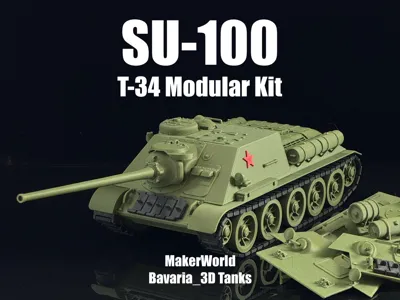
A small remix of @Bavaria_3DTanks's SU-100 Modular Platform: https://makerworld.com/en/models/2659621-su-100-tank-destroyer-t34-modular-kit-1-35-scale#profileId-2941681
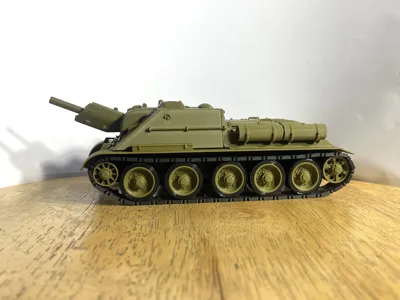
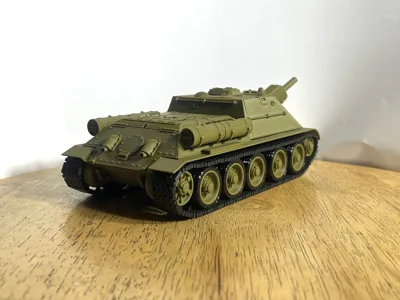
The contest hints that remixes of the T-34 should be redesigns or an evolution, instead of that I did a de-evolution. I present the SU-122.
What was remixed?
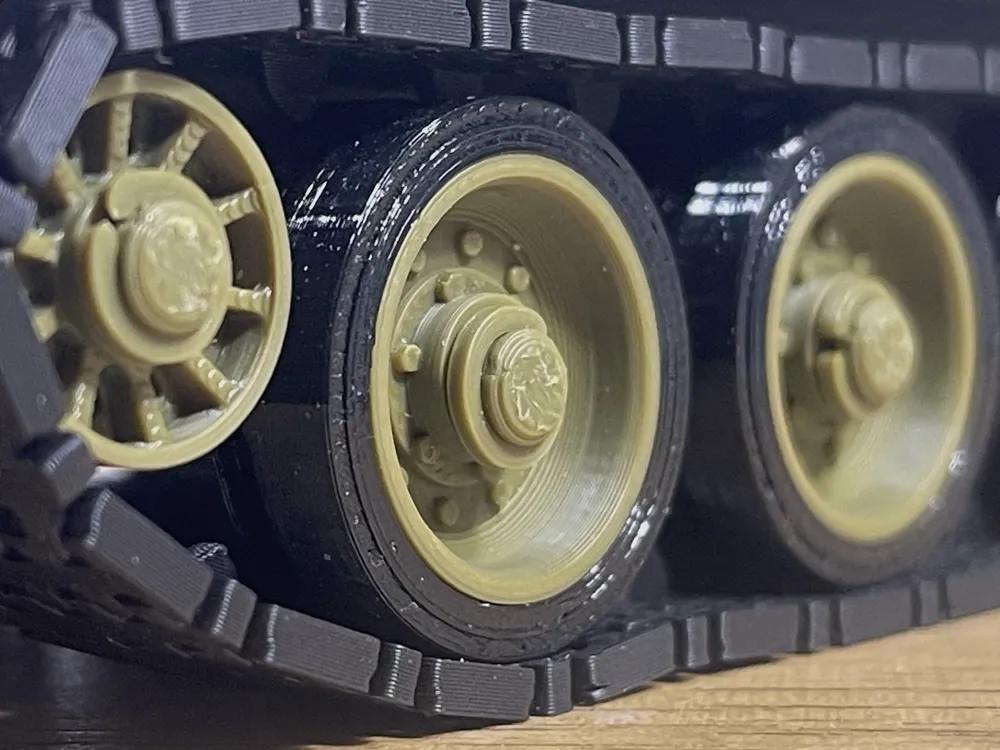
The Wheels
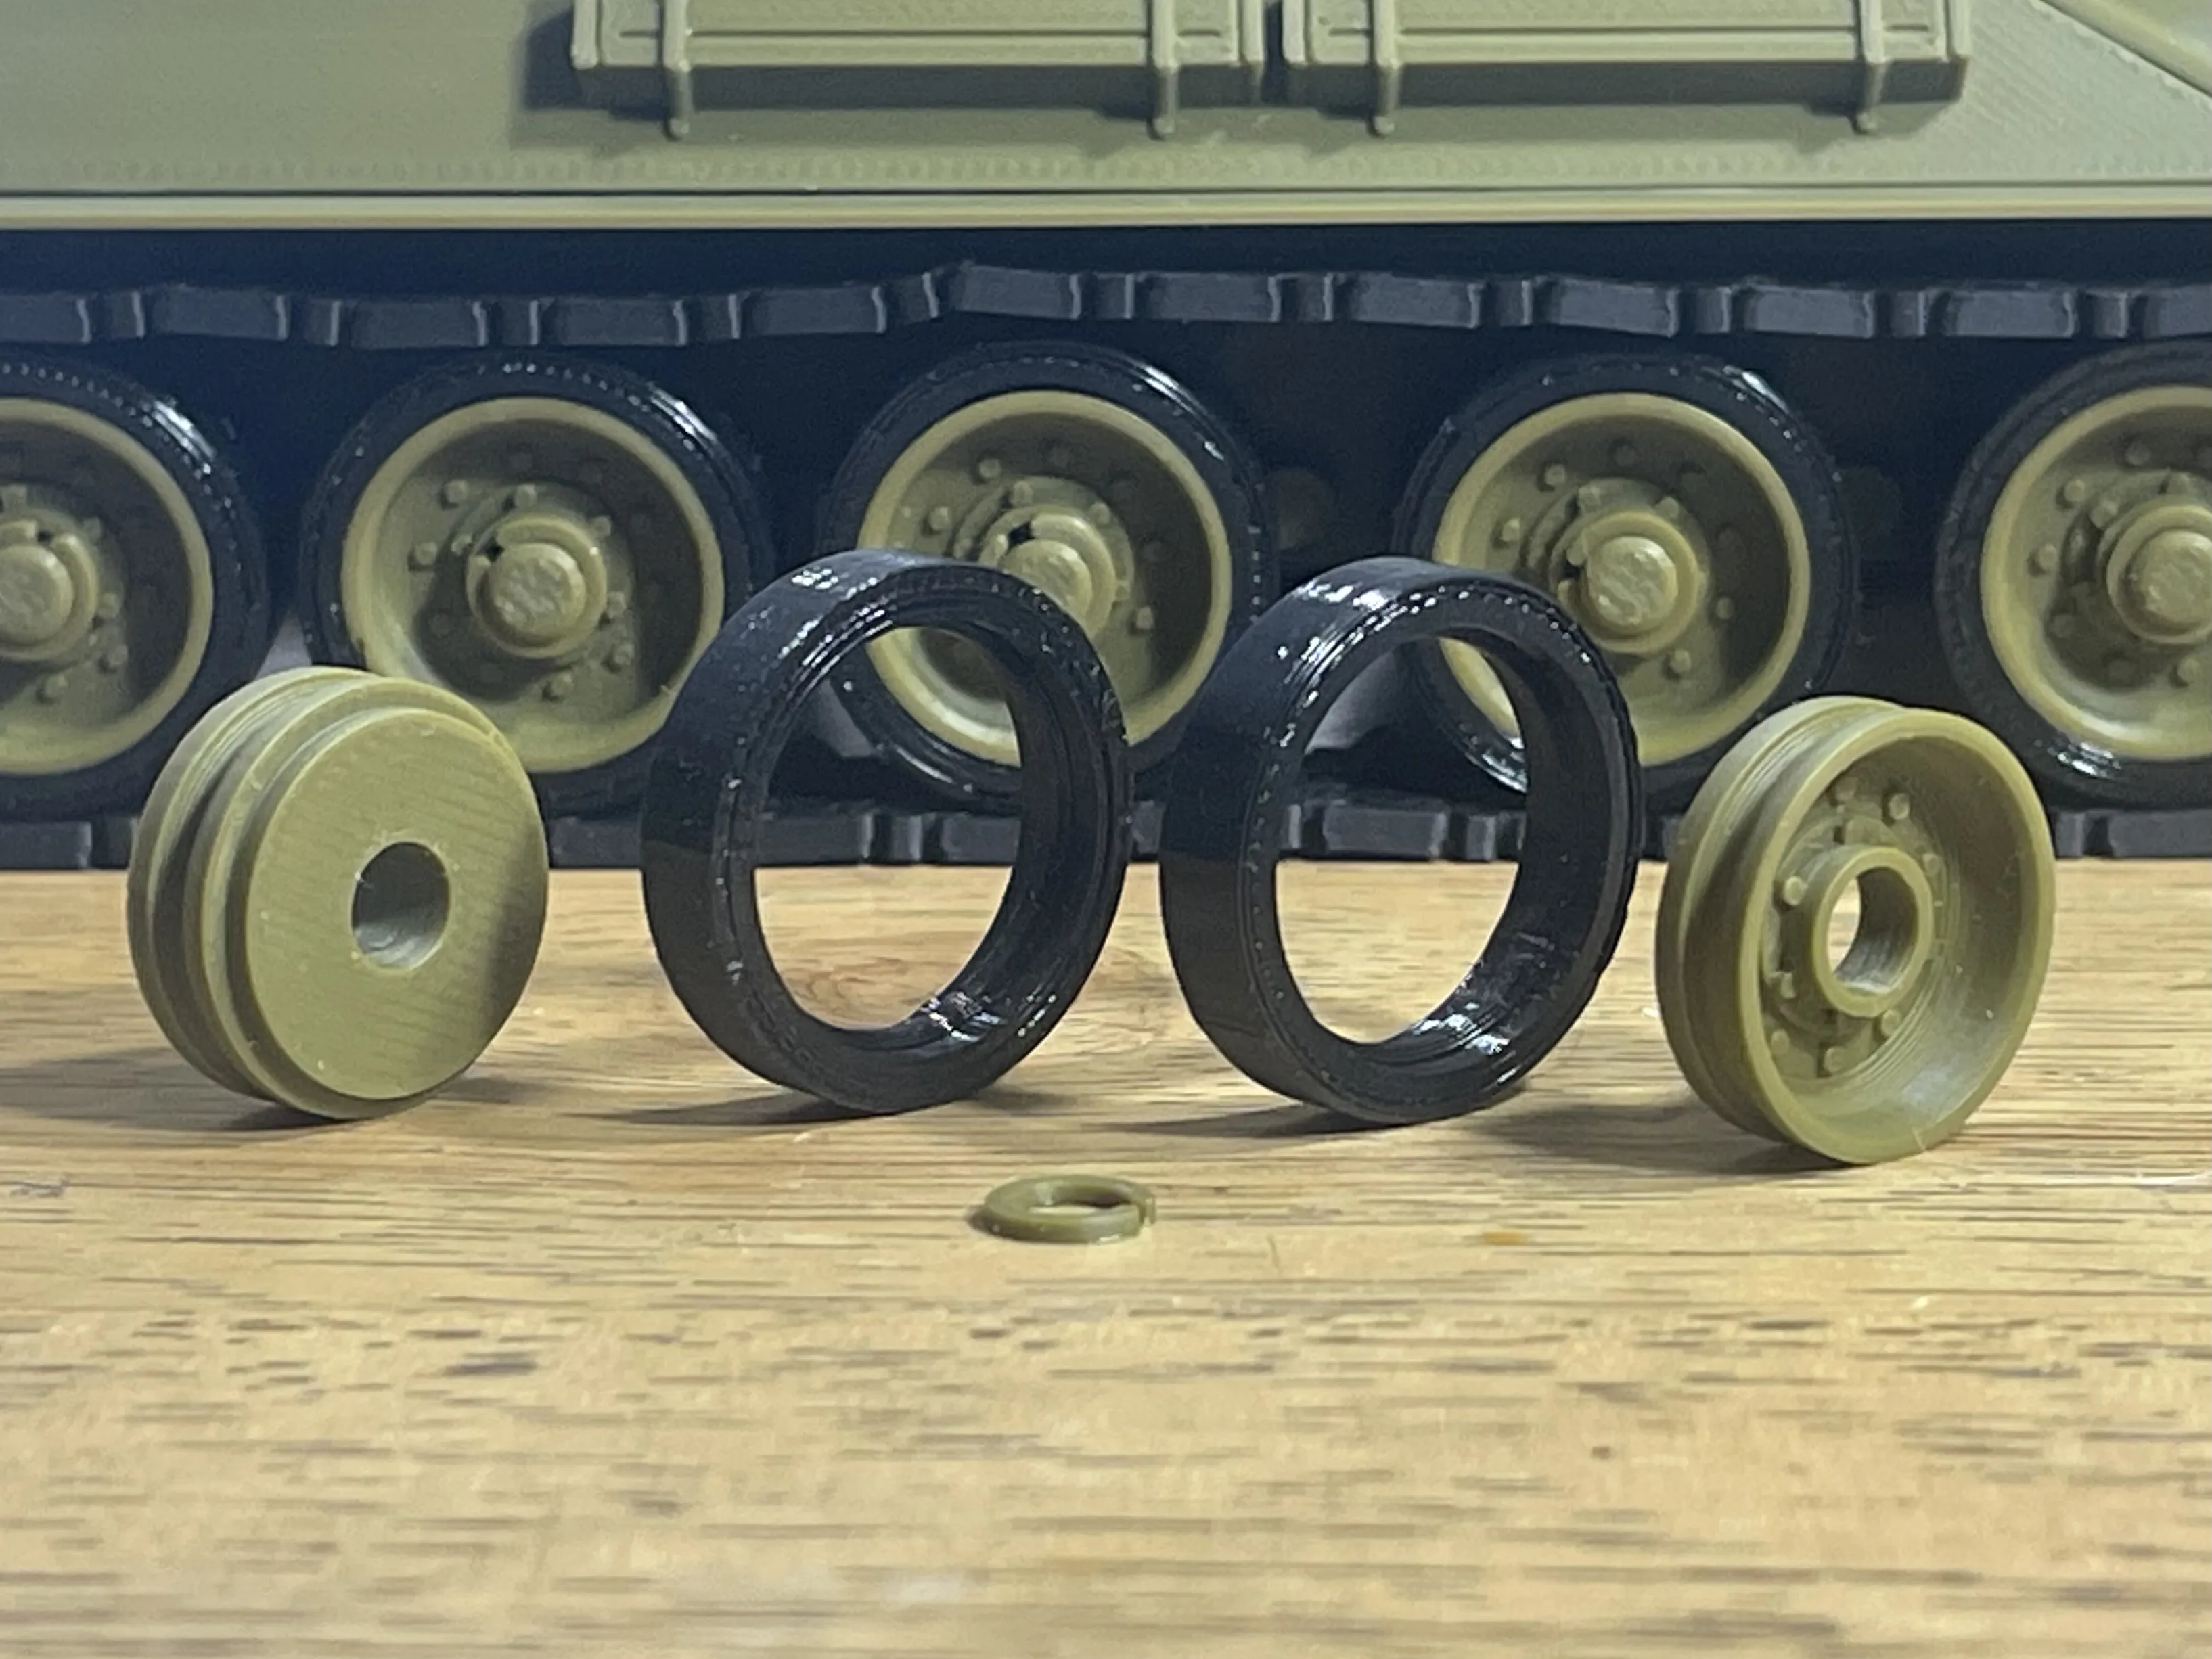
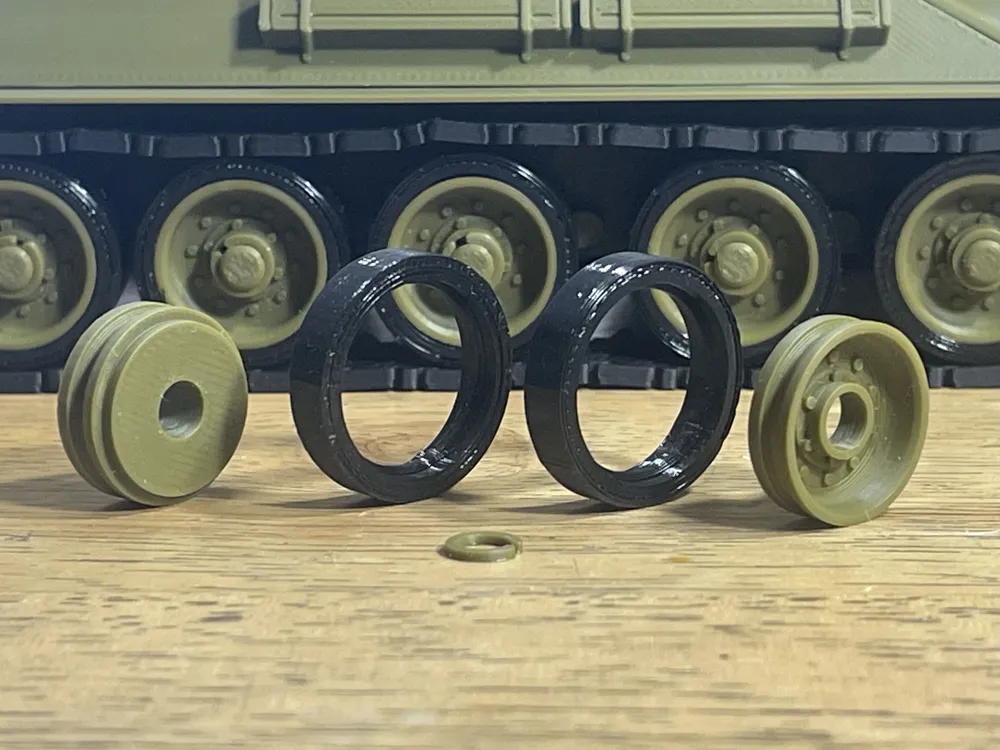
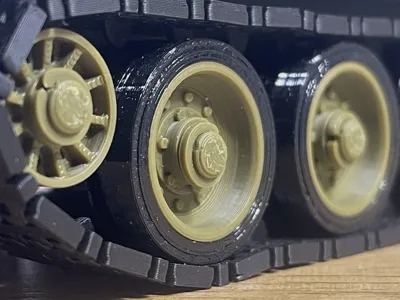
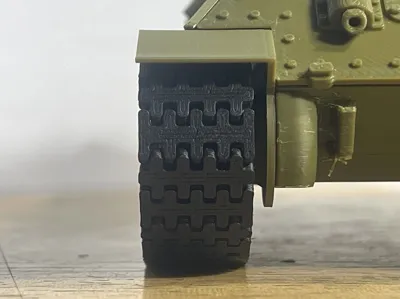
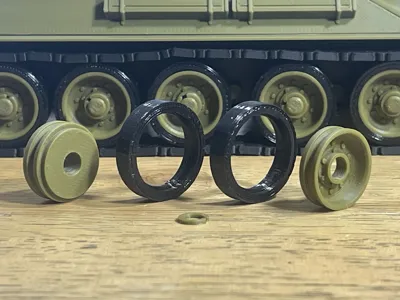
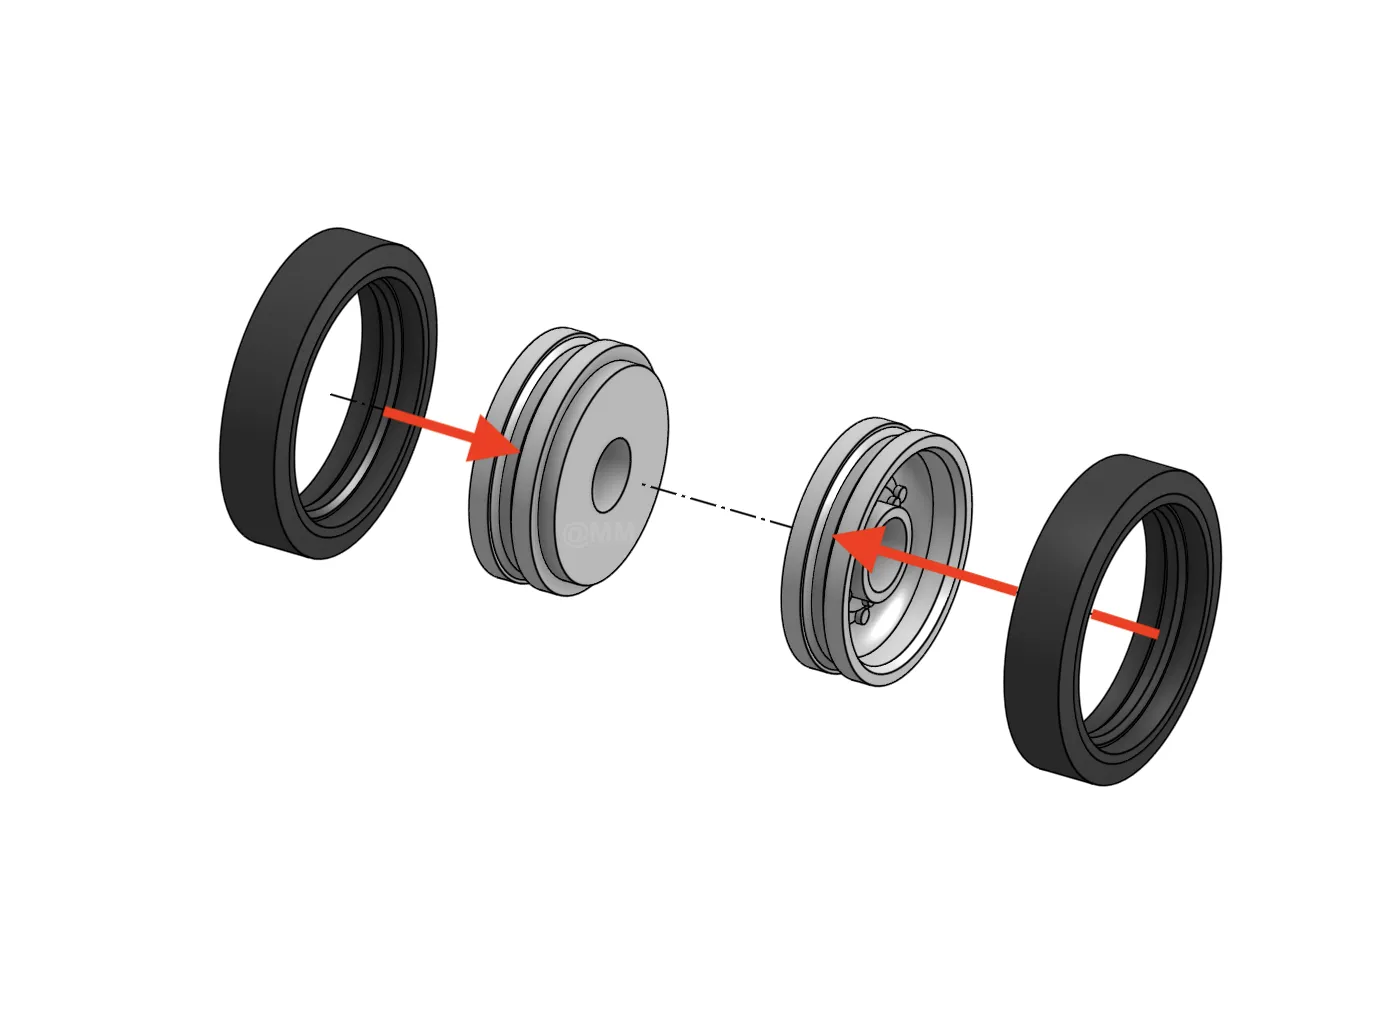
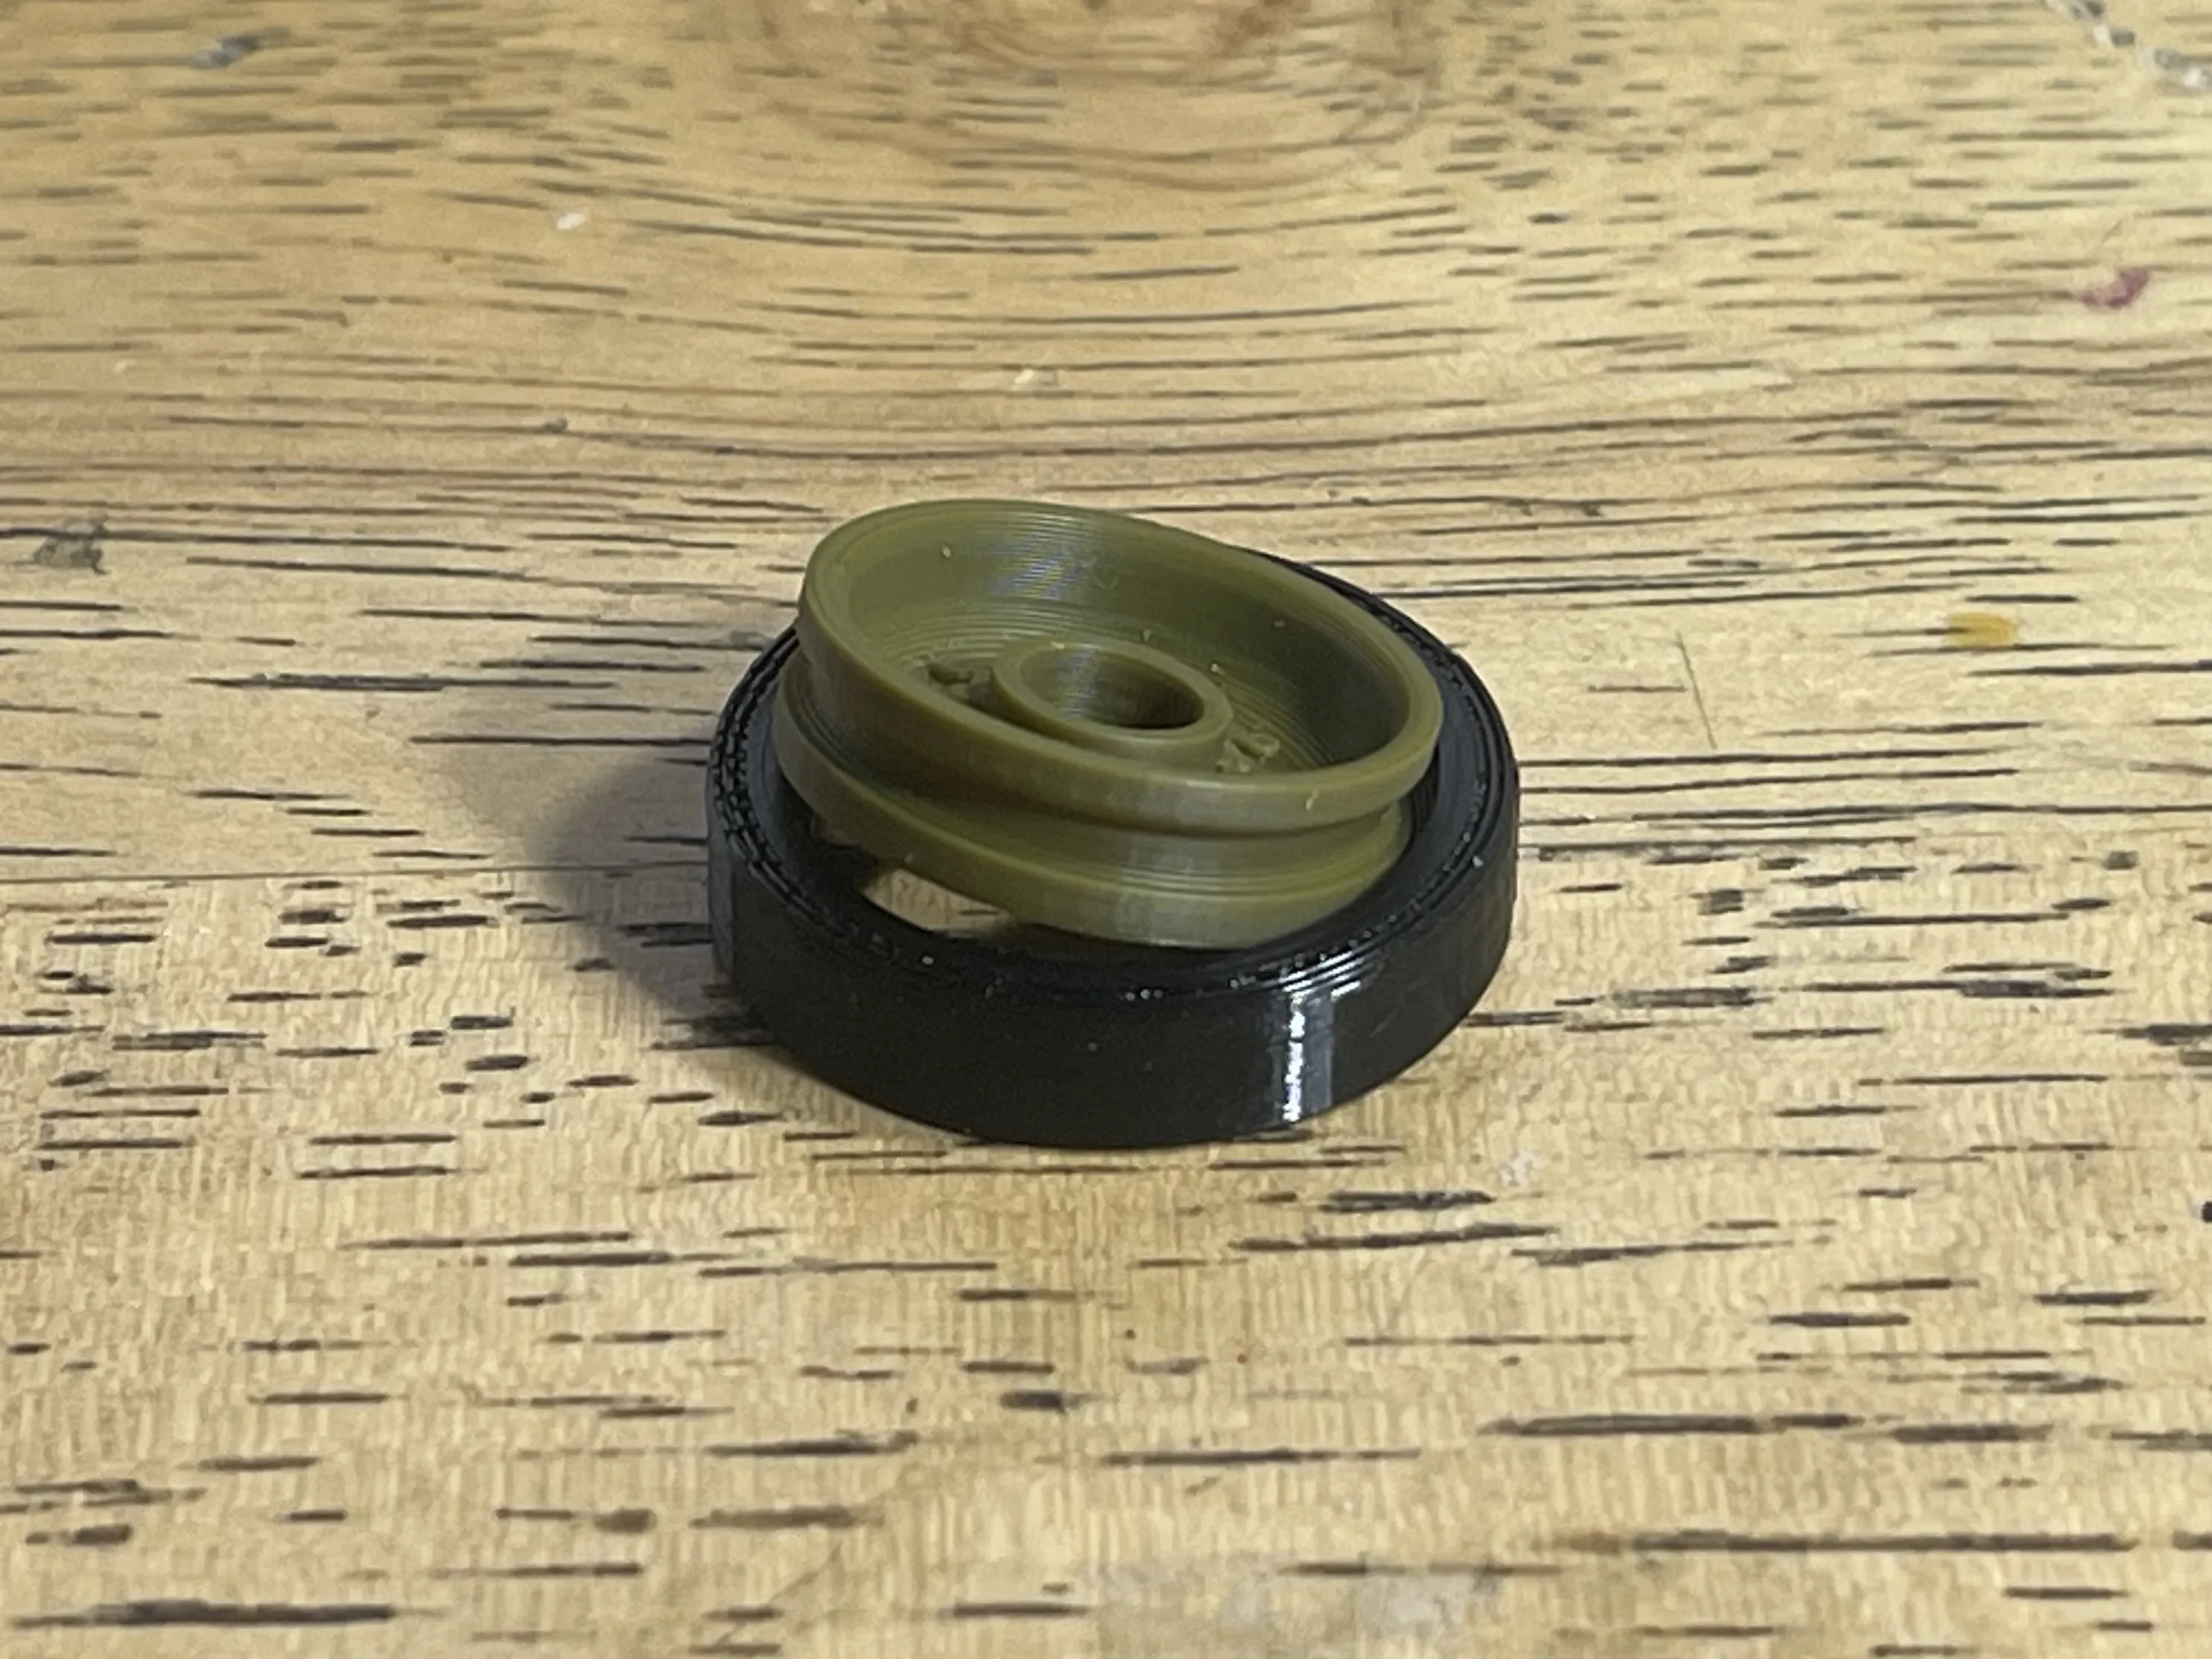
Using Bavaria's T-34 platform, I have done lots of changes to the model. I introduced my own road wheels which are based on the early solid-rubber wheels, these road wheels come with the tire part separate to allow the tire part to be printed in TPU, it requires 95A TPU or softer to allow the tire to stretch over the rim. However, if unable to use TPU, or if you have a AMS, there are un-separated road wheels and AMS/Multicolor road wheels respectively.
Casemate and Hull Panels
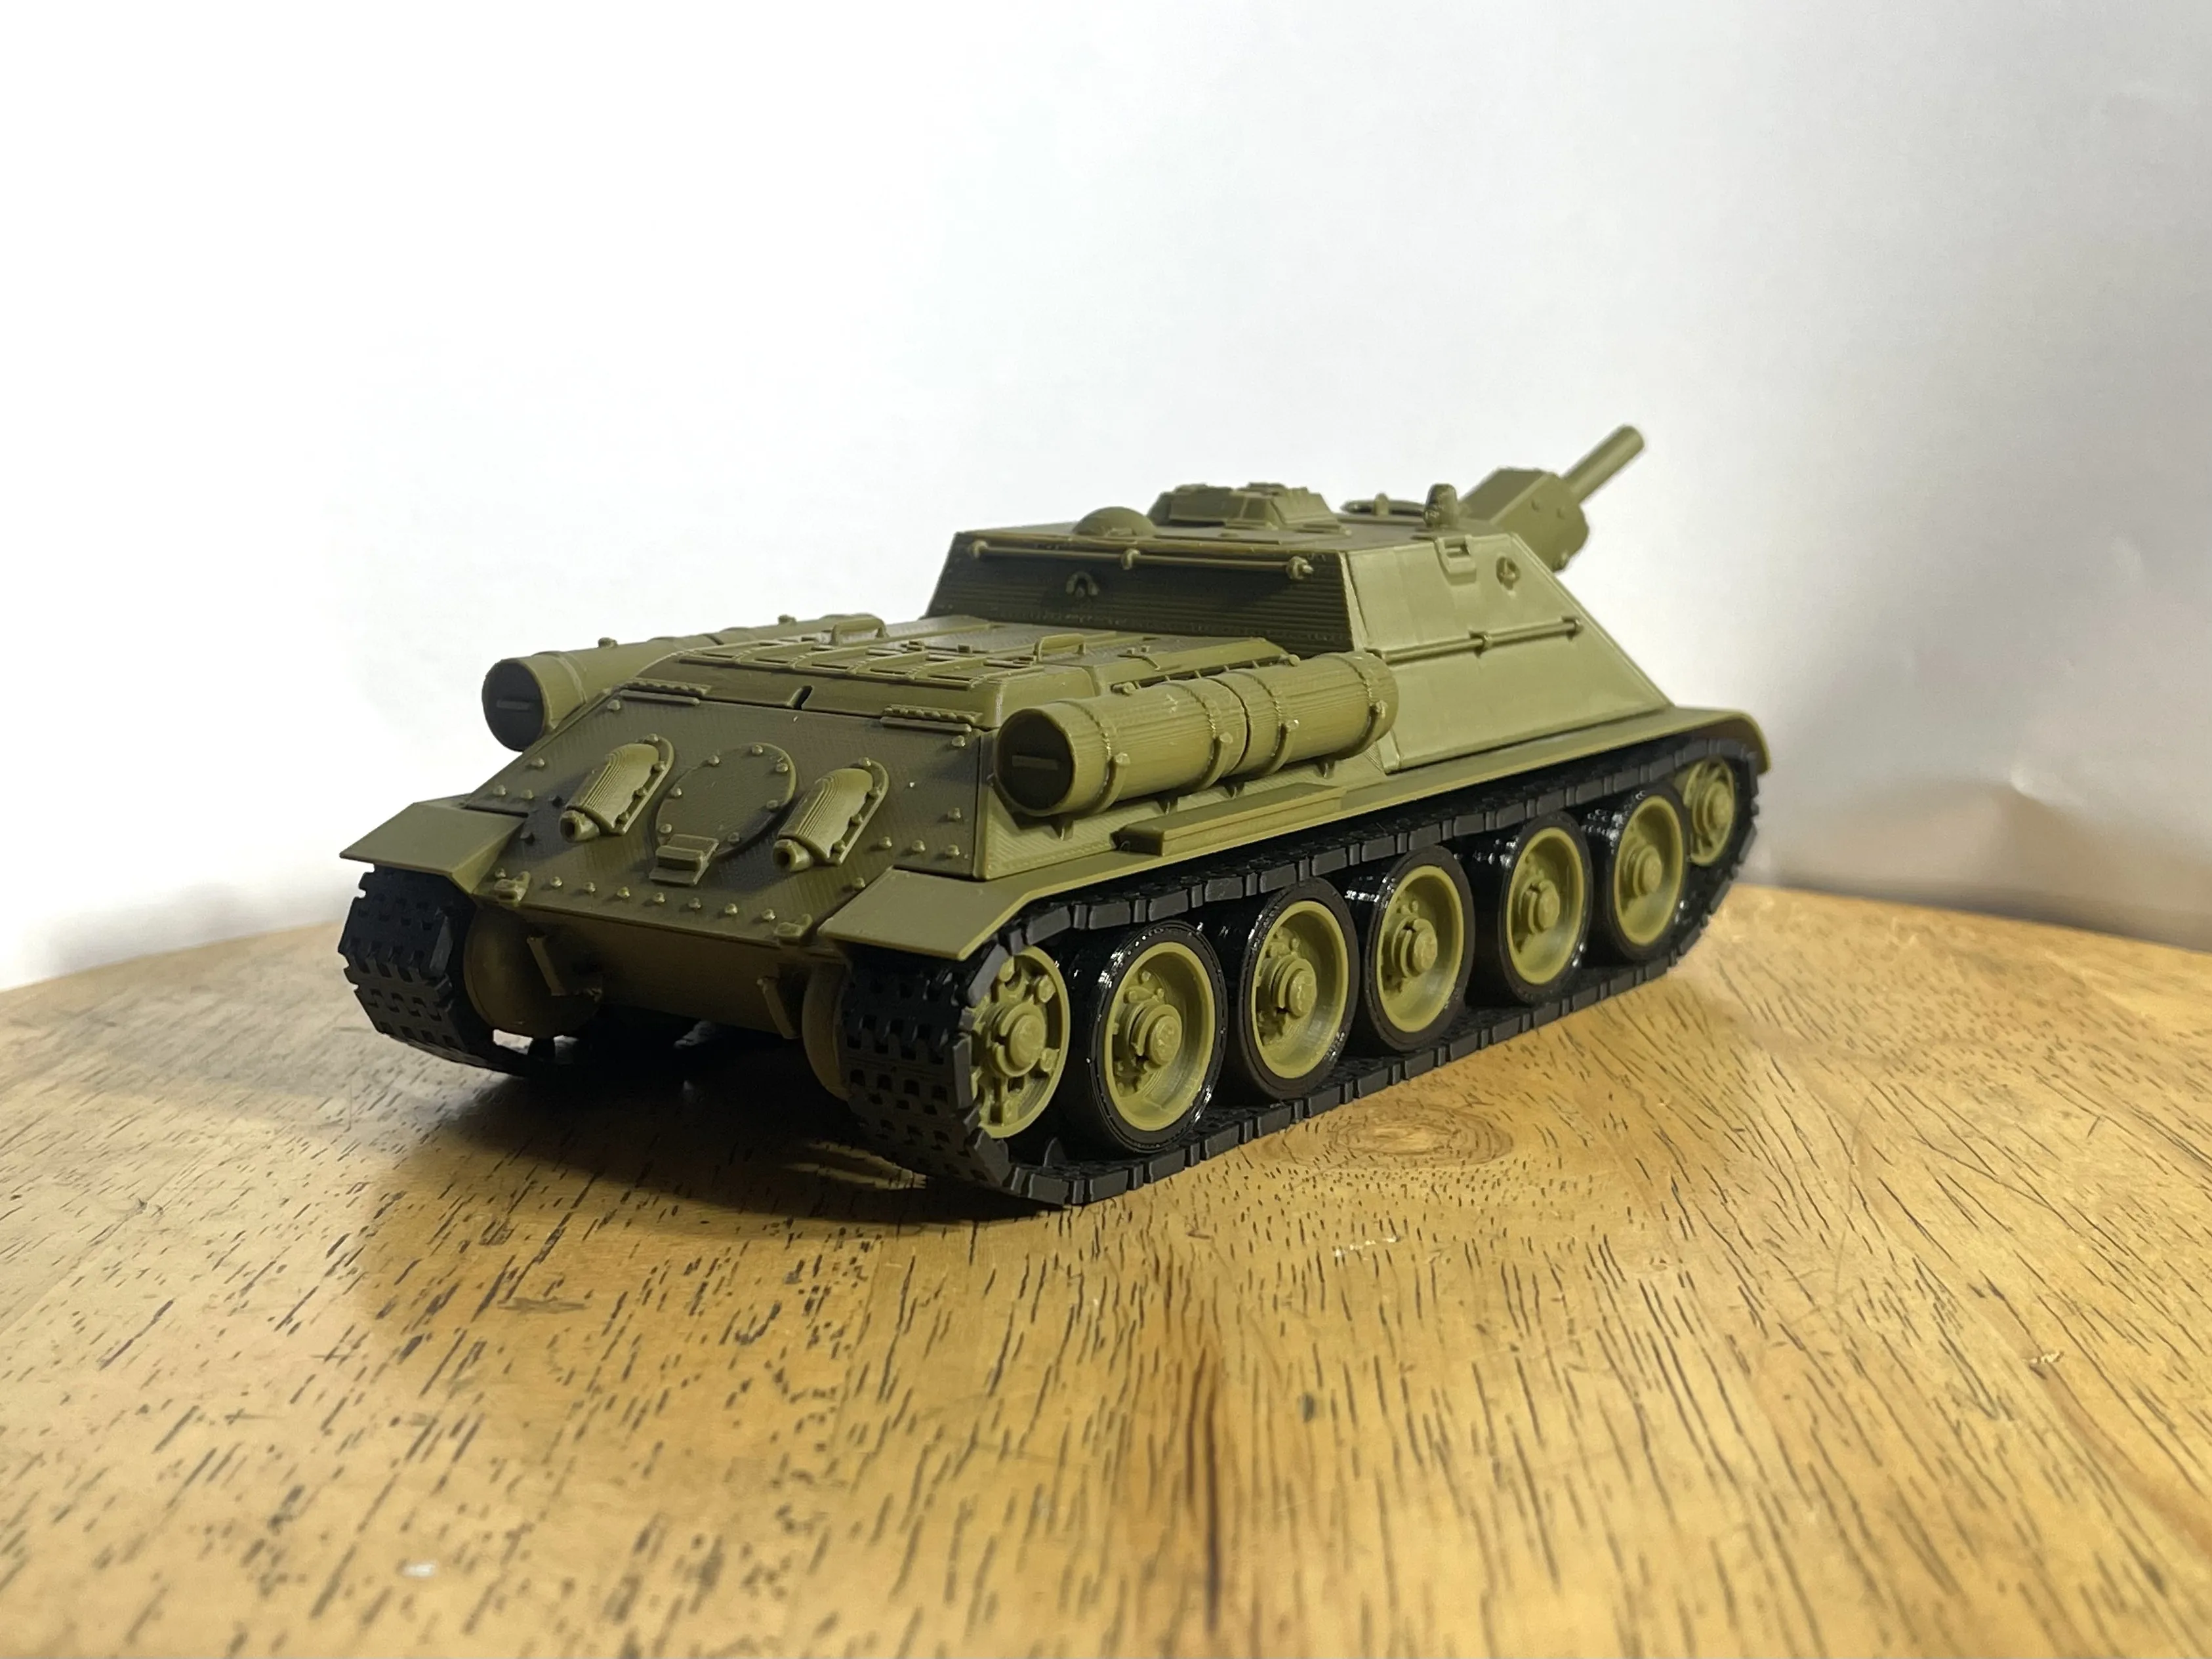
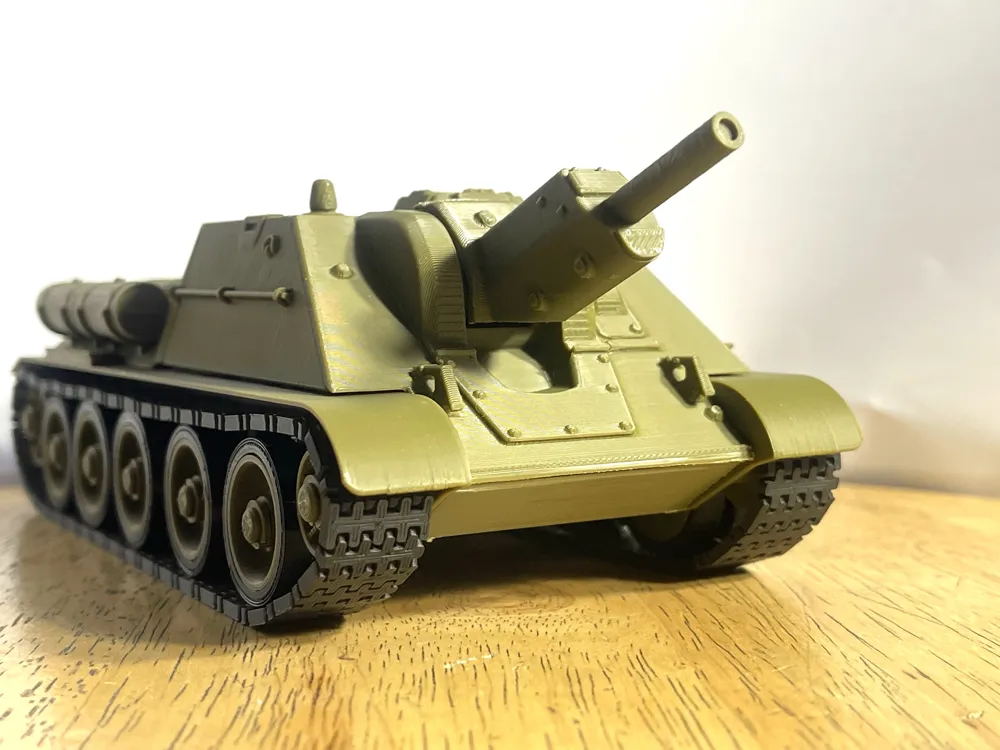
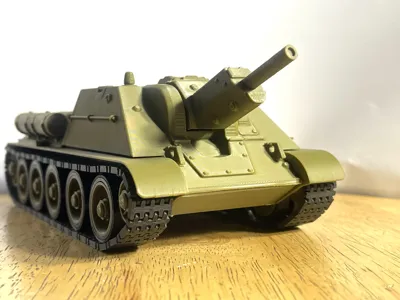
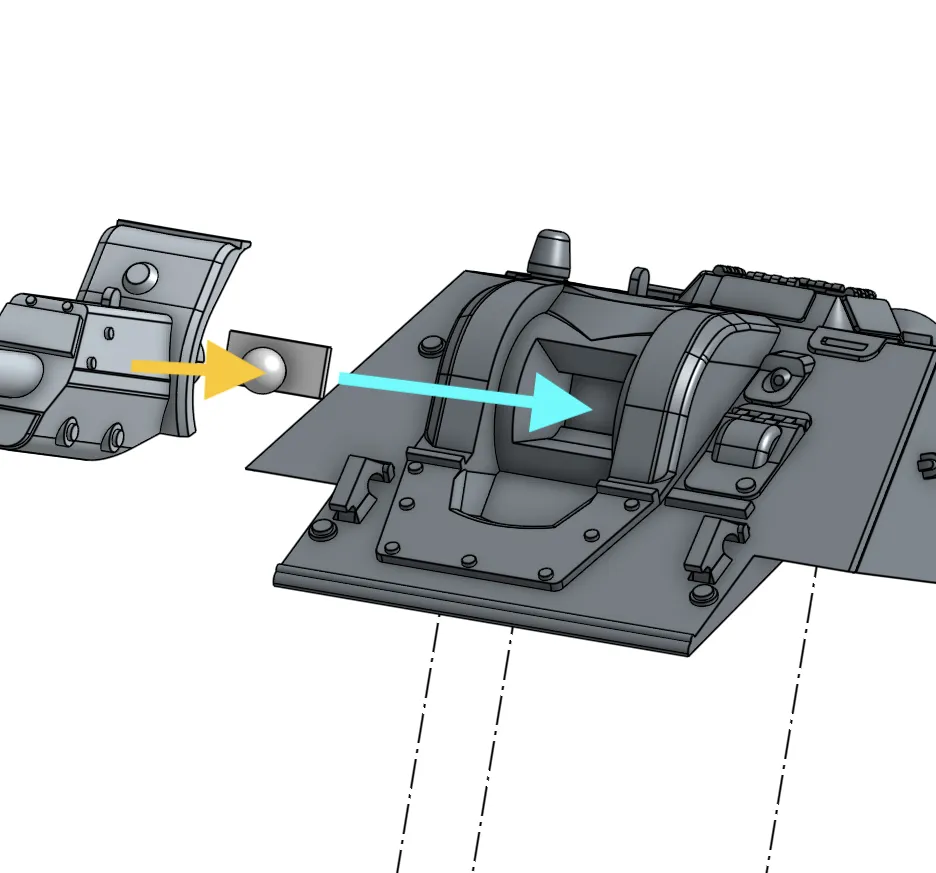
Another add-on to the T-34 platform was the SU-122 casemate, and the new hull panels, these were designed by me from the ground up to represent the SU-122. However, some design compromises had to be made to make the gun not only moveable and realistic, but also still usable for the T-34 modular platform.
Tracks
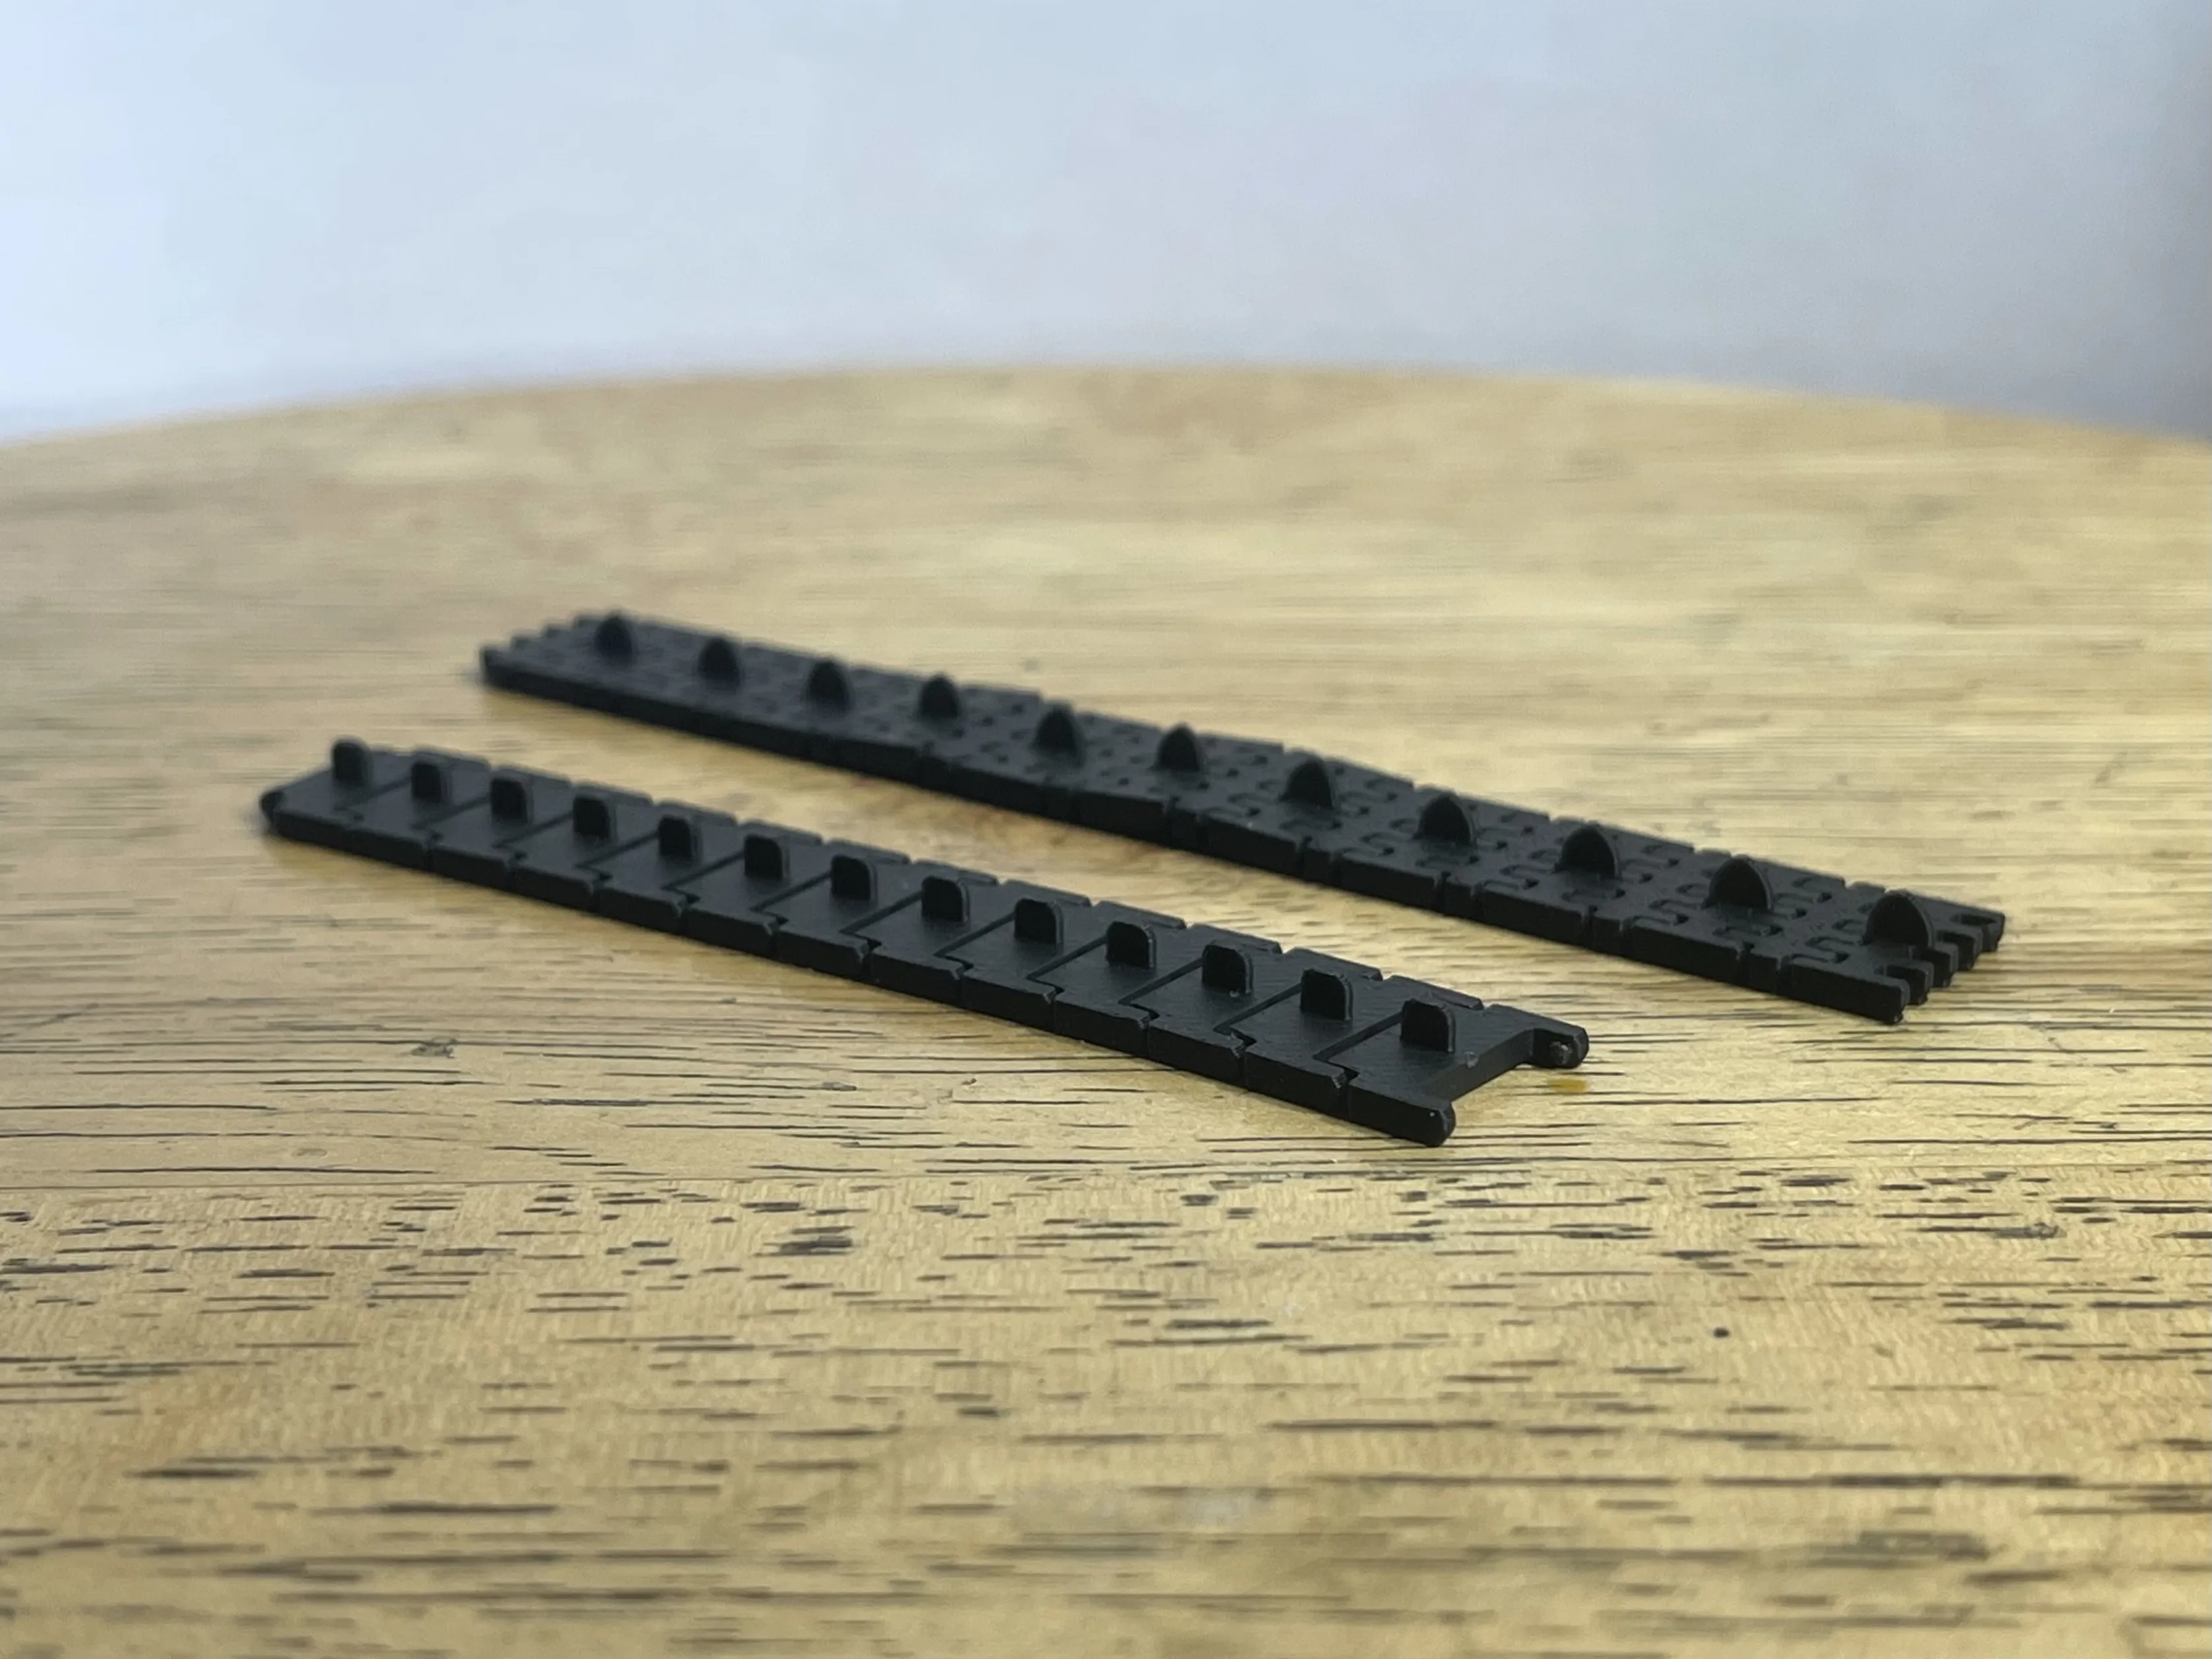
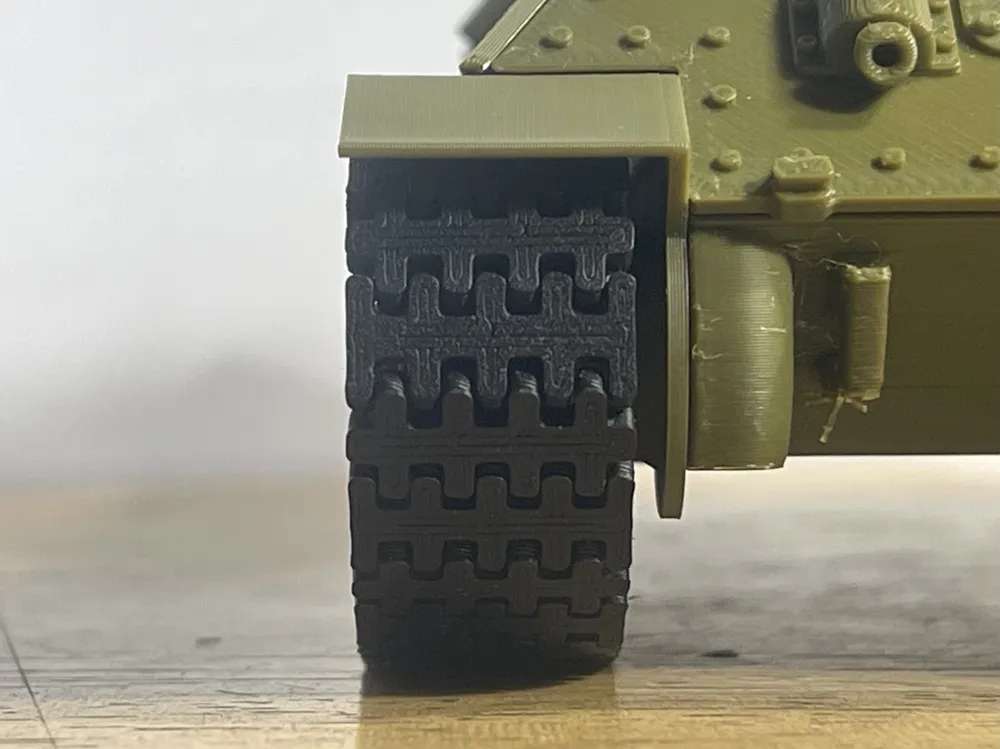
The tracks were designed from the ground up, now they are more realistic and accurately represent the unique design of the T-34's tracks.
Recommended Print Settings
- Filament: I used Overture's Matte Army Green PLA for the hull/turret/wheel parts, Overture Black TPU 95A for the tires, and Bambu Lab Matte Black PLA for the tracks.
- Everything else: refer to Bavaria's model print settings for tips.
Assembly
General
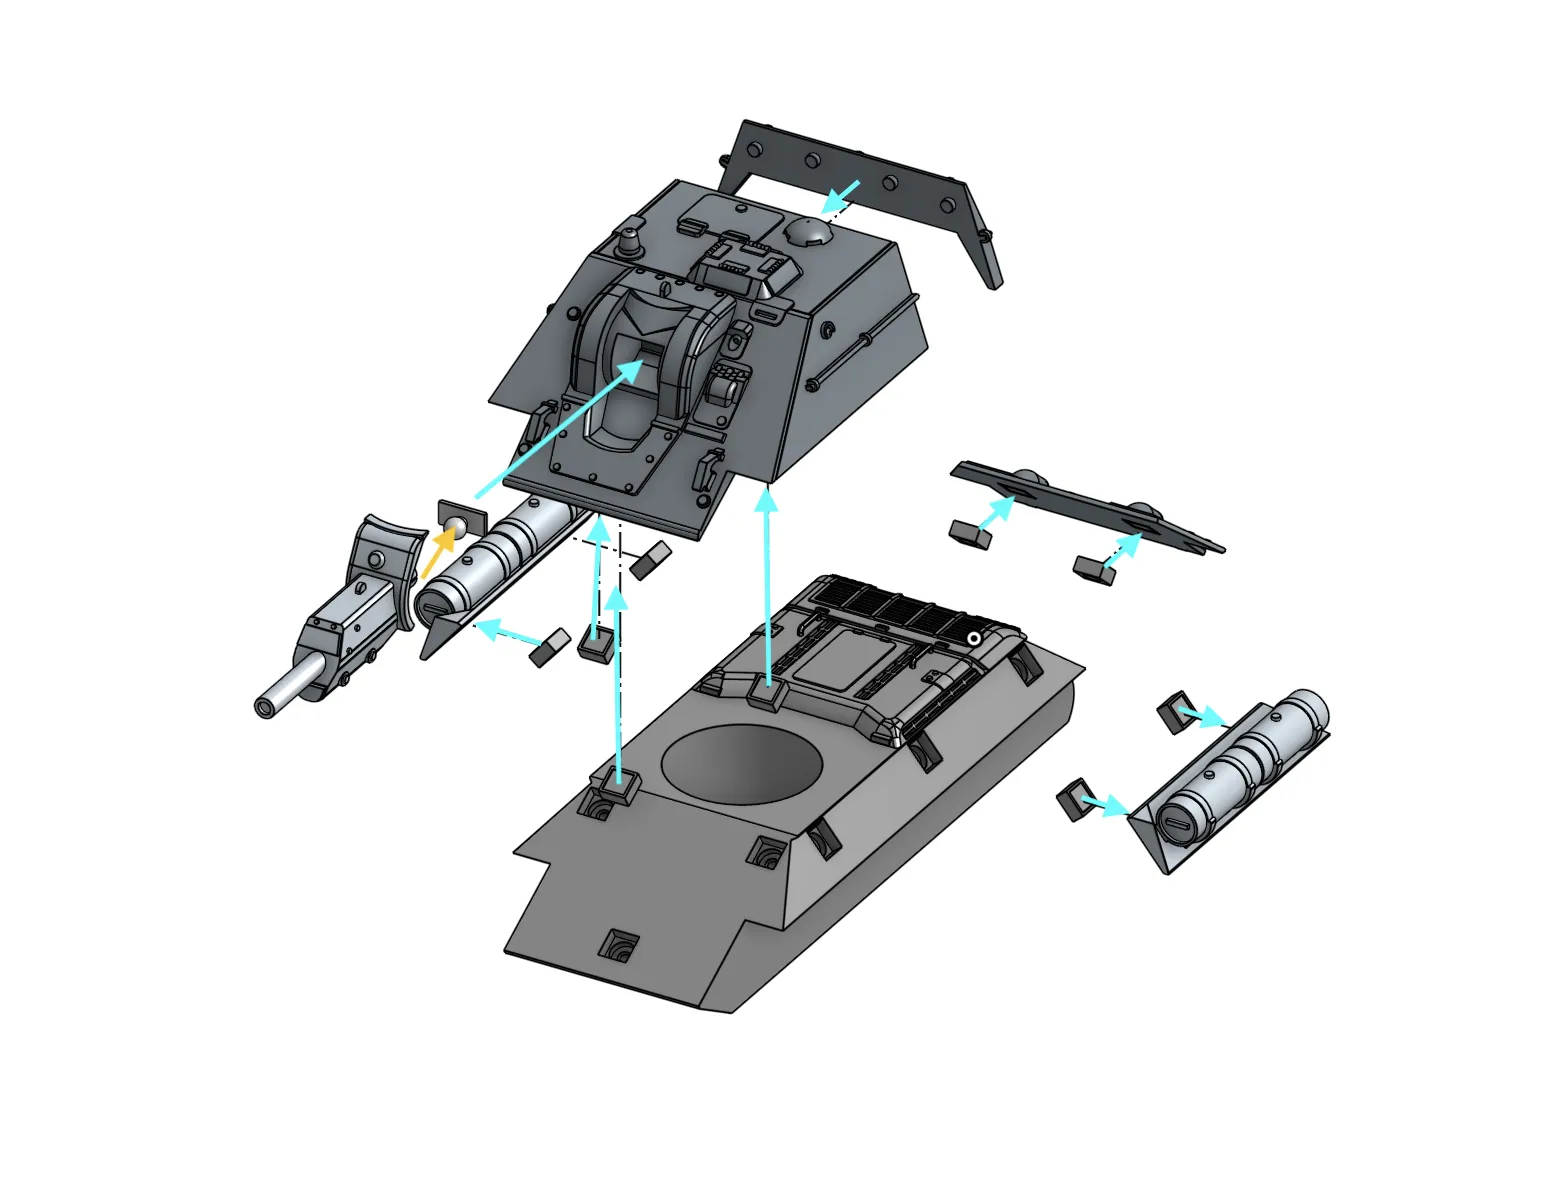
Casemate and Gun
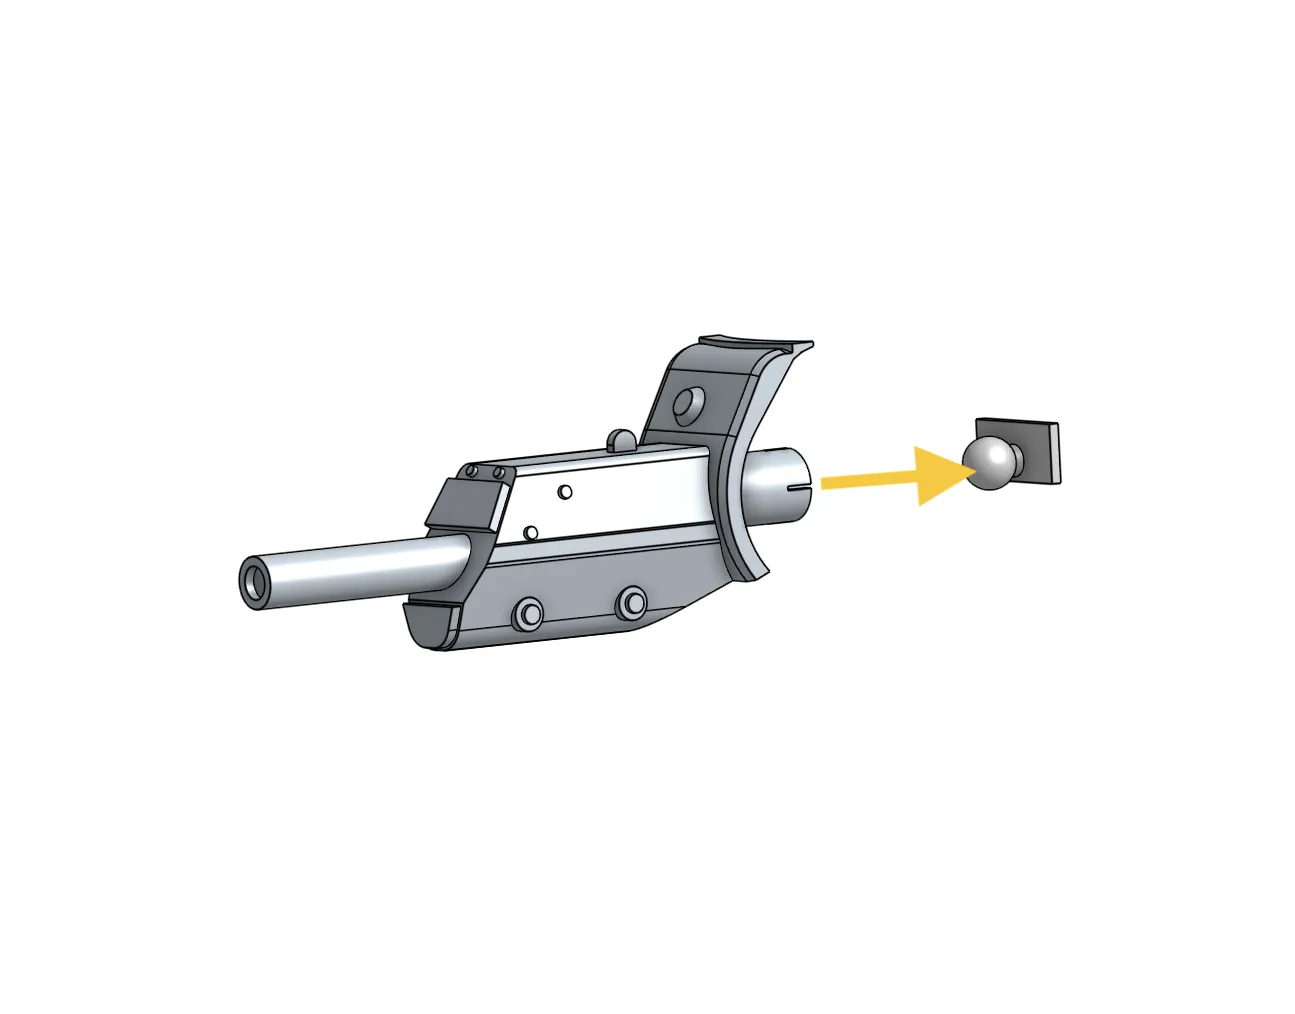
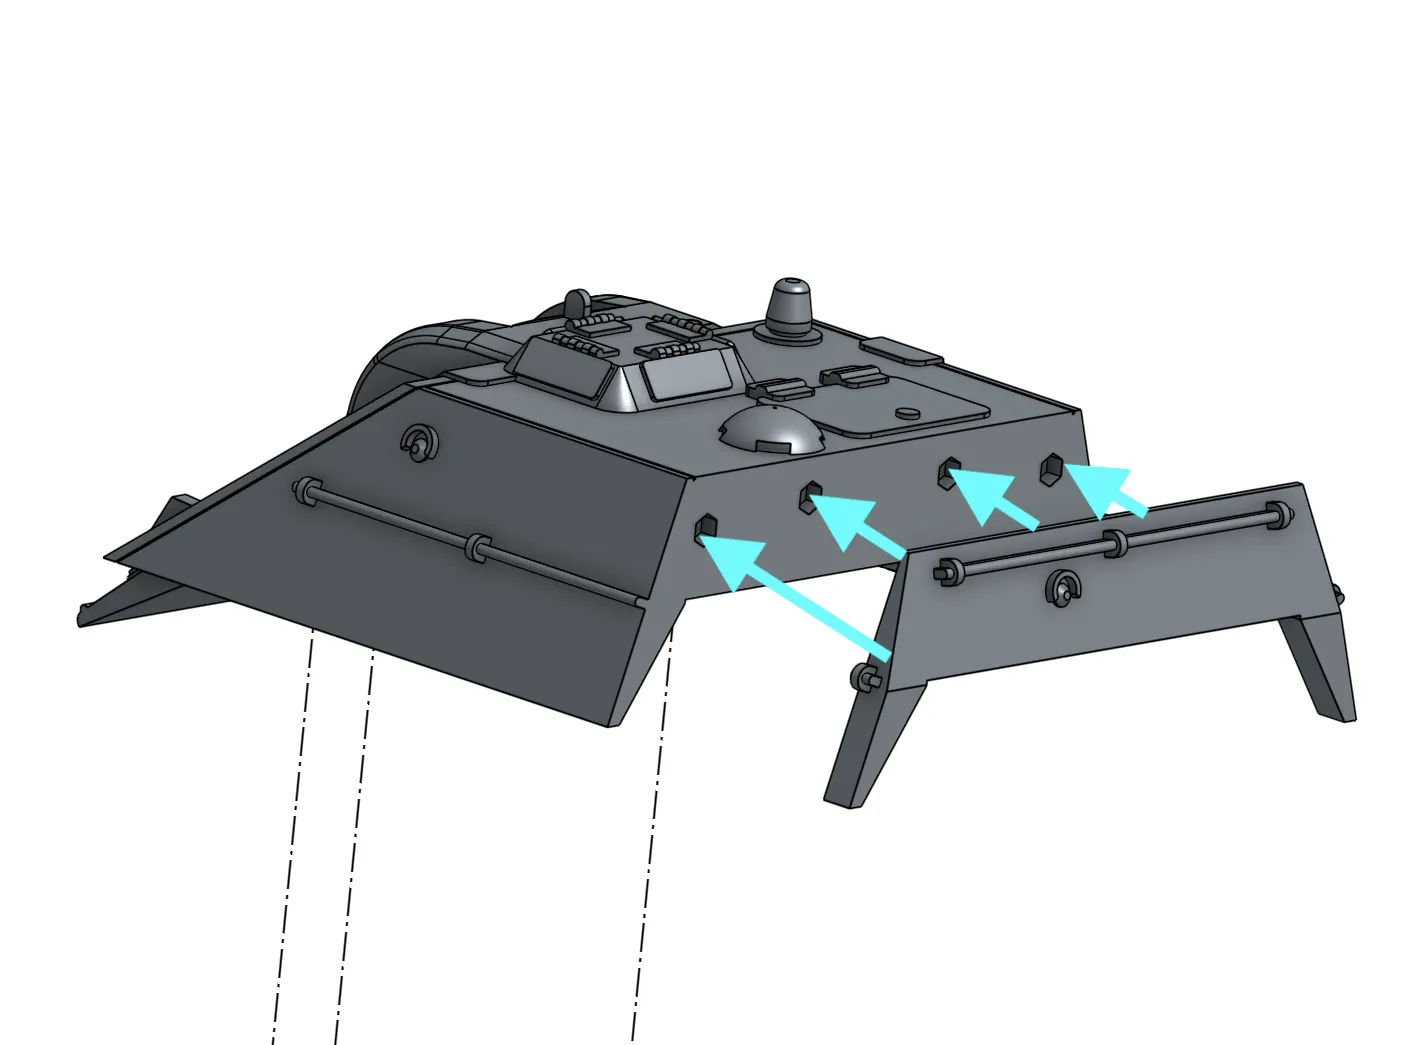
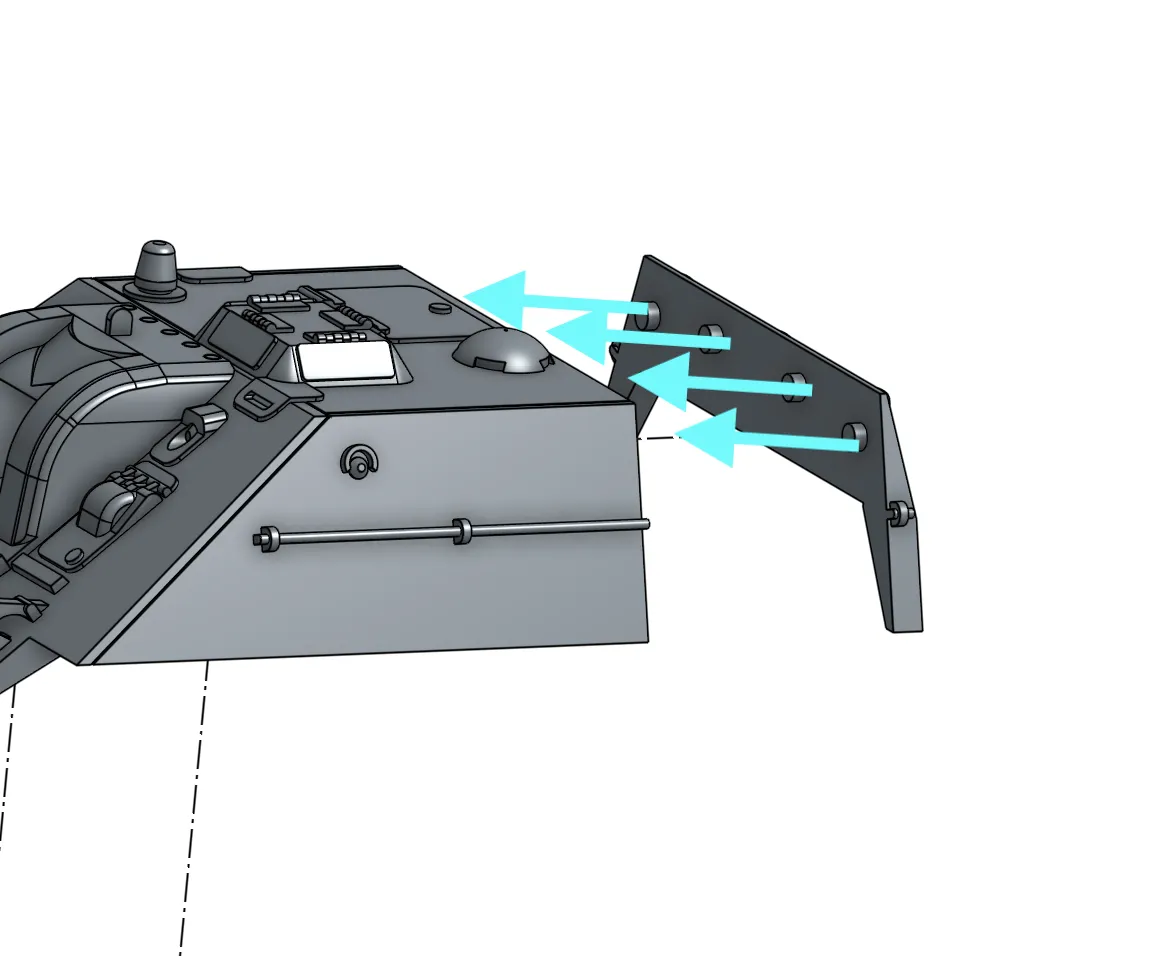
Wheels
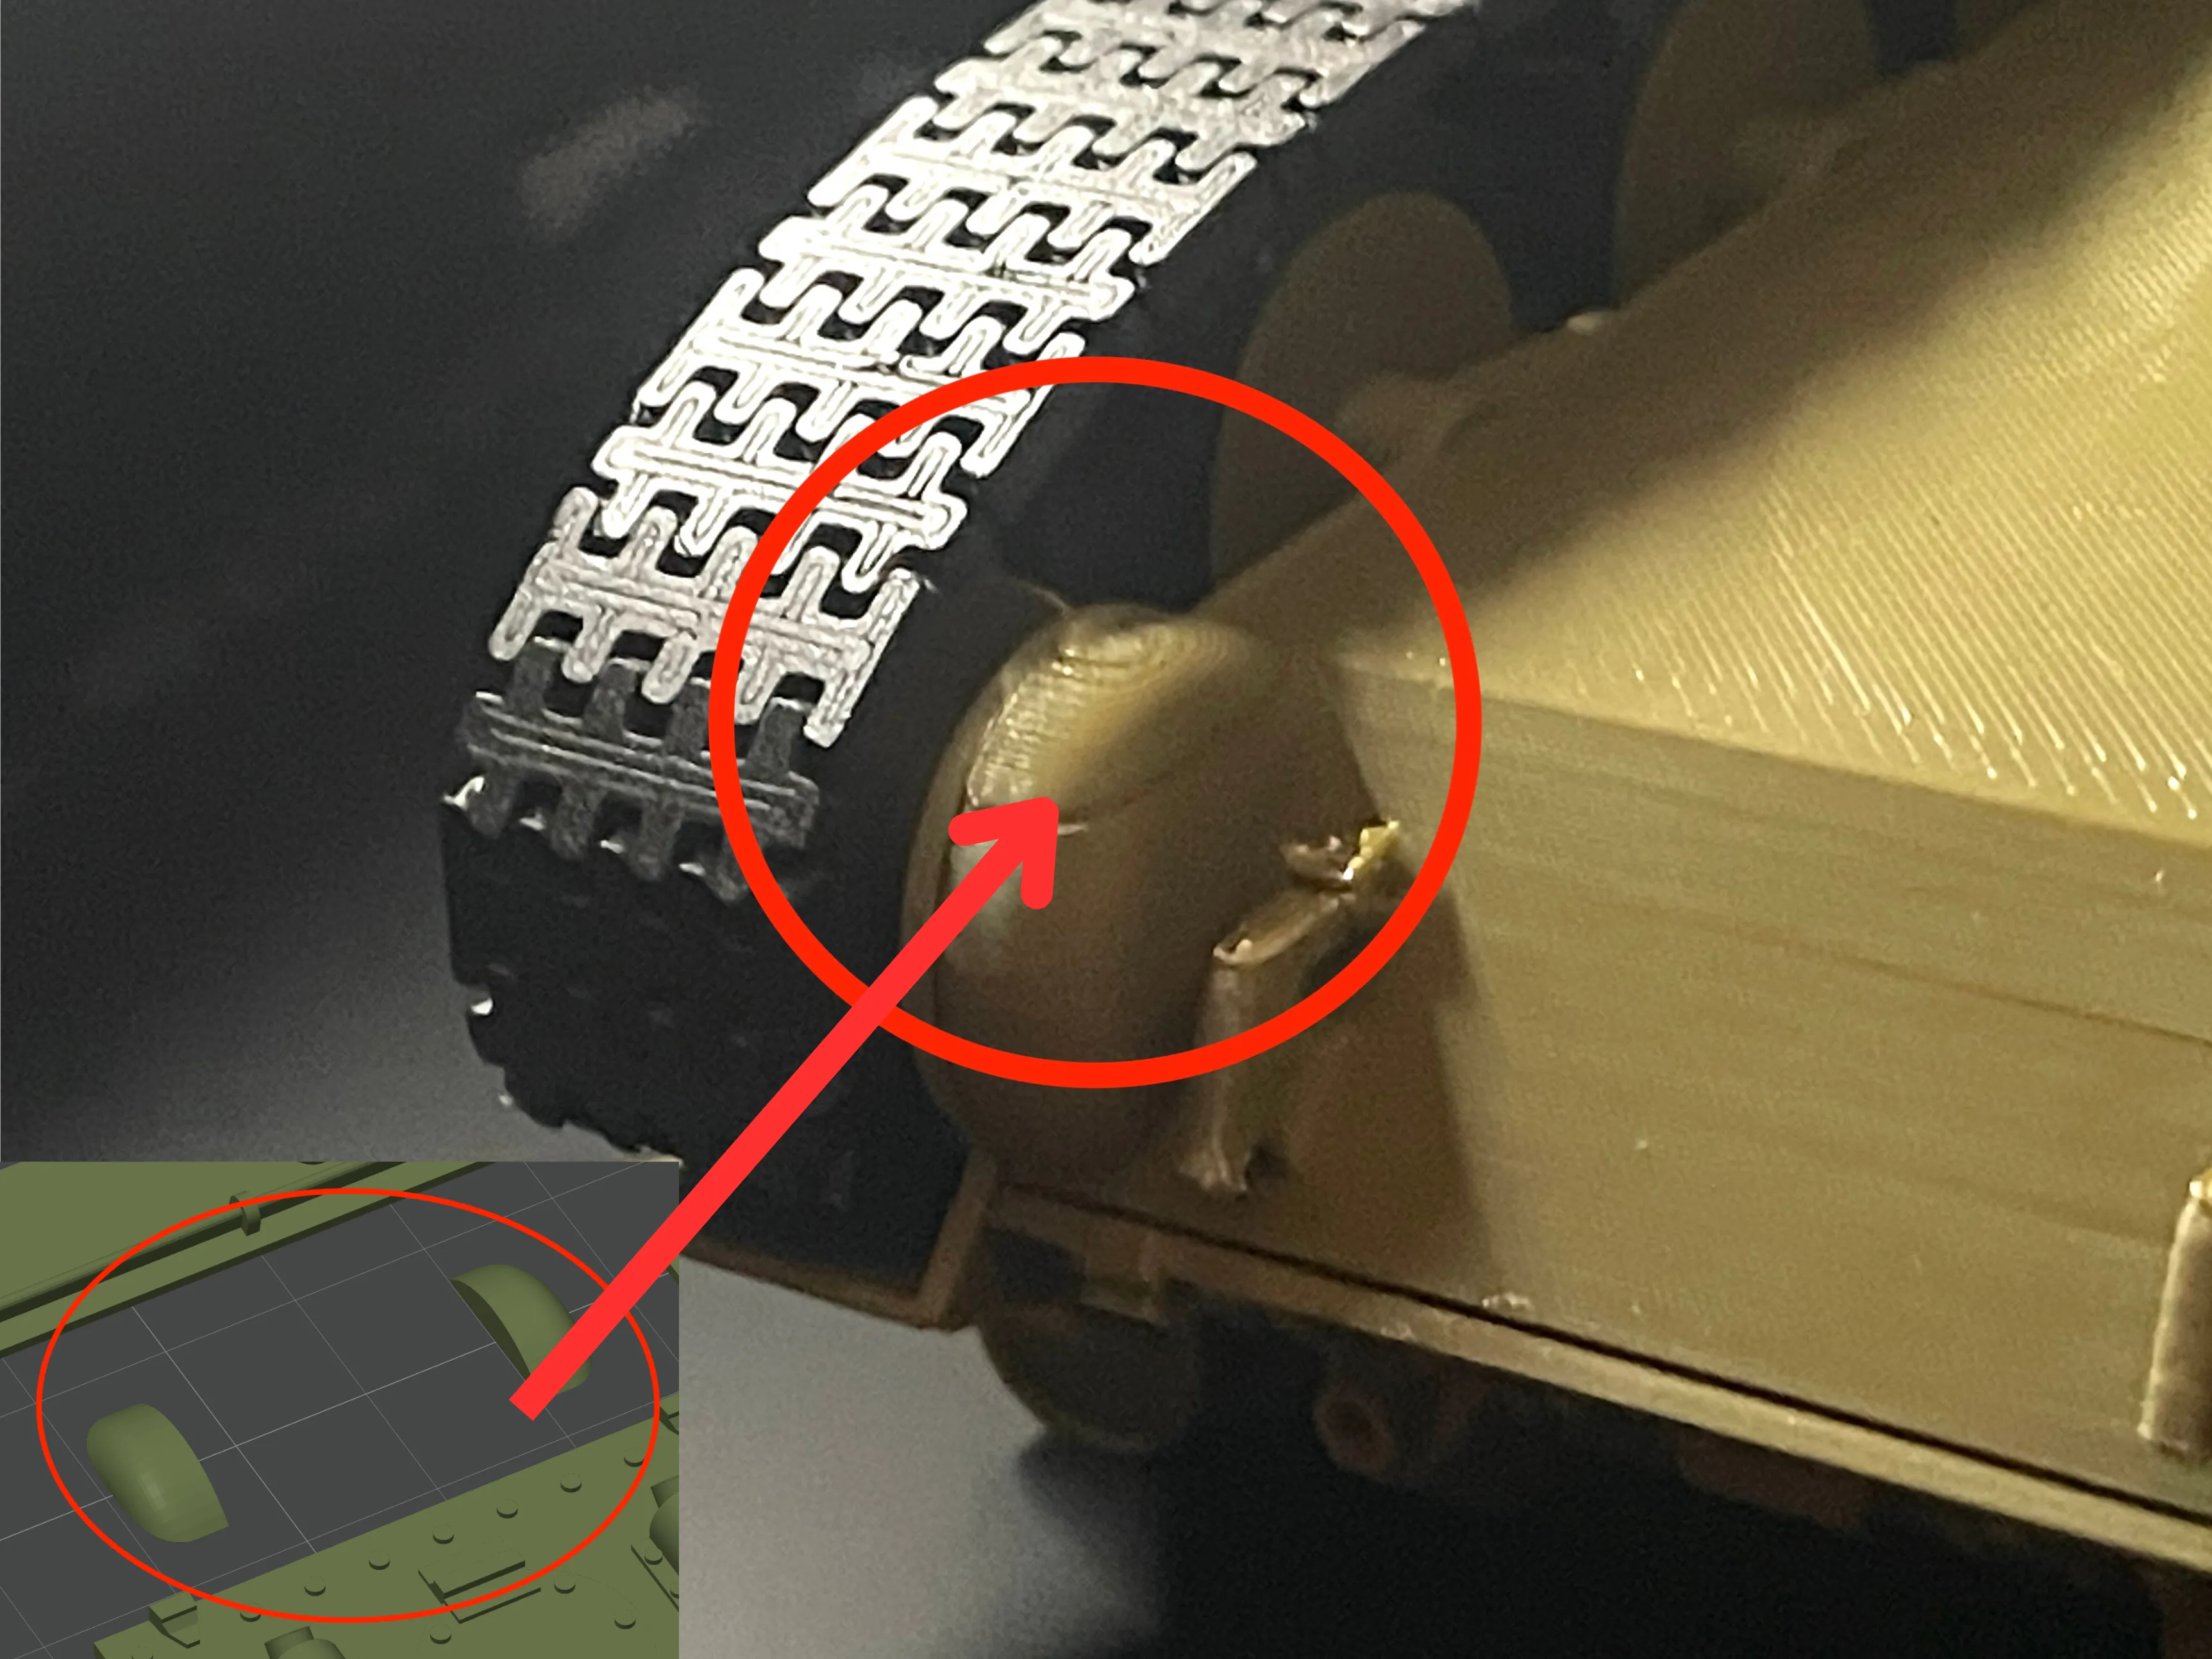
Hull piece
This remix is based on

License

You may create derivative works based on this object, provided that all such derivative works are published exclusively on the MakerWorld platform and include proper attribution to the original creator. You may not share, upload, host, distribute, or publish this object—or any derivative work of this object—on any other digital platform, marketplace, or distribution channel. Commercial use of this object and any derivative works is strictly prohibited. This includes, but is not limited to, selling, renting, sublicensing, or using the object in any context in which you receive monetary compensation or other financial benefits.


Comment & Rating (3)