Search models, users, collections, and posts

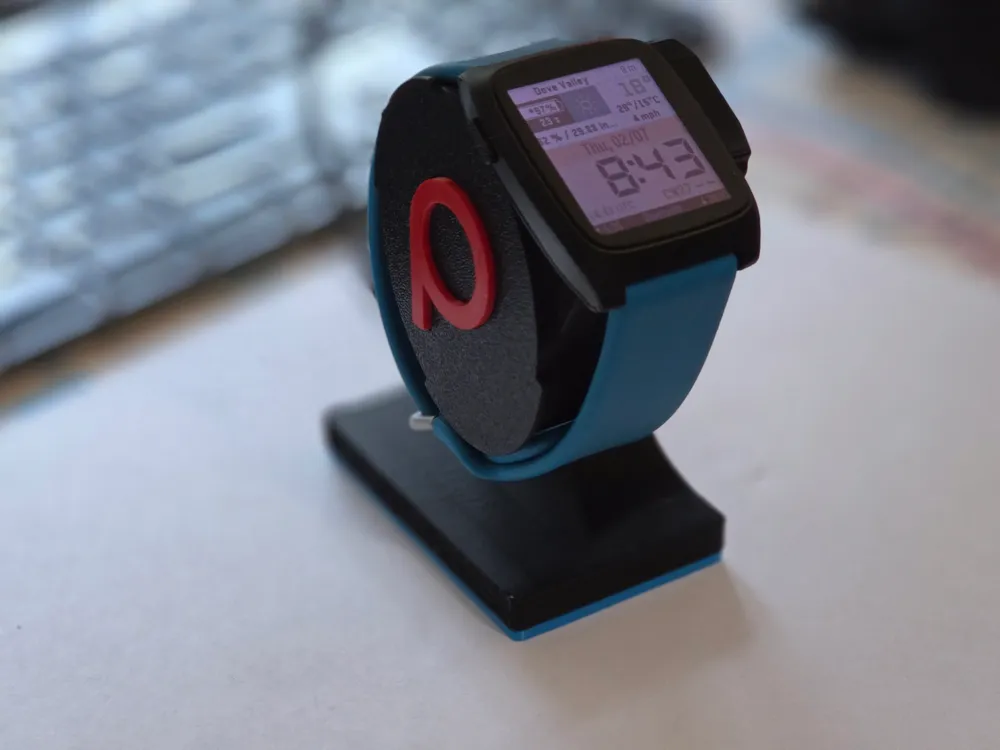
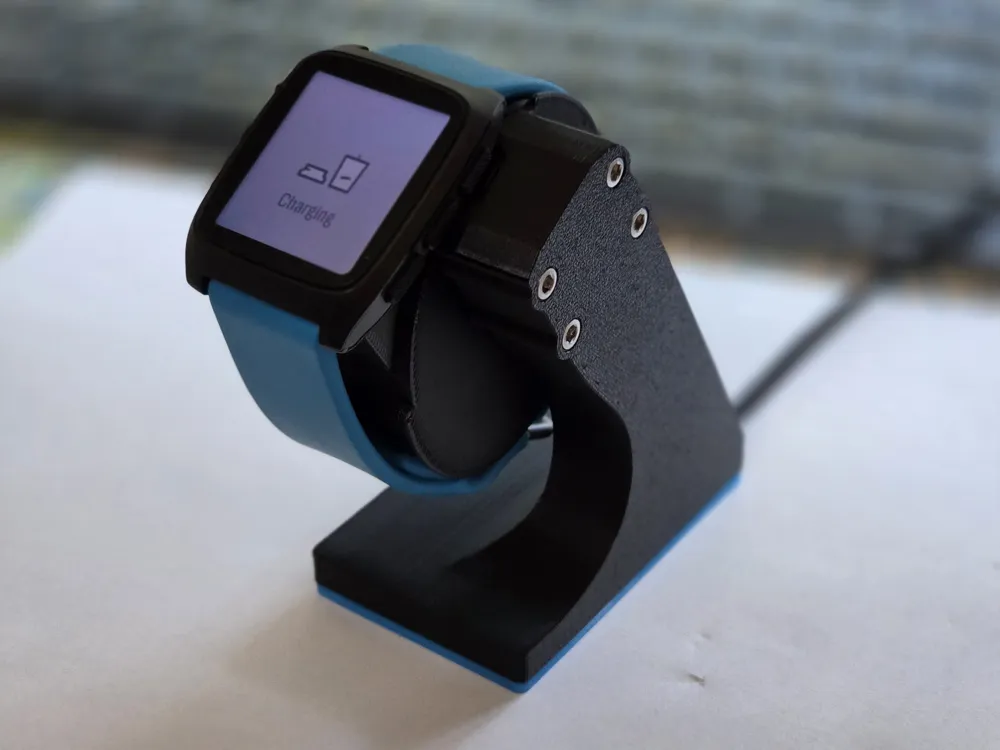
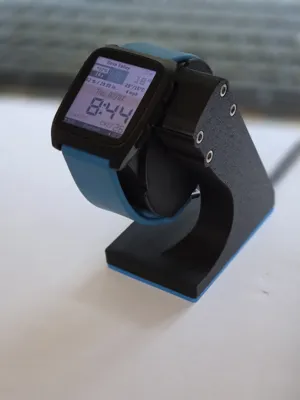
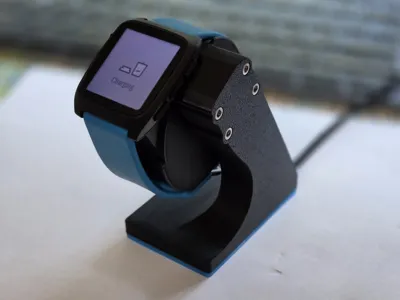
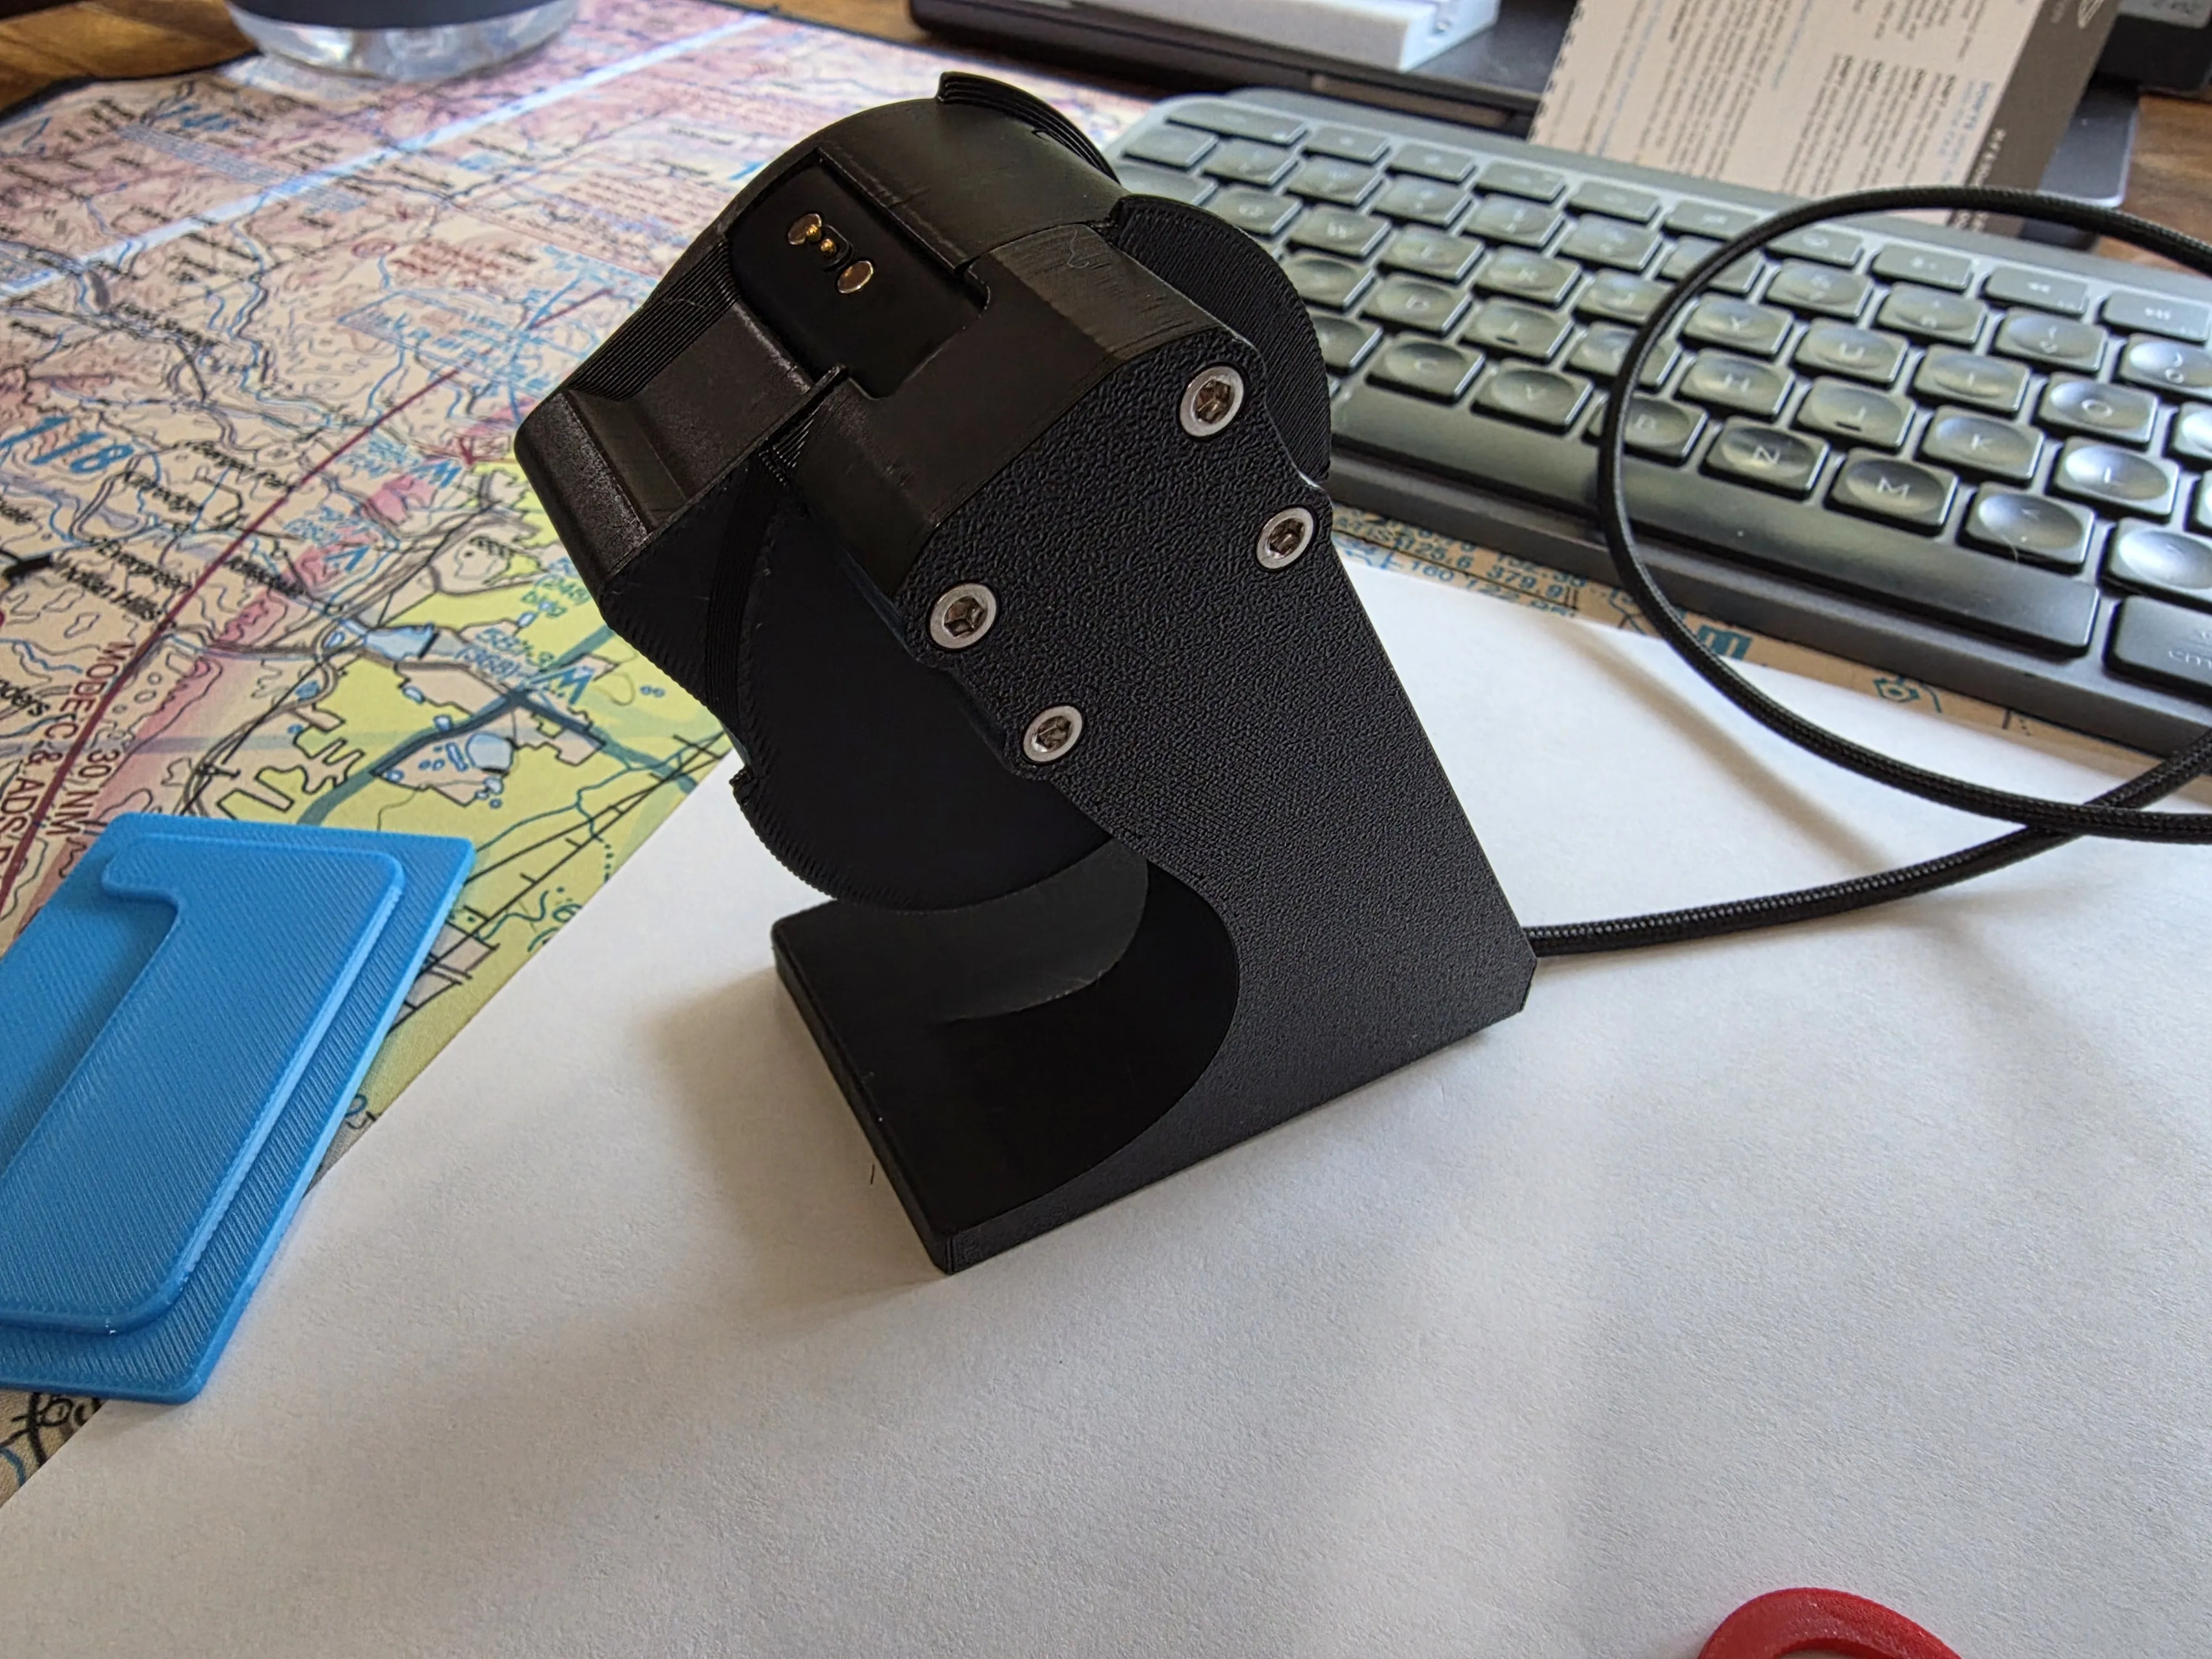
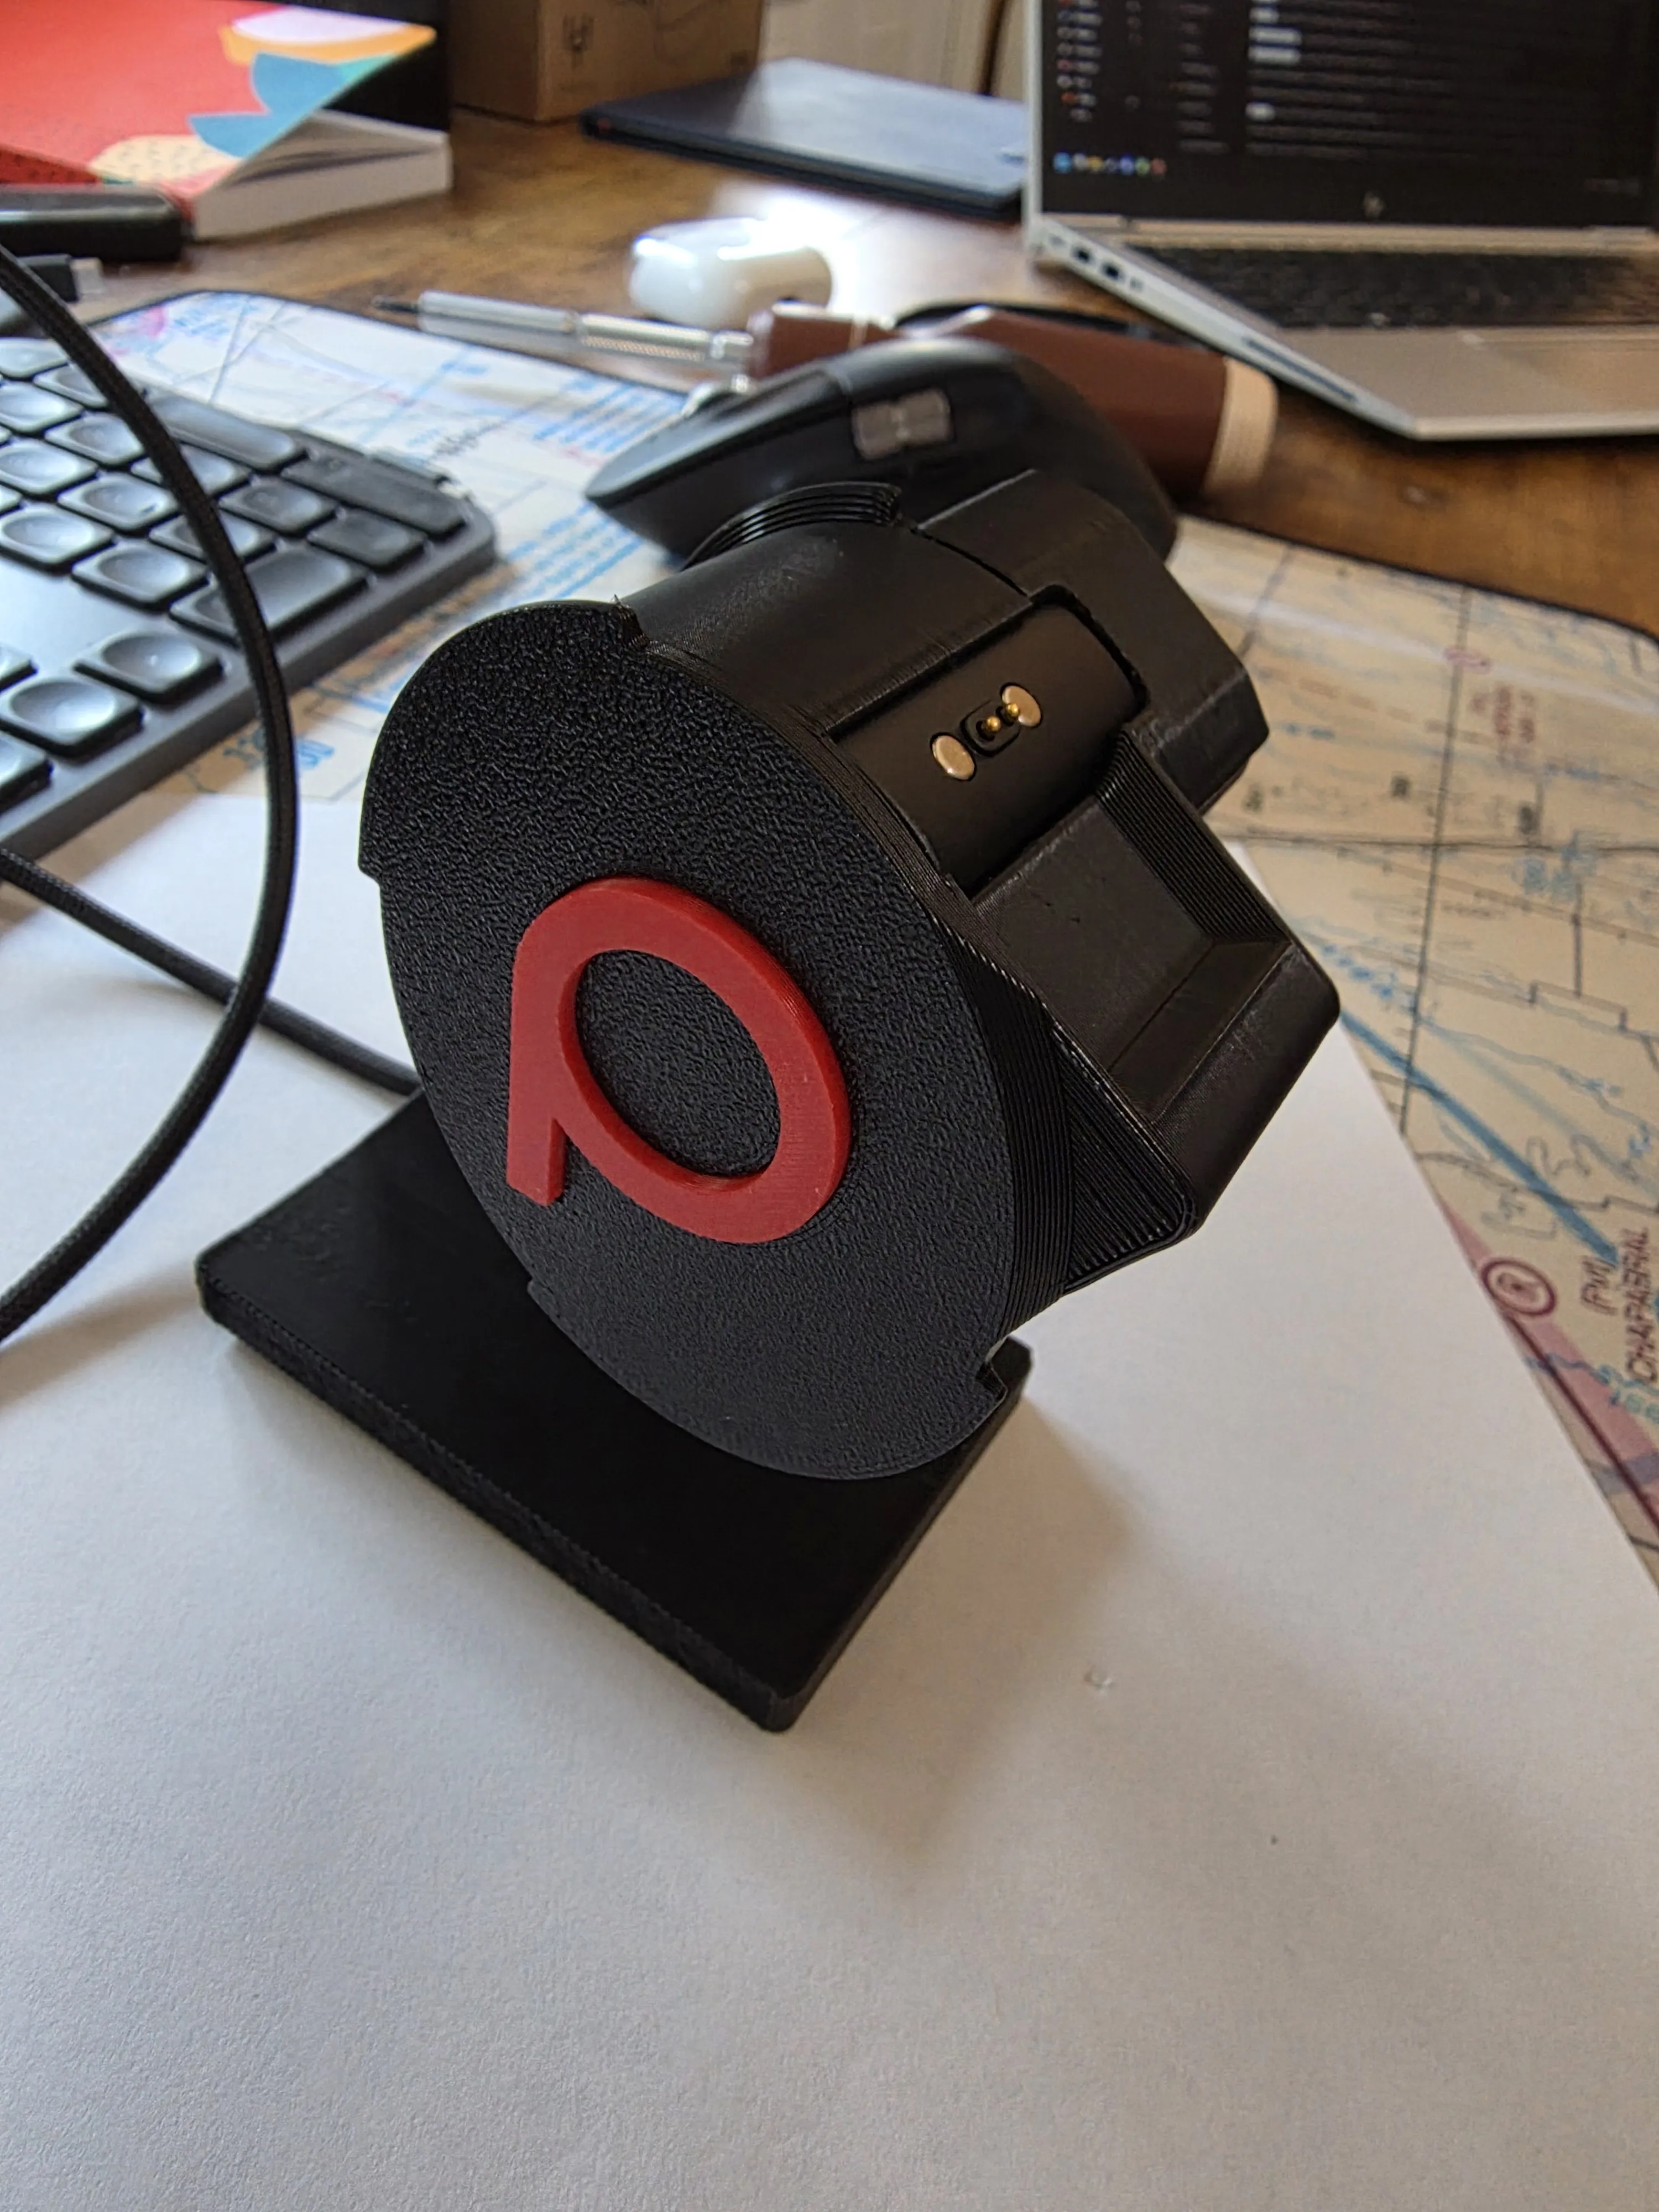
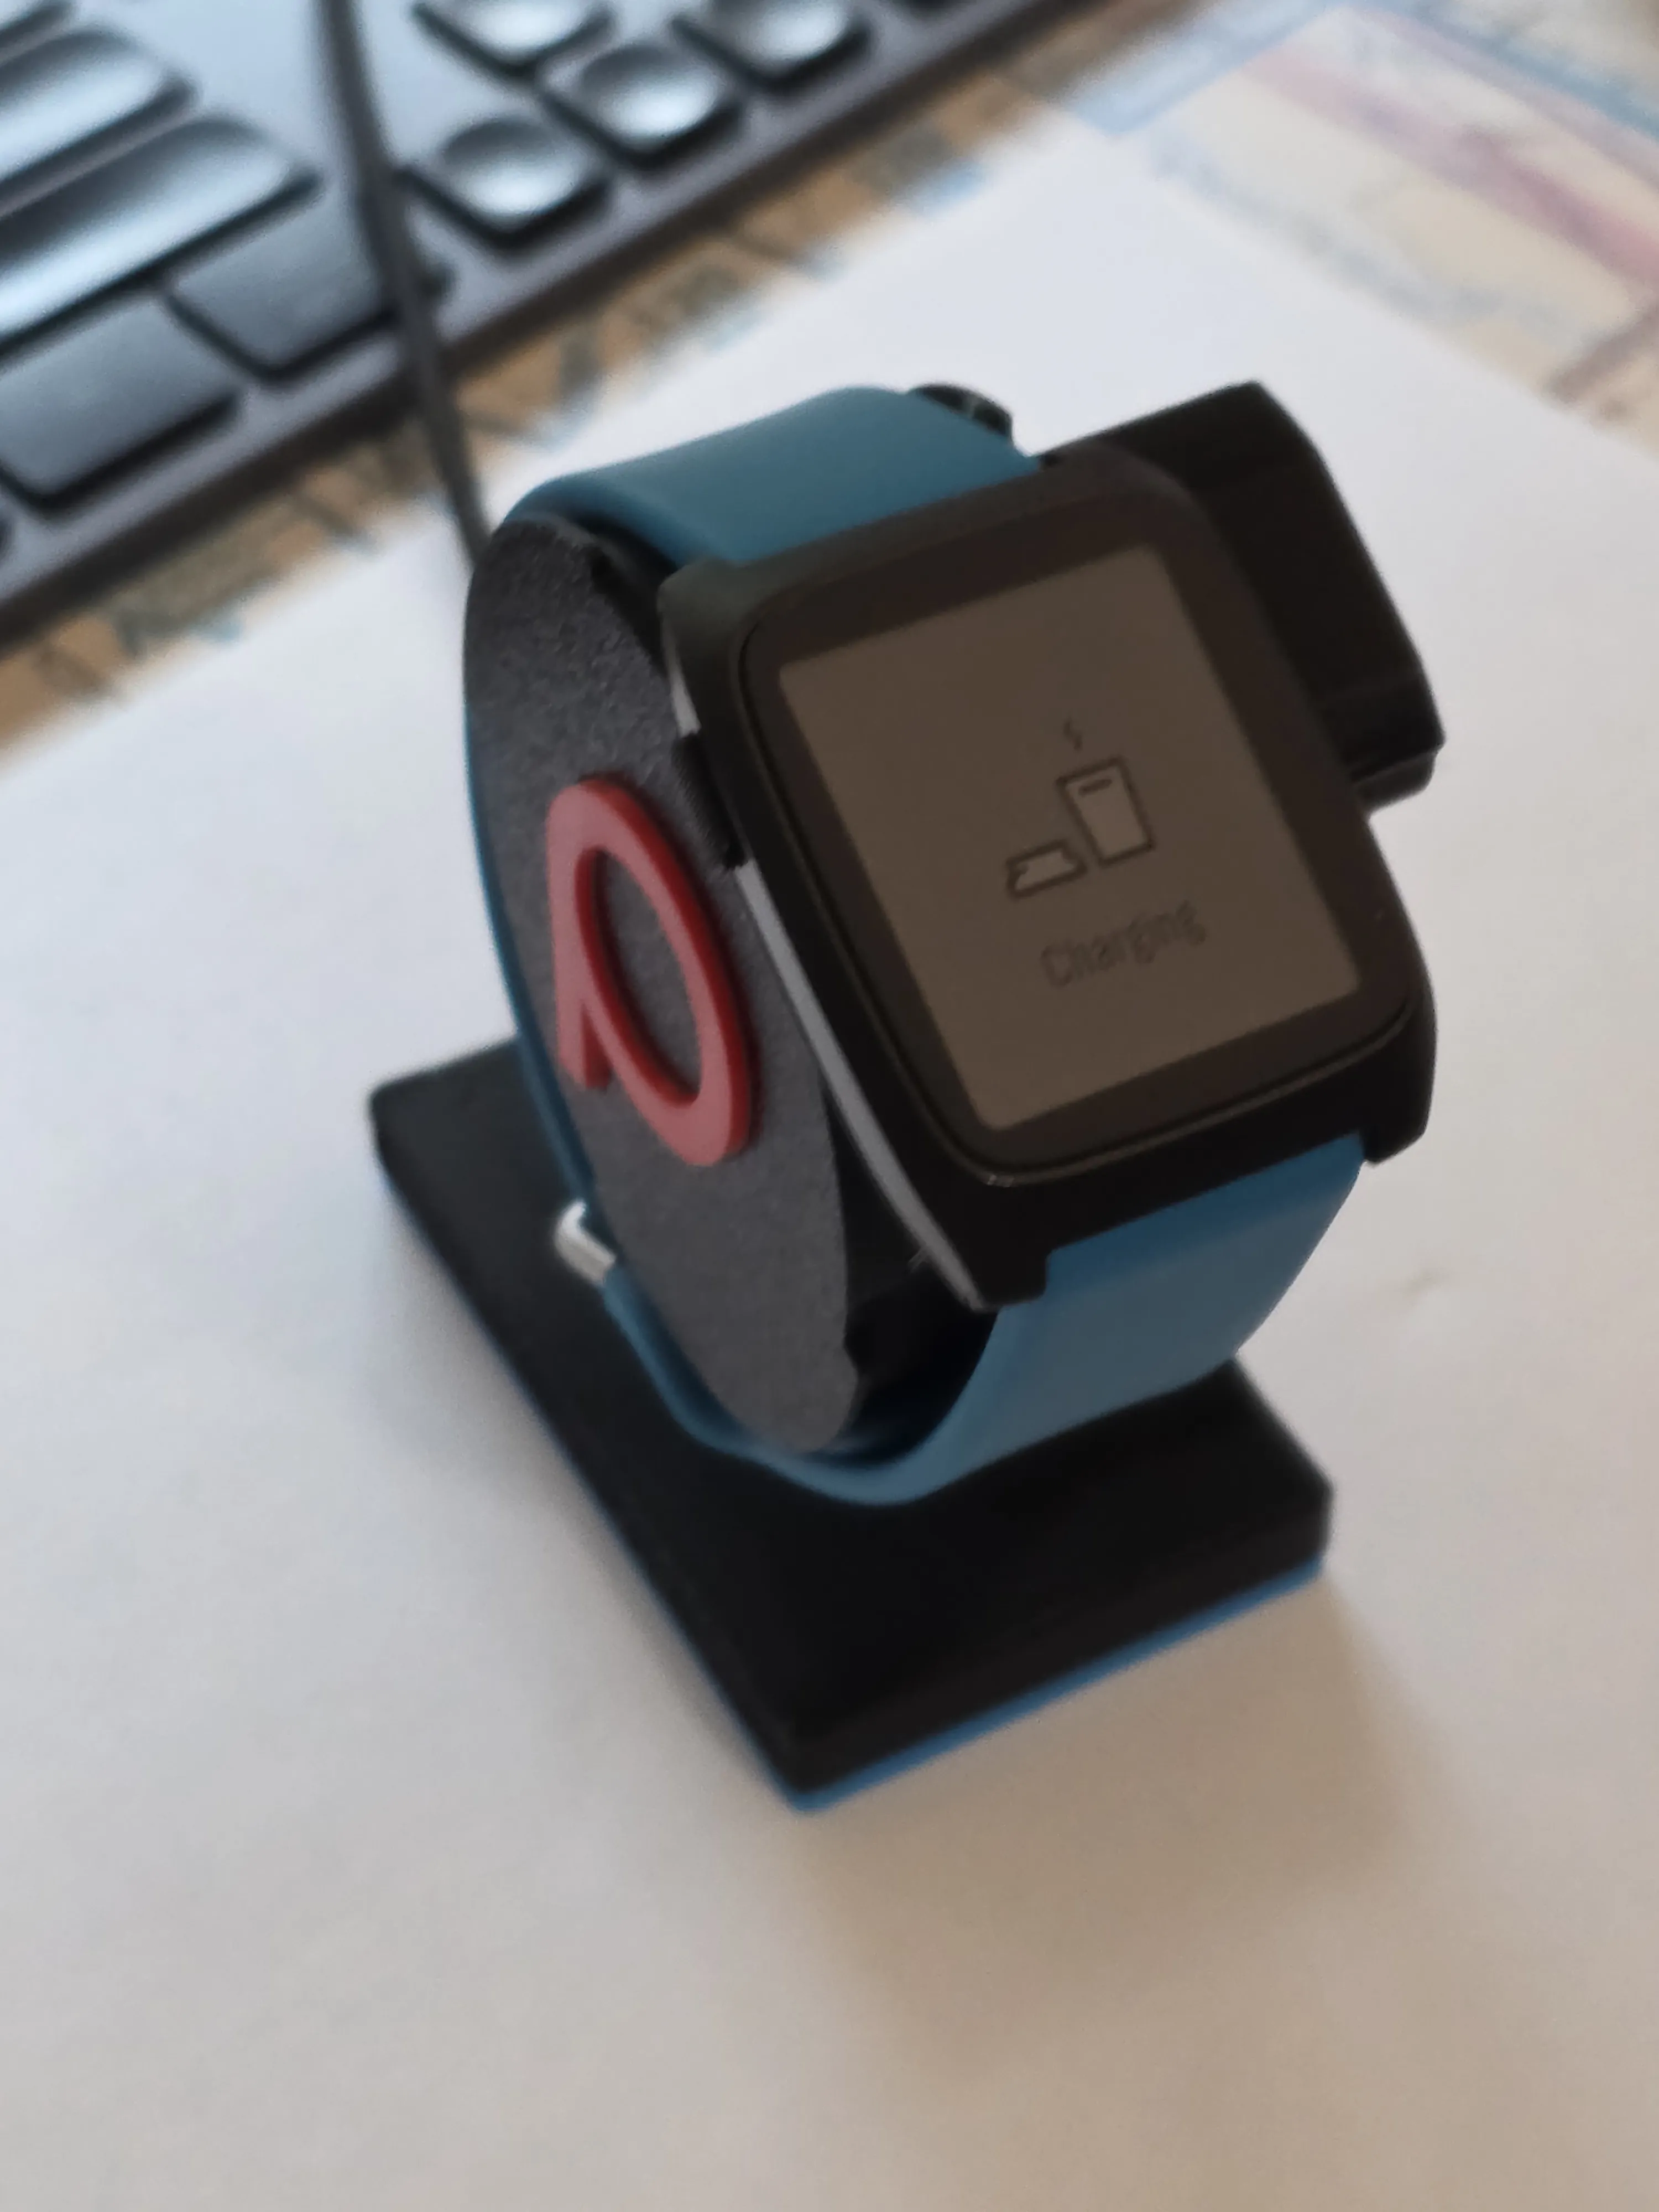
Pebble Time 2 Charging and Display Stand
IP Report
Print Profile(1)
All parts - PLA & TPU, pre-painted supports
Designer
3.3 h
3 plates
Open in Bambu Studio
Boost
14
33
11
2
26
20
Released
Bill of Materials
Maker's Supply Kits and Parts
Select all
Bambu Filaments
Select all


List other parts
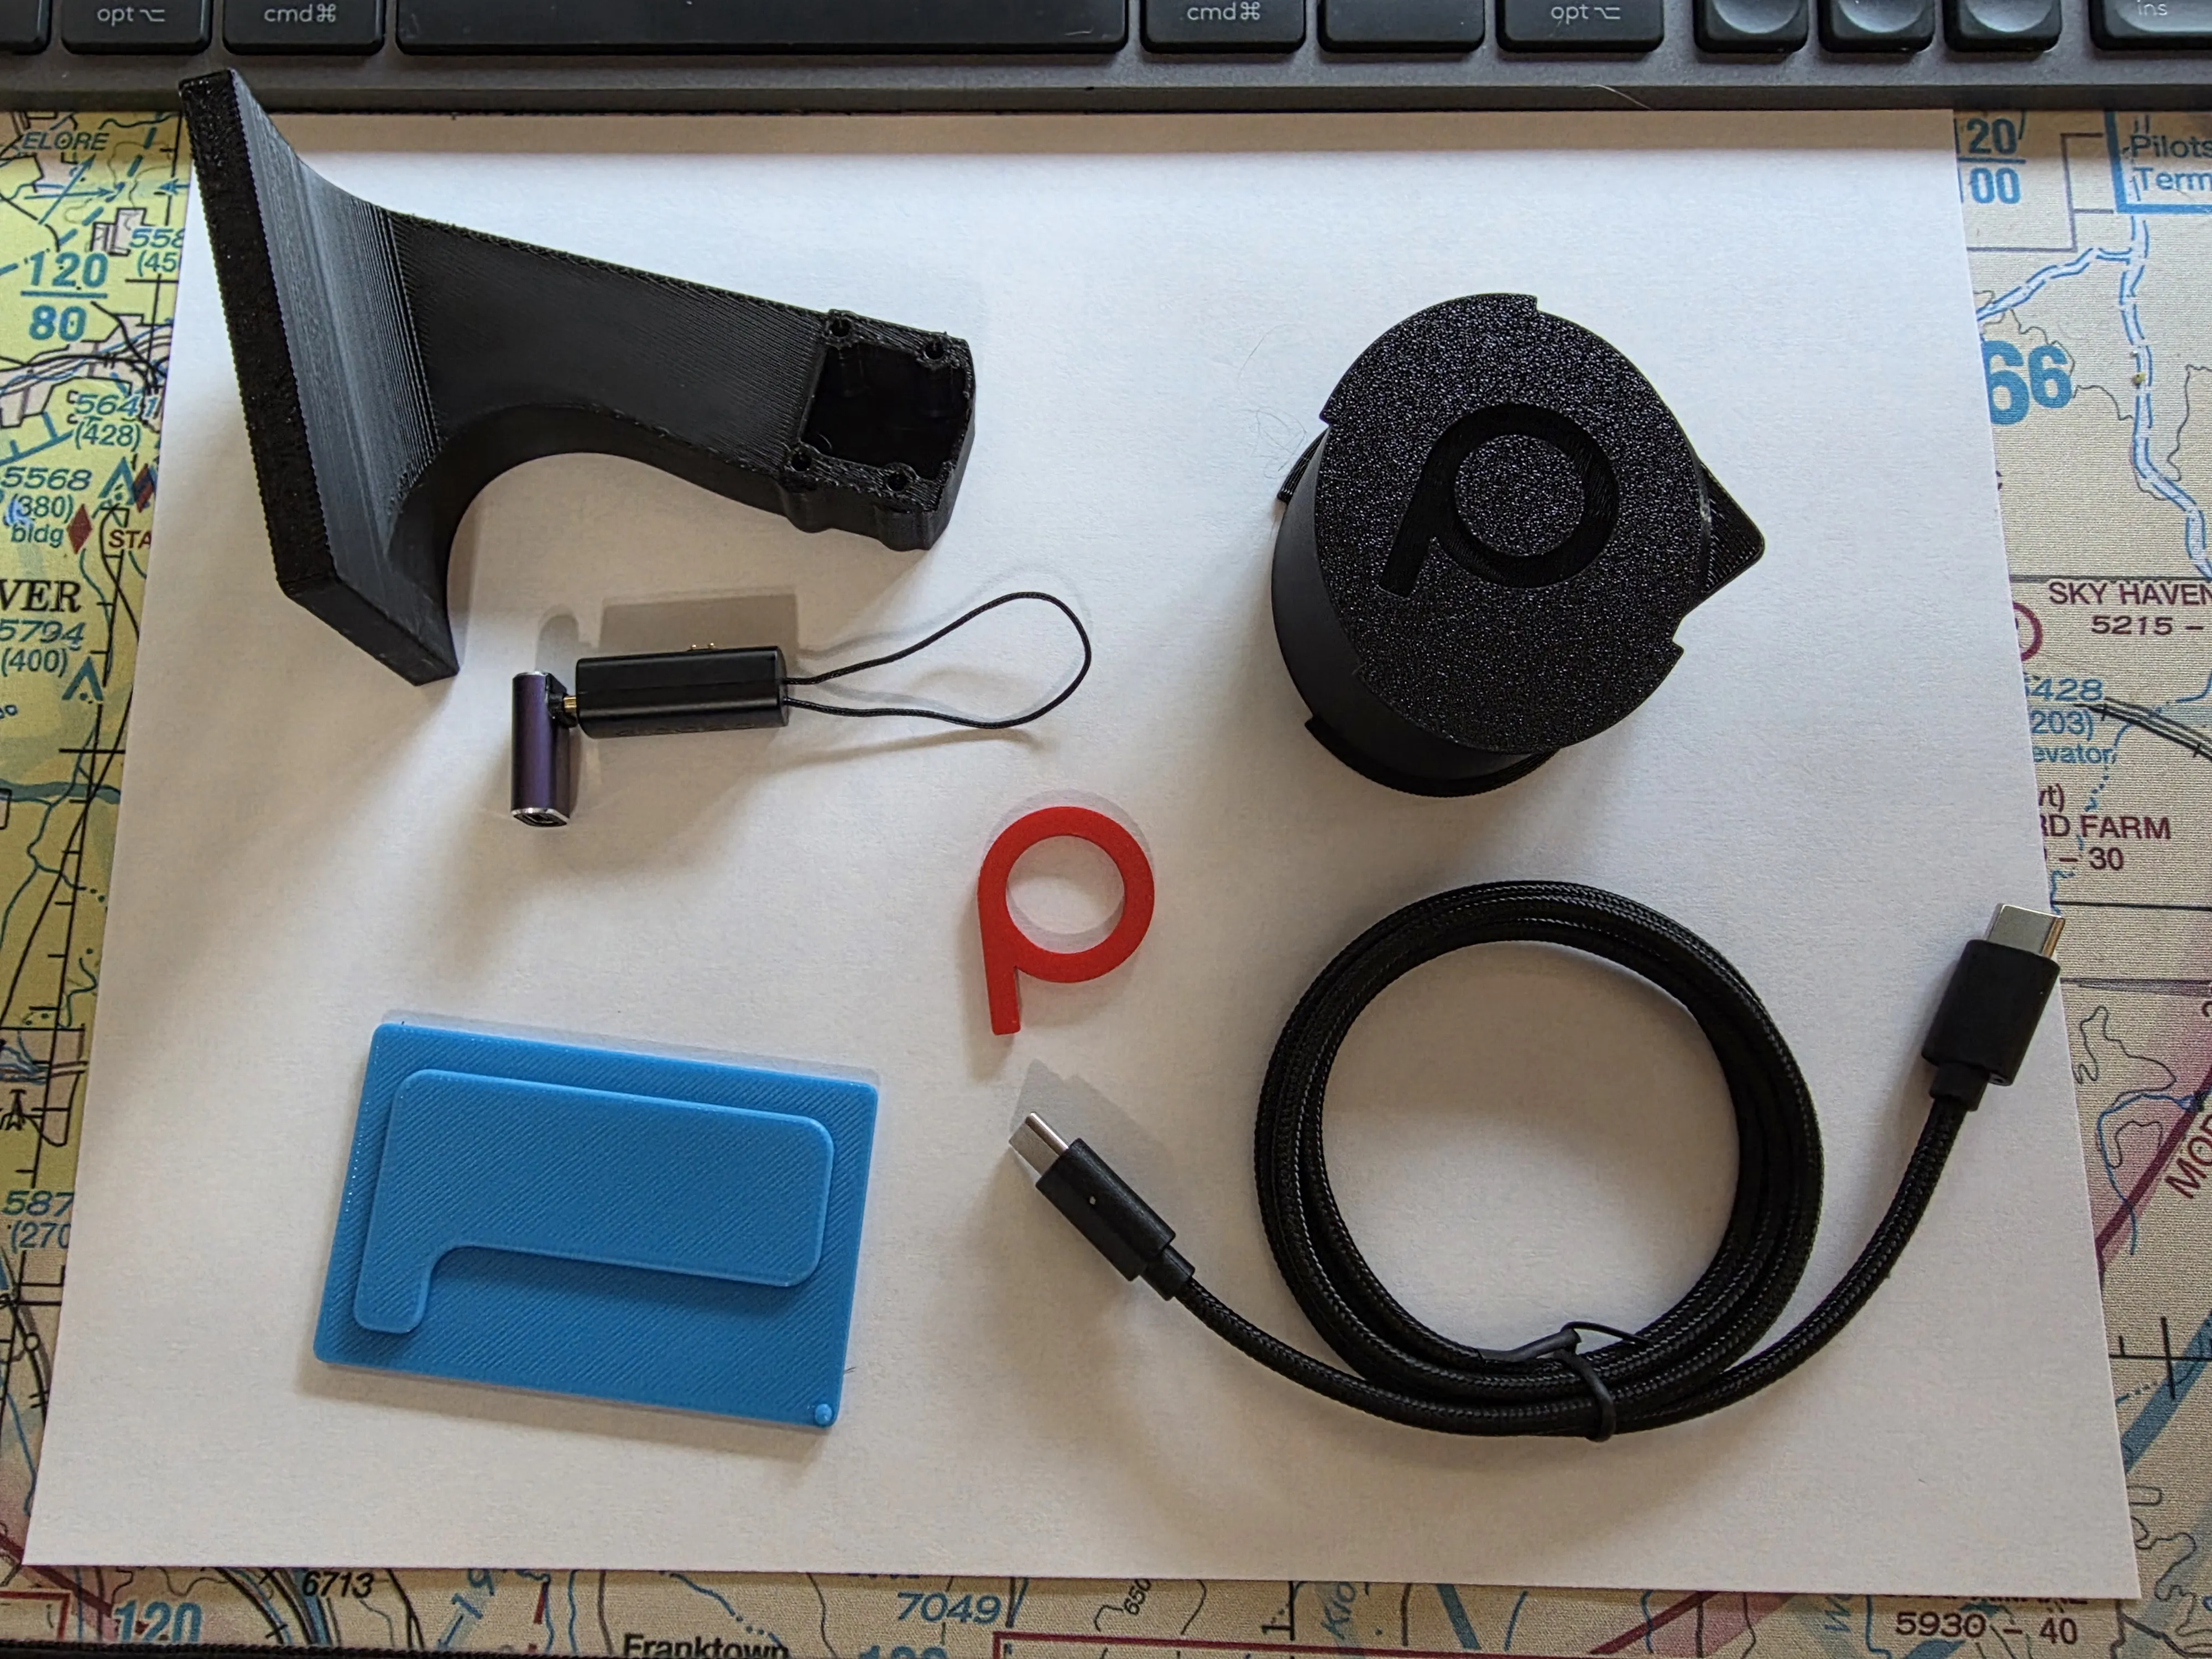
- USB C charging cable x 1: If not attached to your charger.
- Right-angle USB-C adapter x 1: As slim as you can get it.
- Pebble Charger x 1: Included with watch, or available on Amazon at link in description
Description
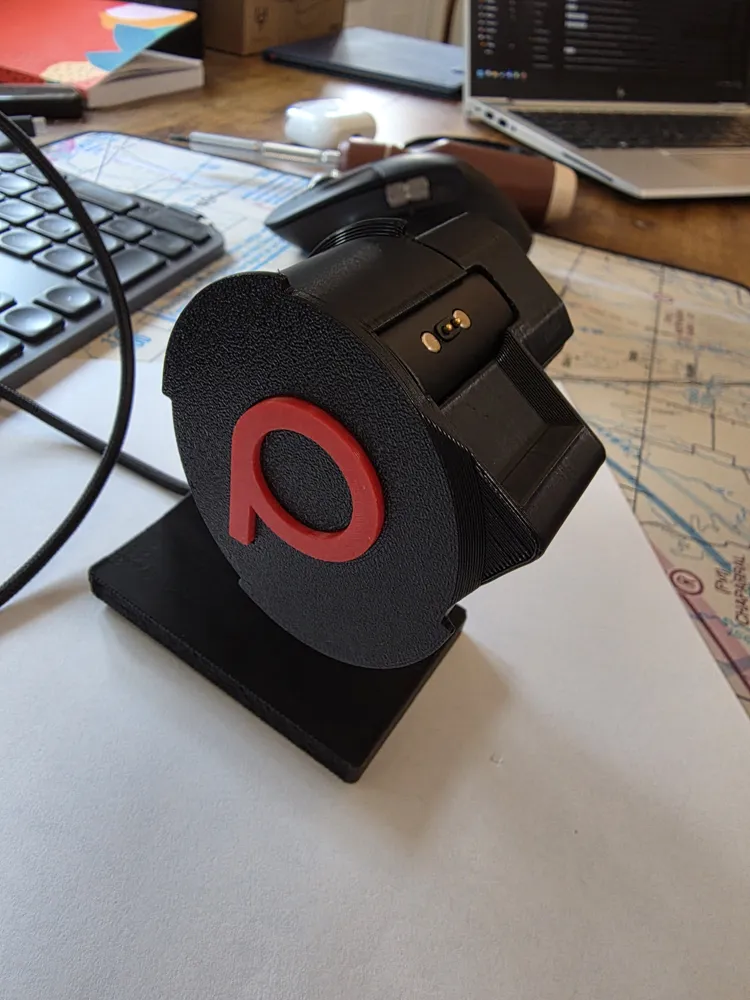
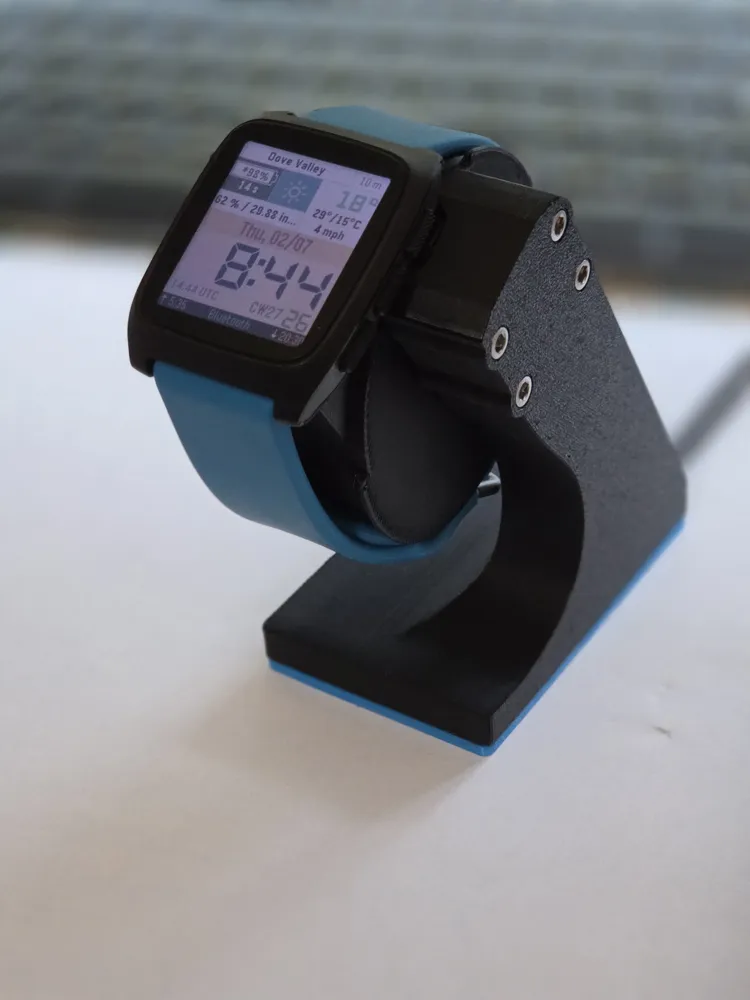
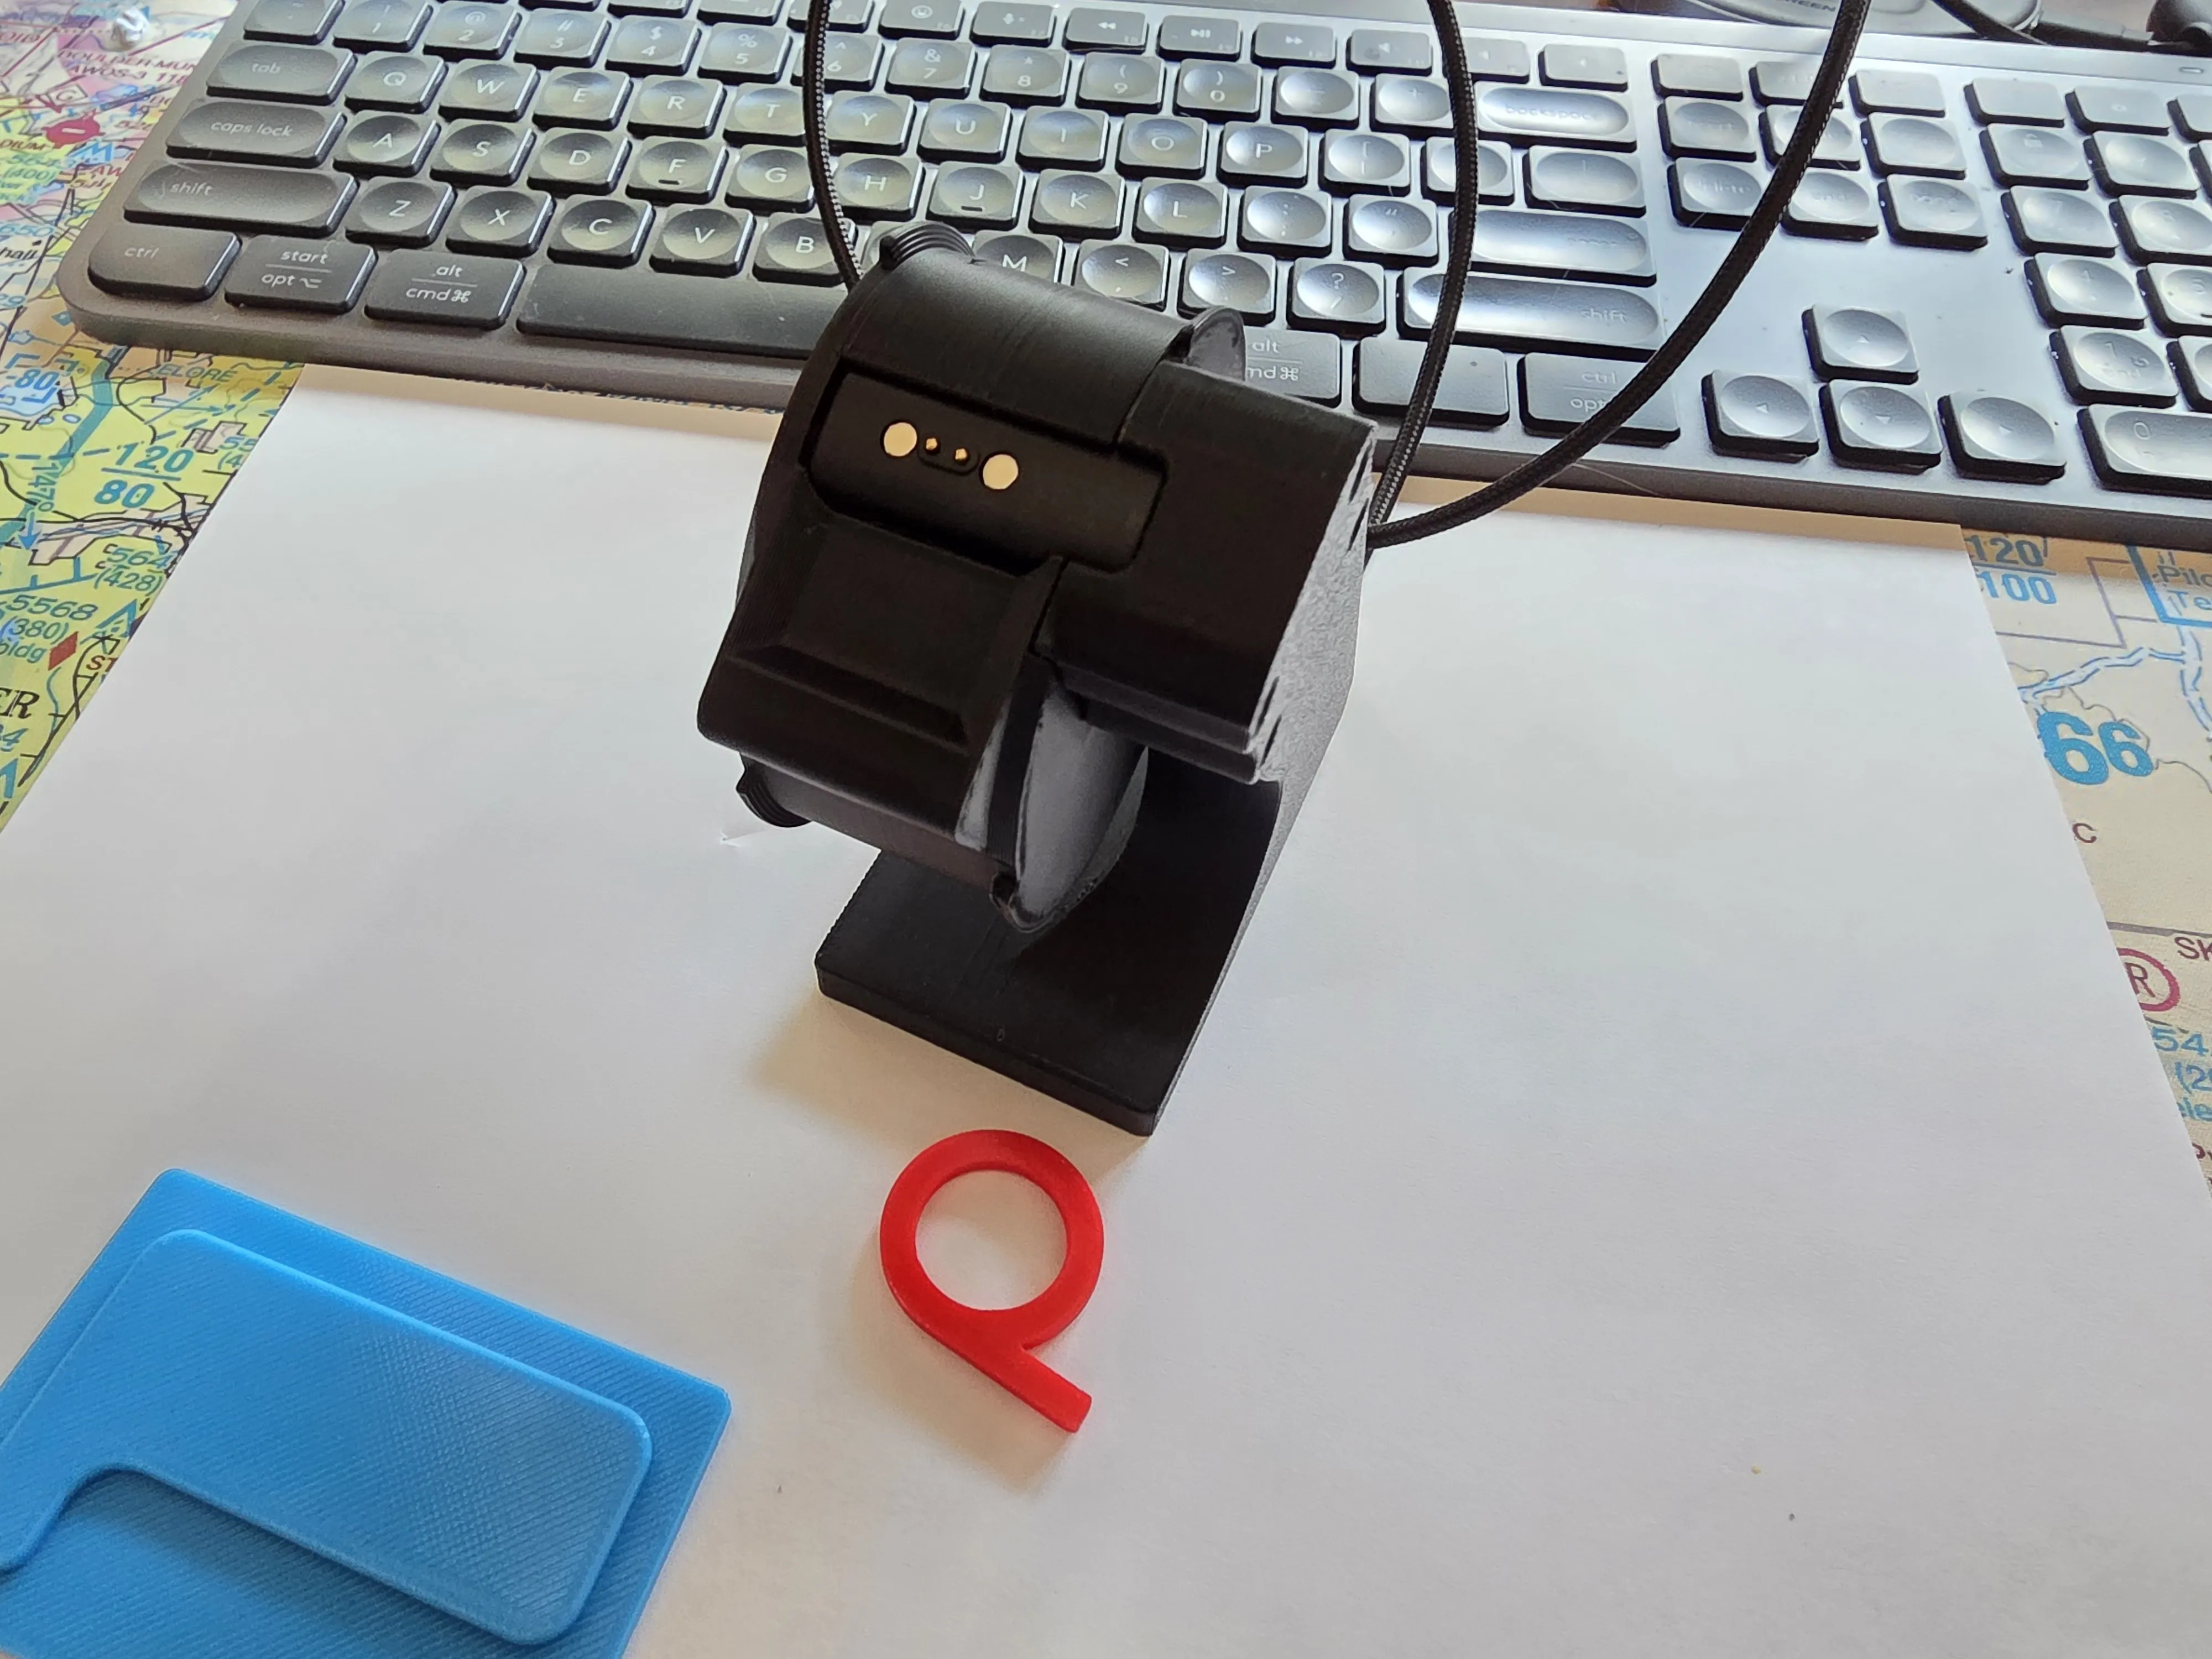
A functional, aesthetic charging and display stand based around the Pebble Time 2! Includes an indent for the heart rate sensor and a non-slip TPU 95A foot.
Boost Me (for free)
If you like this stand, please consider a free boost to feed by filament addiction, so I can make one out of Nylon simply because I can.
HARDWARE
This project requires a couple things:
- Your Pebble magnetic charger. If you don't want to use the one that came with your watch, I have had luck with this one from Amazon. There are a few like this, but if you buy one without the USB C port make sure it has a thin (preferably flat), flexible cable.
- Right-angle USB-C adapter. If you don't use a charger with an attached cable, you will need one of these. Make sure it is slim. The fitment was modeled after one similar to these from Ugreen.
- USB-C cable, if you aren't using a charger with one attached. Just use one of the hundreds you have laying around at this point!
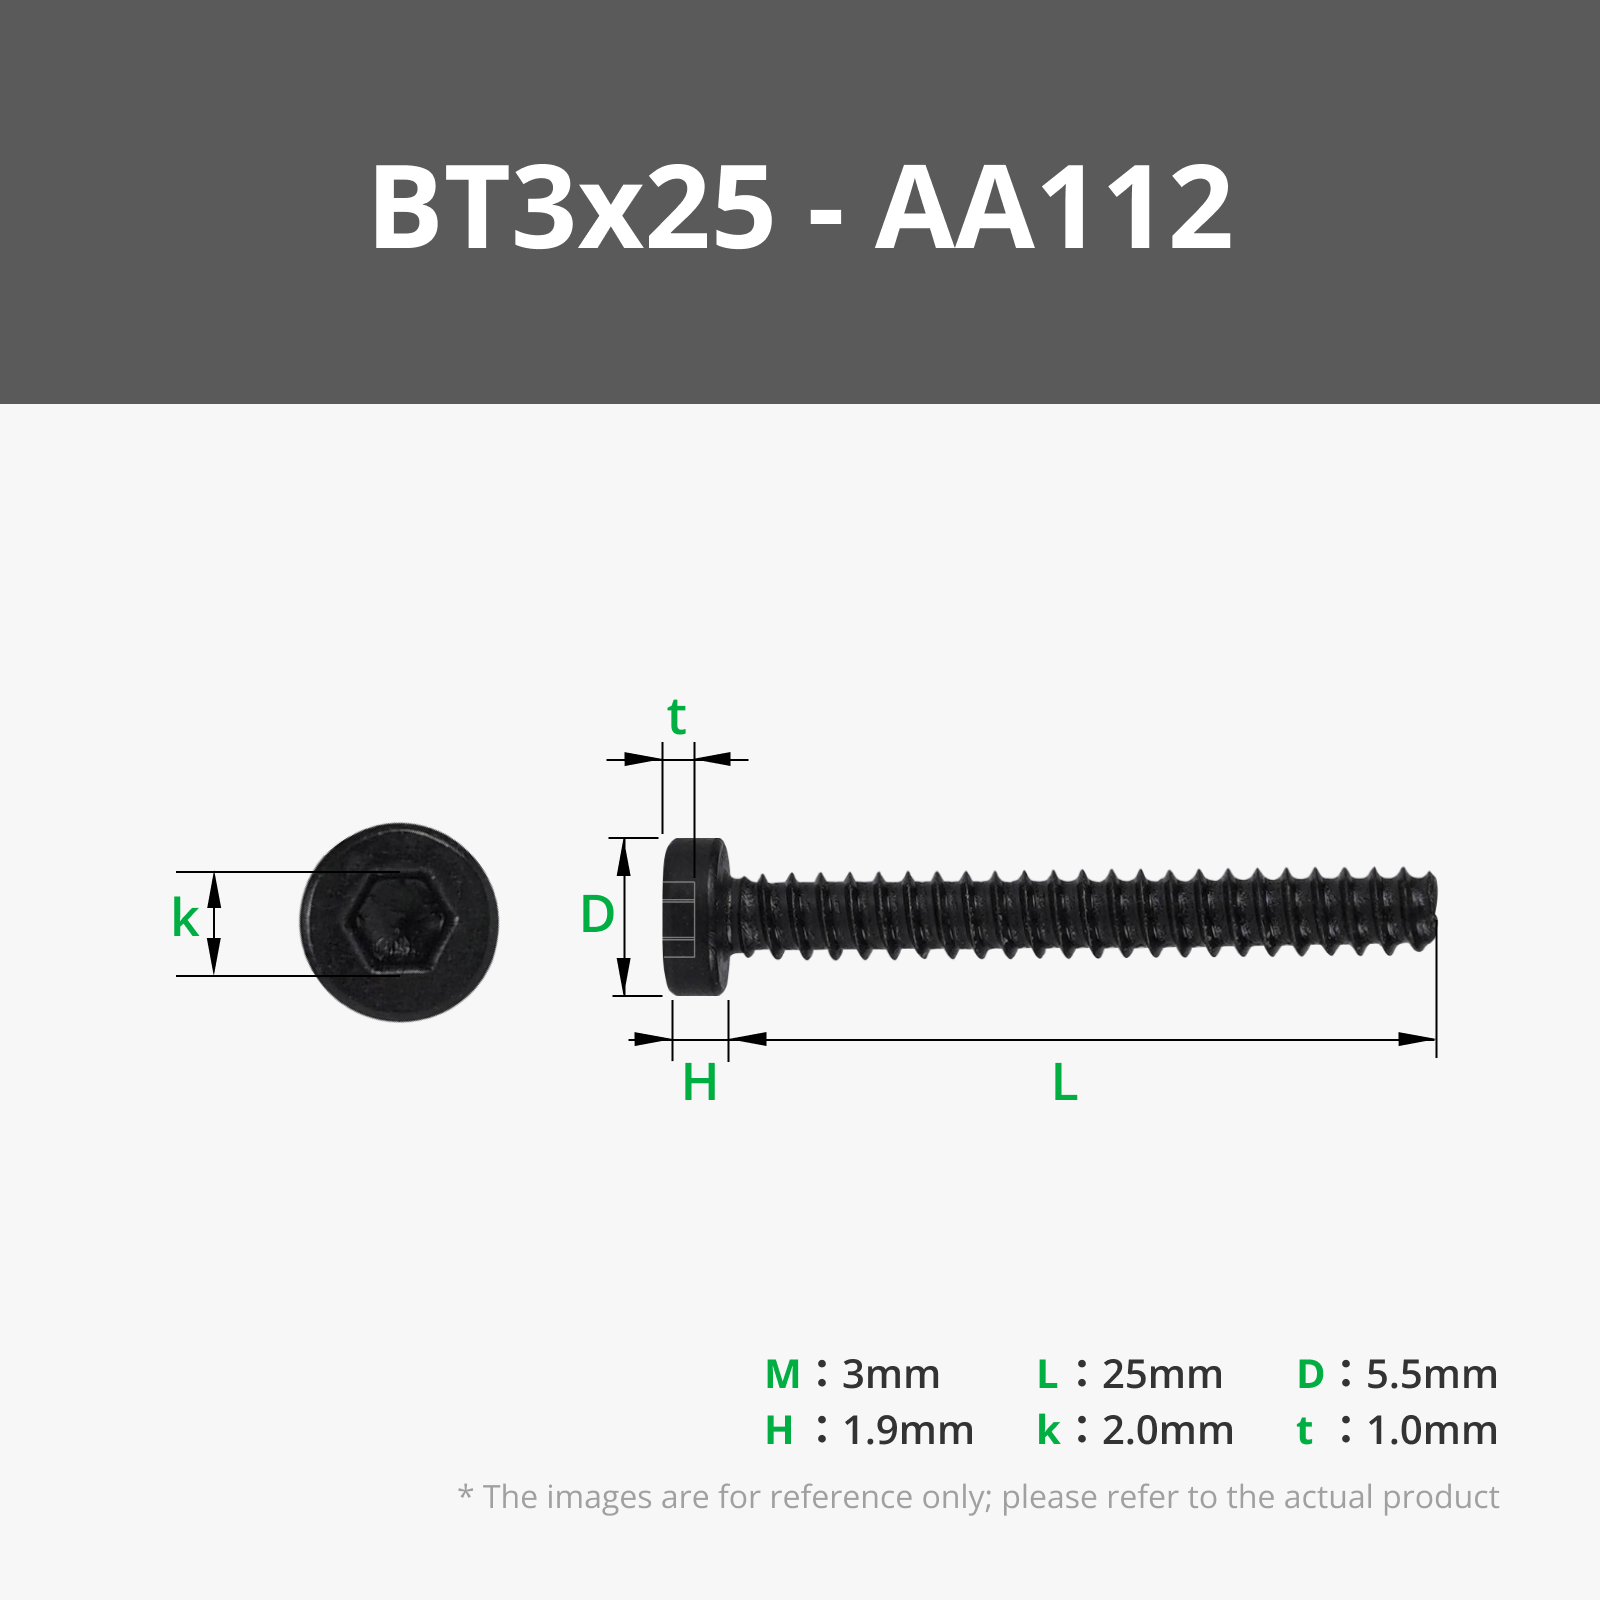
- 4x M3x25mm self-tapping screws. Mine came from this set. These are optional, but I like the look of screws instead of using glue and it's easier to take apart.
PRINTING TIPS
- I have carefully painted supports, infill & walls on the included print profiles. There should be no need to tweak them.
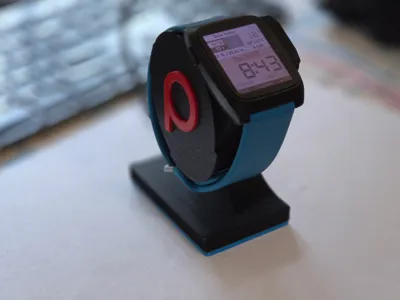
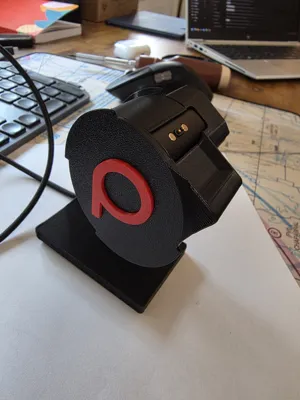
- Ironing is enabled on the Pebble logo to look nice and smooth. This can be tweaked or disabled to your preference.
- If printing from the step files, note the following:
- The stand is best printed on its side so that the curves are smooth and the inset on the bottom is accurate.
- Ensure that your bridging is calibrated and well-tuned
- Ensure that the widest part of the stand at least is supported; tree supports can angle into the cavity about 10mm while remaining on the build plate and I found that to be sufficient
- Ensure that the inset at the bottom of the stand for the foot is supported; I had to paint on supports manually since the slicer kept wanting to print that as an overhang.
- The inlay side (pebble logo) of the watch holder should be printed face down and should not need supports - they're hard to remove. However, the cantilever for the heart rate sensor does need support.
- Print the stand and foot at 100% infill (or 1000 walls, your preference). This is to ensure they are weighty enough to offset the high weight when the watch is on the stand.
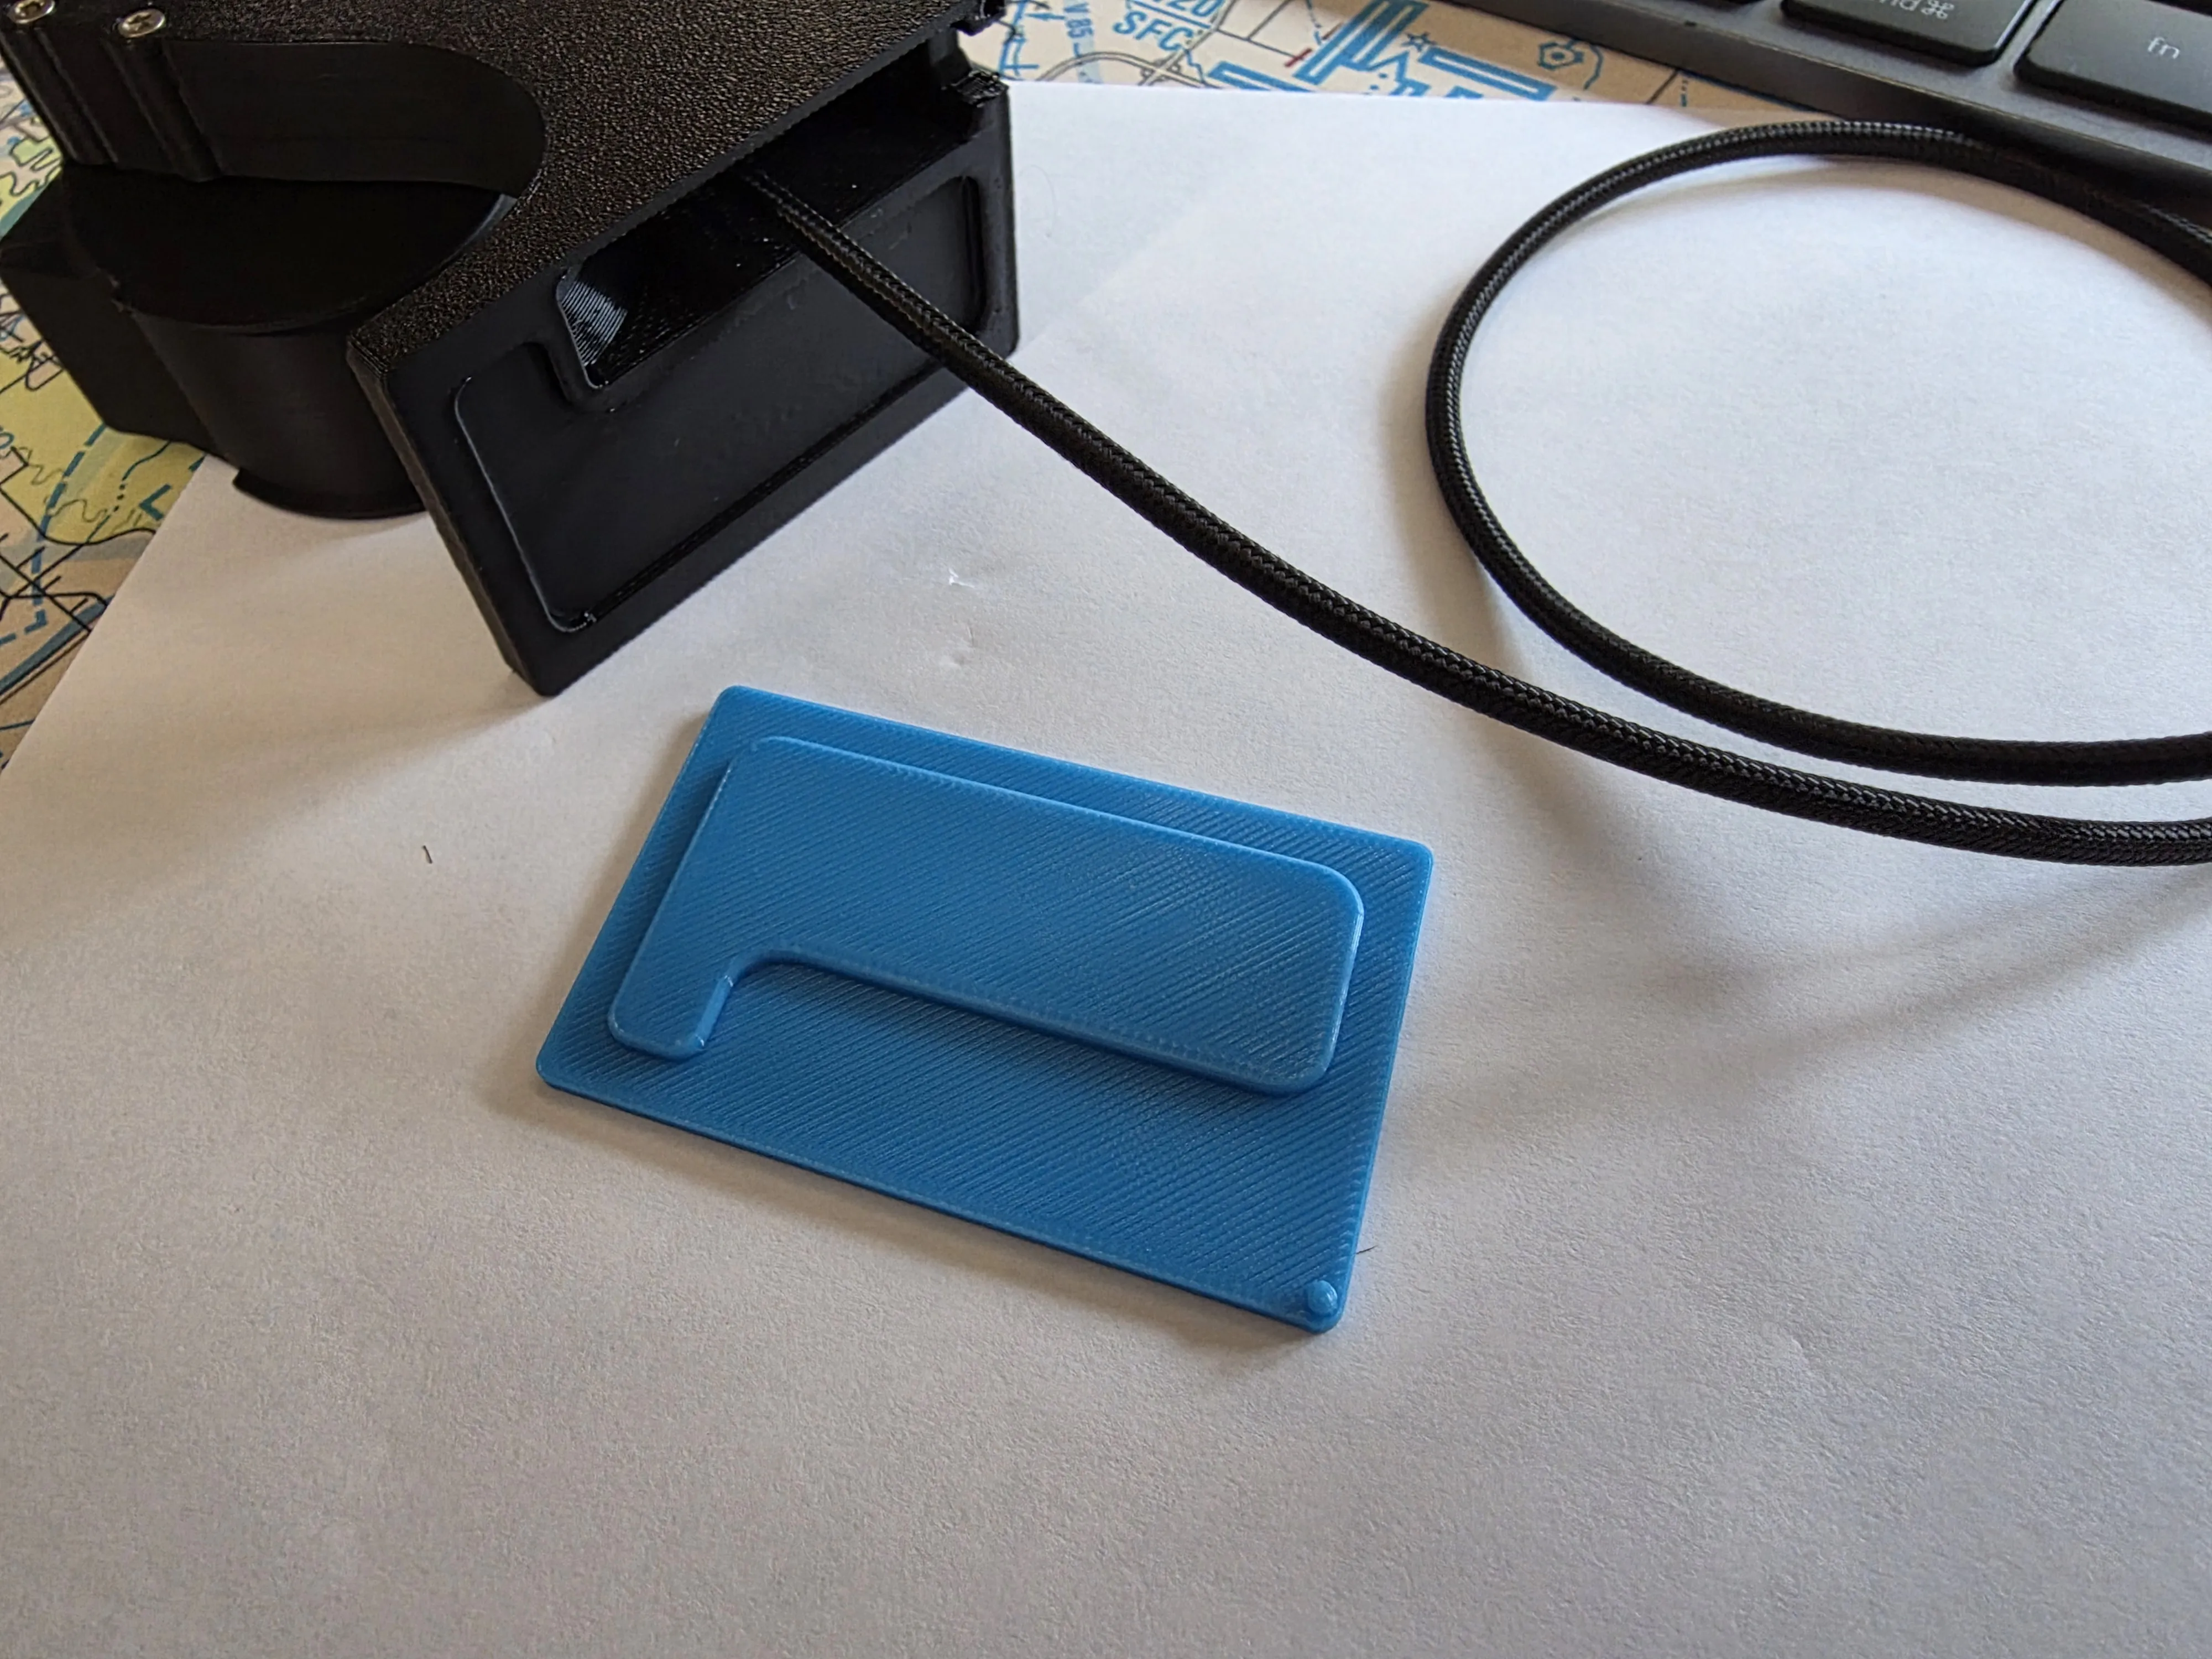
- Print the foot on a textured PEI plate if using TPU. I recommend 95A TPU or SEBS. The texture on the plate, when applied to the foot, greatly enhances grip.
Assembly
- Print and Gather your parts
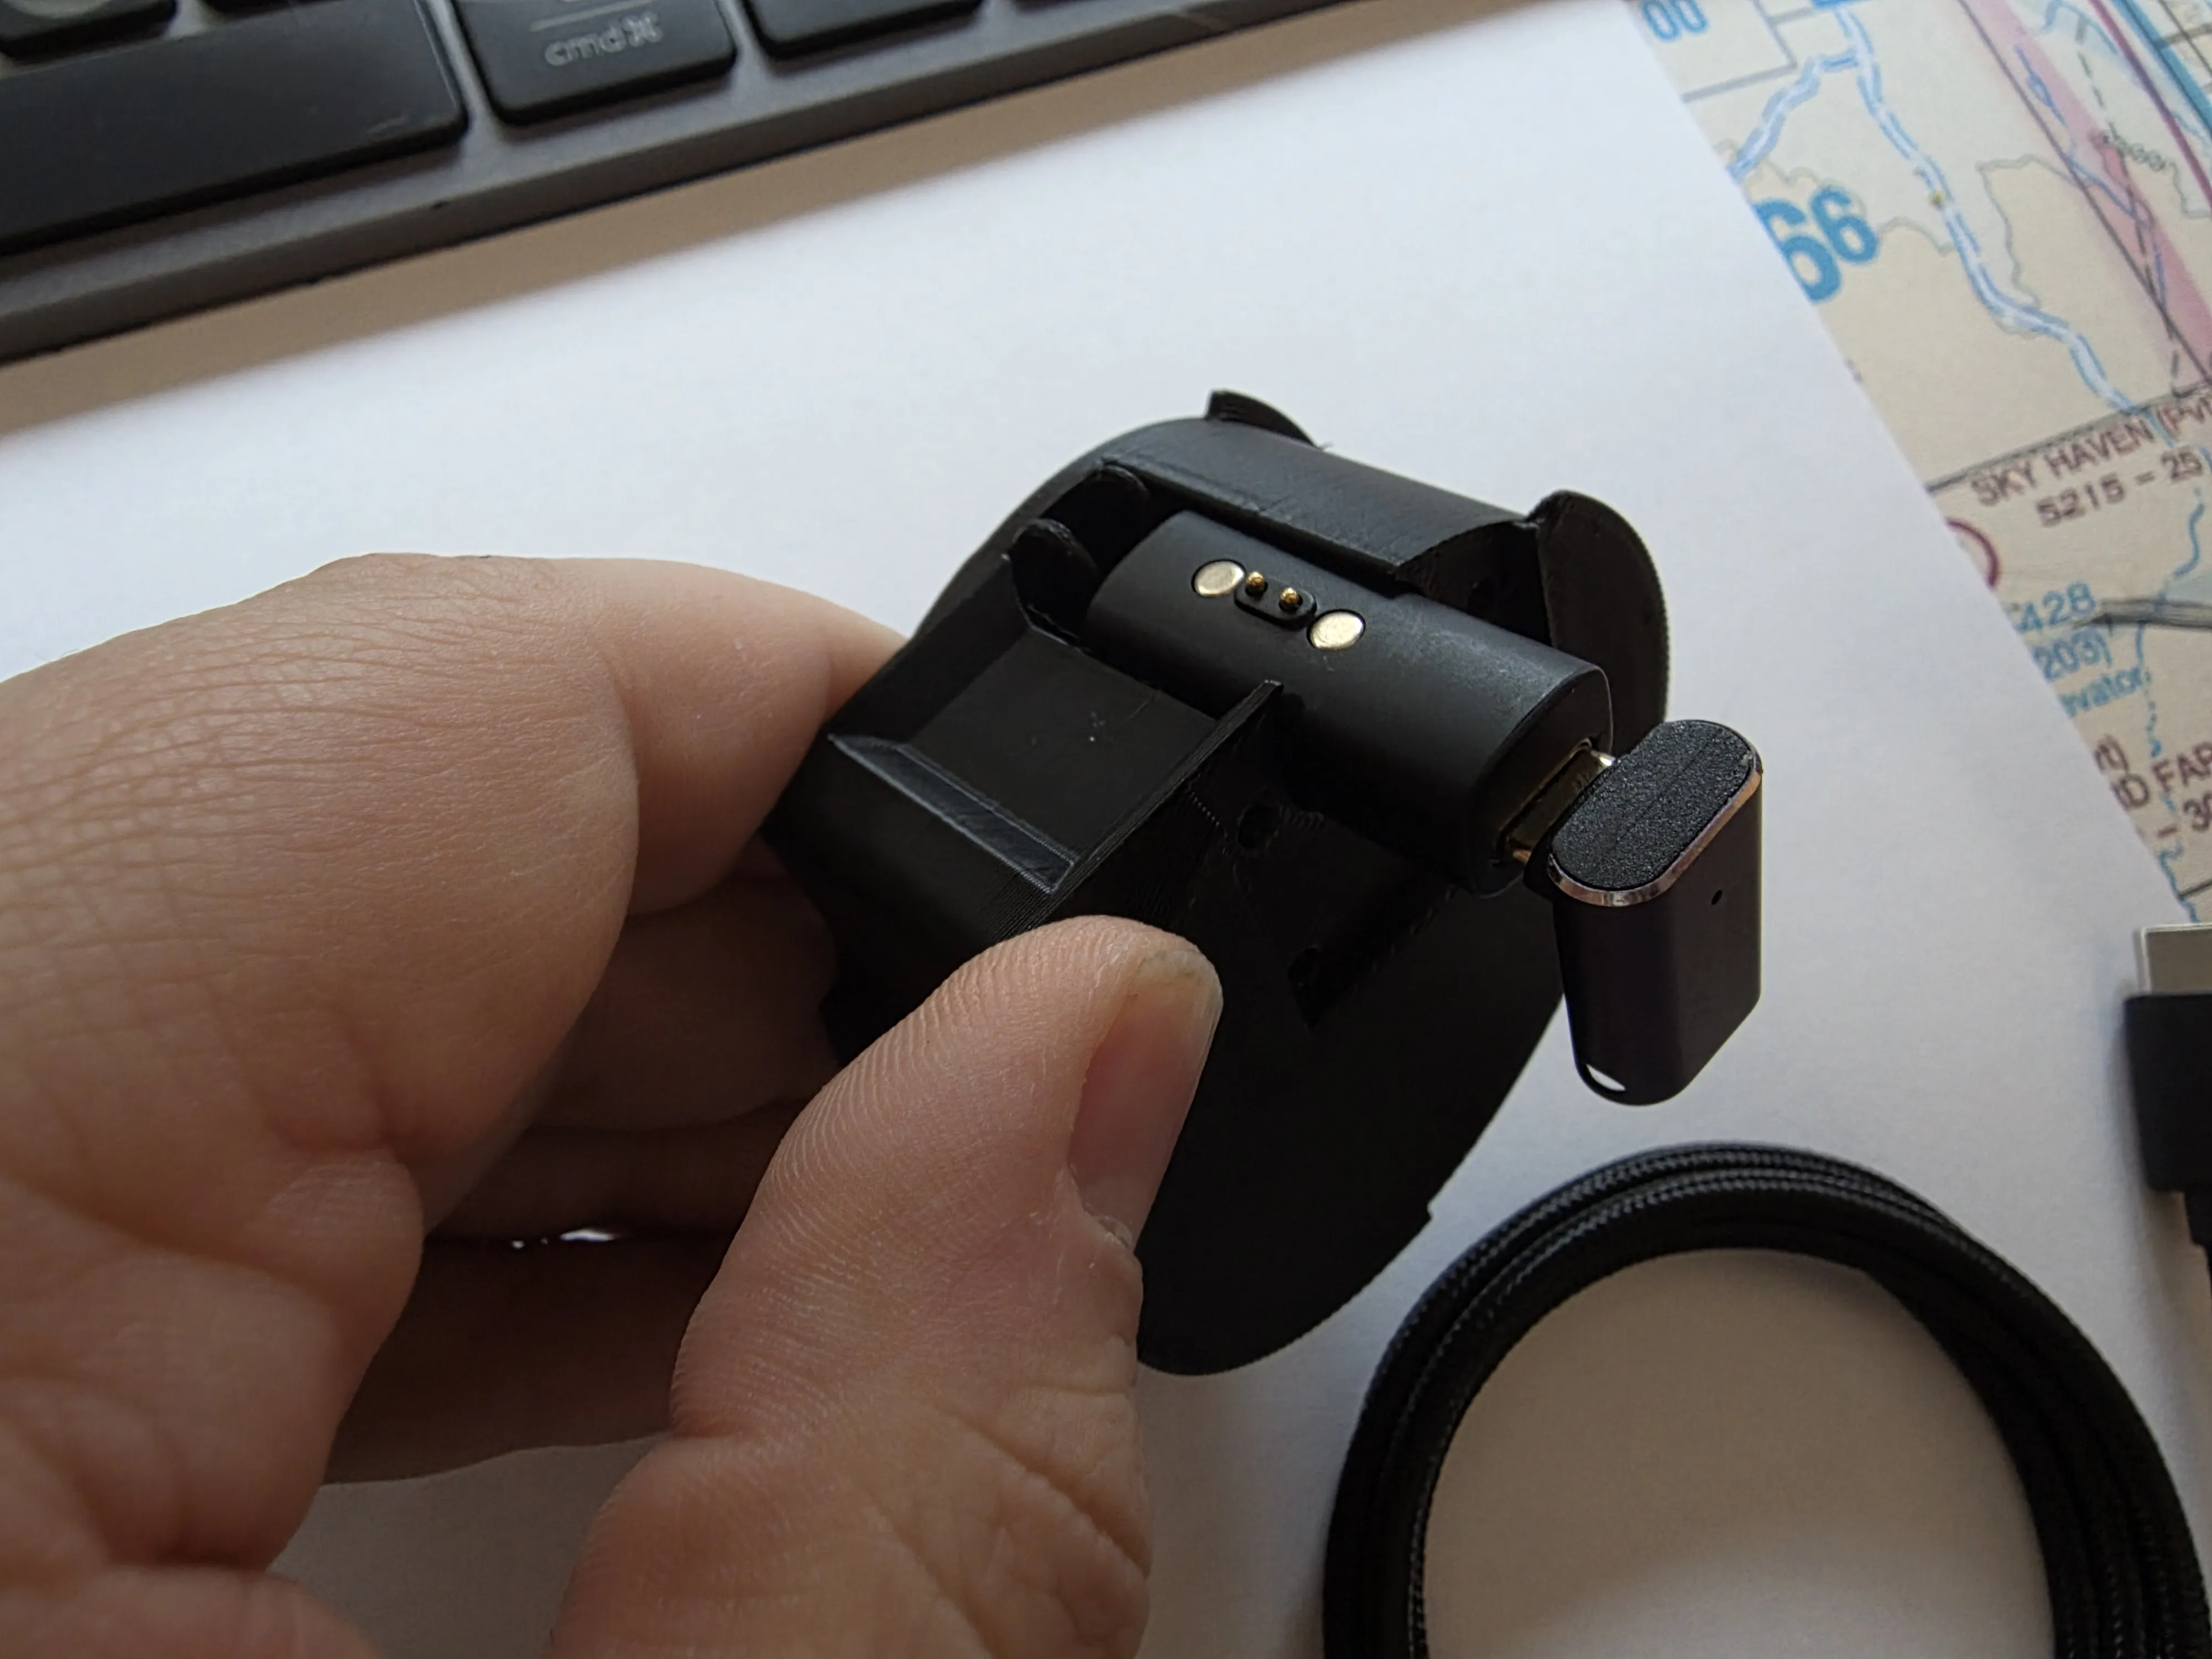
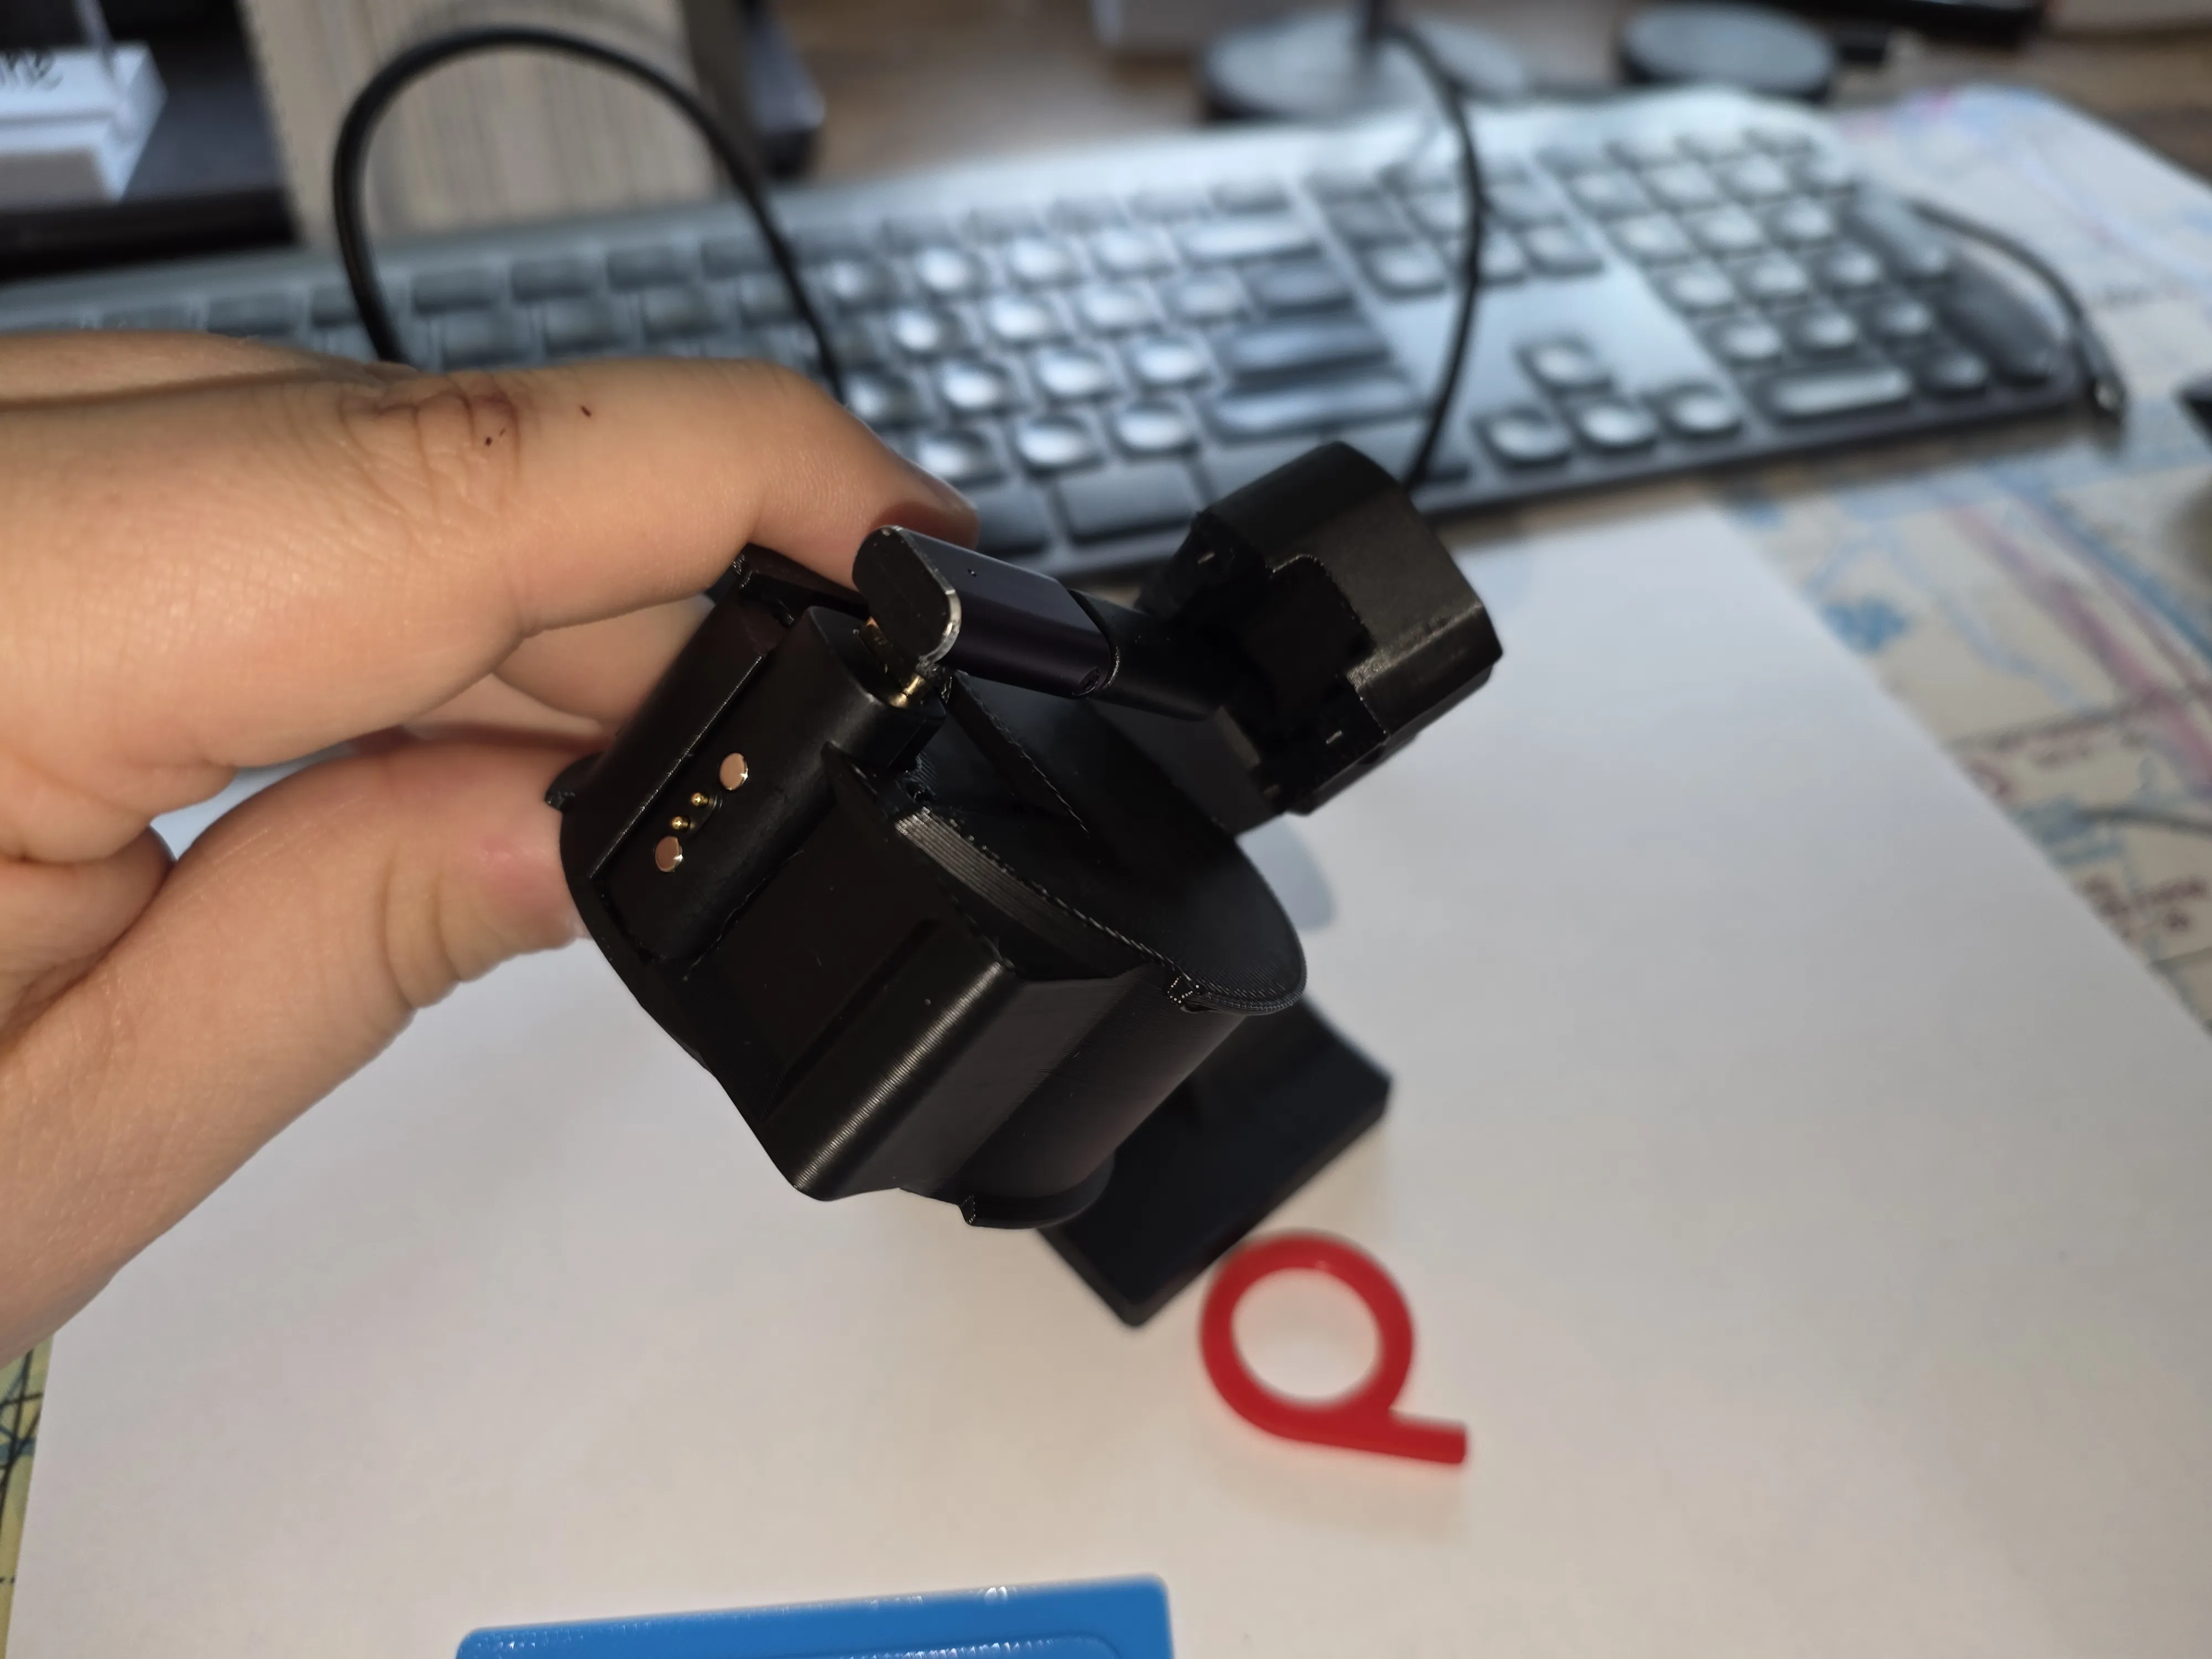
- Insert the charger (with right angle connector if applicable) into the cavity. There is an indent for the lanyard if you do not want to remove it. The lanyard can also be used to add some friction by sliding it underneath the magnetic charger.
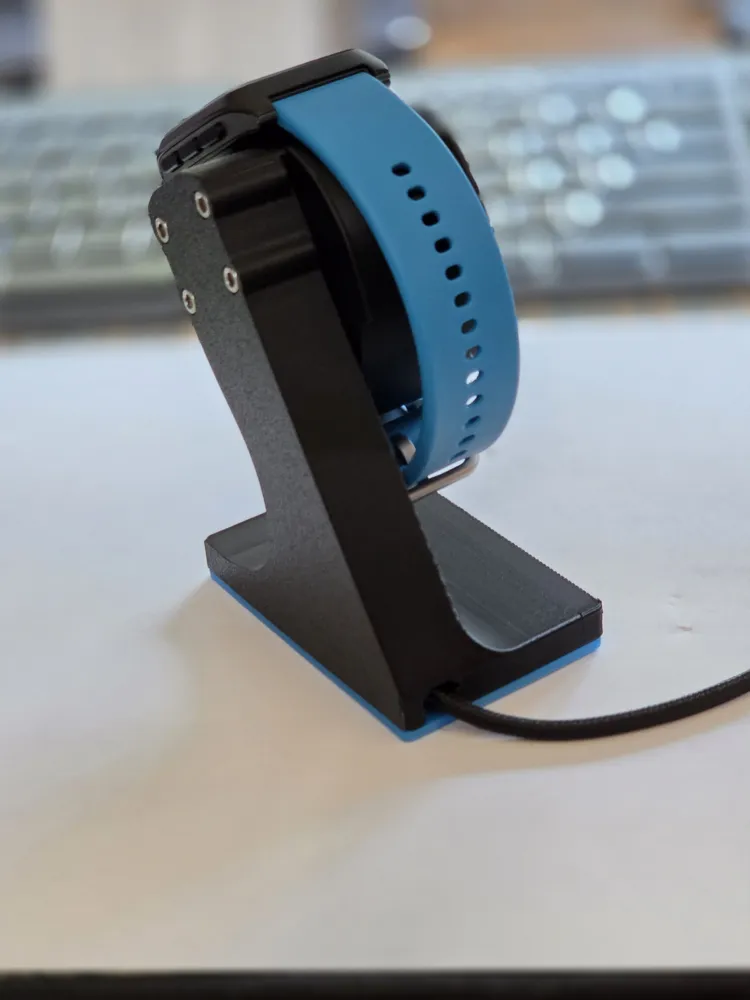
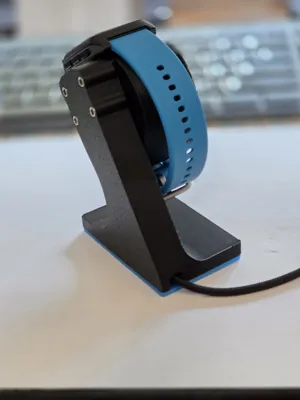
- Plug the cord in and feed it through the cavity in the stand.
- Slide the stand onto the watch holder. Fitment is tight, so a small amount of force may be necessary. It may be easiest to slide the watch holder onto the stand, feeding the charger into the cavity as you do so.
- Secure 4x M3x25mm self-tapping screws into the four holes on the side of the stand. Screw them all the way in so their heads are flush to ensure that they have secured the holder to the stand.
- Click the logo inlay into place. It should not require glue, but a little dab does not hurt.
- Insert the foot into the inset in the bottom. The small peg should align to the small hole next to the cord cutout. Do not glue this in or the cord will be impossible to remove later.
- Fill your coffee!
License

This user content is licensed under a
Creative Commons Attribution-Noncommercial-Share Alike


Comment & Rating (11)