
Fish Finder Mount – Flytec 2011-5 (MK2)
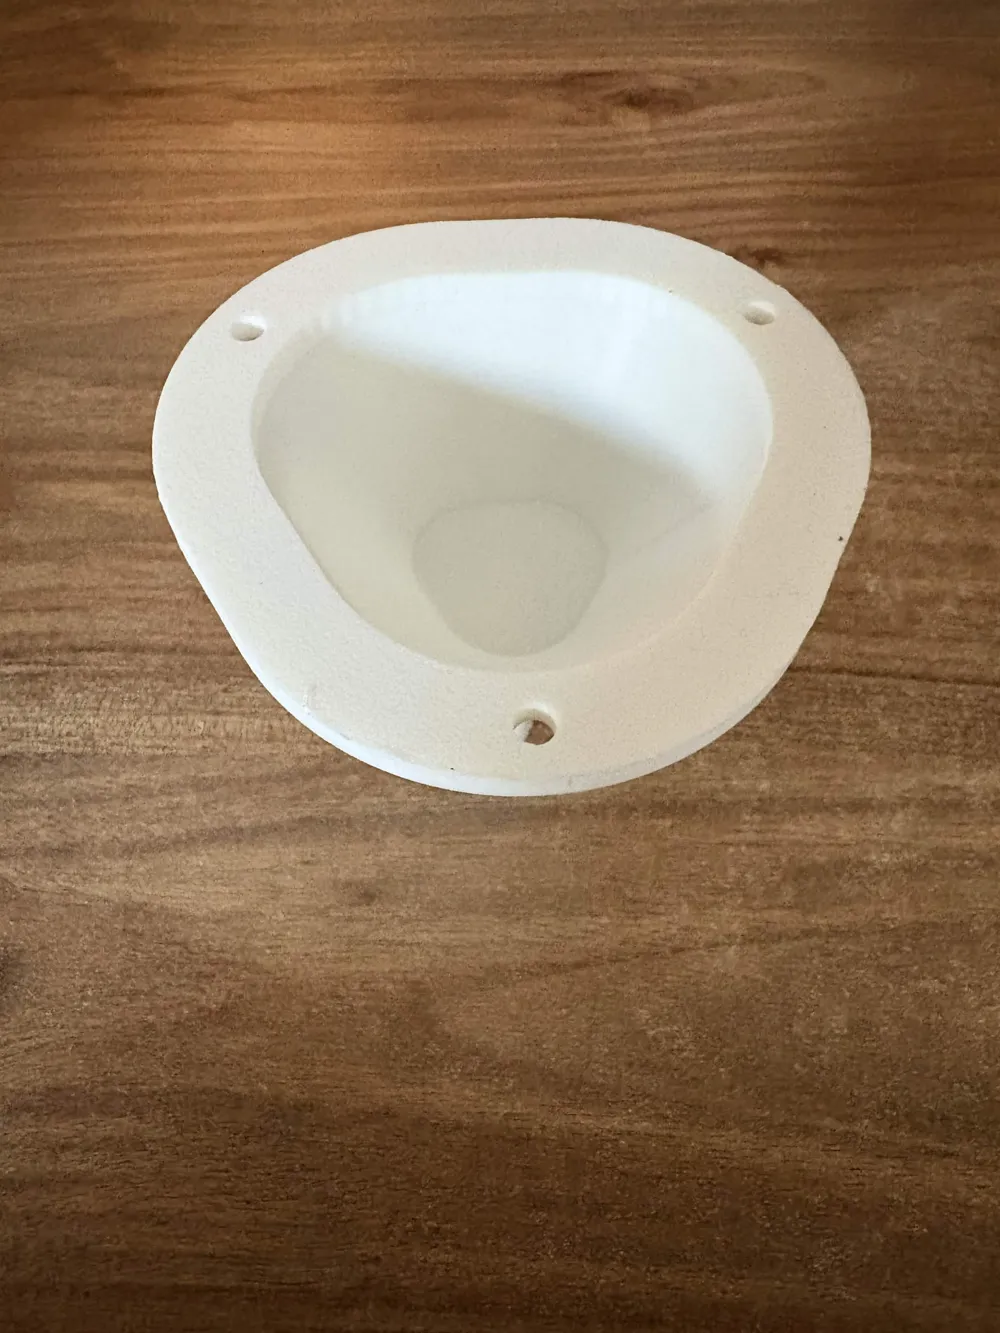
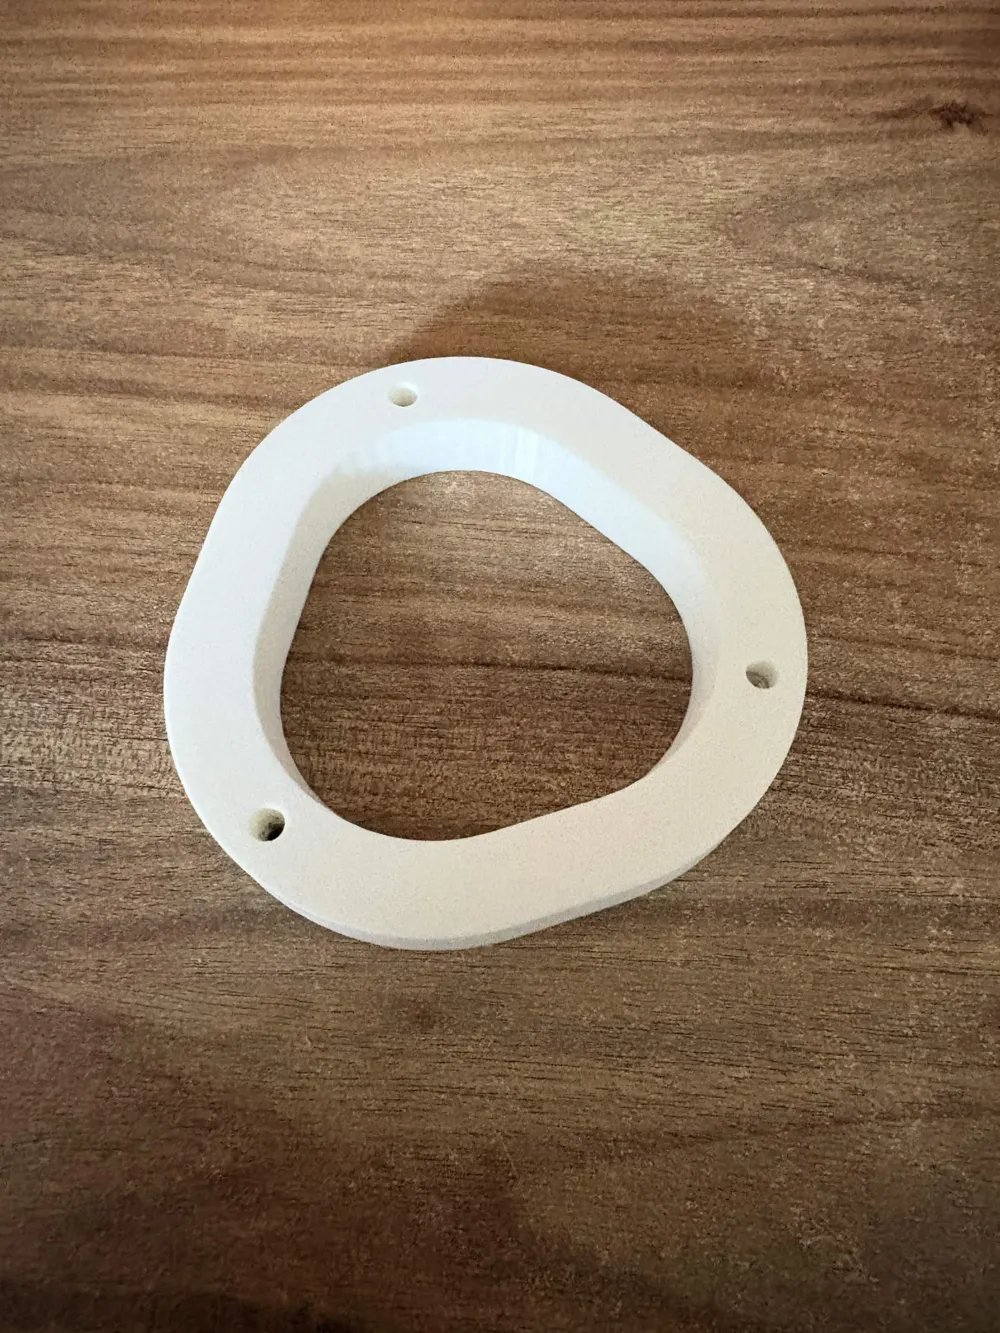
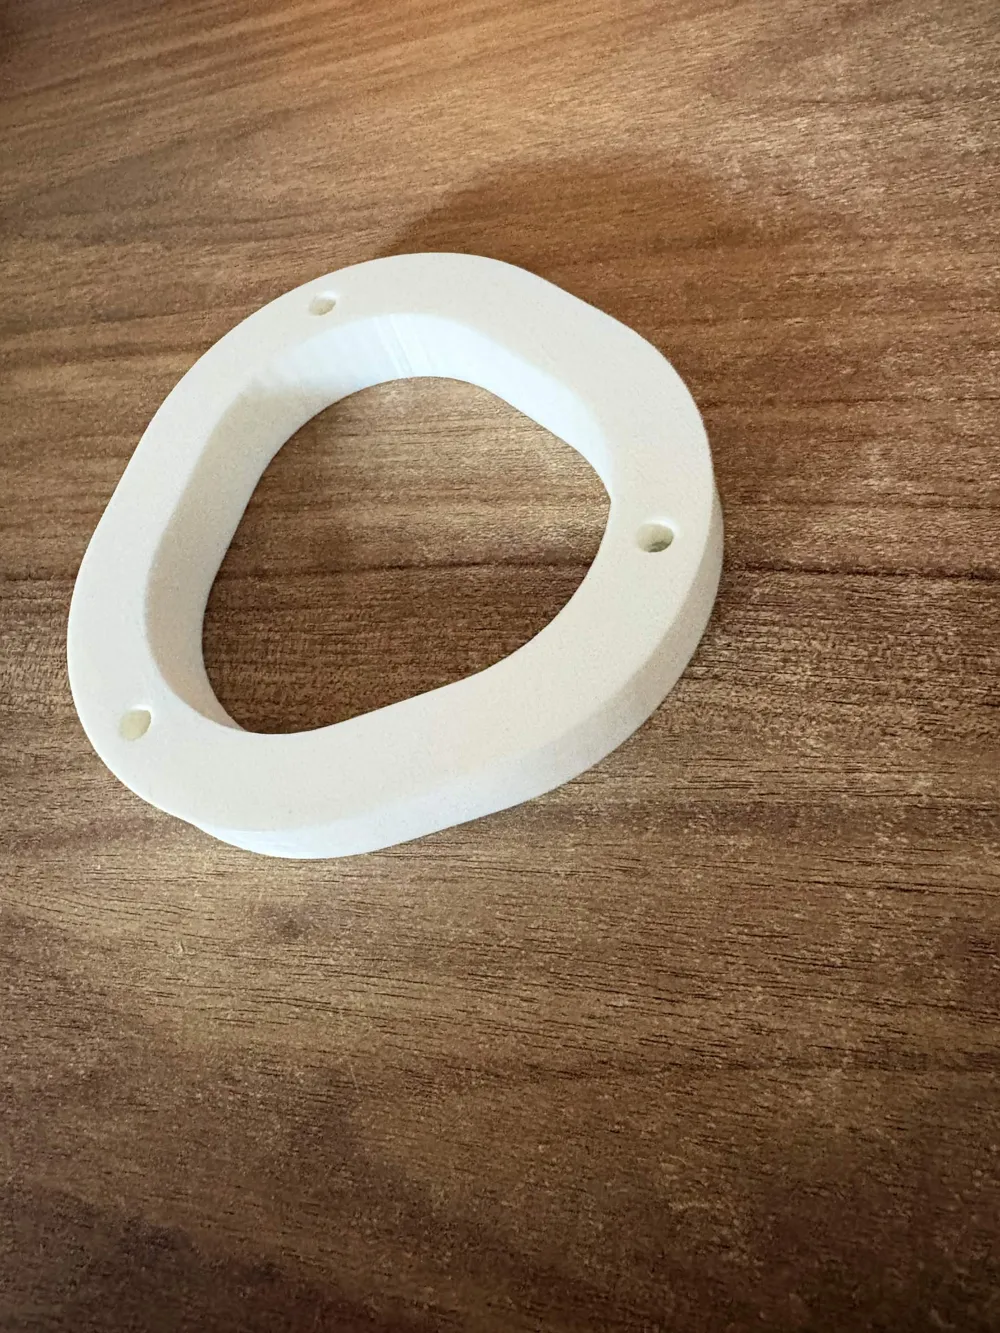
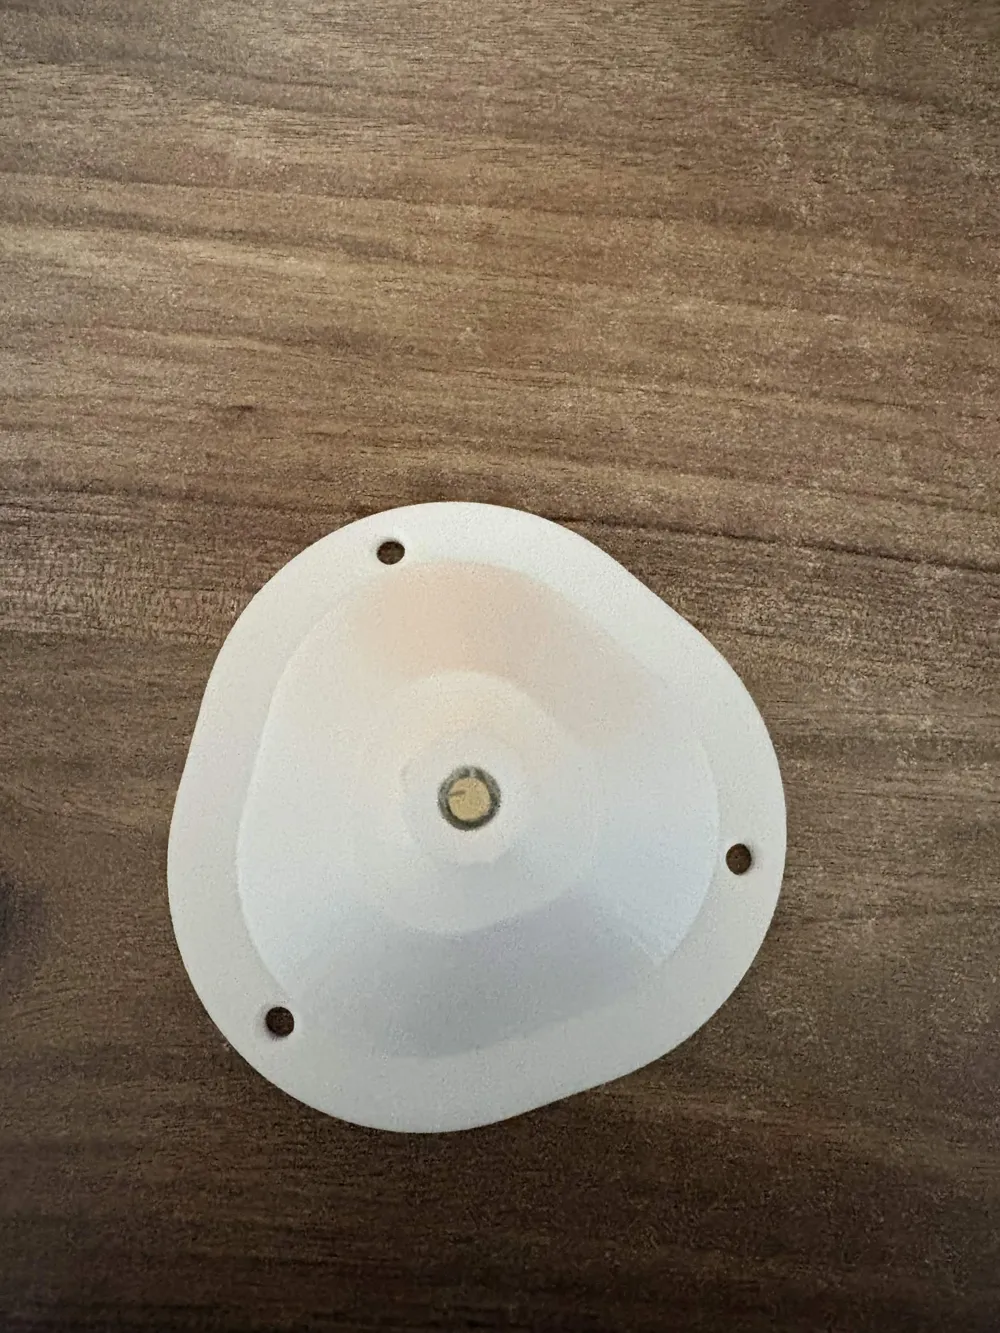
Print Profile(1)
Bill of Materials
- Echosondeur - Deeper Fishfinder START x 1: Support utilisable que pour cette échosondeur : https://deepersonar.com/fr-fr/products/deeper-fishfinder-start?srsltid=AfmBOopVqfGGsM4vNsxo9iGkafSCcAaCgnf0YFiJqf7roUya8M8yRLSs
- 1 vis M4 tête fraisée + 1 écrou M4 x 1: pour fixer la rondelle de verrouillage
- 3 vis M4 tête fraisée + 3 écrous M4 x 1: pour assembler les deux parties de la coque
- 3 vis à bois M3 tête fraisée (Longueur totale : 15mm) x 1: pour fixer le support Y sur le bateau ⚠️ Attention : ces vis peuvent endommager le pas de vis d’origine du bateau. Privilégie des vis adaptées si tu en as.
Description
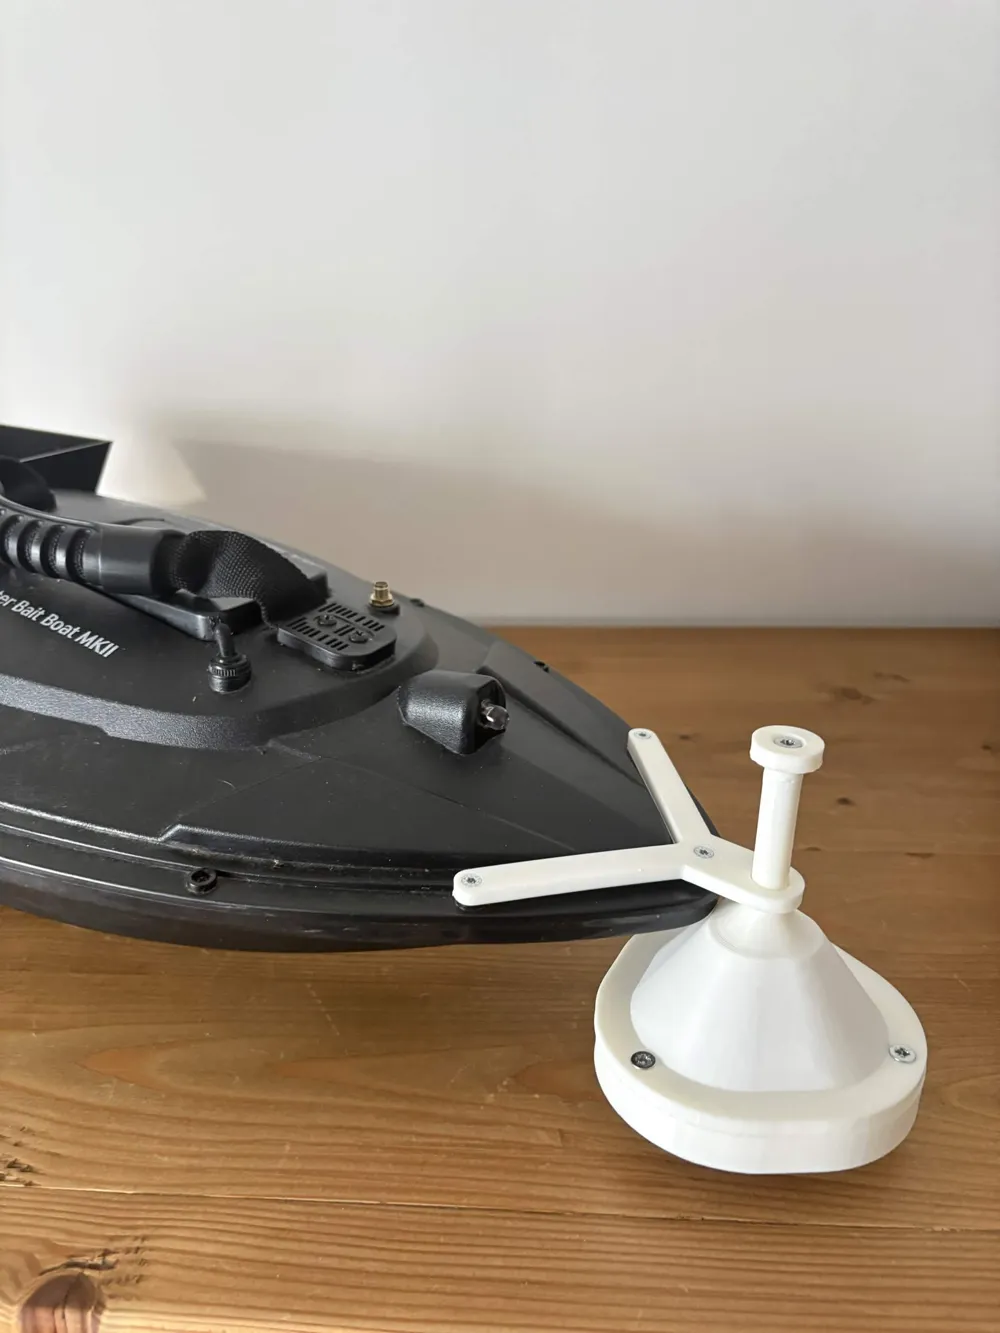
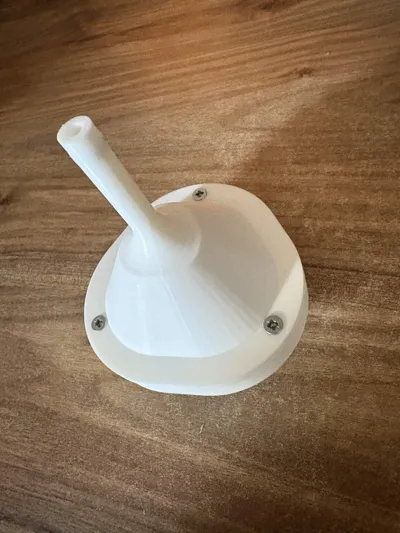
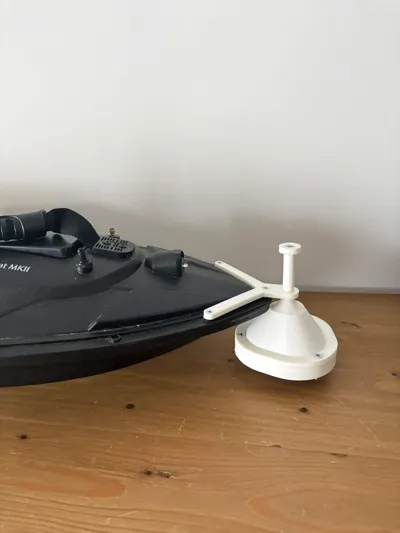
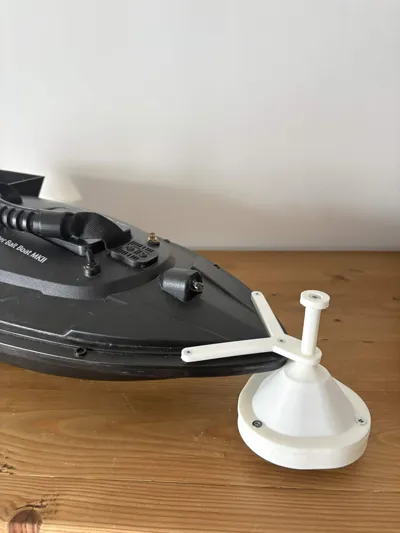
🔧 Fish Finder Mount – Flytec 2011-5 (MK2) Mount for transducer / fish finder for carp bait boat
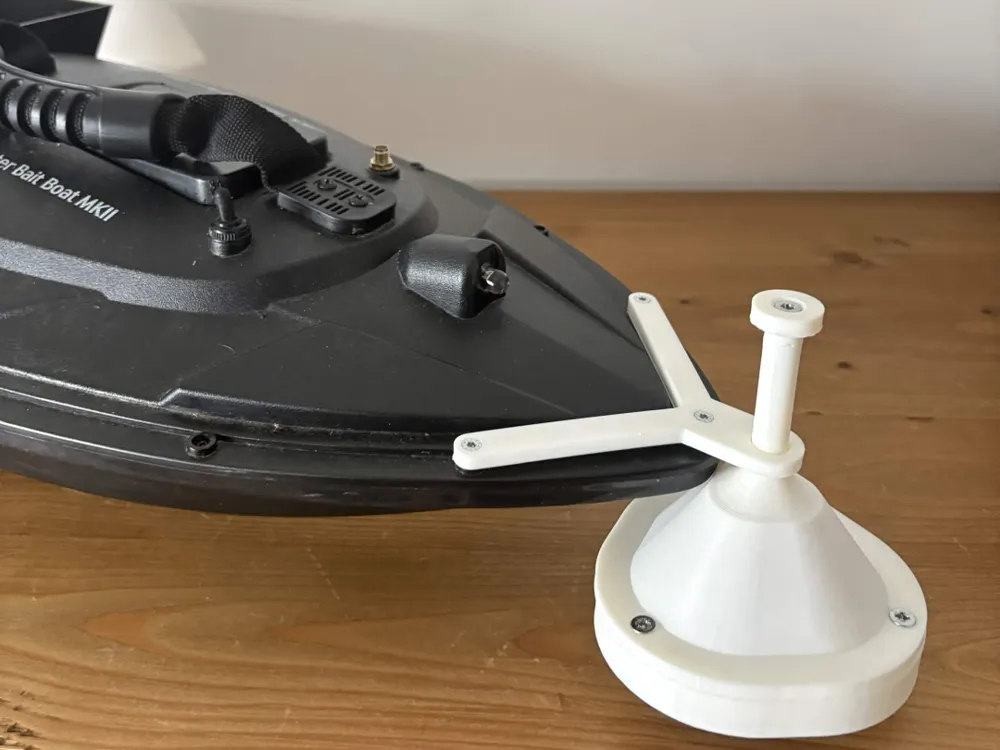
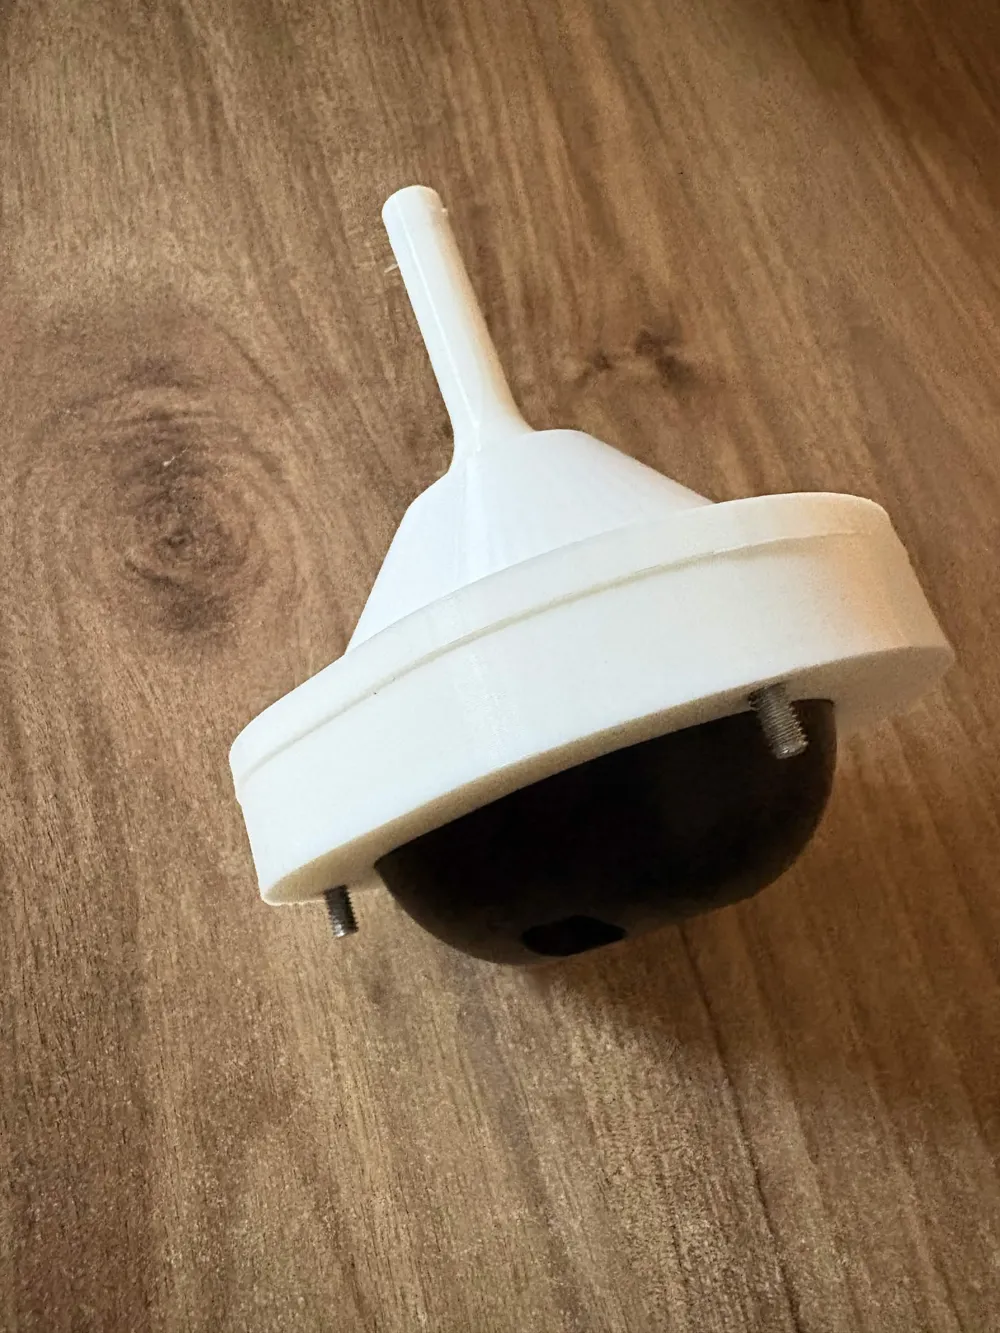
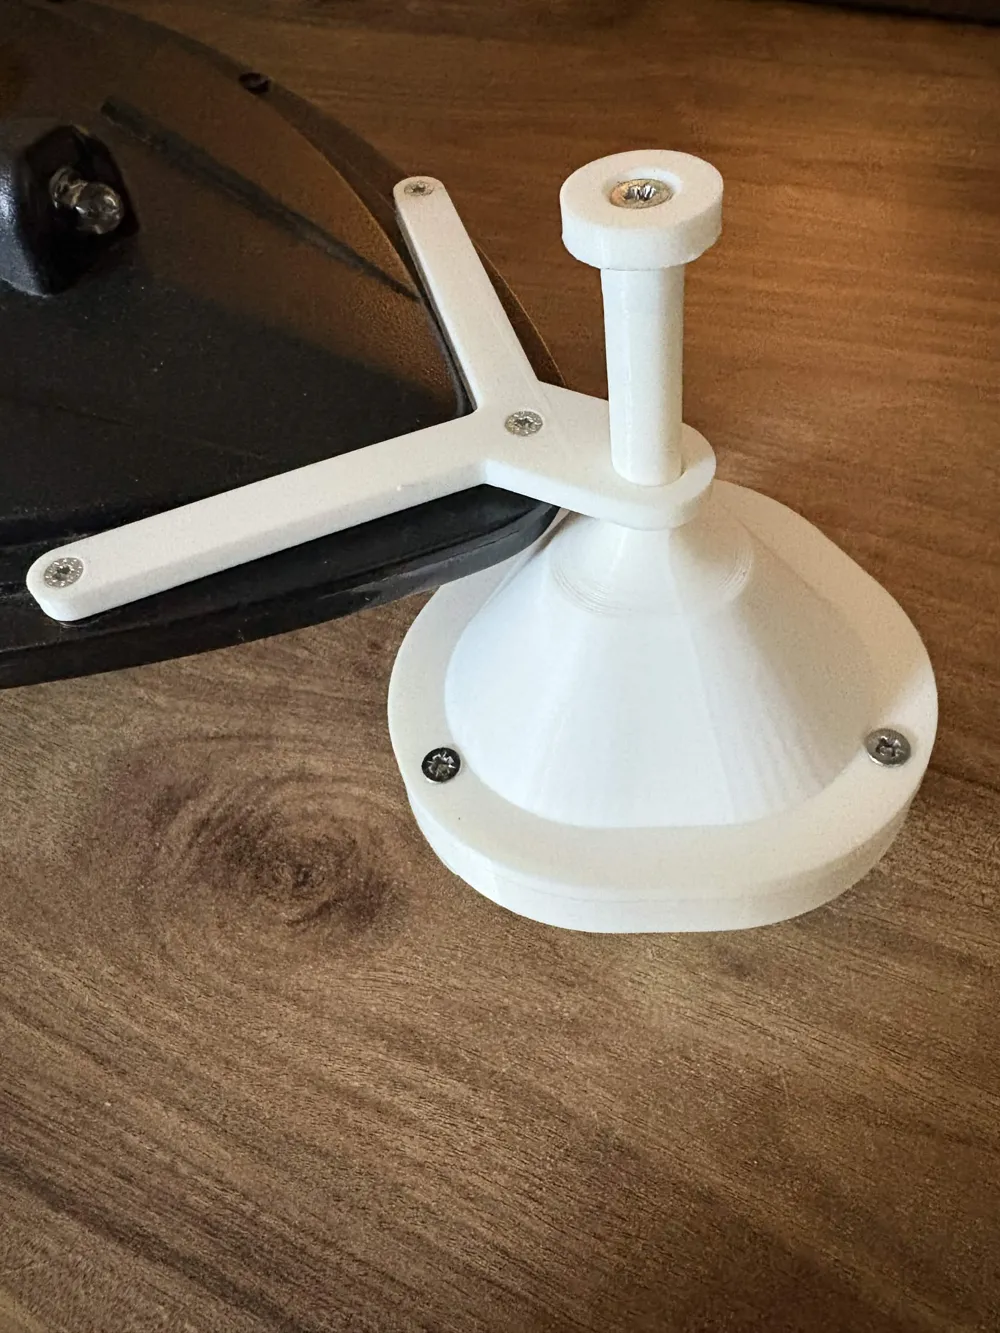
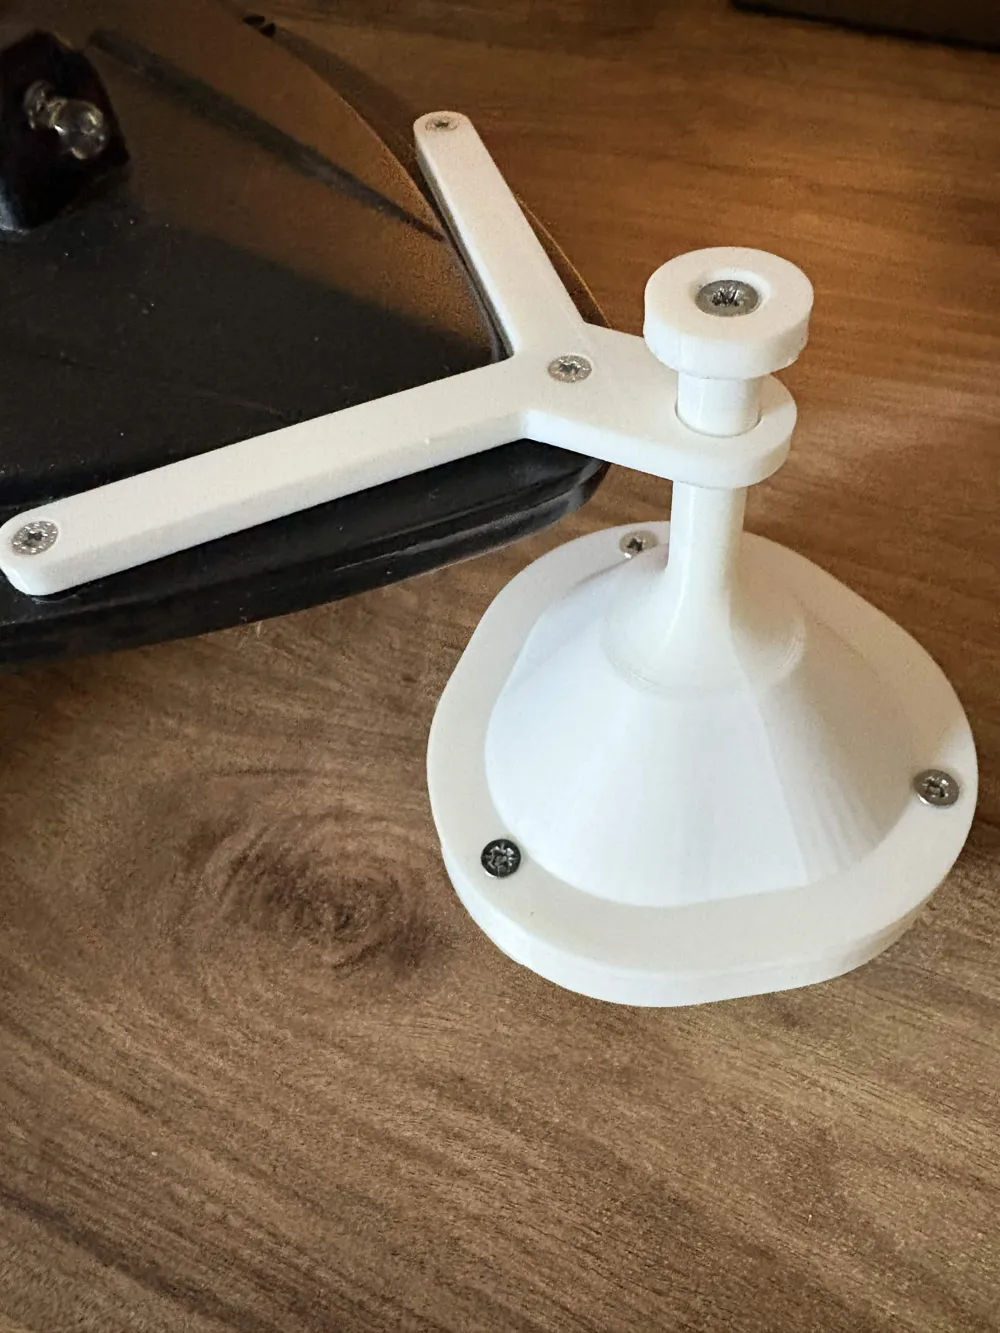
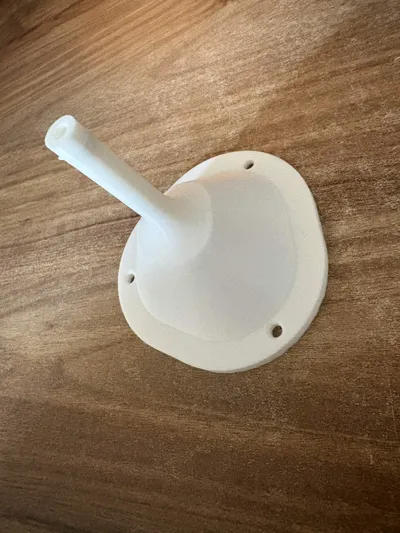
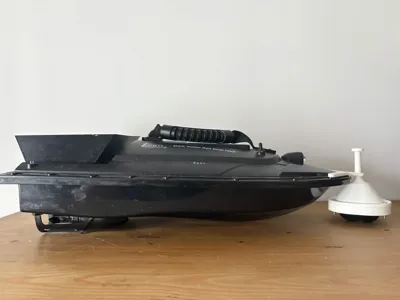
🚀 A robust and well-designed mount to easily attach your fish finder to your Flytec 2011-5. Designed to be stable during navigation, even at sustained speeds, while remaining easy to print and assemble.
Fish Finder Model: https://deepersonar.com/fr-fr/products/deeper-fishfinder-start?srsltid=AfmBOopVqfGGsM4vNsxo9iGkafSCcAaCgnf0YFiJqf7roUya8M8yRLSs
✅ Optimized Design
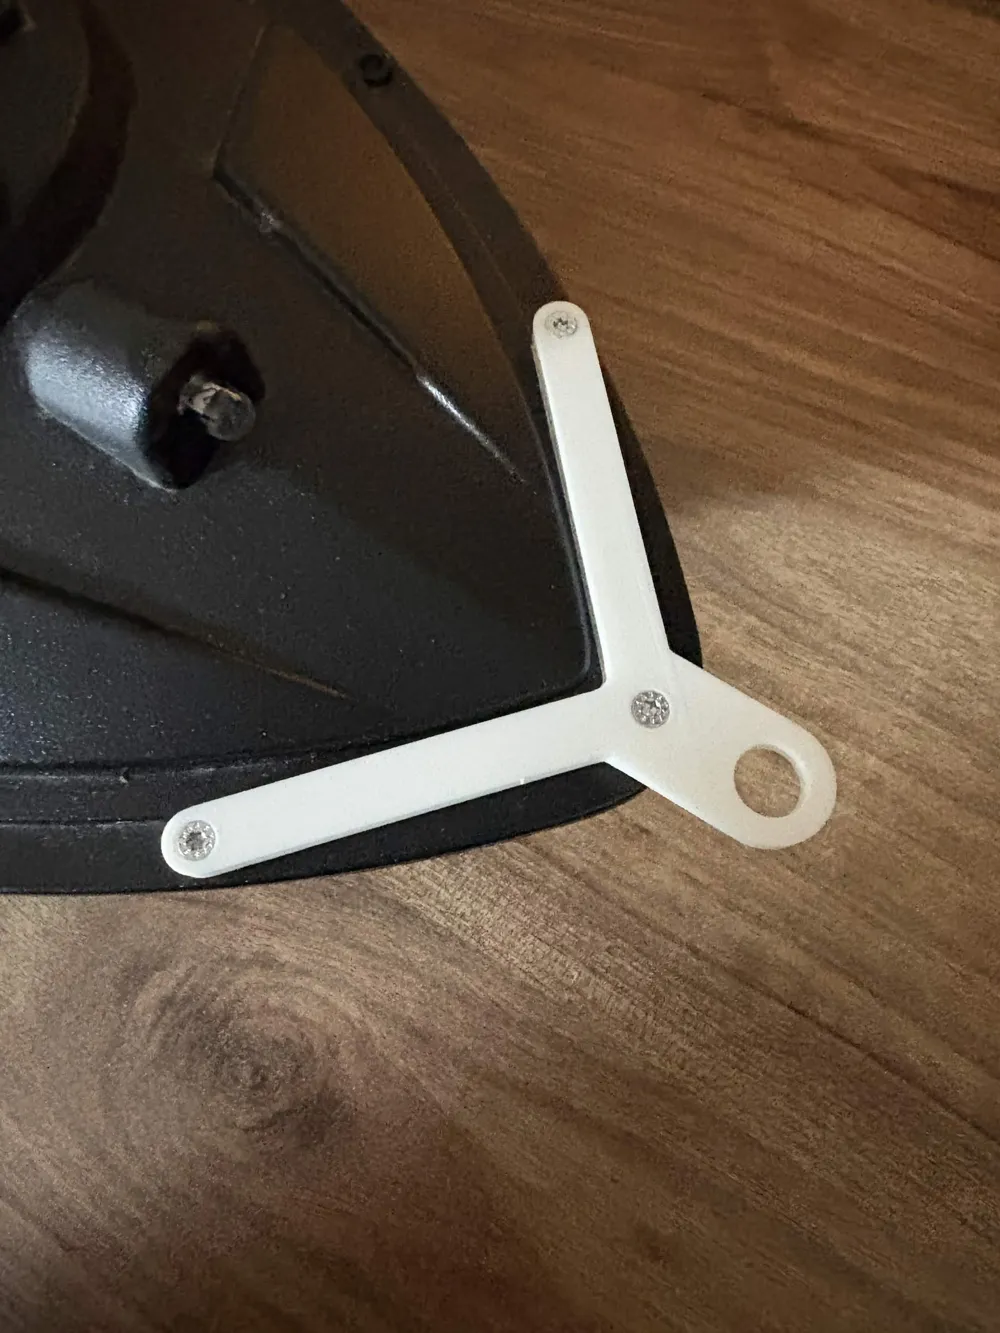
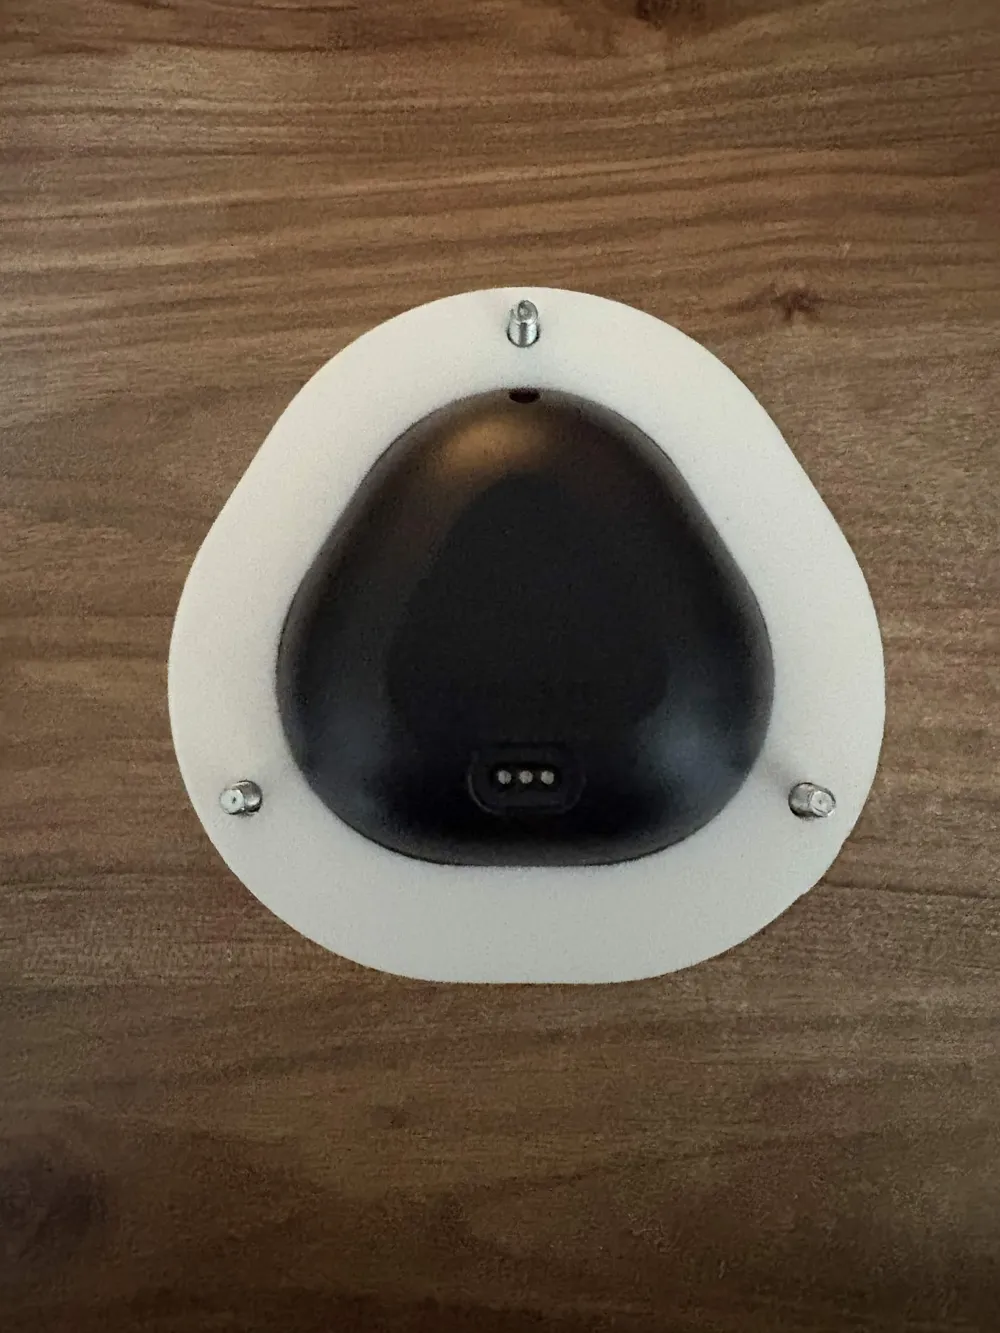
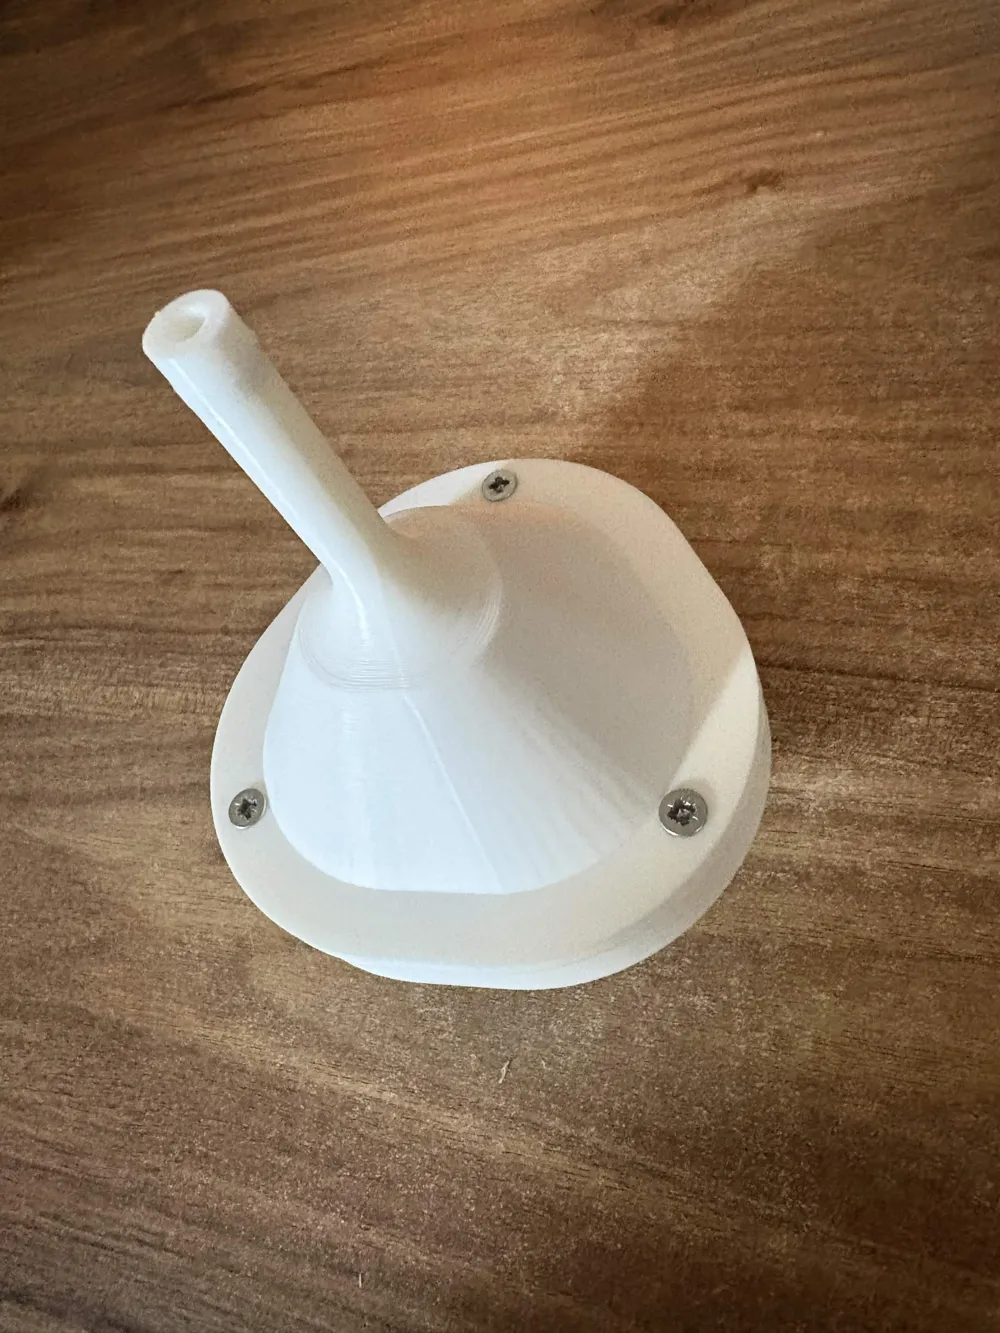
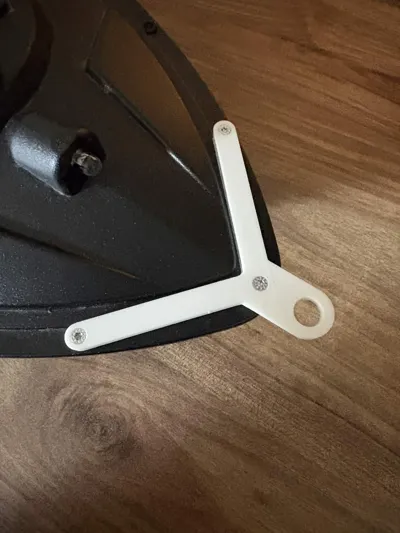
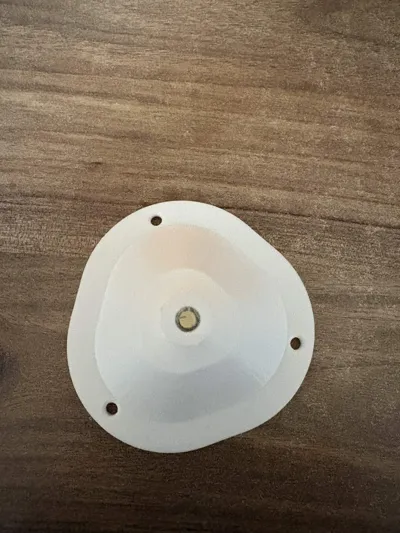
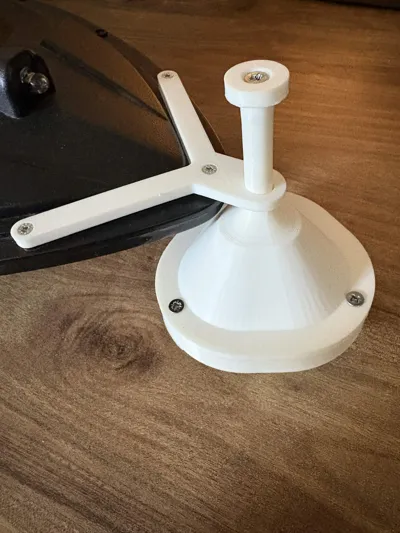
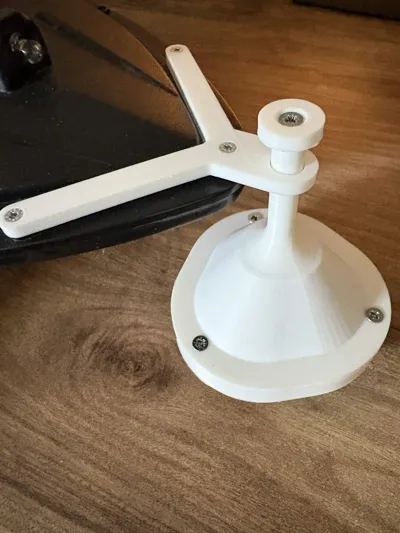
- A Y-shaped mount that uses the three original fasteners at the front of the boat
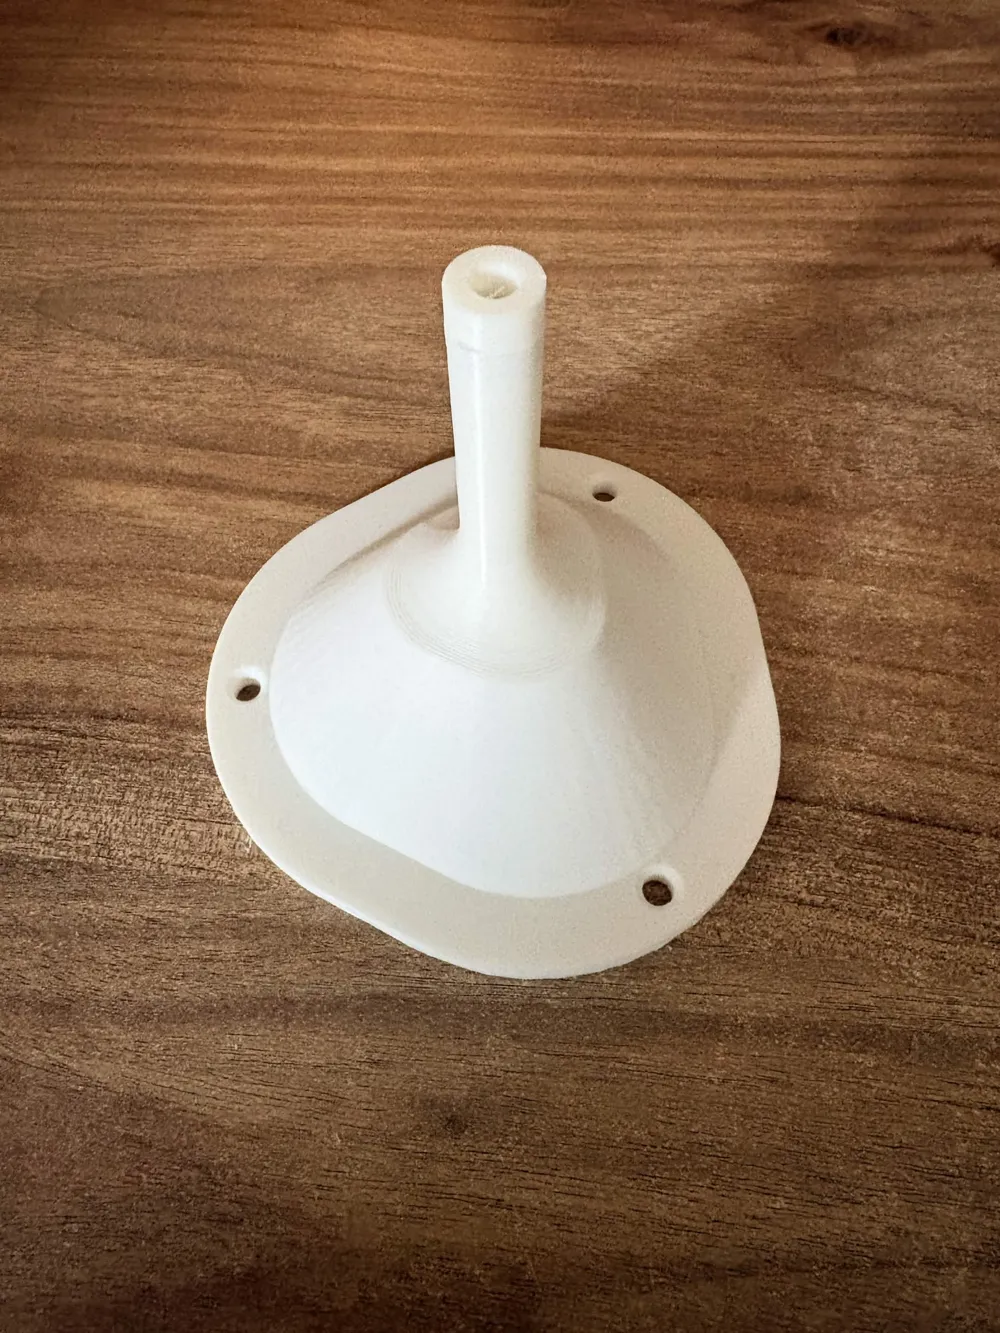
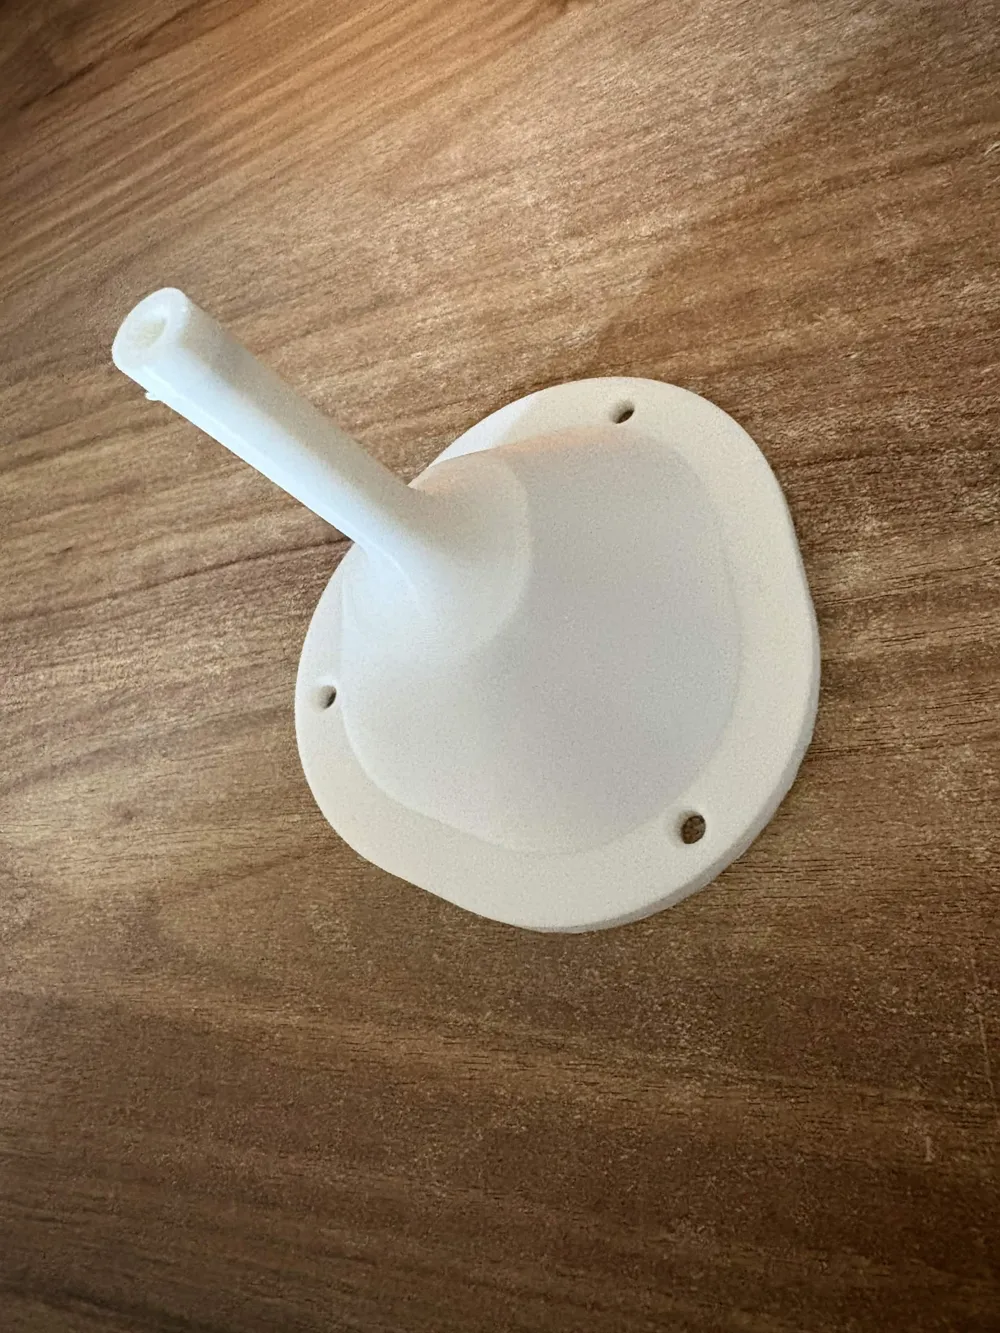
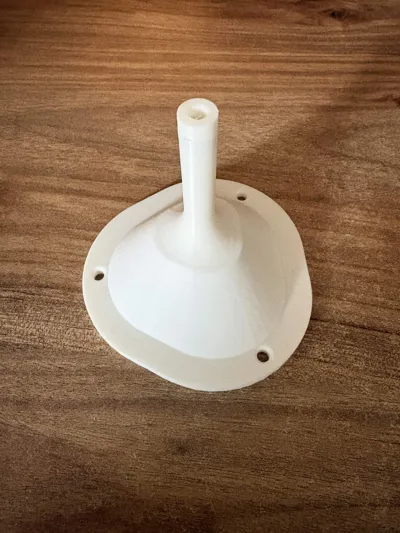
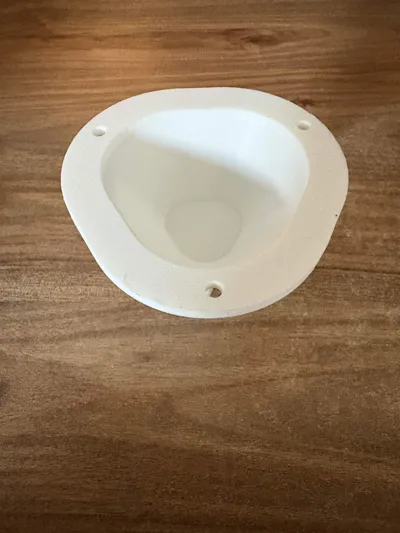
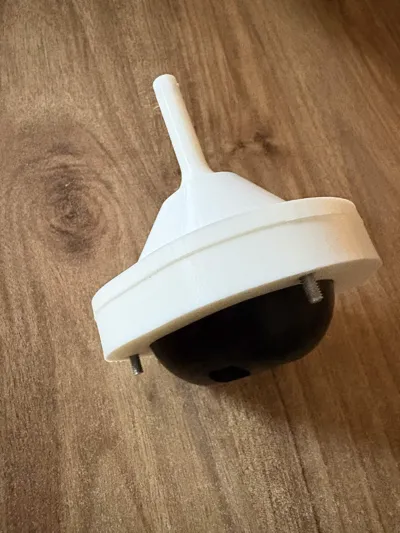
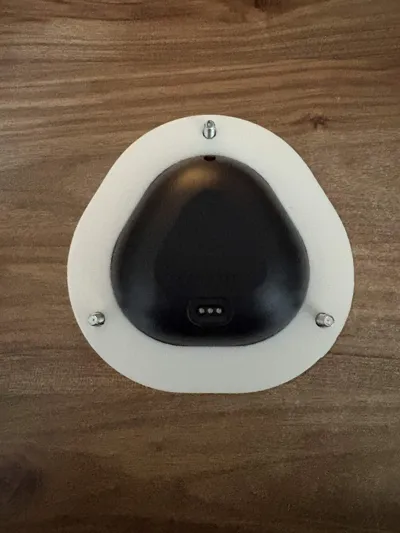
- A two-part shell that perfectly encloses the fish finder for an ultra-secure hold
- An integrated rod on the upper part that slides into the Y-mount
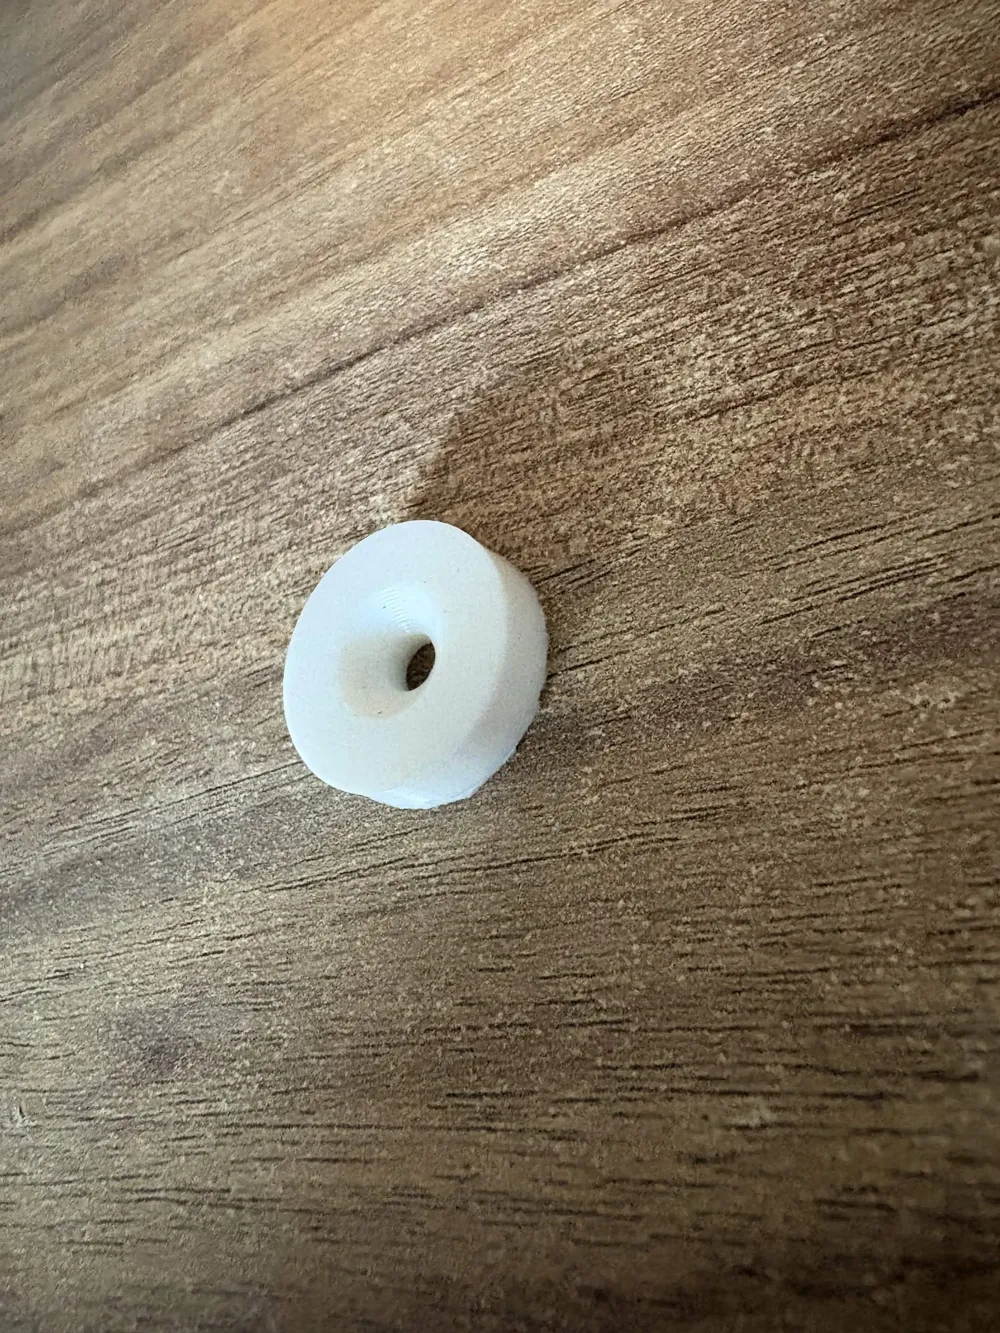
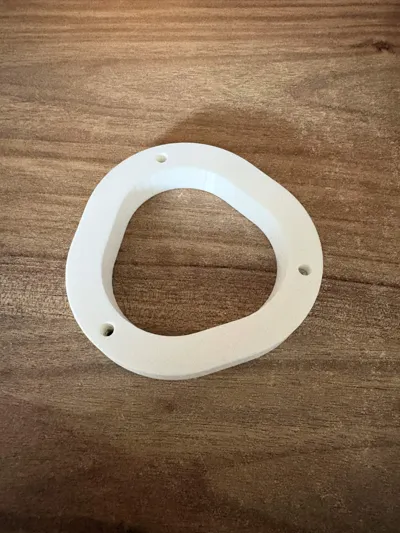
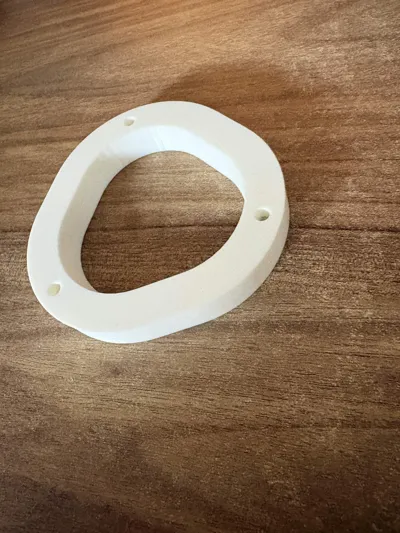
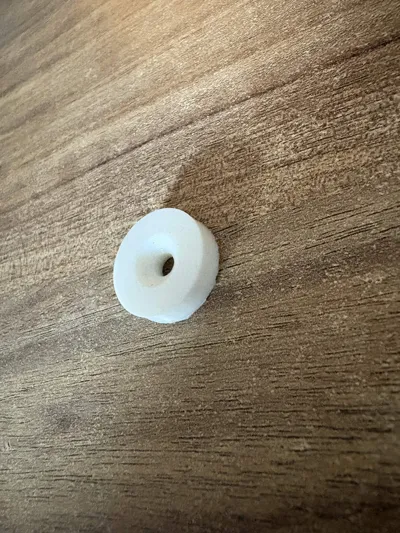
- A locking washer (pellet) that attaches to the top to prevent any loss during navigation
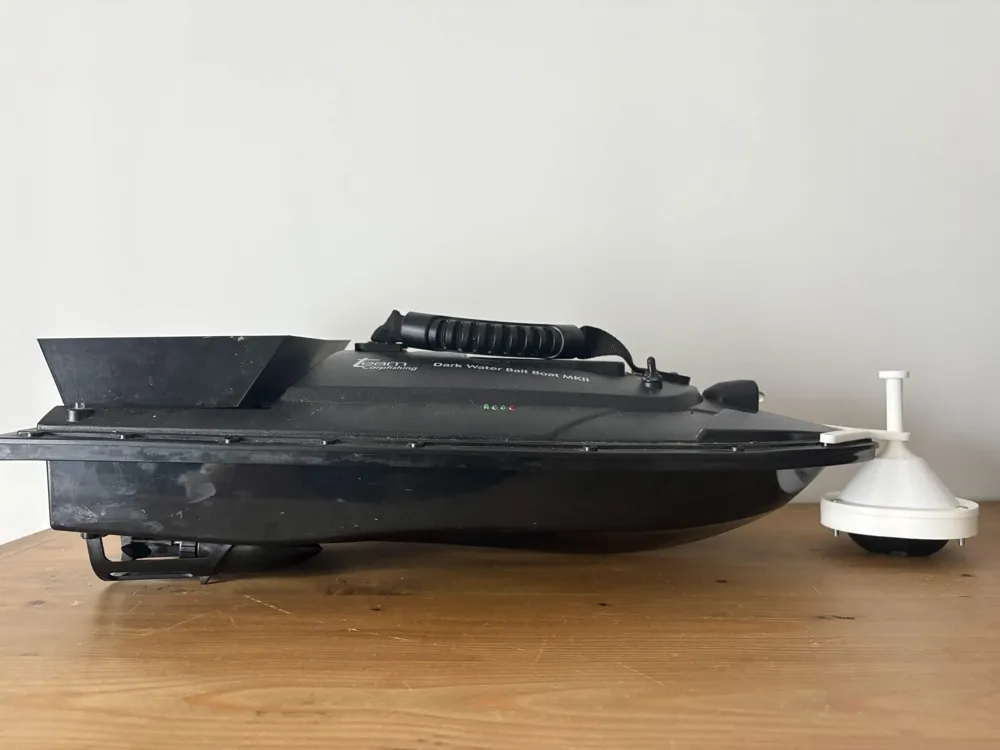
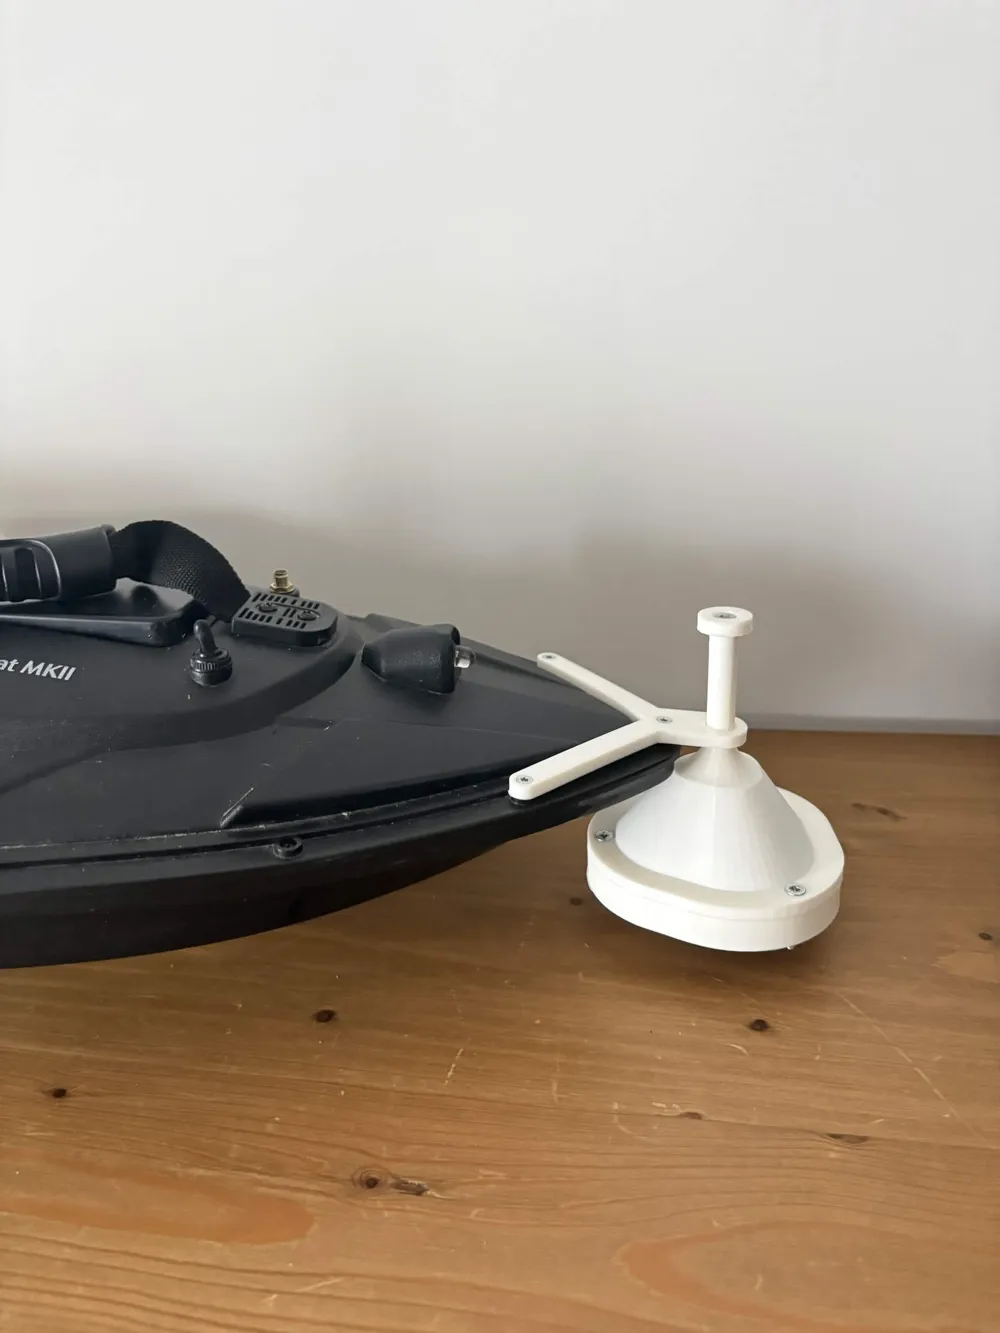
✅ Adapted for real fishing The mount places the transducer in an ideal position: far enough forward and centered to get excellent readings while avoiding excessive propeller turbulence. Perfect for locating fish and bottom structure while baiting! 🎣
Recommended material: PETG mandatory (or PETG-CF for the most demanding) 🔥 The mount is exposed to water, sun, and shocks. PLA risks deforming or breaking over time.
Hardware required for assembly:
- 3 M3 countersunk wood screws (Total length: 15mm) → for attaching the Y-mount to the boat ⚠️ Caution: these screws may damage the boat's original screw thread. Prioritize suitable screws if you have them.
- 3 M4 countersunk screws + 3 M4 nuts → for assembling the two parts of the shell
- 1 M4 countersunk screw + 1 M4 nut → for attaching the locking washer
Printing tips: The nuts must be inserted during printing ⏳ Use my profile or add pauses at the indicated heights. Once finished, you won't be able to add them!
Assembly:
- Attach the Y-mount to the front of the boat with the 3 M3 screws
- Place the fish finder in the lower part, close with the upper part, and screw it shut
- Slide the rod into the Y-mount
- Screw the washer to the top to secure everything
Big advantage: You don't even need to disassemble everything to recharge your fish finder! ⚡
Thanks to everyone who prints and tests in real-world conditions! 🎣 Don't hesitate to post a photo or video of your setup, it greatly helps the community. Your feedback is welcome!
Happy printing and good carp catches! 💪🐟
License

You shall not share, sub-license, sell, rent, host, transfer, or distribute in any way the digital or 3D printed versions of this object, nor any other derivative work of this object in its digital or physical format (including - but not limited to - remixes of this object, and hosting on other digital platforms). The objects may not be used without permission in any way whatsoever in which you charge money, or collect fees.


Comment & Rating (0)