
Bubble - The Amazing Digital Circus - NO AMS
Print Profile(1)
Description
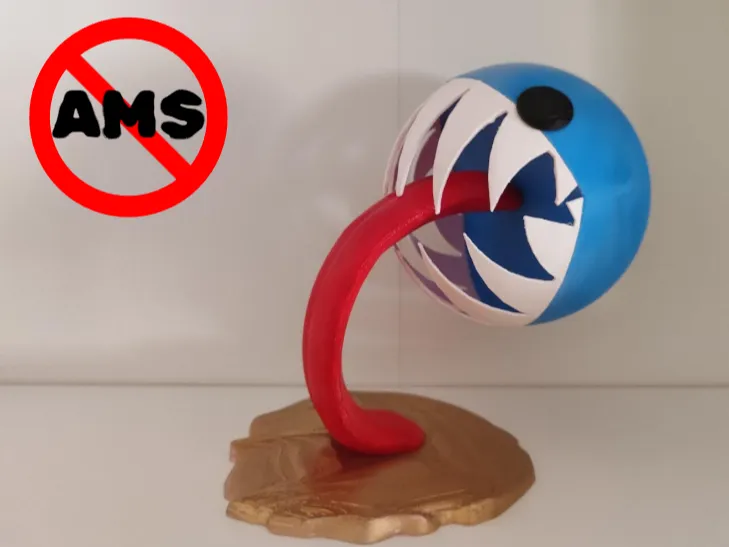
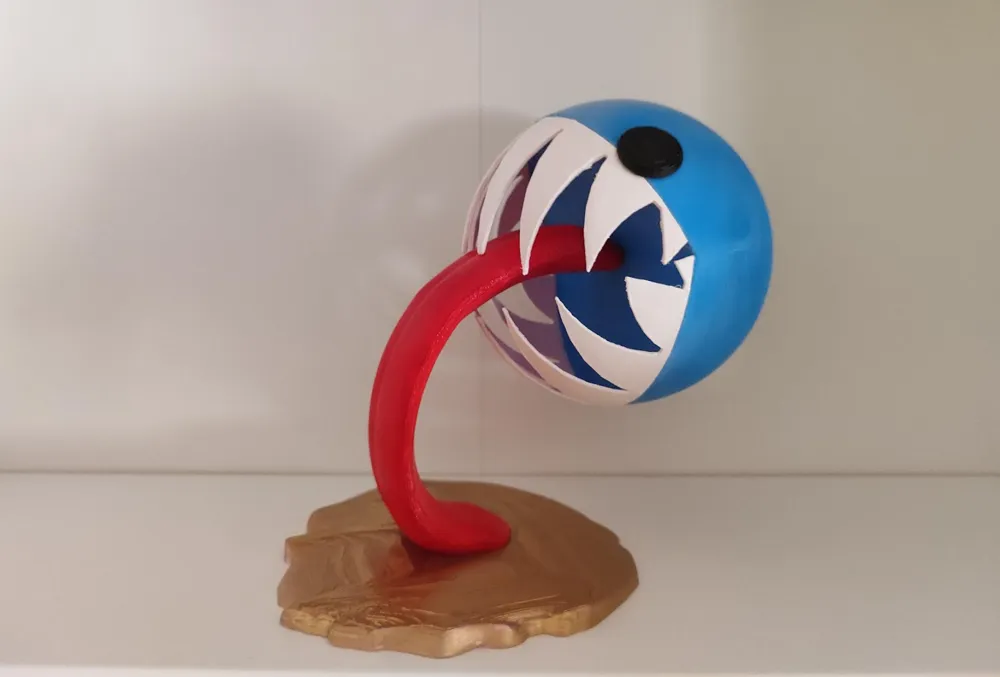
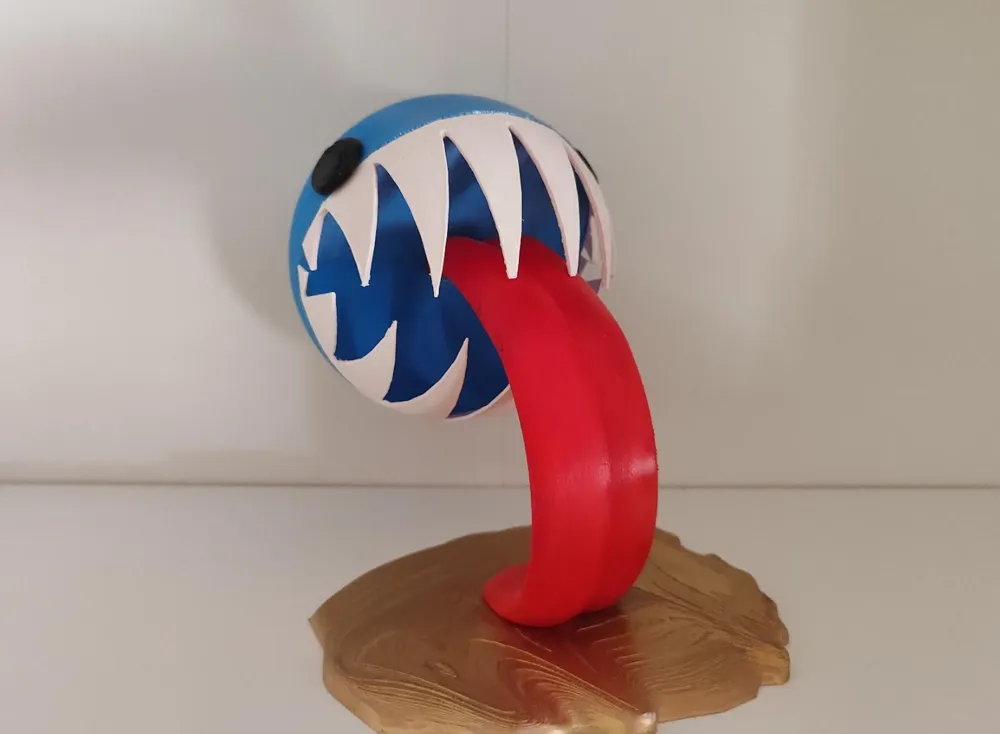
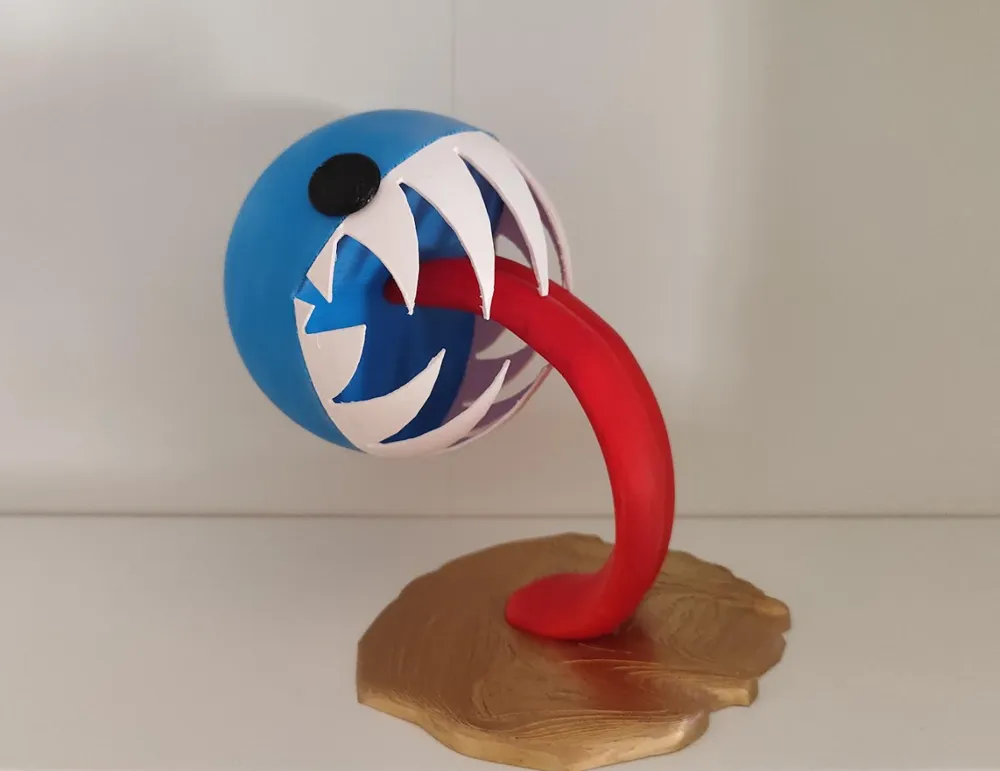
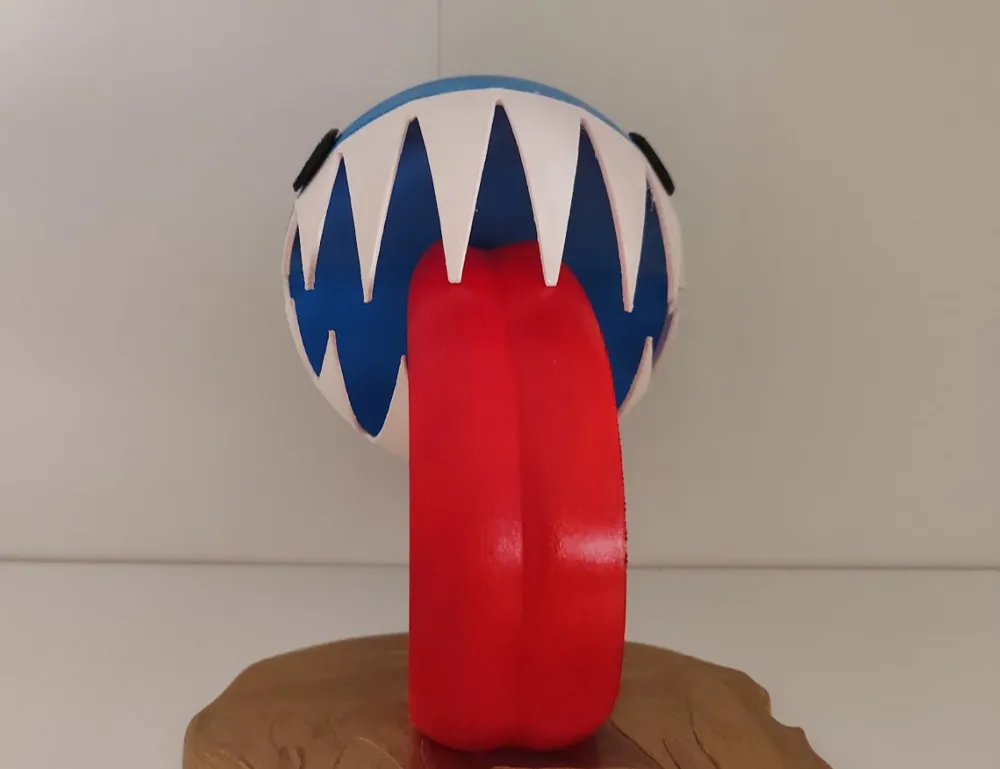
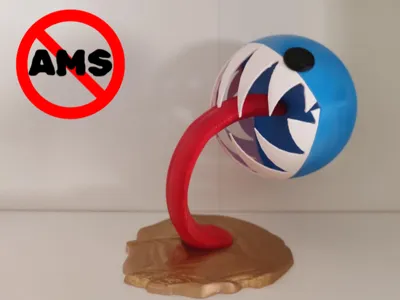
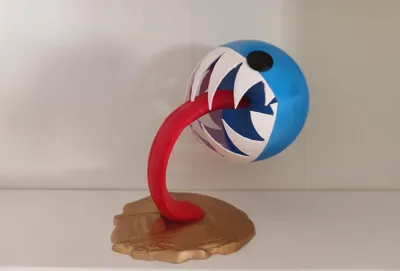
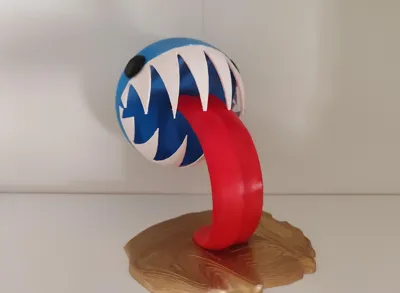
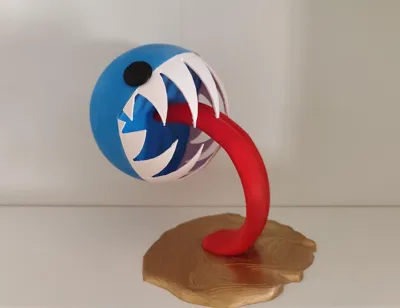
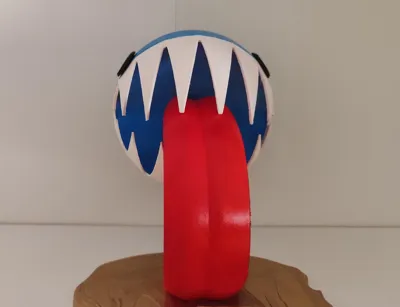
Model inspired by the character **Bubble**, one of the characters from the series **The Amazing Digital Circus**. I designed this model inspired by the first episode of the series, paying attention to details to achieve a faithful representation of the character
Approximate figure size - 17.4 cm
Model does not require AMS, glue is needed to join the parts.
This model was created with the Blender application and without using any artificial intelligence tools
ASSEMBLY INSTRUCTIONS
To achieve correct assembly of the figure, follow the steps in the indicated order:
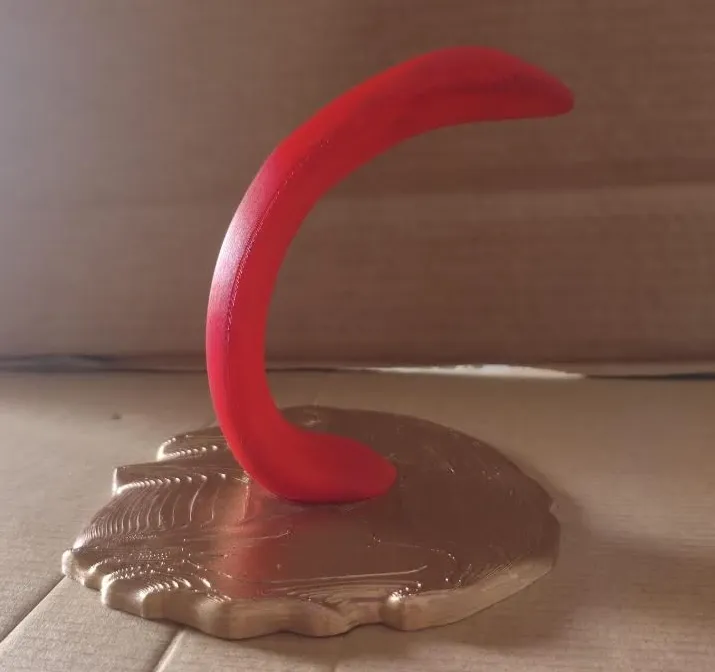
1. Glue the “Tongue” to the “Base”
Start by attaching the “Tongue” piece to the “Base” with glue
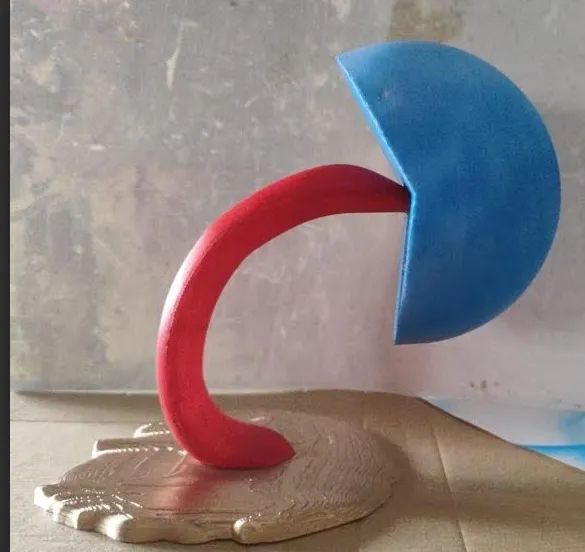
2. Attach the “Body” to the “Tongue”
Insert the "Tongue" inside the “Body” and glue it
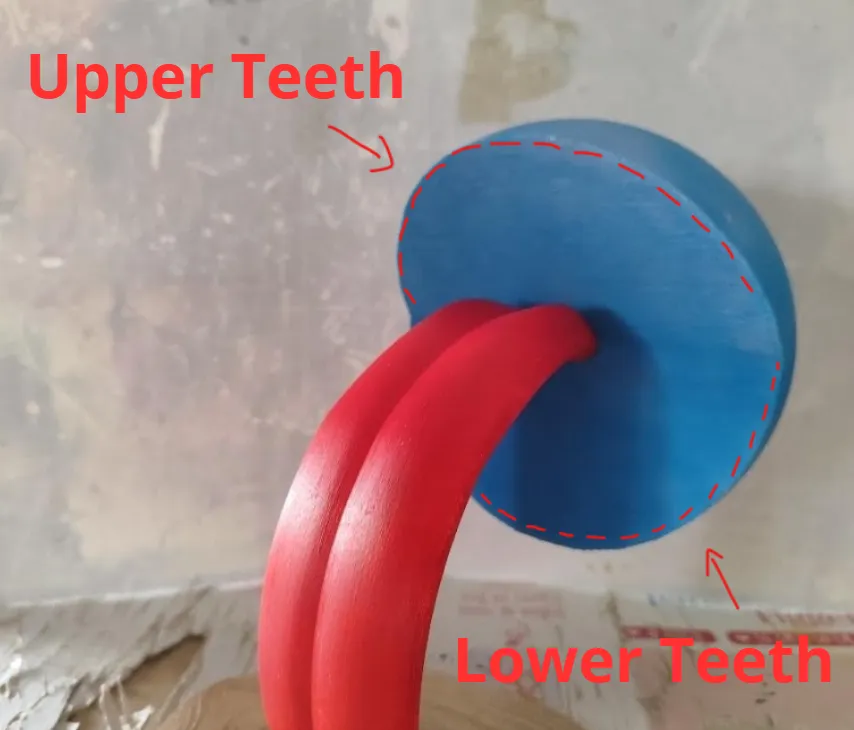
note: during this process, the head should be slightly tilted forward, as shown in the image. This tilt is necessary for the figure to maintain its correct position and for the joint between both pieces to be stable
3. Glue the “Eyes”
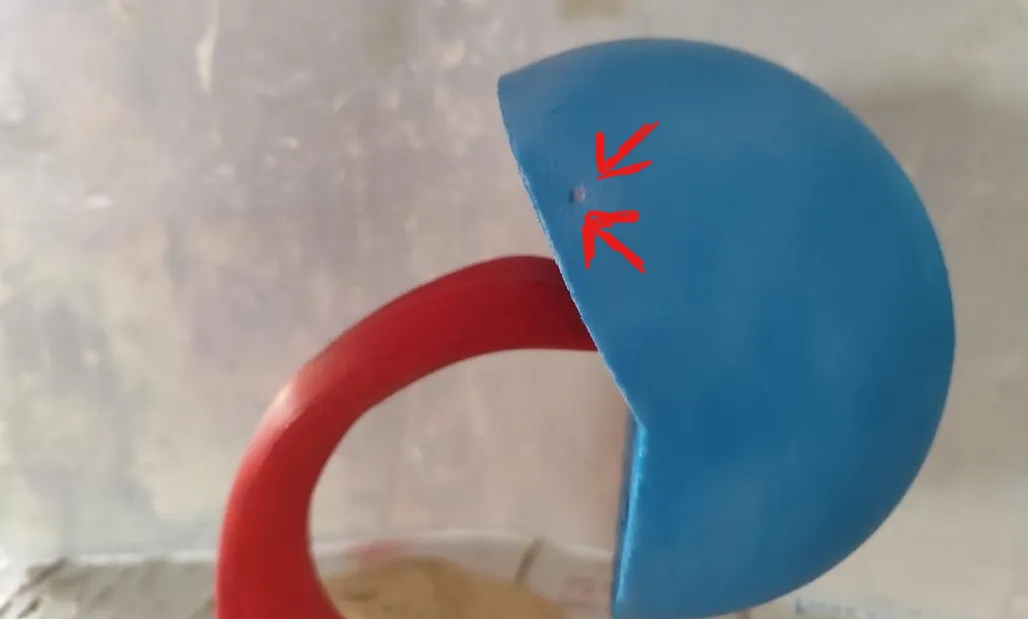
Place the “Eyes” in the corresponding slots of the (Body) and fix them with a small amount of glue
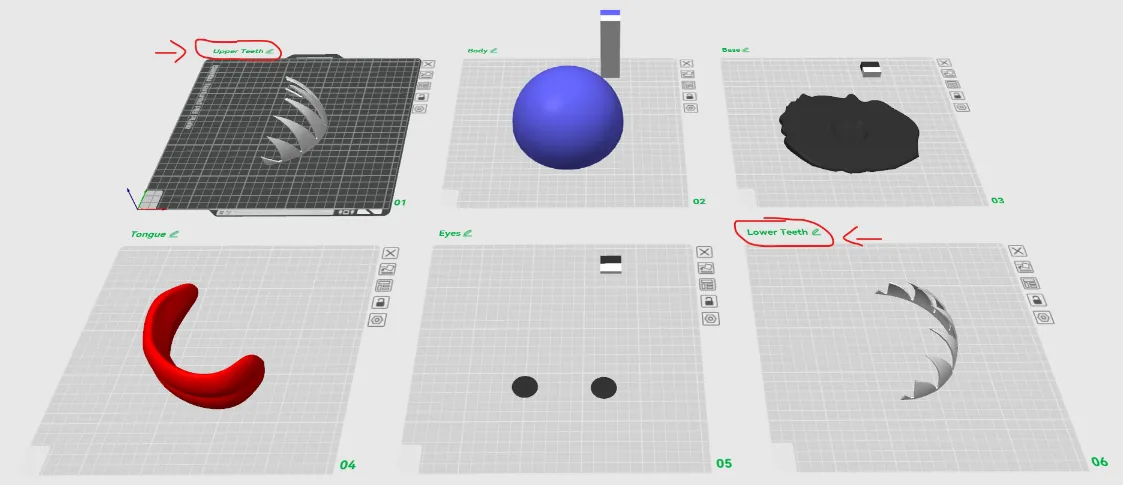
4. Place the “Upper Teeth” and the “Lower Teeth"
Finally, within the model's print profile, you will find all the pieces organized and correctly identified on their respective print plates
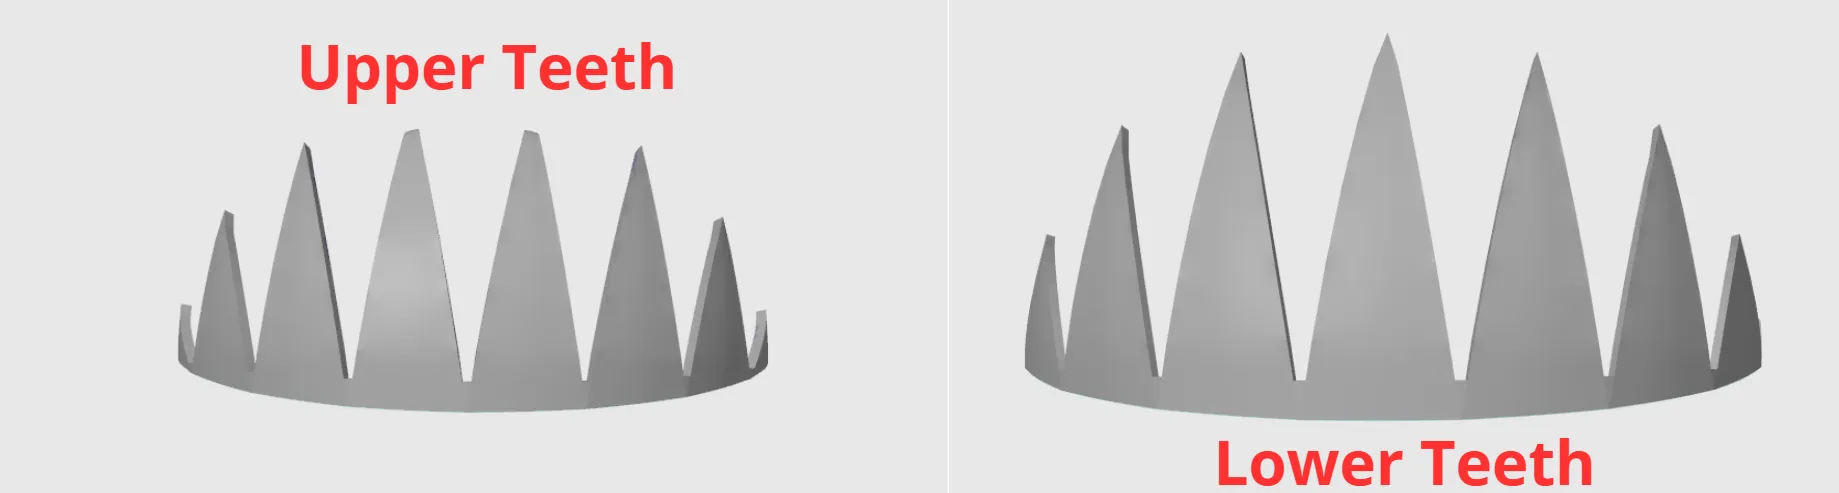
You must locate the pieces called “Upper Teeth” and “Lower Teeth” and glue them to the opening edges of the “Body”, using the model images as reference
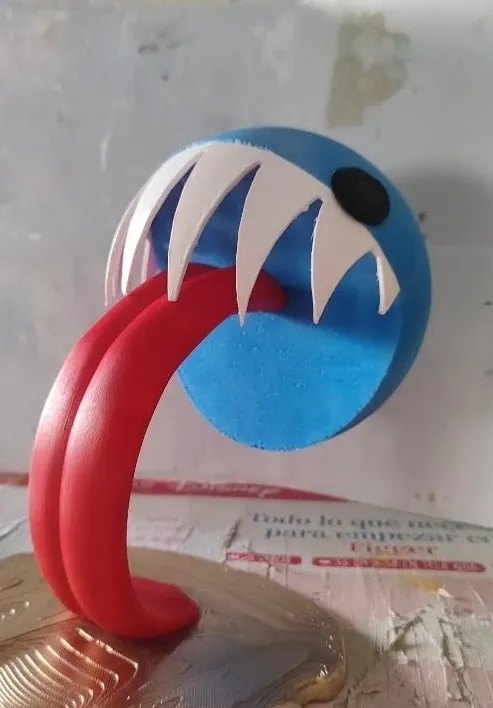
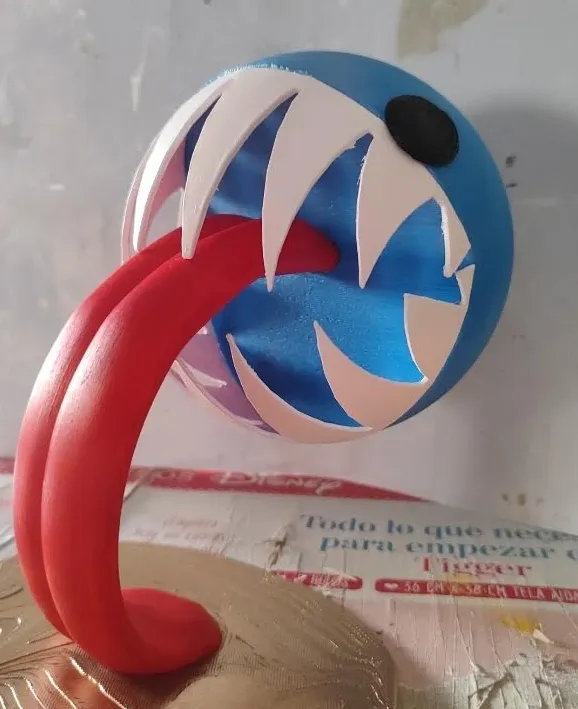
MODEL FINISHED!
Your Bubble figure is finished and ready to display!!
RECOMMENDATIONS
When removing the supports from the “Body” piece, it is recommended to start from the inside and progressively move towards the outside. This will facilitate the removal of the supports
To ensure good stability of the printed model, it is recommended to use the following infill density parameters:
Upper Teeth | 5% |
Body | 5% |
Base | 10% |
Tongue | 5% |
Eyes | 5% |
Lower Teeth | 5% |
If you liked the model, I would appreciate it if you left a "Like" and uploaded a photo of the printed model in the comments
License

You shall not share, sub-license, sell, rent, host, transfer, or distribute in any way the digital or 3D printed versions of this object, nor any other derivative work of this object in its digital or physical format (including - but not limited to - remixes of this object, and hosting on other digital platforms). The objects may not be used without permission in any way whatsoever in which you charge money, or collect fees.


Comment & Rating (0)