
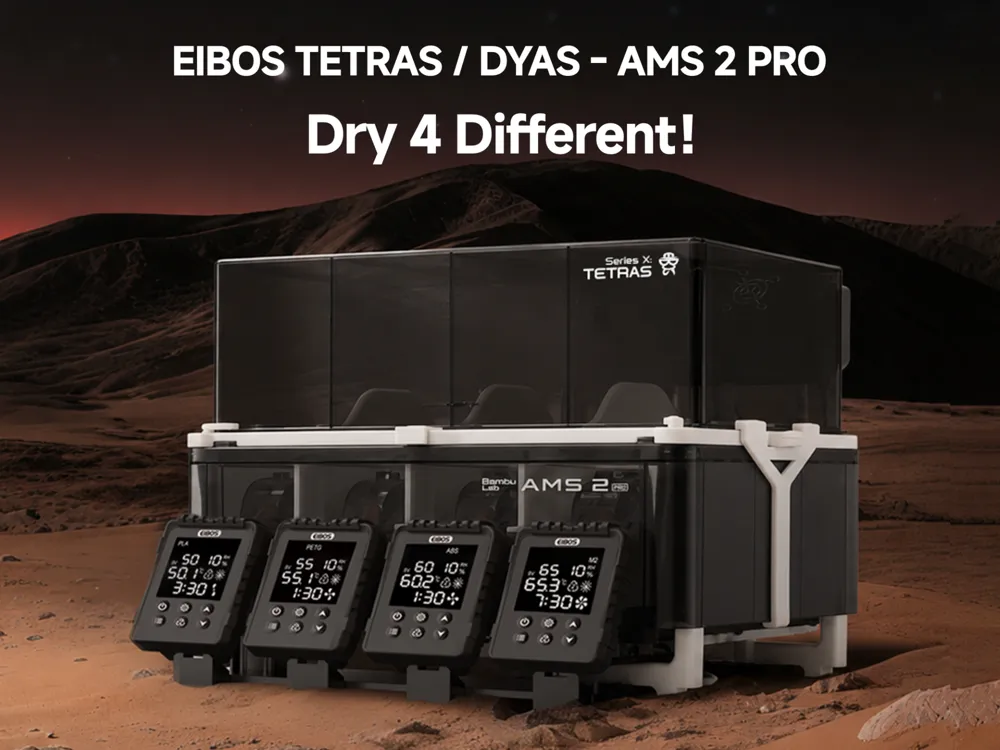
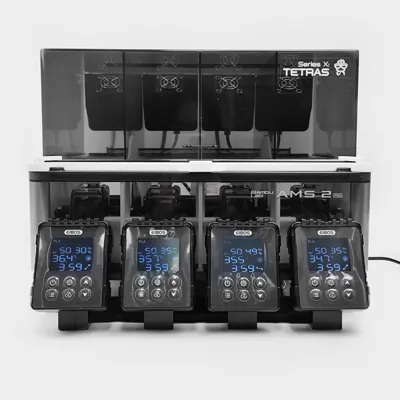
EIBOS TETRAS AMS 2 Pro
Print Profile(2)
Description
Stay updated.
Product Purchase:
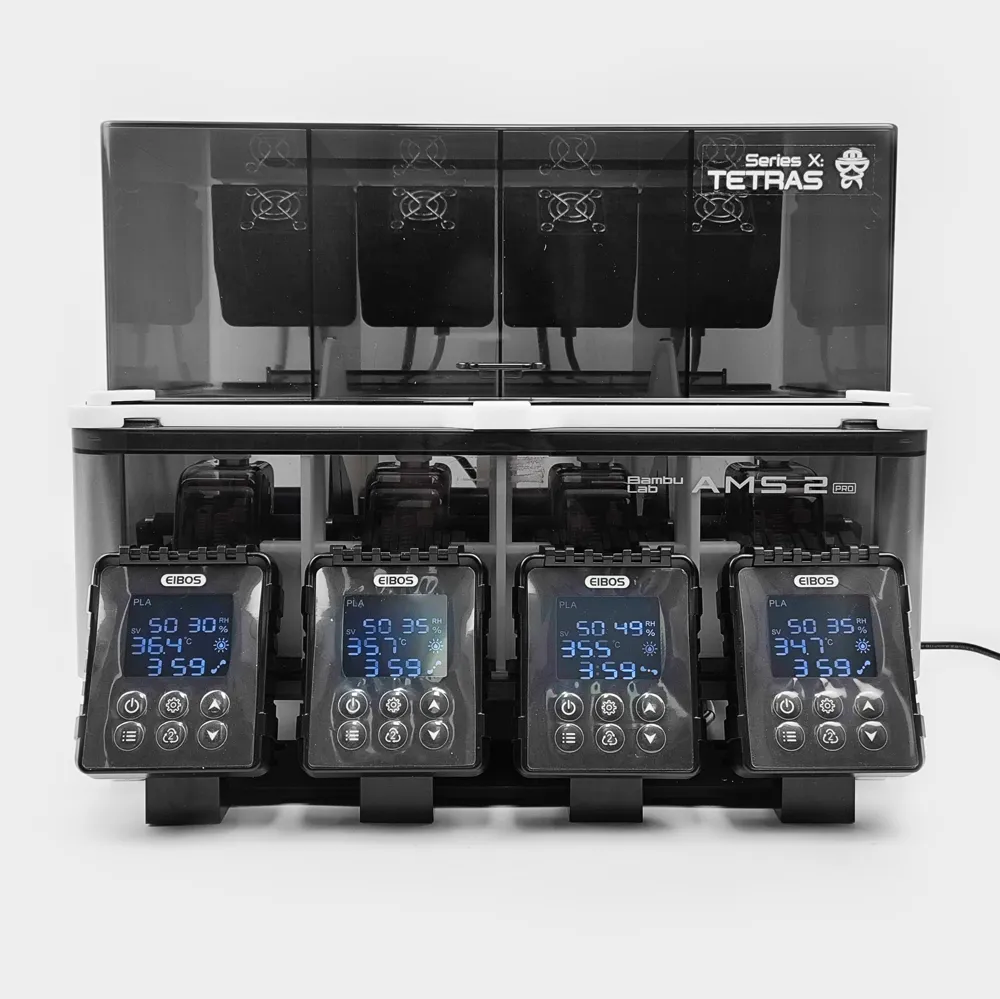
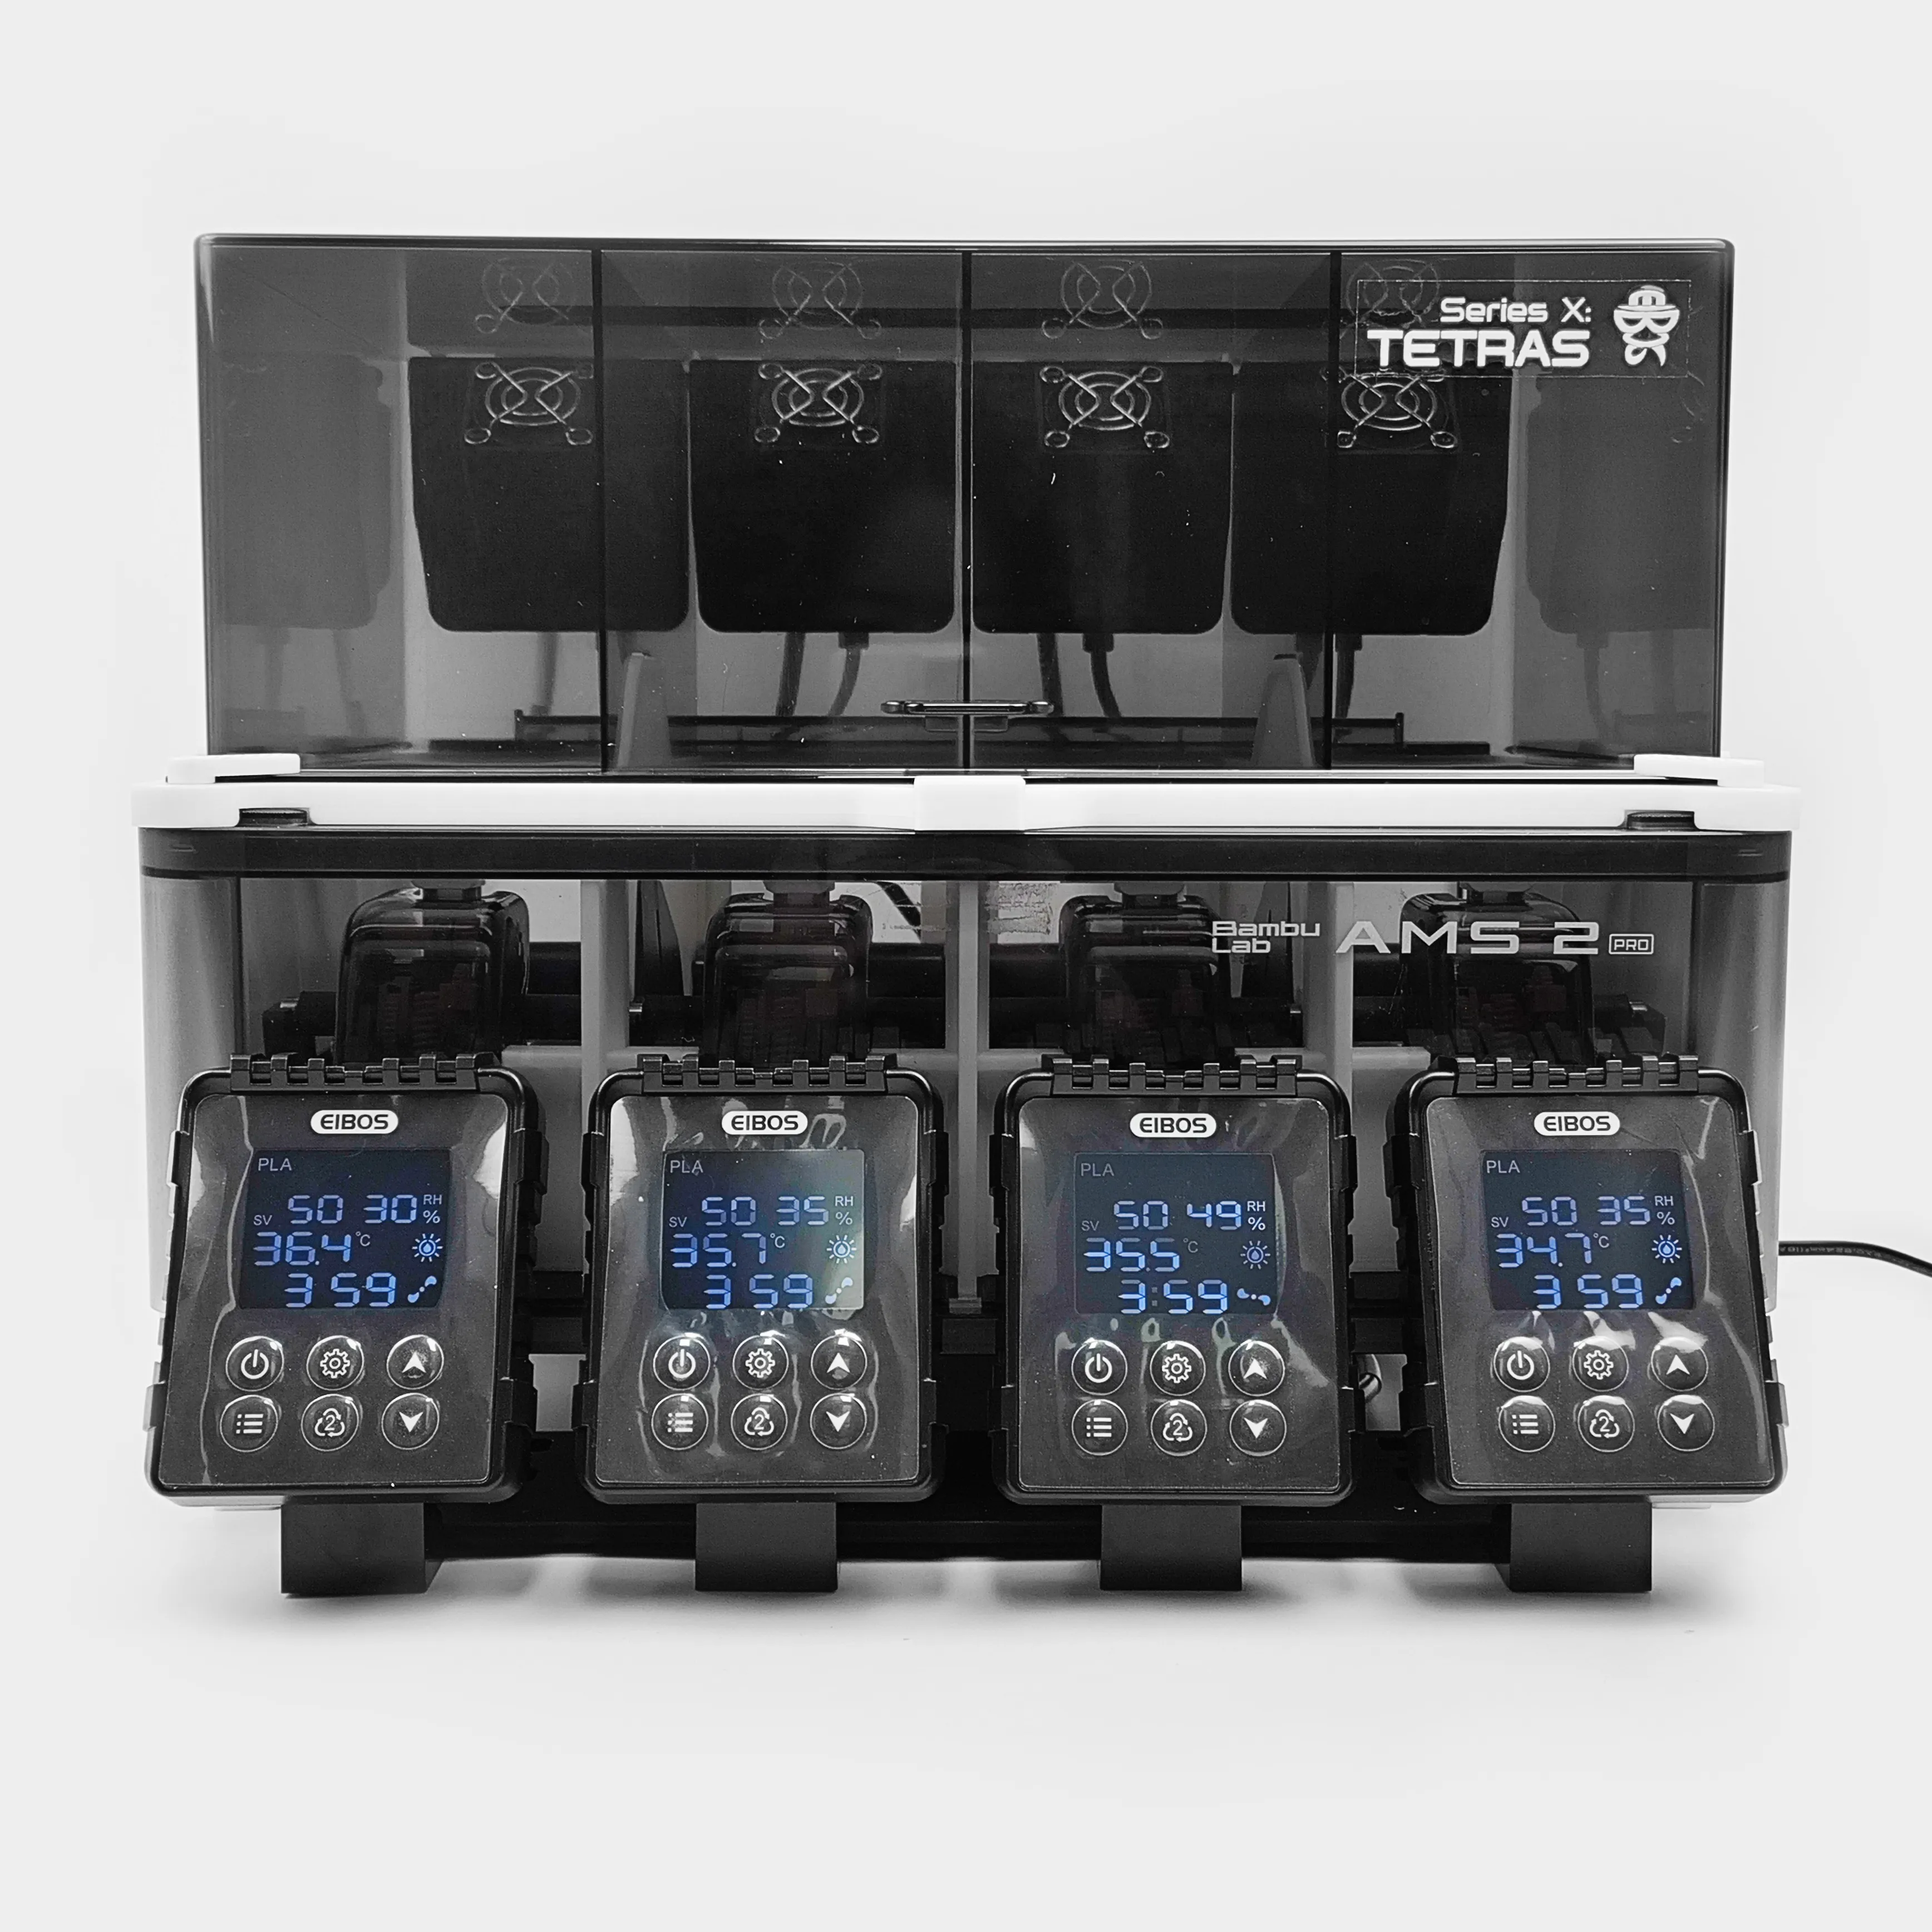
EIBOS Series X: Tetras
EIBOS Series X: Dyas
EIBOS Series X: Tetras
Chapter 0. Before Print
Material:Please do not use PLA in all prats printing.
Chapter 1. list of items
Main unit:
AMS 2 Pro
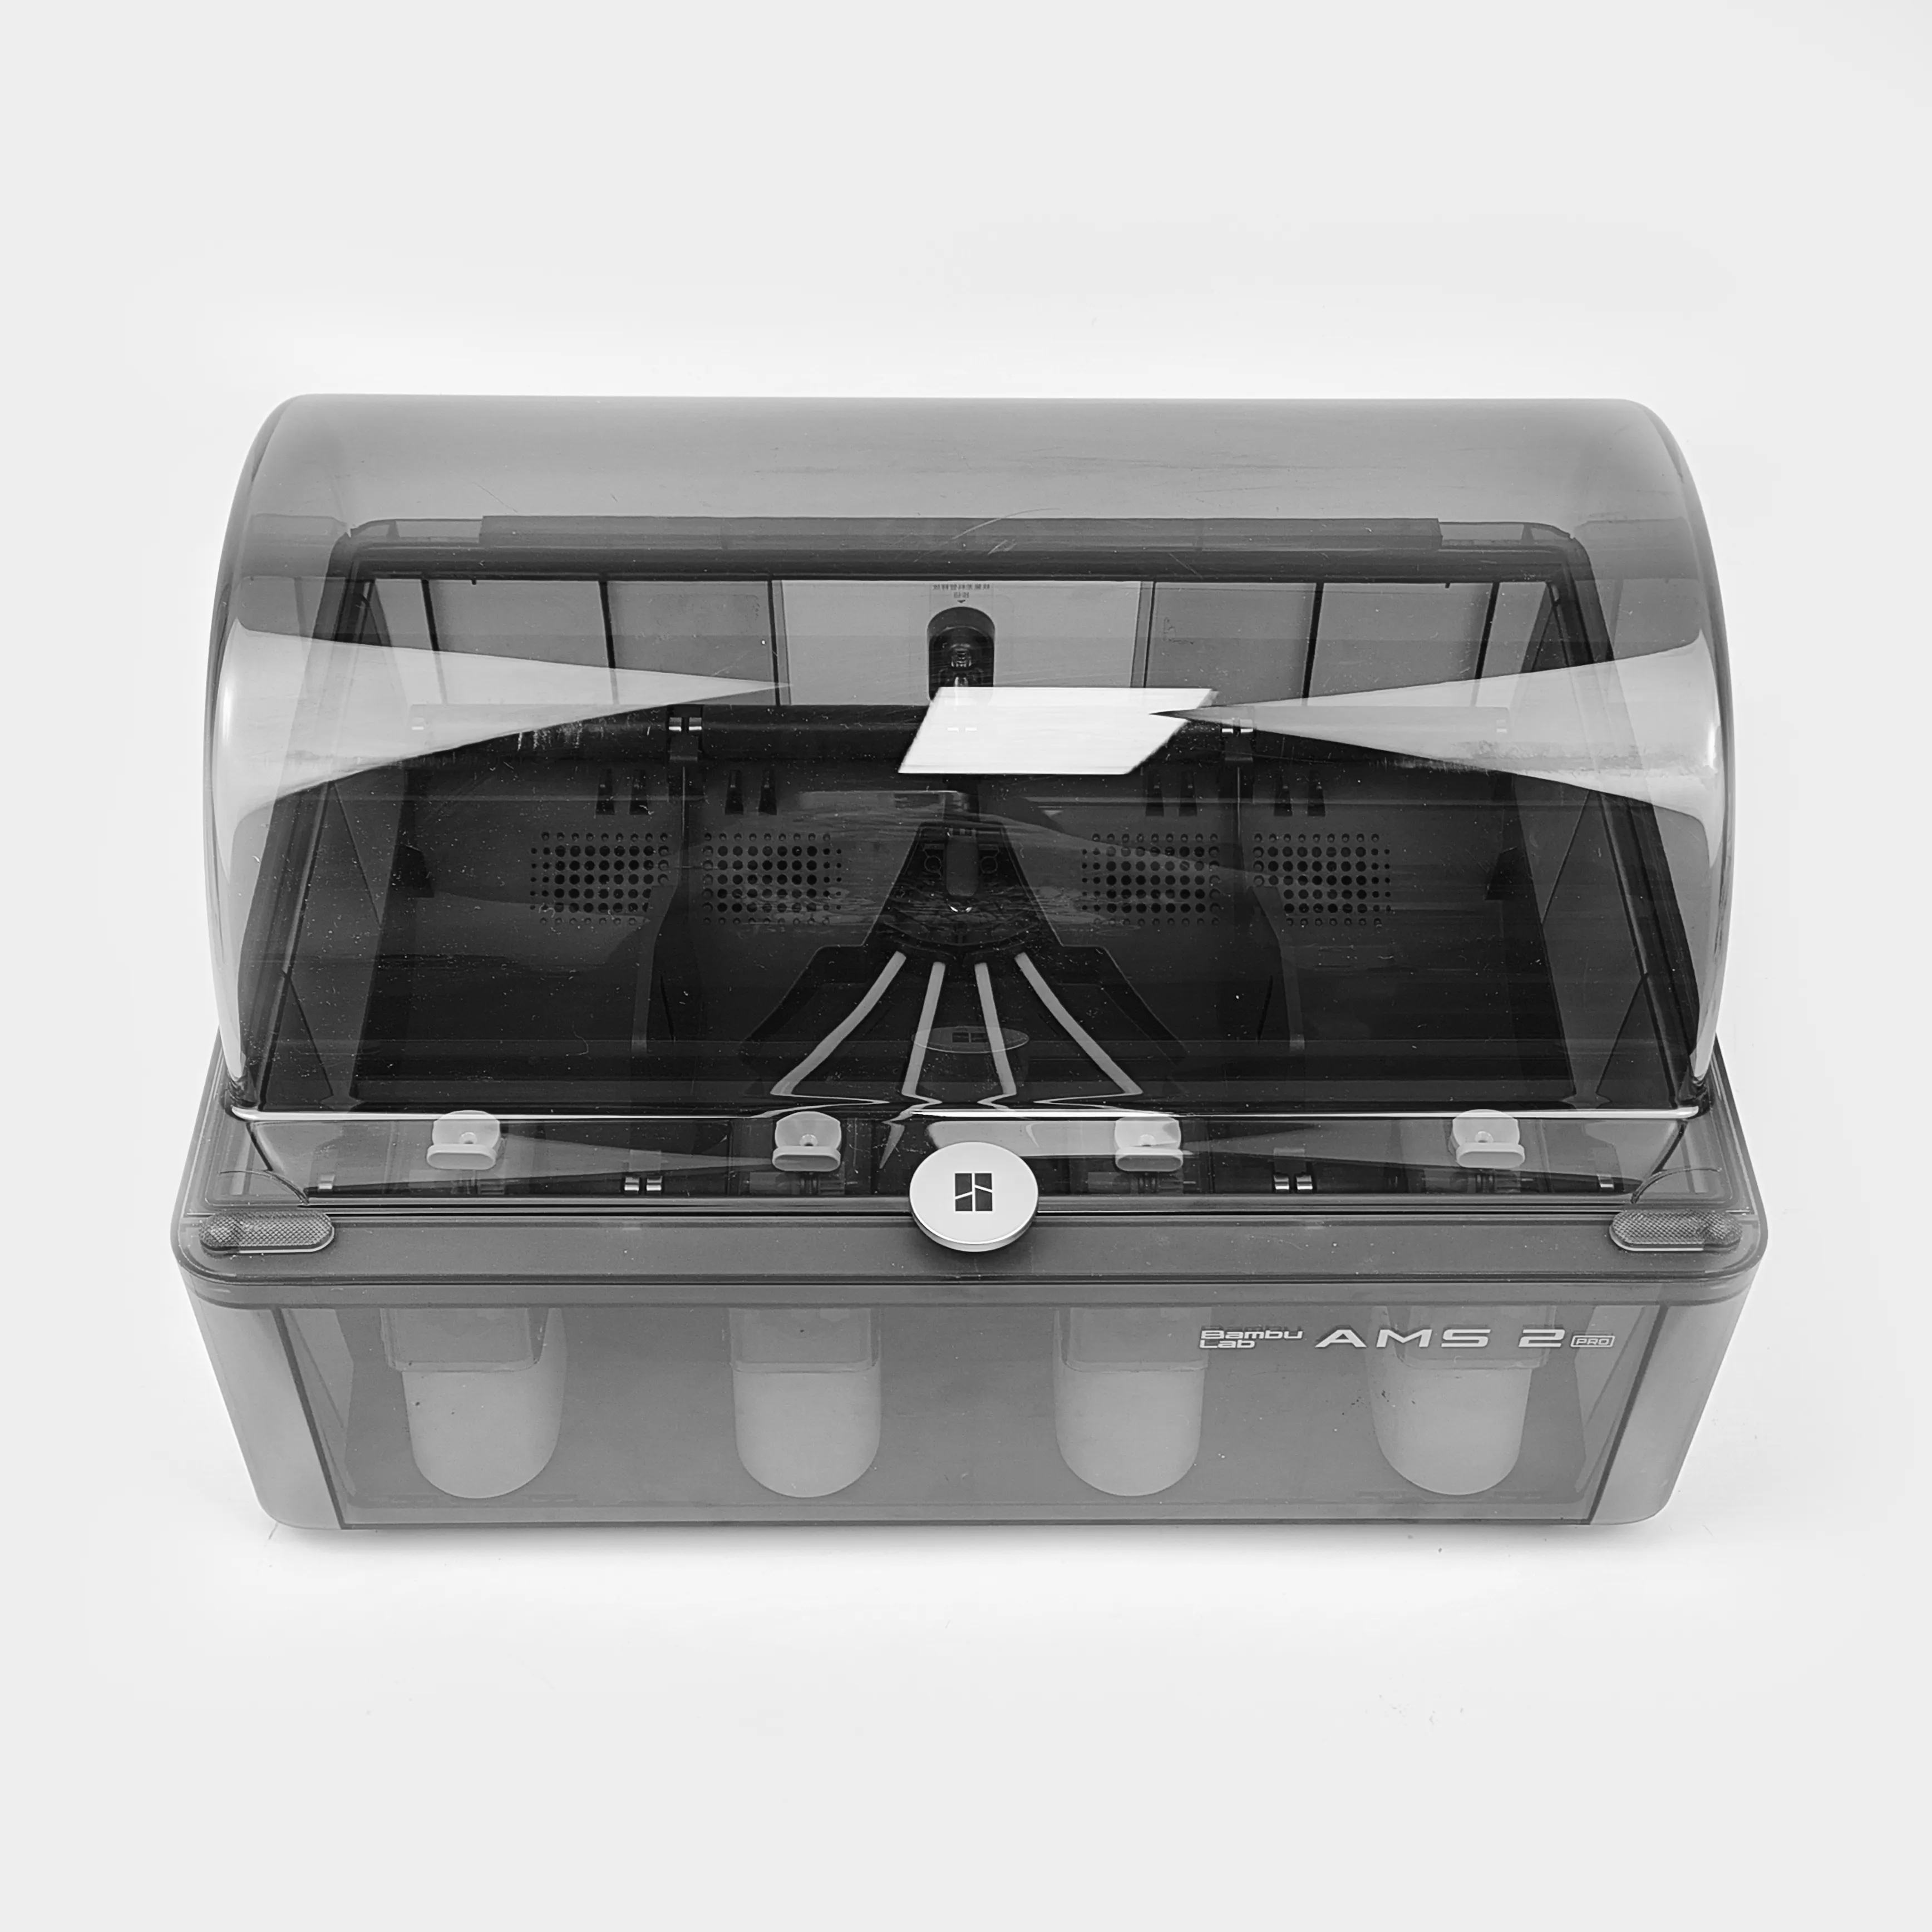
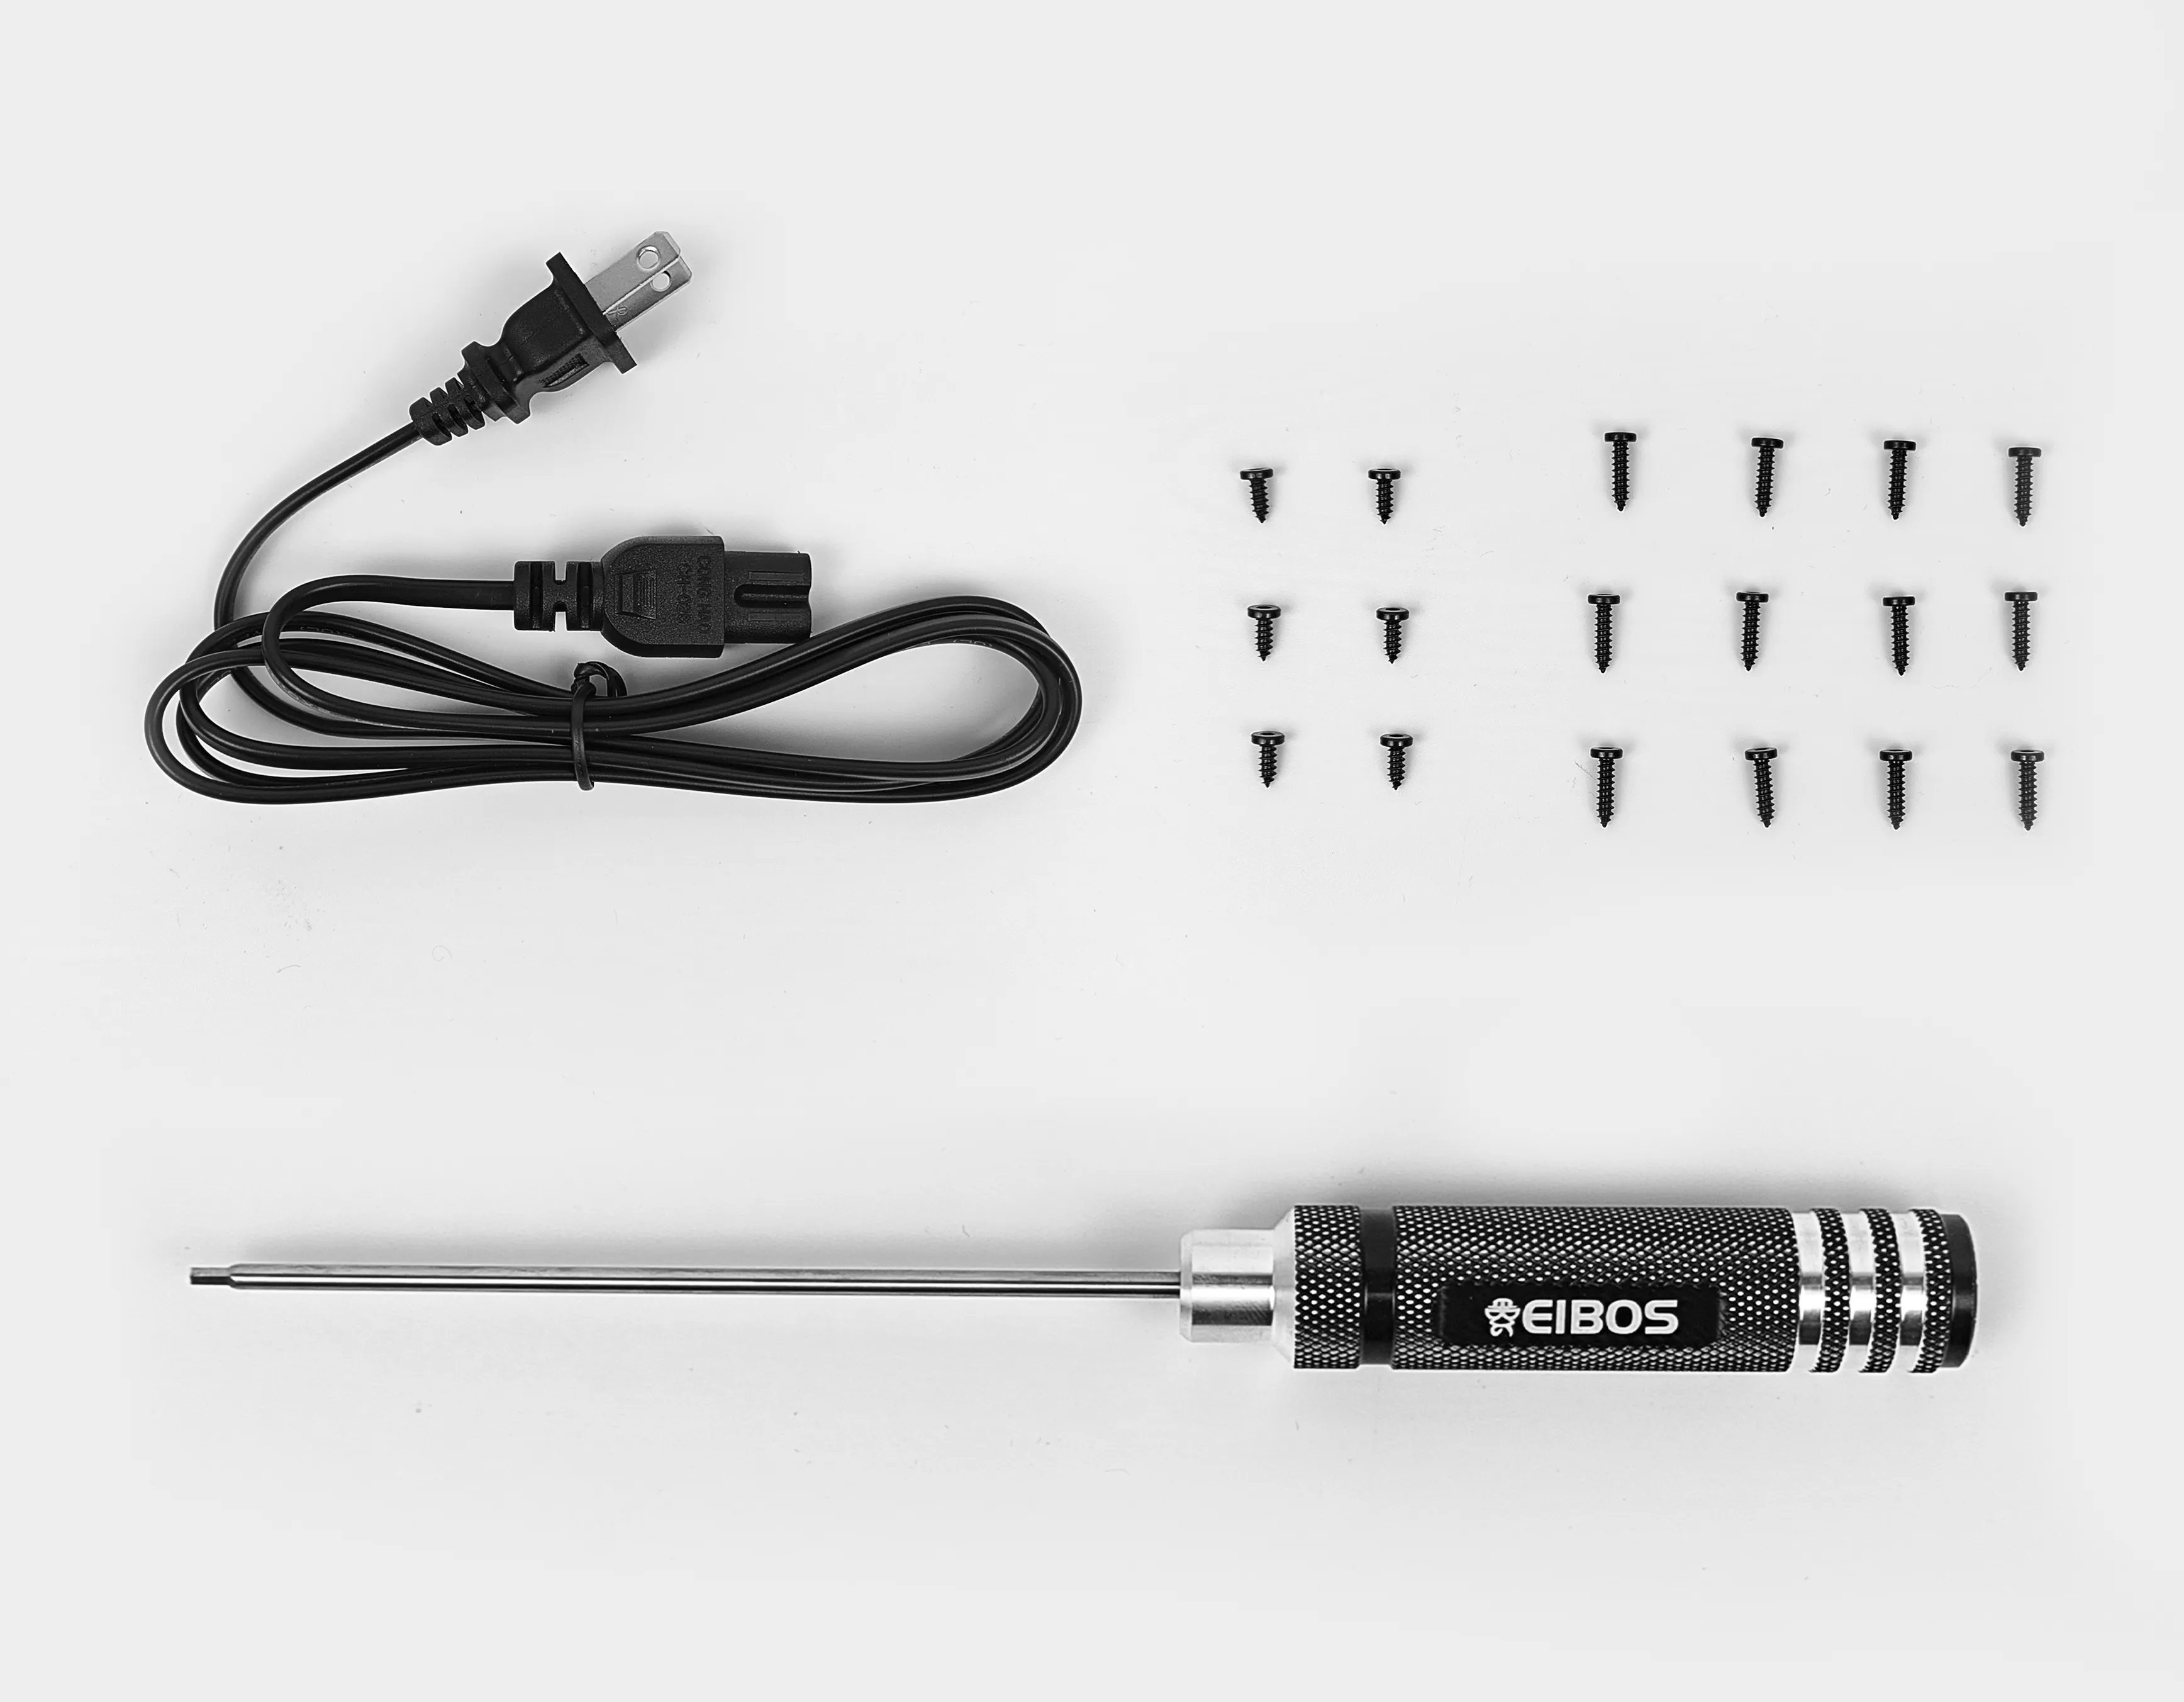
EIBOS Series X: Tetras Parts needed:
Power Cord, Screws (M3H10.M3H8), Allen screwdriver.
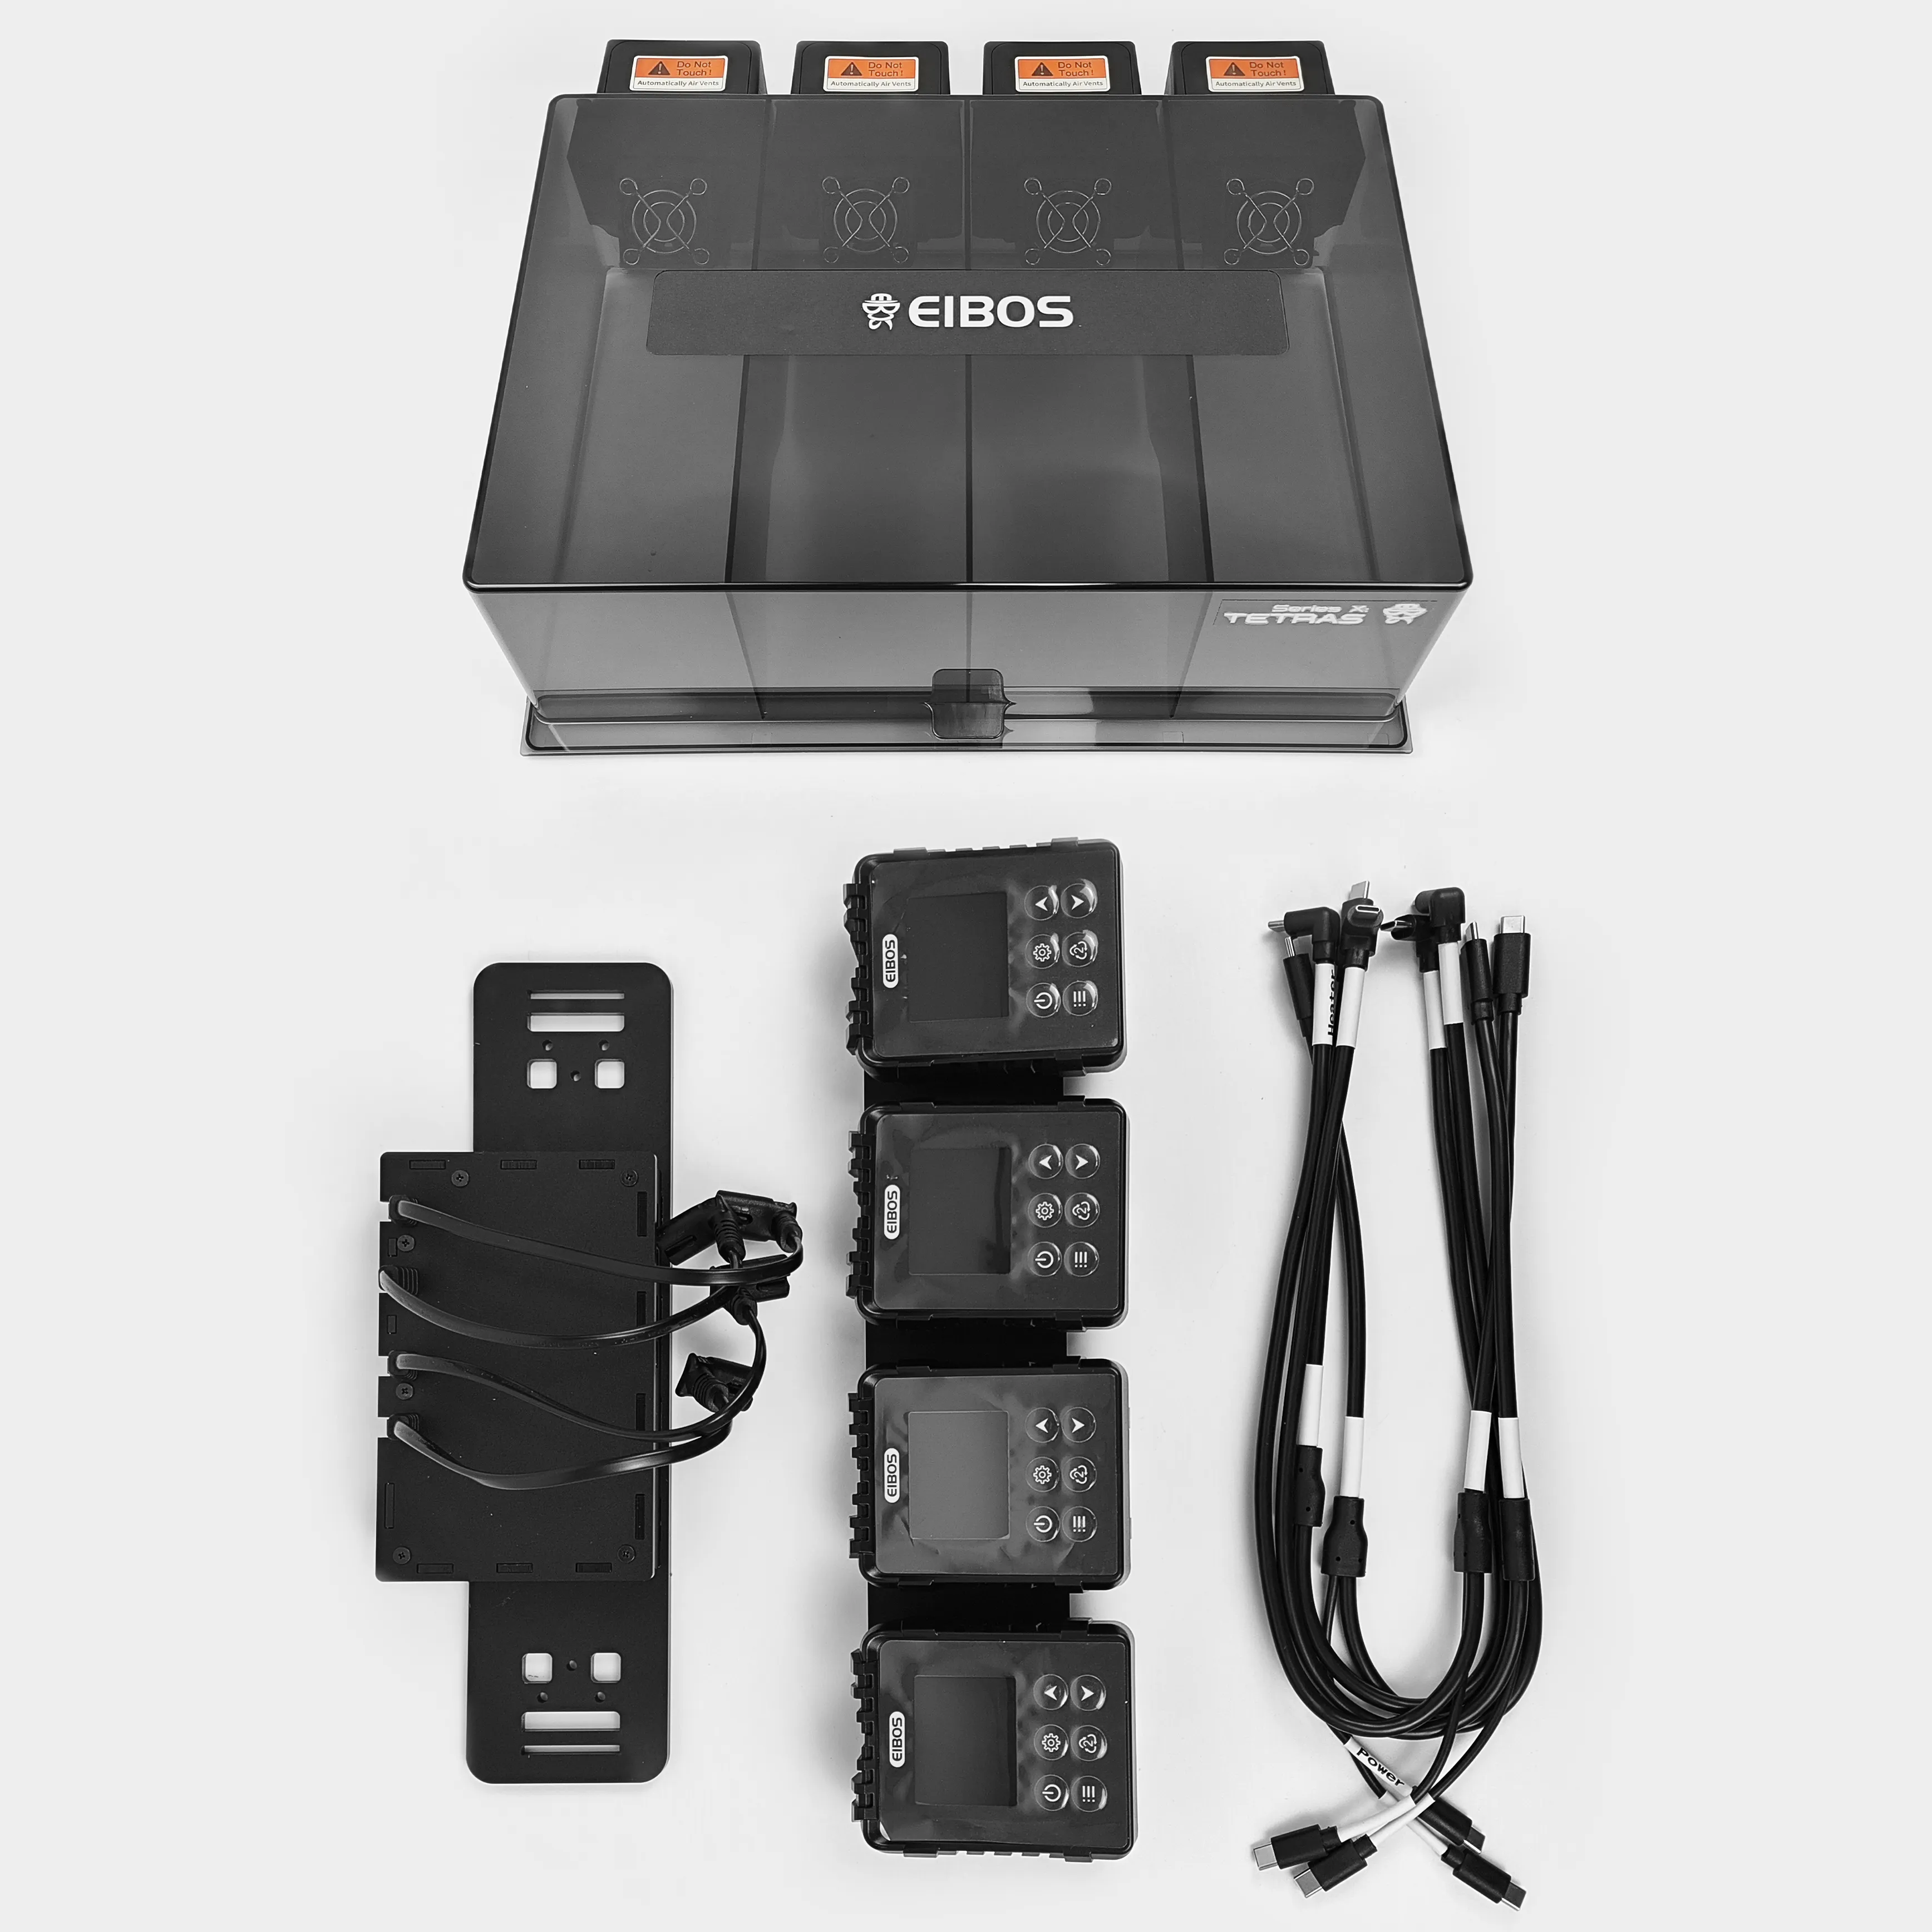
Upper Cover Module, Power Module, Screen Module (including Cables)
Printed parts needed:
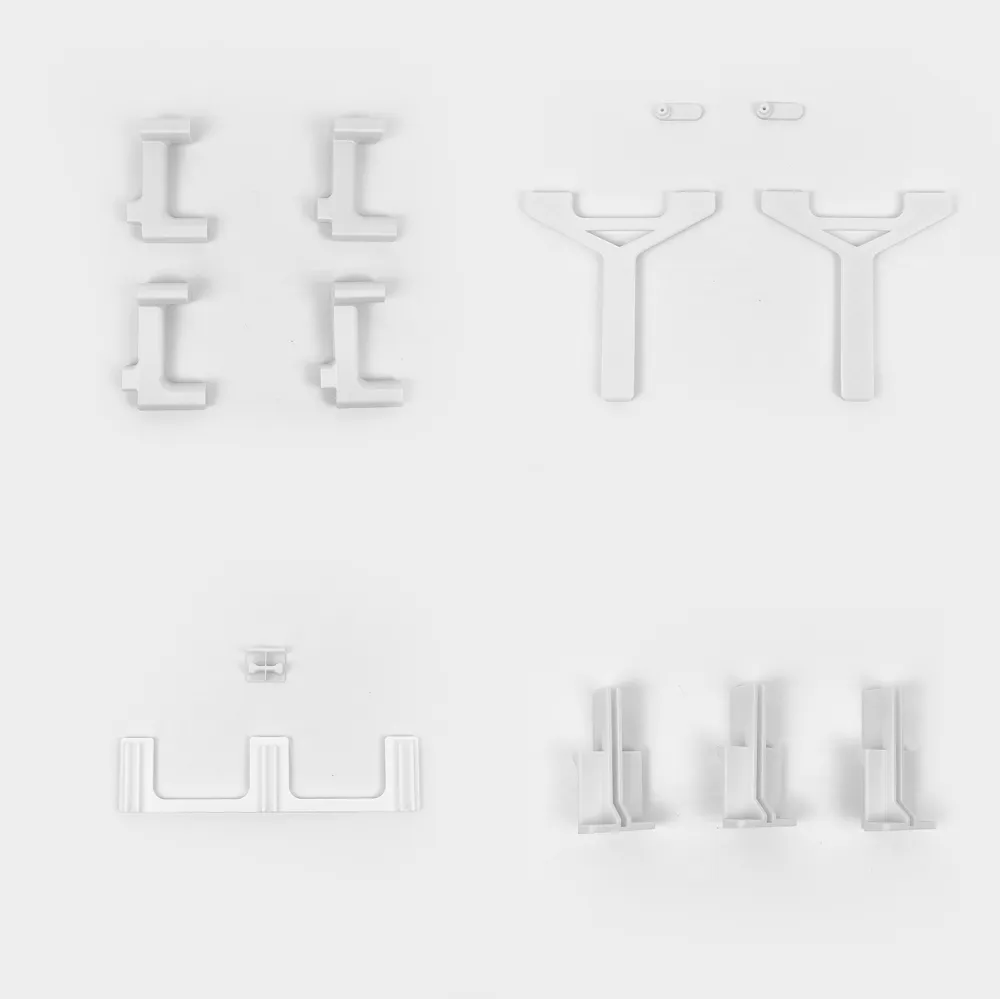
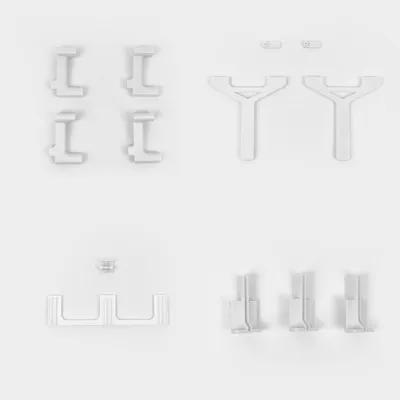
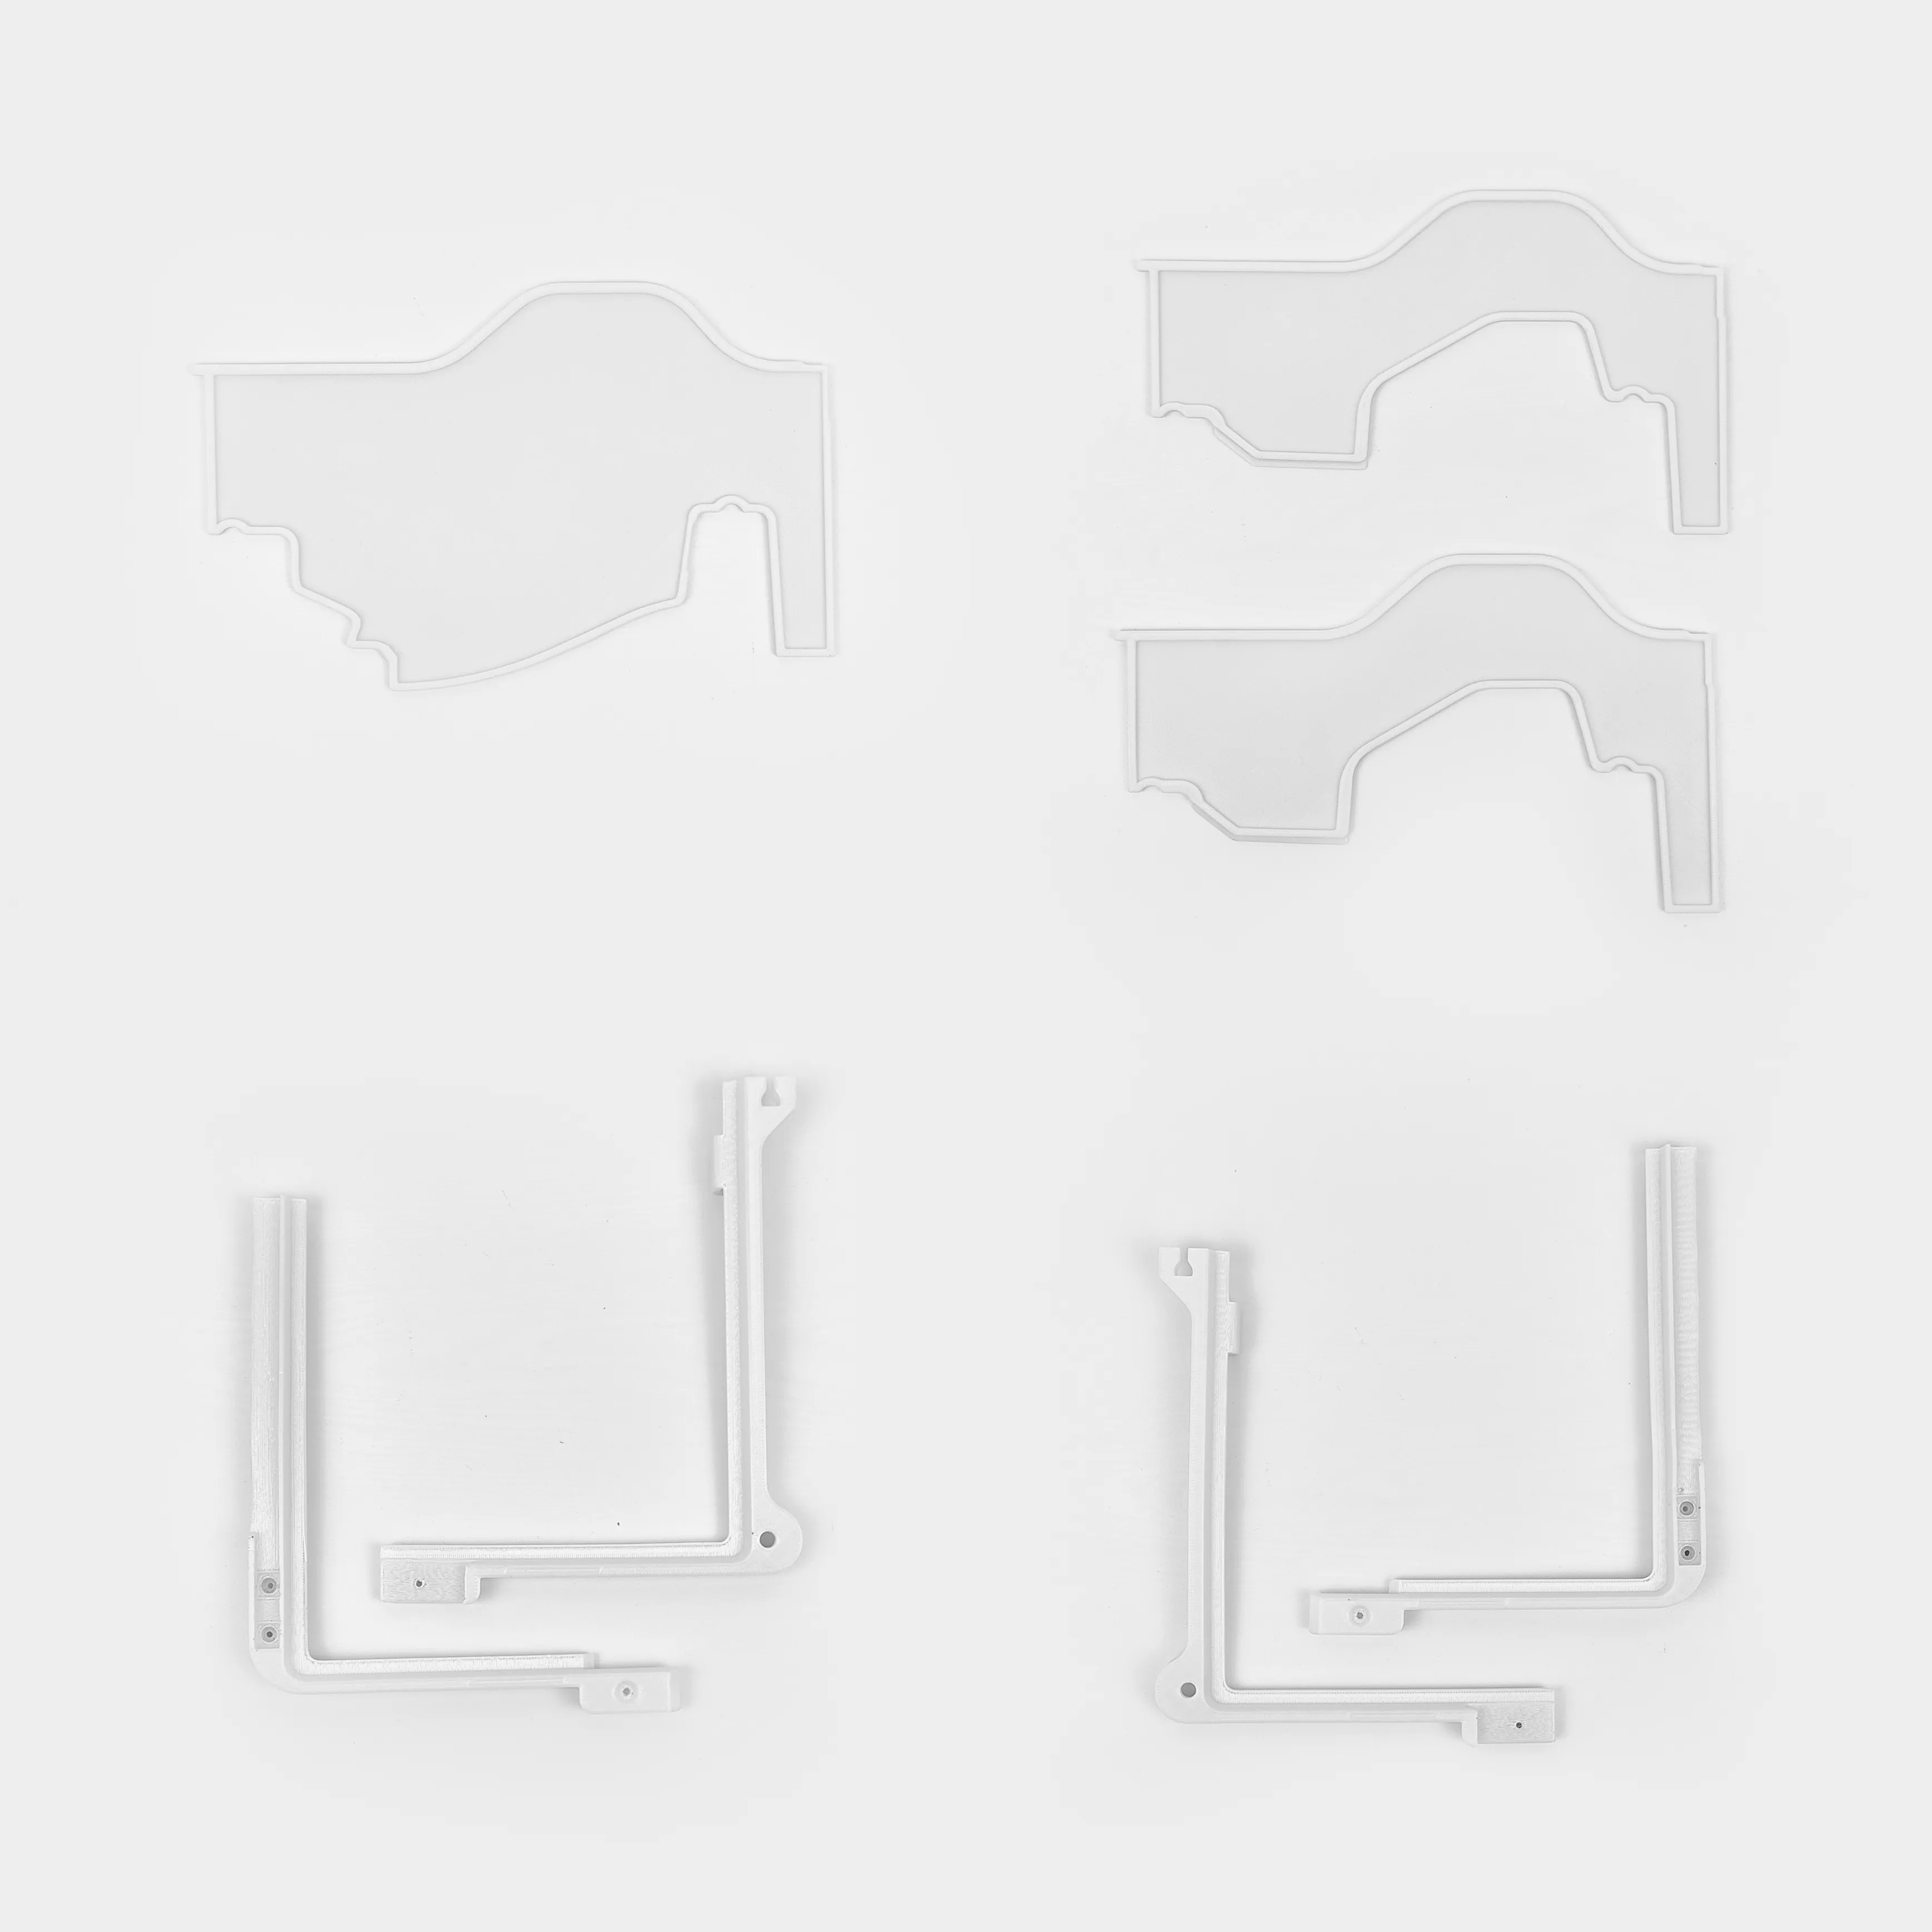
Bottom bracket / Upper cover latch / Y-shaped side latch / Lid conversion latch / Divider bracket front / Divider bracket back
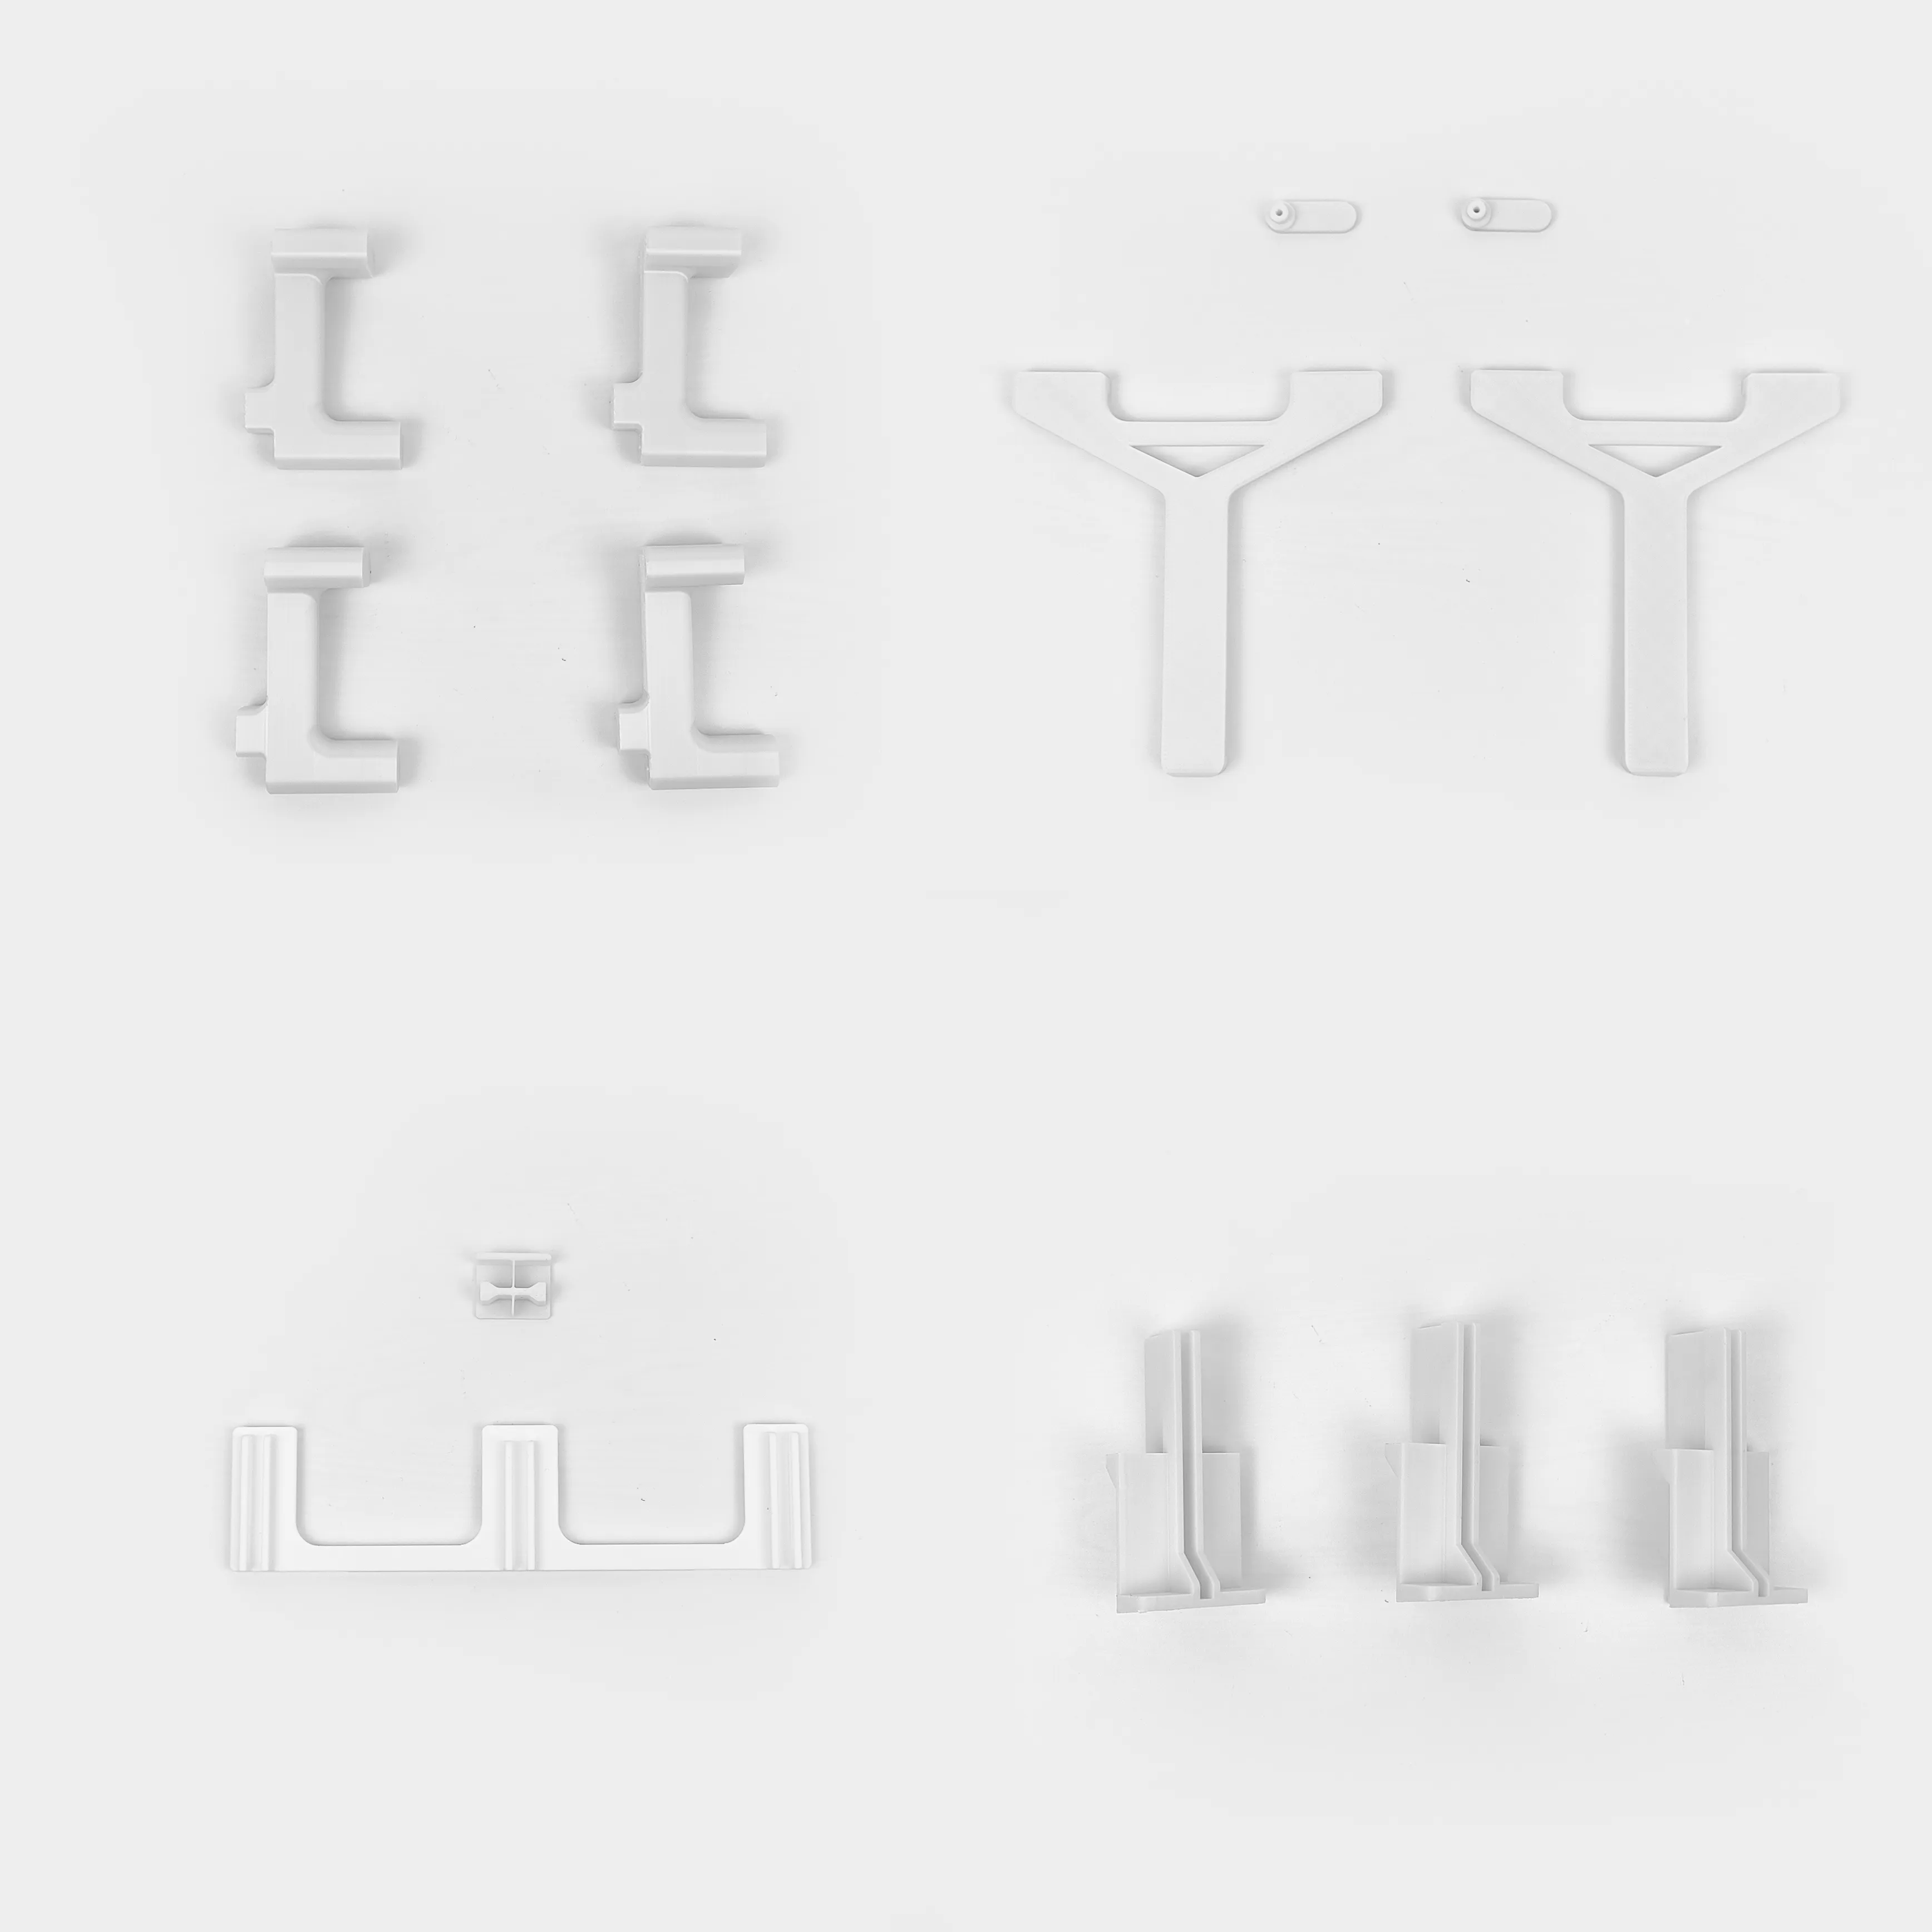
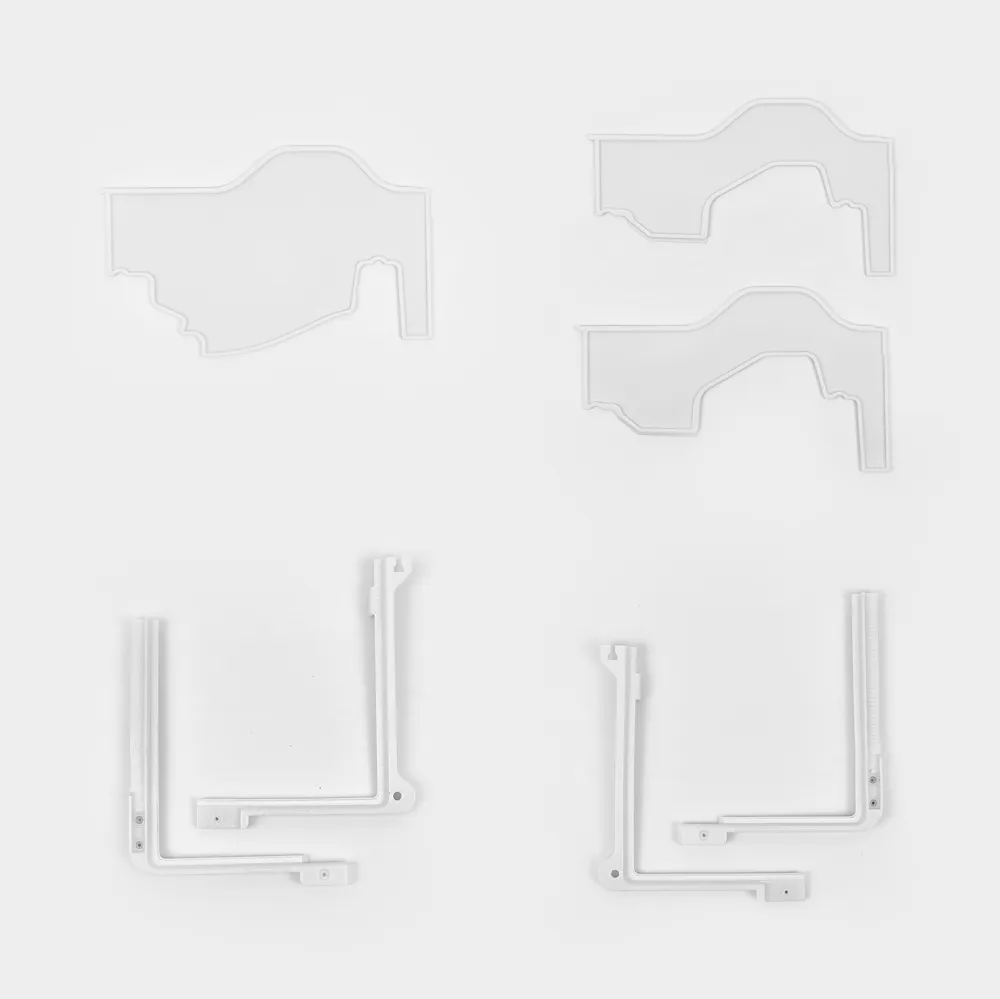
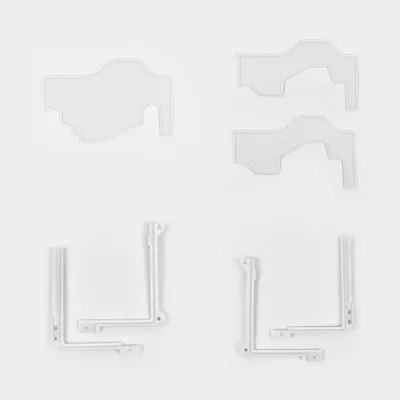
Divider / AMS to AMS 2 Pro Lid Conversion Frame (left, right)
Chapter 2. Installation process
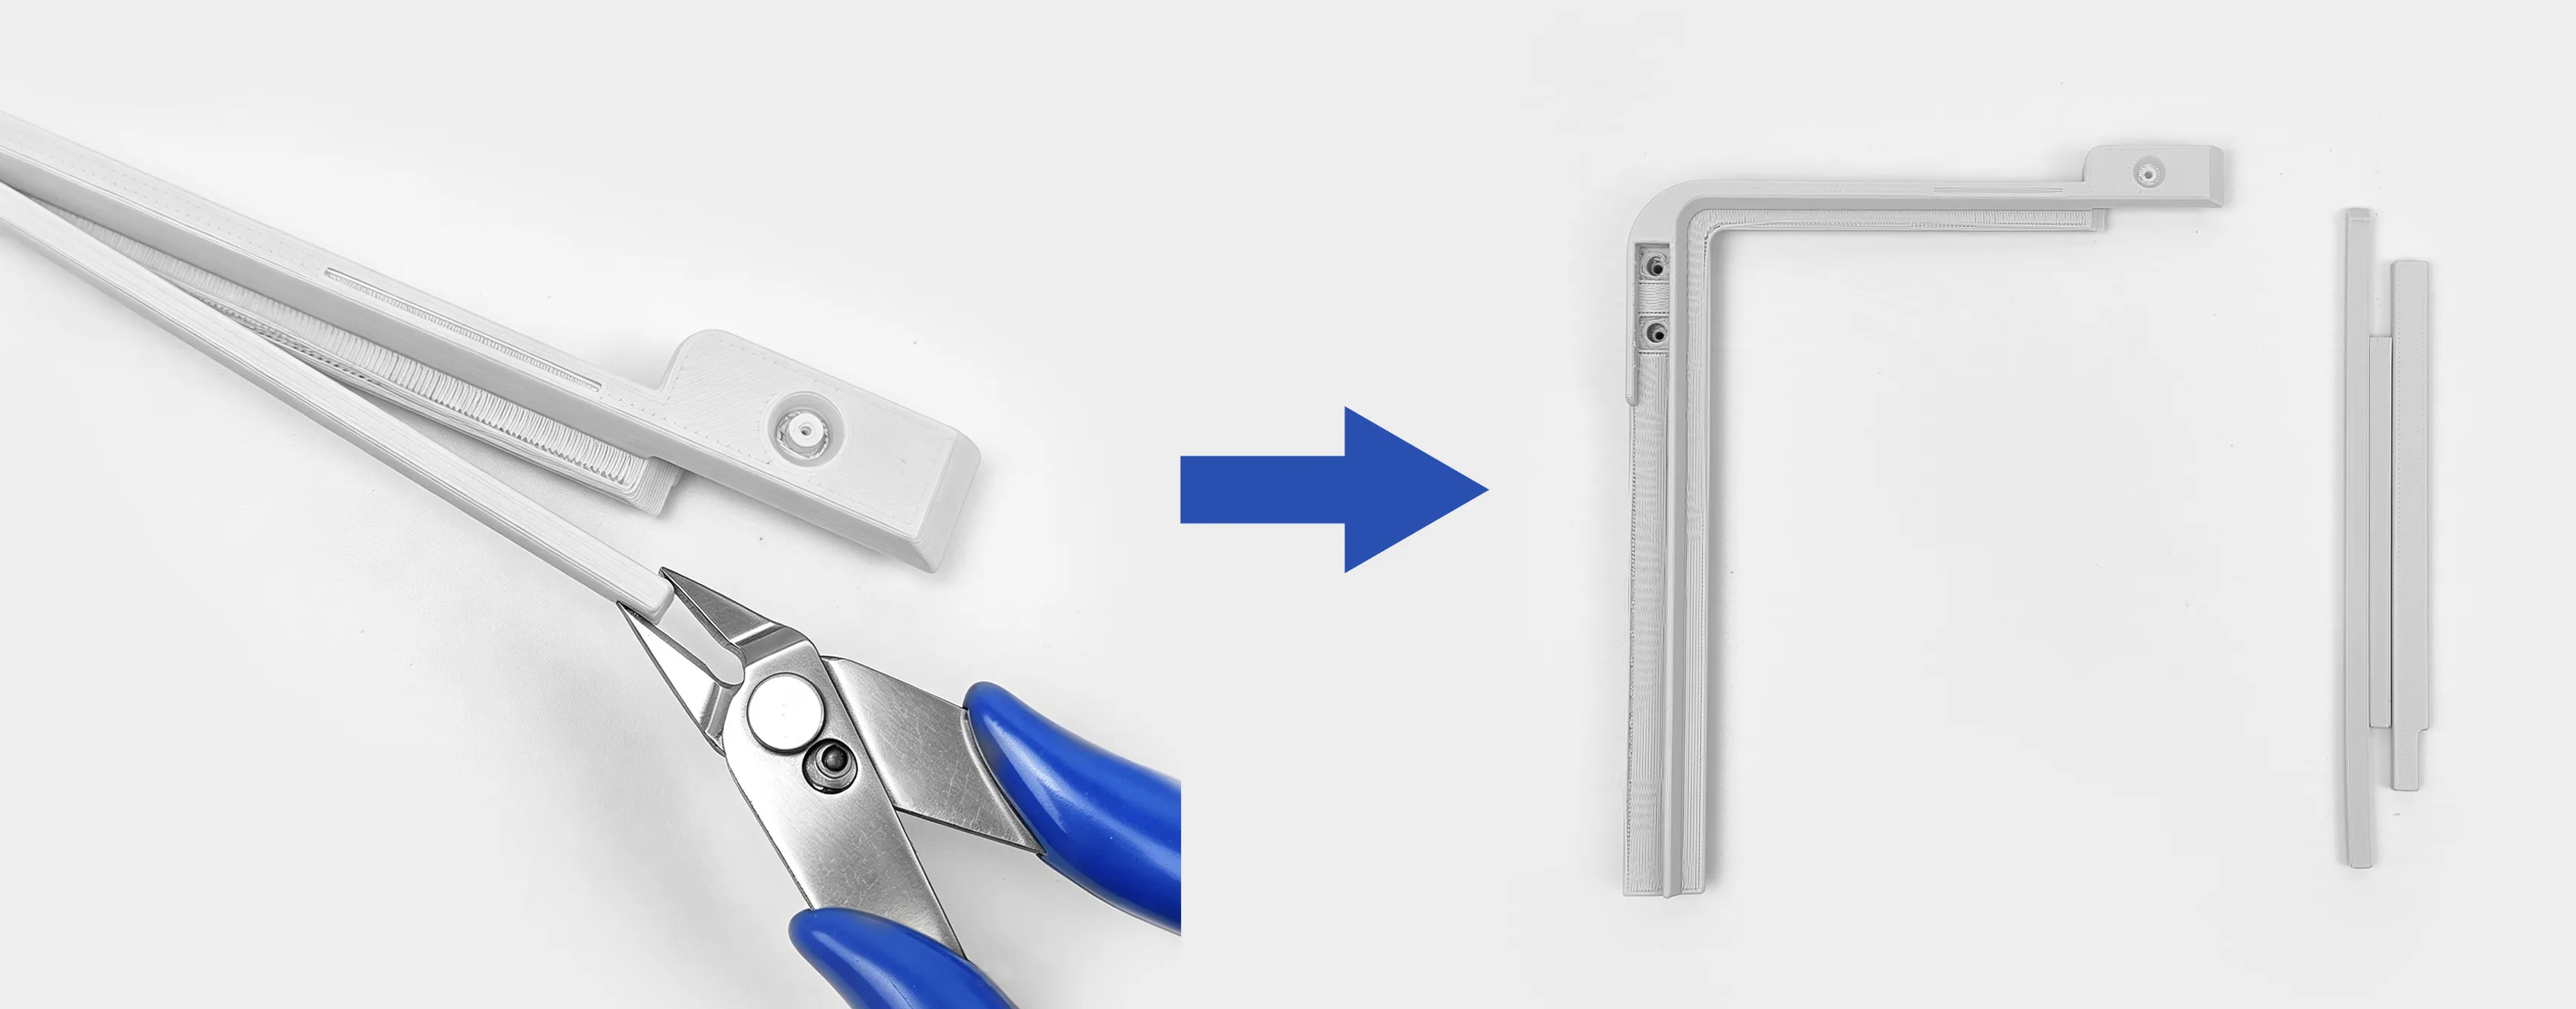
1. Remove the support structures from the 3D printed parts and prepare for assembly.
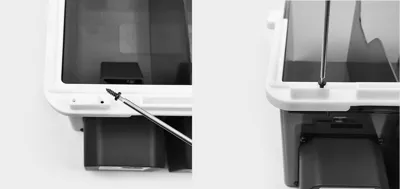
2. Remove the original top cover and set the screws aside.
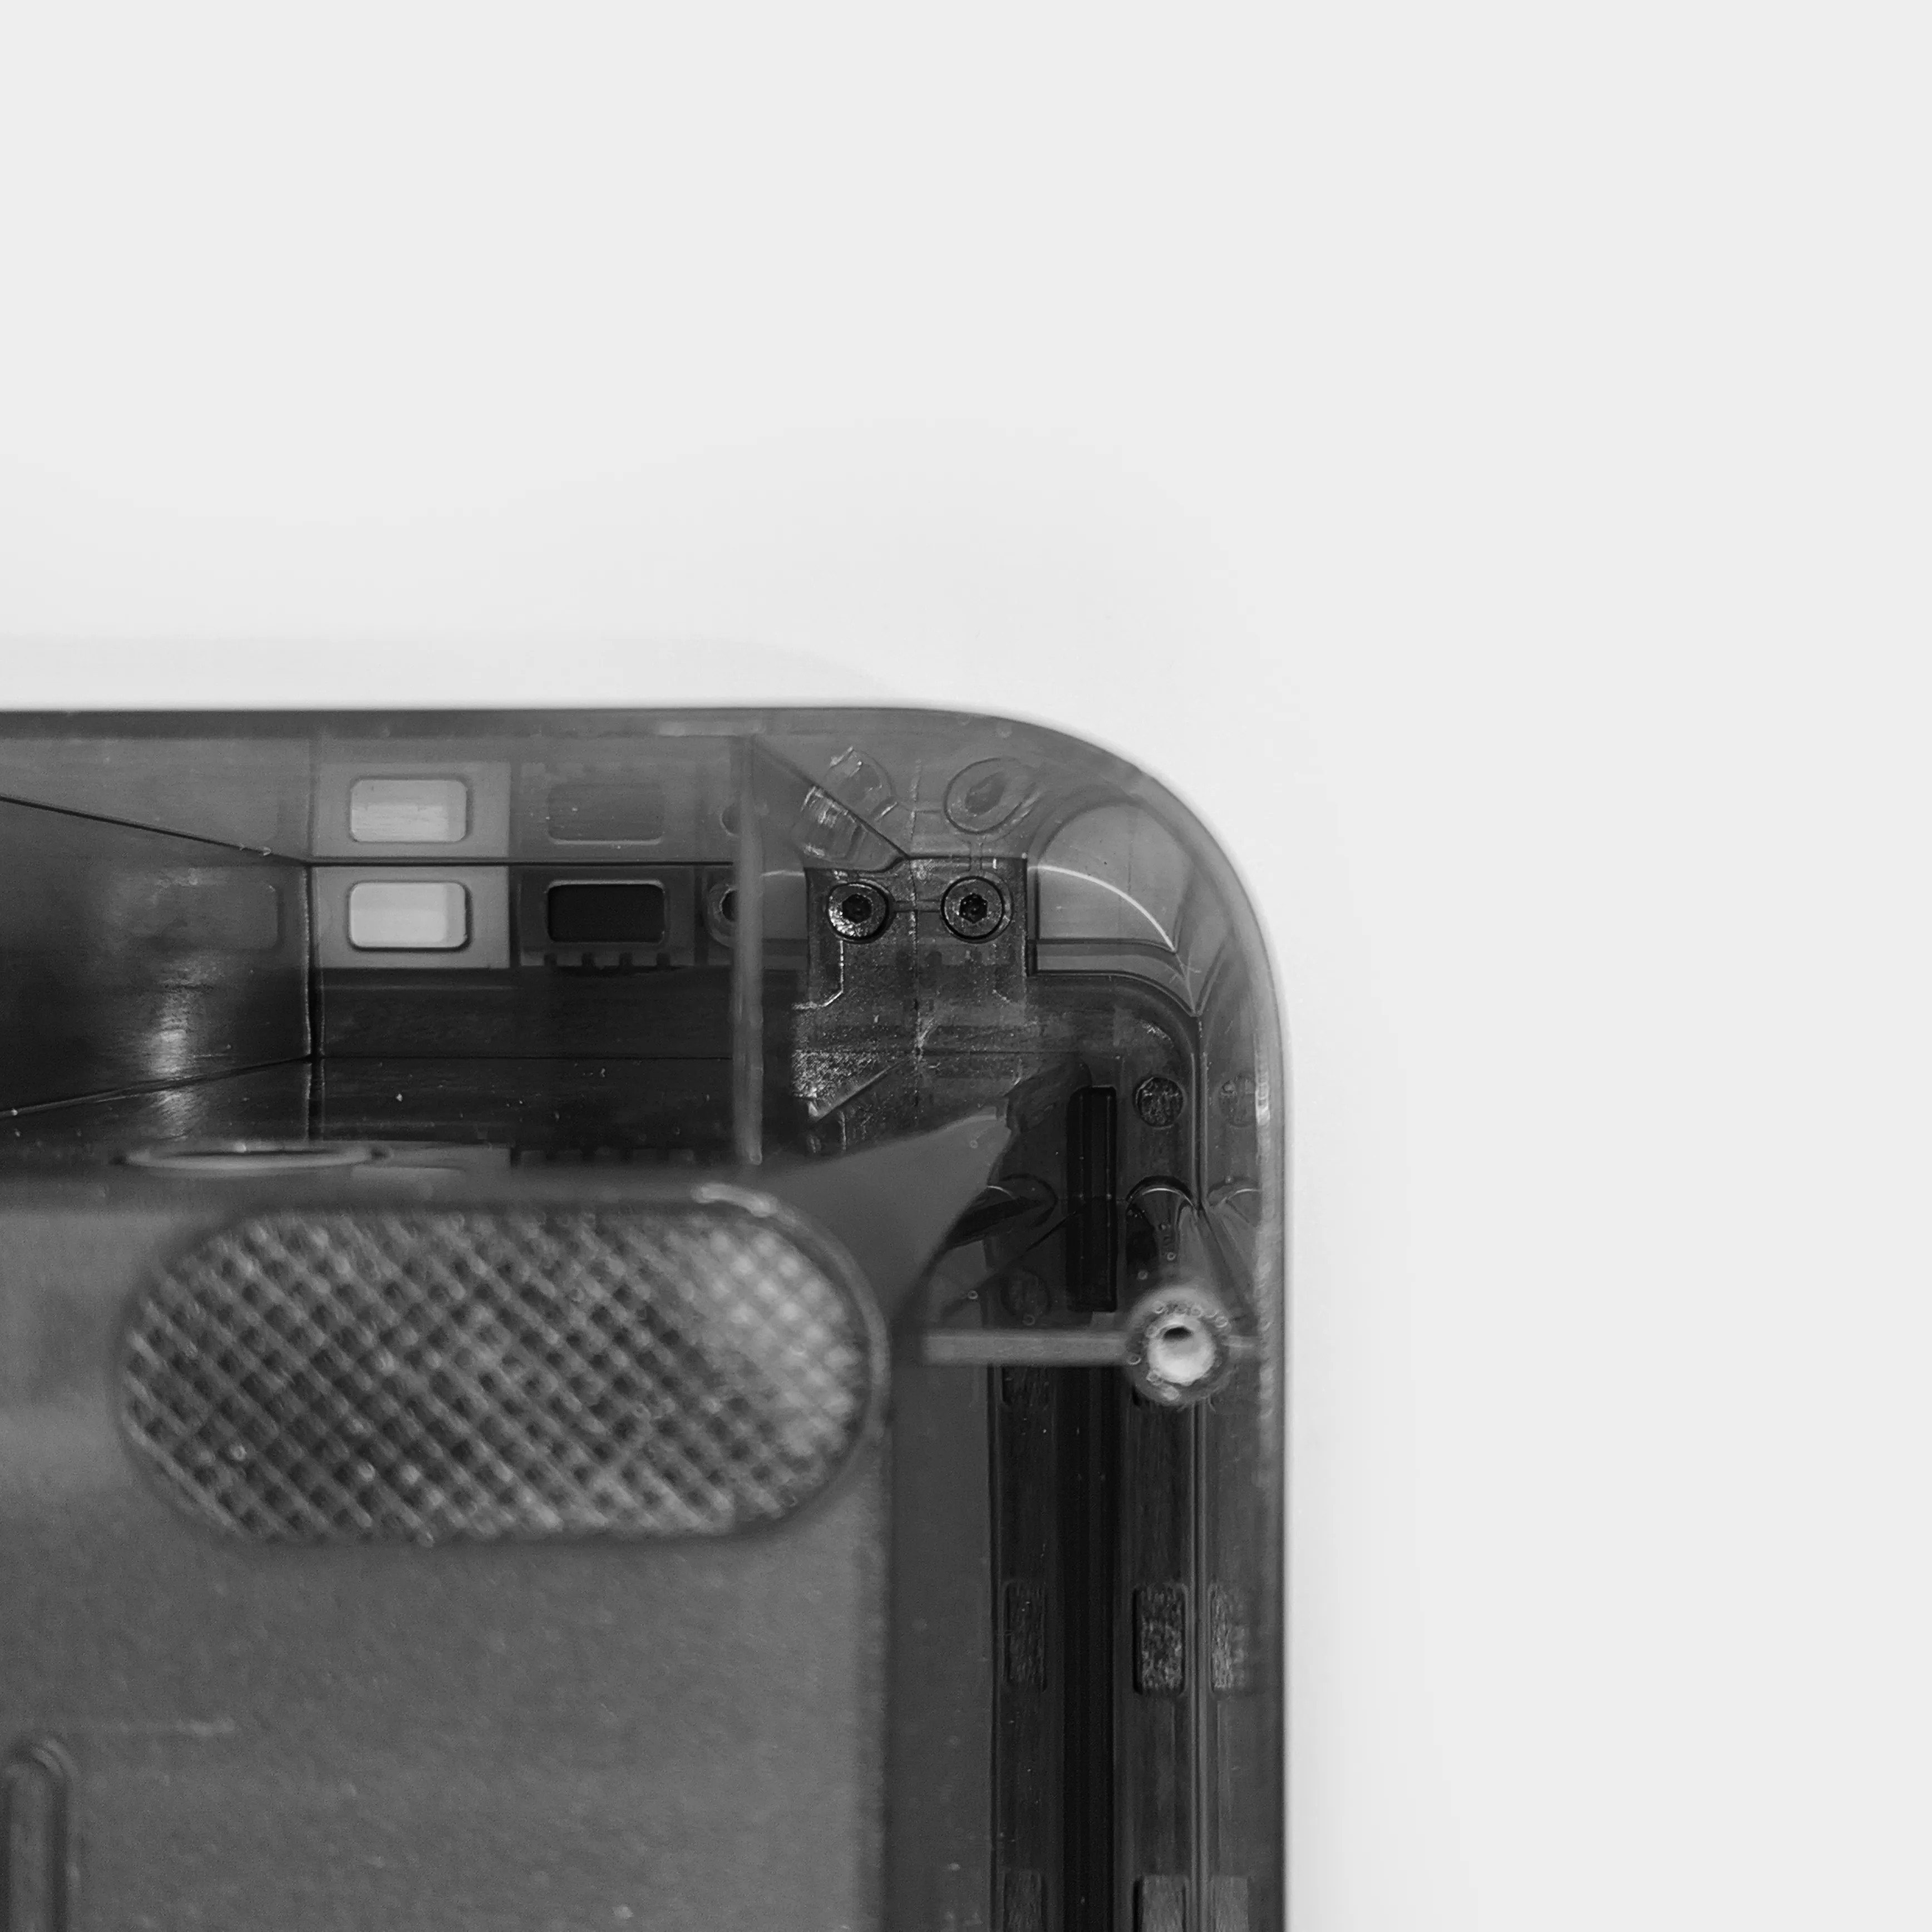
The top cover is secured by a M3H8 screw on each side; remove them with a screwdriver and keep the screws aside for the following use.
3.Installing Lid Conversion Frame
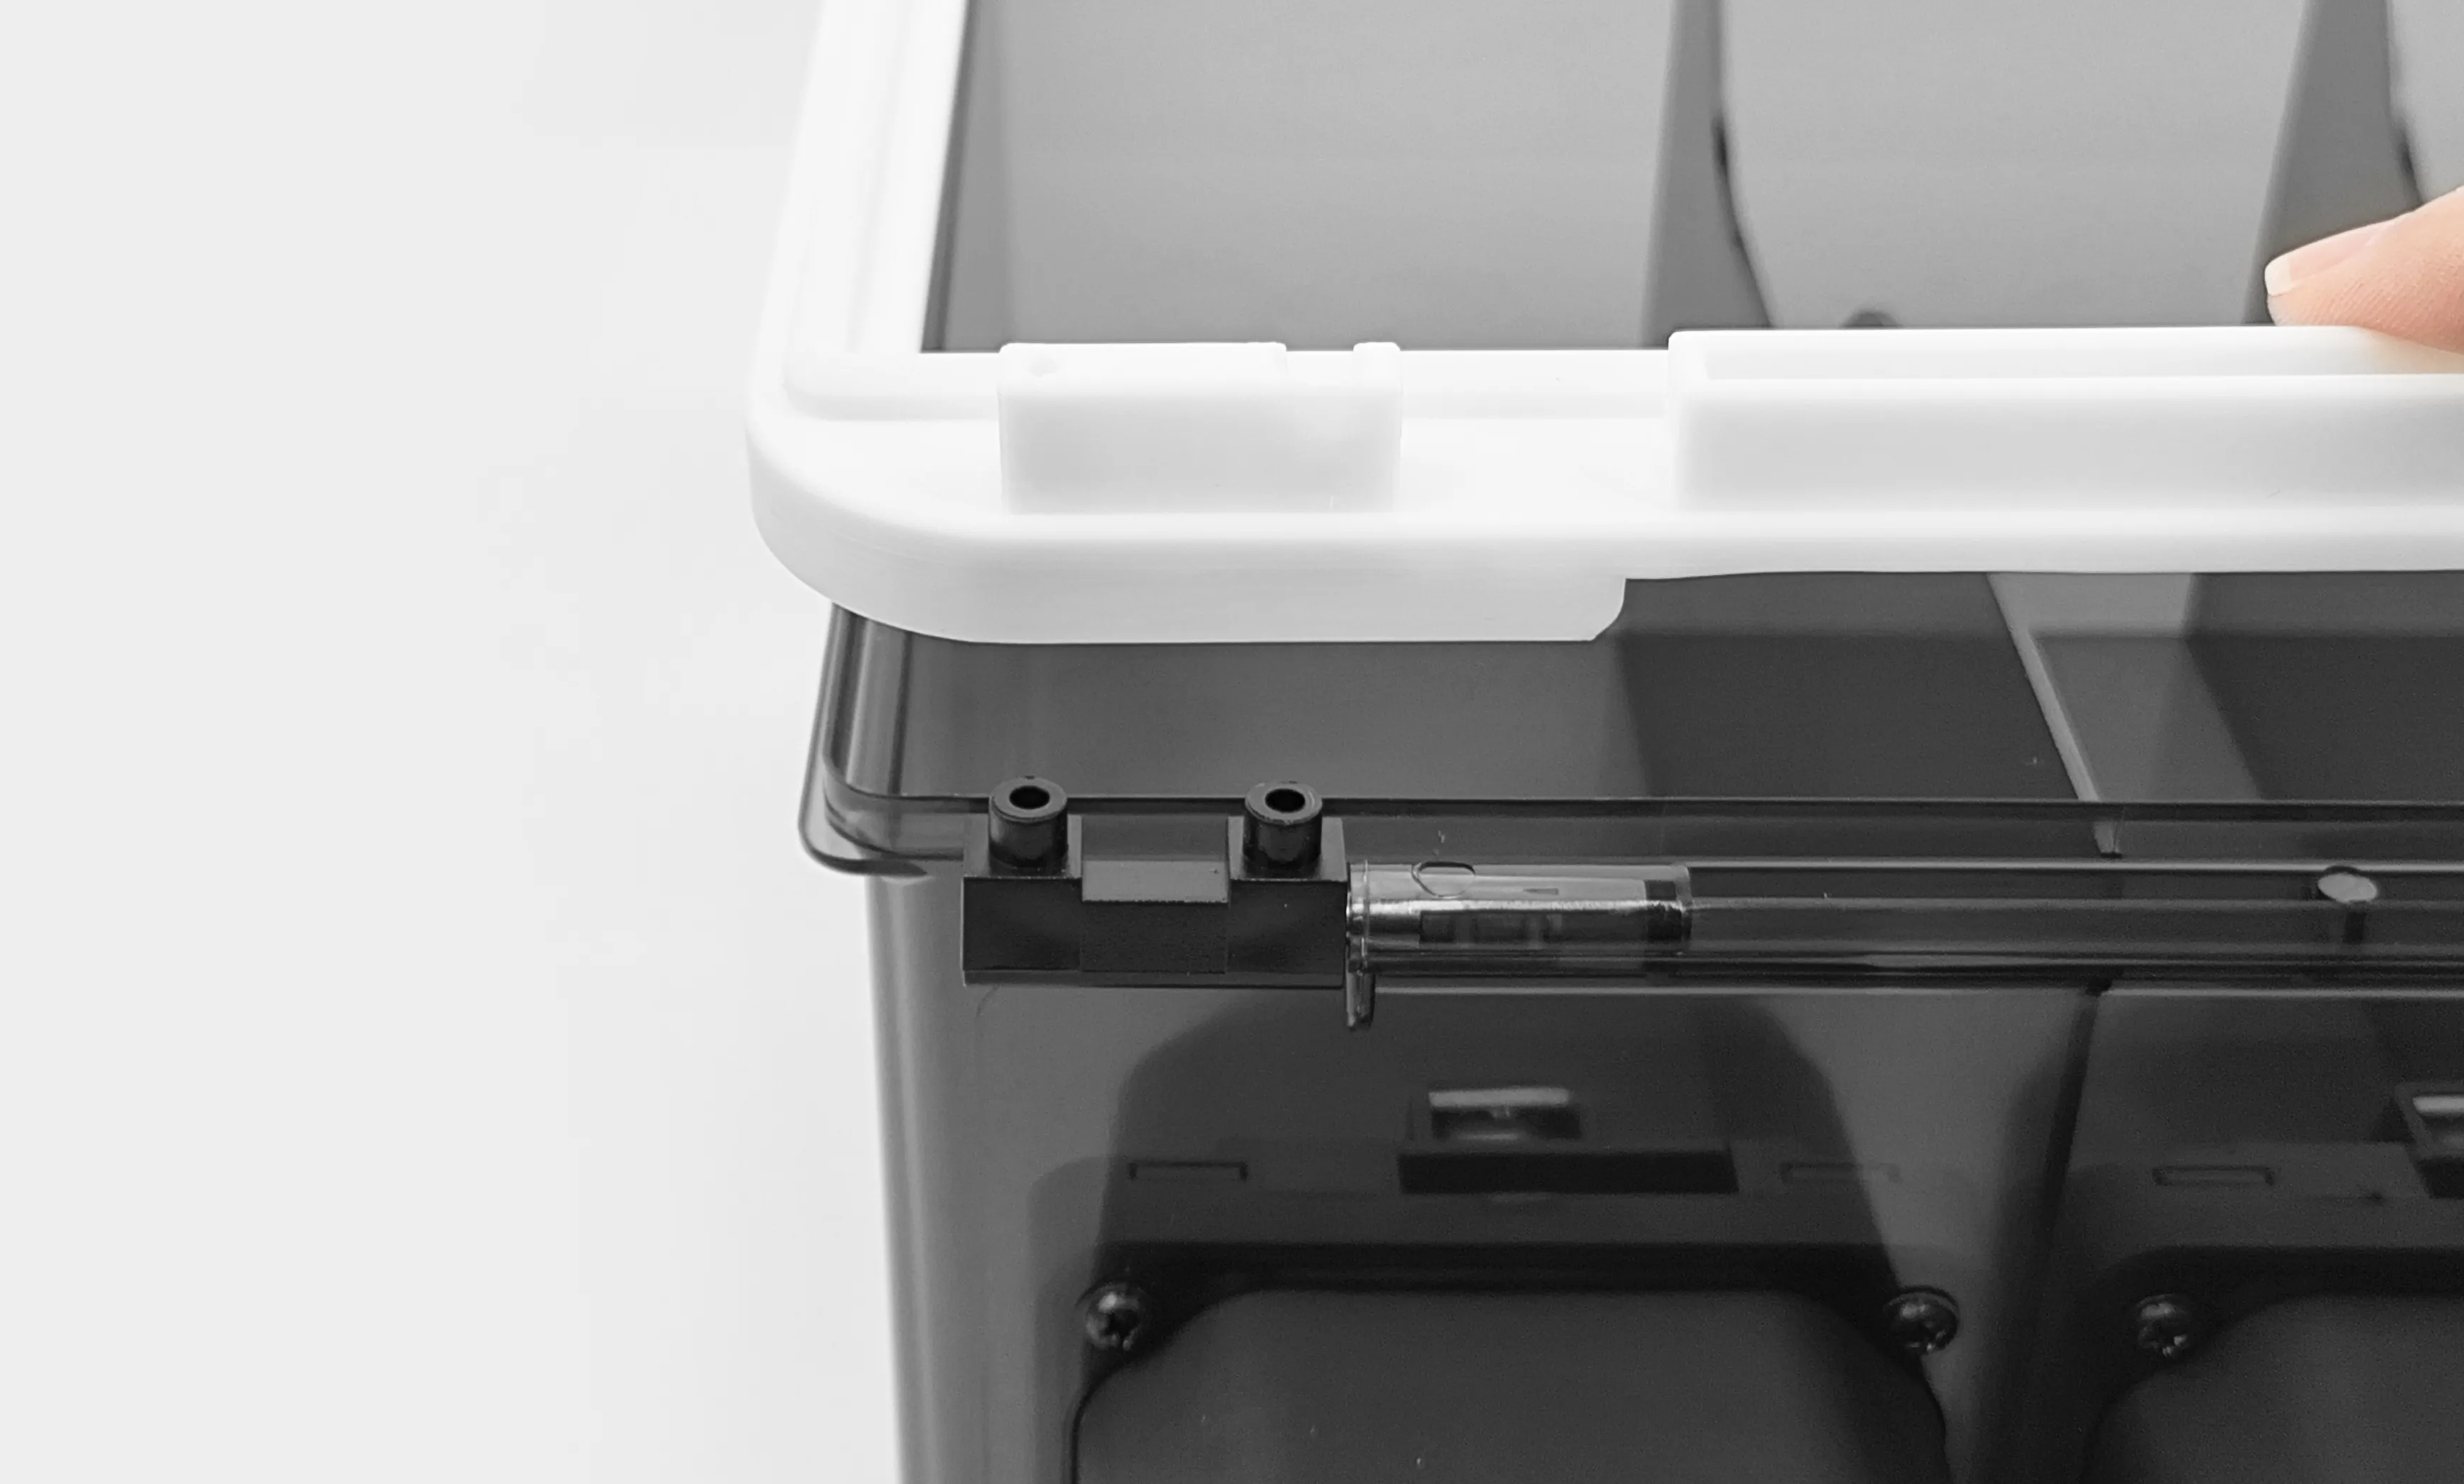
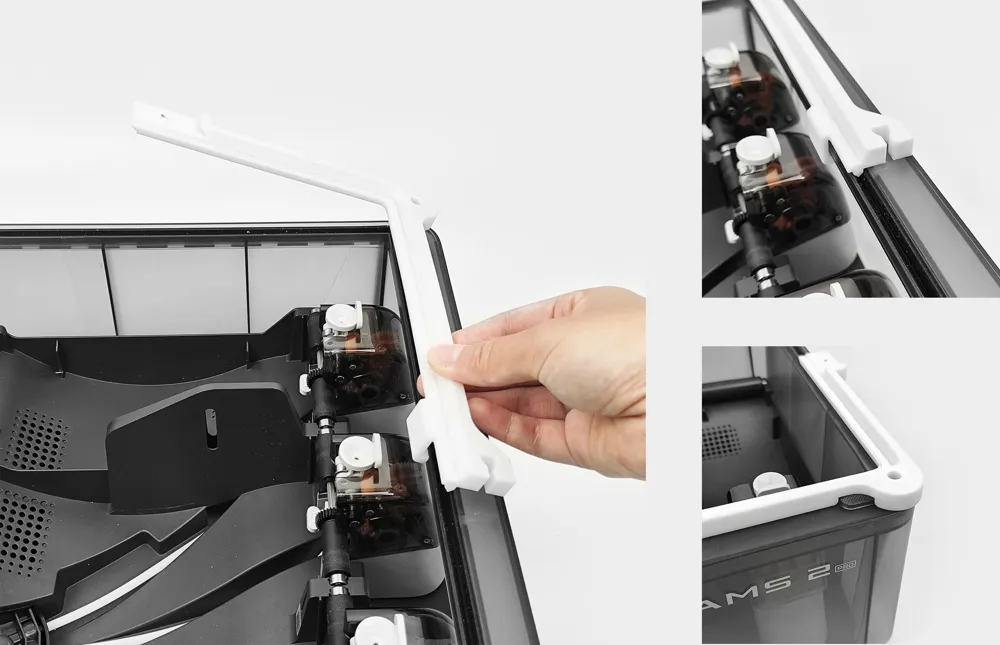
Connect the Lid Conversion Frames (rear left and rear right) to the Upper Cover Module.
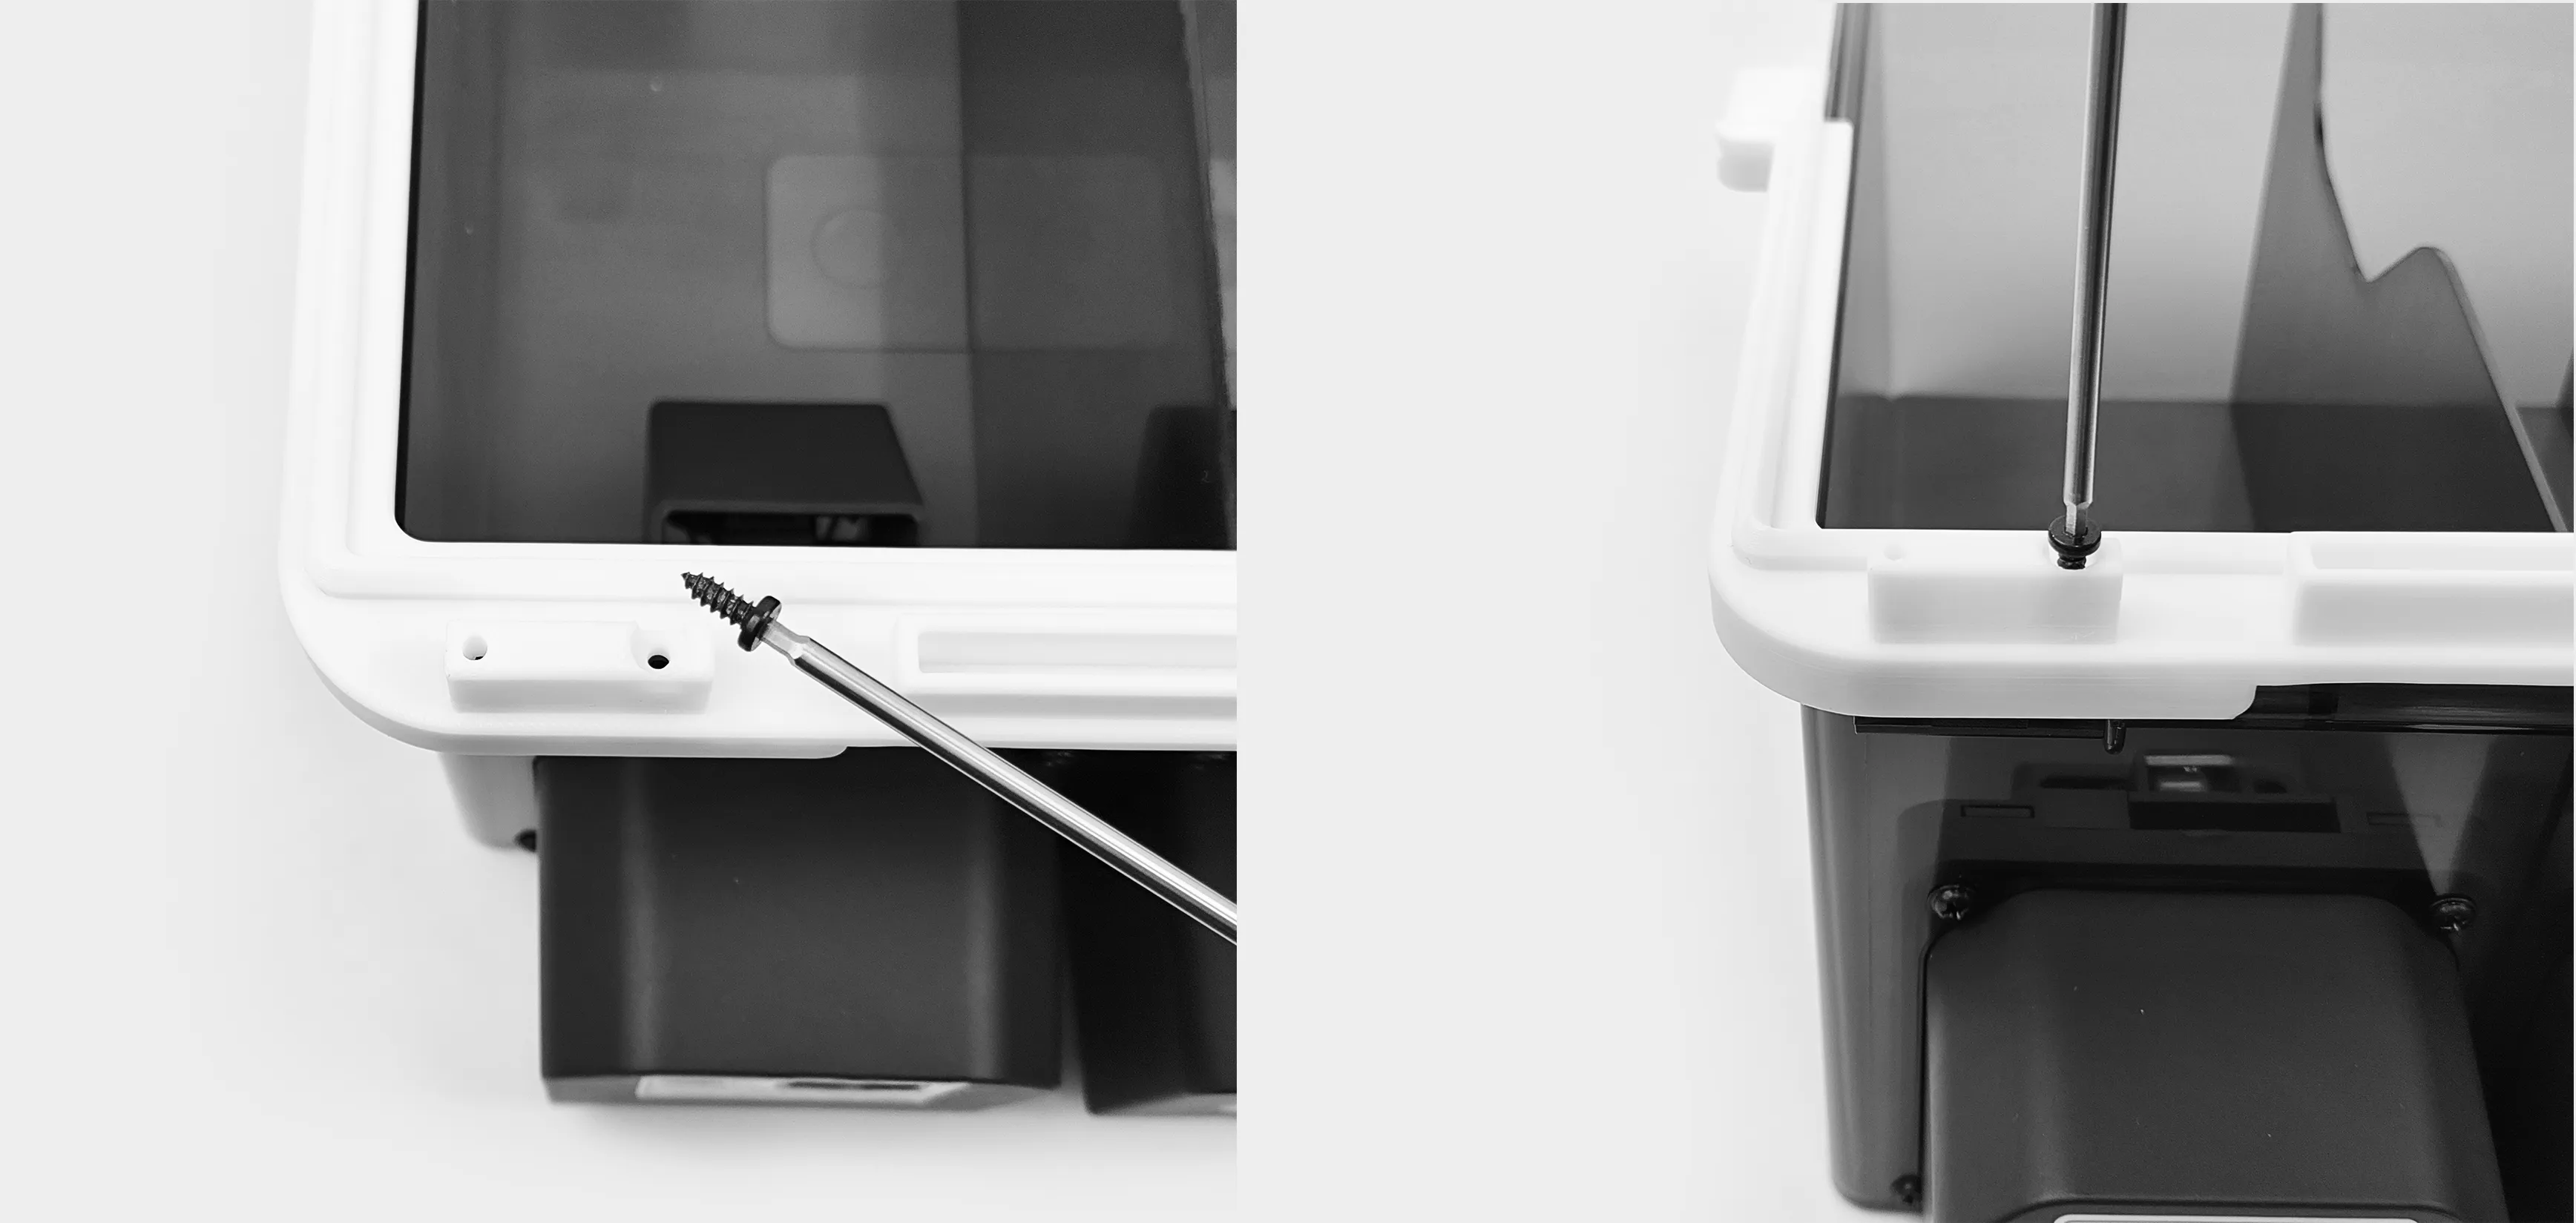
Secure Lid Conversion Frames (rear left and rear right) with Upper Cover Module using M3H8 screws.
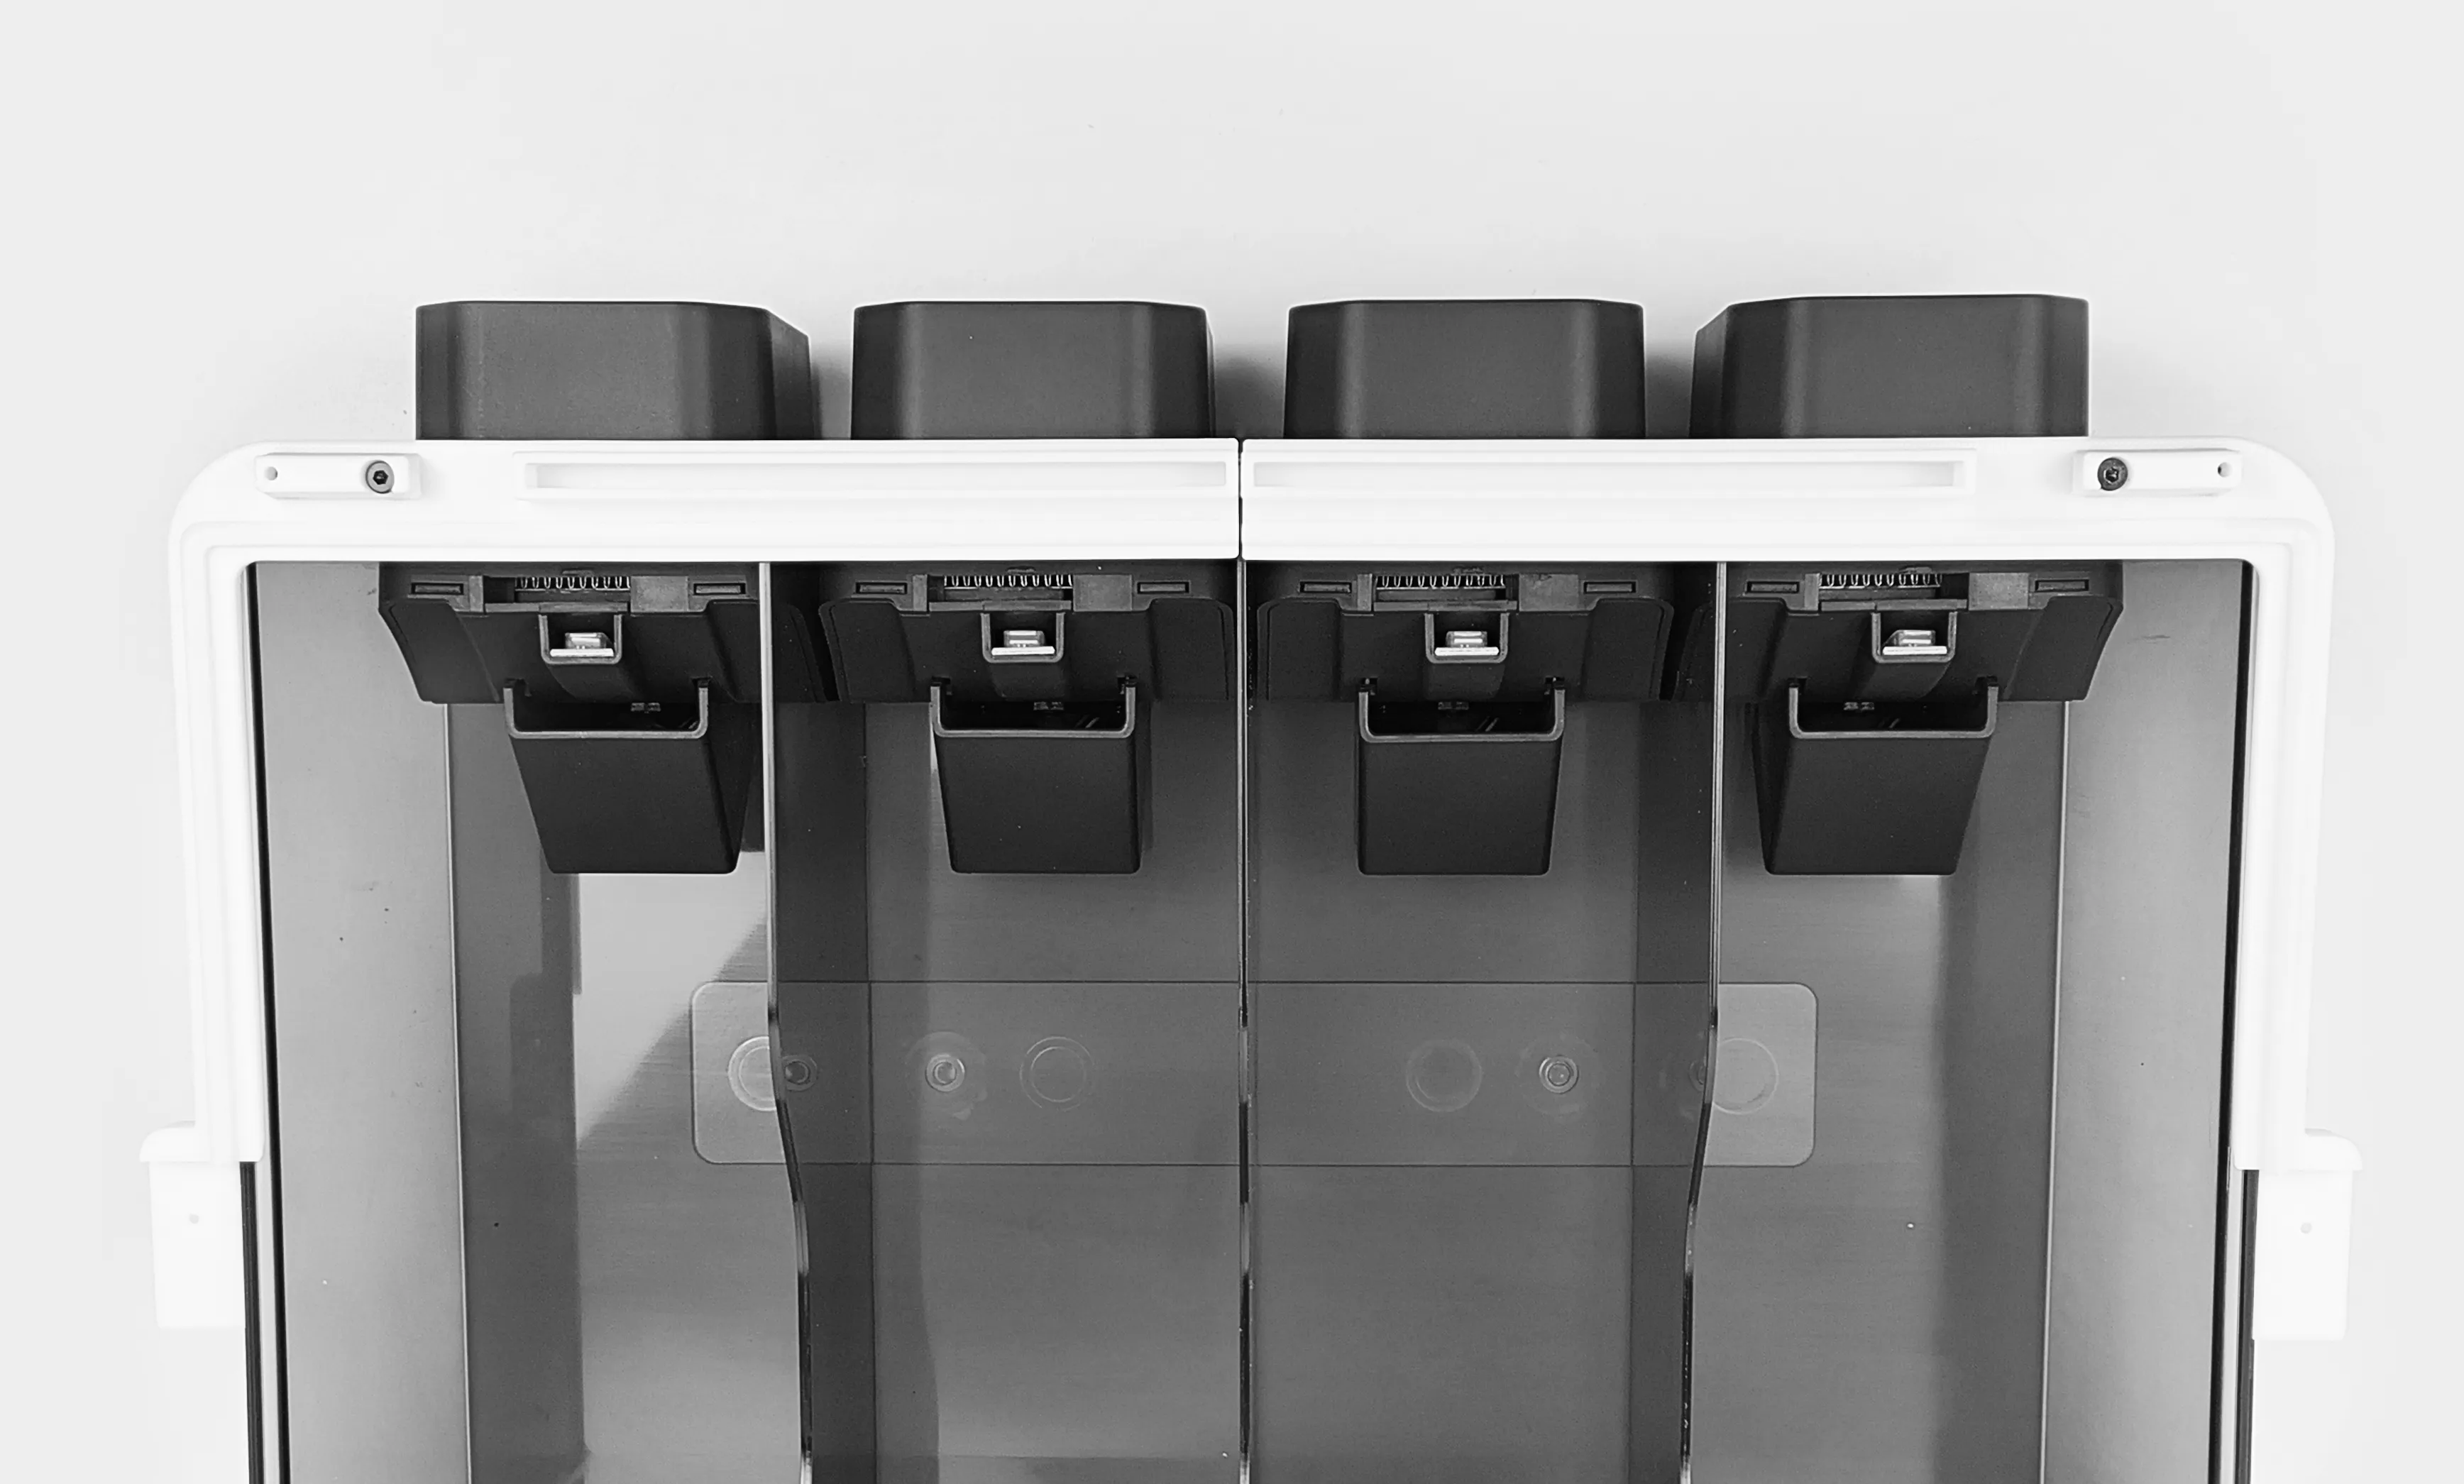
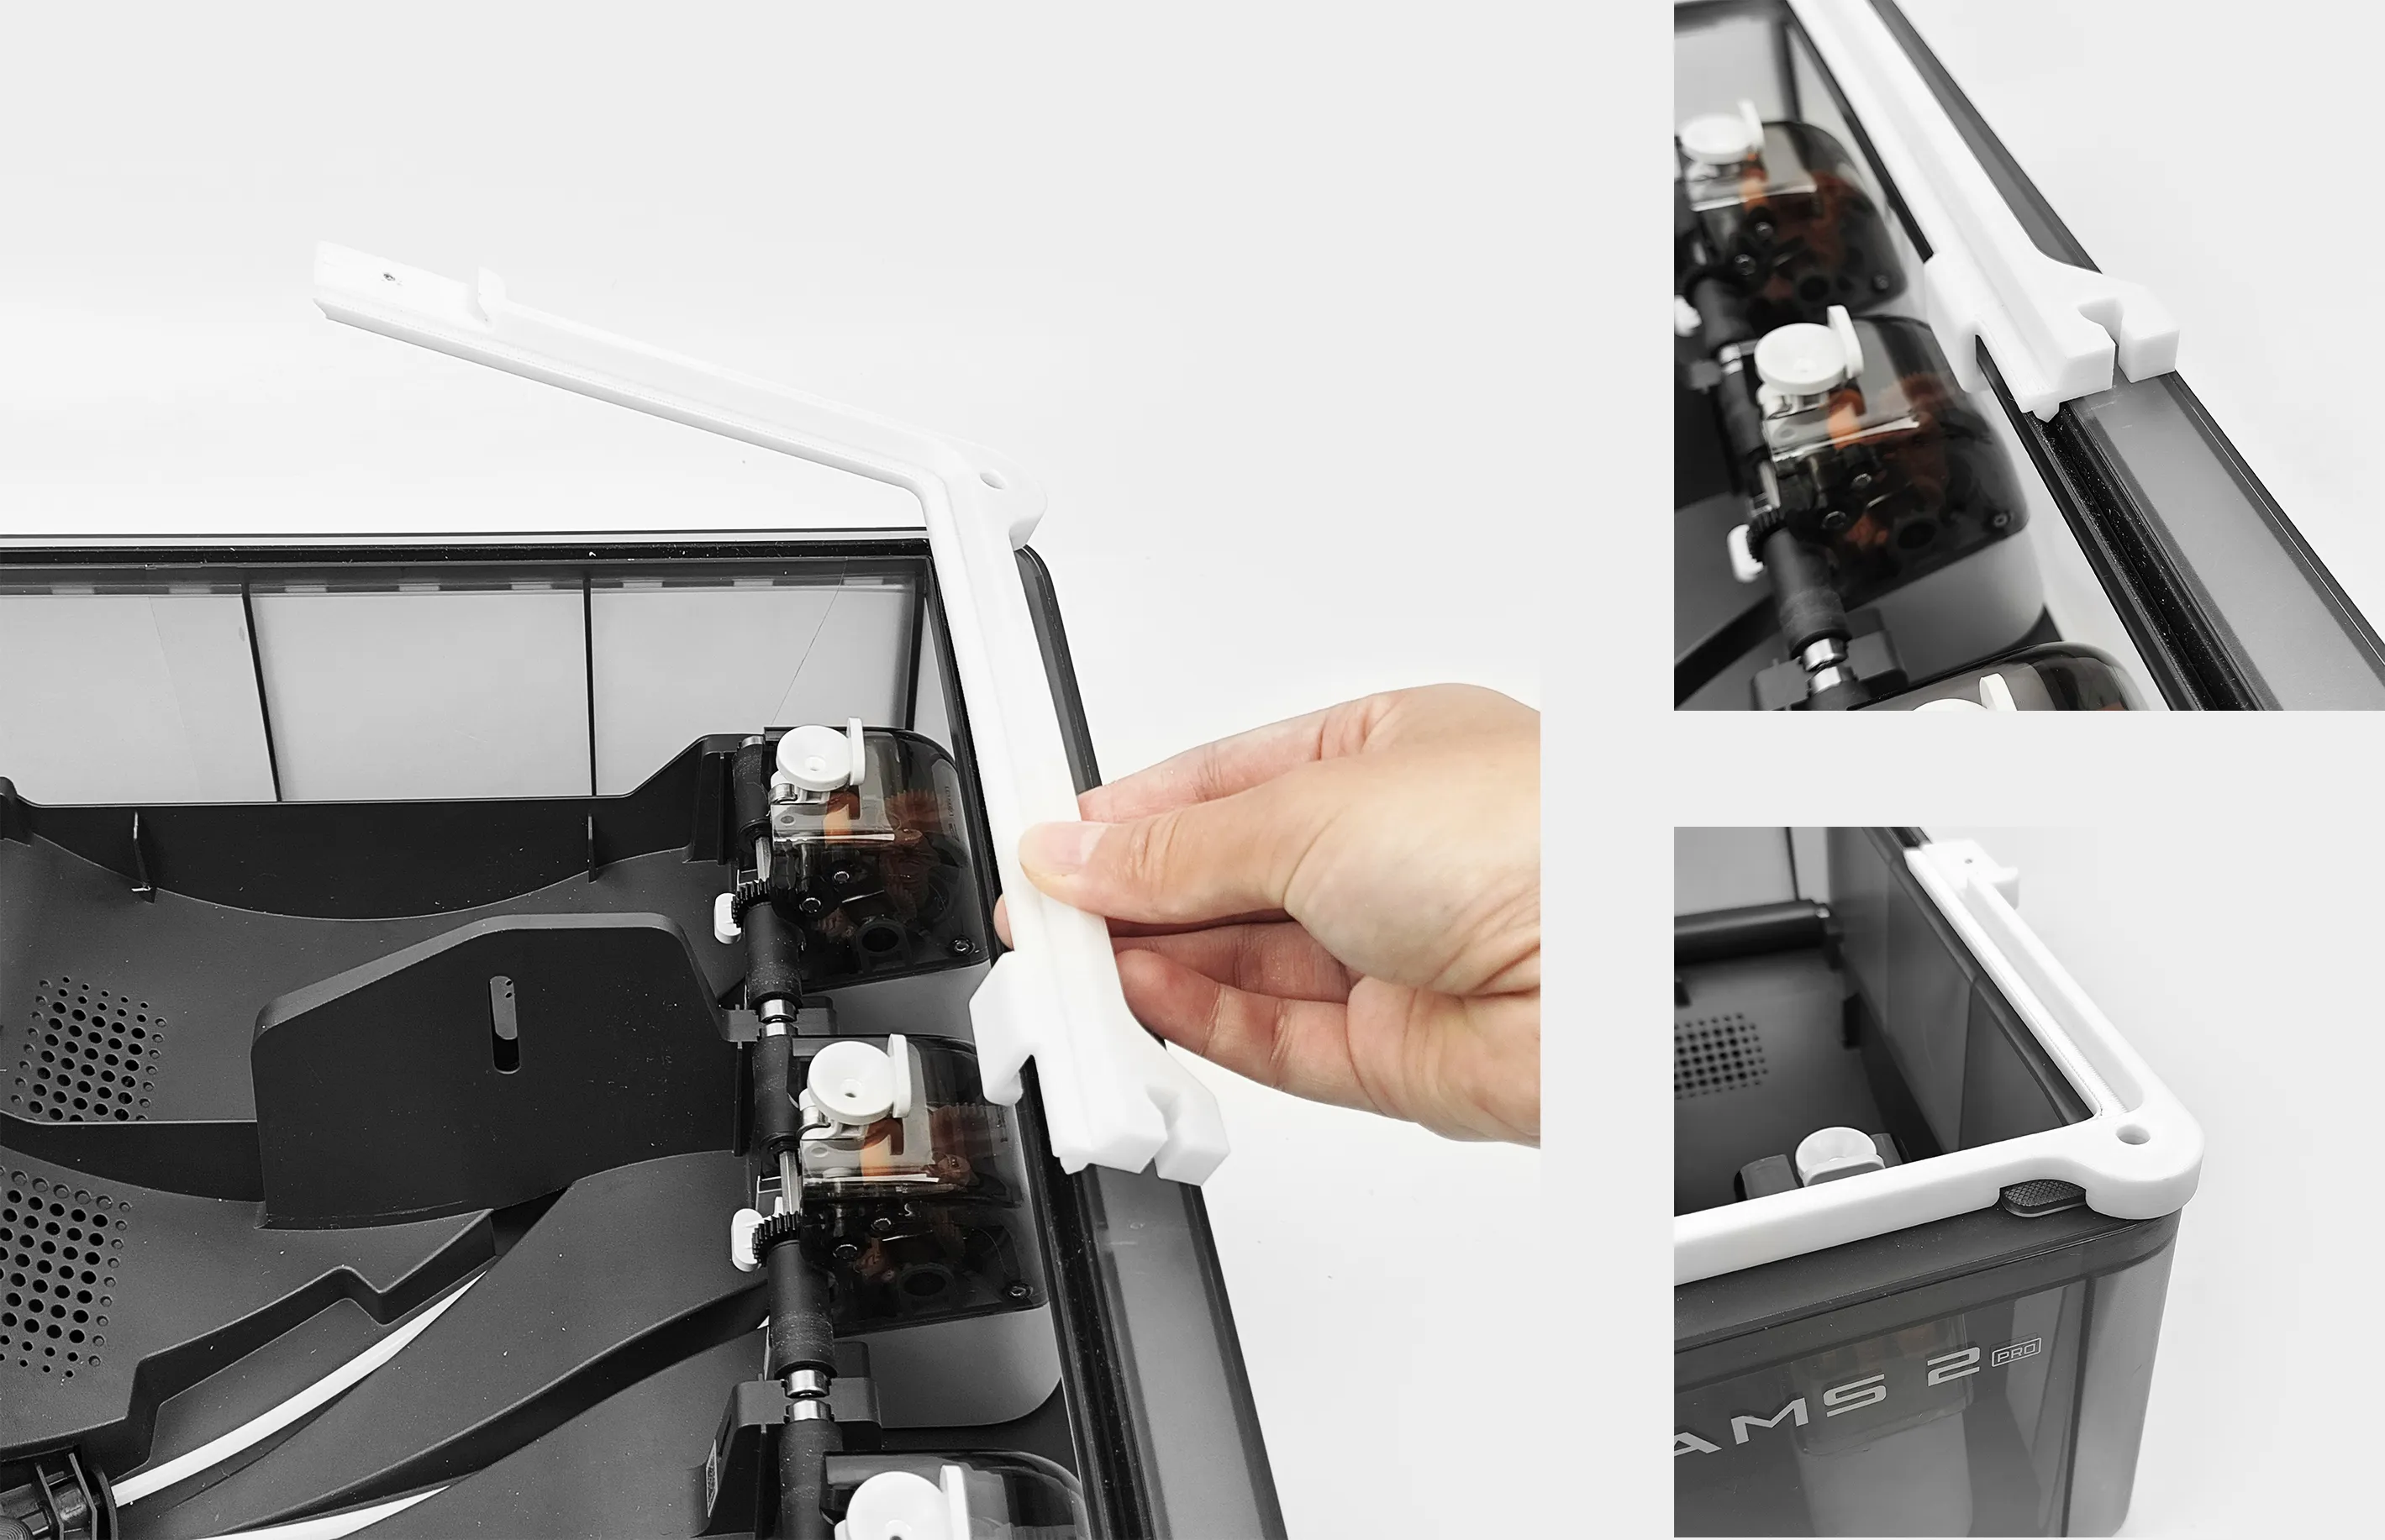
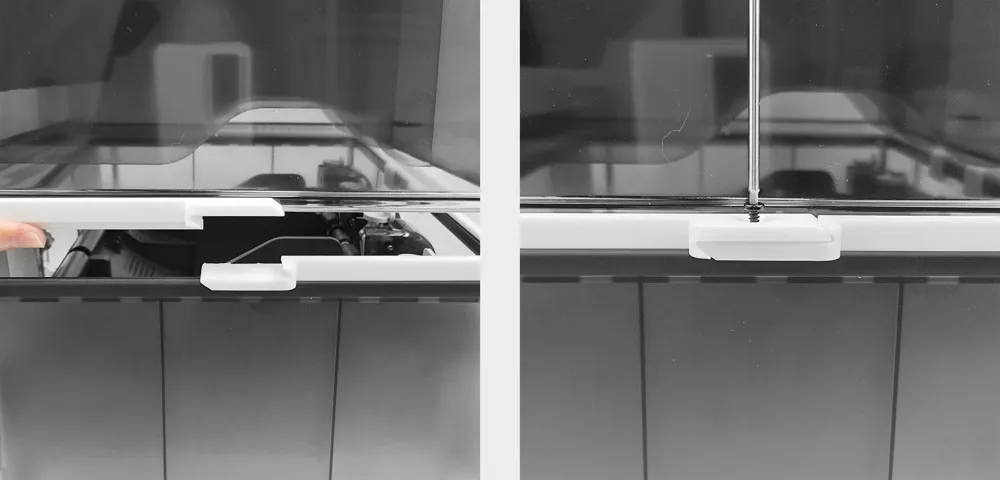
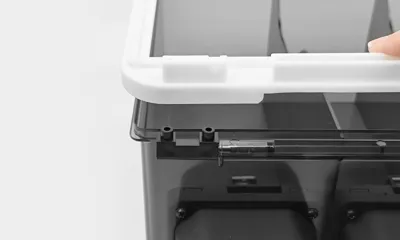
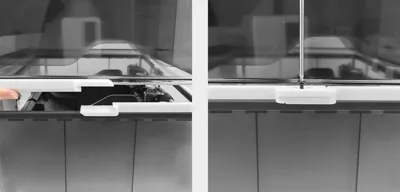
Tilt and snap the Lid Conversion Frame front into the AMS main frame.
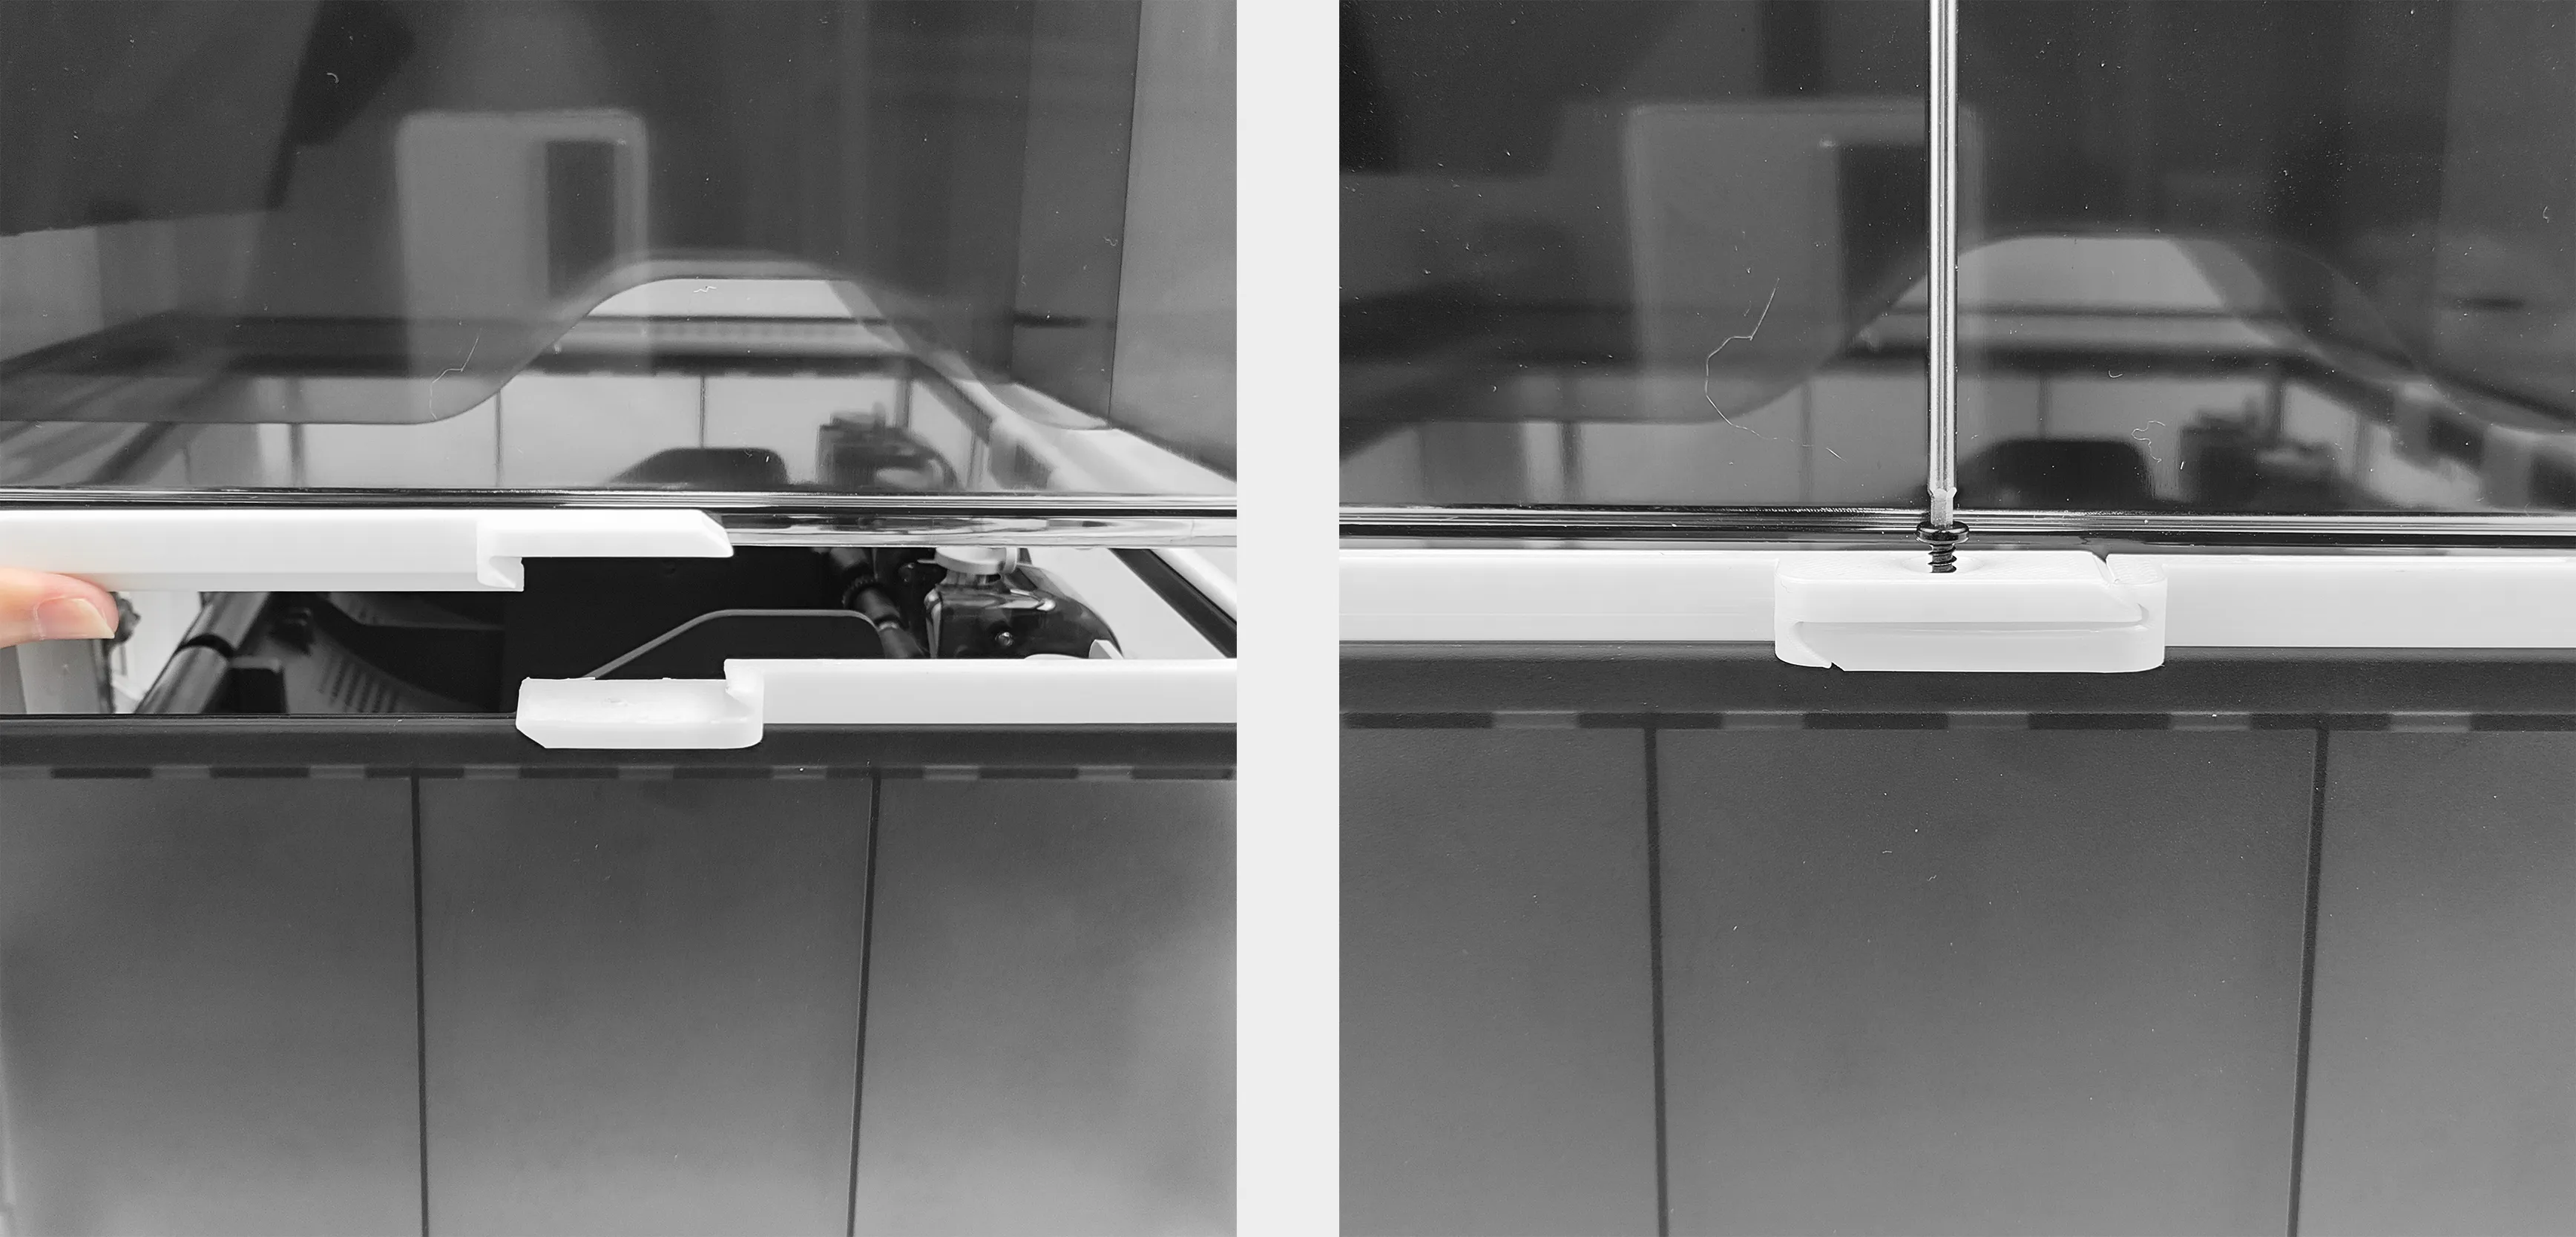
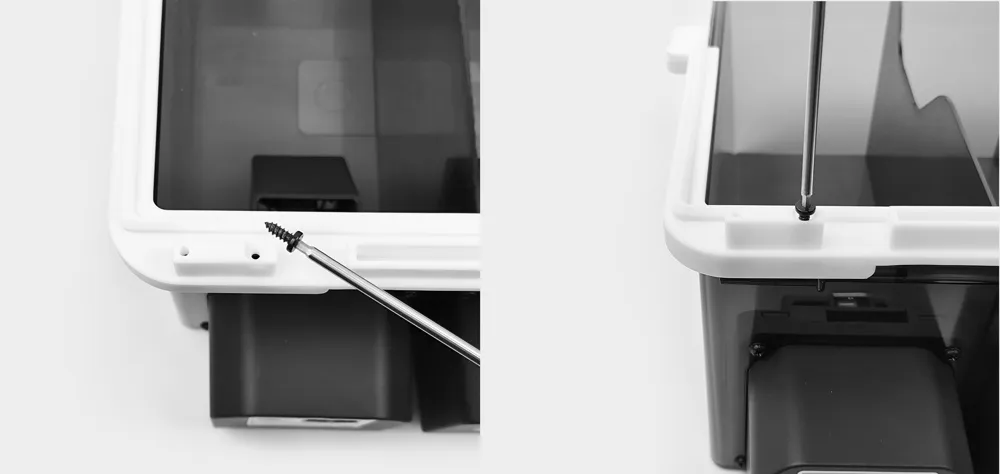
Secure the front and back sides of the frame using M3H8 screws,
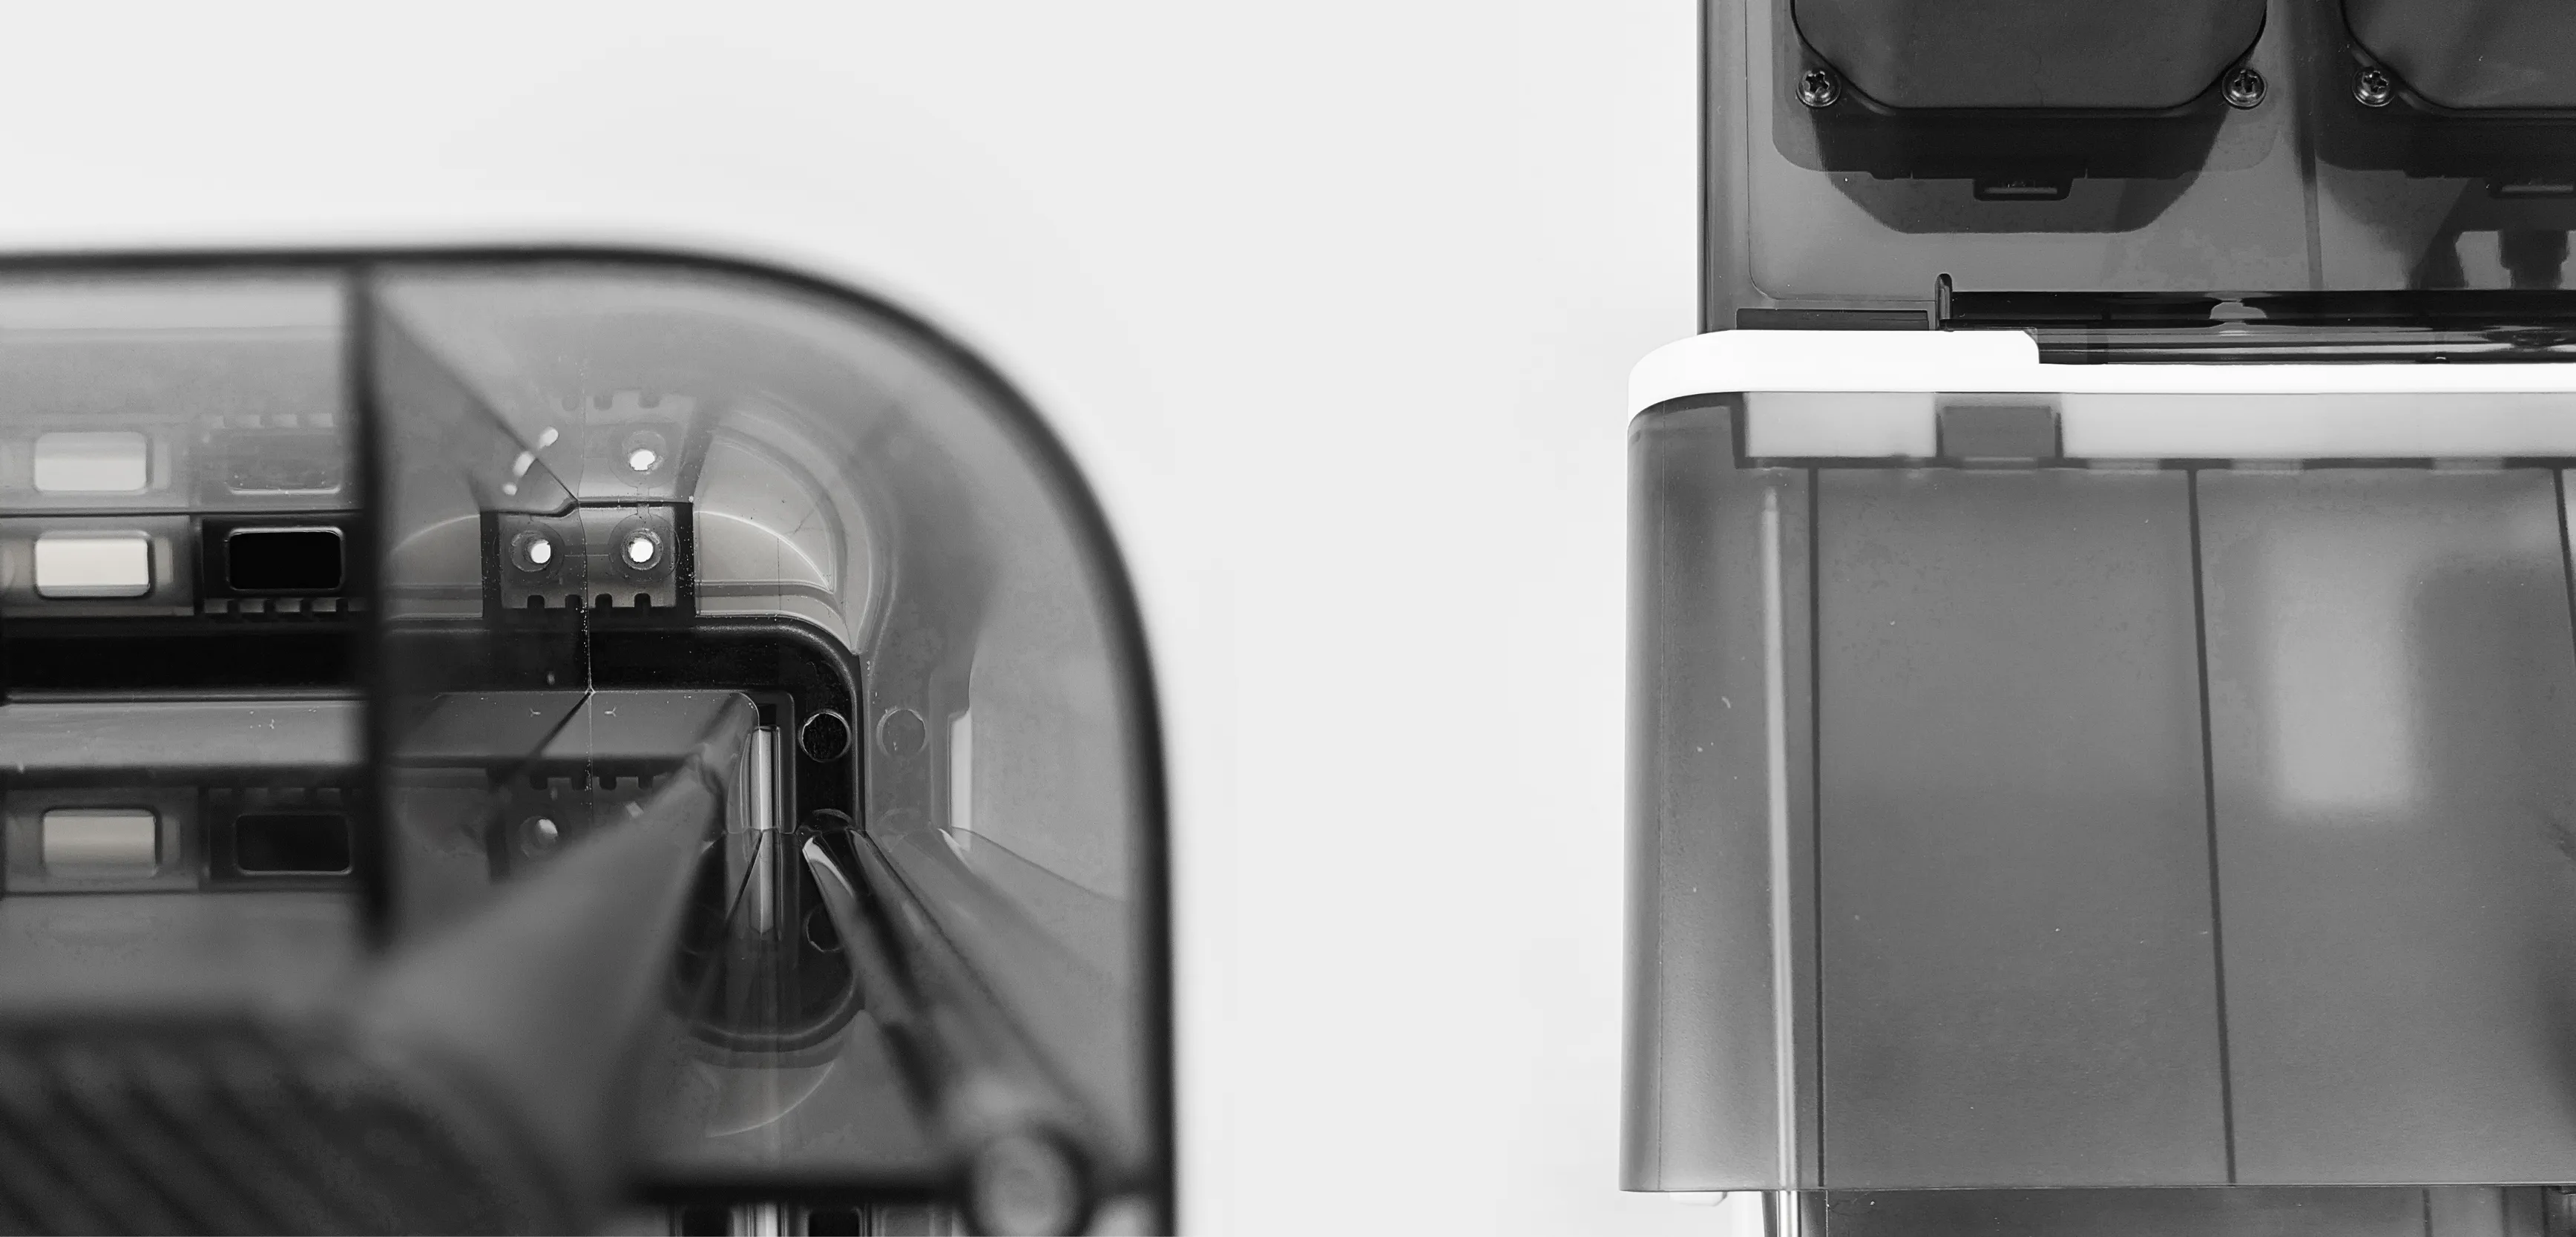
Secure the main body of the AMS 2 Pro to the frame at the bottom using the screws removed in Step 2.
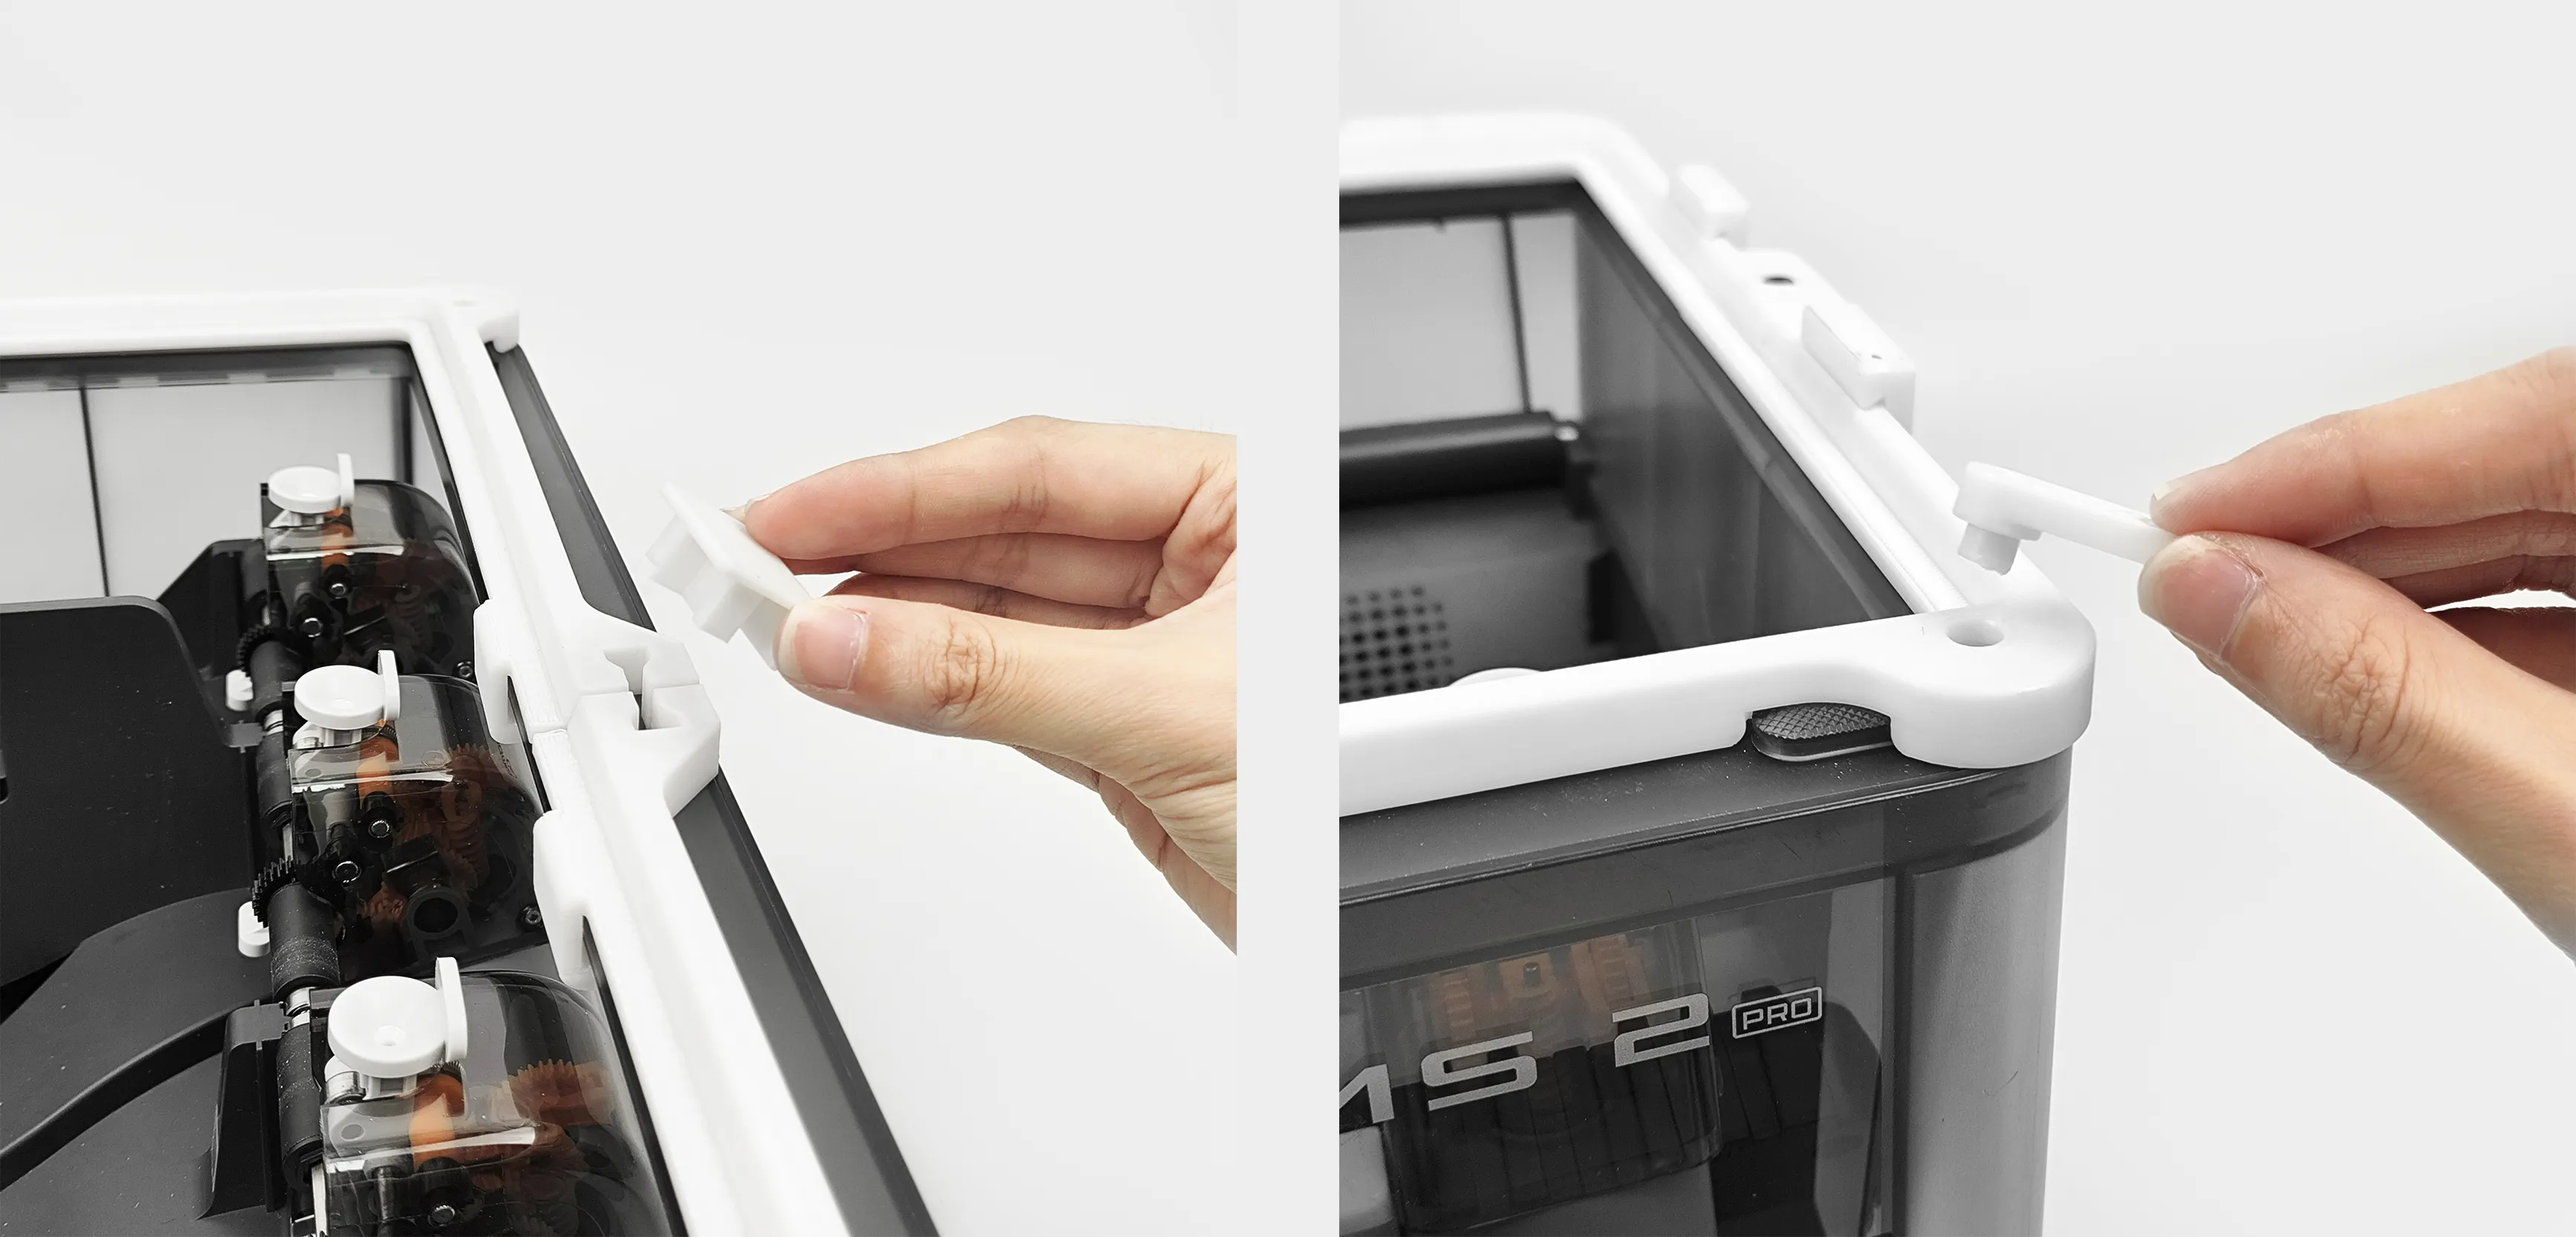
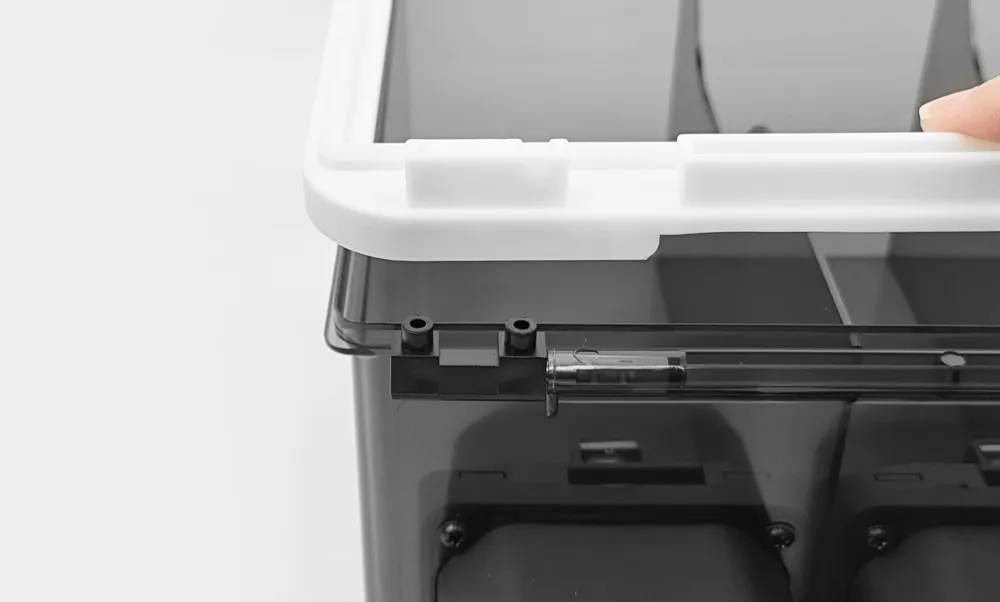
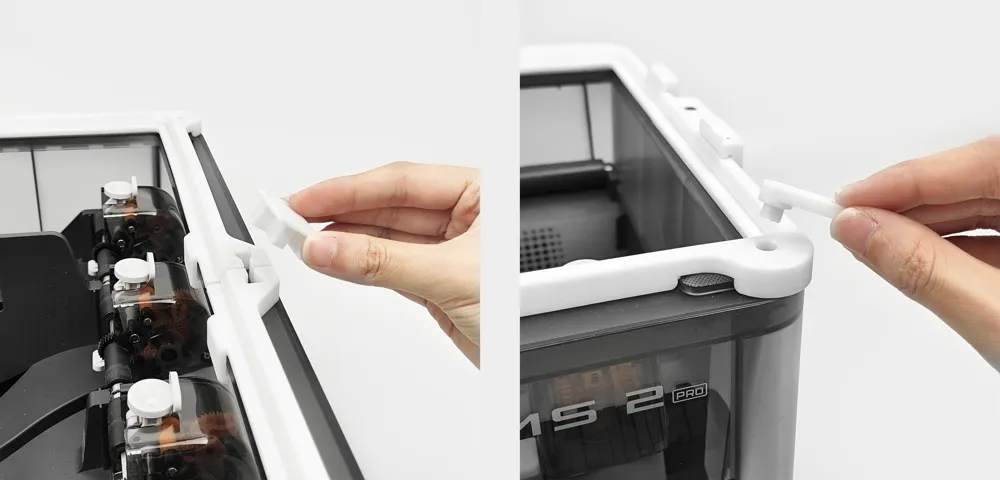
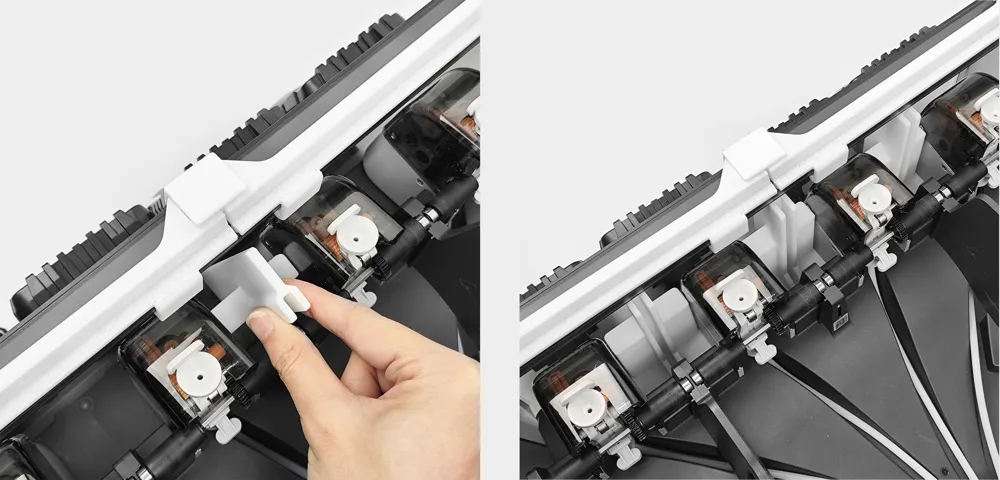
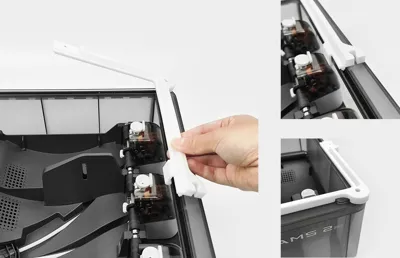
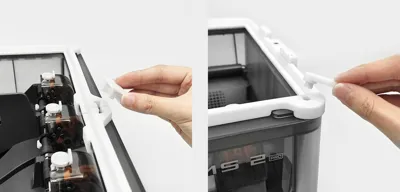
install the Lid conversion latch at the front frame and snap the upper cover latch into the corresponding slots on the lid conversion frame.
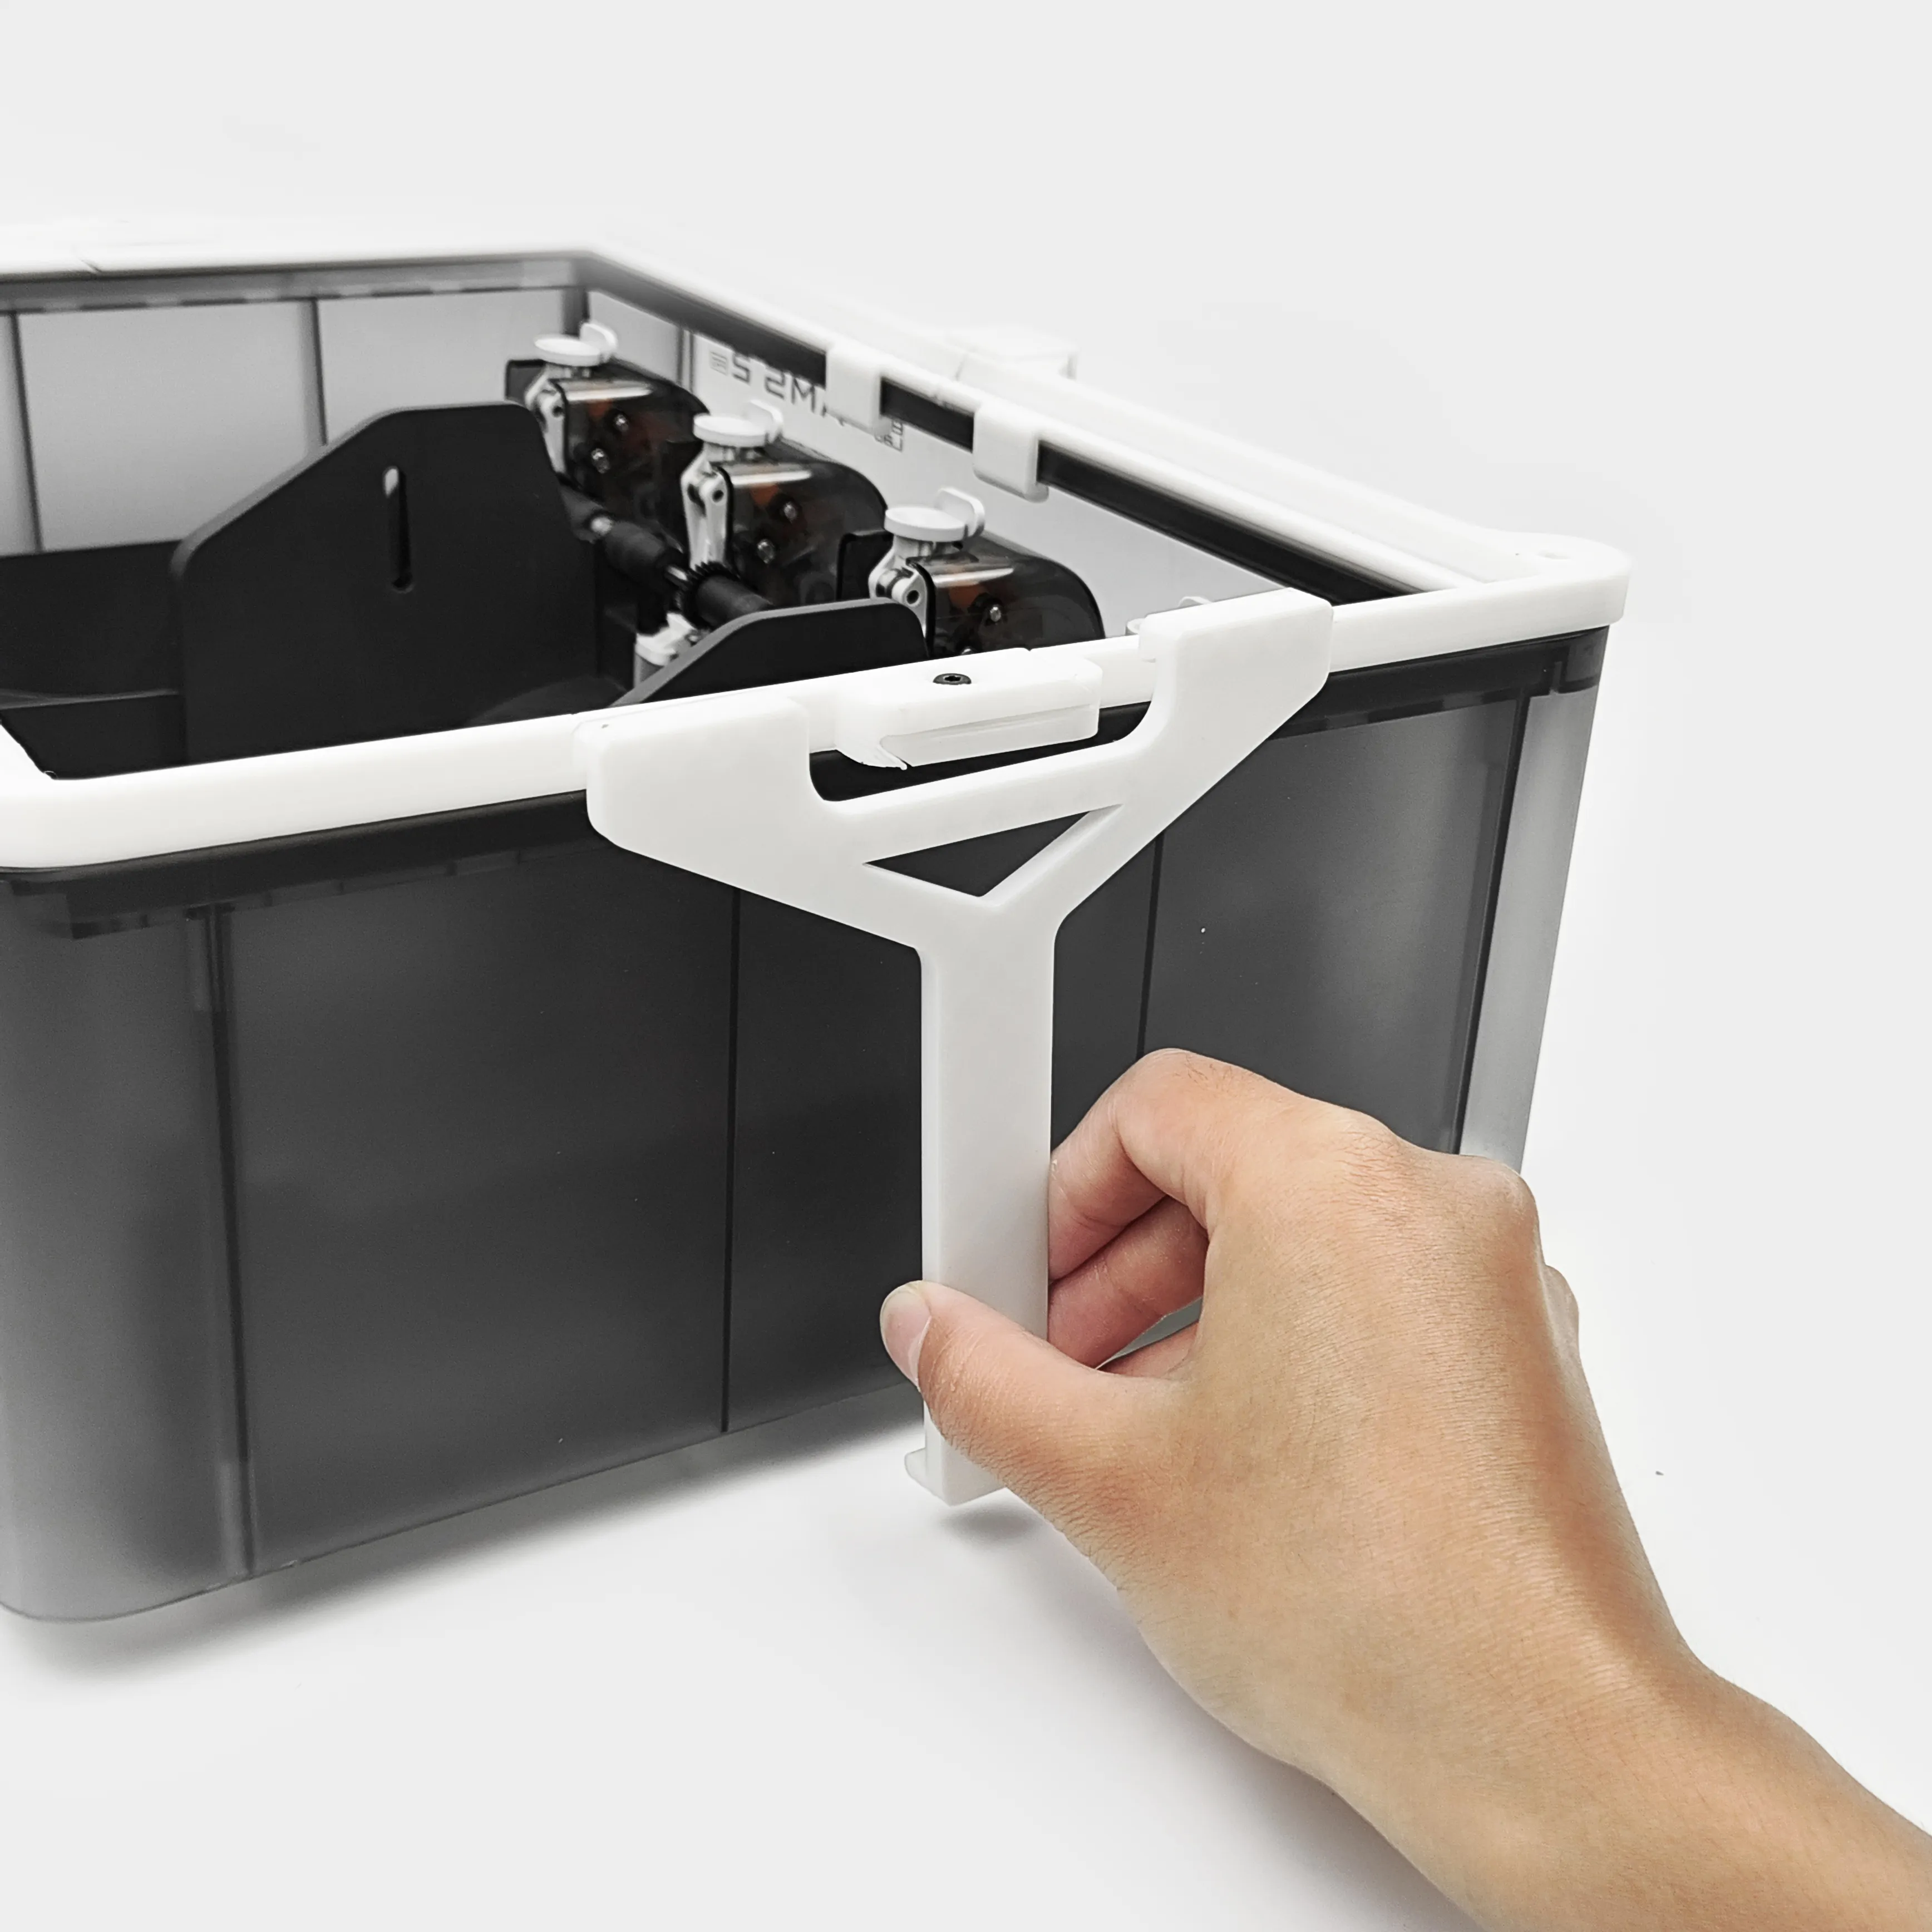
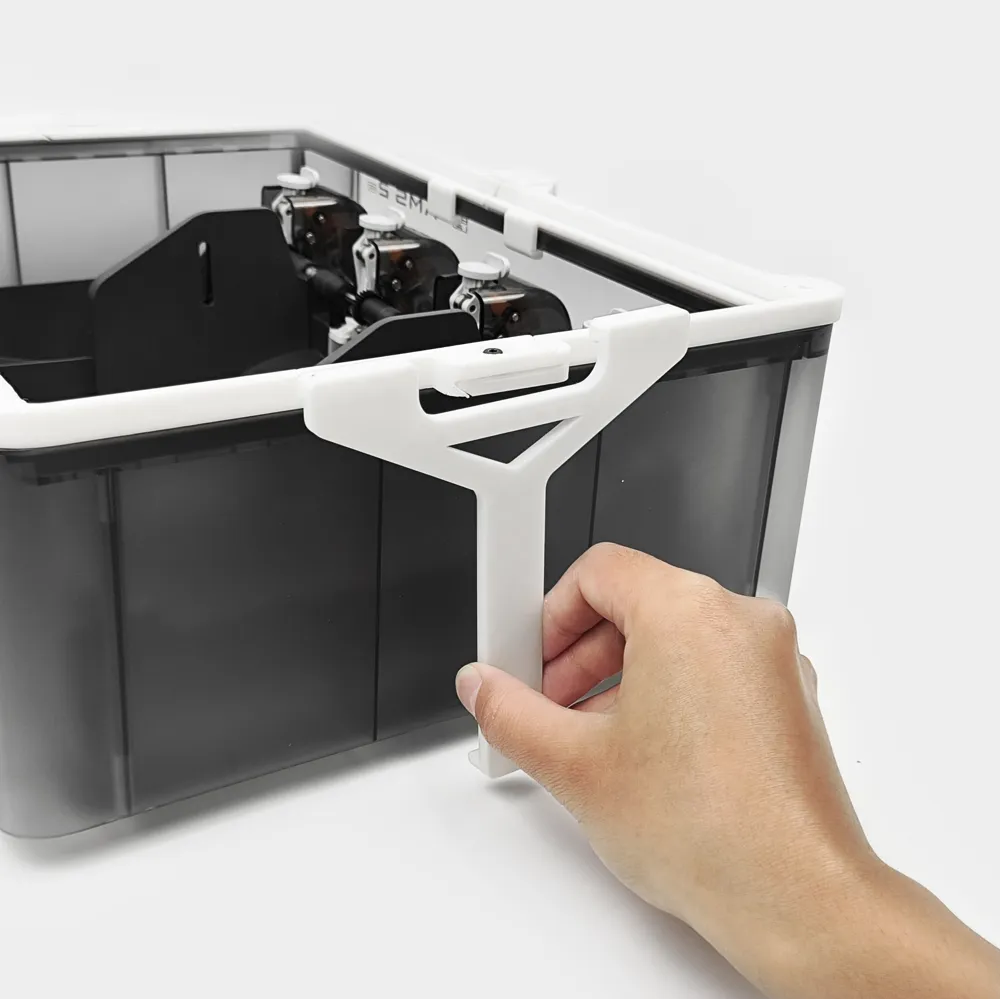
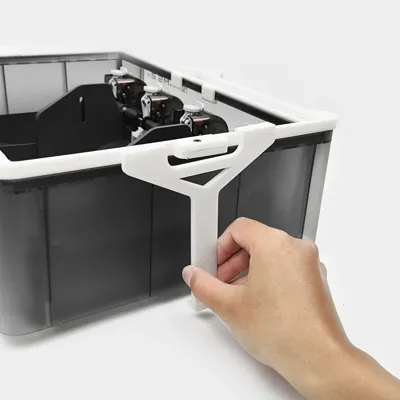
Stabilize the frame by installing Y-shaped side latch on both sides.
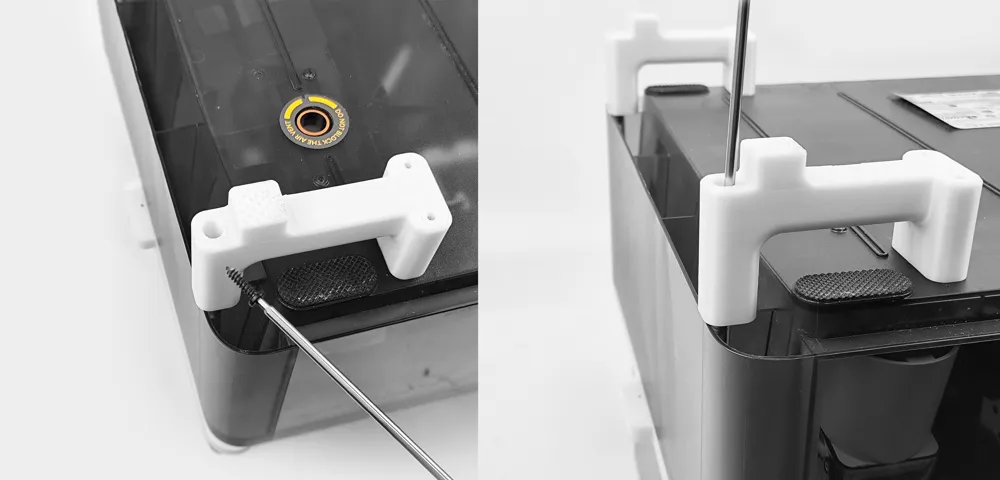
4.Install Bottom bracket
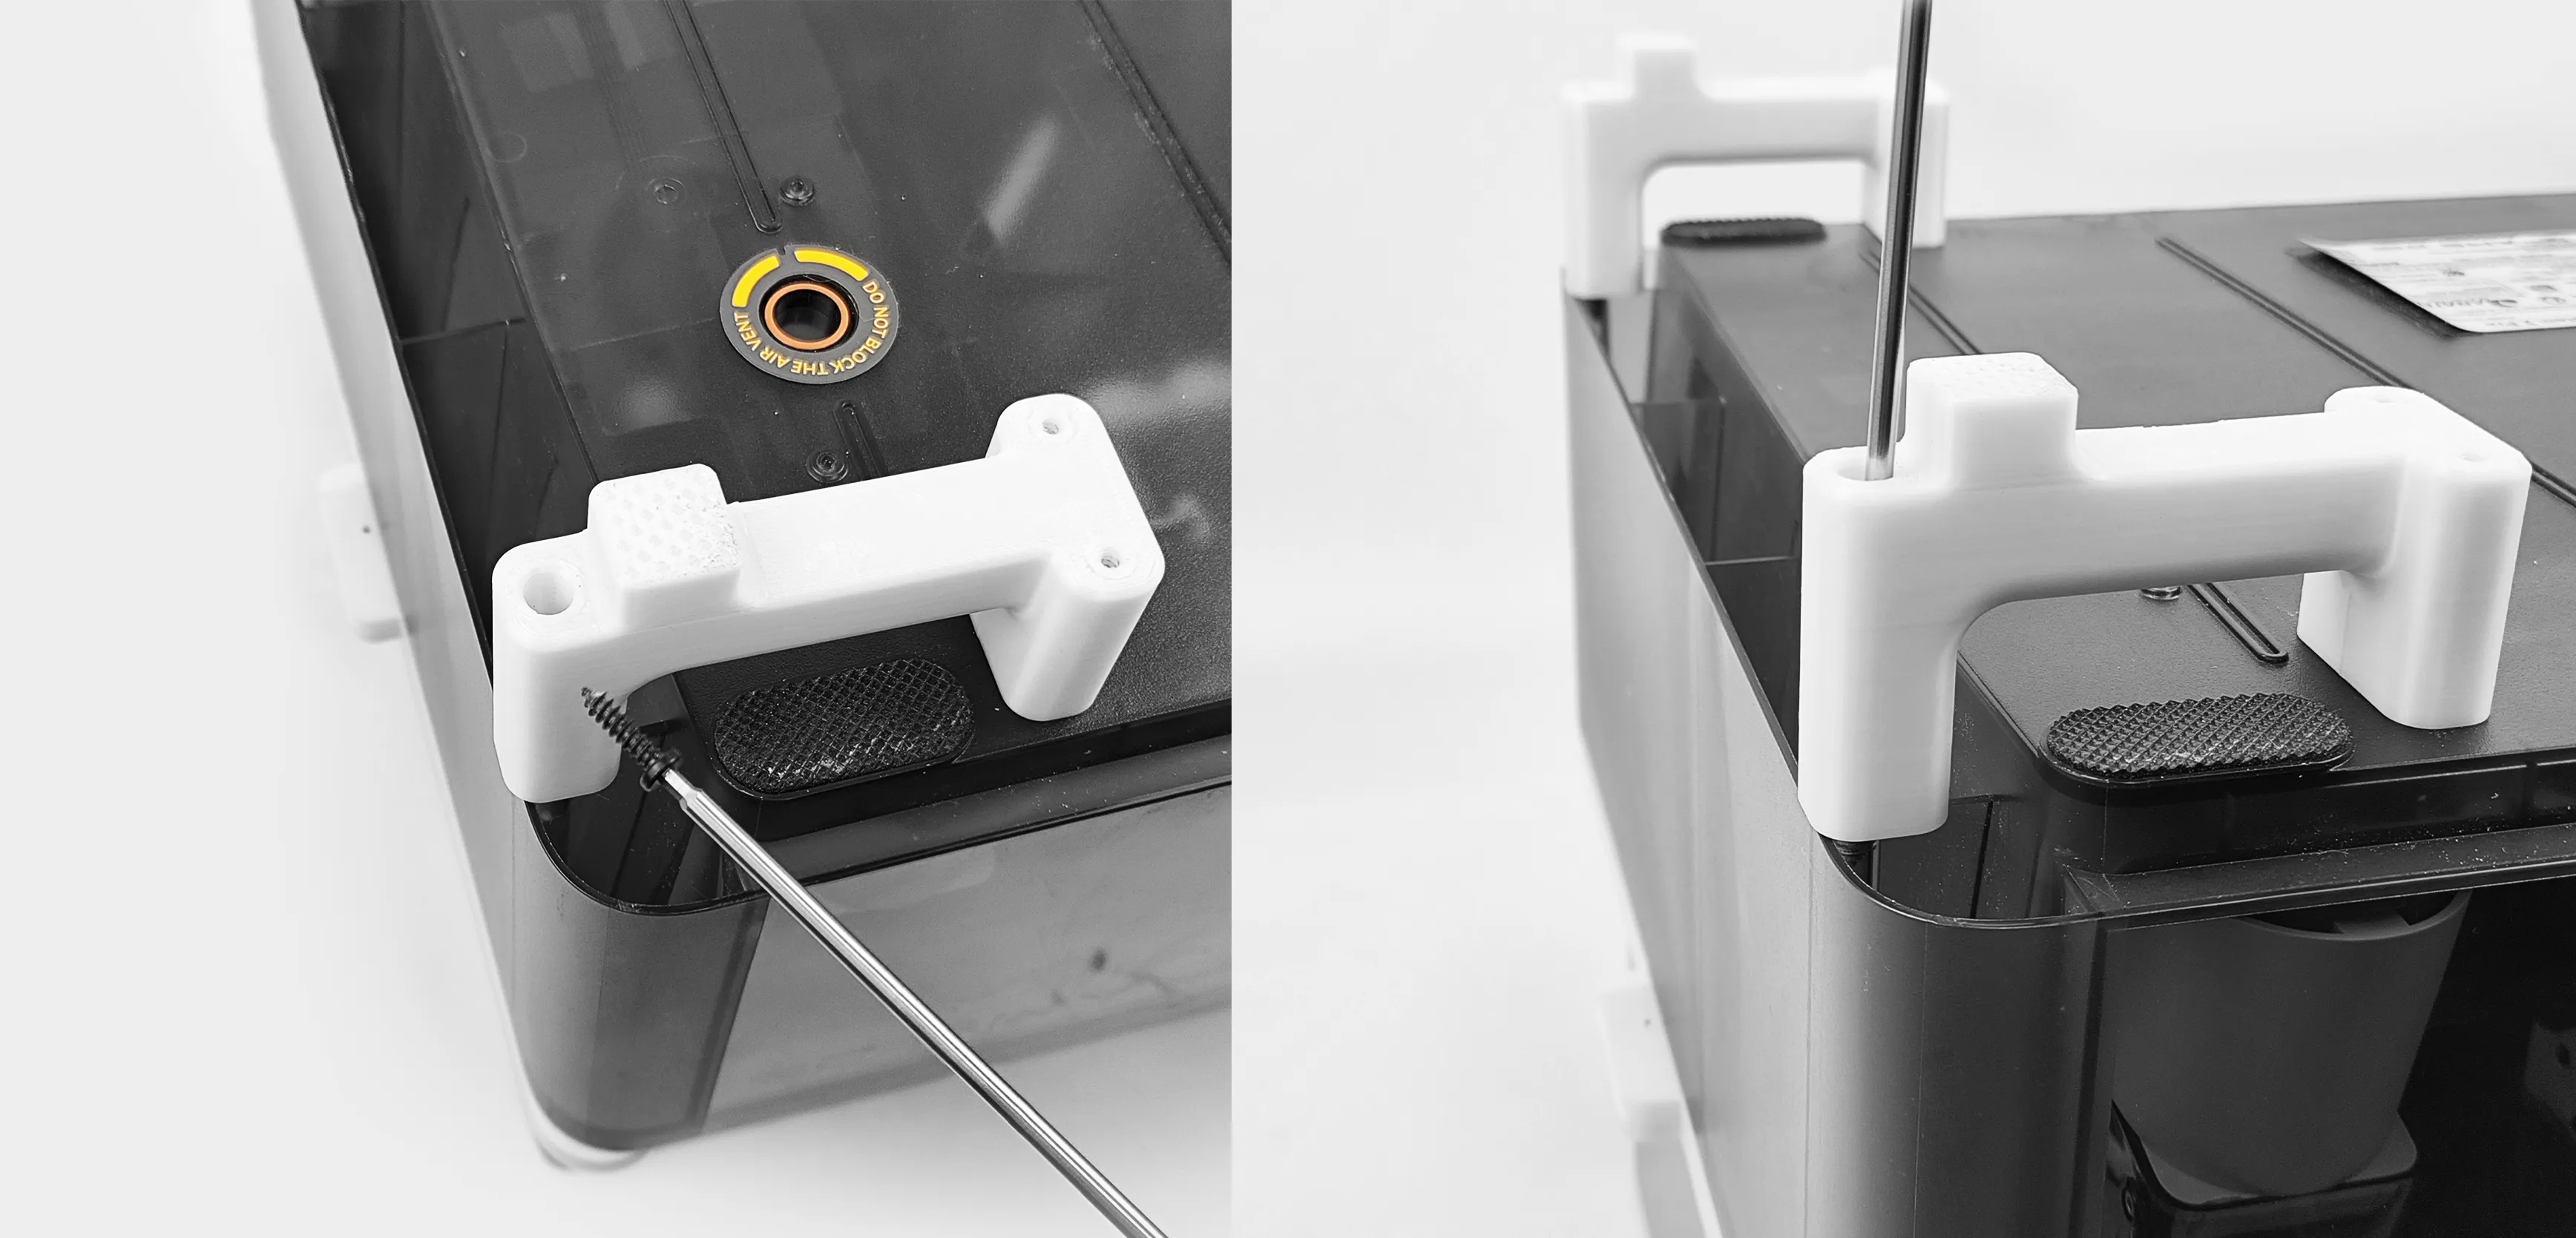
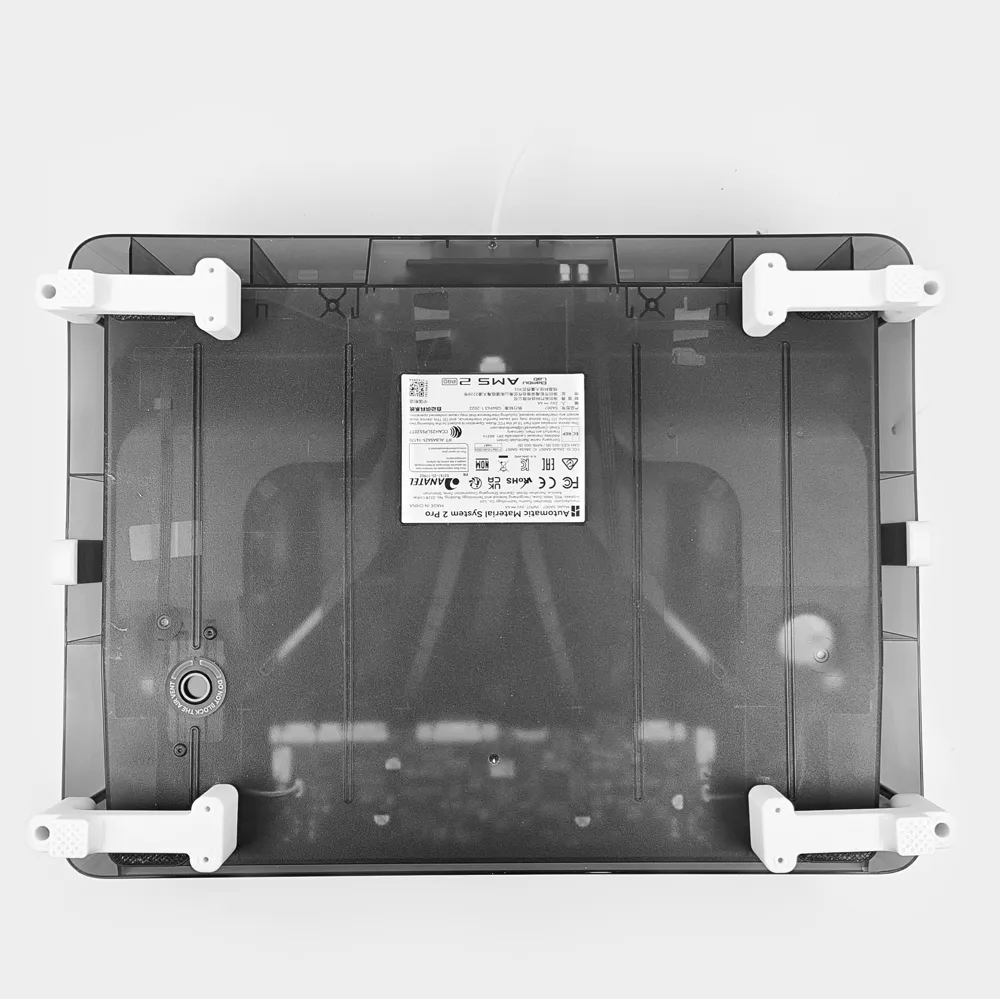
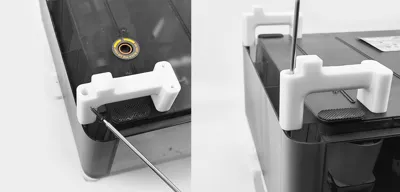
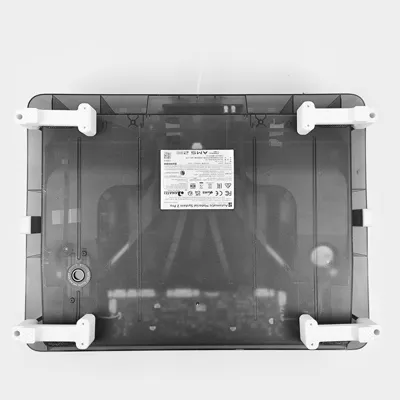
Install the bottom bracket using M3H12 screws through the pre-drilled holes located on the bottom (side) of the AMS 2 Pro, in total of 4 bracket.
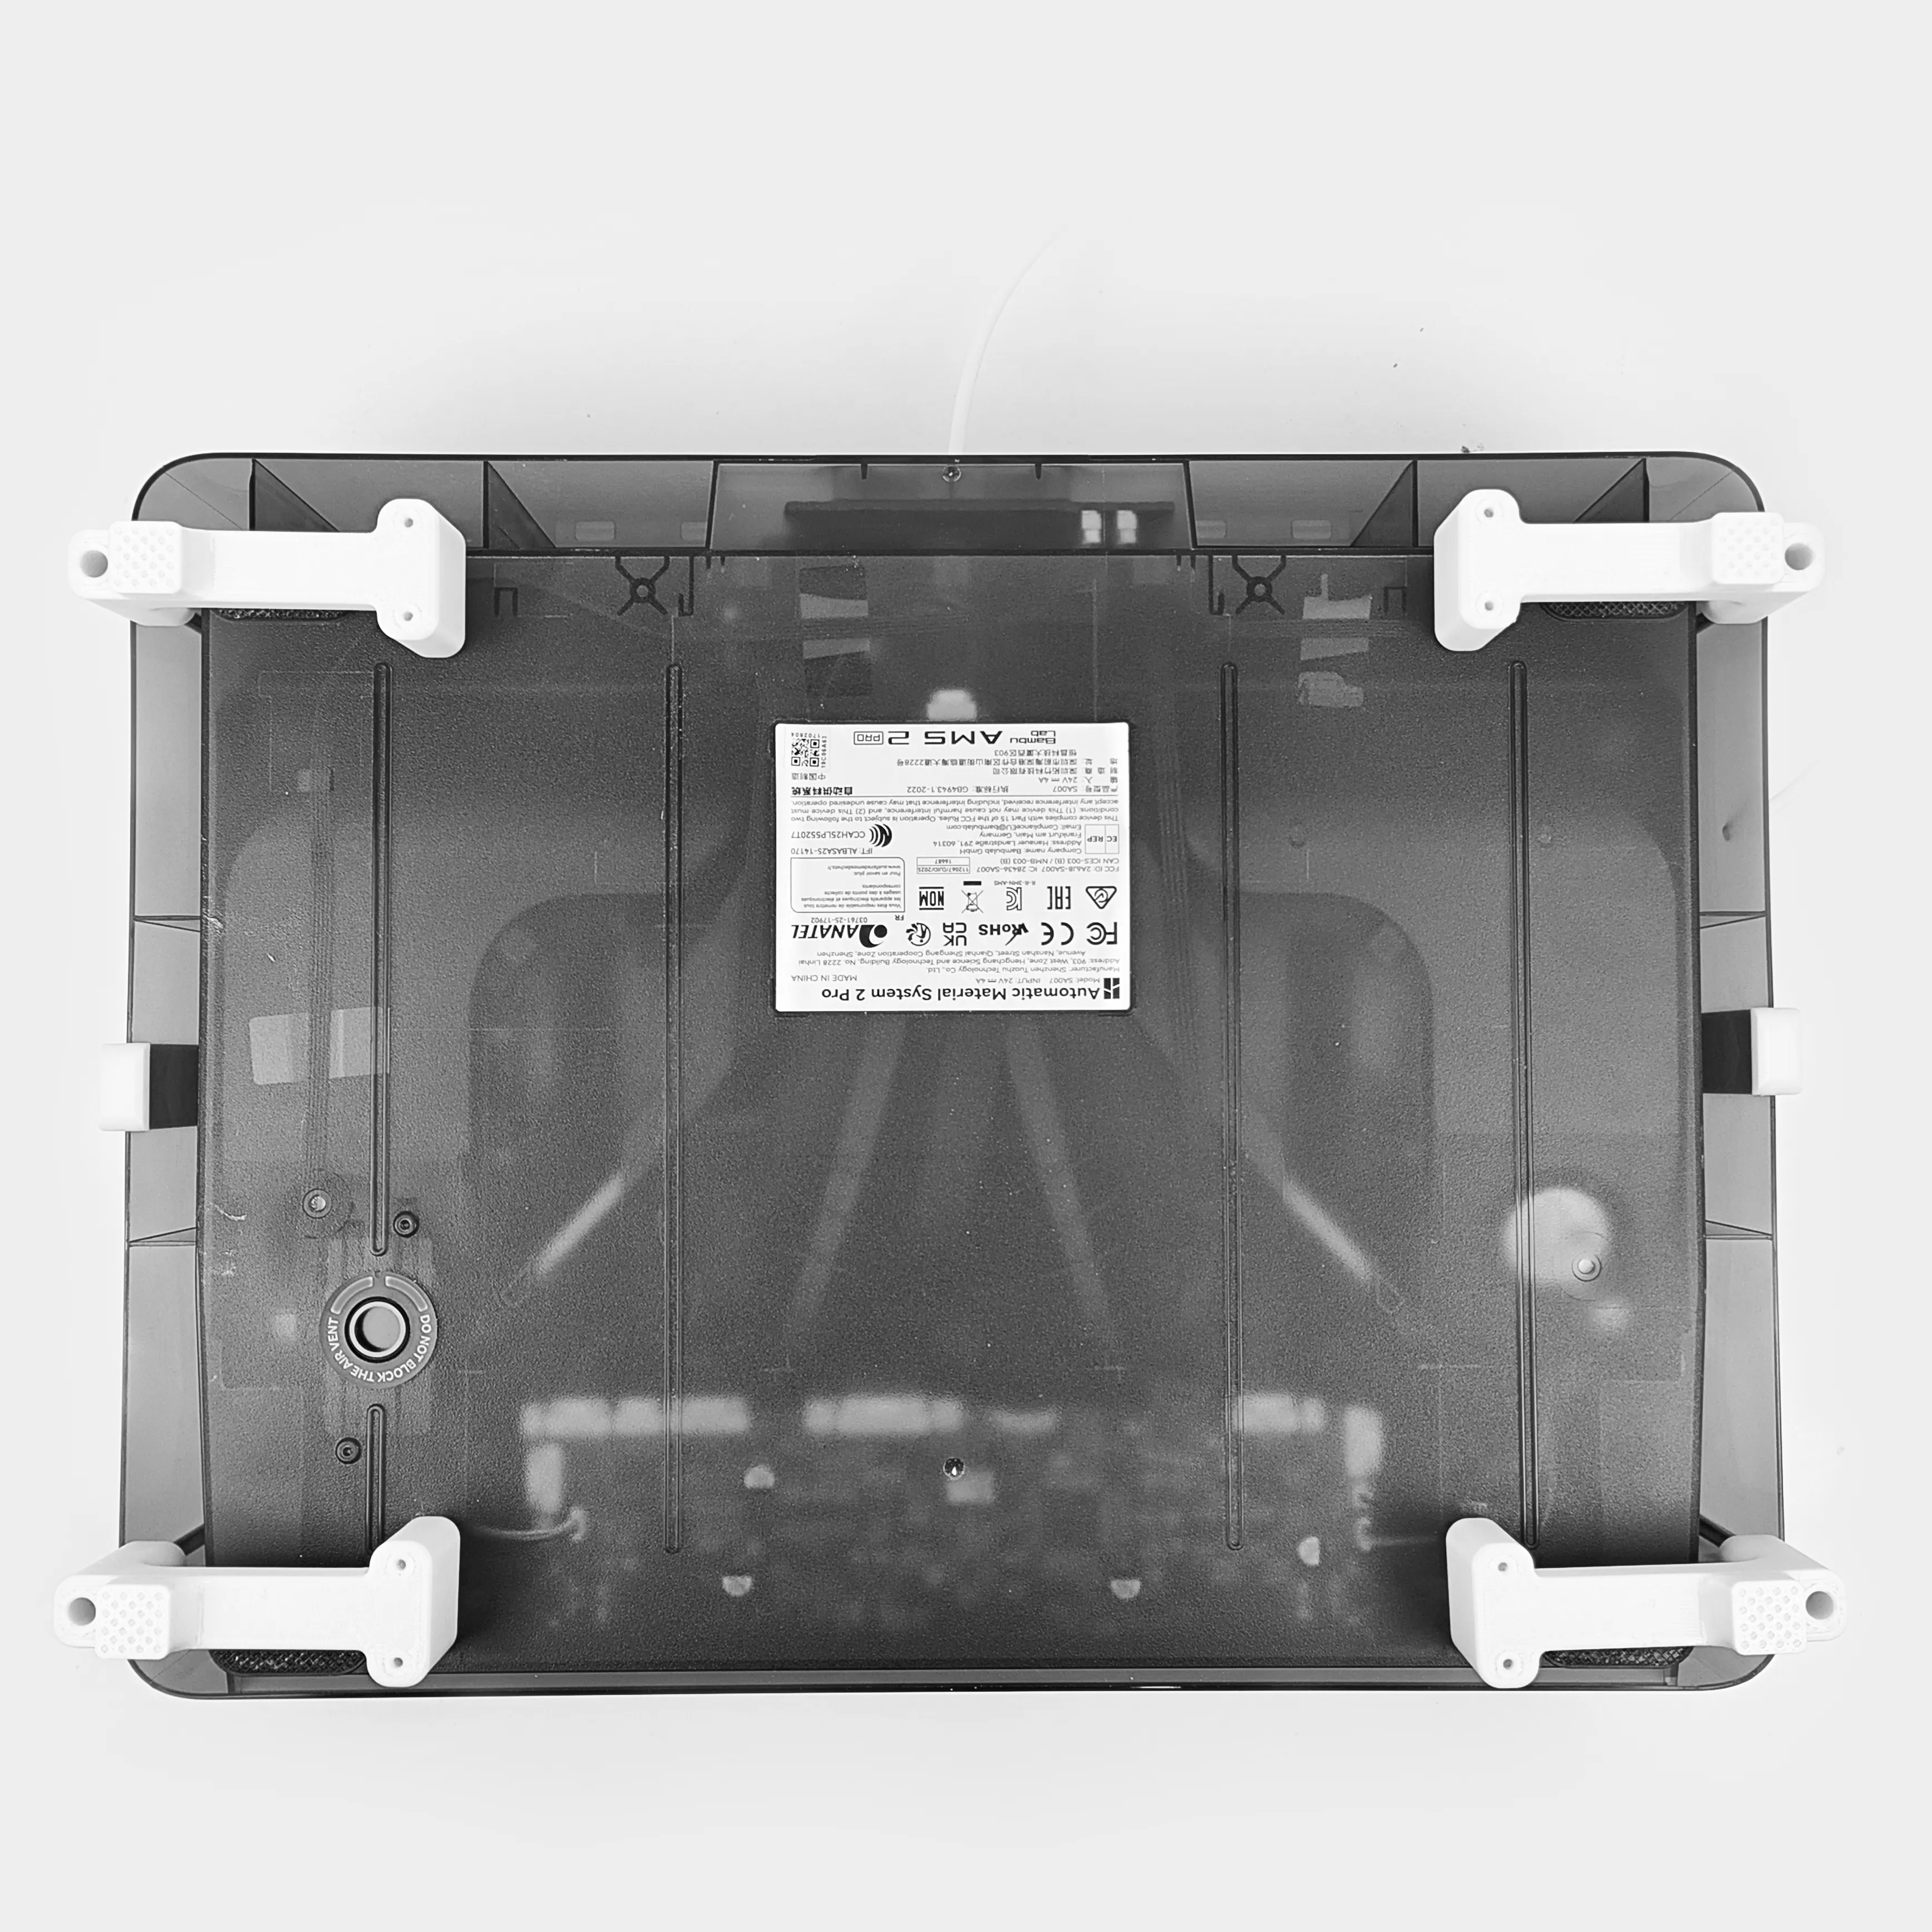
5. Install Power Module, Screen Module (including Cables)
The installation method for this part is consistent with the instructions in the product manual regarding the Power Module and Screen Module (including cables).
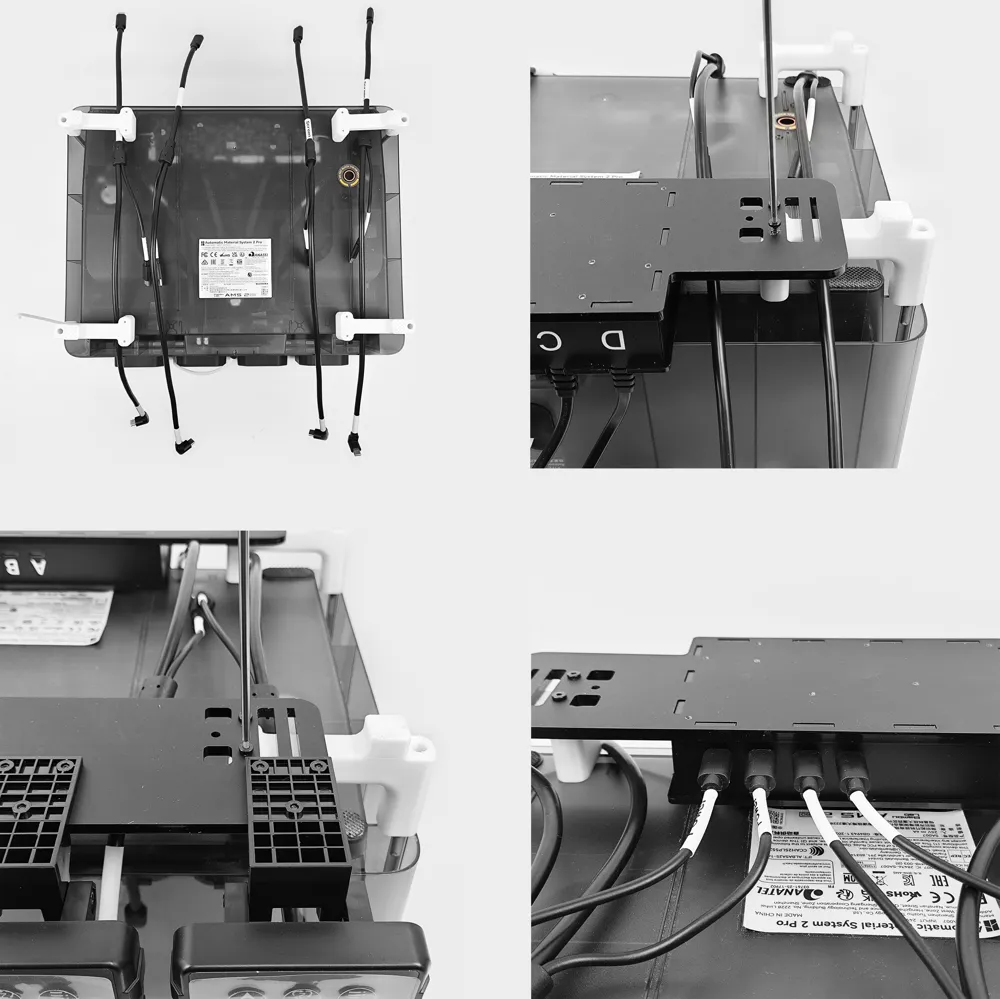
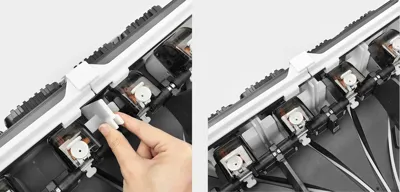
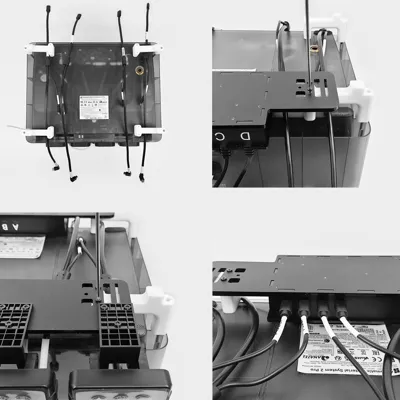
Notice: The four Type-C cables should be connected according to the following logical sequence to ensure proper functionality: connecting the Screen module and heating core (in the Upper Cover Module) within the same compartment to the power supply module that is most optimally positioned (corresponding to A, B, C, and D) according to the markings on the Type-C cable.
Position the Type-C cable as shown in the diagram before installing the Power Module.
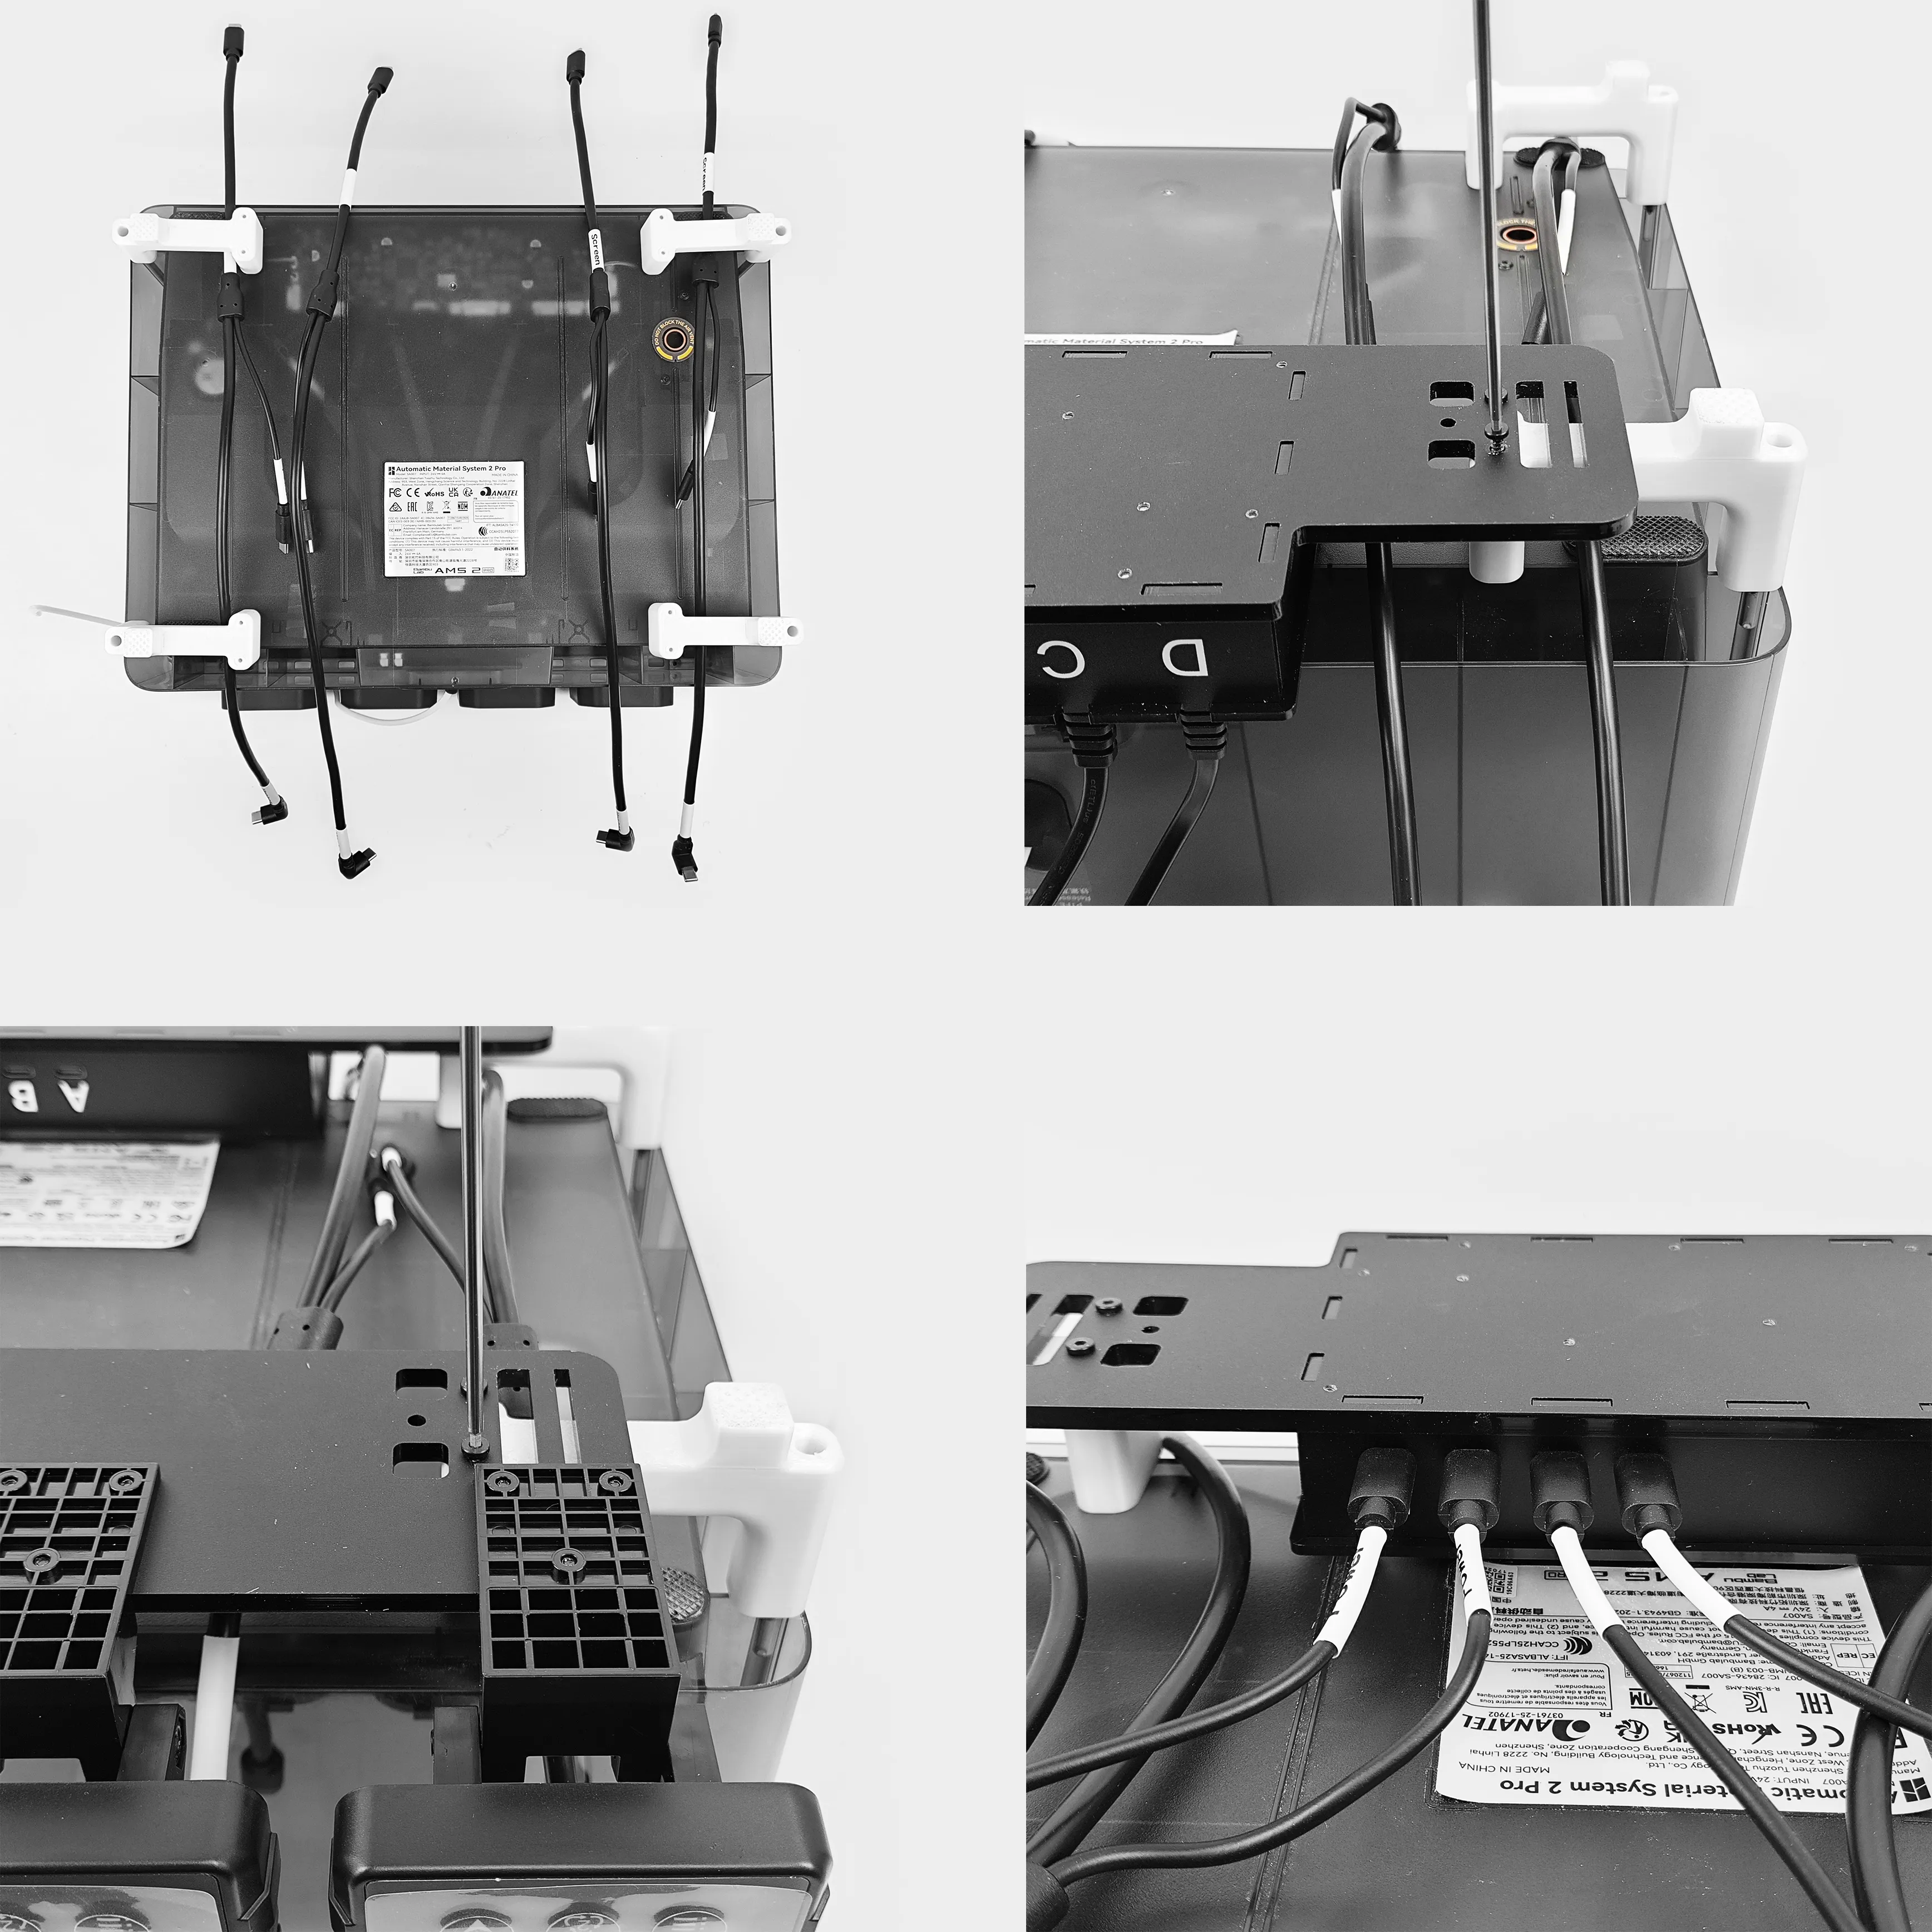
Secure the Screen Module to the Bottom bracket using four M3H12 screws.
Position the Type-C cable as shown in the diagram before installing the Power Module.
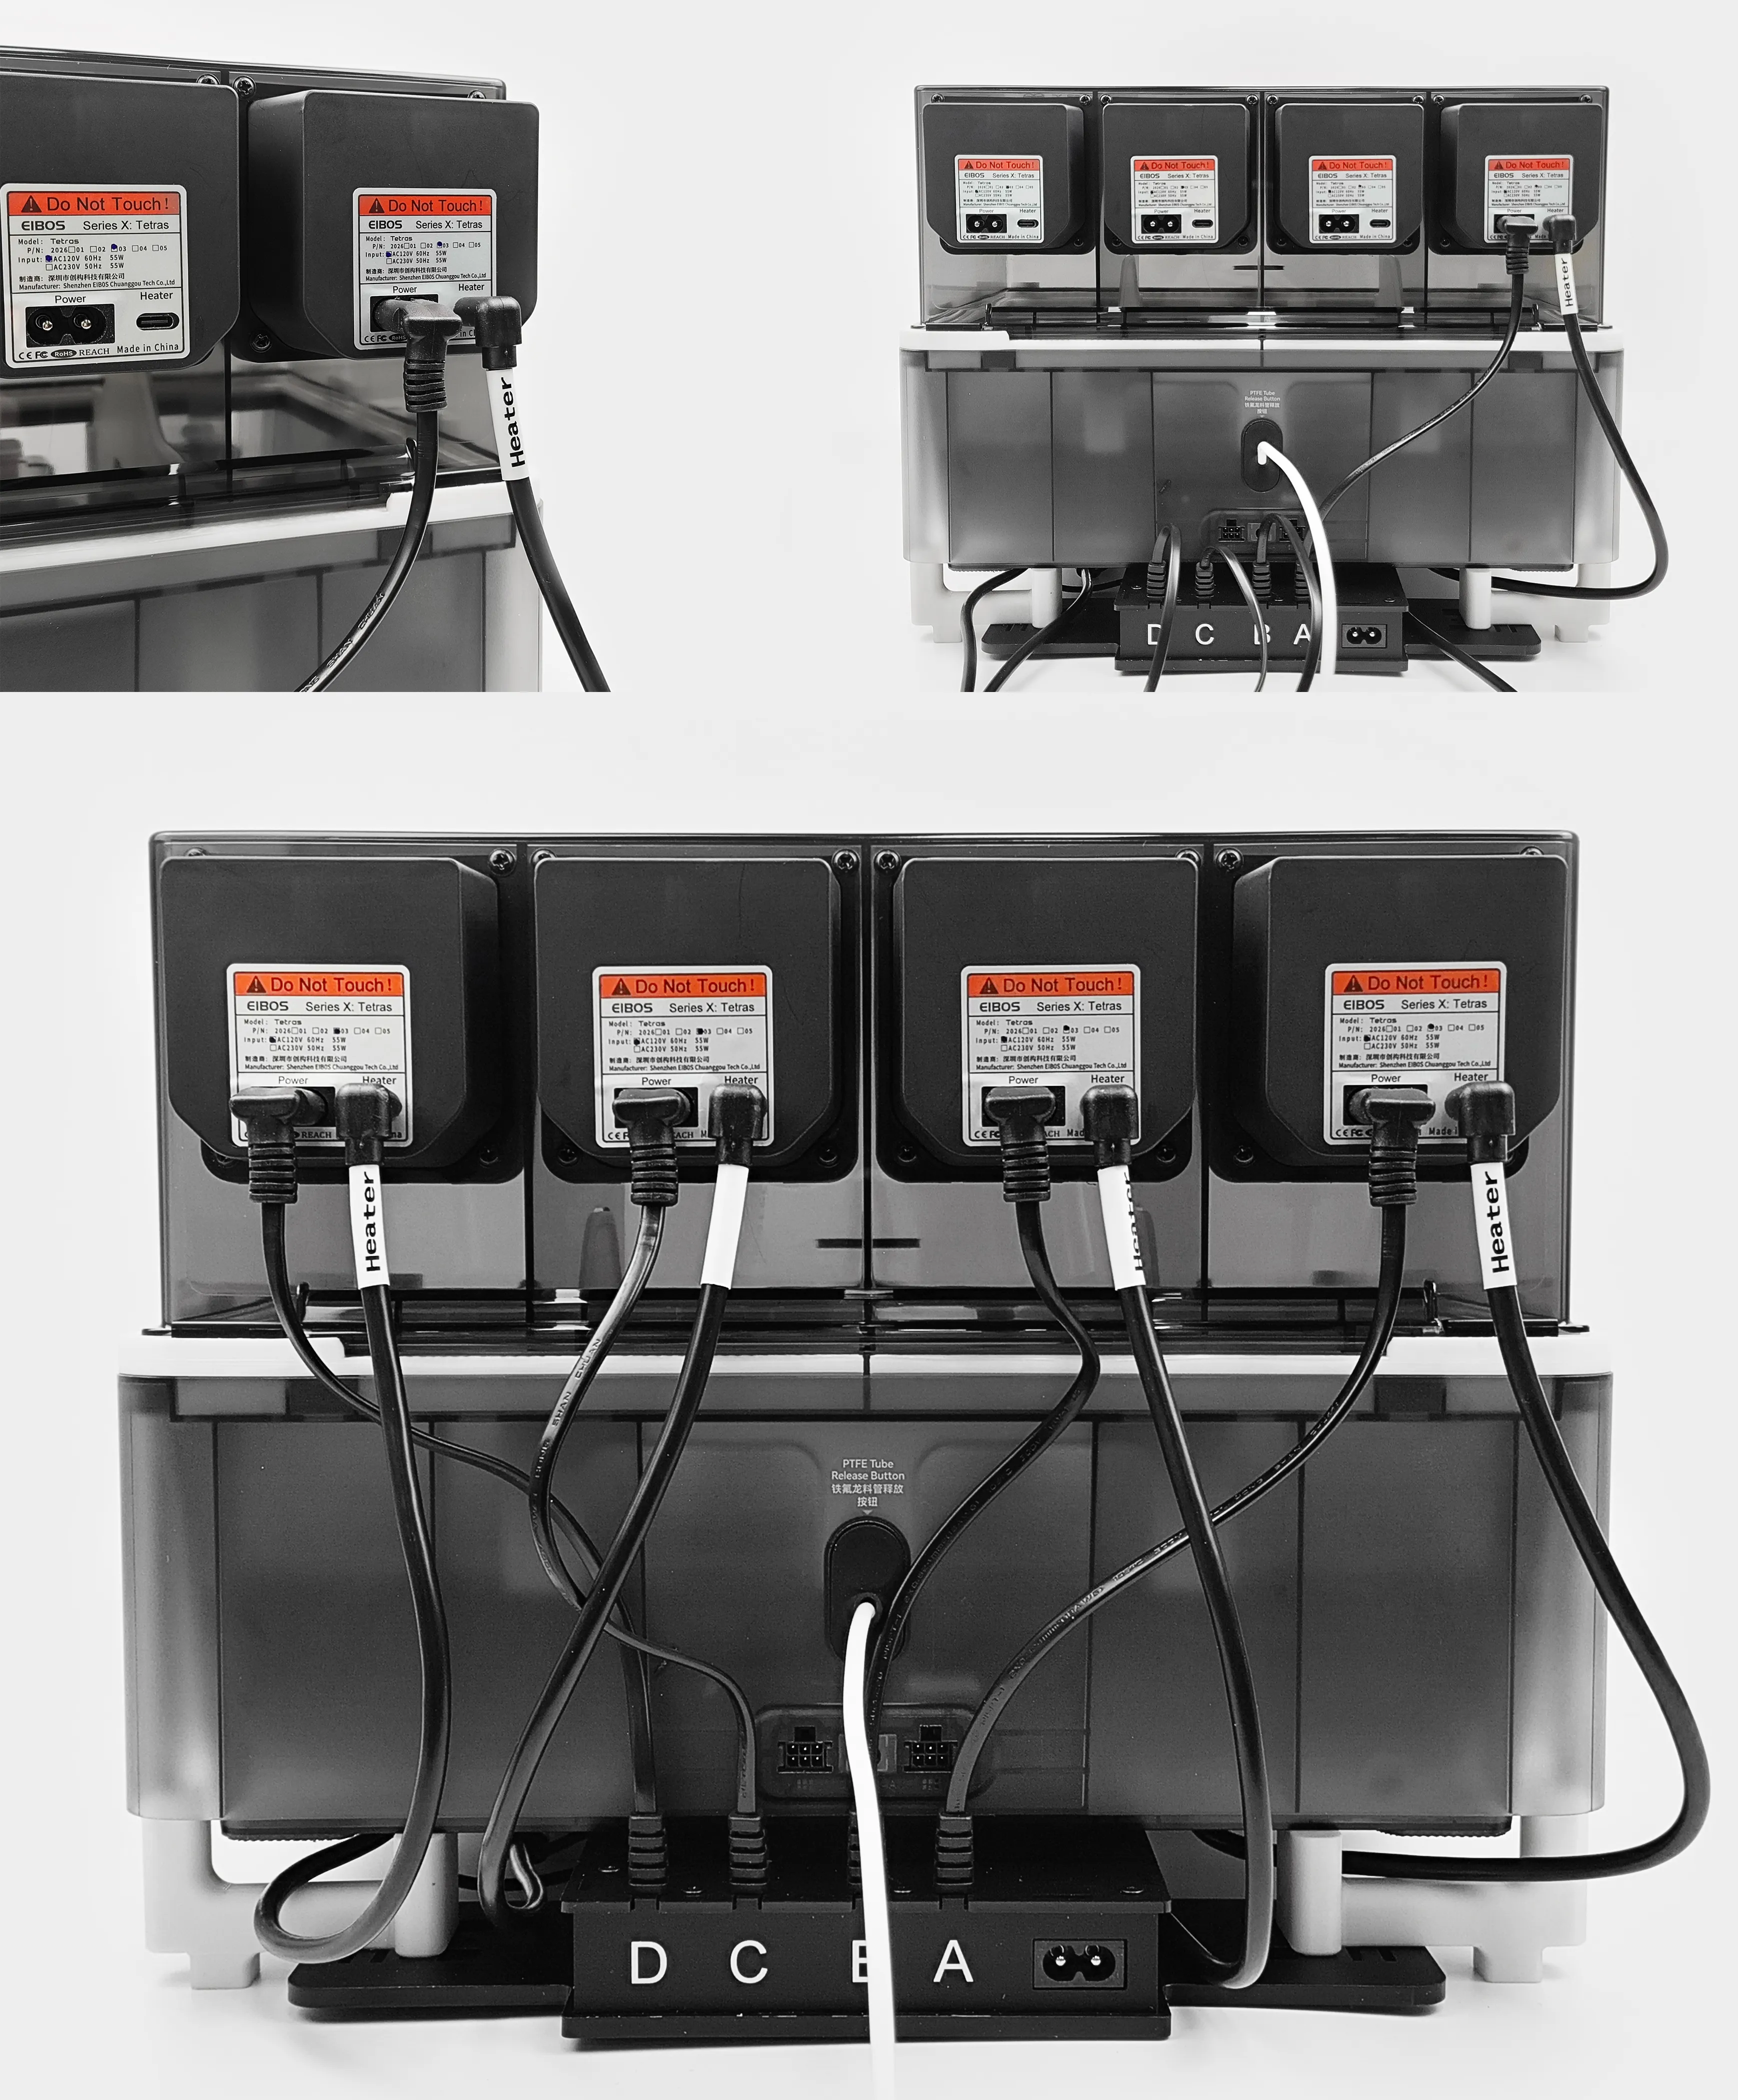
Connect the Type-C and power module cables to the heat core within the upper cover module, following the specified sequence.
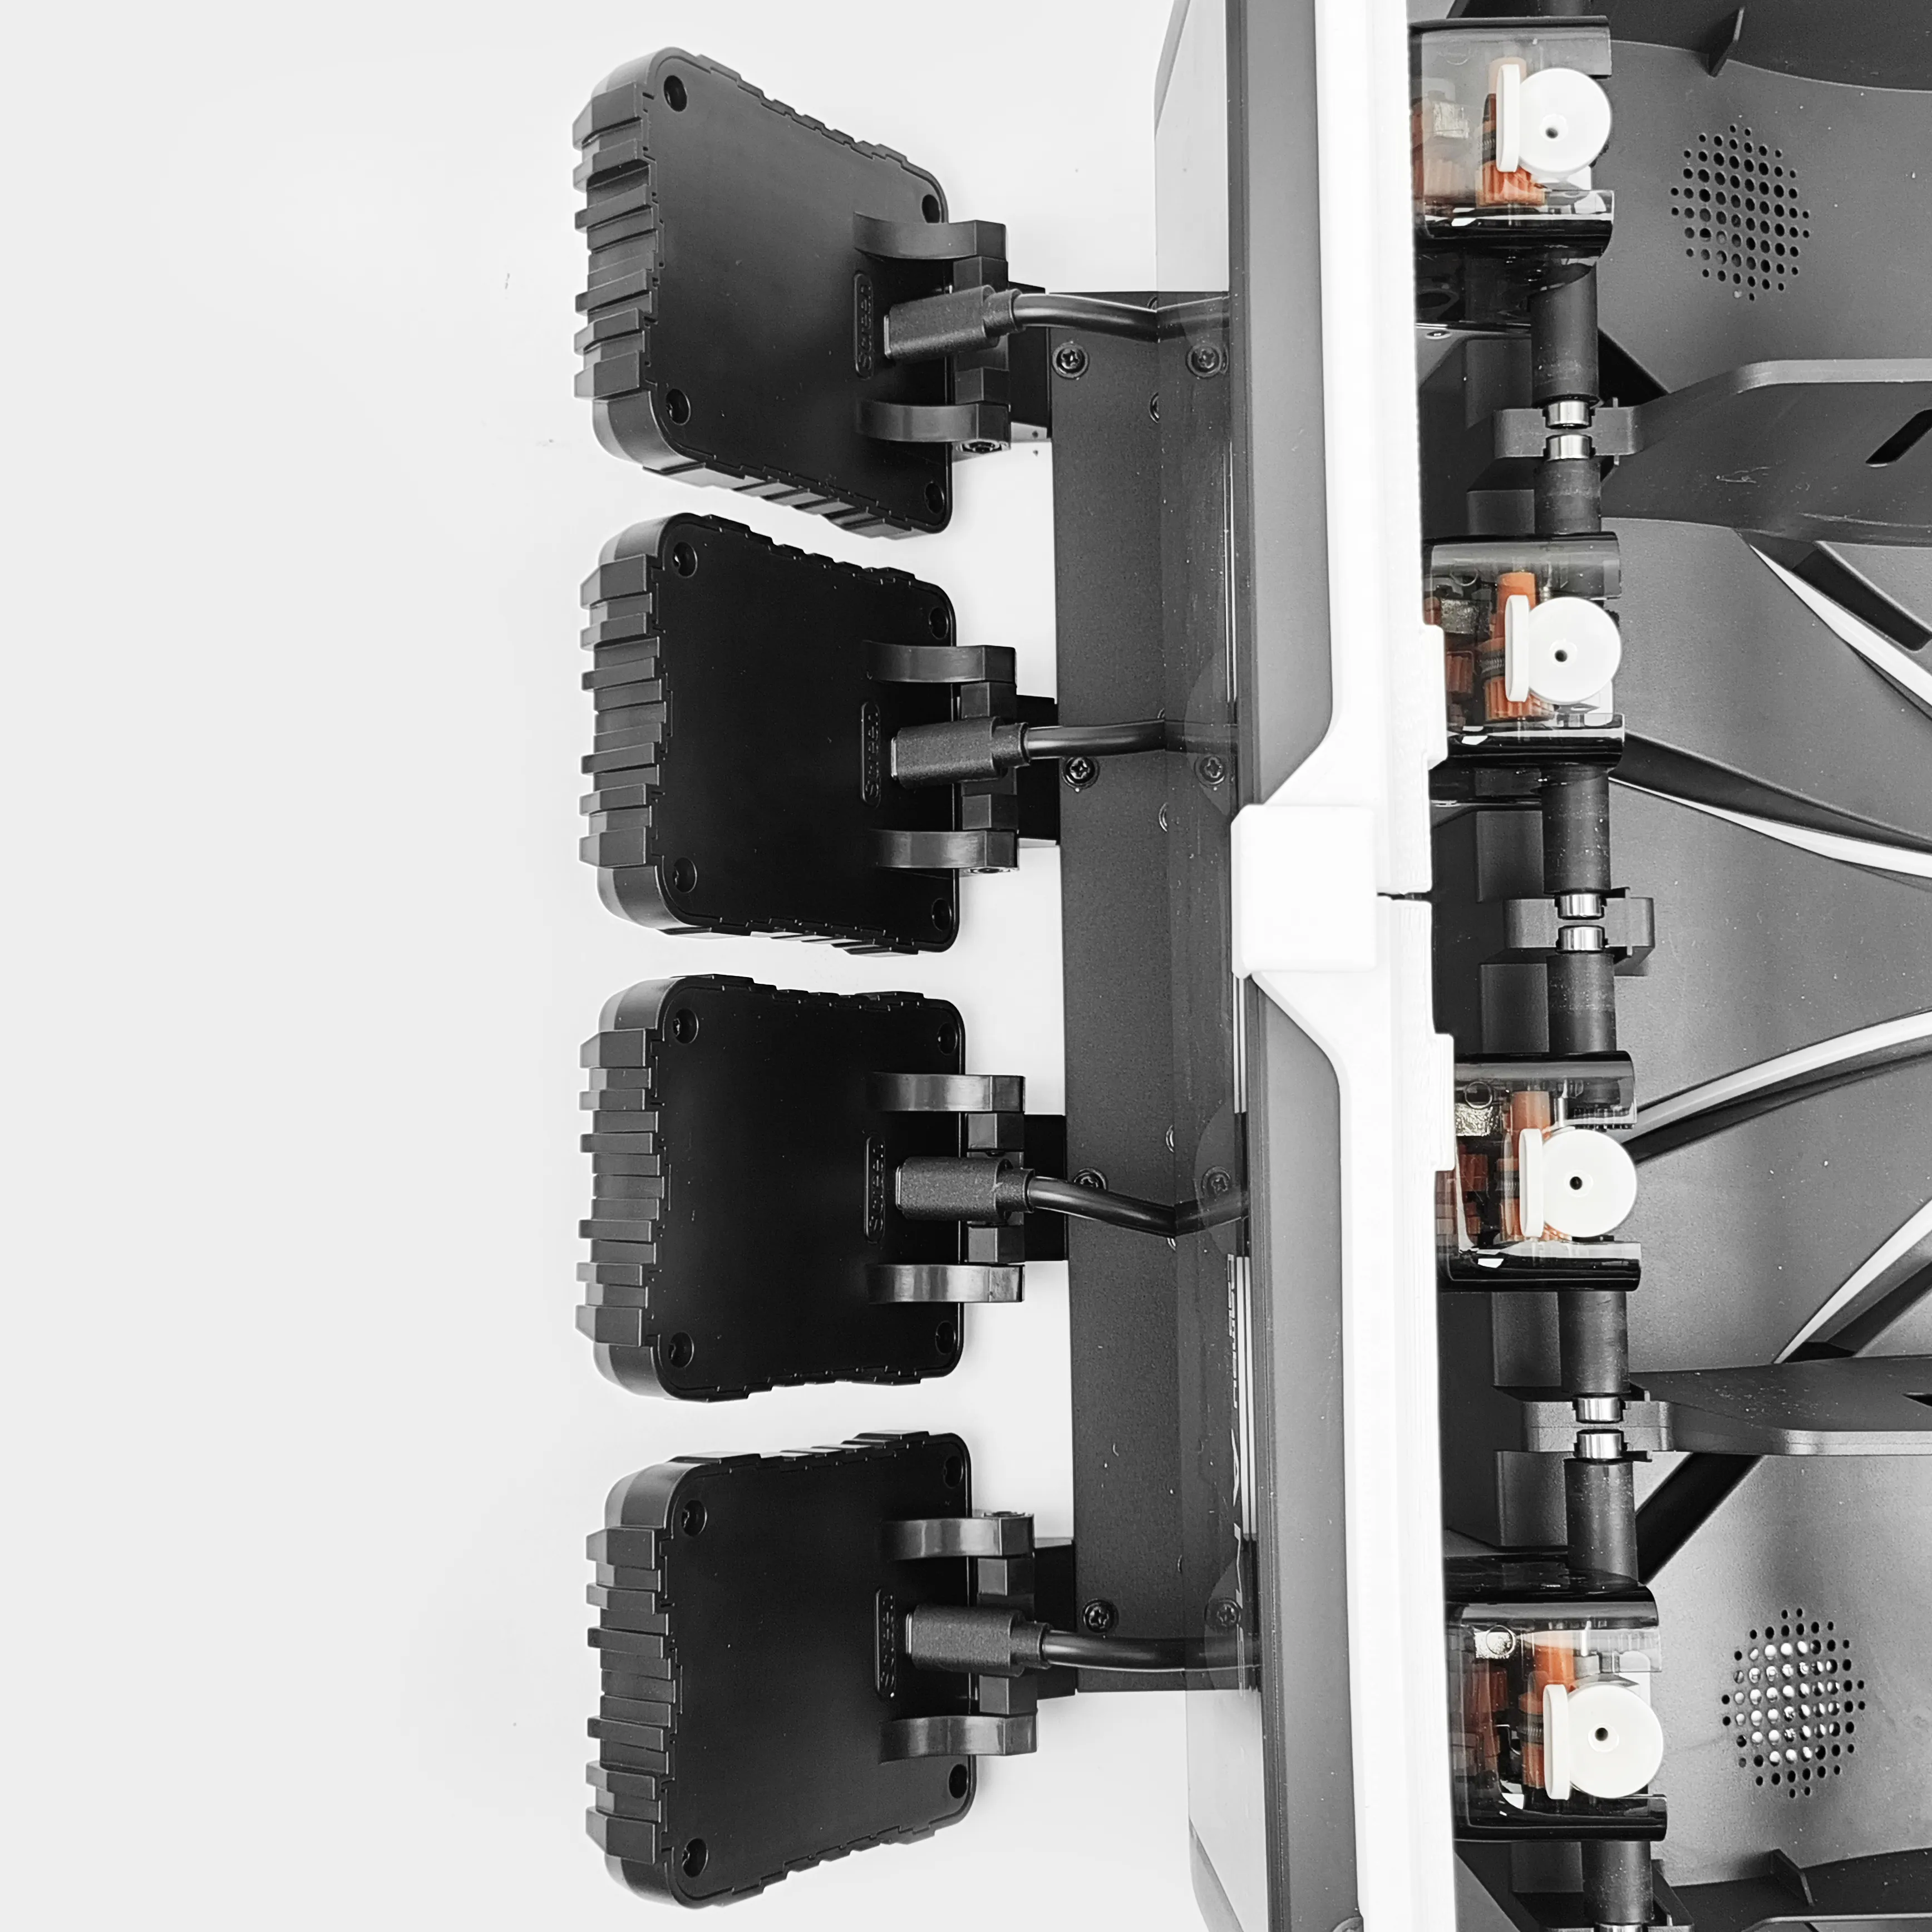
Connect the "Screen" port of the Type-C cable to the back of the Screen Module.
6. Divider
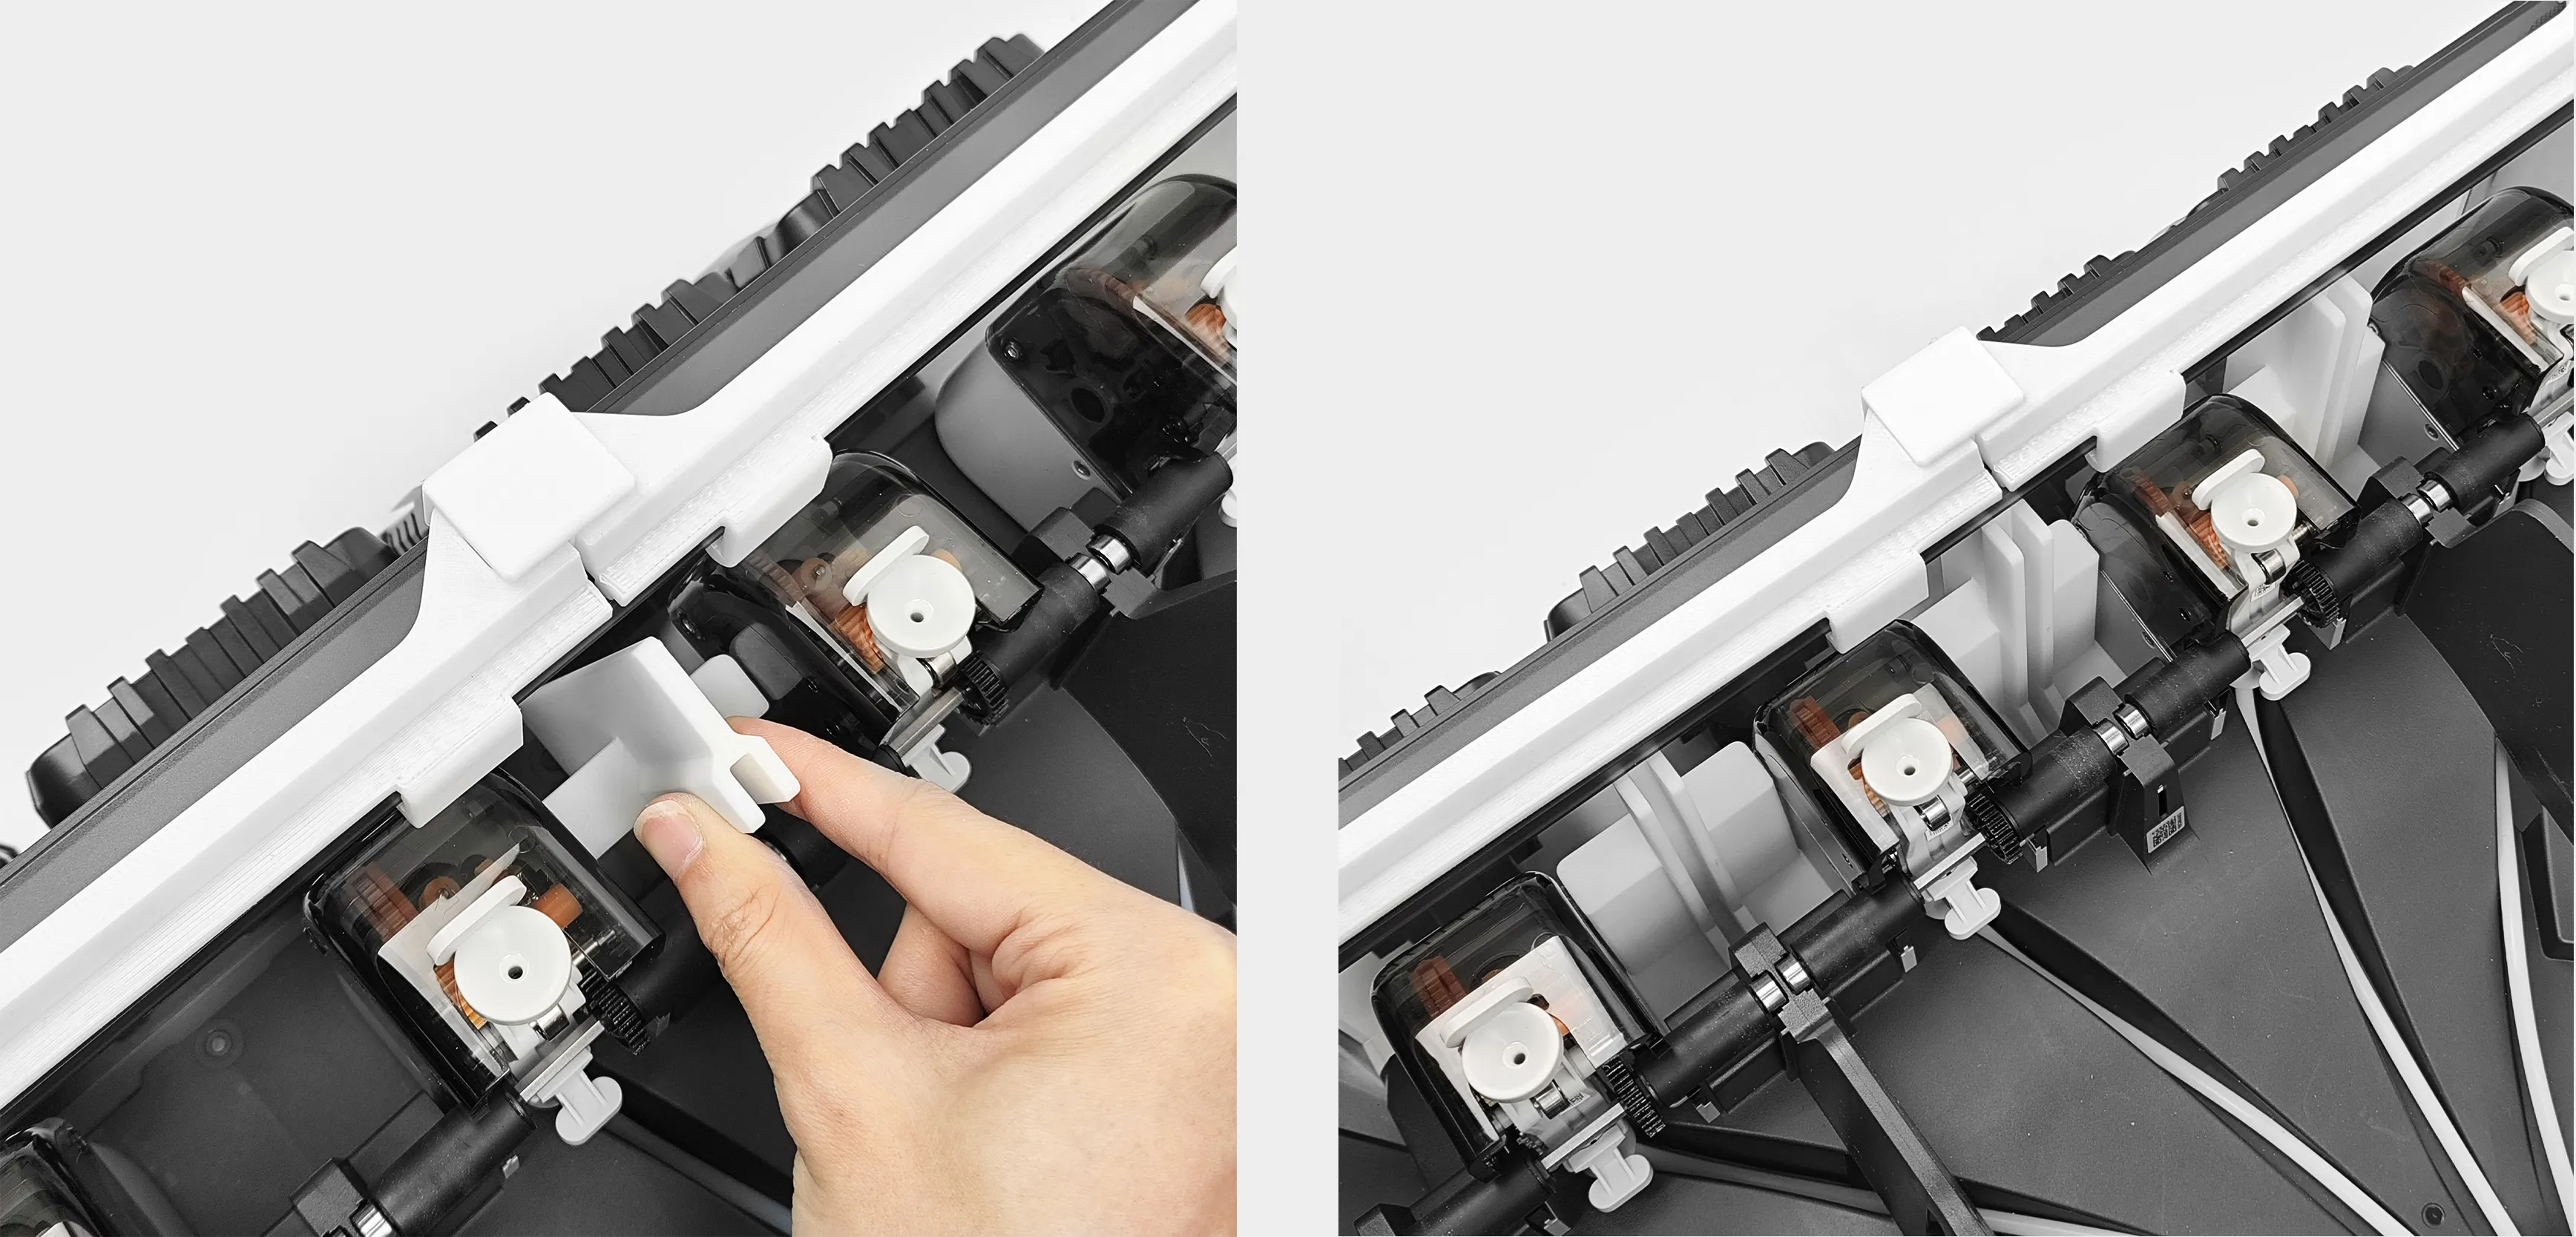
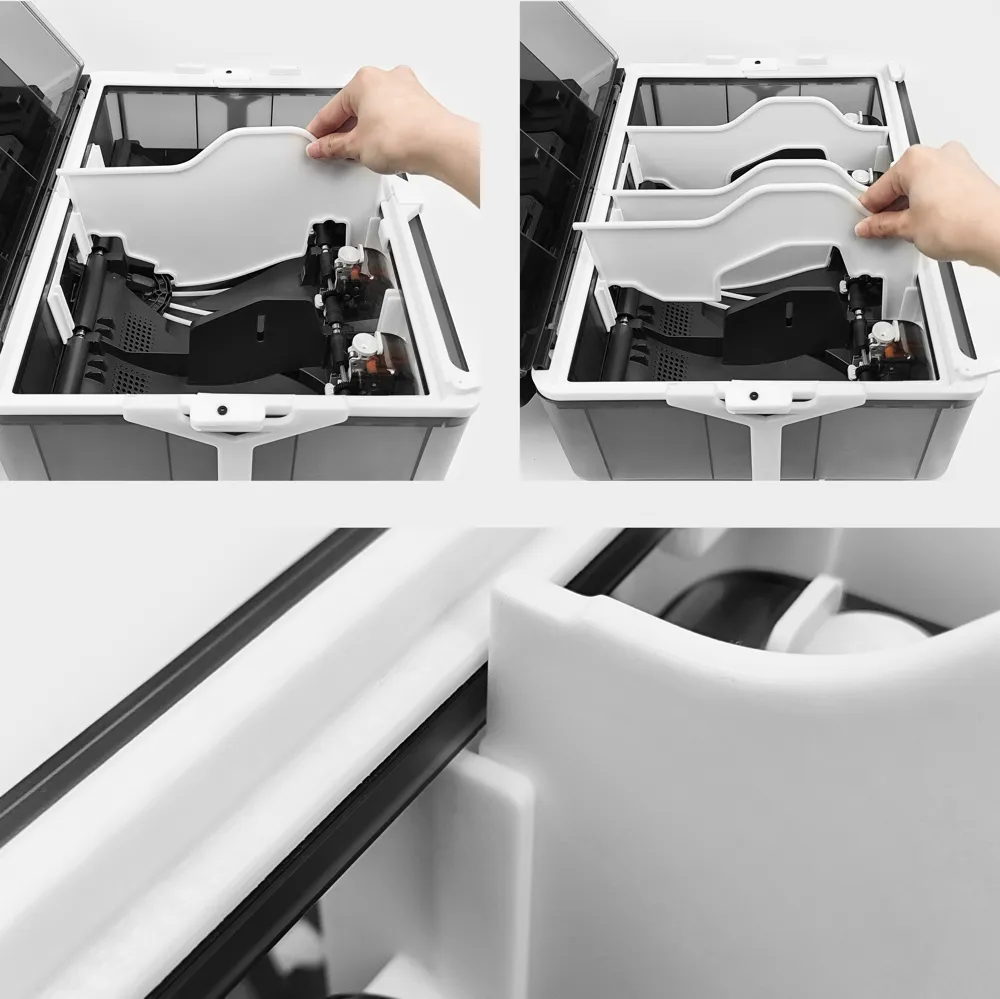
Install the Divider bracket front at the position shown in the figure.
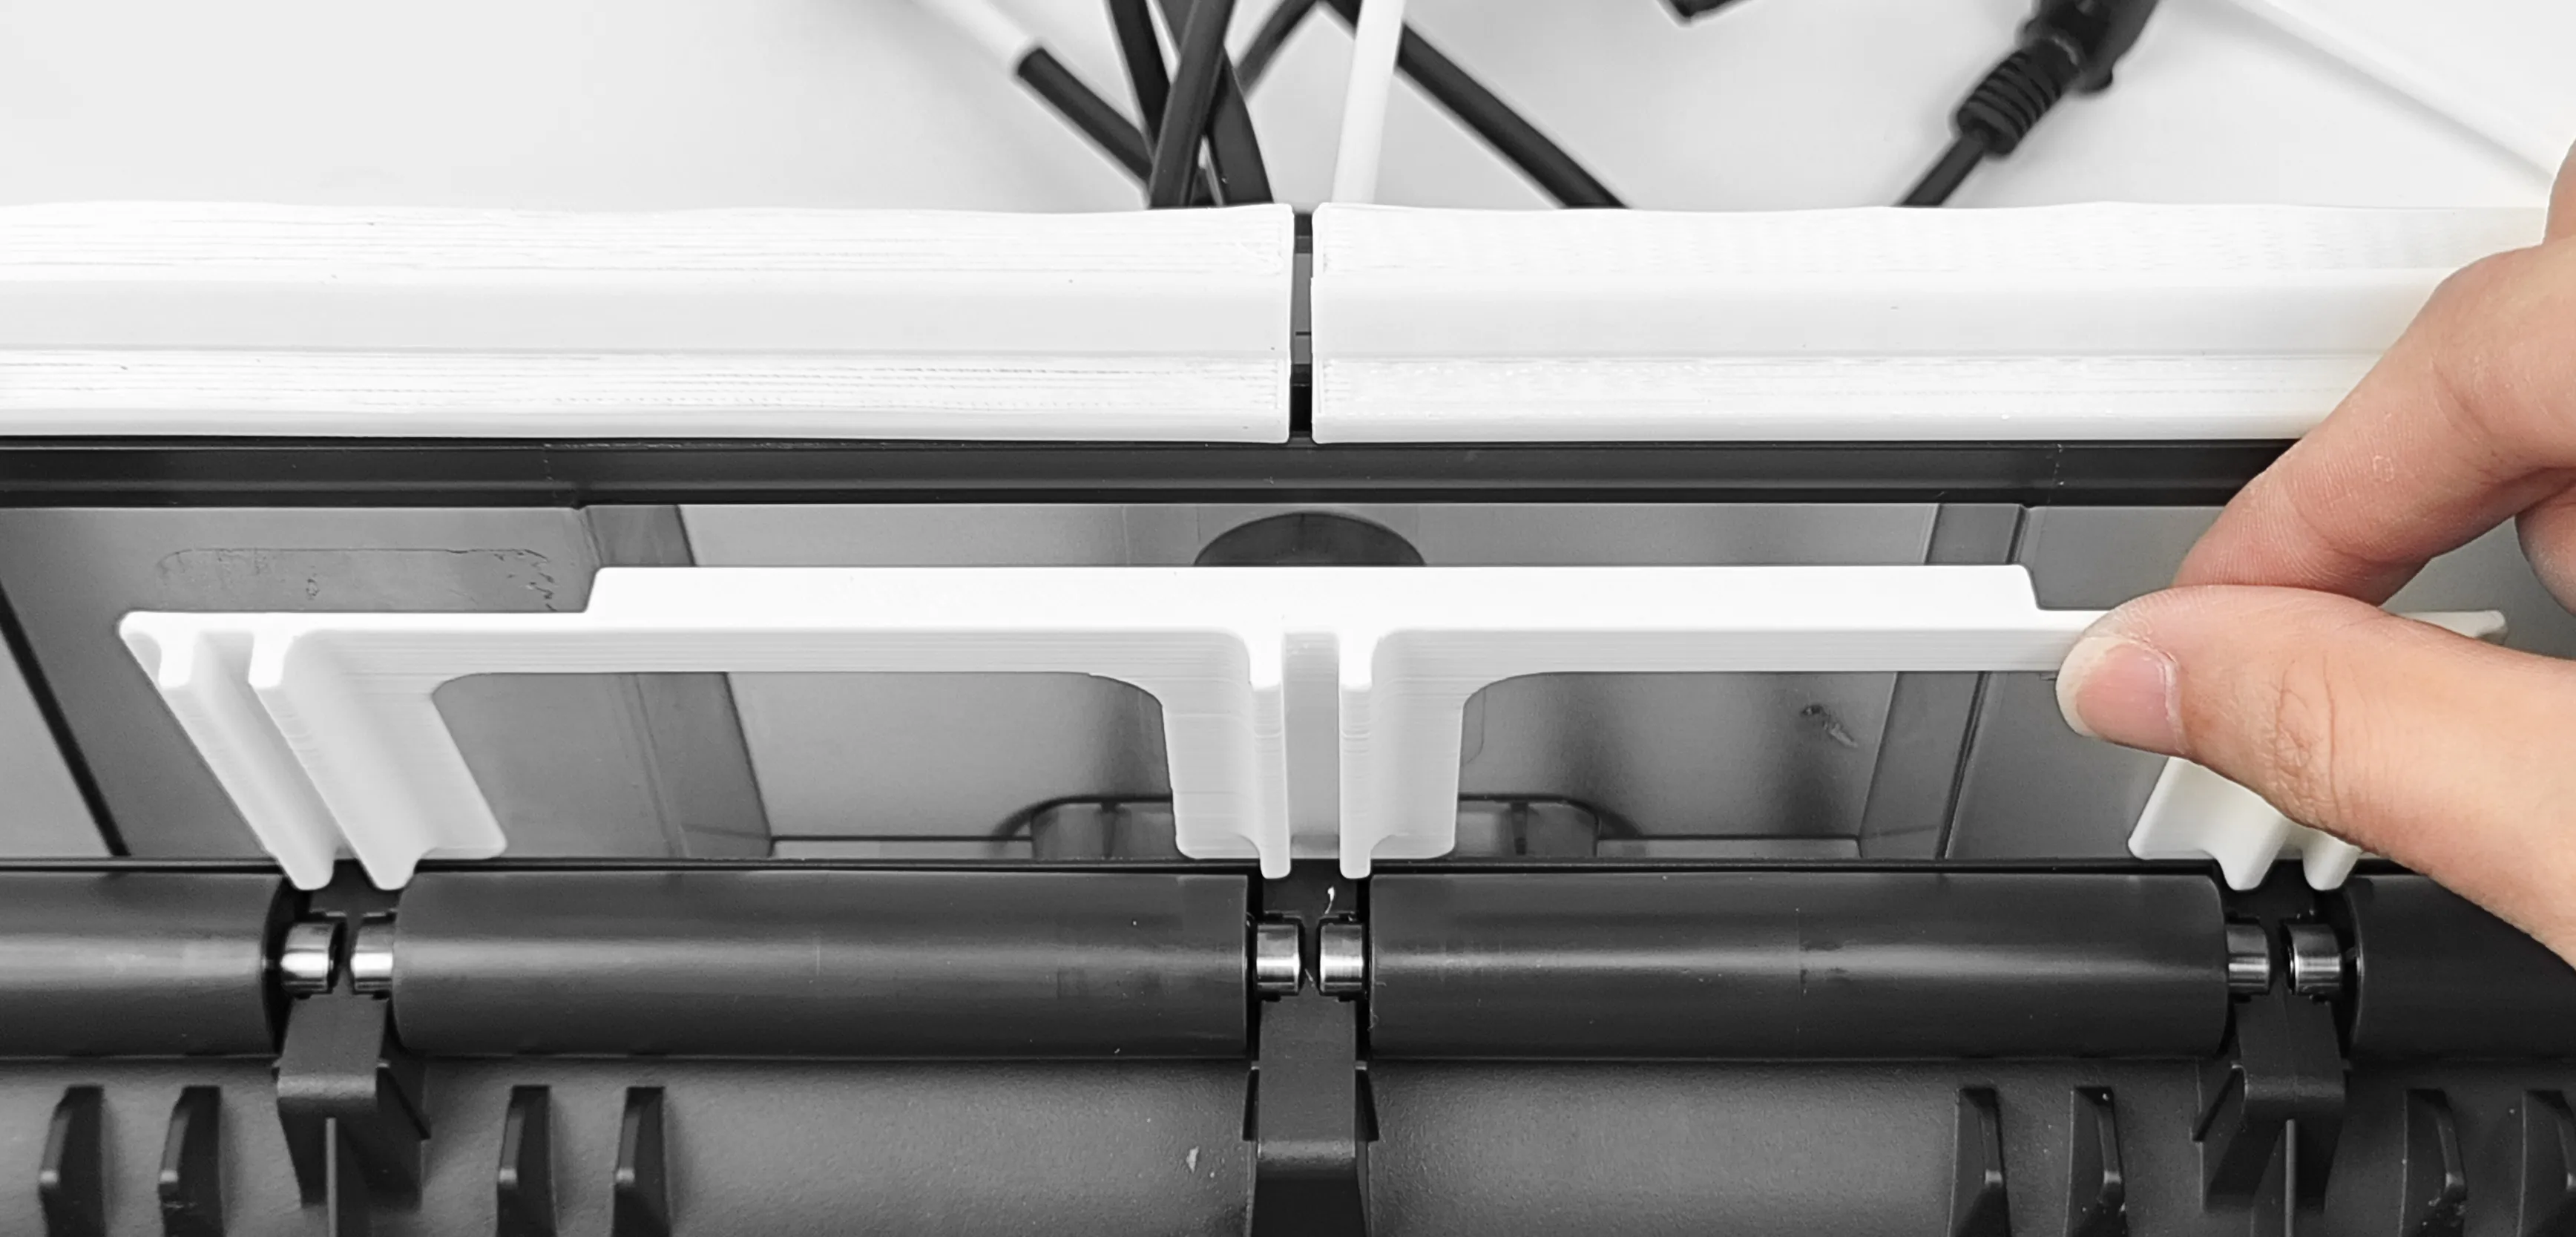
Install the Divider bracket back at the position shown in the figure.
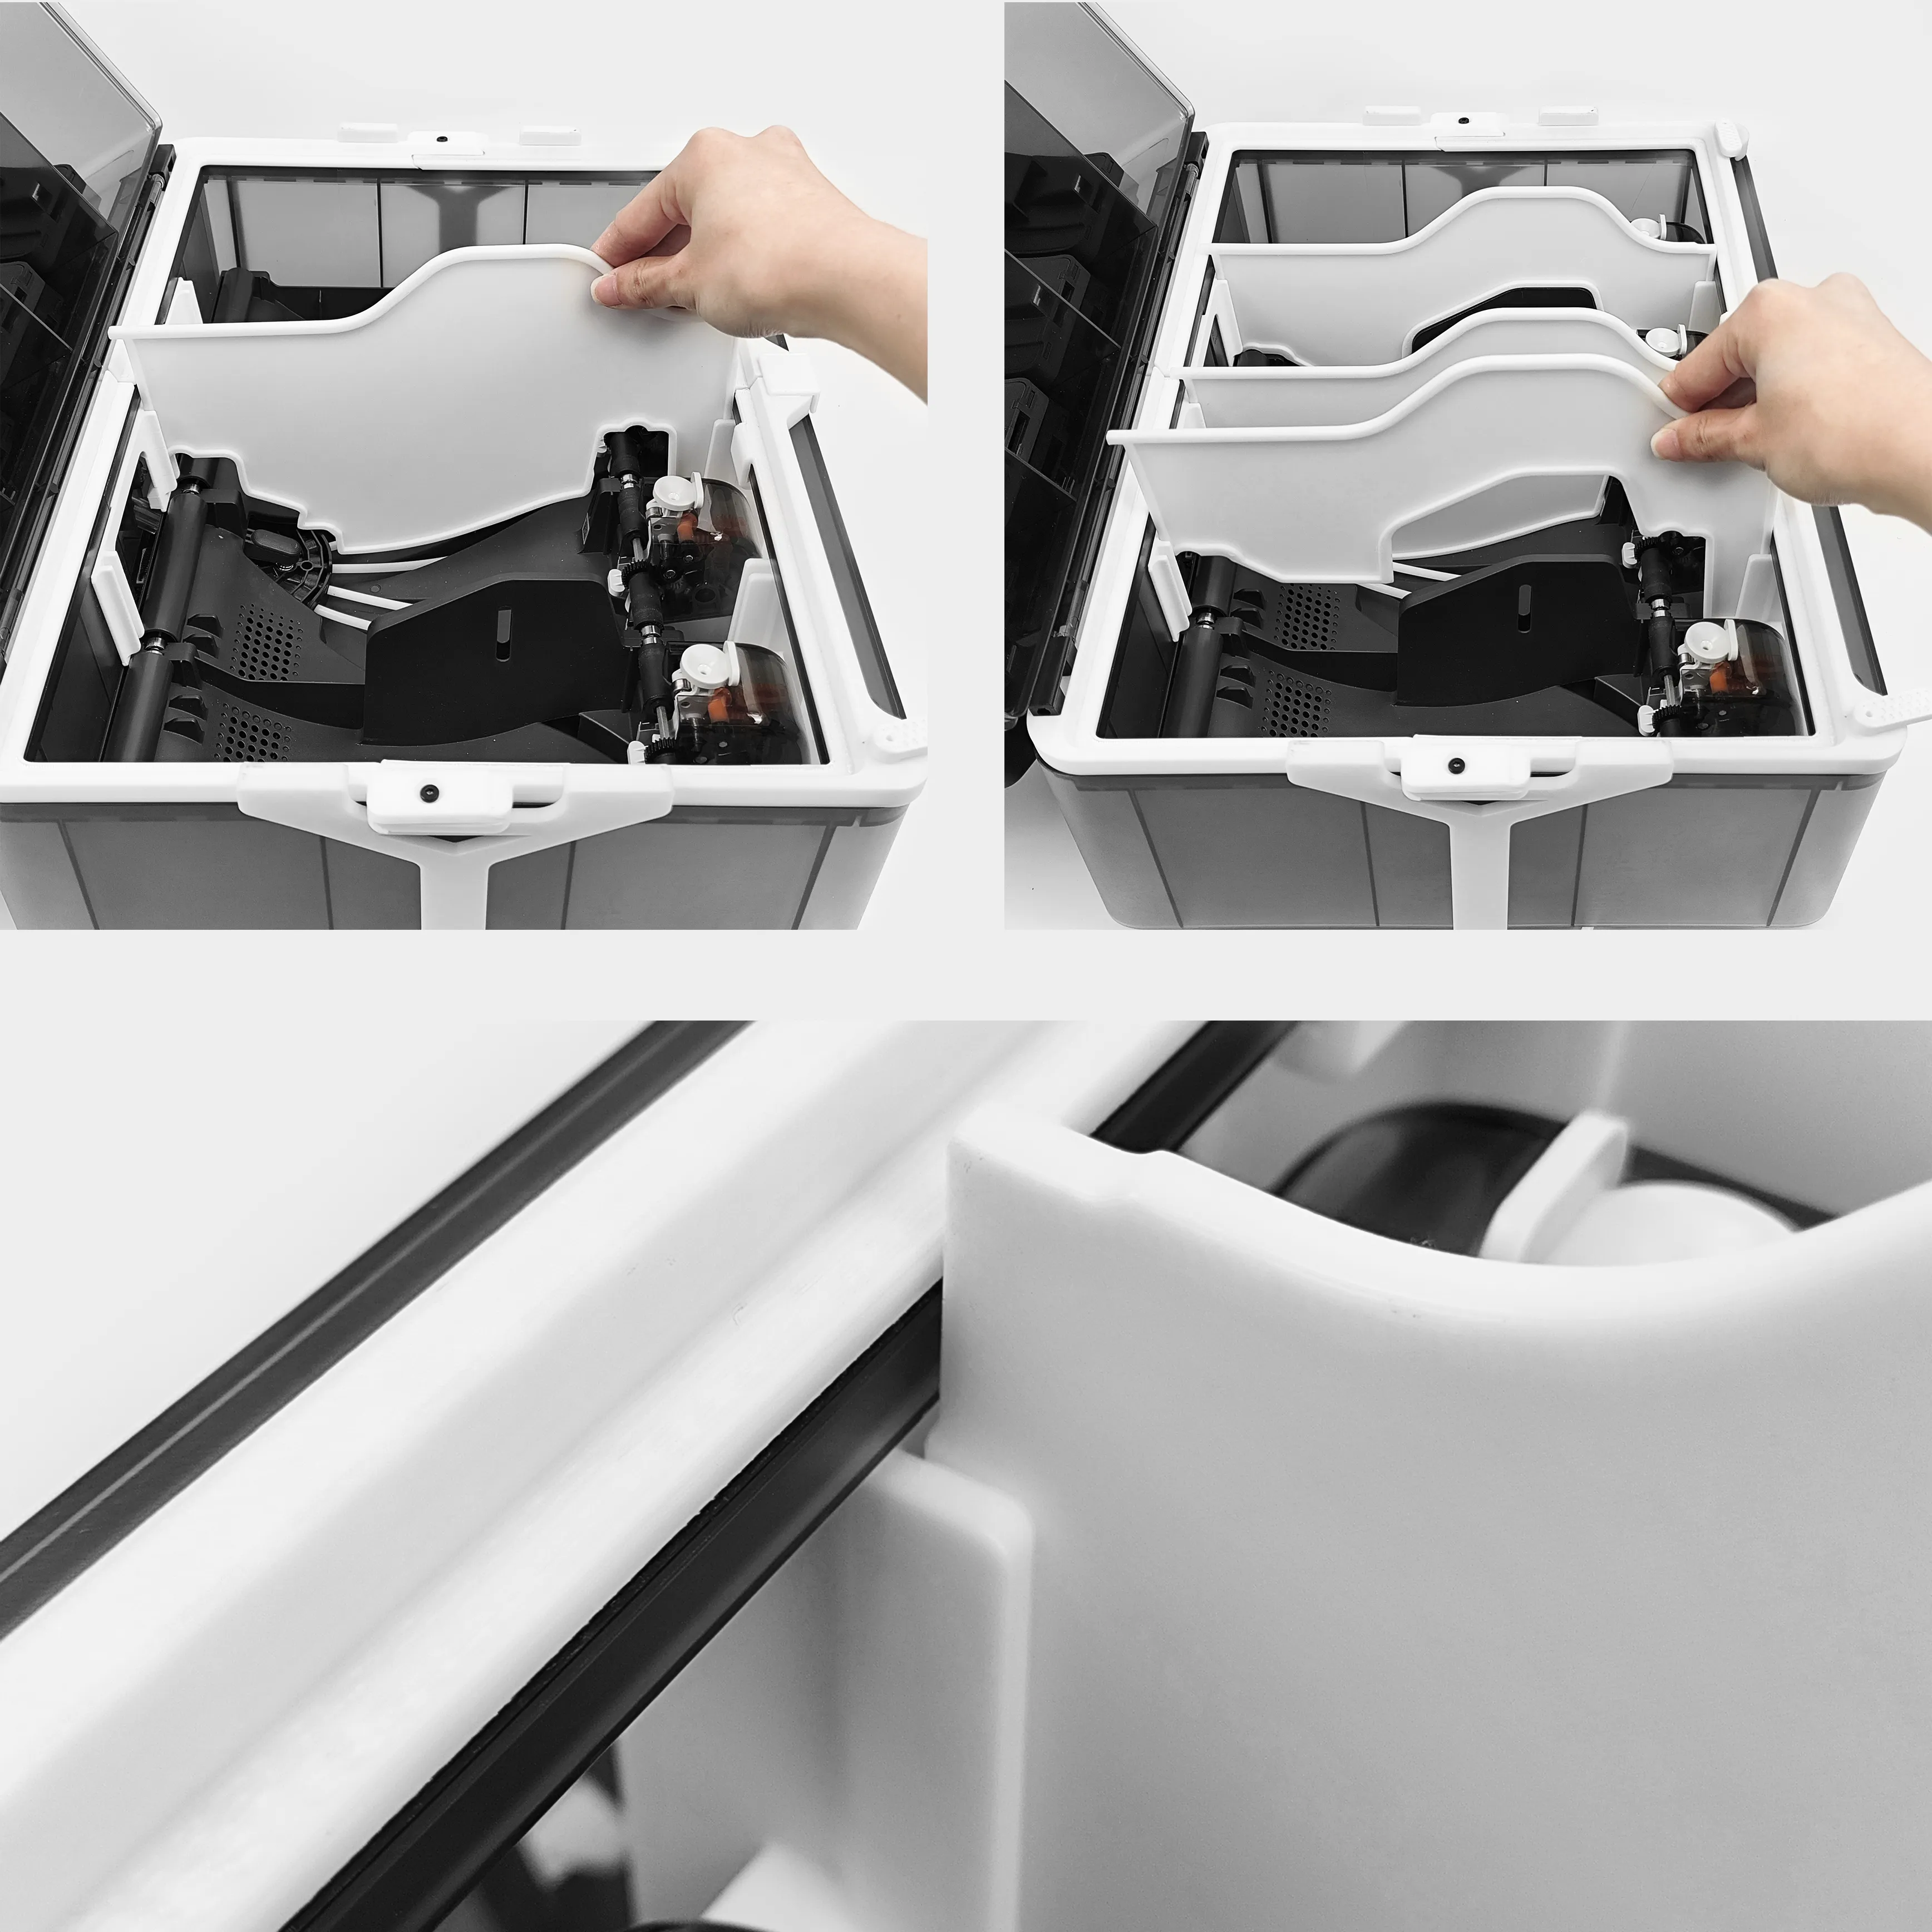
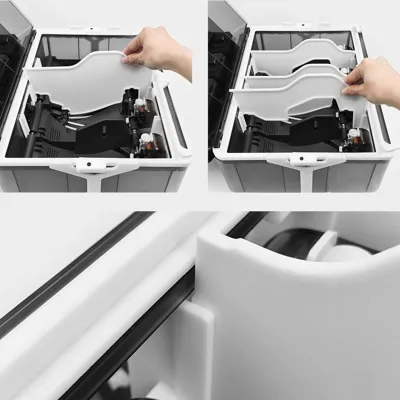
Install the divider into the slot on the divider bracket mount, ensuring the front protrusion snaps into the main body of the AMS 2 Pro
(The dividers located on the left and right differ in shape from the divider located in the middle.)
7. Power Cord
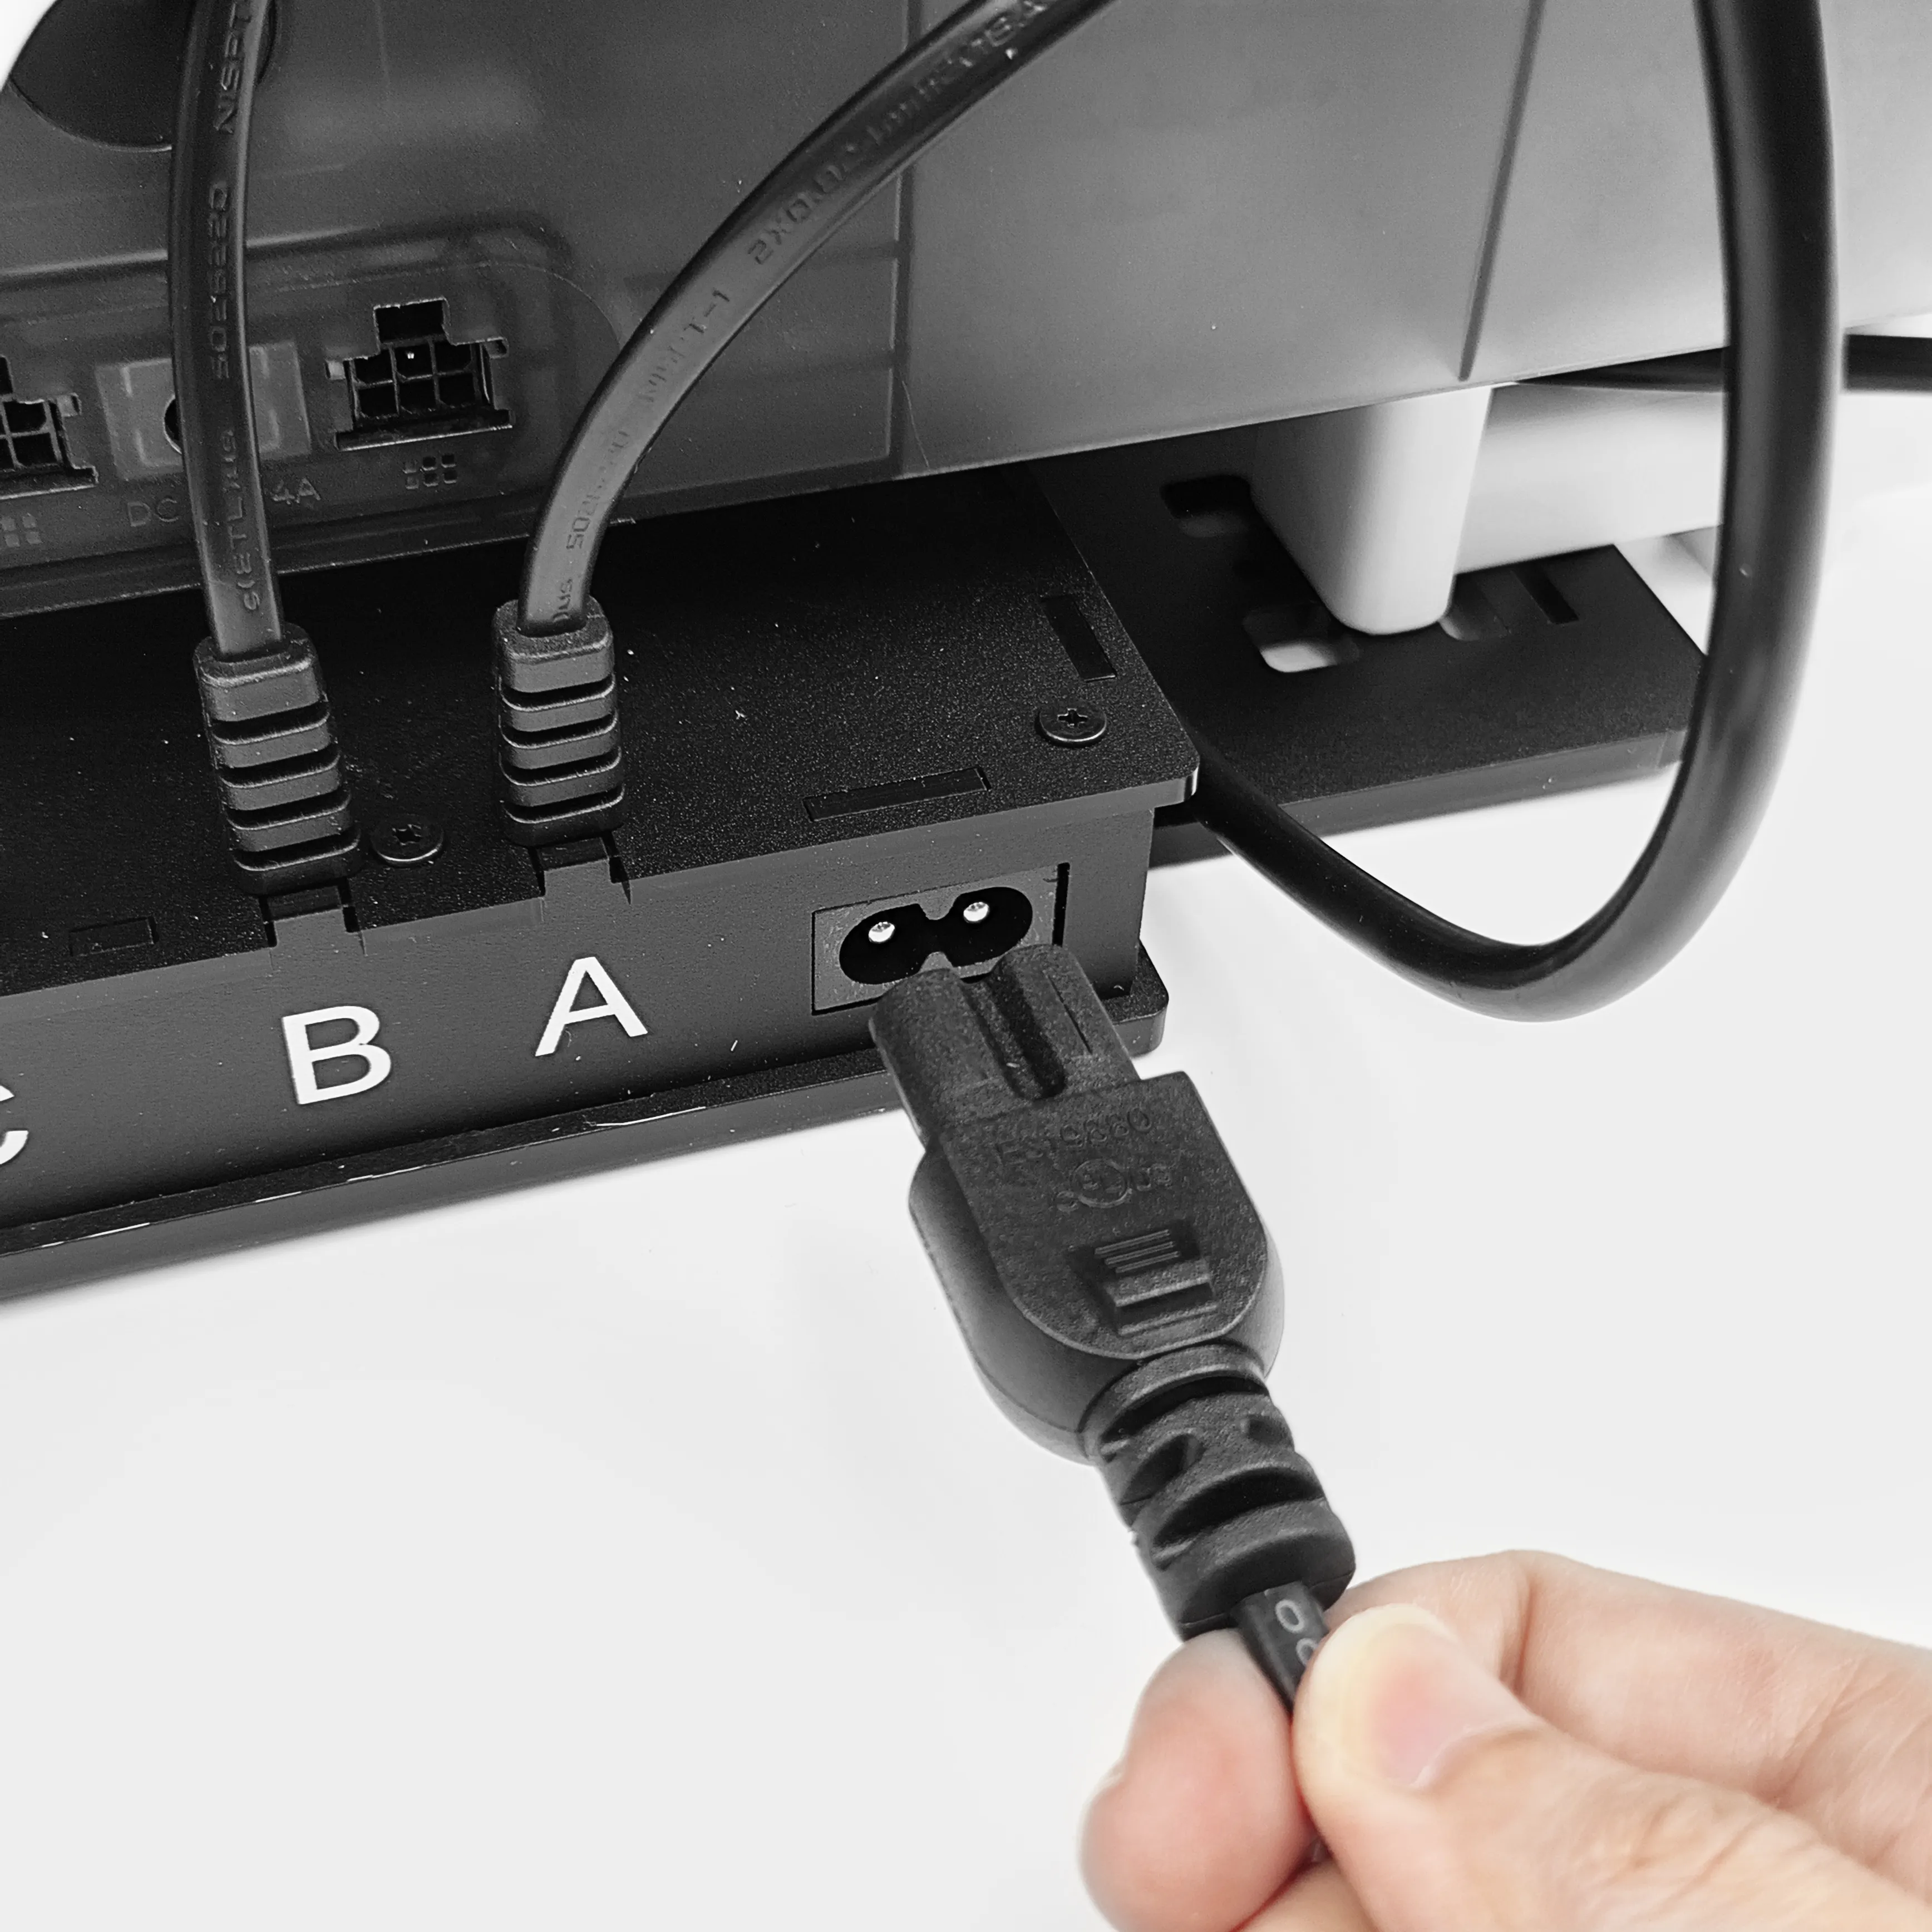
Connect the power cord.
8. Assembly complete.
License

You shall not share, sub-license, sell, rent, host, transfer, or distribute in any way the digital or 3D printed versions of this object, nor any other derivative work of this object in its digital or physical format (including - but not limited to - remixes of this object, and hosting on other digital platforms). The objects may not be used without permission in any way whatsoever in which you charge money, or collect fees.


Comment & Rating (12)