Search models, users, collections, and posts
Kayak Fishing Rod Holder for OldTown
IP Report


GIF
Print Profile(1)

PETG 0.2mm layer with PLA Support, 3 walls, 100% infill
Designer
5.5 h
1 plate
Open in Bambu Studio
Boost
0
1
0
0
1
0
Released
Bill of Materials
Bambu Filaments
Select all


List other parts
- 75mm Foam Tape (Water resistant Gasket) x 1: Used for imperfections in kayak and water resistance. Factory Holder uses same.
Description
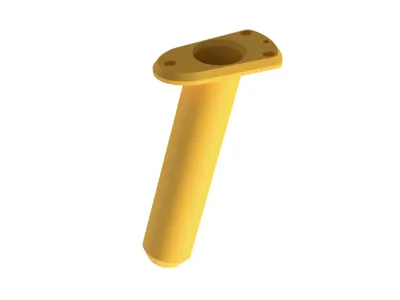
Old Town Sportsman 120 Kayak – Rear-Angled Rod Holder
This is a drop-in, heavy-duty replacement for the factory rod holder on the Old Town Sportsman 120 Kayak. It reorients the rod to face rearward, providing complete arm clearance for the rudder control without requiring any modifications or drilling new holes into the kayak hull.
📐 Design Specifications
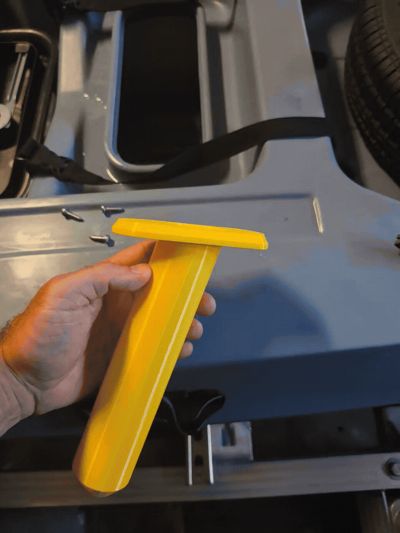
- Ergonomic Clearance: Rotates the rod angle rearward to clear the user's elbow during rudder maneuvering.
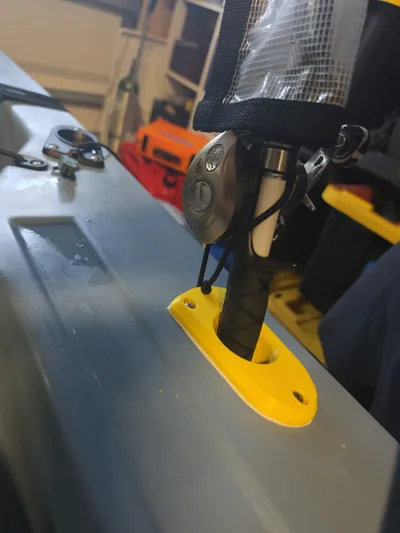
- Integrated Tether Points: Features a dedicated retention hole and quick-clasp notch optimized for a 4mm bungee (supports up to 5mm).
- OEM Compatibility: Uses the exact factory 3-screw mounting pattern for a seamless swap.
🖨️ Recommended Print Settings
- Material: PETG HF or PETG Basic (Highly recommended for UV resistance and mechanical strength).
- Support: PLA (Utilized as a breakaway support interface for optimal surface finish).
- Build Plate: Textured or Smooth PEI
🛠️ Required Hardware & Materials
- Foam Tape (75mm Wide): Required to replicate the factory watertight gasket.
- Note: While smaller strips can be sectioned together, a single wide sheet is recommended to guarantee water resistance. A double-layer application yields the best seal.
🔧 Installation Instructions
- Gasket Preparation: Cut a sheet of 75mm foam tape to approximately 70mm × 120mm.
- Template Cutting: Place the printed base onto the tape and trace the outer perimeter. Flip the tape over and carefully cut out the center clearance hole (45mm OD / 42mm ID).
- Gasket Application: Leaving the bottom backing paper intact, slide the foam gasket down to the flange of the printed base. Remove the protective film and press-fit firmly against the plastic. Repeat for a secondary layer if desired.
- Mounting: Position the assembly over the factory mounting location. Reuse the 3 factory screws to secure the holder.
- Final Fastening: Torque the screws until snug. DO NOT OVERTIGHTEN to prevent stripping the plastic or the kayak's internal threads.
License
This user content is licensed under a Standard Digital File License.
You shall not share, sub-license, sell, rent, host, transfer, or distribute in any way the digital or 3D printed versions of this object, nor any other derivative work of this object in its digital or physical format (including - but not limited to - remixes of this object, and hosting on other digital platforms). The objects may not be used without permission in any way whatsoever in which you charge money, or collect fees.
Comment & Rating (0)