
Boeing 747-100
Print Profile(3)




Description
Boost Me (for free)
Please boost for more models, it gets more resources.
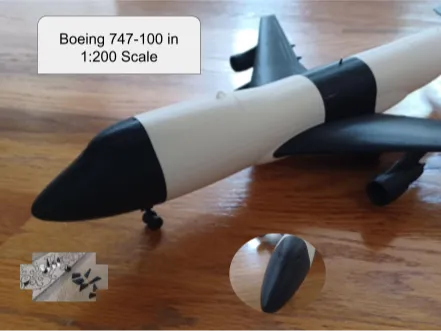
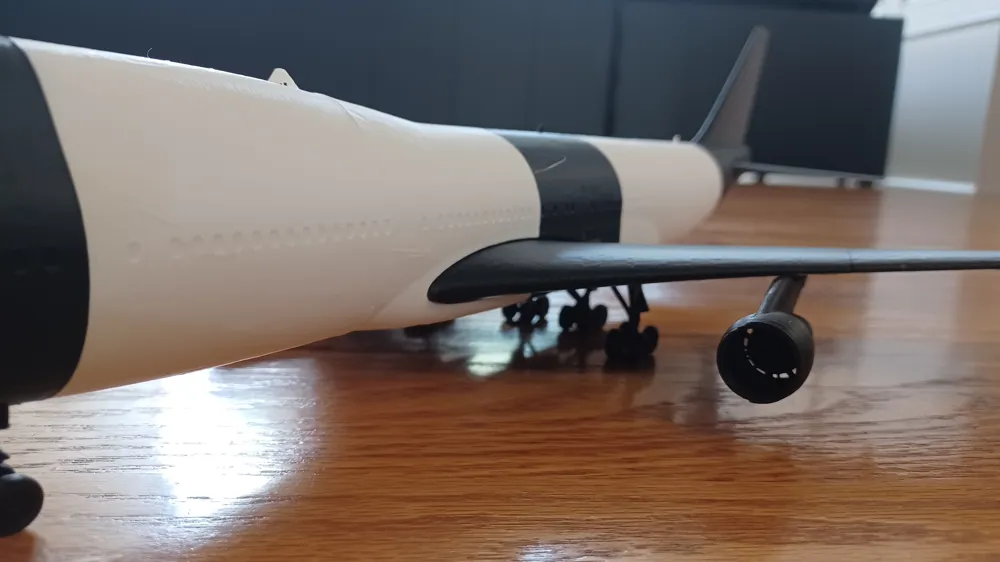
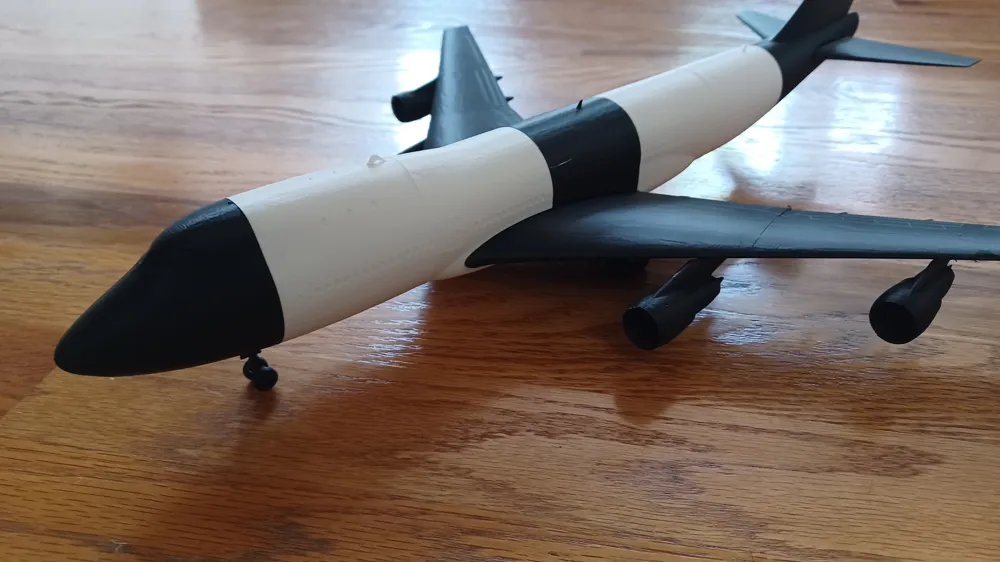
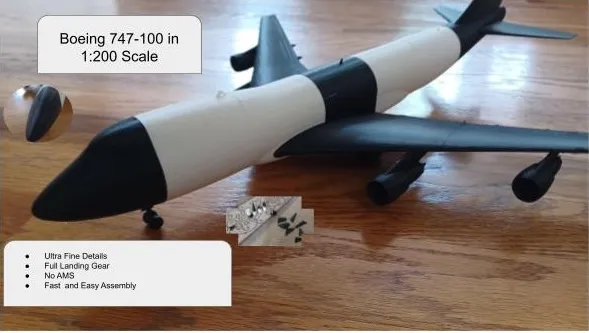
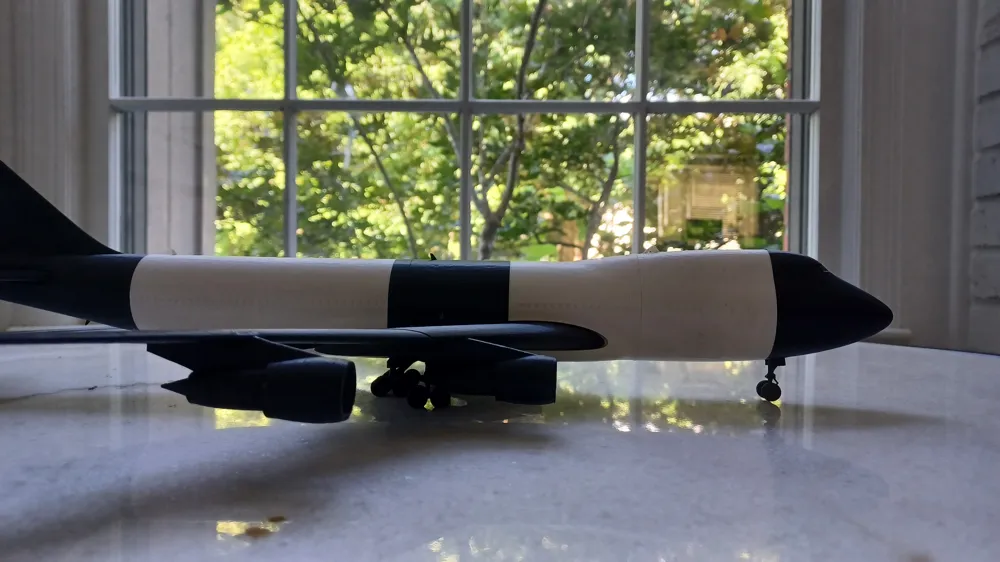
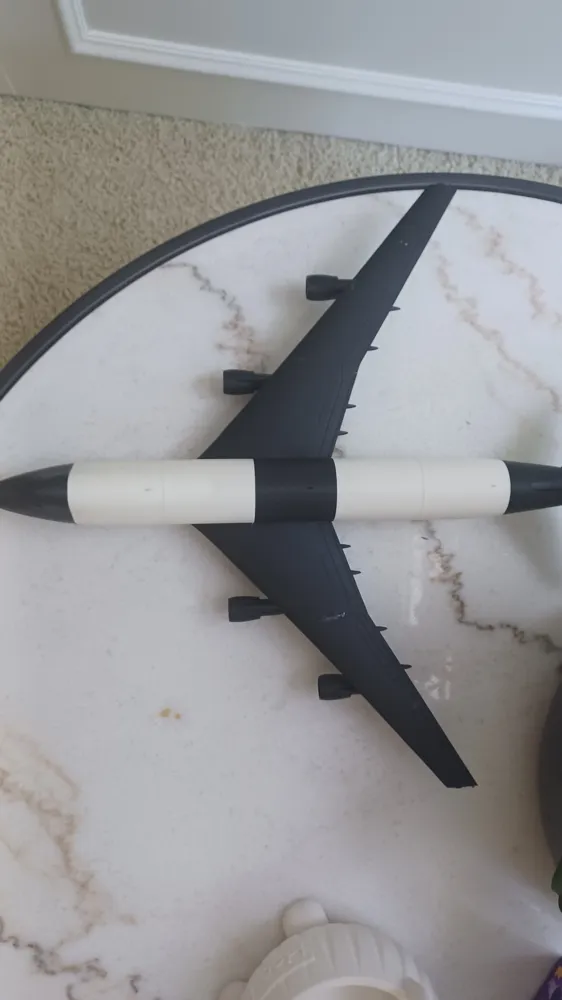
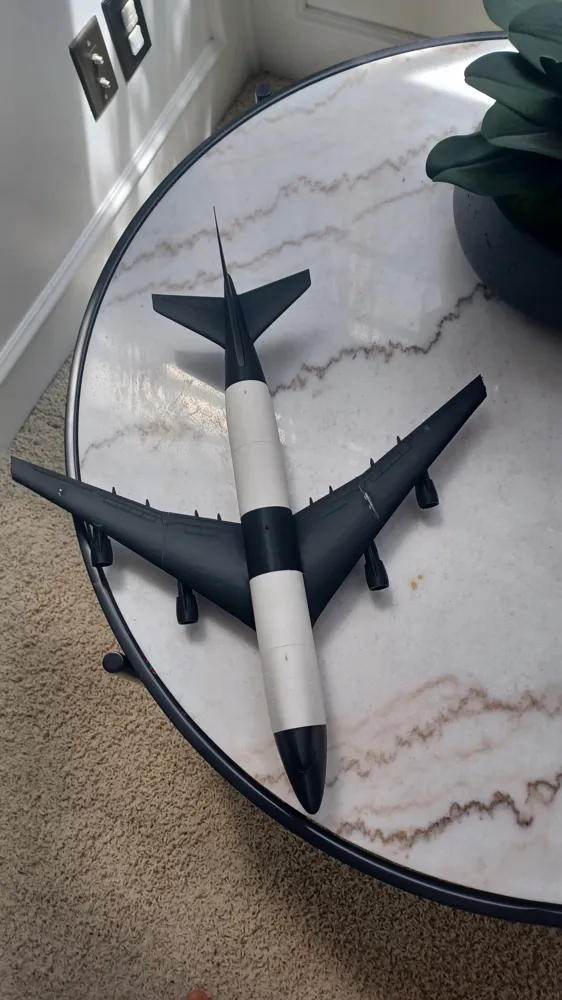
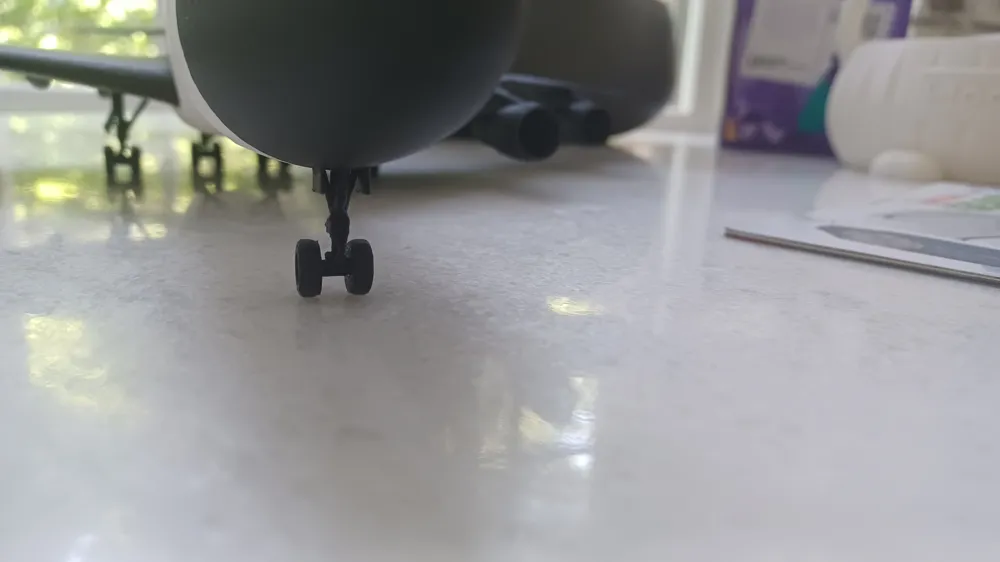
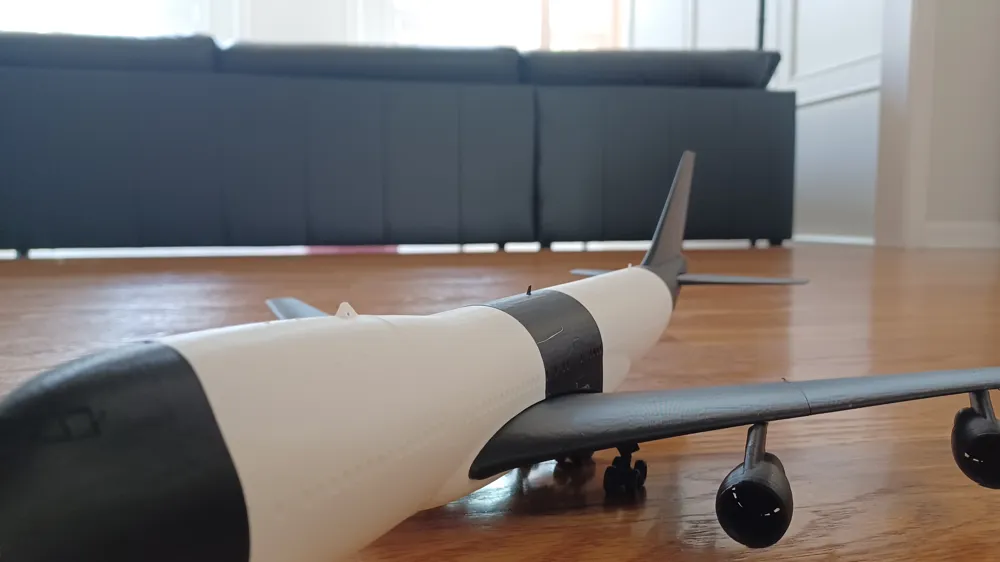
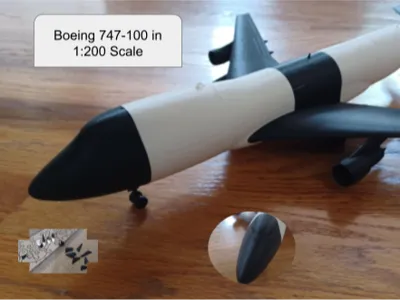
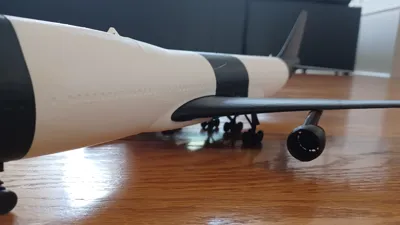
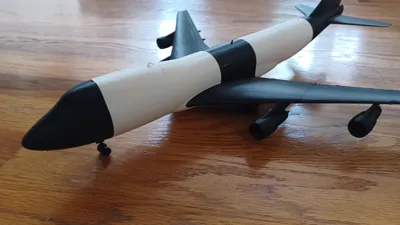
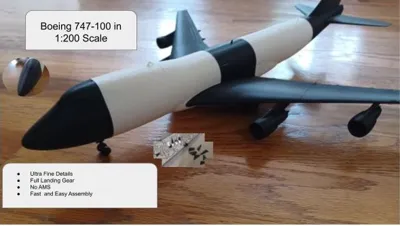
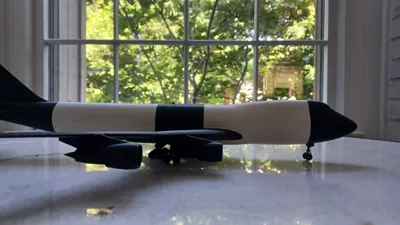
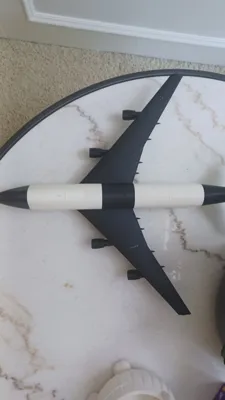
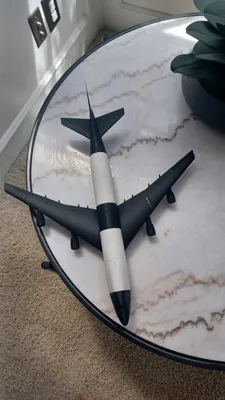
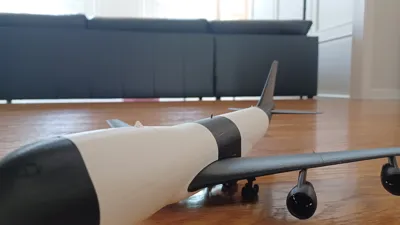
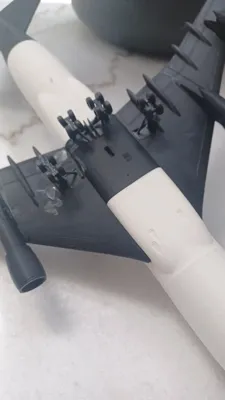
A 1:200 model of the Boeing 747-100
The Boeing 747-100 was the world's first "Jumbo Jet" and wide-body commercial airliner, debuting in passenger service with Pan Am in January 1970.
The Core Essentials
- The Hump Design: Designed by Joe Sutter's team to double as a cargo freighter, the cockpit was placed on an upper deck so the nose could open. This created the 747's iconic "hump," which early airlines used as a luxurious first-class passenger lounge.
- The Financial Gamble: Building the jet was a massive financial risk that nearly bankrupted Boeing. It required creating the world's largest manufacturing plant in Everett, Washington.
- Global Impact: By carrying over 360 passengers—more than double the capacity of previous jets—the 747-100 drastically lowered per-seat costs and made international air travel affordable for the general public.
- Production: Boeing built 167 baseline 747-100 models between 1969 and 1986. Special sub-variants included the high-density 747-100SR for short domestic flights in Japan.
Today, no 747-100s remain in commercial operation. The very first prototype, "City of Everett," is preserved on public display at the Museum of Flight in Seattle.
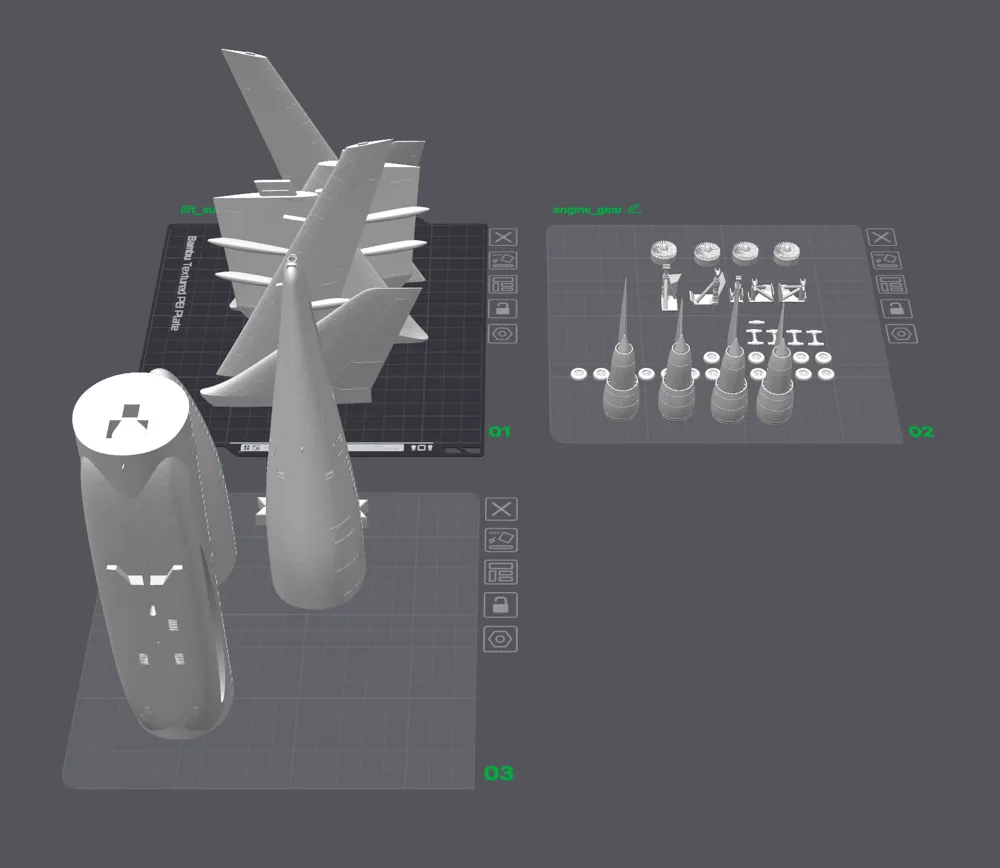
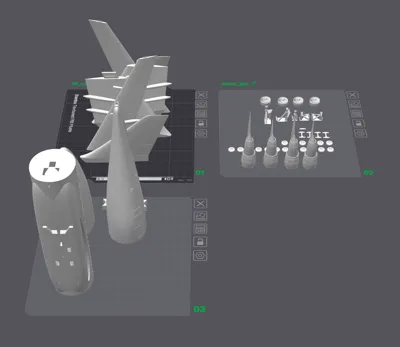
Prior to printing. Ensure the plate is clean and filament dry. When printing engine and gear plates, slow down the speed to 50 to prevent stringing.
Assembly is relatively straightforward. Glue is required.
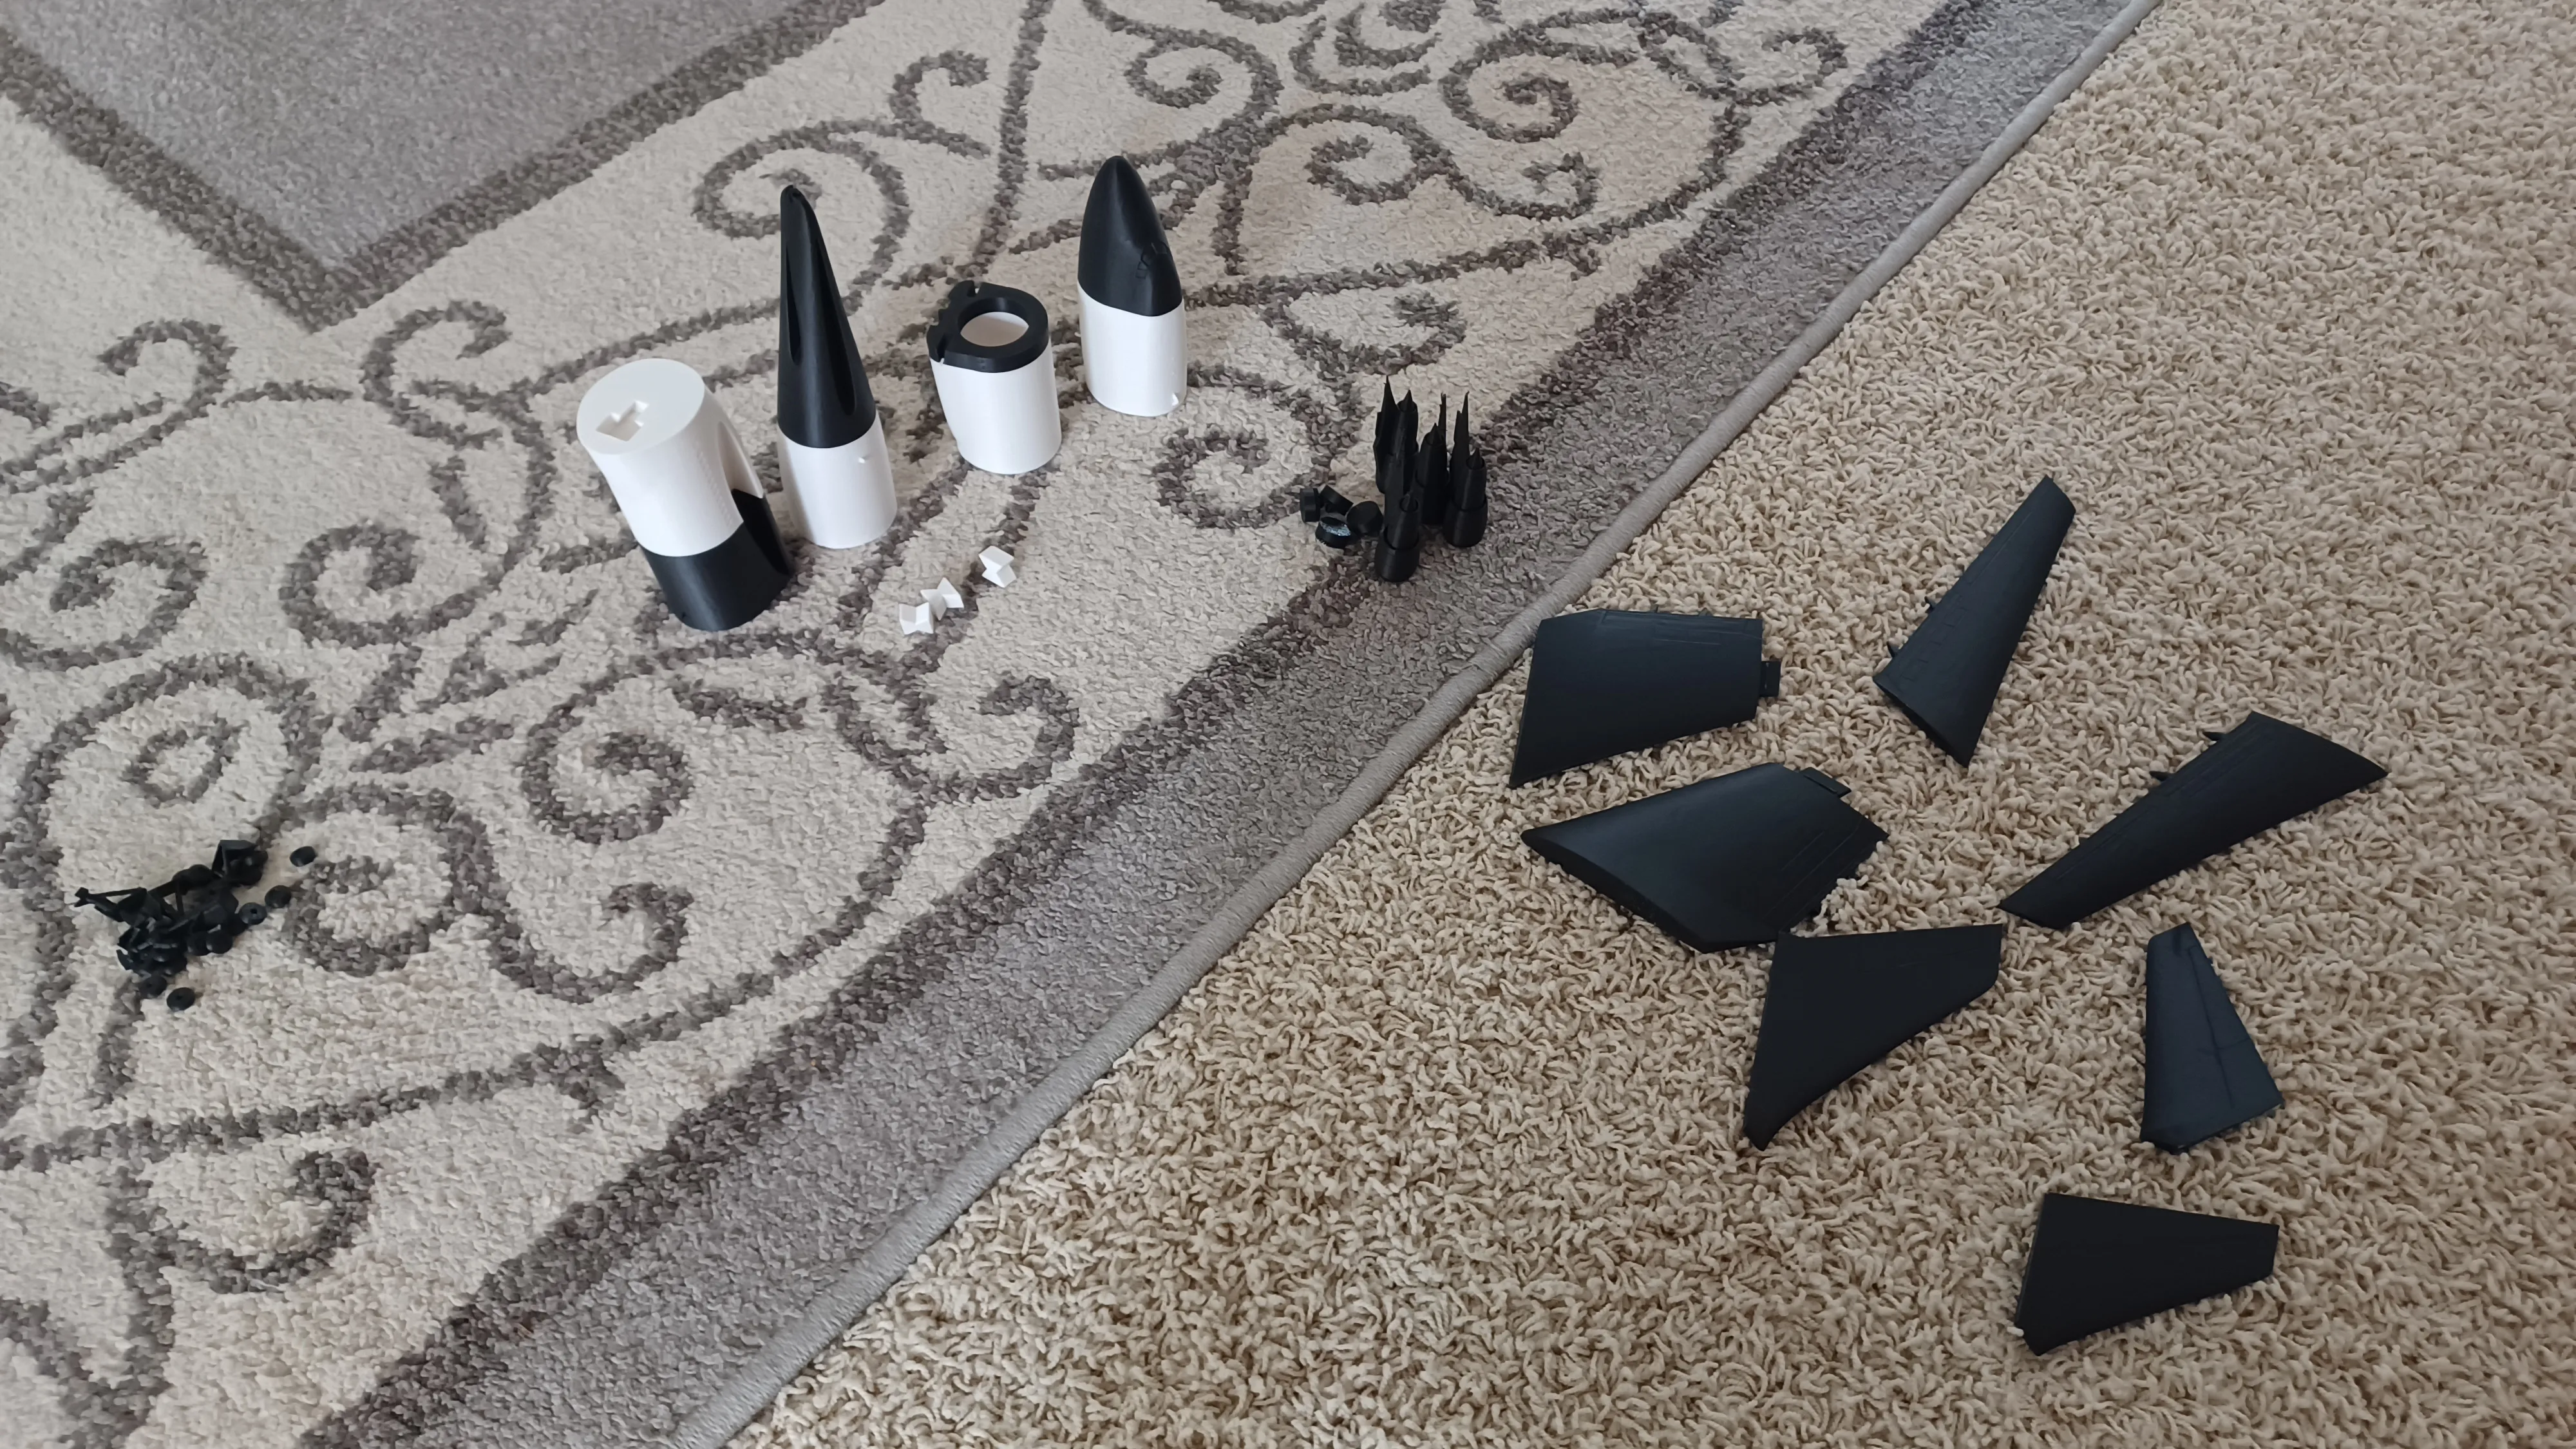
Step 1.
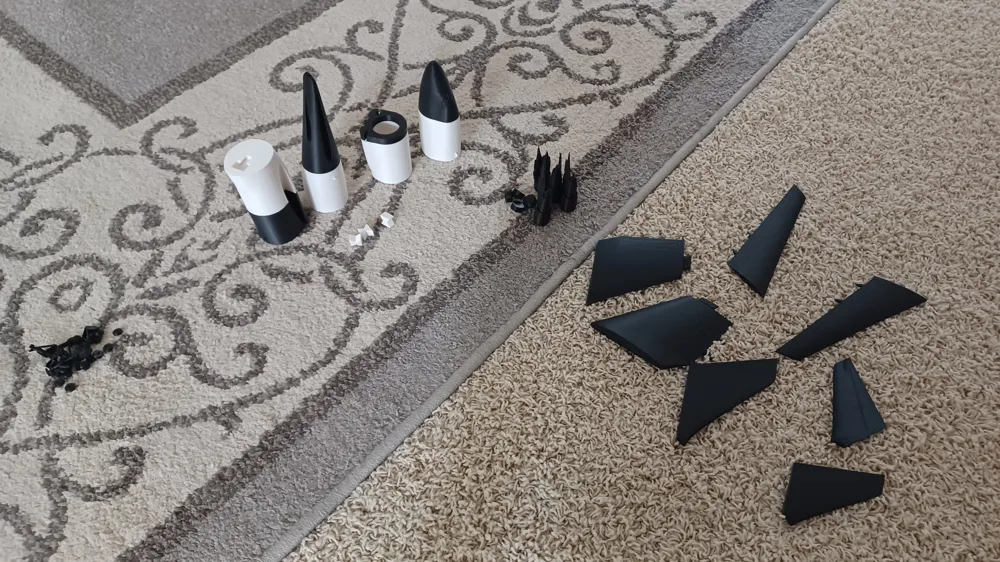
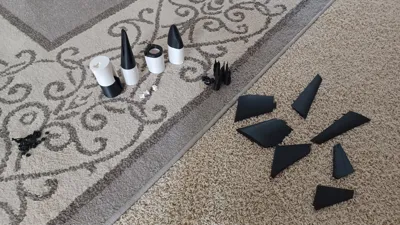
Lay out all parts for easier access.
Step 2.
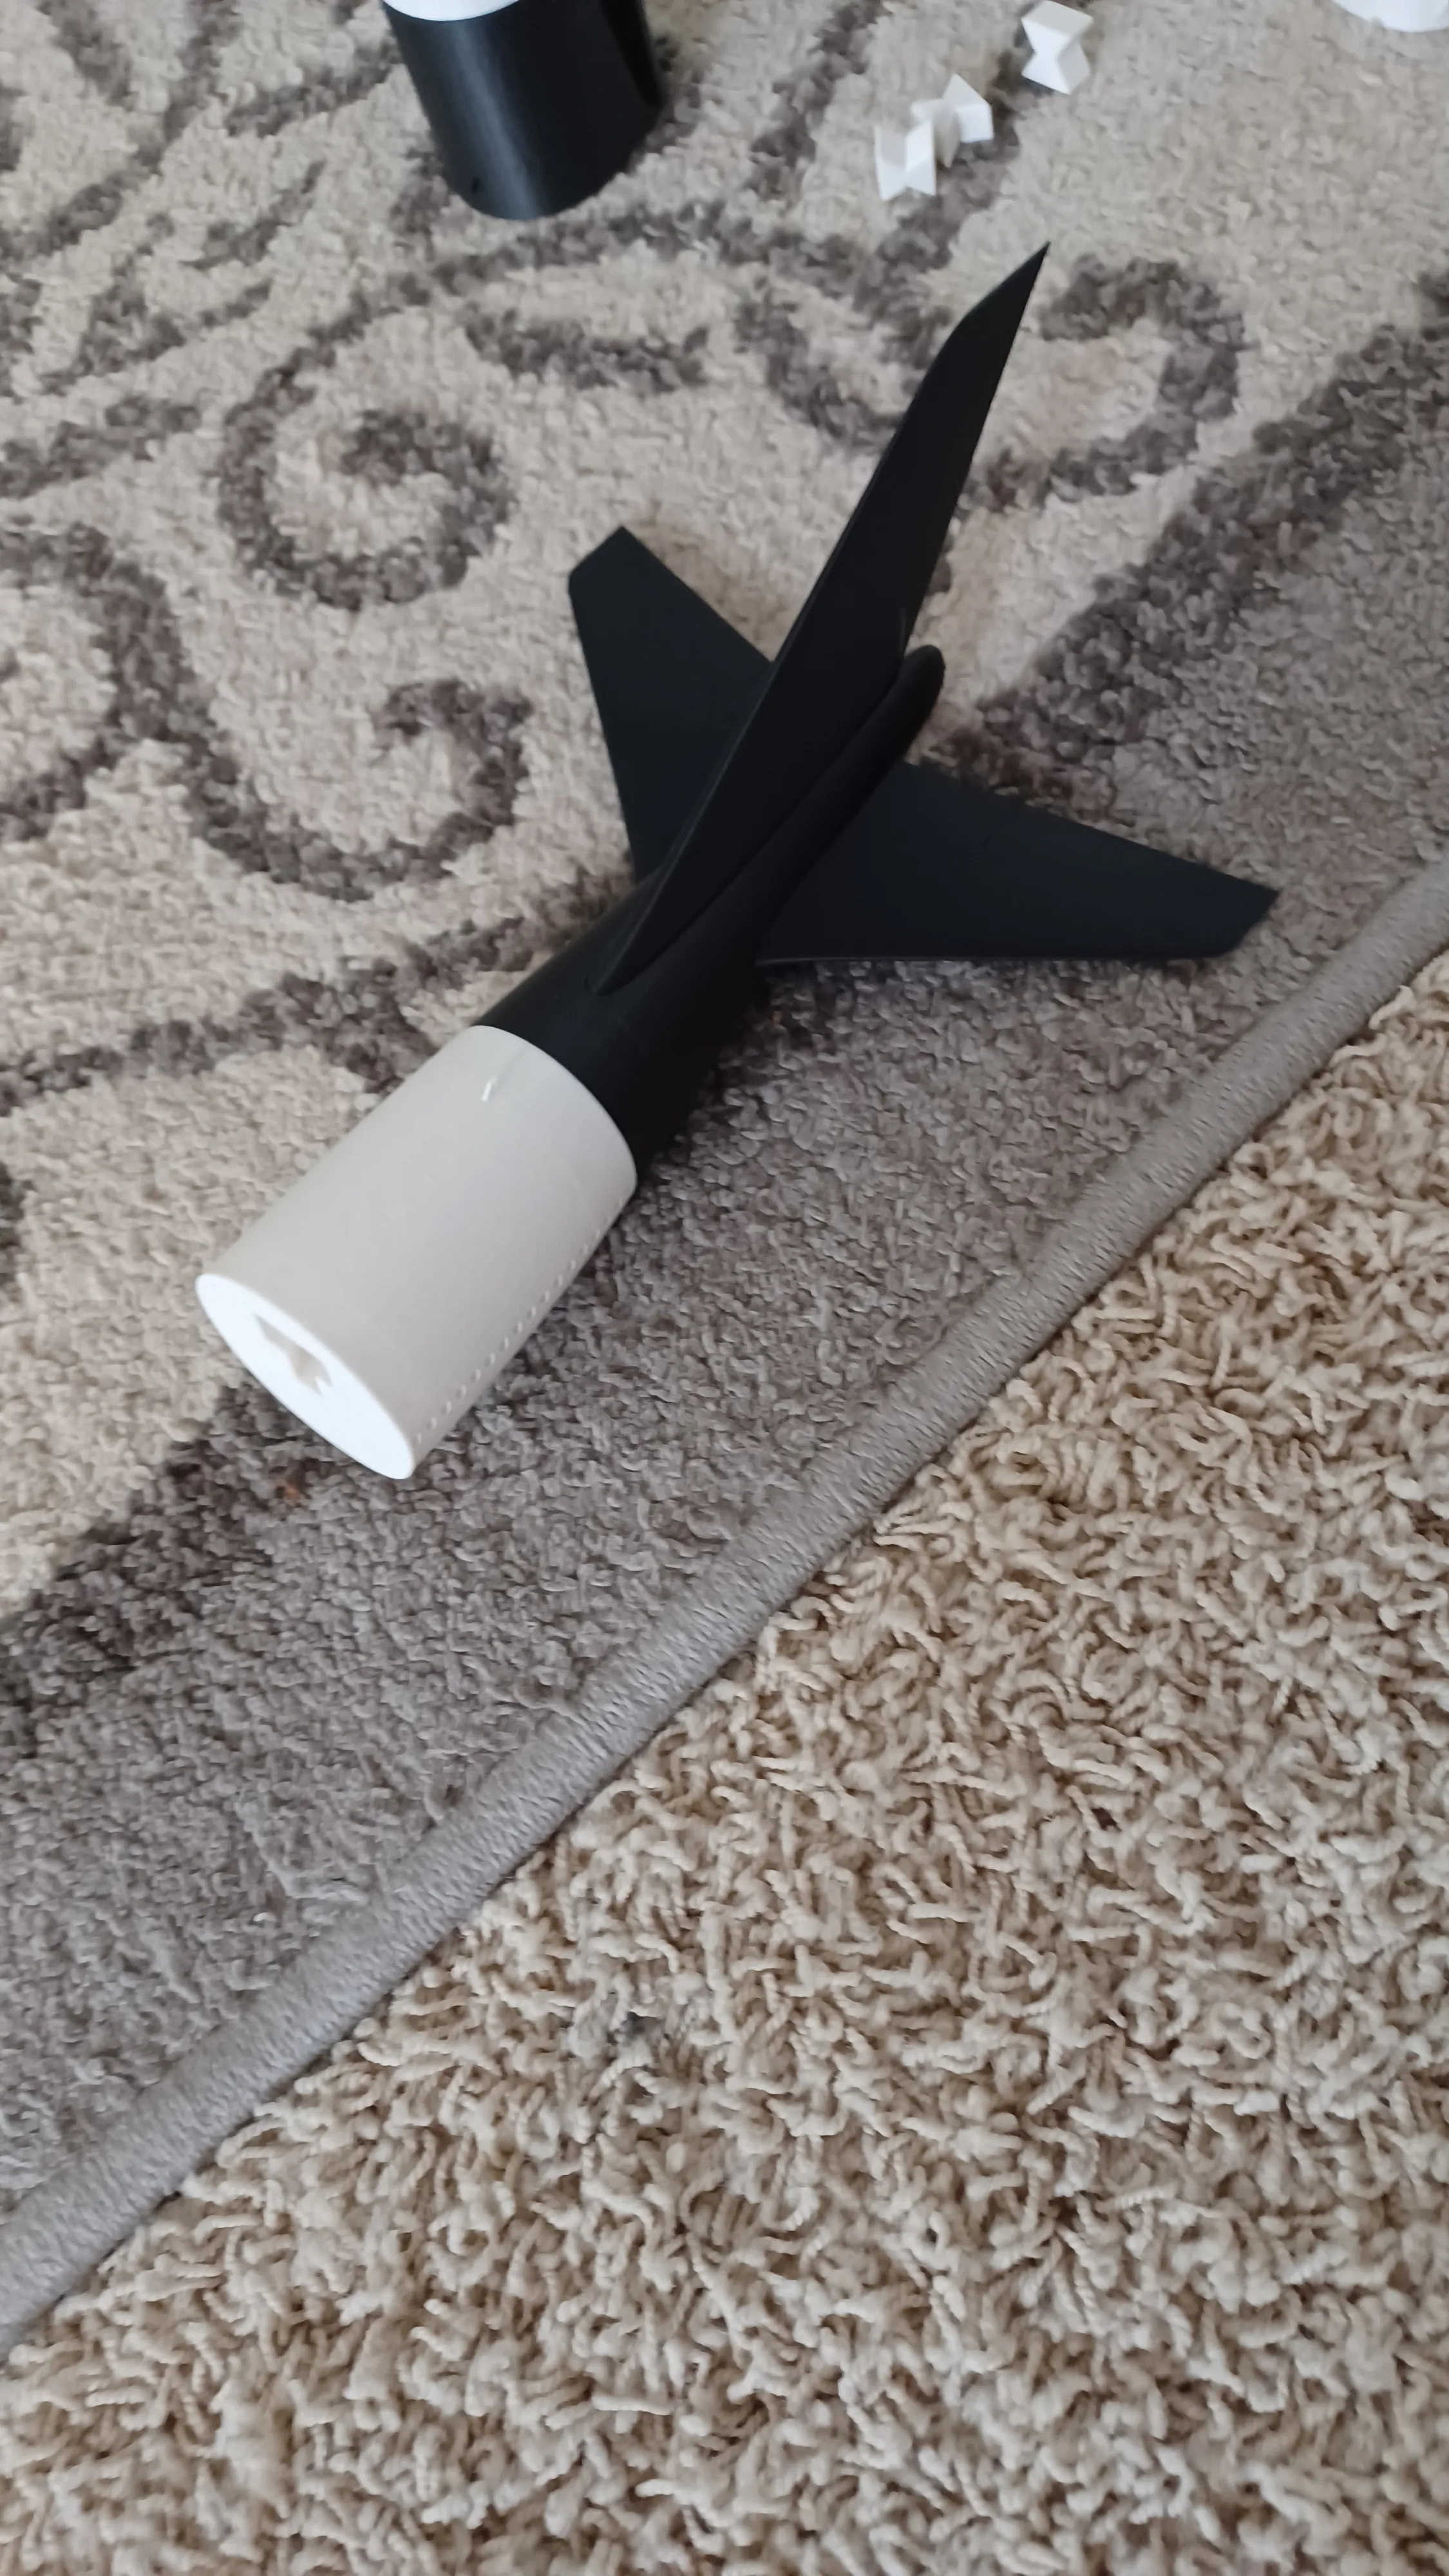
Take the tail cone section and the rear control surfaces. They rudder will be larger. Carefully apply glue to the roots of the control surfaces and push them in, ensuring that they are fully inside.
Step 3.
Carefully apply glue to the inner wing portions. Then, push gently on the outboard sections until you hear a click. The wing are now locked together. Repeat for other side.
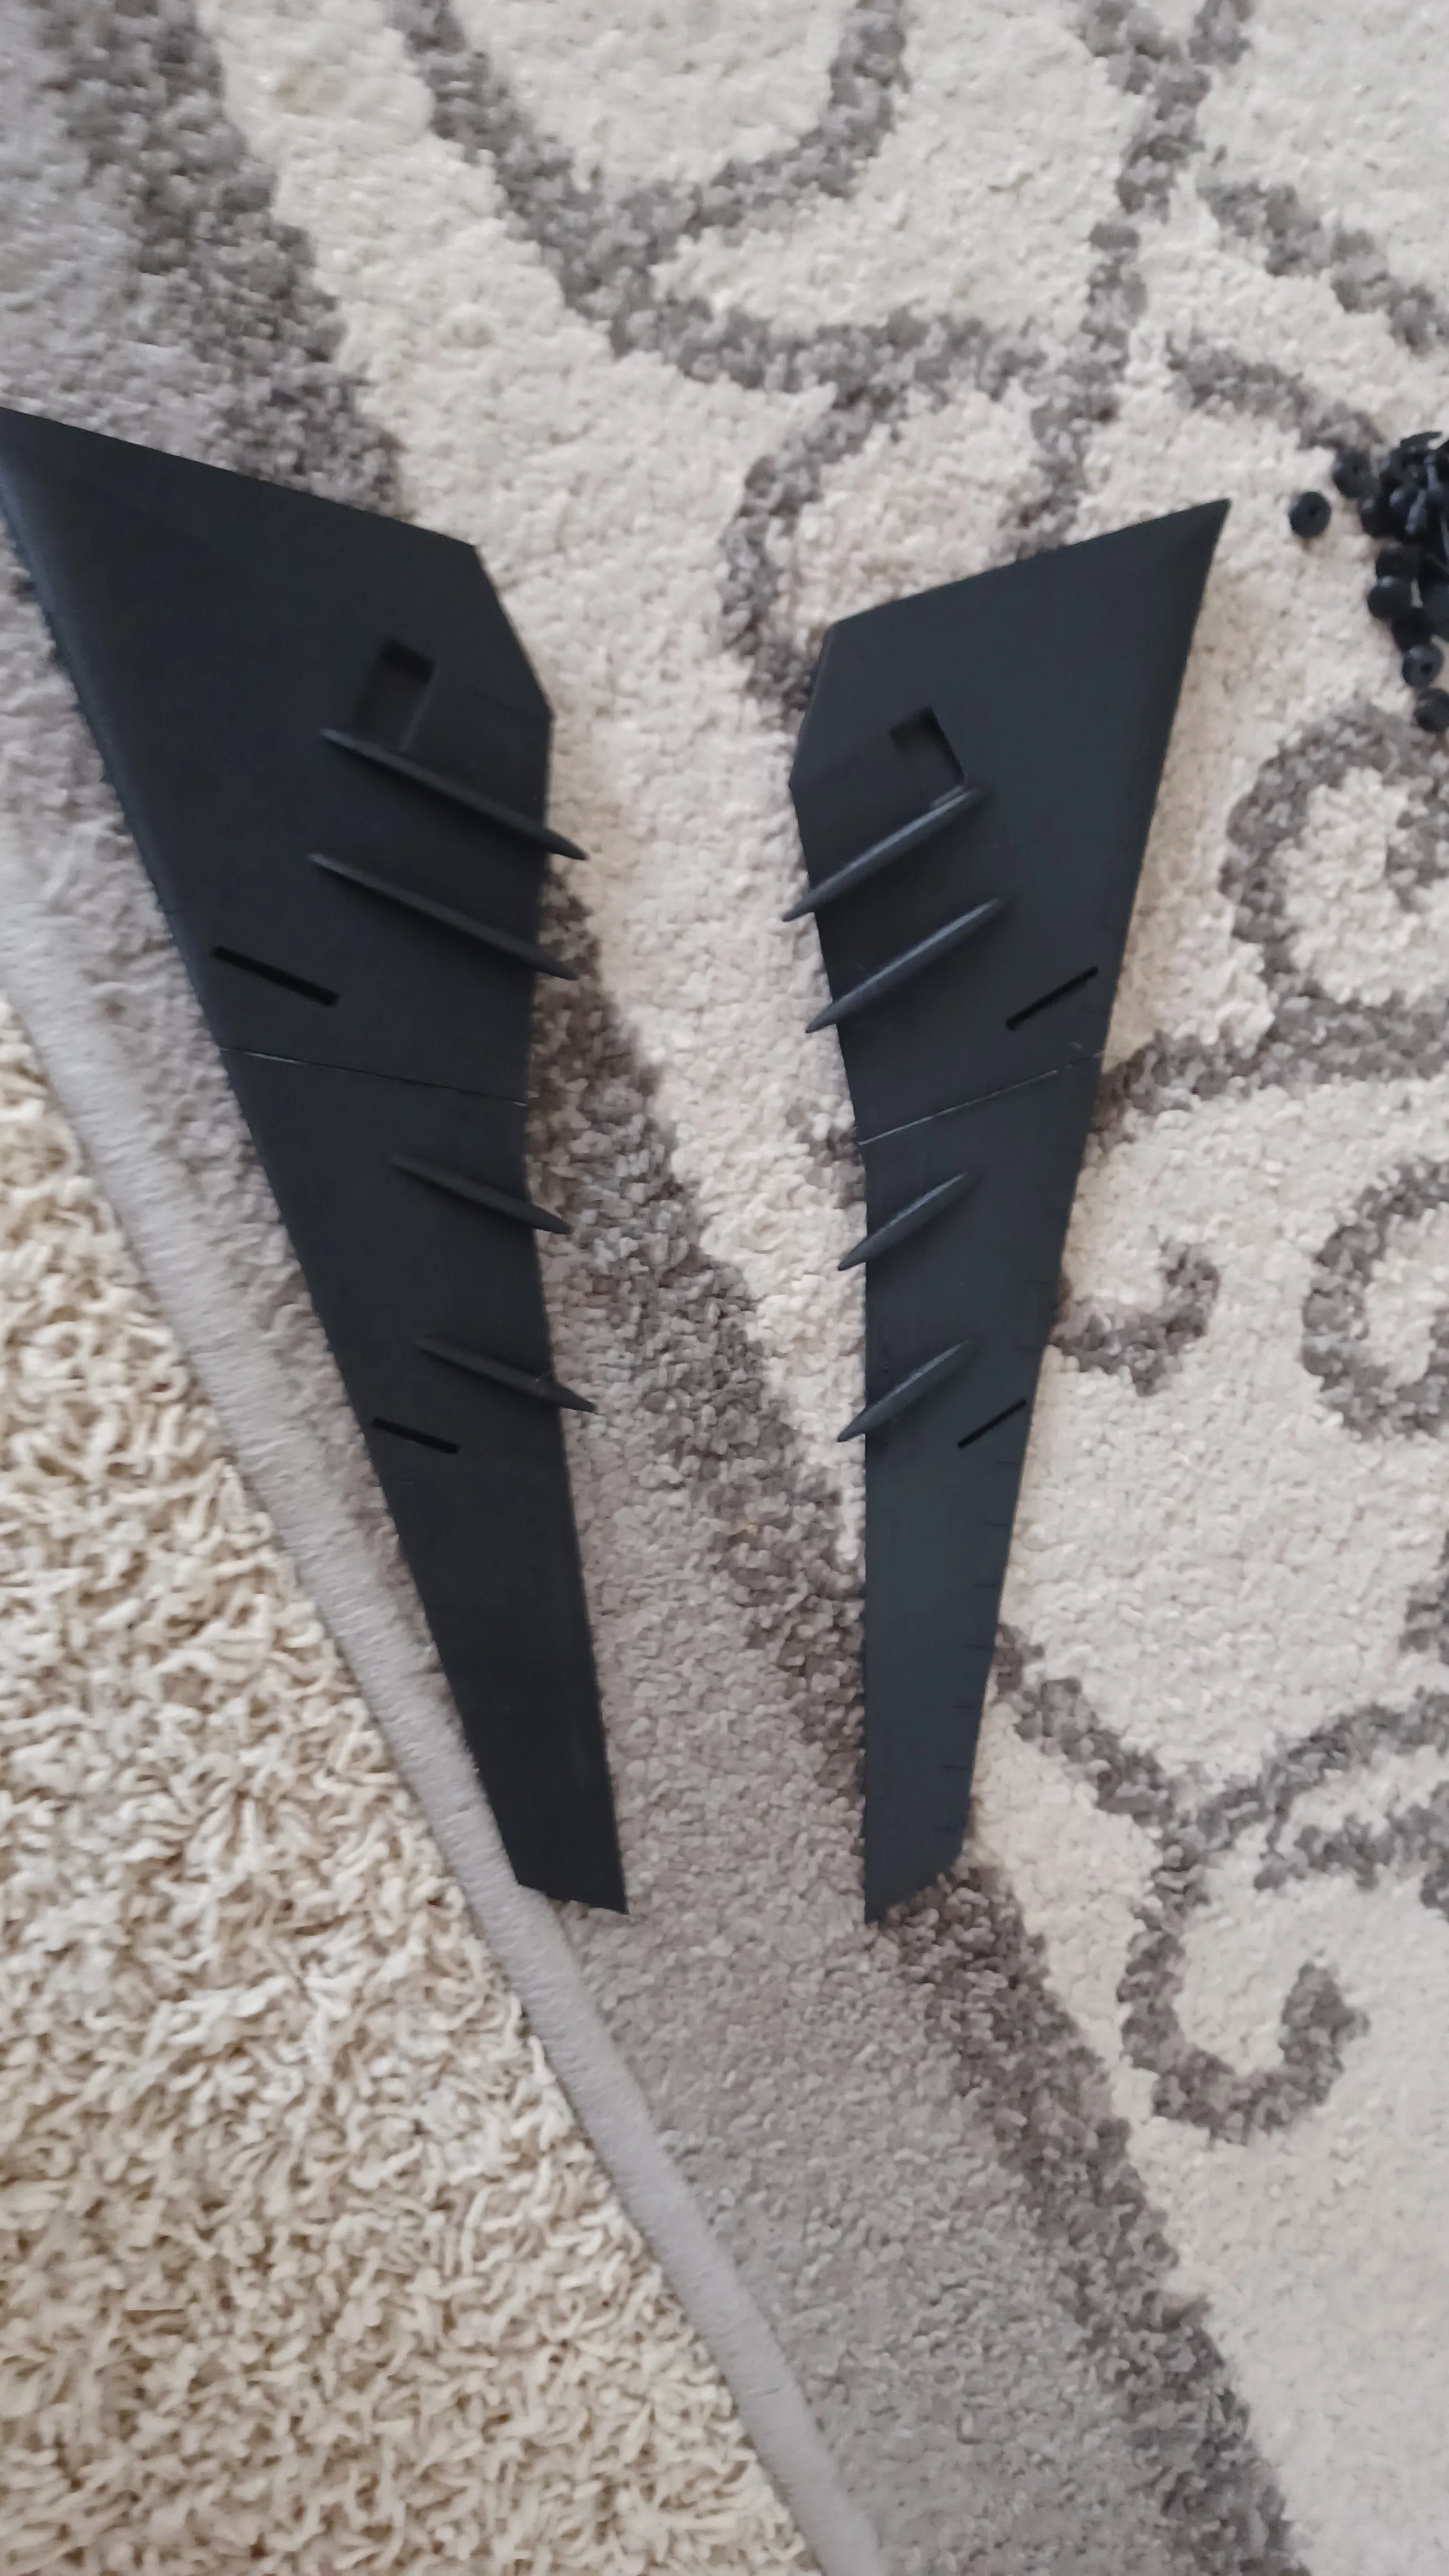
Step 4.
Pick up each engine, and apply glue to the back of each turbine piece. Then, slide the turbines into the cowlings.
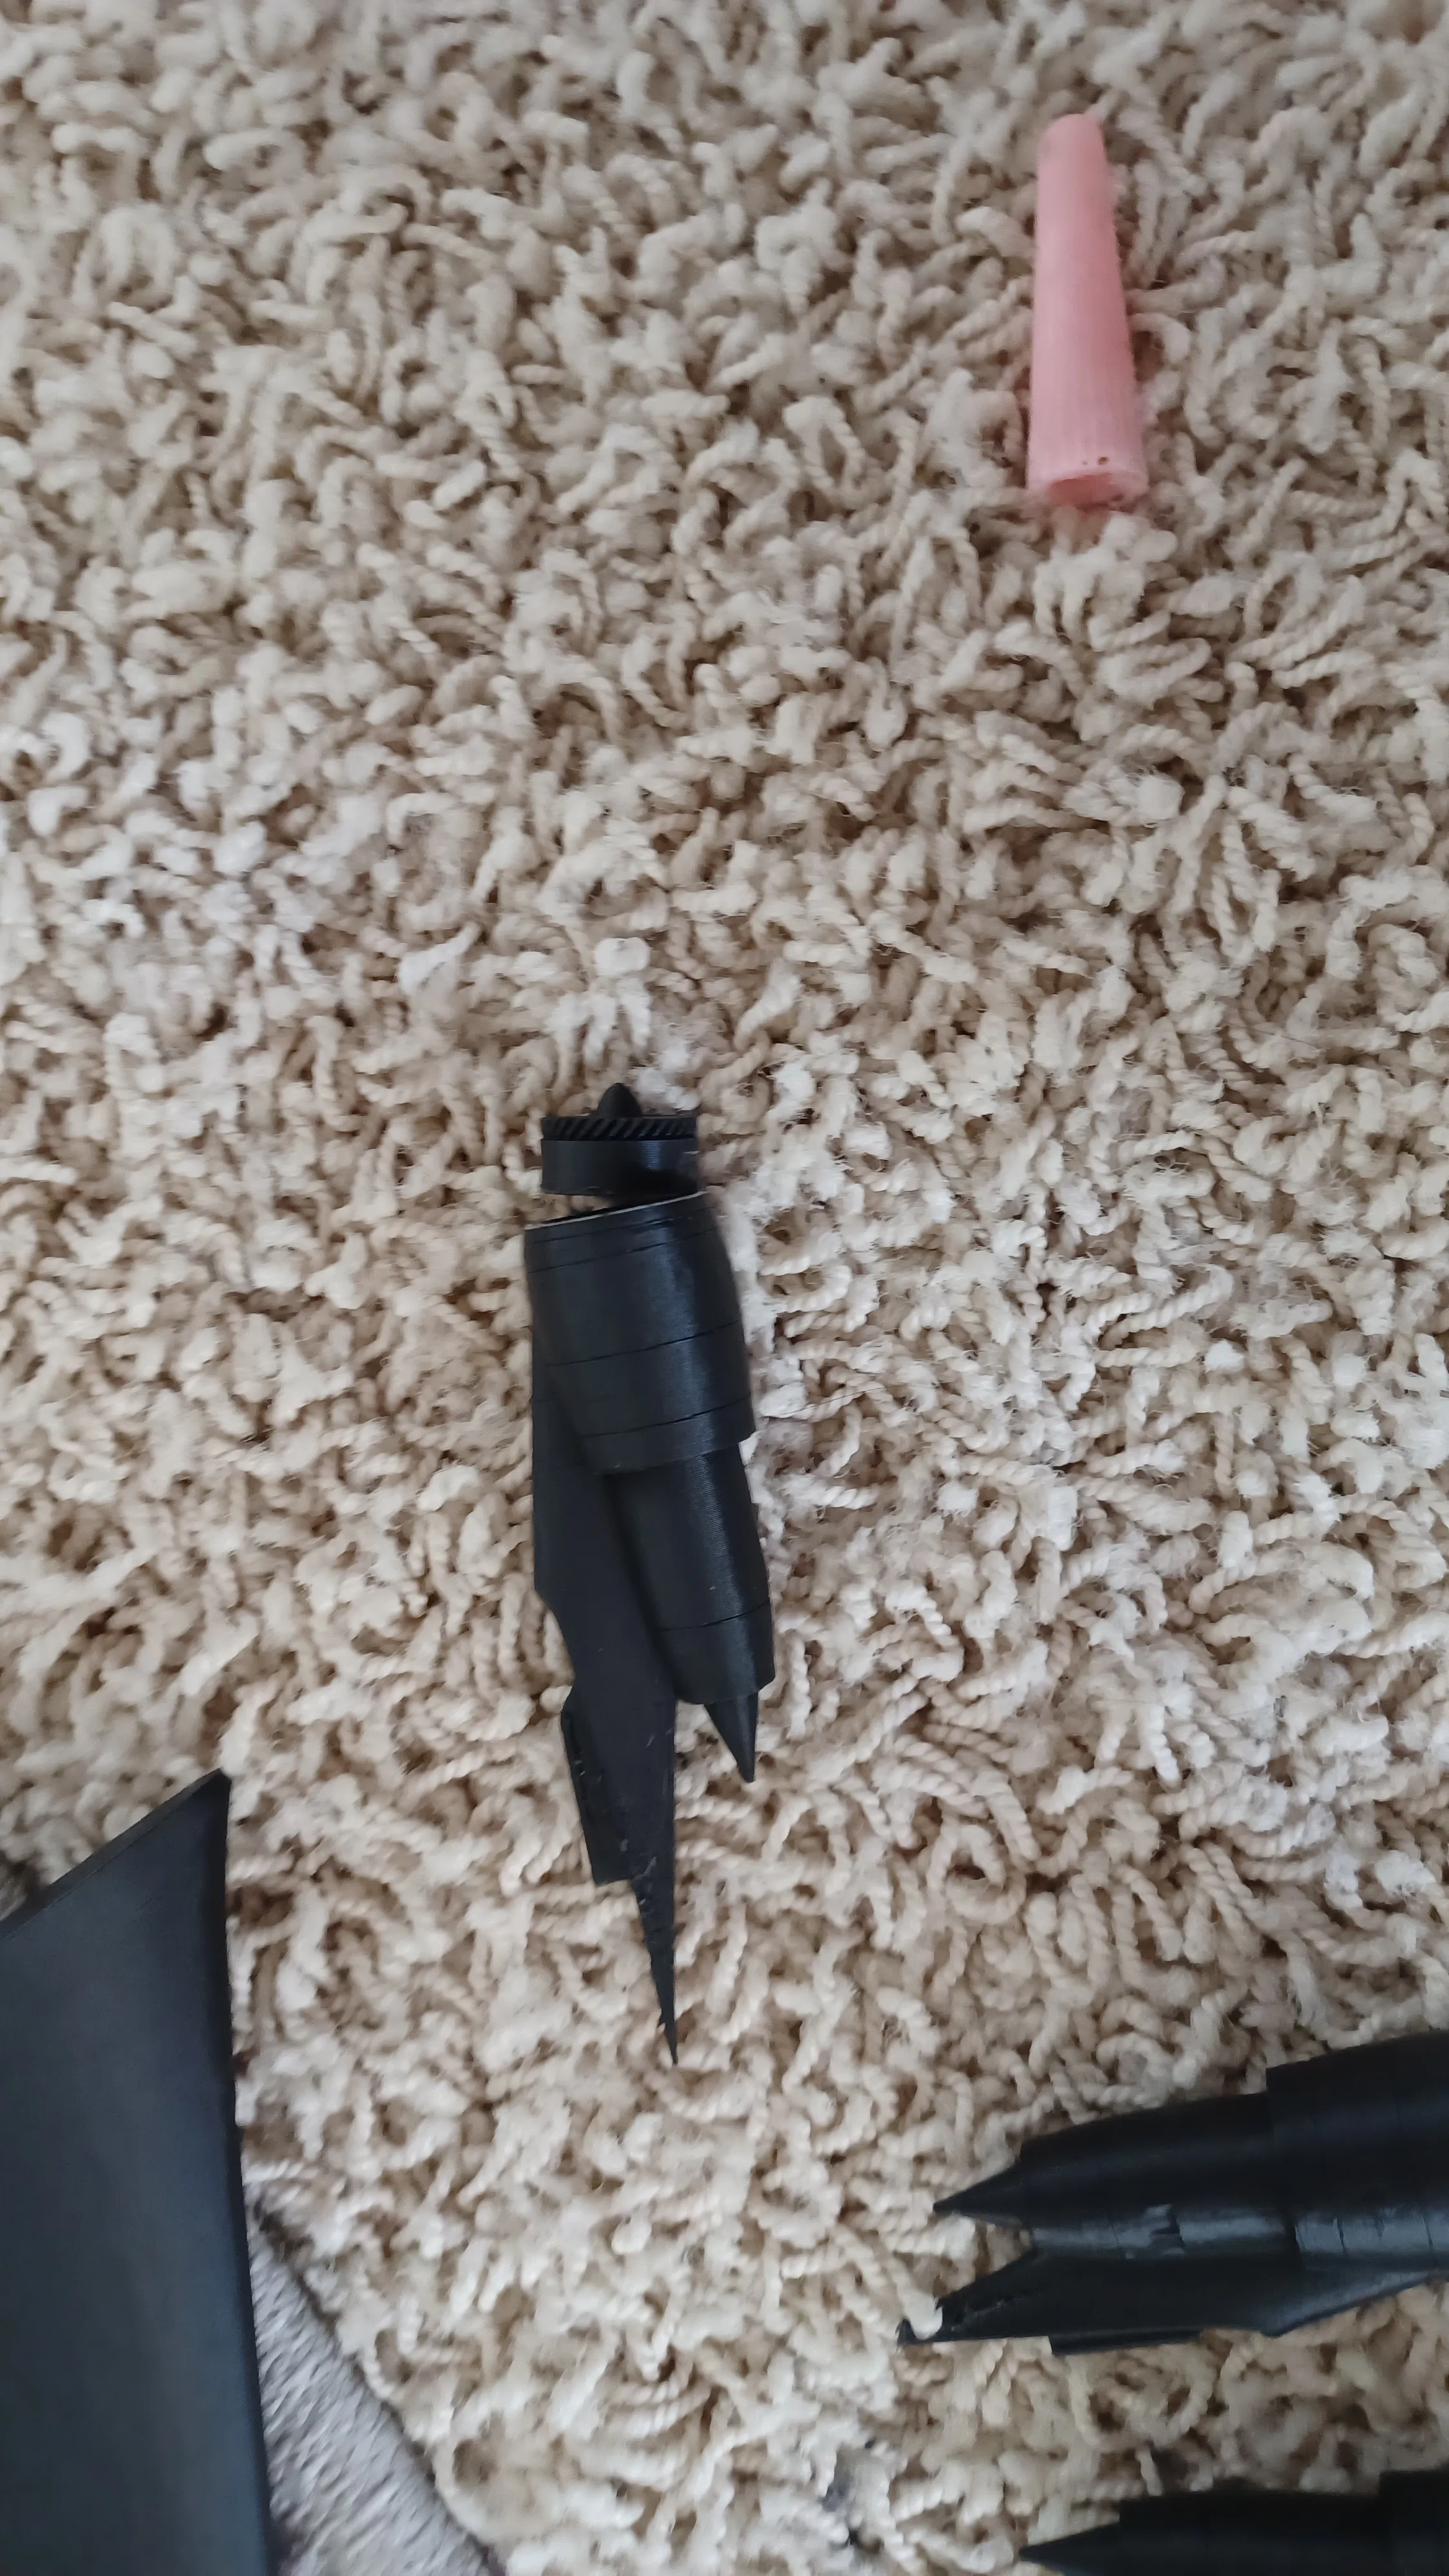
Step 5.
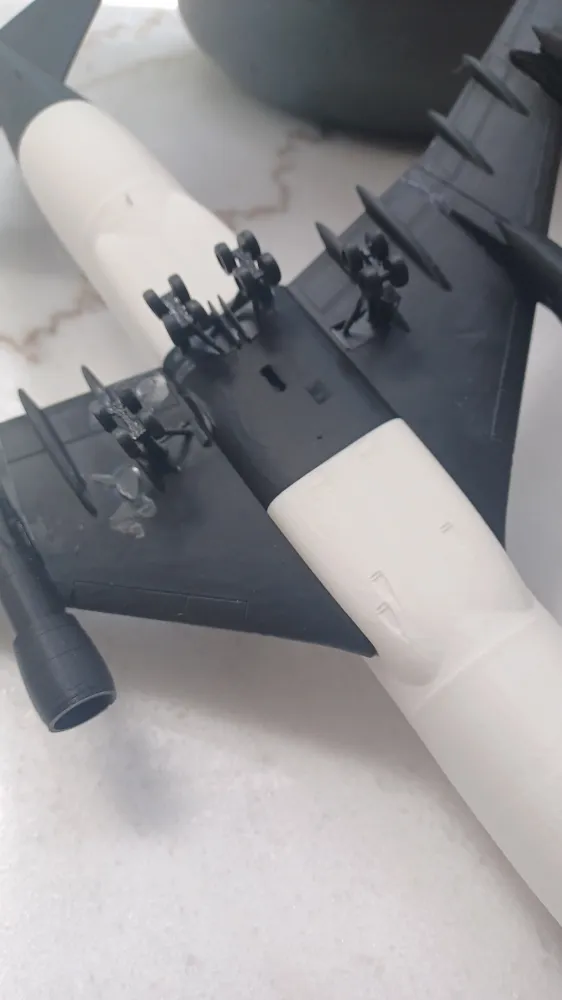
Flip the wings over and apply glue to the grooves. Picking up each engine, fit the into the grooves. (Take note of the legnths of the pylons and angles at the ends of the pylons, as the longer ones go inboard.)
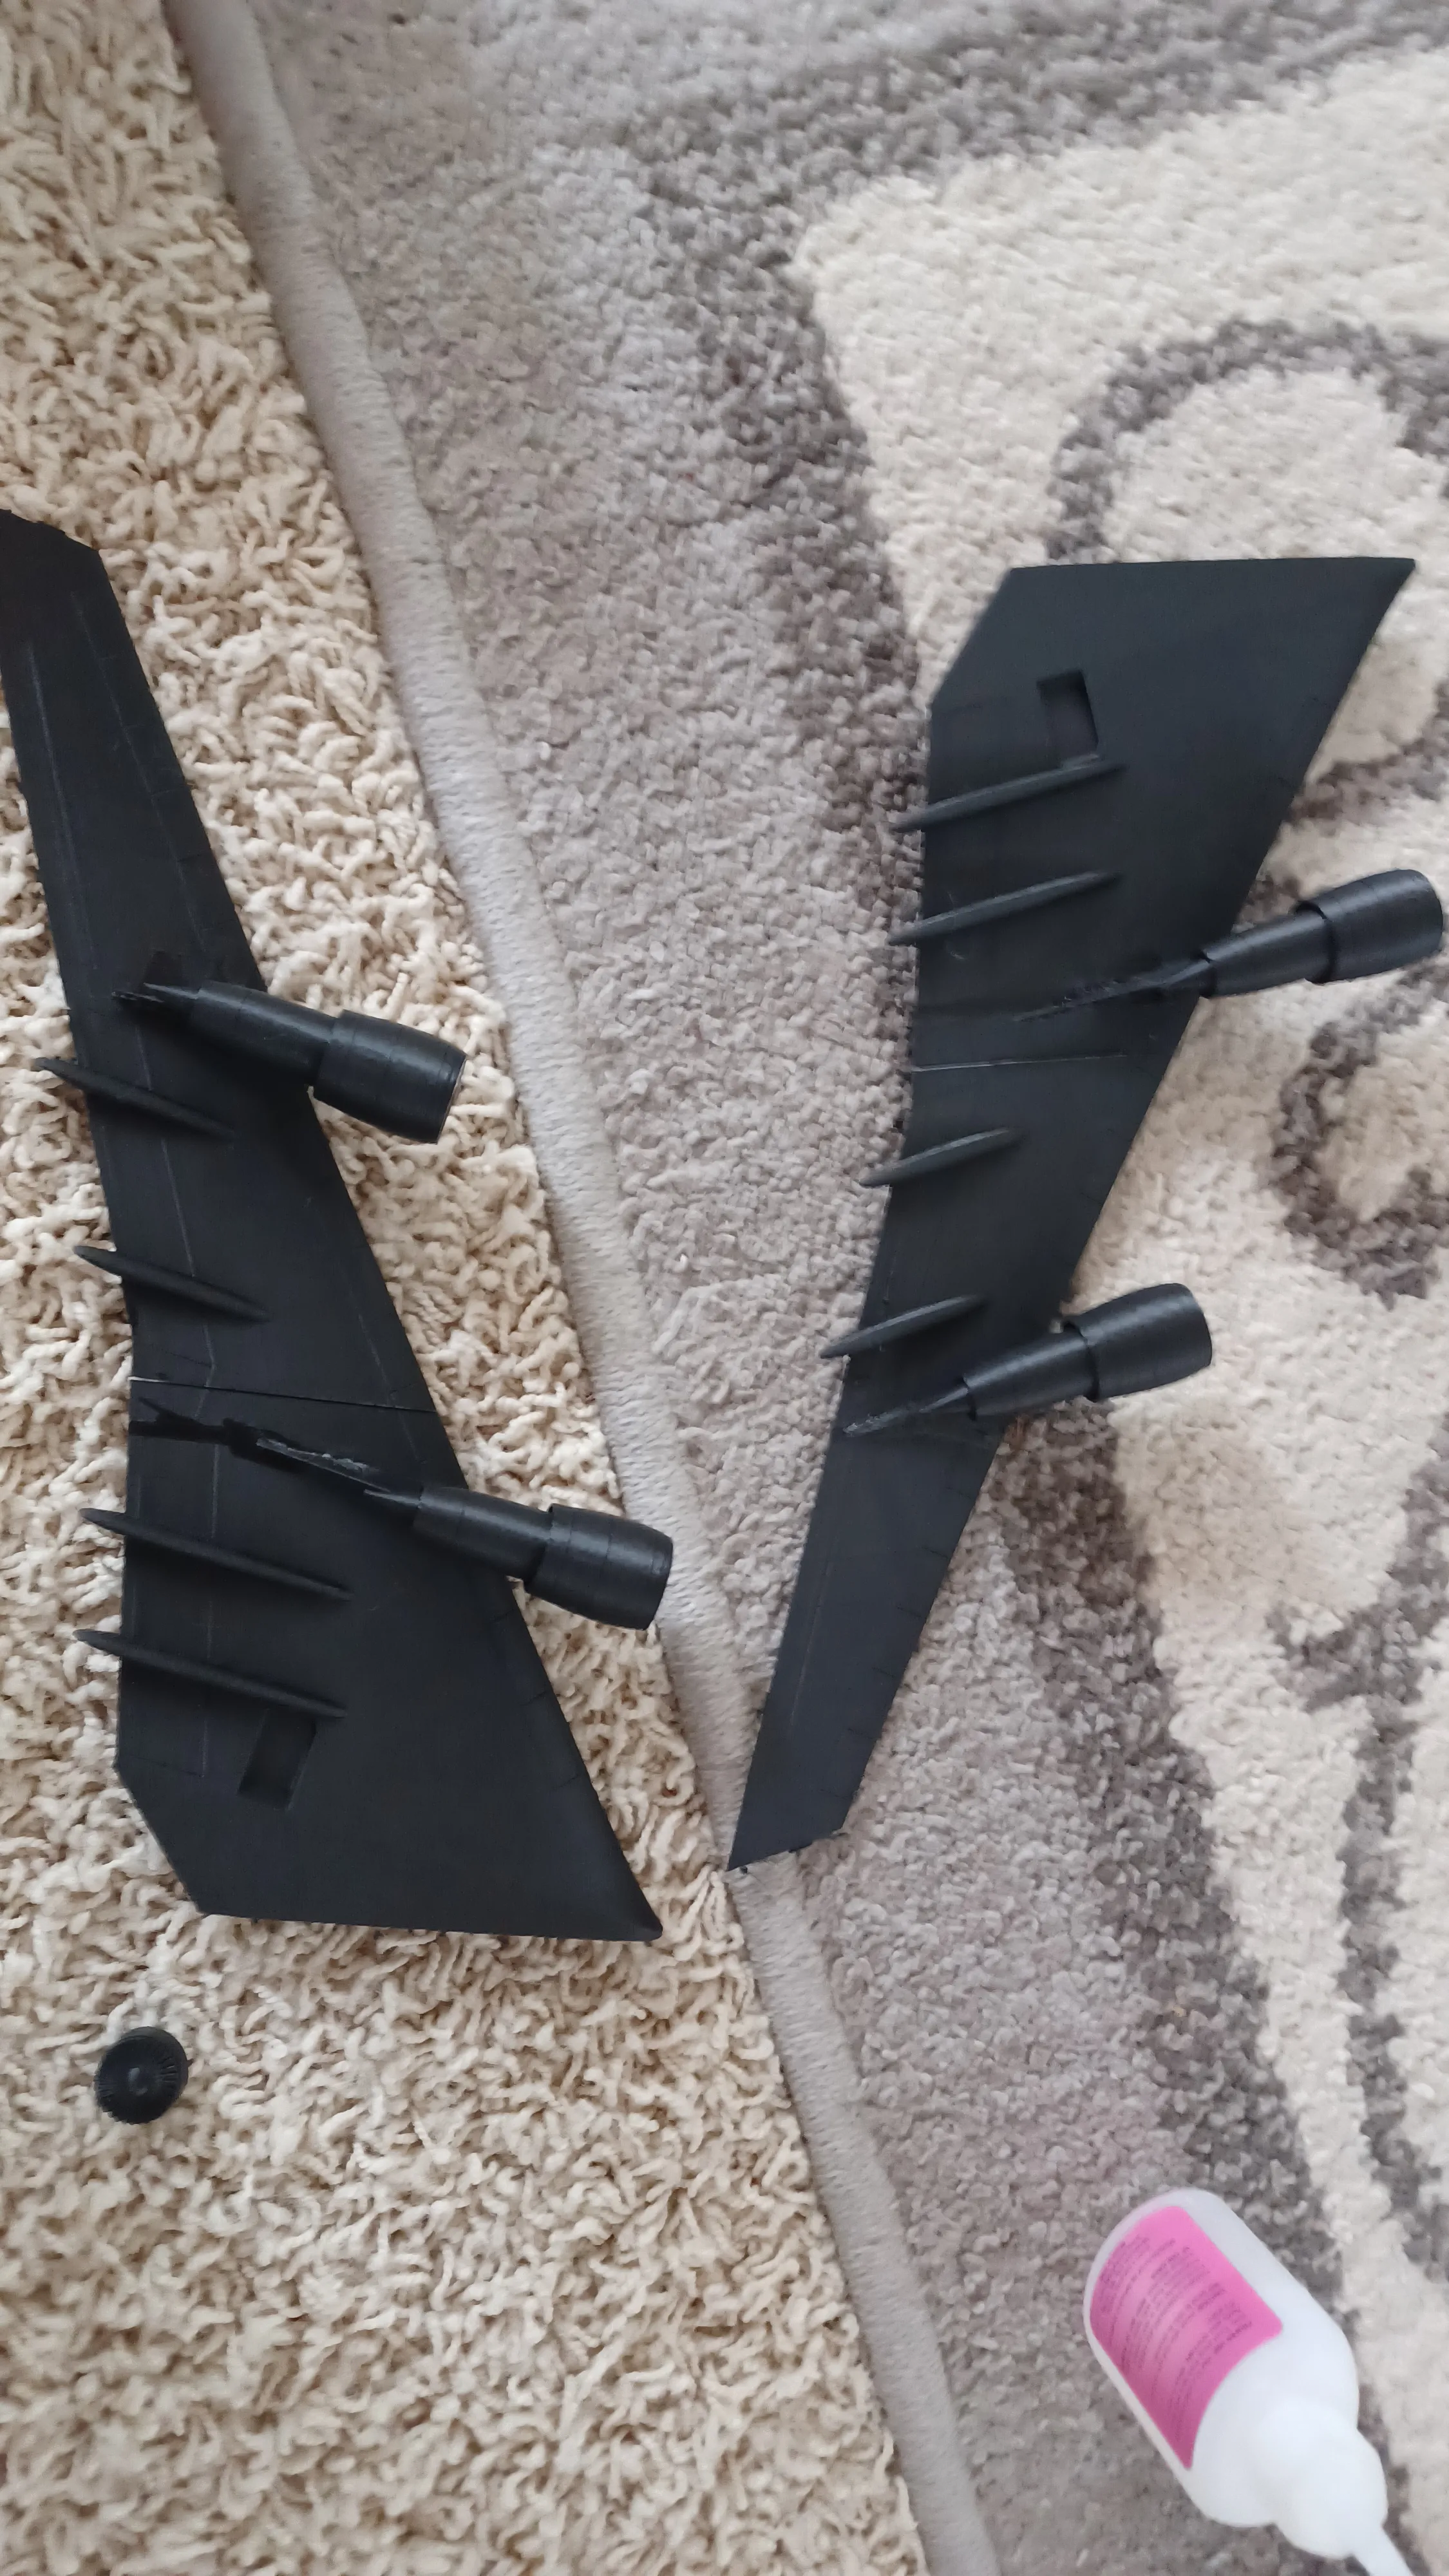
Step 6.
While waiting for the pylons to dry, use the connectors to attach each of the fuselage sections. The wing section will need glue. Take note of the slight bump at the front of one section, as it will indicate the location.
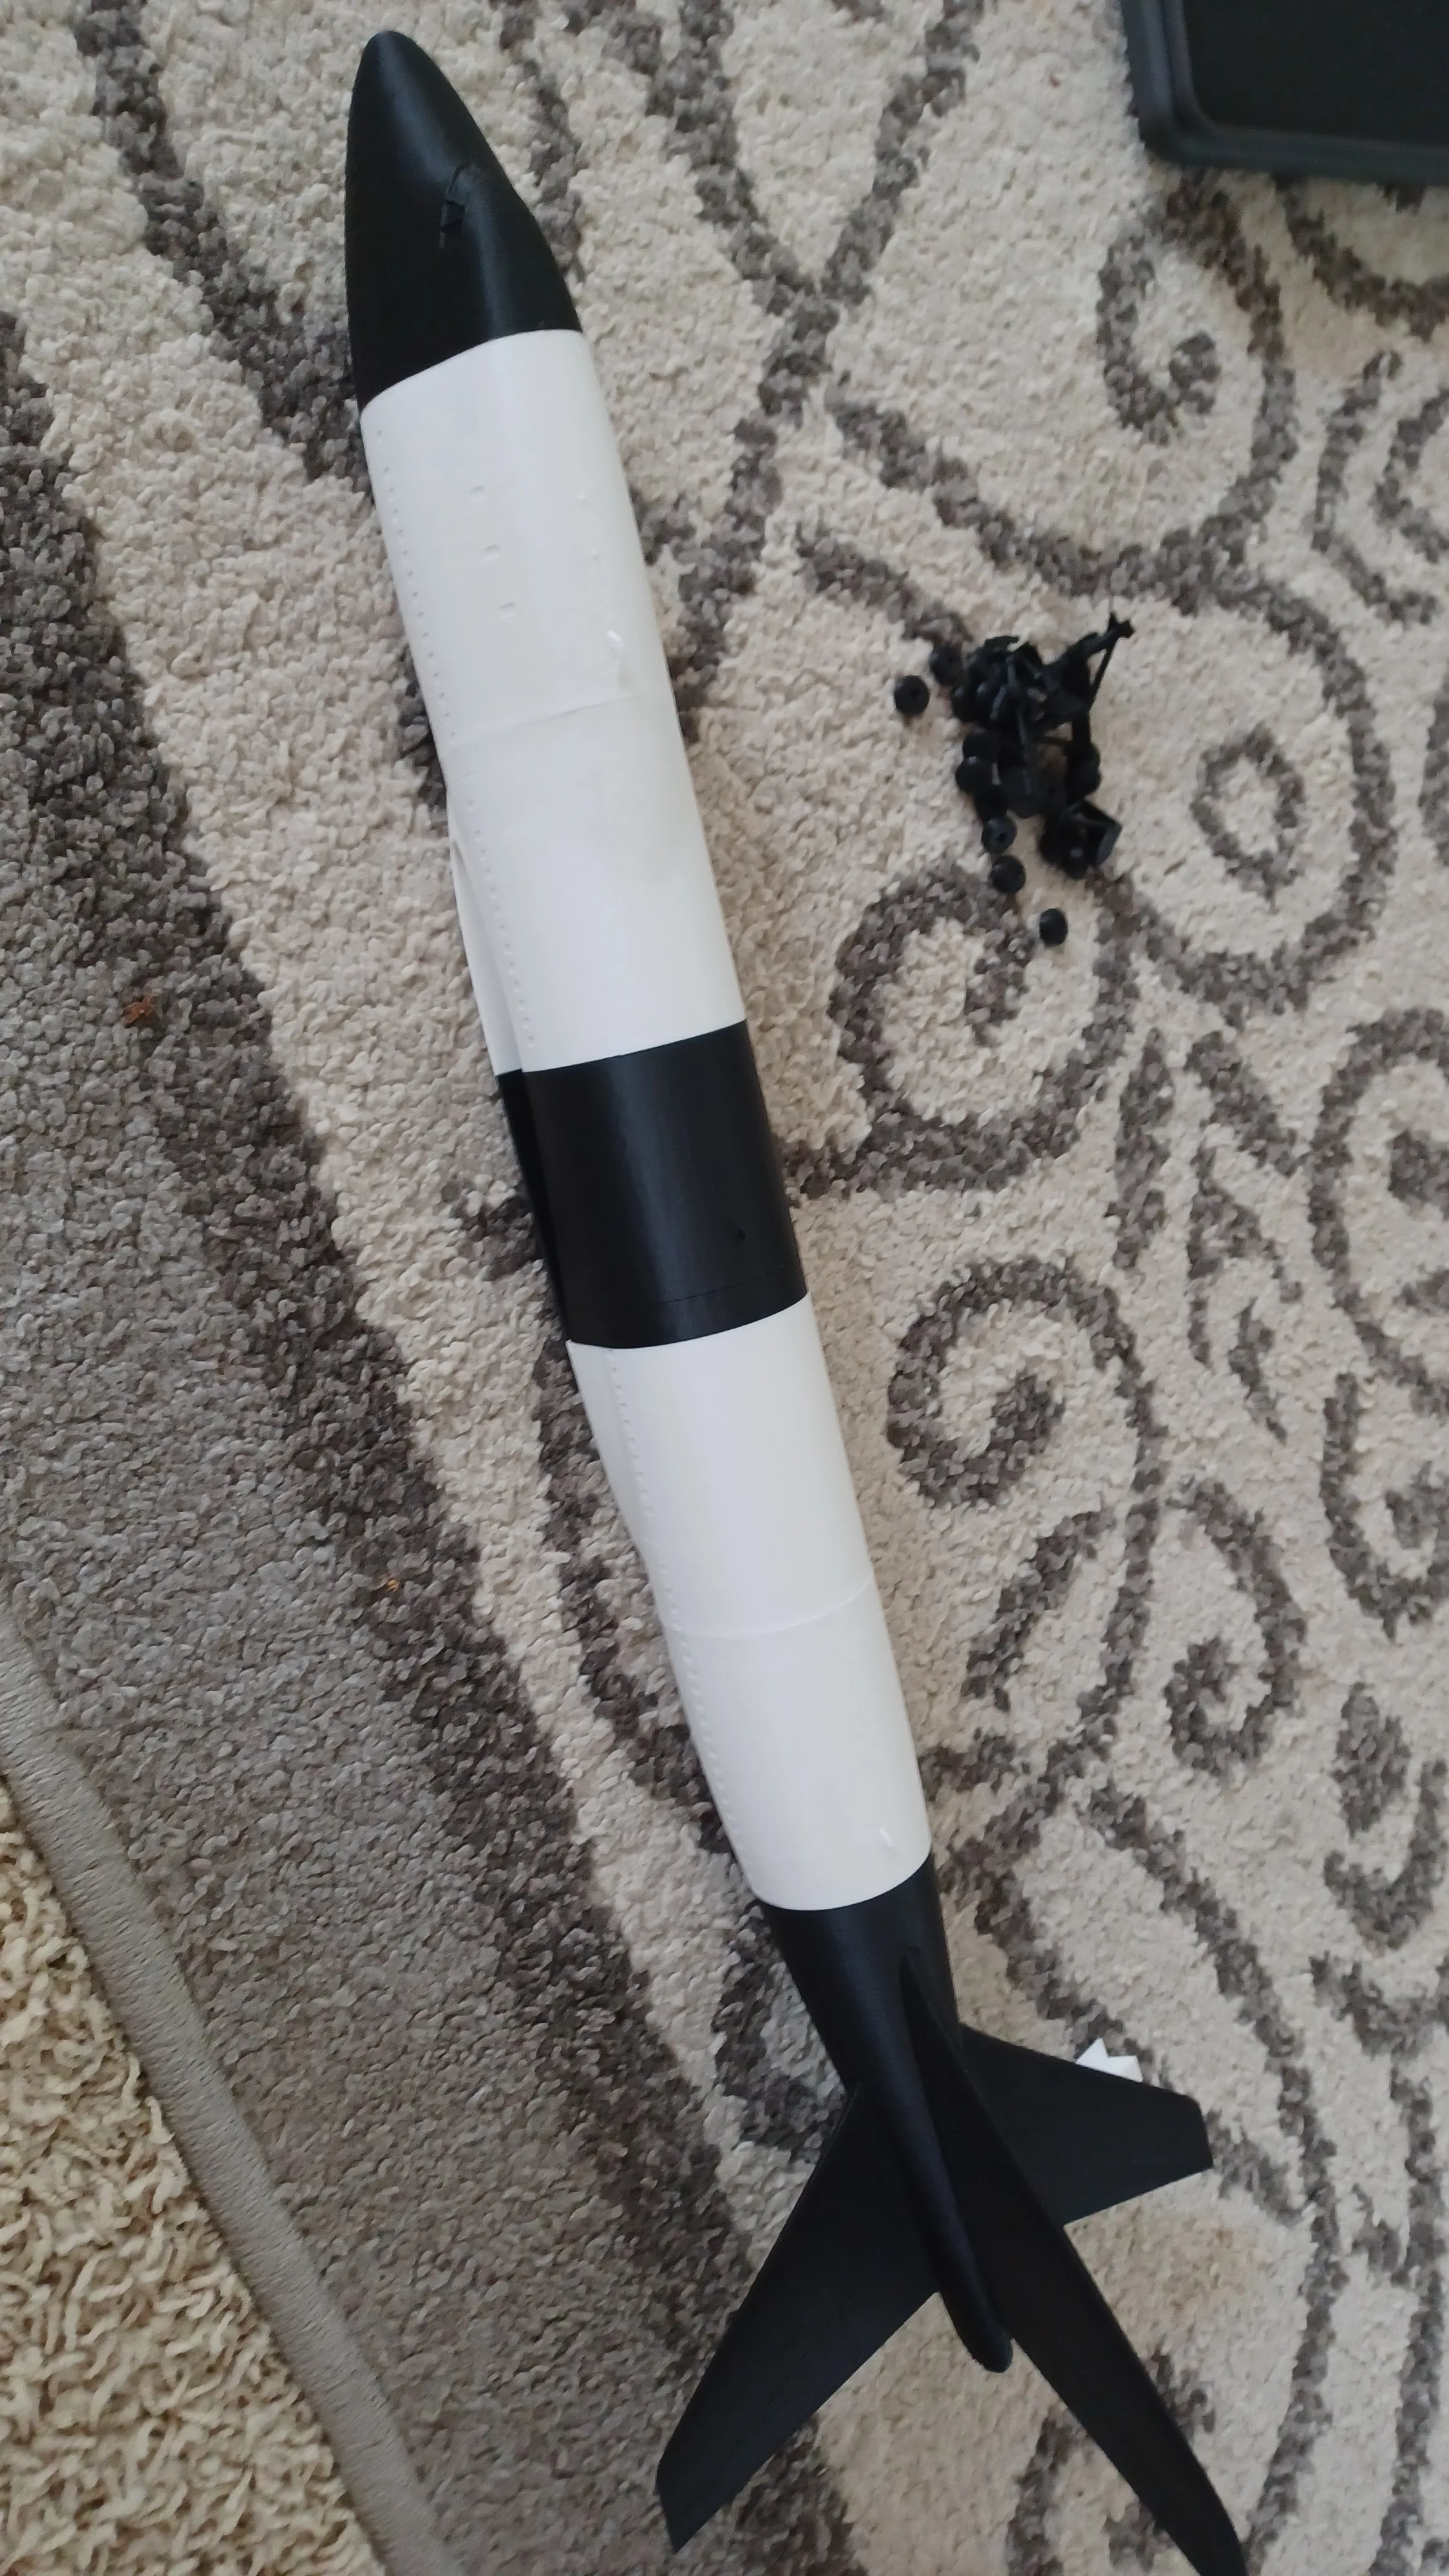
Step 7.
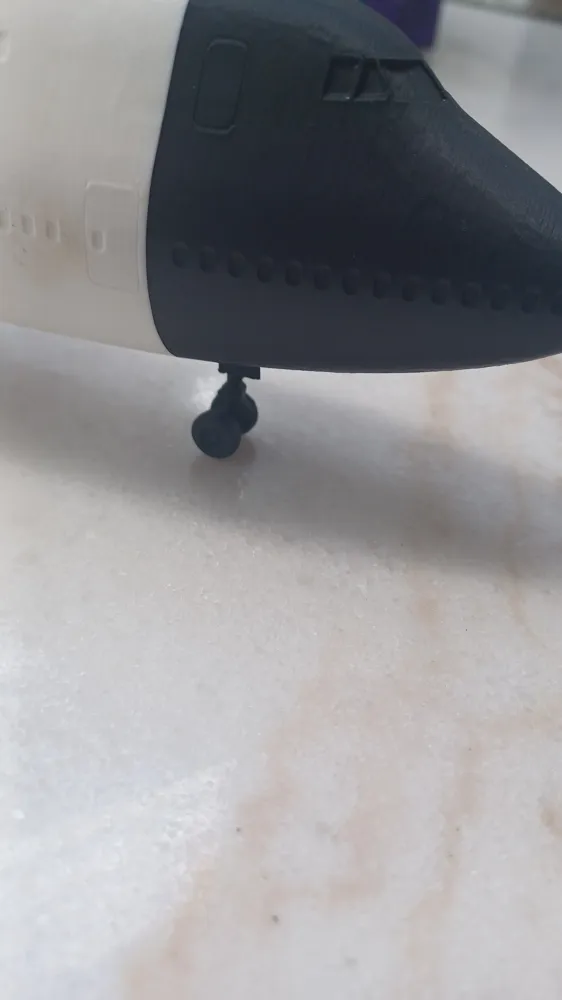
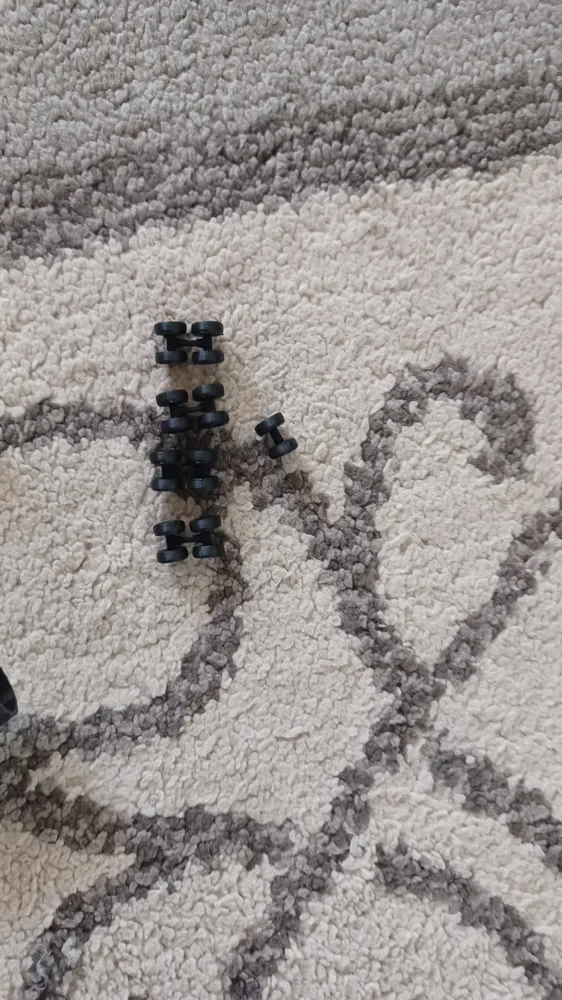
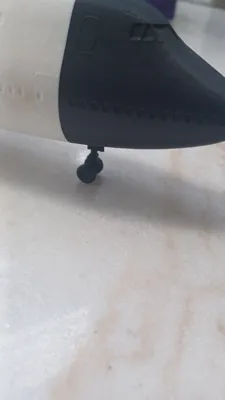
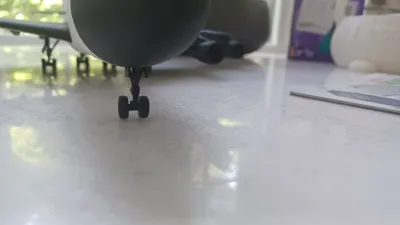
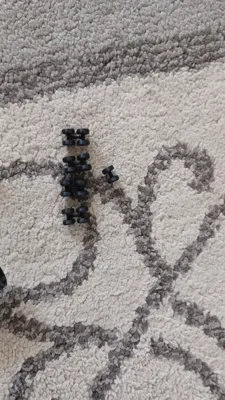
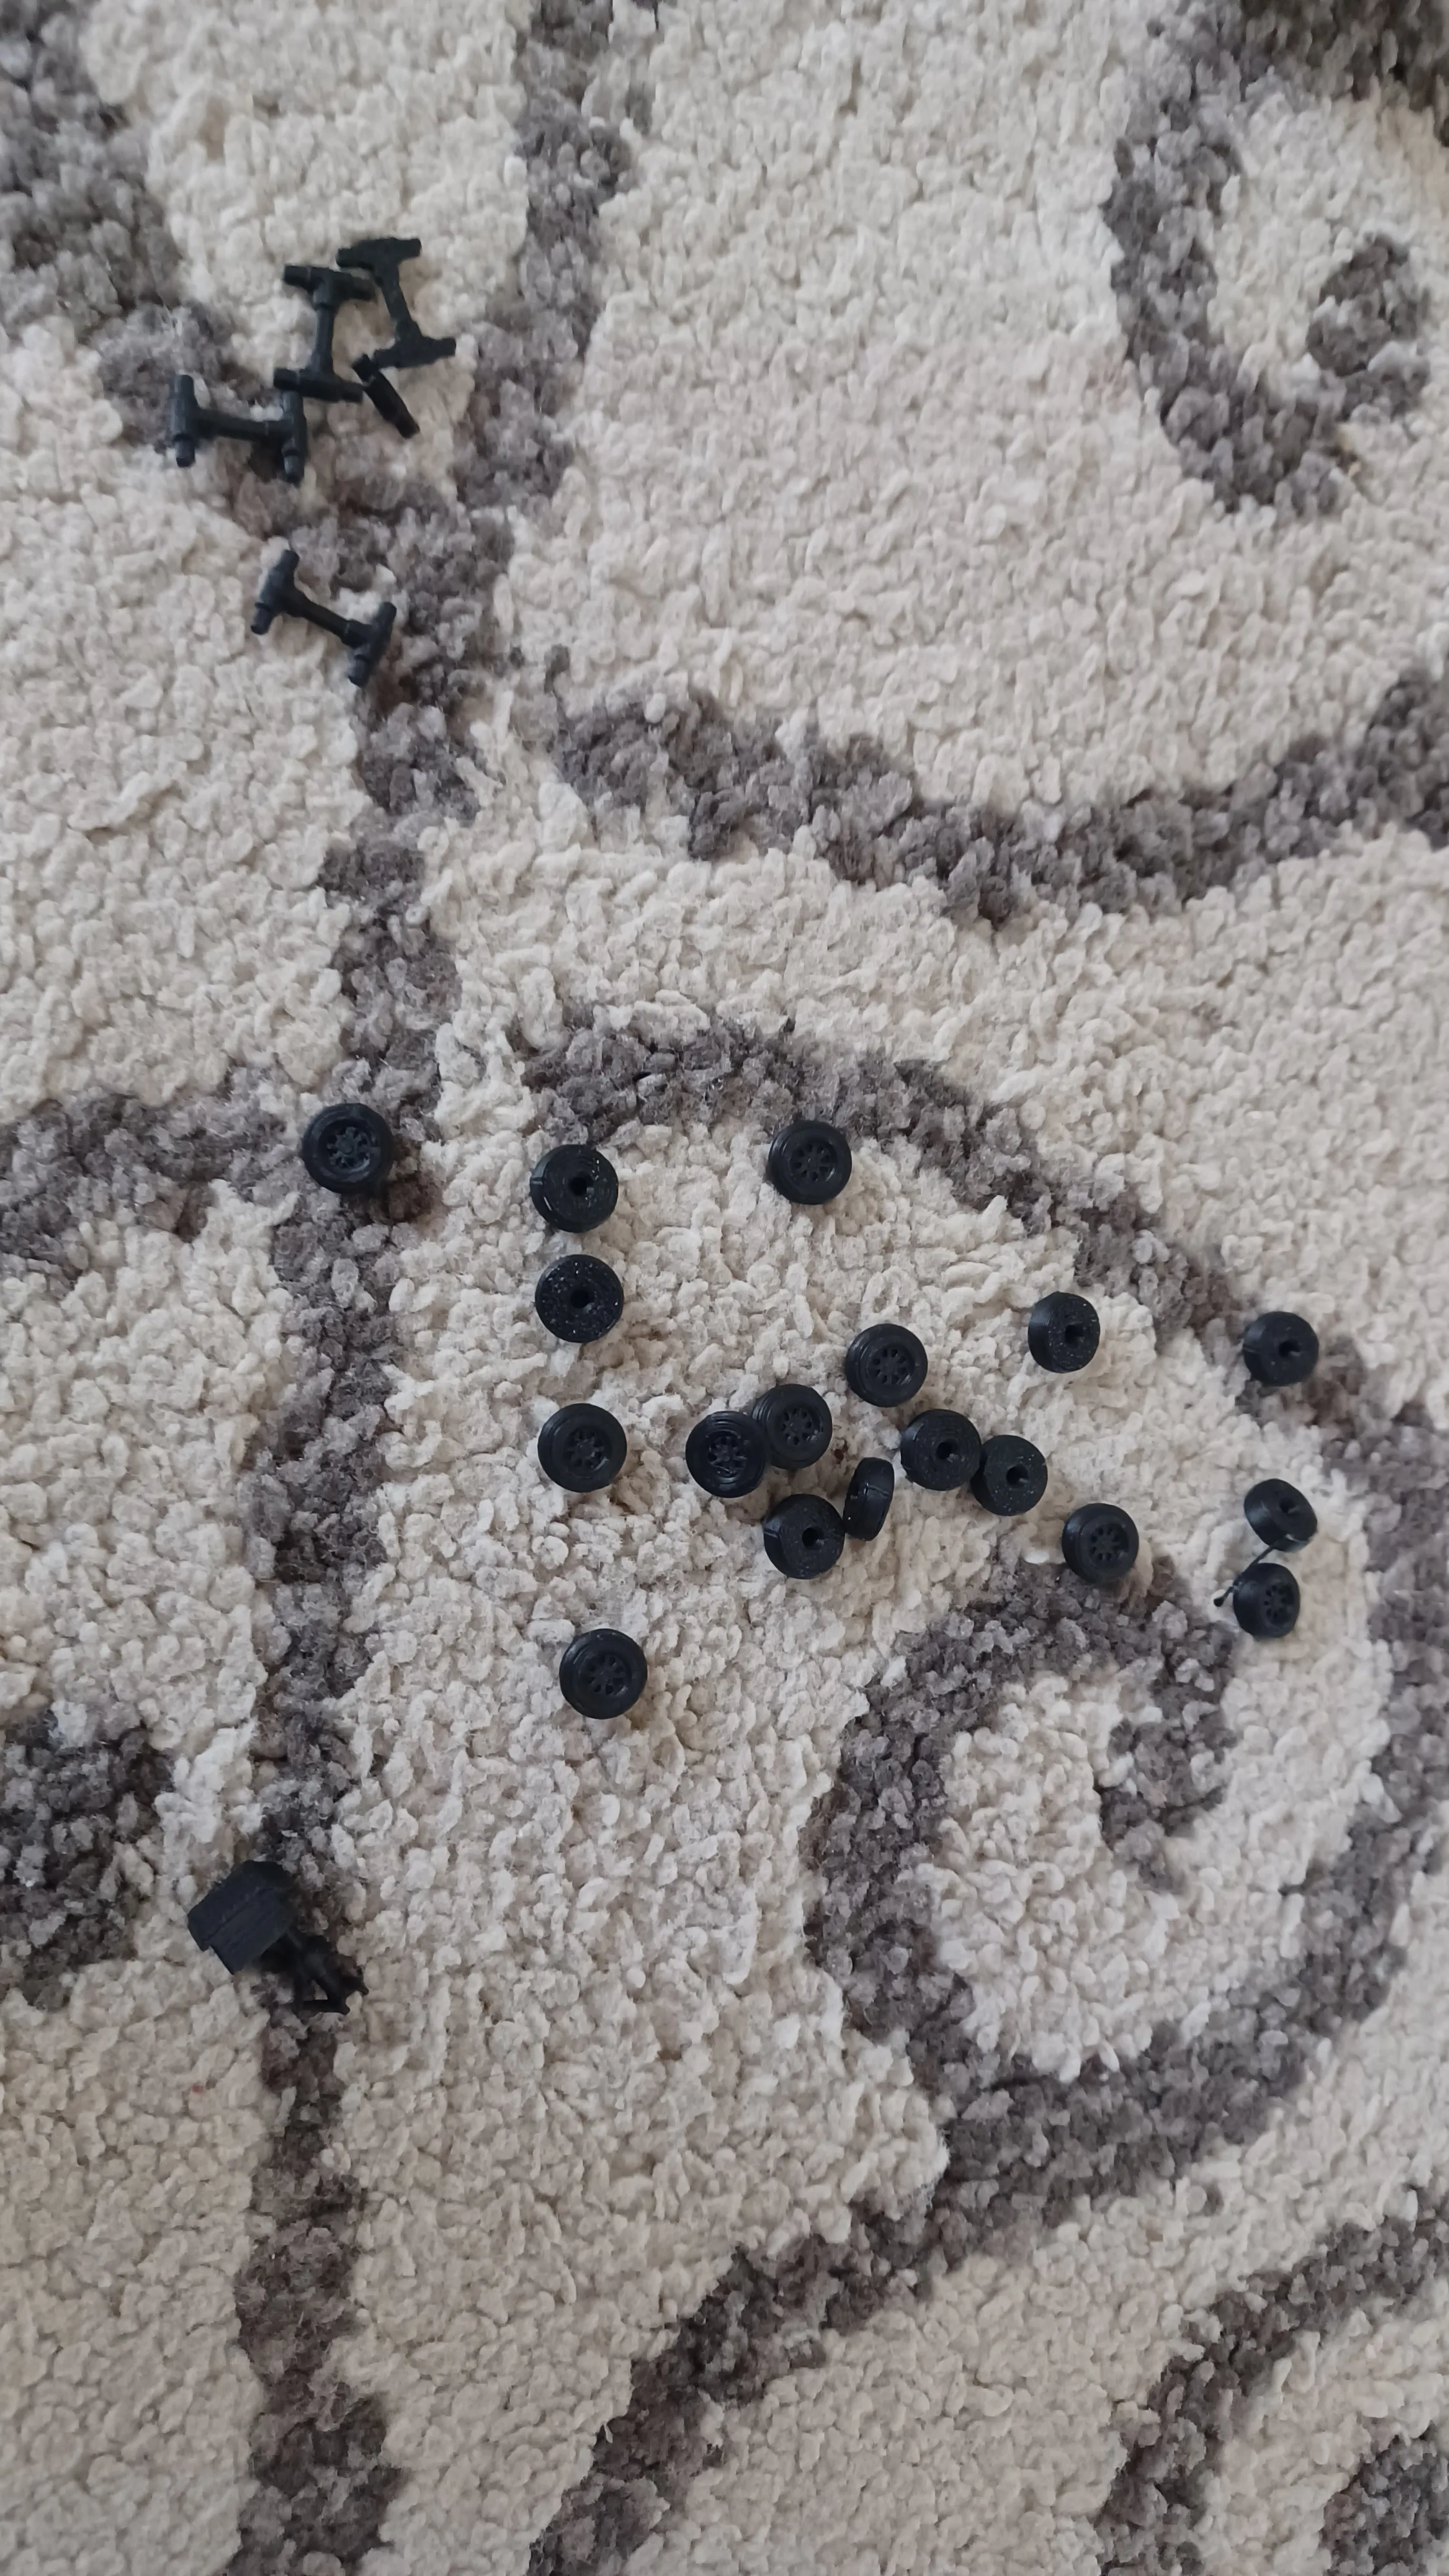
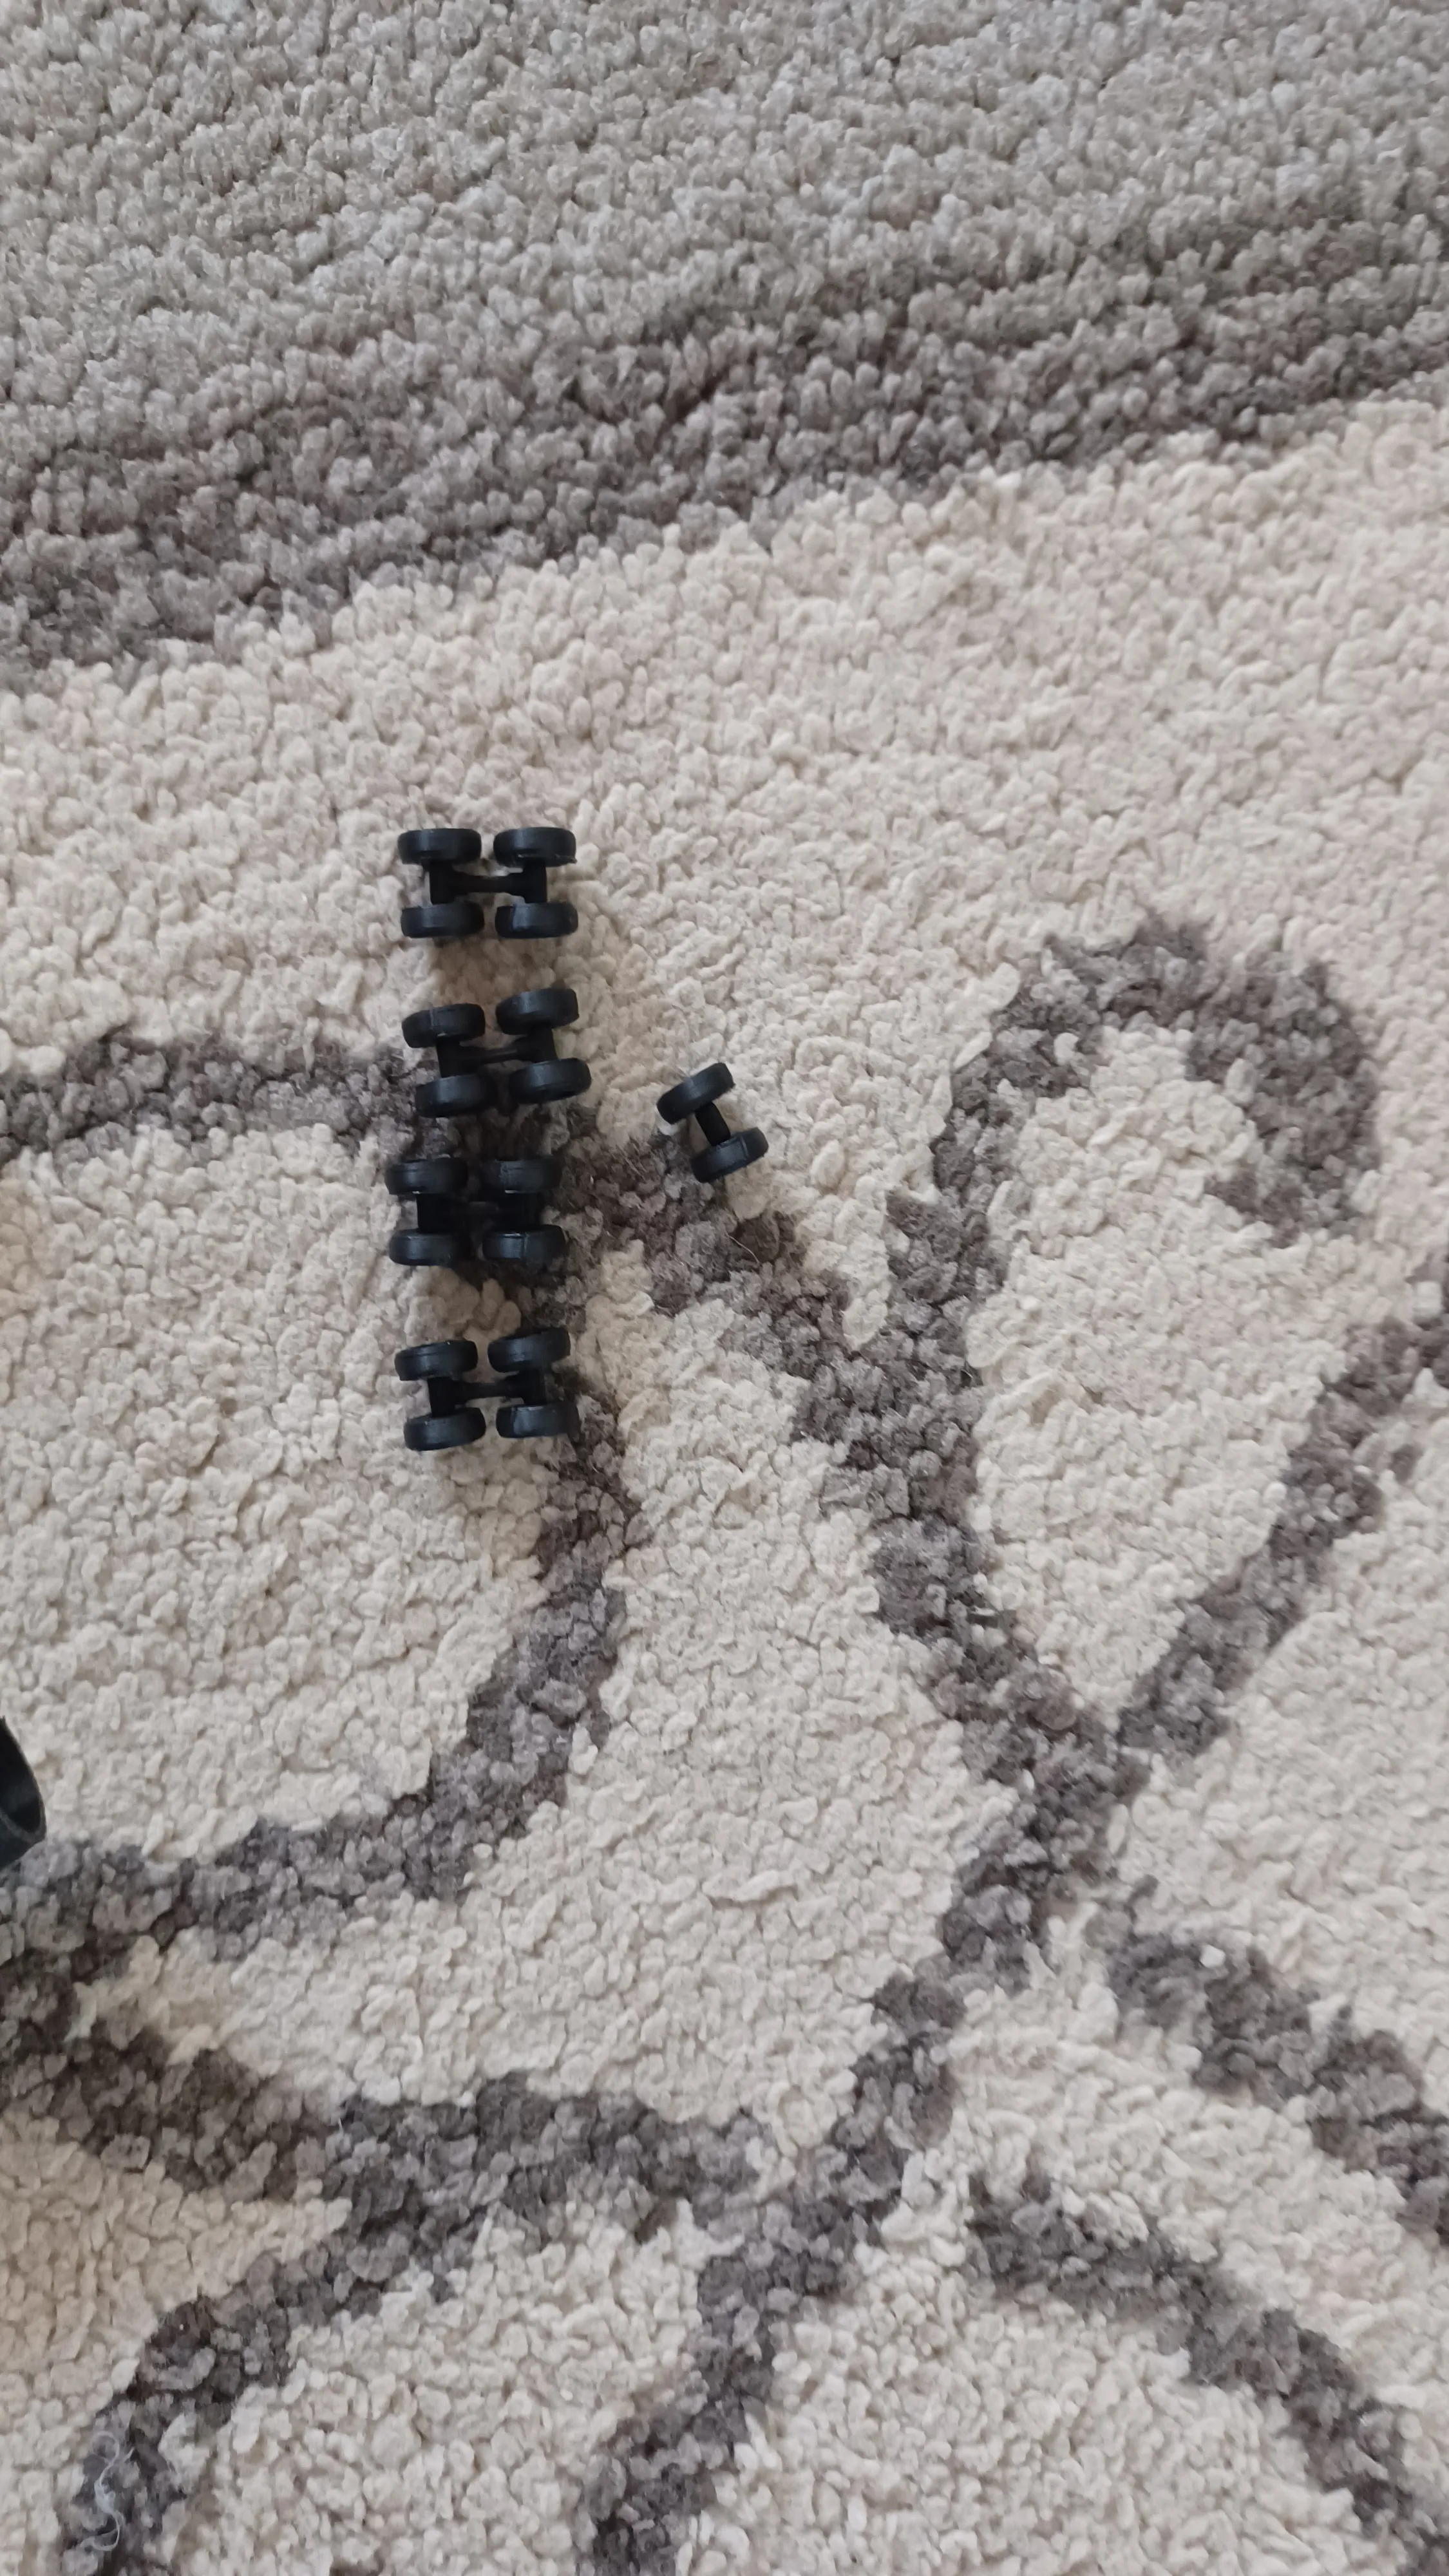
Go to the pile of gear parts. Pick up each of the connectors and slowly pop wheels onto each one. The wheels shoud lock. Repeat for each main gear and the nose gear.
Step 8.
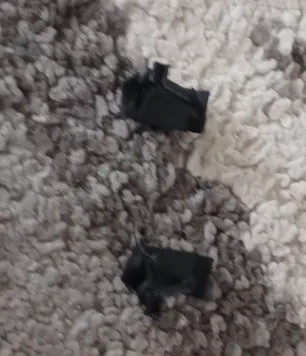
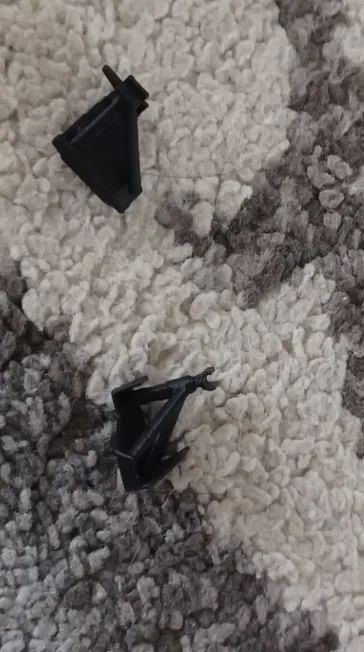
Taking the gear stilts, apply glue and place the bogies on the stilts. Do NOT attempt to force the bogies in.
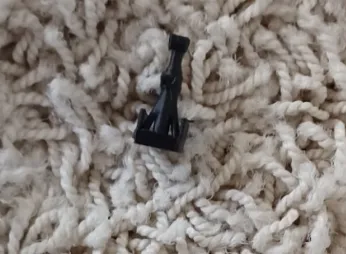
Step 9.
Glue each gear piece to the main body/wings. Then, gently apply glue to the wing roots and slide them in. The aircraft is now complete.
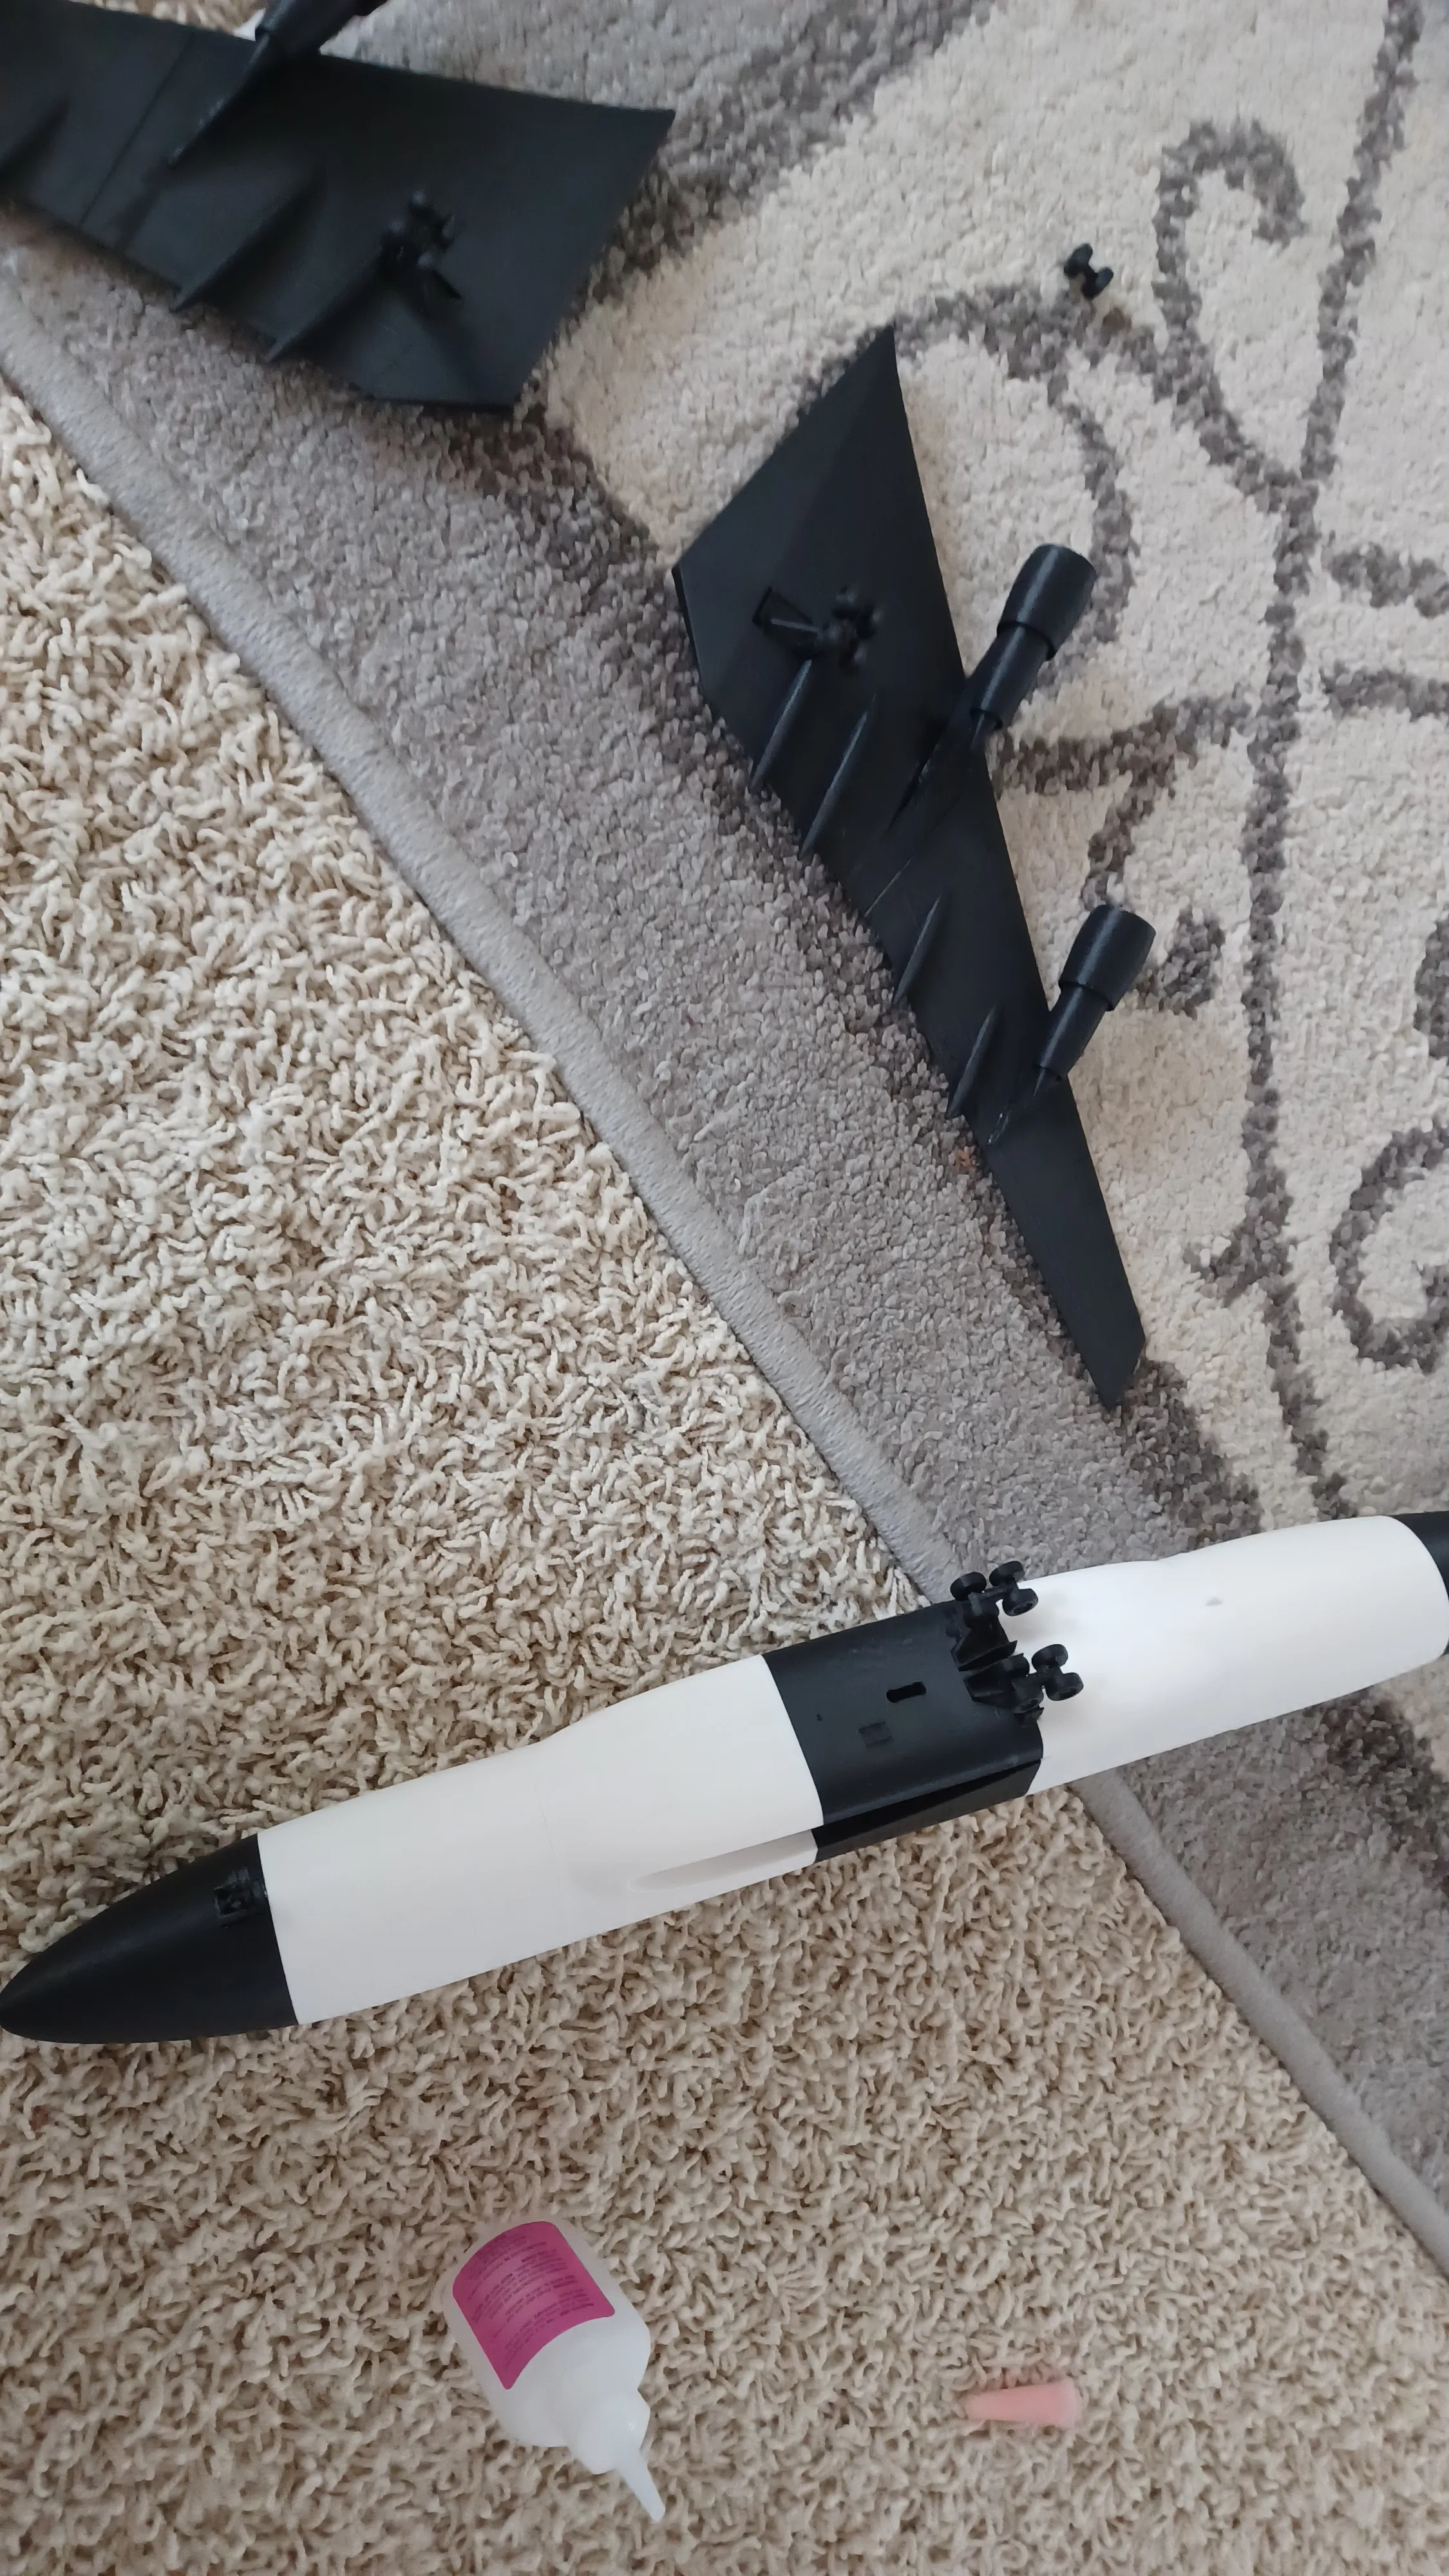
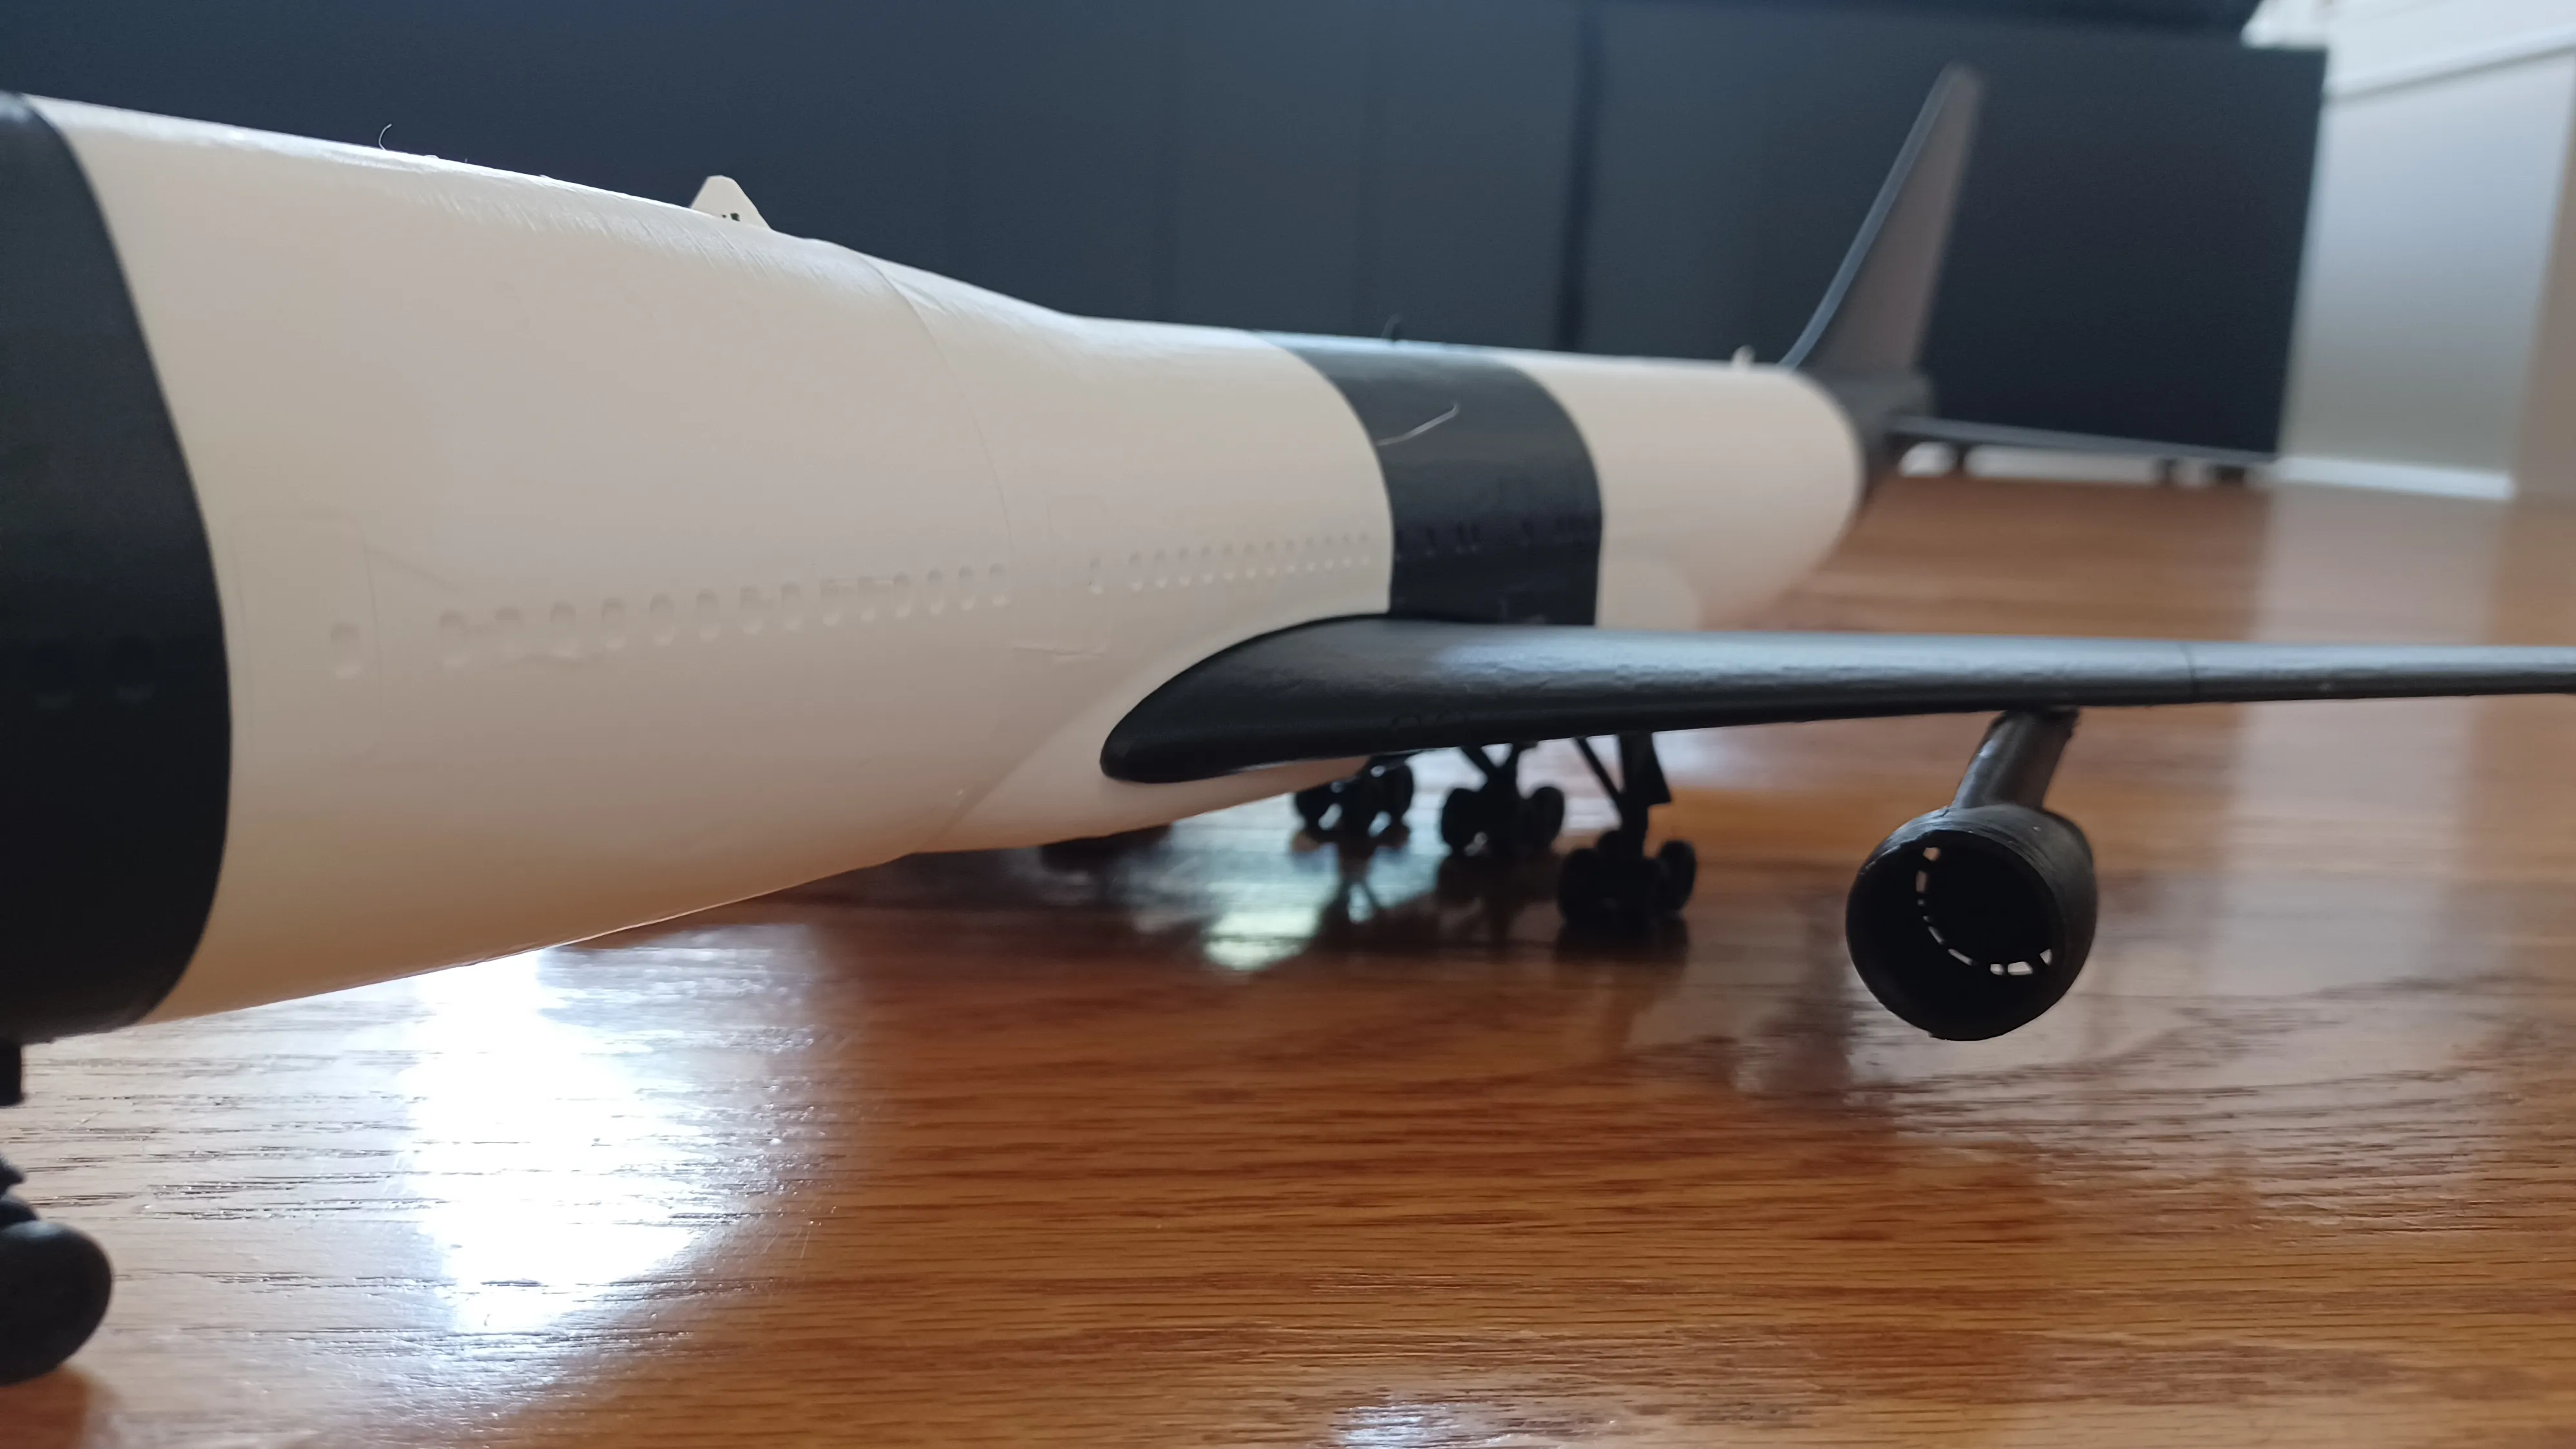
Please leave a comment and a review below.
License

You shall not share, sub-license, sell, rent, host, transfer, or distribute in any way the digital or 3D printed versions of this object, nor any other derivative work of this object in its digital or physical format (including - but not limited to - remixes of this object, and hosting on other digital platforms). The objects may not be used without permission in any way whatsoever in which you charge money, or collect fees.


Comment & Rating (0)