
UpperTube-inator
Print Profile(1)
Description
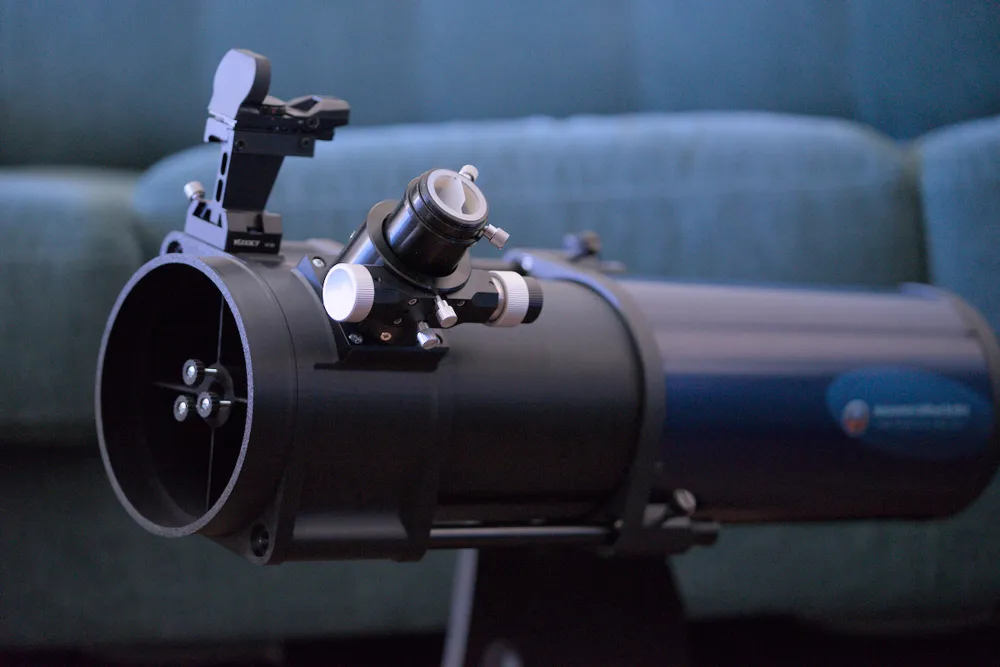
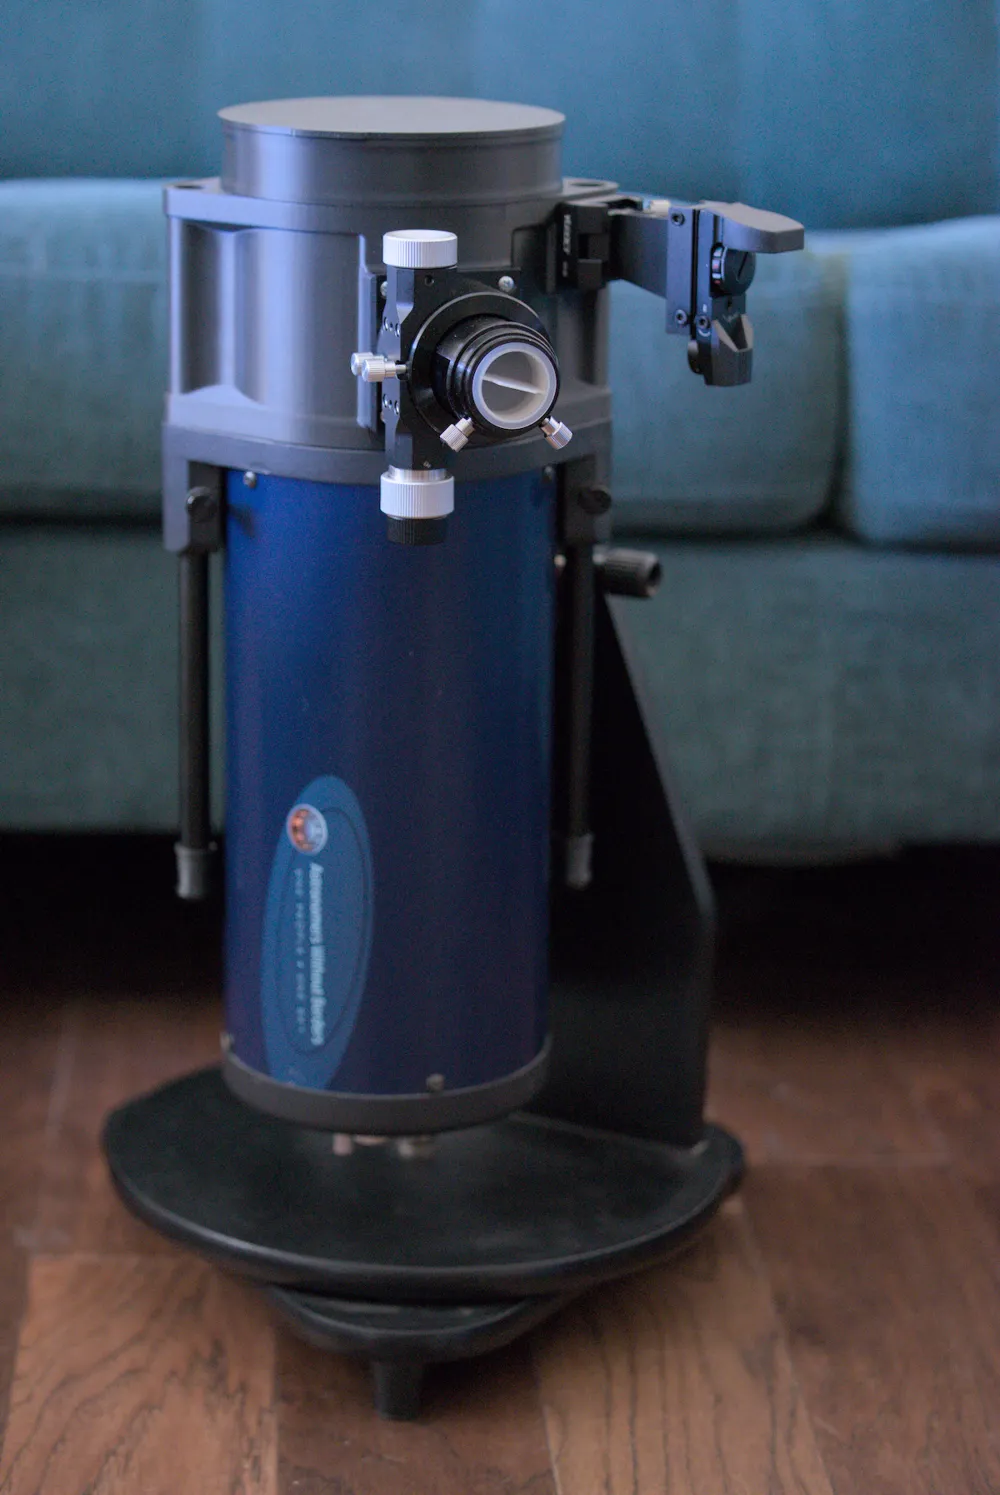
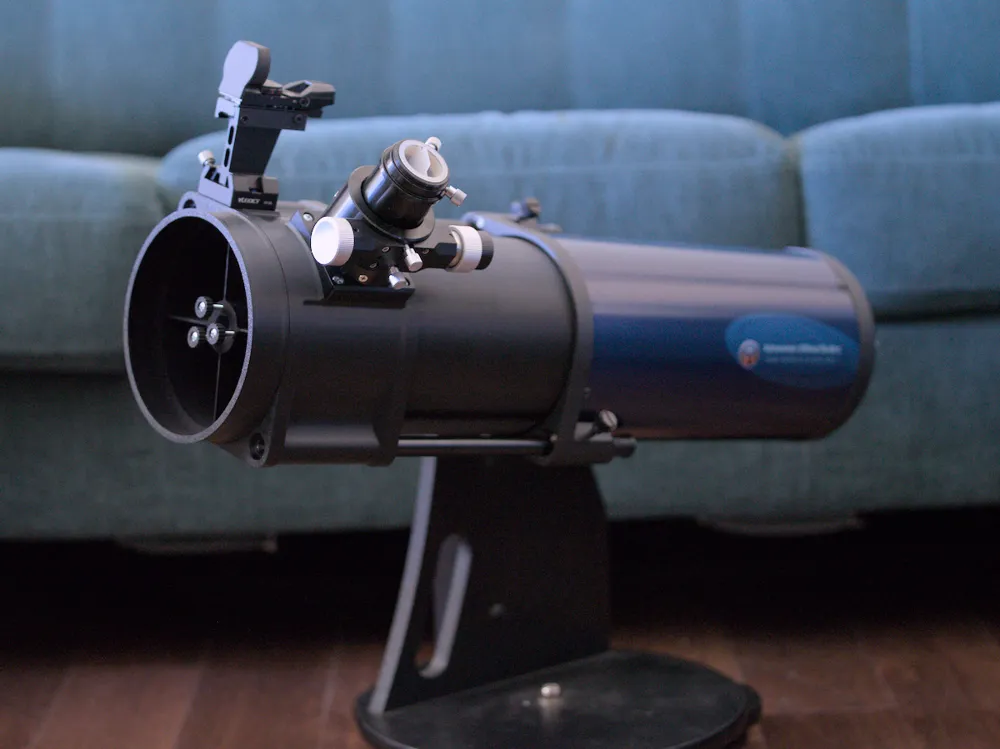
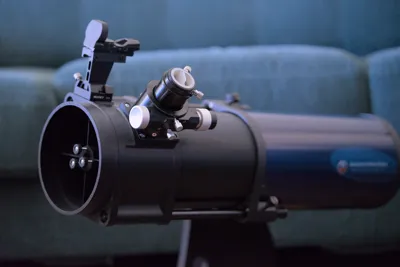
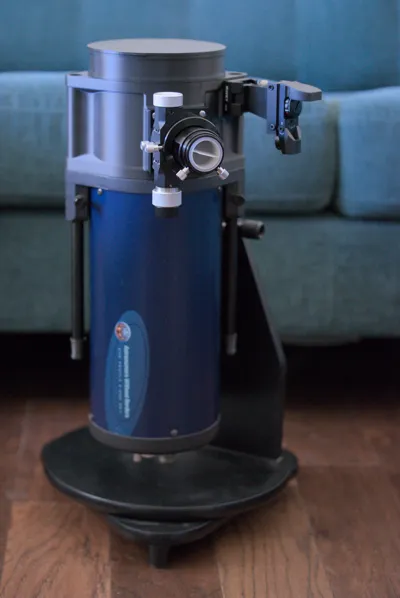
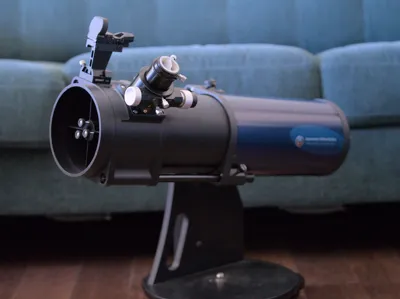
This is my Astronomy Without Borders Onesky 130F5 upper tube assembly.
I found two major deficiencies with the original upper tube assembly.
- The sloppy threads in the helical focuser, that does not have adequate rigidity
- The finicky secondary mirror collimation
The sloppy threads in the original helical focuser is well known with kludgy fixes like wrapping the threads in Teflon tape or using grease on the threads… But the bigger problem was the thin plastic cantilevered design. If you tried using any moderately heavy eyepieces the weight was cause it to sag and vibrate intolerably at higher magnifications, making planetary observing incredibly frustrating.
And for some reason that I can not imagine, people making these entry level telescopes put the spring between the secondary mirror and the hub thingy. When you loosen the locking screw the whole thing just goes wherever it wants and makes collimation a total pain. Also, having the whole assembly on the one round rod made one more axis it could rotate on and need adjusting. Very annoying.
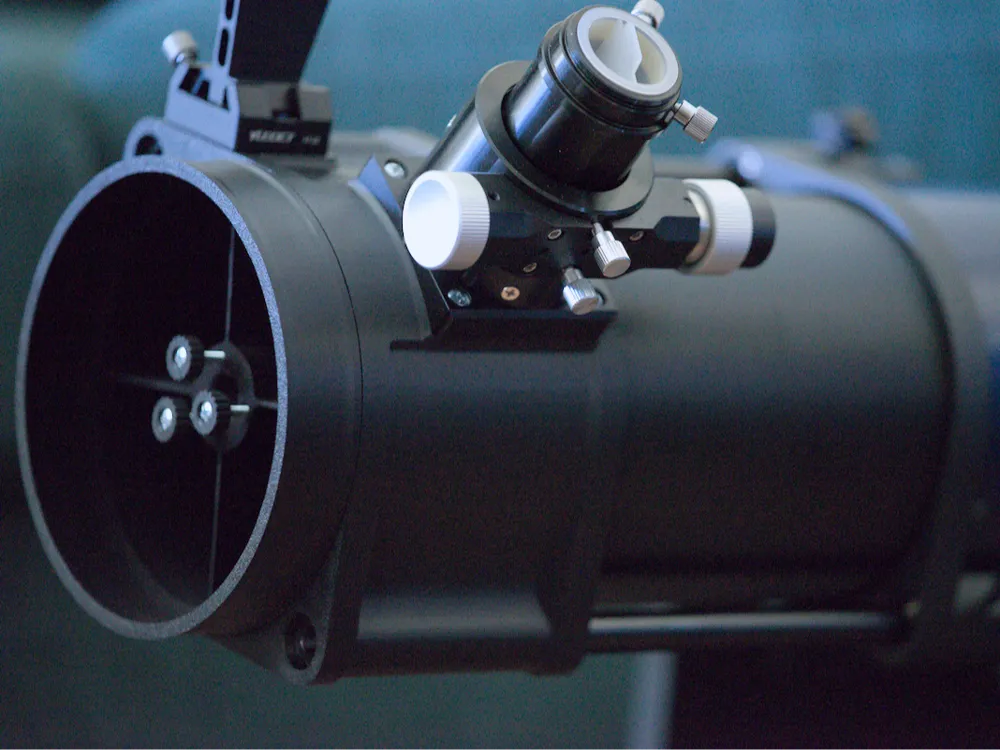
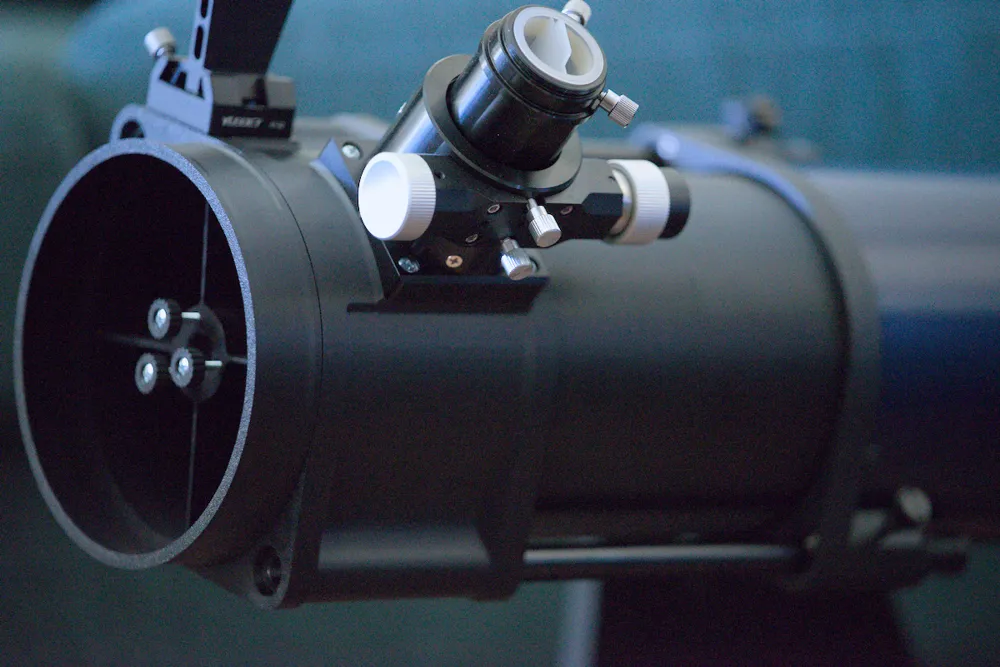
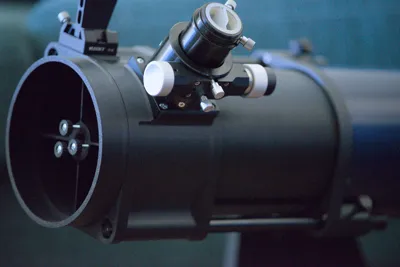
In this upper tube assembly, the whole things is printed thick and solid, allowing for the mounting of a full size Crayford focuser. This upper assembly is very solid and has very little deflection. It uses a four vane spider, and I relocated the spring to the top side of the hub so it's in a push/pull orientation. Now when you loosen the center screw a turn or two, the spring holds the mirror mount against the three screws so you can actually see what effect your adjustments have on your collimation. As an added benefit, the holes for the strut rods are much deeper, which leaves a lot less unsupported rod length further increasing stiffness.
And finally, I rotated the focuser around a bit for easier seated observing. IMO, the stock orientation seemed better for standing and hunching over the telescope. Now the focuser is at a 45° angle which I think offers better ergonomics.
There are a couple of compromises though. First, it makes the telescope very top heavy. I had to slide the dovetail all the way as far as it can go, and it's still not 100% perfectly balanced but it's good enough. And second, the large Crayford sticks out axially further than the original focuser, requiring the use of 22mm spacers limiting how far the telescope extends to achieve focus.
This is the focuser: https://agenaastro.com/gso-crayford-focuser-reflector-telescope-dual-speed-eaf-1-25.html
Use the 176mm base curvature option.
The design also utilizes this dovetail mounting shoe https://a.co/d/0iBxRjiH
It is designed for m6 screws but I wanted to only use M4 on this design so I made this insert that allows the use of two M4 x 16mm countersunk head screws.`
The designed it to use 4mm heat set inserts. https://a.co/d/0dv4AGsl
Finally, I purchased this red dot finder scope https://a.co/d/04XIdzyd
My only criticism is that even on the dimmest setting it's still pretty bright.
I printed all the parts in ABS at 0.16mm layers, 6 wall loops, 20-25% gyroid infill with 3 fill lines. PETG or either ABS or PETG CF would also be nice, but I didn't have that and the normal ABS seems plenty stiff enough. This print requires minimum supports. I would not print in PLA, as it will warp if left in a hot car. I flocked the inside of the telescope tube and shroud, and painted the inside of the upper tube and spider in Musou black paint.
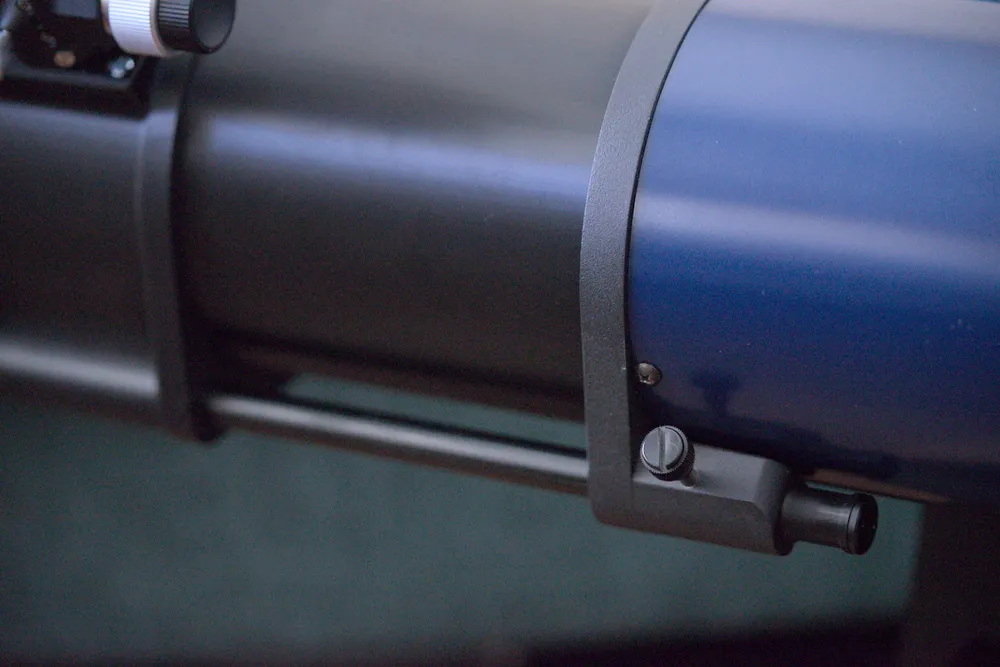
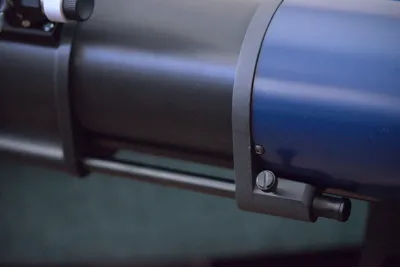
When assembling the strut rods into the upper tube assembly, it's a snug press fit and might require some persuasion with a plastic tipped hammer. The ends of the tubes must be flush with the bottom of the counter-bores. A keen eye will notice the end screws are missing on my telescope. I lost one somewhere along the way but I made the counter-bores a little too tight and makes installing the screw difficult. I fixed this on the uploaded model. I contacted Celestron and Skywatcher for replacement screws but neither were any help, so I'm on my own to find a suitable substitute but it seems like an odd thread.
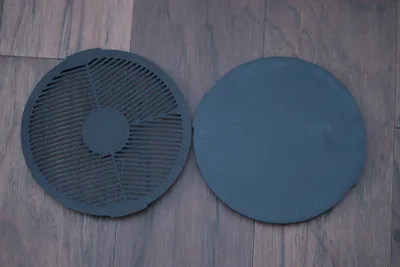
The tube extension fits into a groove and is fixed in place with CA glue. The shroud snaps in firmly, glue is optional. I used a soldering iron set to 280-290C to set the threaded inserts.
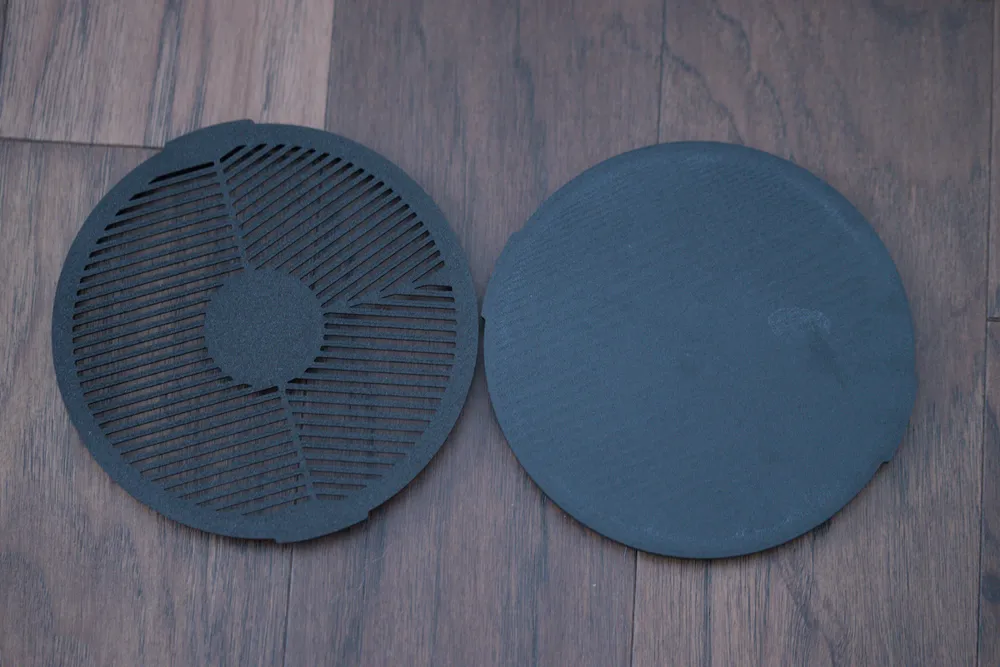
All finished I could not be happier with the performance of the 'scope. It focuses fast and easy, especially with the Bahtinov mask. The 10:1 micro adjust is a dream. Collimation is easy and holds solidly. Vibrations are minimal and settle quickly.
License



Comment & Rating (0)