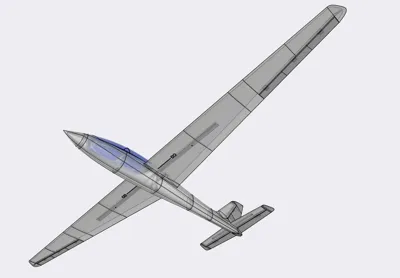
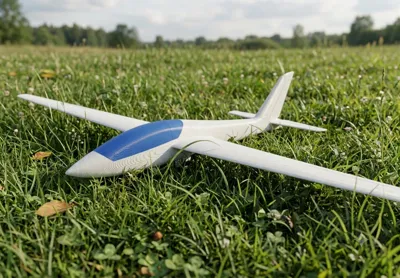
Semi mdm FOX


Print Profile(0)
Description
Tools you need:
sharp knife and sandpaper to clean the prints from strings.
CA glue
2mm drill
Screwdriver
Material and settings:
I reccomend LW-PLA
1 perimeter
2 bottom and top layers
6% gyroid infill
The hinges print with TPU. Only one layer is enough. Make sure your first layer settings are perfect.
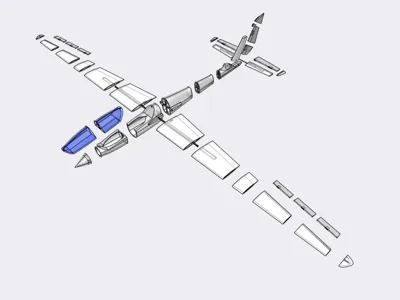
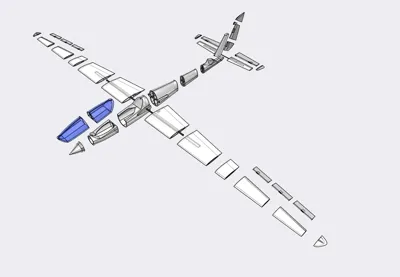
Parts to print:
print any part one time. There is only one oriantation possible. It is really straight forward:)
you need to print the hinges more often
hinge1 x 6
hinge2 x 5
You need to buy:
1x CFK tube 600x8
1x CFK tube 200x5
2x 2mm wood screws (or any similar small screws)
2x neodym magnets D5x1.8
some lead
Glue all parts together according the picture. Then you have:
2 Wings, left and right
1 Canopy
1 Fuselage
2 Ailerons, left and right
1 Horizontal stabilizer
1 Elevator
1 Rudder
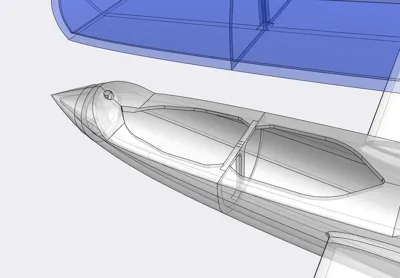
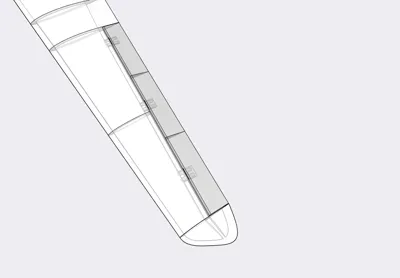
Put the 600x8 tube into the wings through the fuselage. On the lower side of the wings are left and right small markings. Use the drill to make a hole into the CFK tube via the markings. After that you can fix the wings with the small screws to the tube. On the canopy2 and fuselage3 parts are holes for the magnets. Just glue the magnets into them.
The hinge1 parts are for the ailerons and the hinge2 parts for rudder and elevator. Use CA and glue them accordingly. Be carefull! Do not use too much CA! Only Put CA in the hollows. The ailerons, elevator and rudder must easiely moveable.
On the lower side of the wings are markings for the Center of Gravity position (CG). Hold There with your fingers and put some lead or other hevy things in the nose of the fuselage to get in balance.
Servo bays to come, working on it!
Happy printing :-)
Comment & Rating (0)