
Snowboard Wall Mount & Ceiling Storage Rack
Print Profile(2)


Description
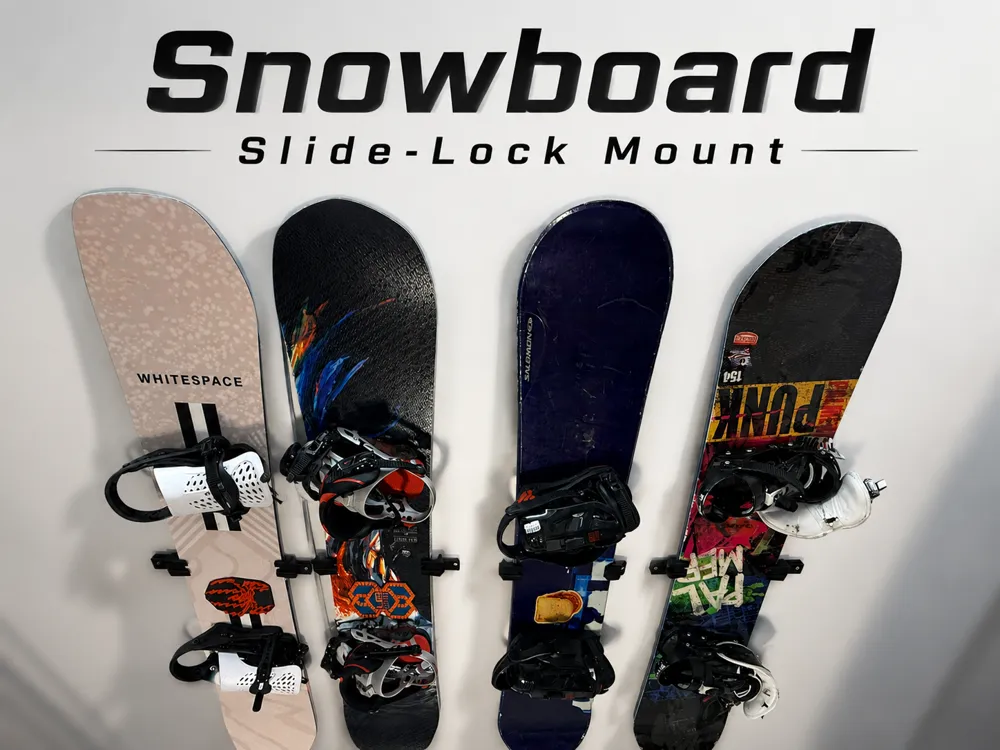
Locking Dovetail Snowboard Cleats
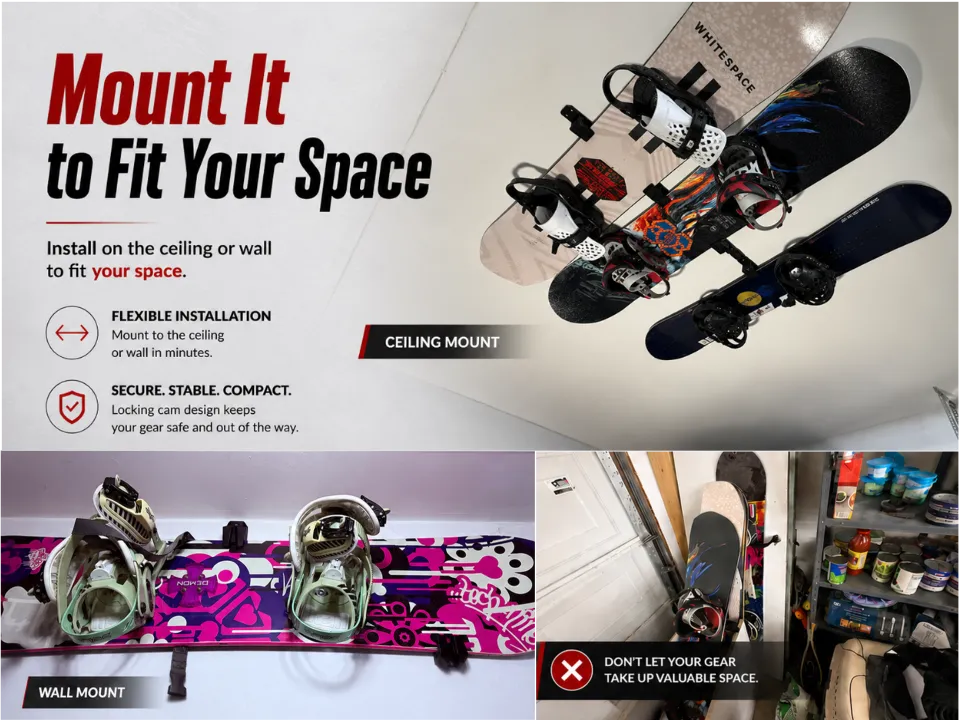
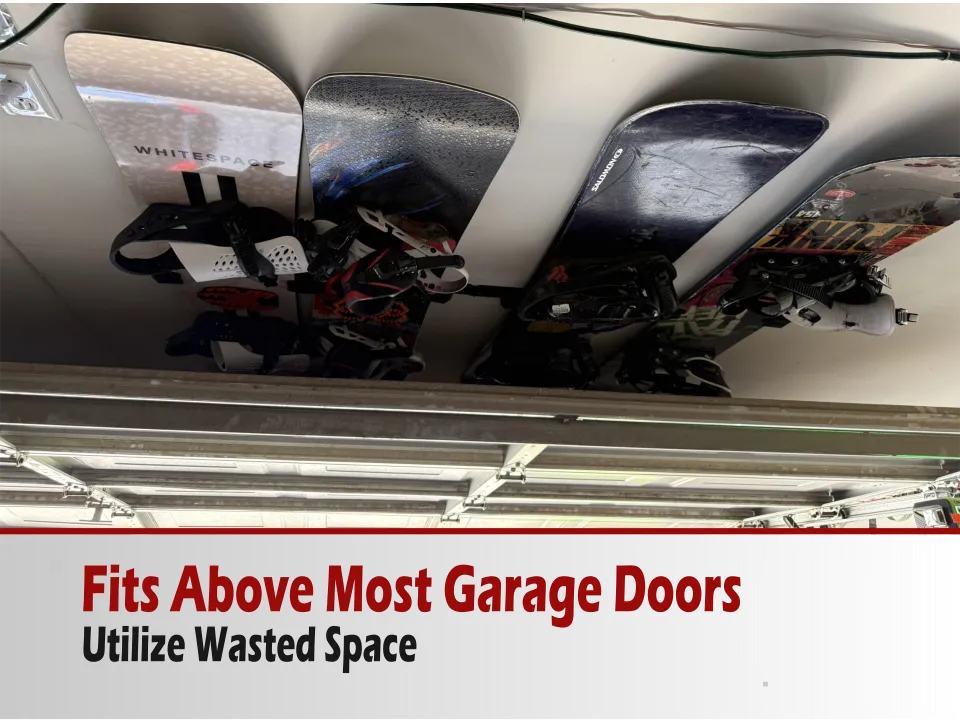
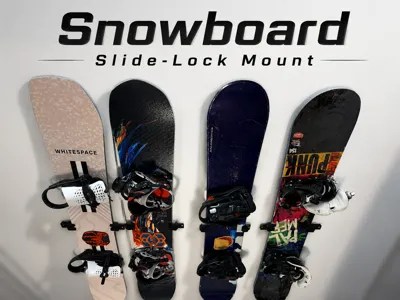
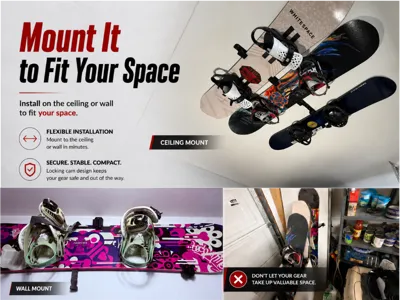
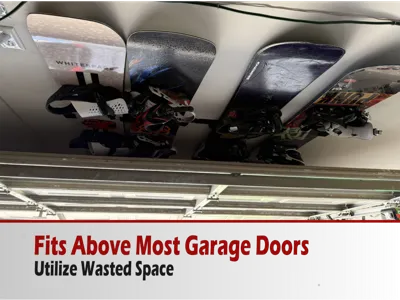
Reclaim your garage with these ultra-compact locking dovetail snowboard cleats. Designed to maximize storage while minimizing space, these mounts securely hold your snowboard on either the ceiling or wall, keeping your gear organized.
The simple print-in-place design requires no assembly and installs easily using standard wood or drywall screws. For the strongest installation, mounting directly into a studs/joist or use drywall anchors.
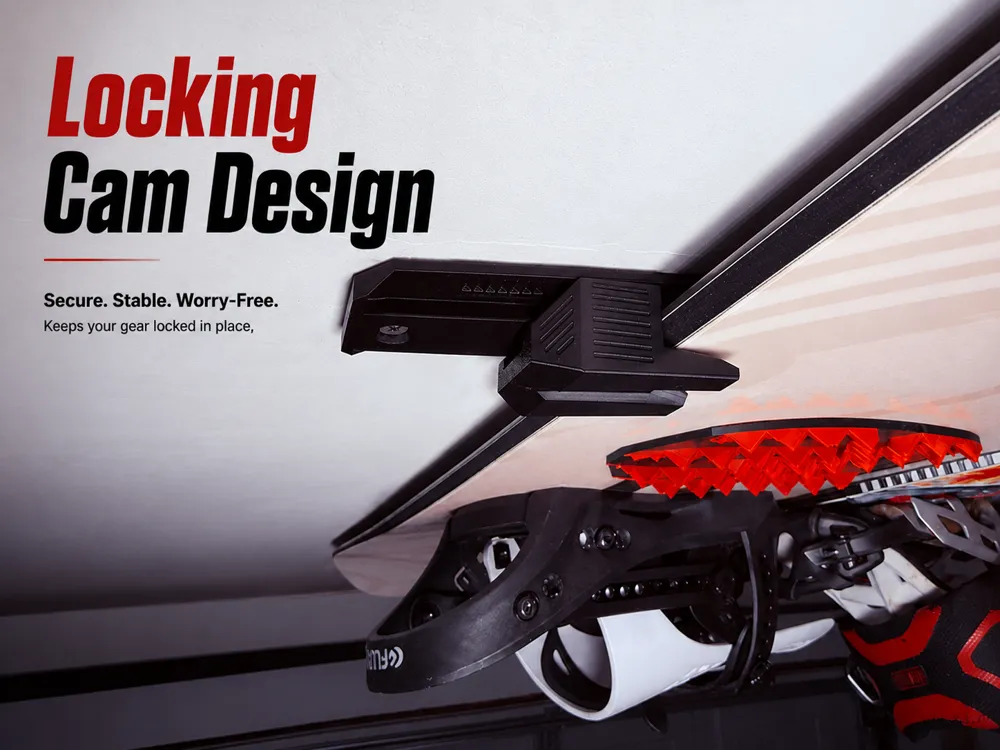
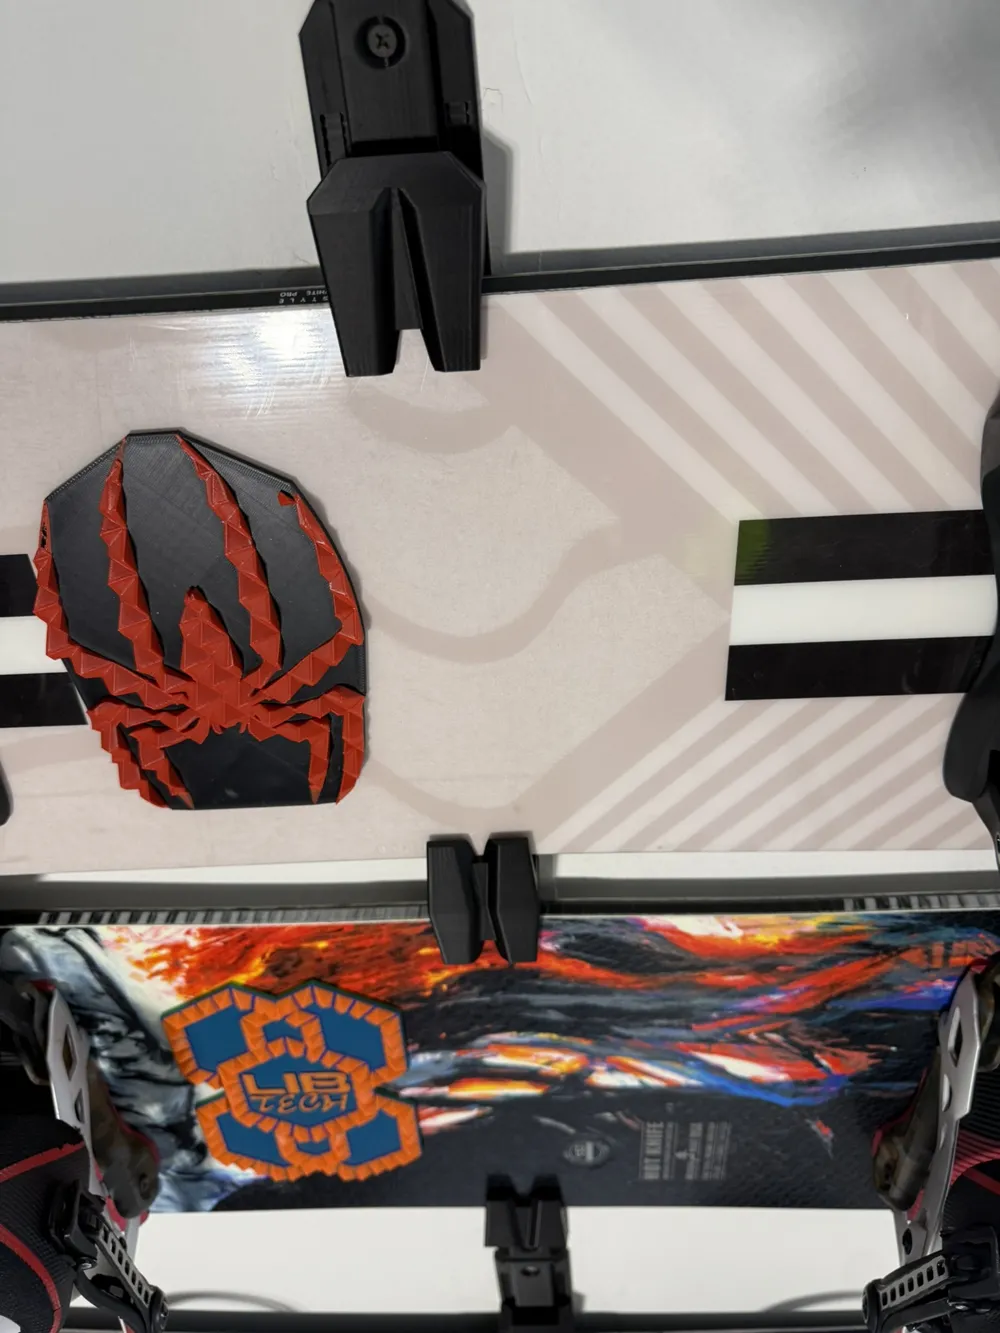
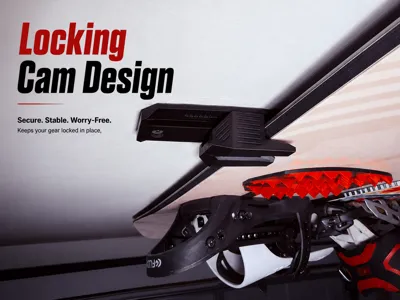
The unique locking dovetail design securely captures your snowboard, preventing it from sliding or falling while still allowing for quick and easy removal when it's time to shred.
Features
- Ultra-compact design uses minimal space
- Mounts to ceilings, walls, or more!
- Secure locking dovetail keeps your board firmly in place but easily releases
- Print-in-place design with no assembly required
- Compatible with most snowboards
- Fast installation using common hardware
Installation Tips
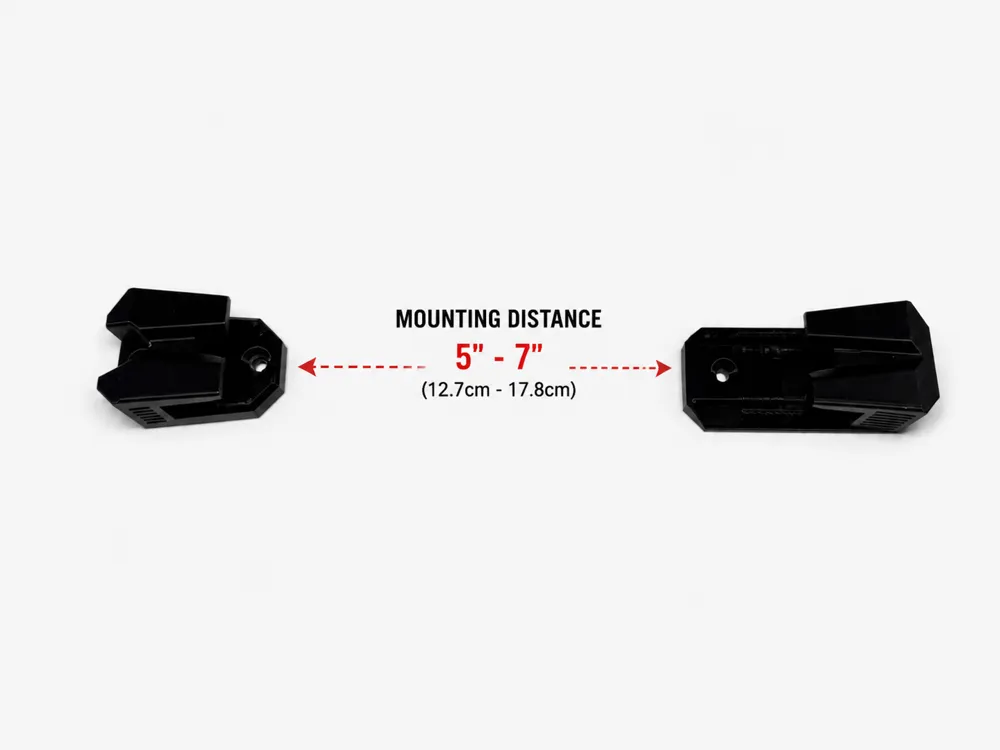
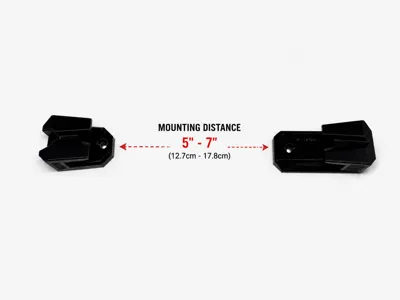
- Position the two cleats approximately 5–7 inches apart. 6-6.5 inches works well for most snowboards, though spacing may be adjusted depending on your board's width.
- Ceiling Mount: One fixed (static) cleat and one sliding locking cleat are typically all that's needed.
- Wall Mount: For the most secure setup, use two fixed cleats to support the bottom edge of the snowboard and one sliding locking cleat at the top to lock the board in place.
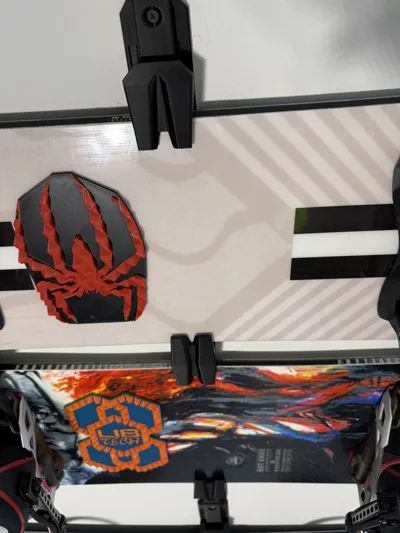
- Double Cleat: Use the double cleat profile when securing two boards side by side. This results with fewer holes in your wall with even more compact storage.
Note: Always verify your mounting location before drilling. Whenever possible, mount directly into studs or joists for maximum strength.
Enjoy!
License

You shall not share, sub-license, sell, rent, host, transfer, or distribute in any way the digital or 3D printed versions of this object, nor any other derivative work of this object in its digital or physical format (including - but not limited to - remixes of this object, and hosting on other digital platforms). The objects may not be used without permission in any way whatsoever in which you charge money, or collect fees.


Comment & Rating (0)