
Tool head modified pen plotter clip v1 for X2d
Print Profile(1)
Description
Boost Me (for free)
Love you


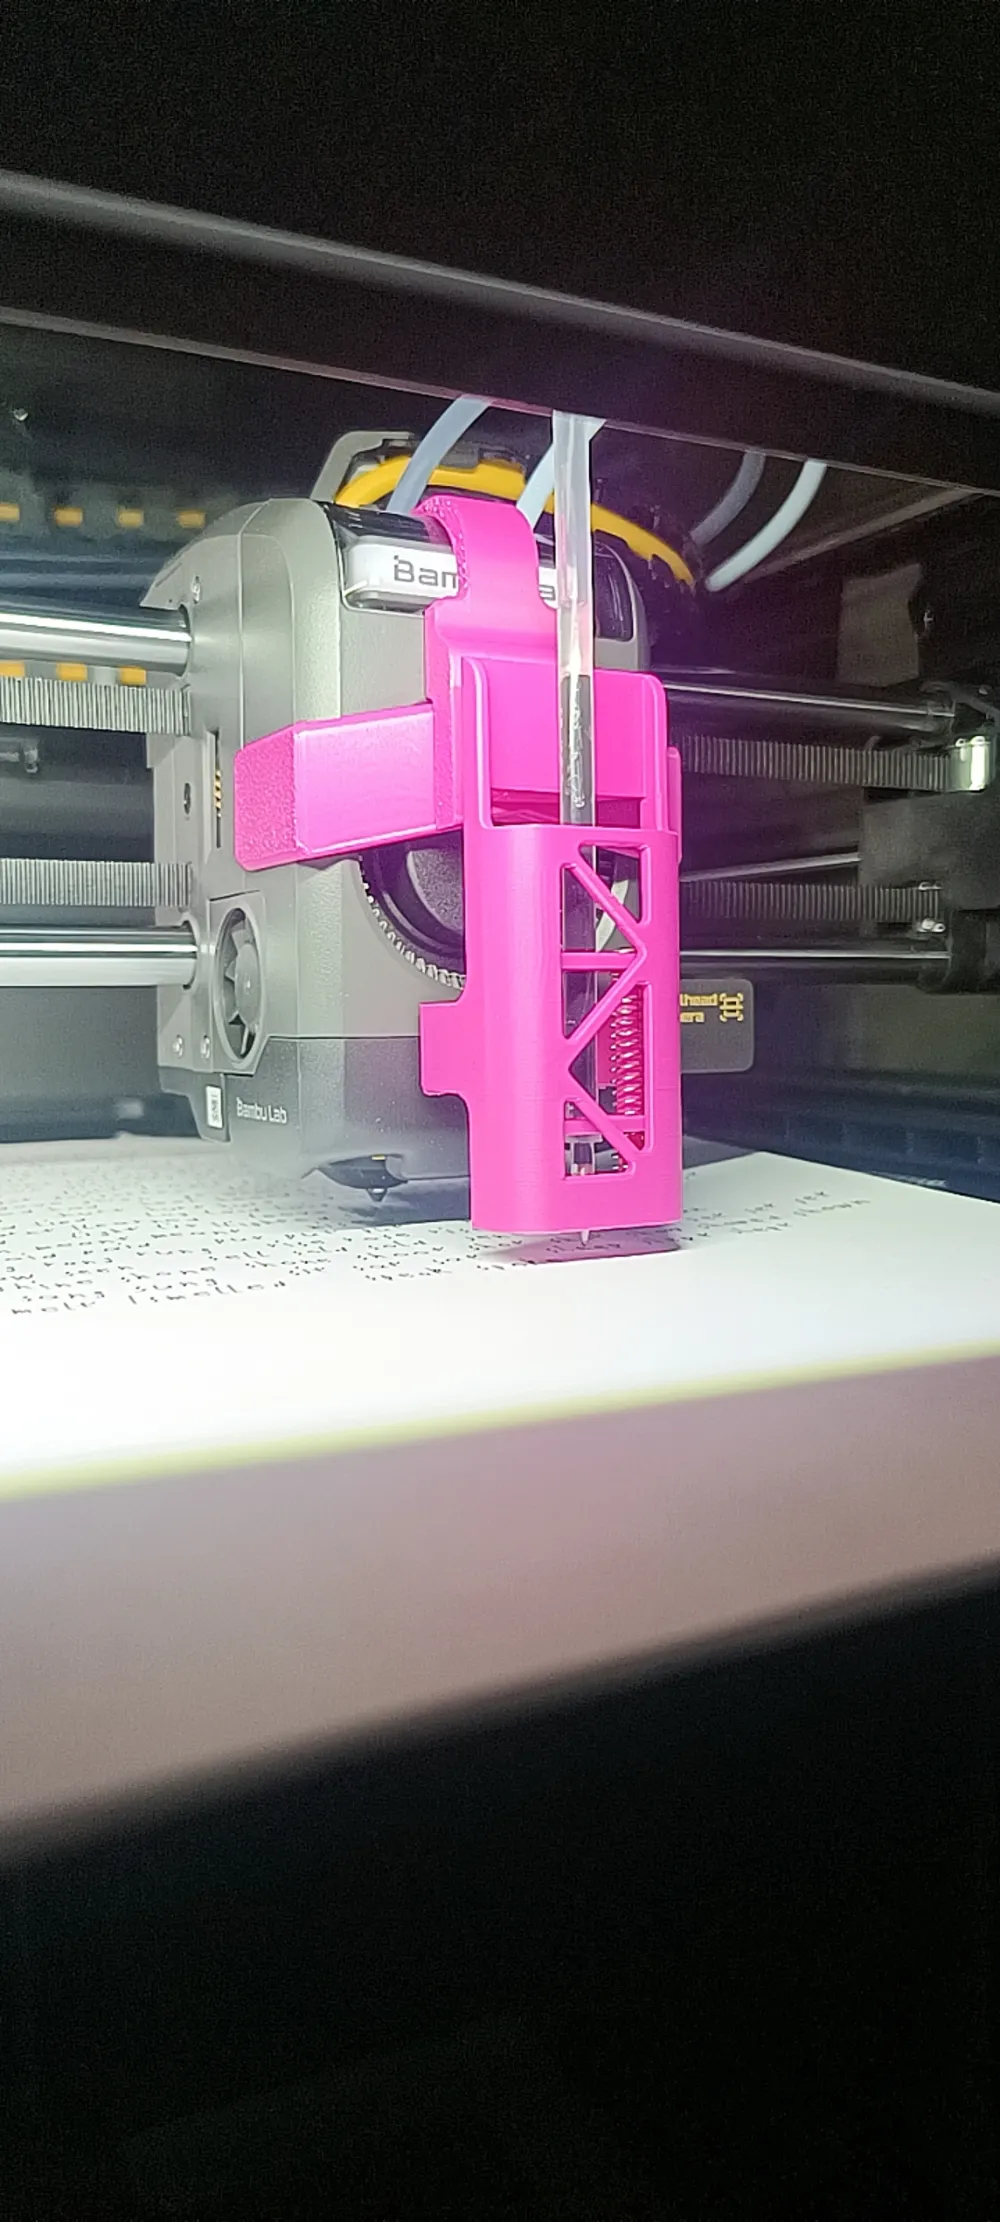
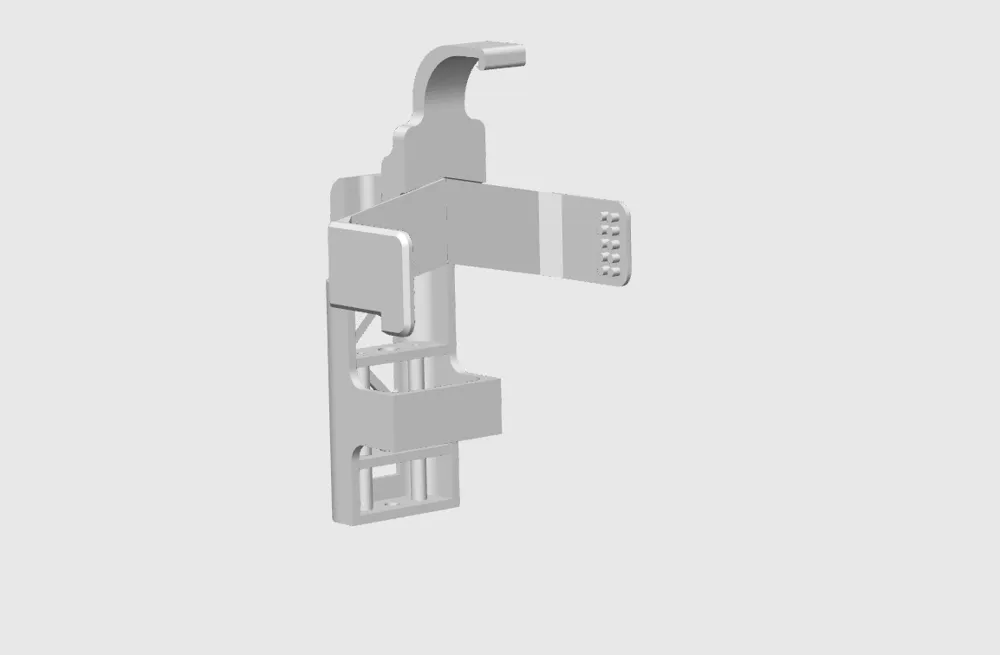
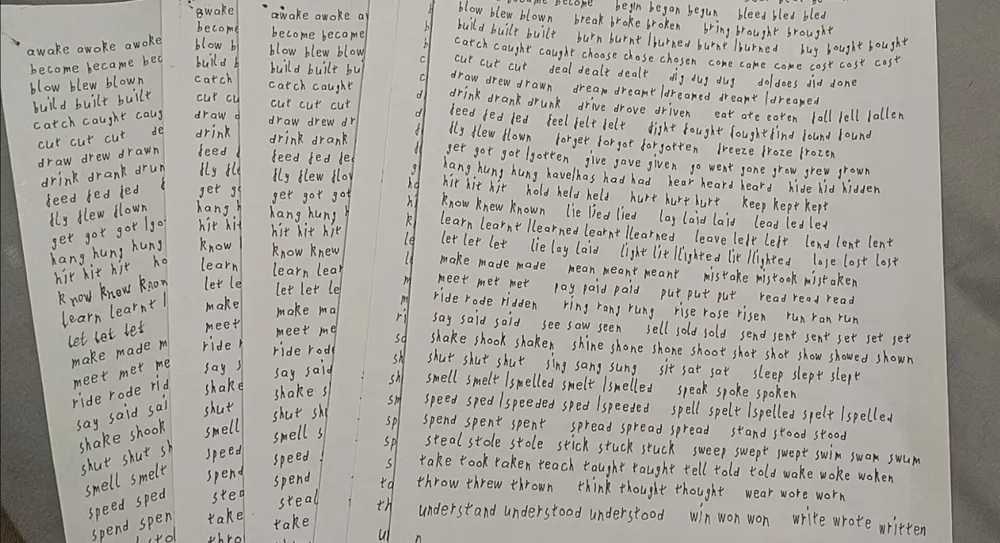
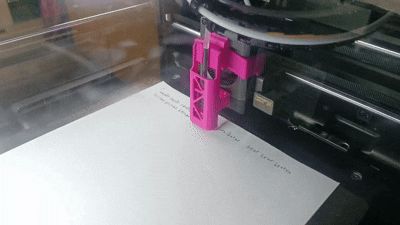
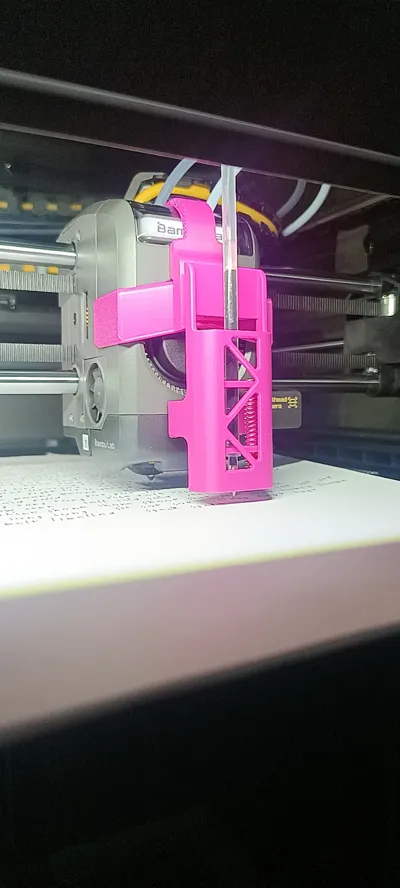
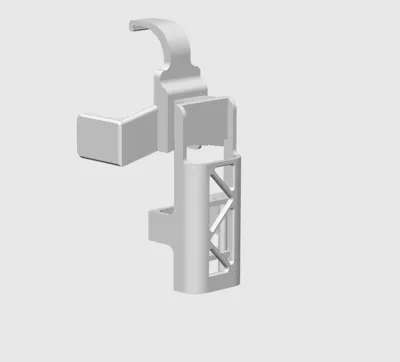
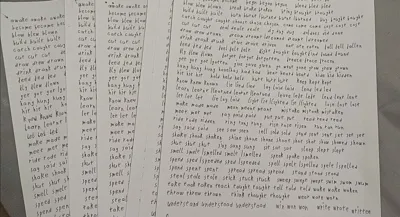
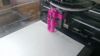
This is a tool head pen holder for X2D, allowing the X2D printer to be used as a writing machine.
The reason for making this is that the author could not find a suitable rewriting machine solution for X2D online.
Bill of Materials
- Magnets, springs (both from official Maker Kit B (available for free on MakerWorld's store))
- Two M2 screws of any length
- Pen refills similar to Deli S760
- 3D printed parts(obvious)
Model highlights:
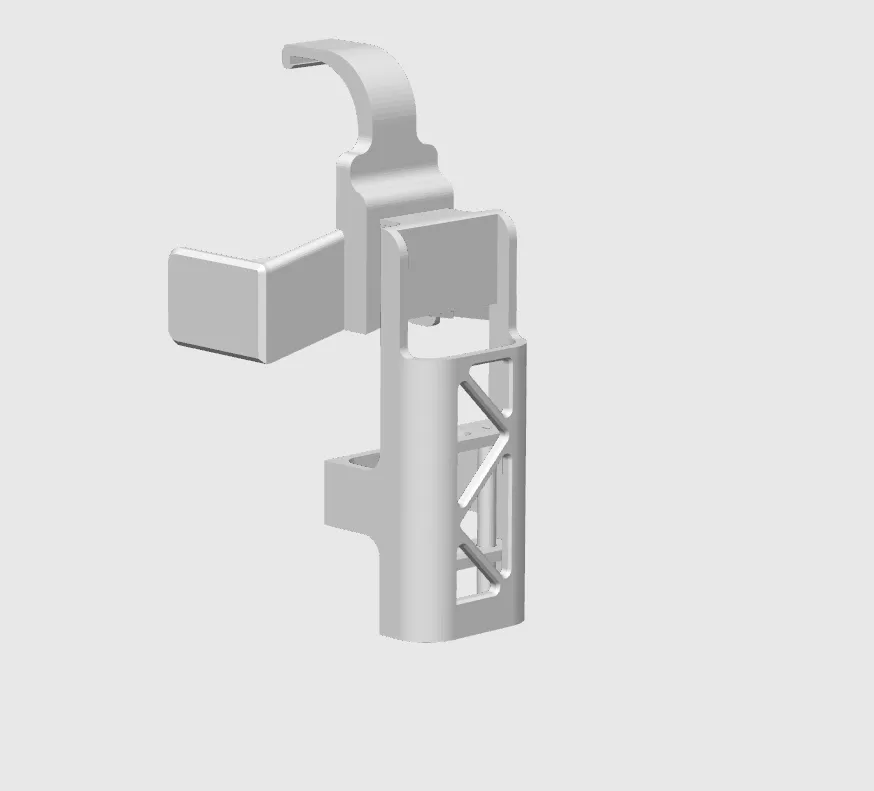
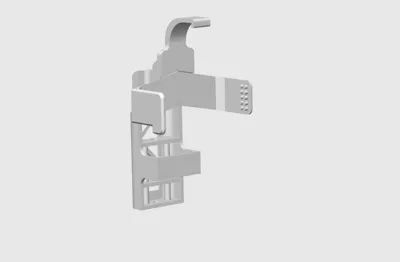
- Switchable buckle, allowing direct replacement of the pen clip with tools later on.
- Integrated spring to effectively prevent the pen tip from scratching the build plate (thus allowing the use of the original textured plate).
- 4 D4*2 round magnets, 3 0.5mm*5*25 compression springs, all from official Maker Kit B (meaning they can be acquired for free from MakerWorld's store).
Shortcomings:
- The current pen holder only supports regular non-retractable pen refills (similar to Deli S760); the pen gripping method will be changed later.
- Currently requires two M2 screws of any length.
- (Please suggest)
Below are the instructions for use (images to be added later)
Fixture Installation
- Install the left and right fixing parts through the holes on the tool head cover, then insert the fixing parts from above (install the D4*2 round magnets beforehand).
Assembling the Pen Clip
- Take out 3 0.5mm*5*25 compression springs, cut one in half. Thread the two cut short springs through the posts of the pen clip.
- First, install the pen refill: pass the pen barrel from the tail end through the larger of the two holes in the spacer, then downwards through the posts of the pen clip.
- Thread the remaining two springs through the two posts of the pen clip respectively.
- Use screws to secure the remaining spacer.
- Install the D4*2 round magnets (pay attention to the polarity).
Installing the Pen Clip
- Insert the pen clip into the buckle from the right side.
Start Writing
- Refer to the Chixie official website tutorial
[[Dimensional Reduction Printing] Buy a Bambu Lab A1, get a writing machine? Chixie software: instantly turn your 3D printer into a handwriting artifact!] https://www.bilibili.com/video/BV1whN4zCEUx/?share_source=copy_web&vd_source=8a65d4d4dbf3ec4158d226d5e3ed57ae
License

You shall not share, sub-license, sell, rent, host, transfer, or distribute in any way the digital or 3D printed versions of this object, nor any other derivative work of this object in its digital or physical format (including - but not limited to - remixes of this object, and hosting on other digital platforms). The objects may not be used without permission in any way whatsoever in which you charge money, or collect fees.


Comment & Rating (1)