
Project Stand with Load Cell
Print Profile(1)
Bill of Materials



Description
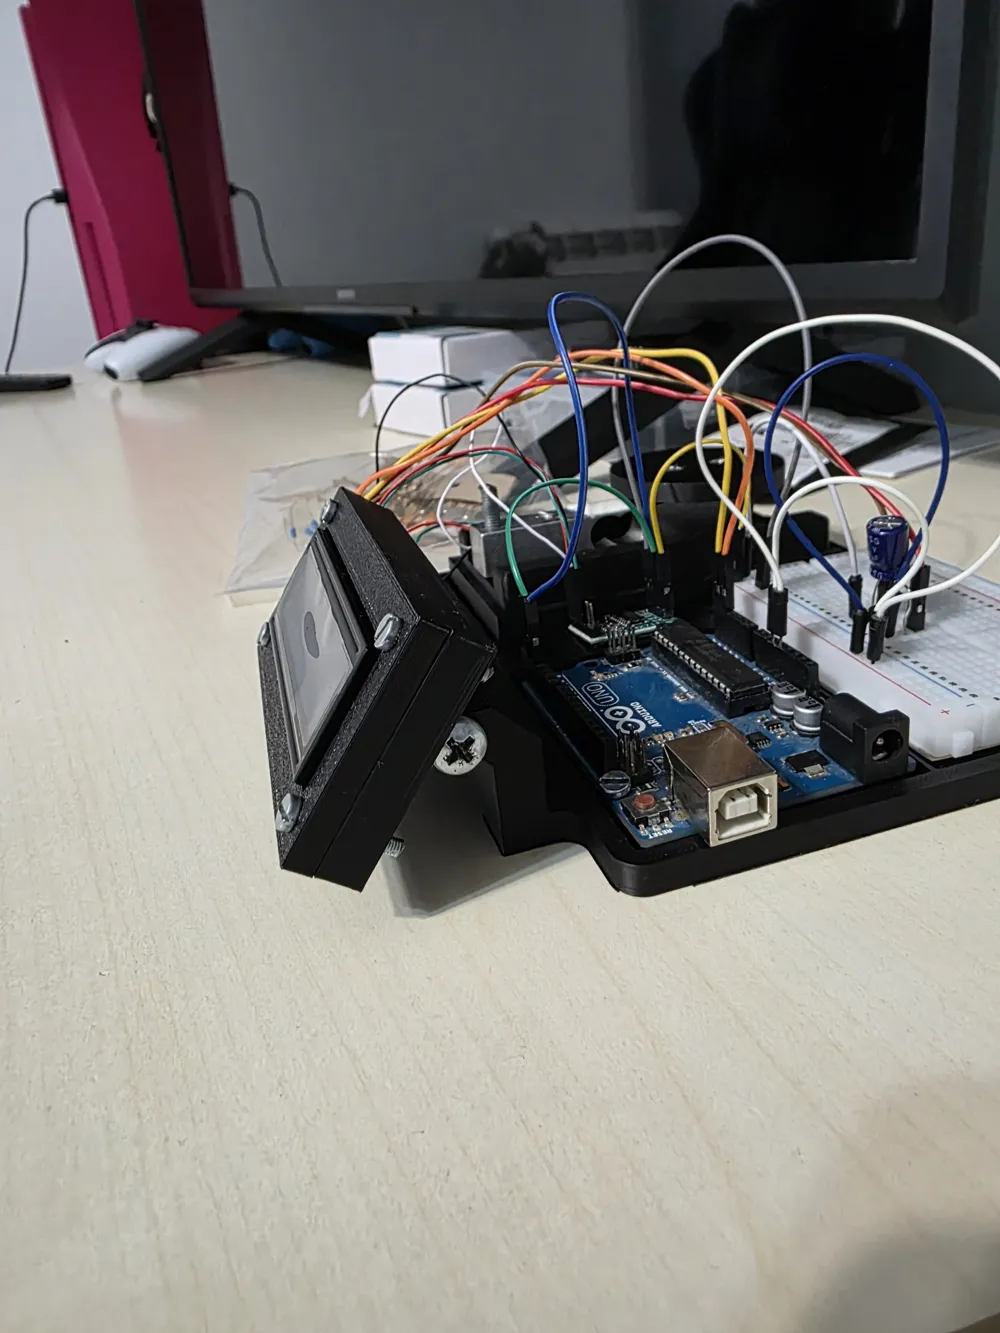
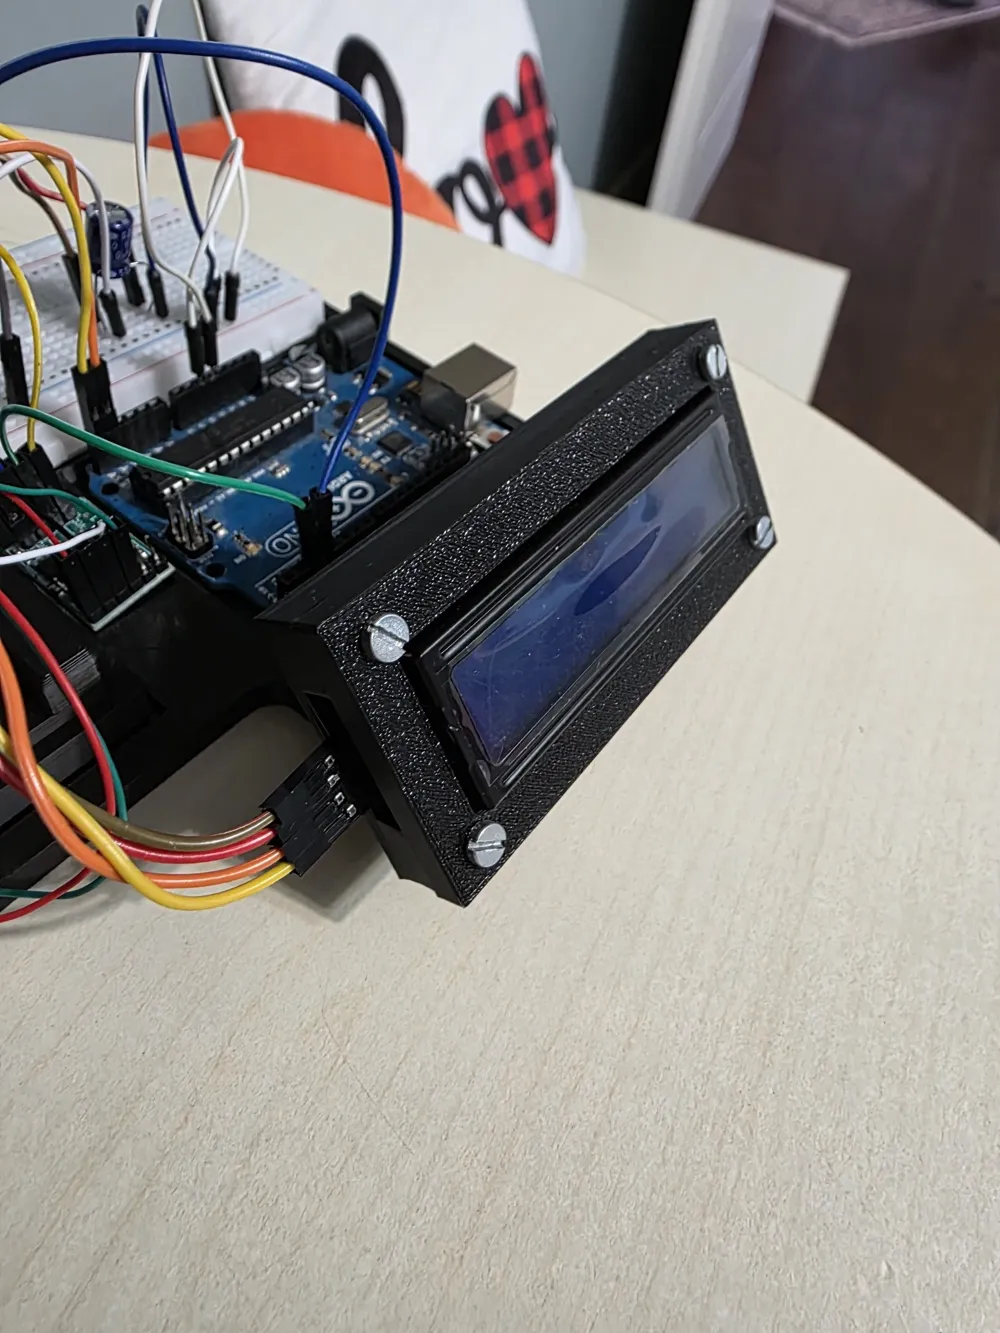
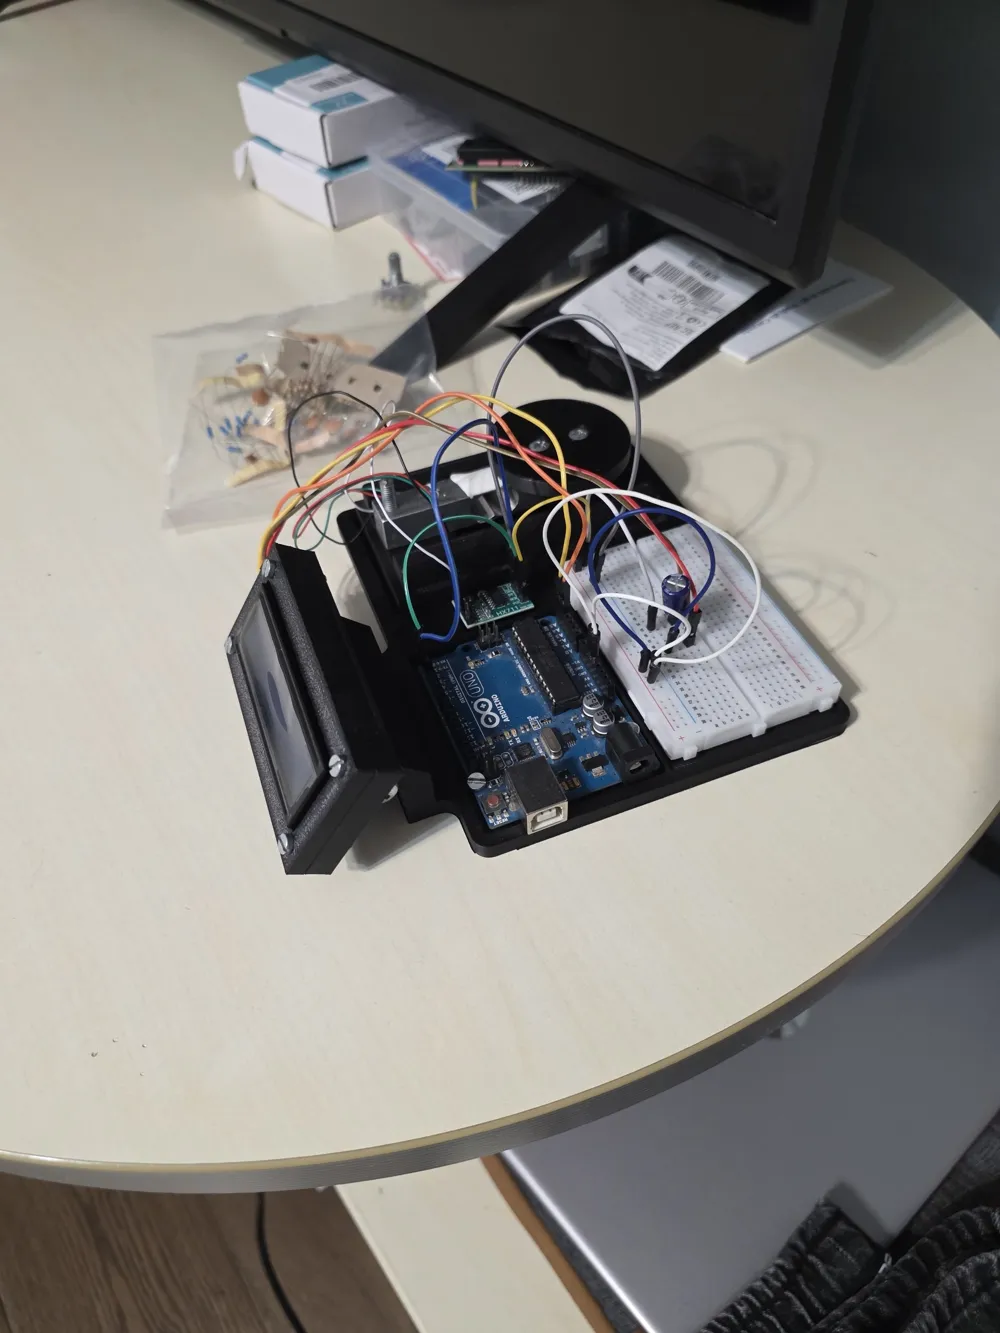
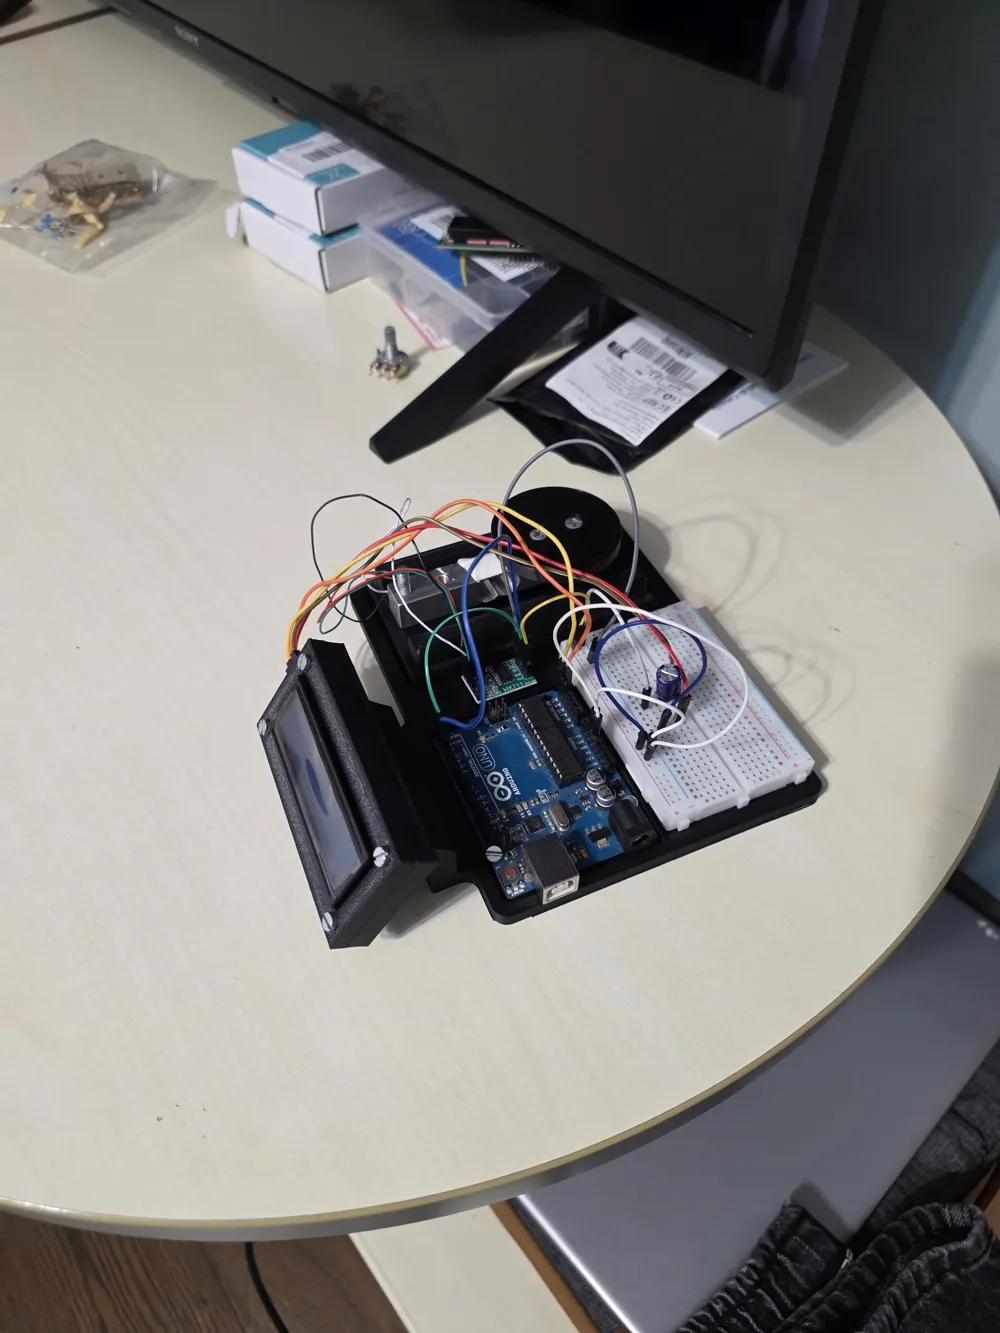
Arduino Weighing Station (Load Cell, HX711, LCD 1602) / Arduino Scale Prototyping Station
Project Description
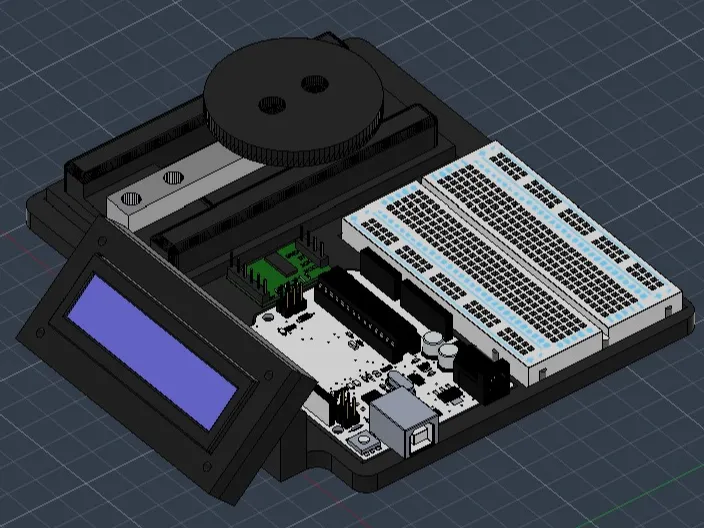
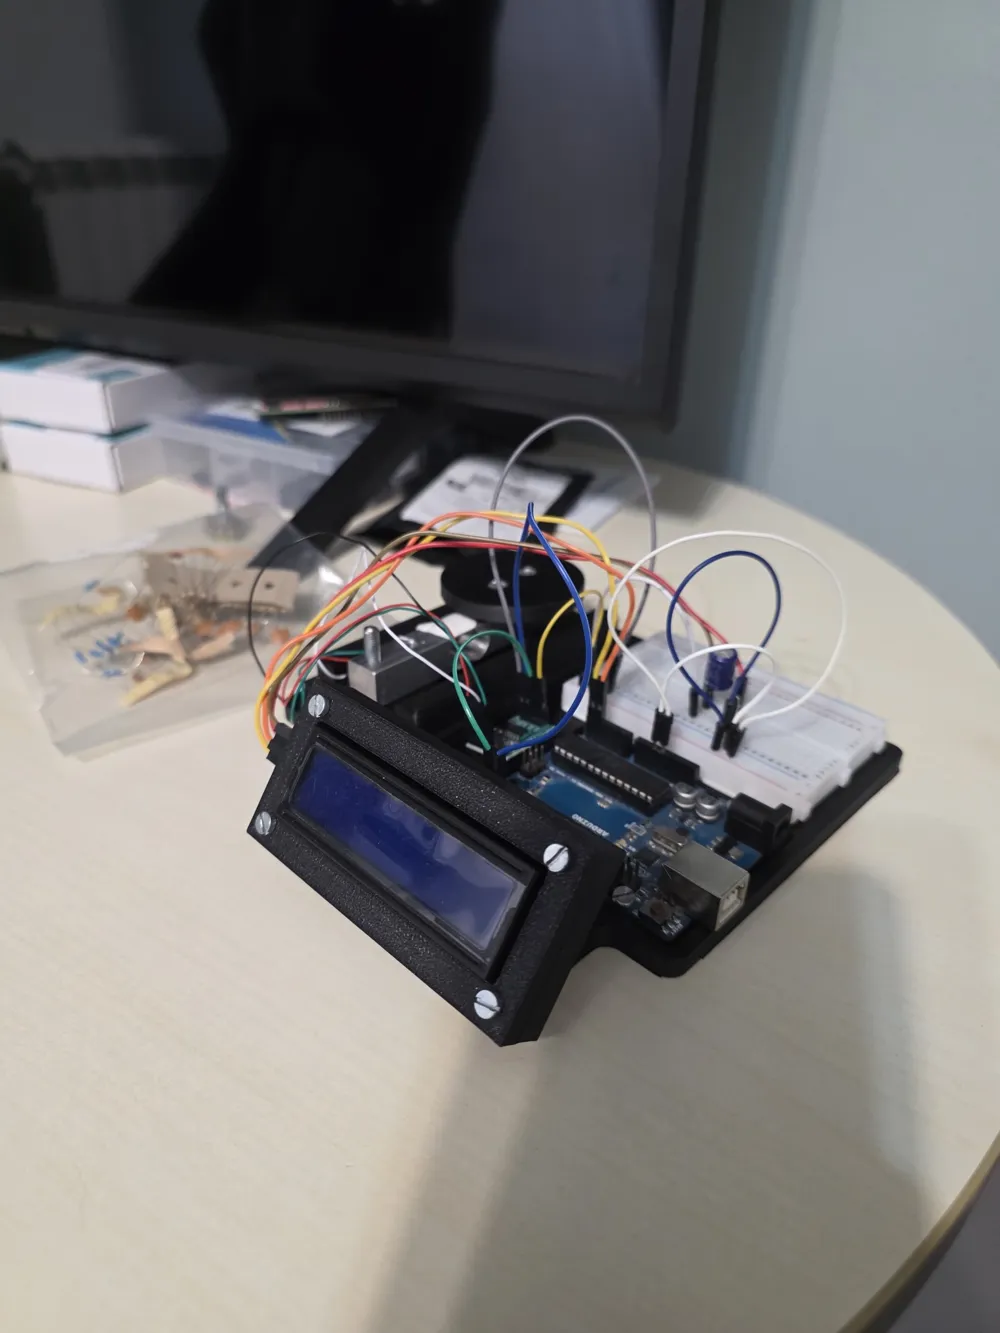
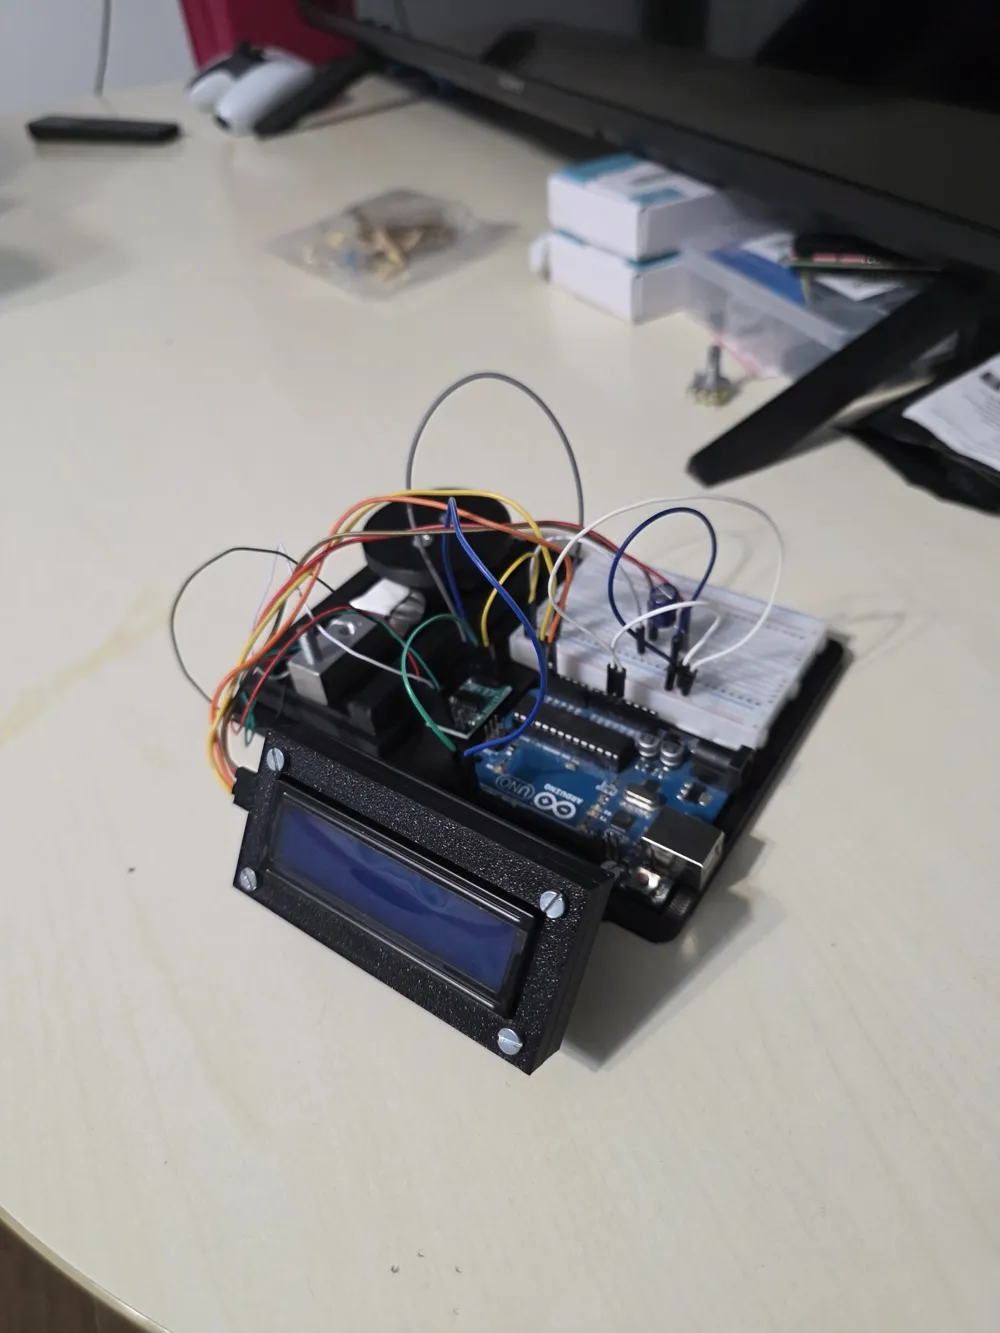
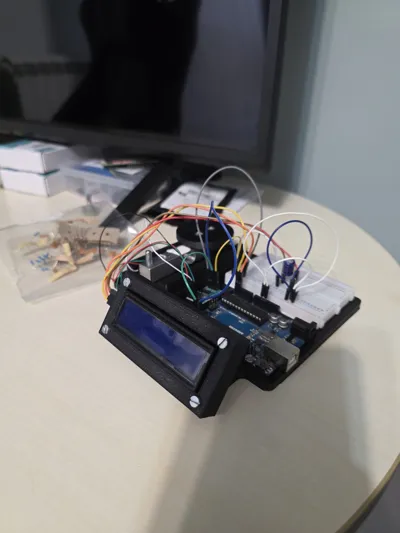
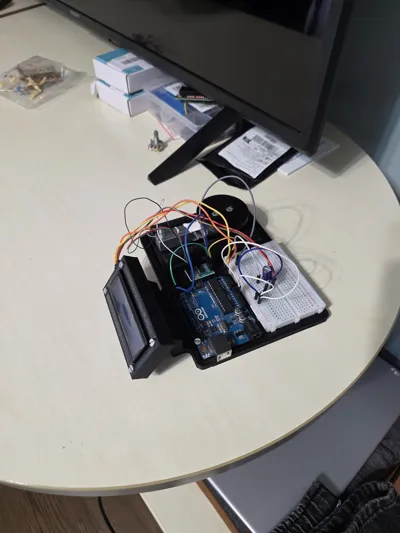
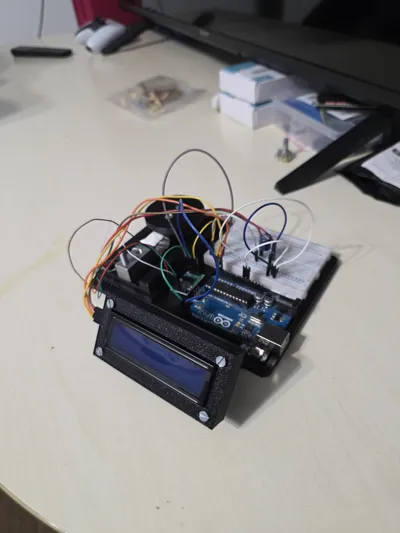
Say goodbye to tangled wires and scattered components on your desk! This project is an "All-in-One" prototyping station specifically designed to create a digital scale or a force measurement system.
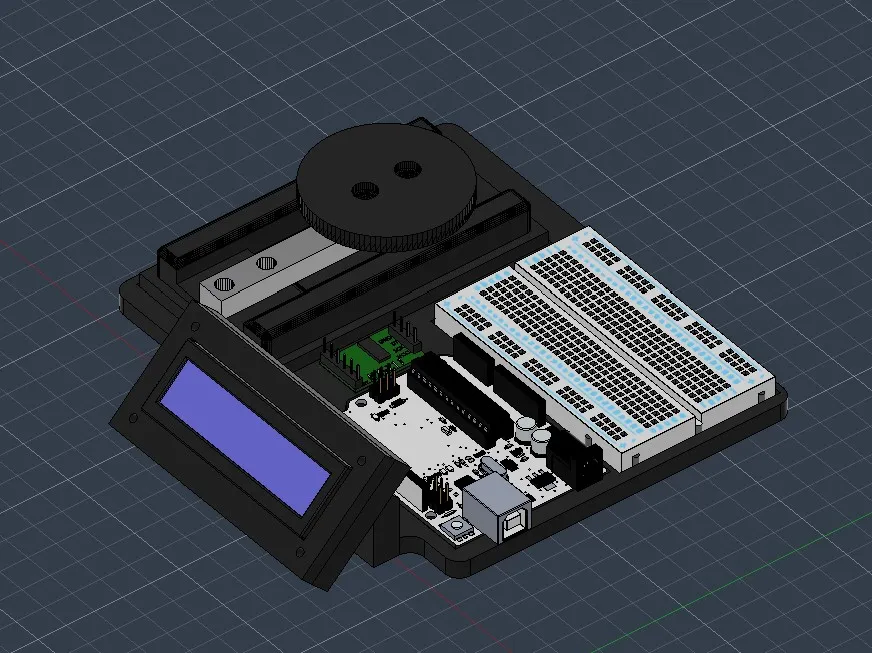
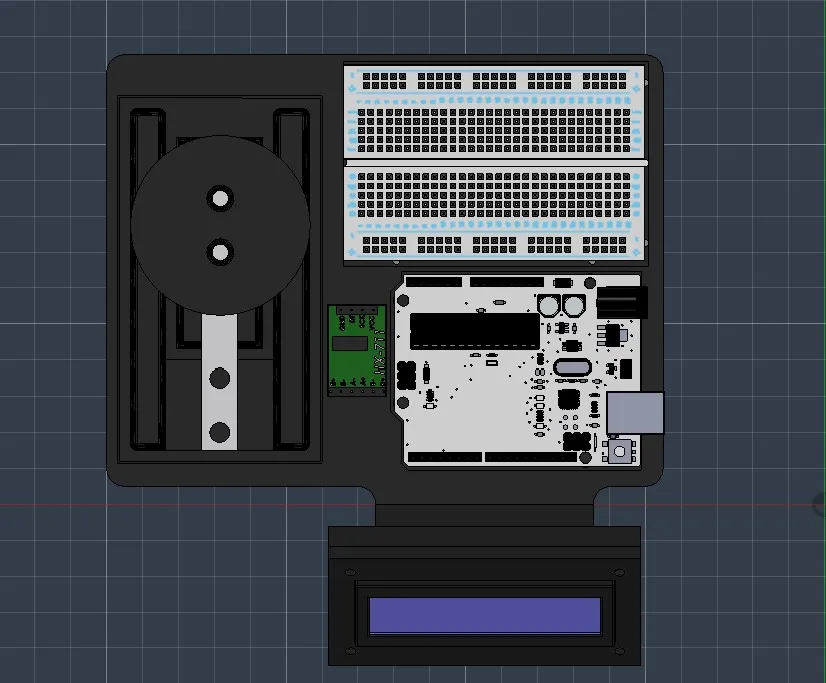
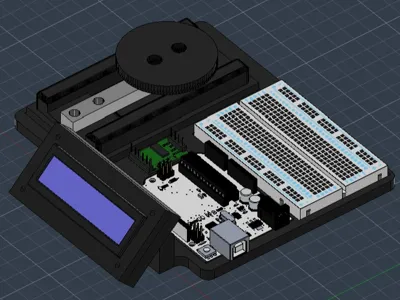
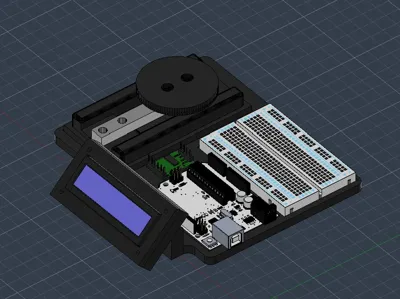
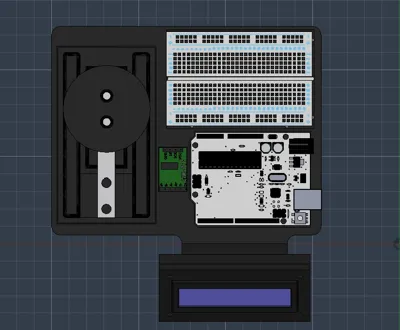
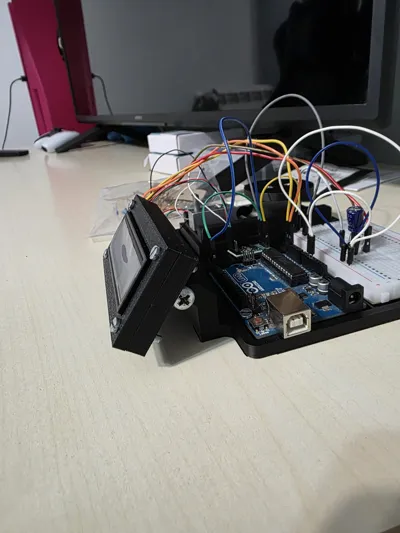
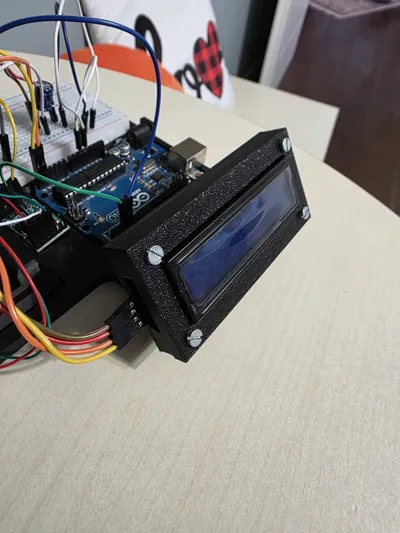
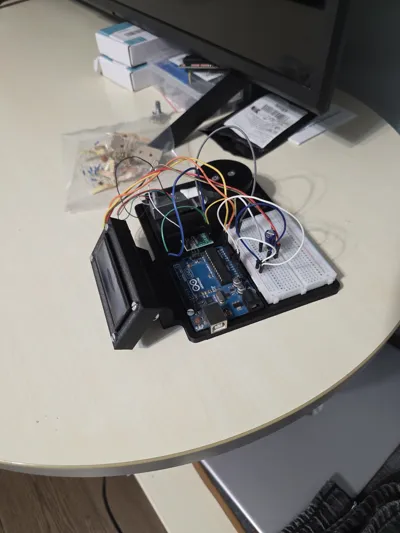
The base combines all fundamental components for this type of project into a single compact and tidy layout. The design includes dedicated and custom-made housings for:
- 1x Arduino UNO Rev3
- 1x Mini Breadboard (for quick connections)
- 1x HX711 Amplifier Module
- 1x Load Cell (with its circular top weighing plate)
- 1x LCD 1602 I2C Screen (fixed on the tiltable front stand, to always ensure a perfect reading angle)
It is the ultimate educational and hobby tool for anyone wanting to experiment with weight measurement, keeping their setup clean, portable, and professional.
3D Printing and Assembly Tips
To ensure the scale is accurate, the load cell's support base must not flex. For this reason, structural print settings are very important:
- Material: PLA or PETG work great. PETG offers slightly more flexibility, but PLA is usually stiffer, which is an advantage for the load cell base.
- Walls and Infill (Crucial): It is strongly recommended to set at least 2 perimeters (wall loops) and a 15% infill (Grid or Crosshatch). A solid structure will prevent the load cell arm from flexing the plastic base under stress, falsifying weight readings.
- Supports: Enabled only for suspended parts (such as the screen joint and the raised housing for the load cell).
- Required Hardware: Prepare M4 or M5 screws (depending on your load cell) to fix the aluminum bar to the base and the circular plate, plus small M3 screws to secure the Arduino, the two parts of the LCD screen case, and an M5x60 screw for the display hinge.
If this project helped you create your custom scale or electronics project in a tidy way, leave a like and share a photo of your wired and working setup!
License

You shall not share, sub-license, sell, rent, host, transfer, or distribute in any way the digital or 3D printed versions of this object, nor any other derivative work of this object in its digital or physical format (including - but not limited to - remixes of this object, and hosting on other digital platforms). The objects may not be used without permission in any way whatsoever in which you charge money, or collect fees.


Comment & Rating (0)