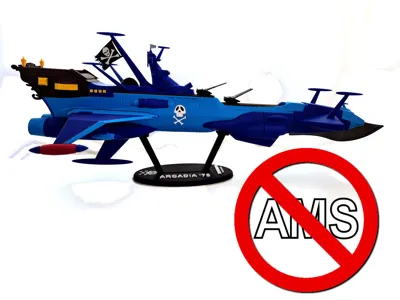
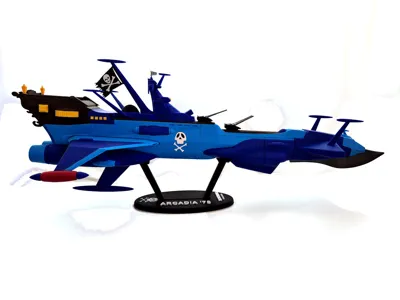
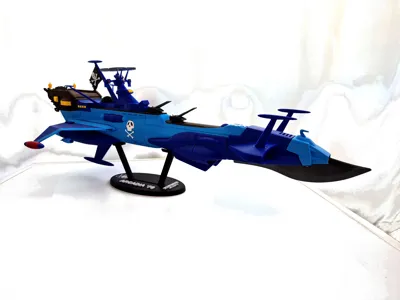
Arcadia / Albator '78 - NO AMS


Print Profile(1)
Bill of Materials


Description
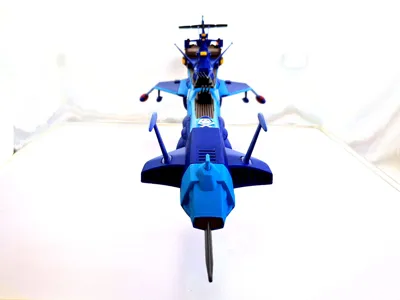
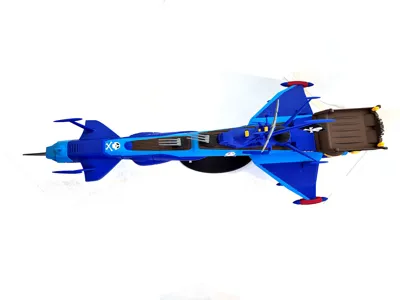
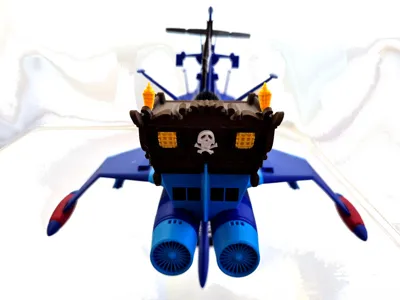
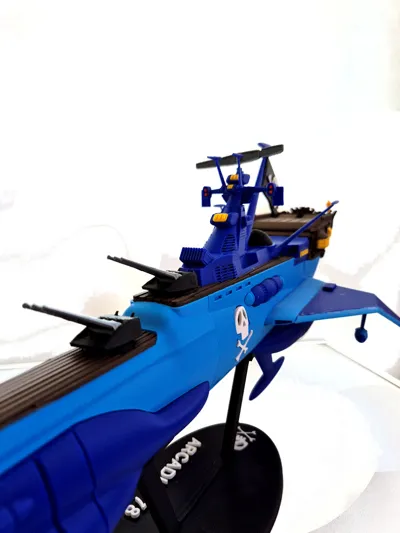
After printing the beautiful Green Arcadia model, I also wanted to print the Blue Arcadia. The 3D model is readily available commercially and is very nice, but since I don't have AMS, I would have had to work a lot to print it, and having a commercial license for that model, I wouldn't have been able to share my work.
So I started from a fairly good model found online with a CCO license (for public use) and I cut, modified, and added for 2 months.
I used Bambu Studio slicer for 95% of the work and only for some complex surfaces I used Meshmixer. I did not use CAD tools and this impacts the final result.
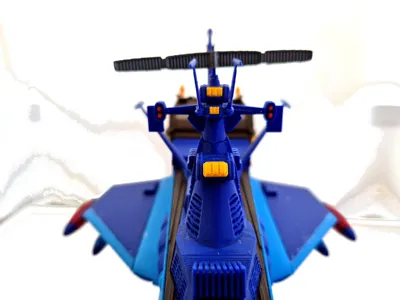
The result is not a perfect replica of the original Arcadia, but it is very similar. The tip should be smaller and the wings longer at the back, but I am satisfied.
The 100% printed model is 60 cm long (precisely 25x25x60)
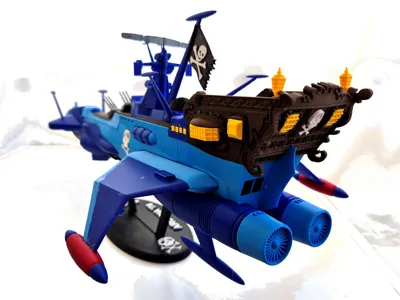
I also included a temporary display stand; I will make a better one.
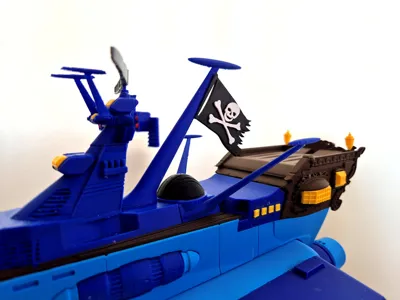
What I'm least satisfied with is my choice of colors. In my opinion, a darker blue than the one I used is needed, but I didn't have it. I bought it and will try to print a smaller version (60%) optimizing both the parts and the final color.
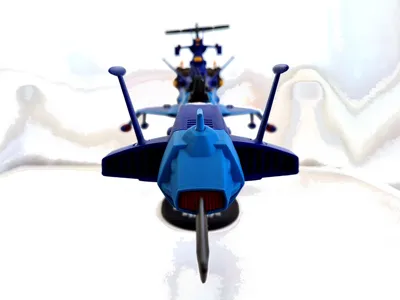
PRINTING TIPS: generally, large parts should be printed with 0.2 layer height and small ones with 0.16 layer height. But there are many cases where printing large parts with 0.16 layer height helps reduce the number of supports and thus greatly improves the final print quality. Pay close attention to the rear wings and the front blade.
ASSEMBLY TIPS: a lot of glue and few inserts. Some parts are complicated to assemble (e.g., the rear wings). I have attached the assembly instructions. The biggest problem? The skull bones.
NOTE: I ask the first ones who print this model to have a little patience because, due to the high number of parts (100), there may be errors or omissions.
Comment & Rating (0)