
piano interactive cat treat dispenser feeder
Print Profile(3)

Description
Thanks for reaching out!
Here we have a rule not to use a single Ai image. This means every image you see in posts or descriptions are real photos.
Another rule is not to upload designs that are not tested by us first. So what you see is what you will print indeed.
Hope you like our work and maybe support us. Remember that you can support us for free just by like, follow, share and boost our work.
Boost Me (for free)
drop your spare boost if you liked this model
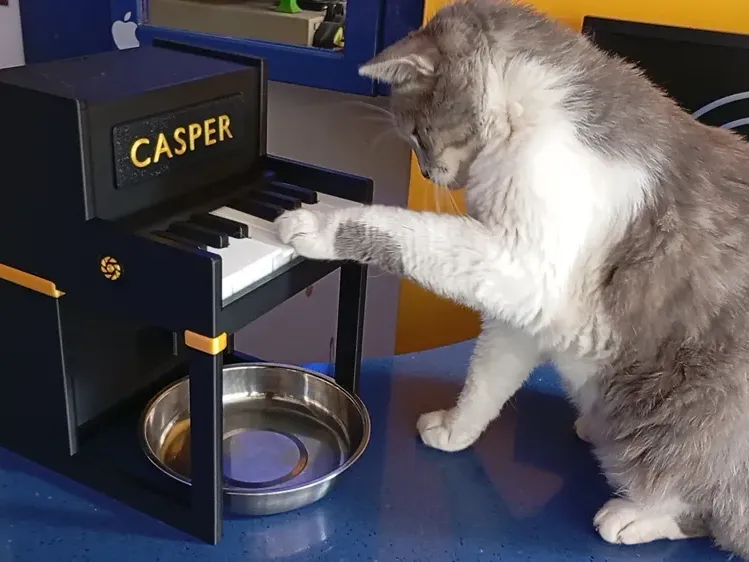
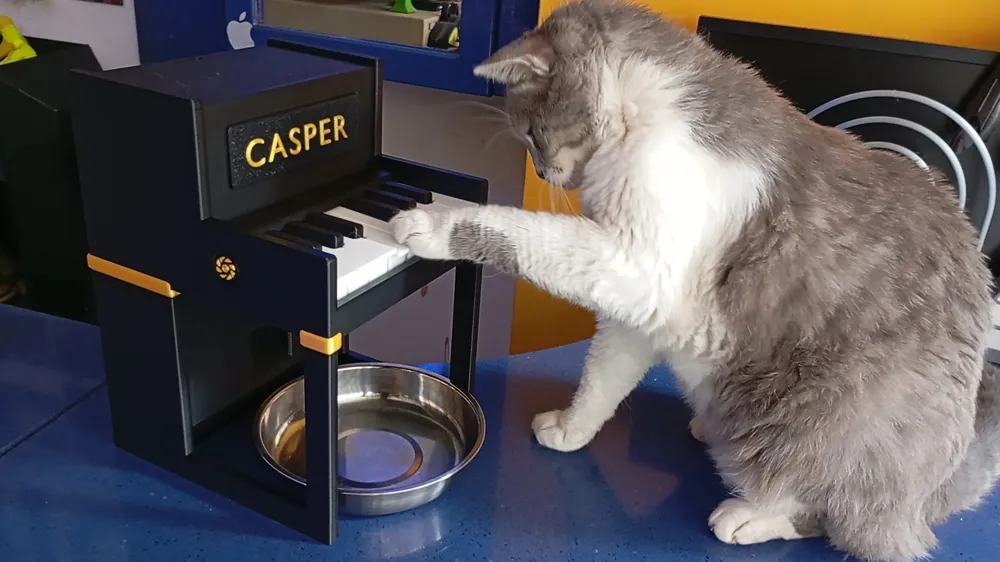
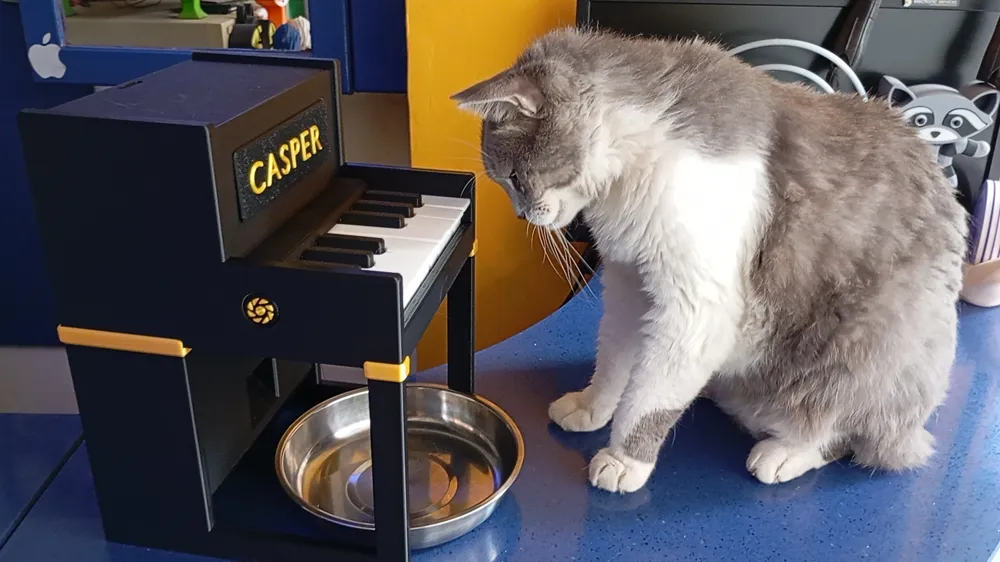
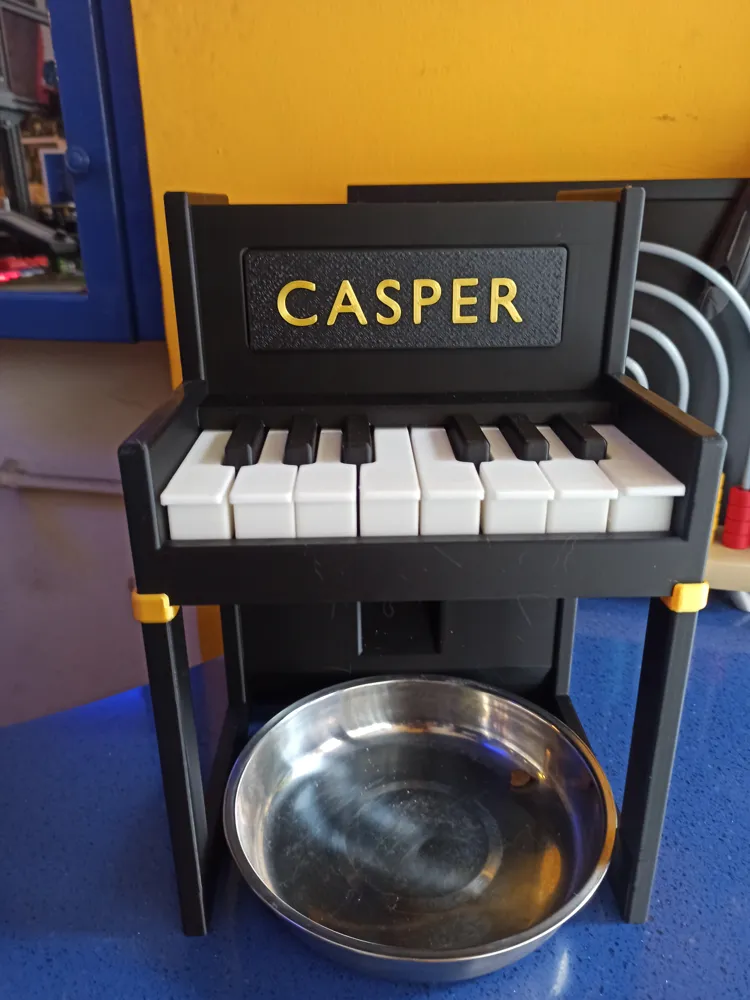
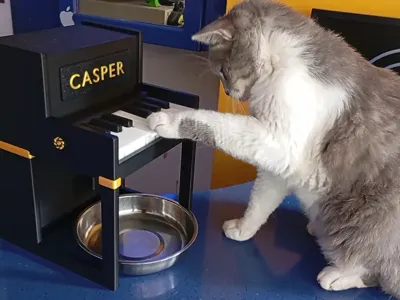
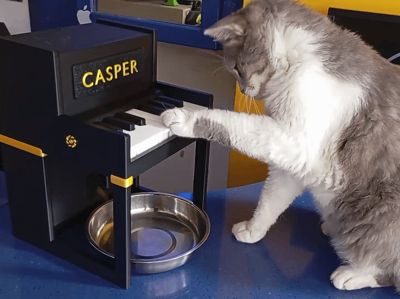
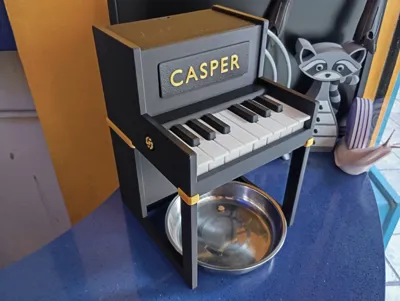
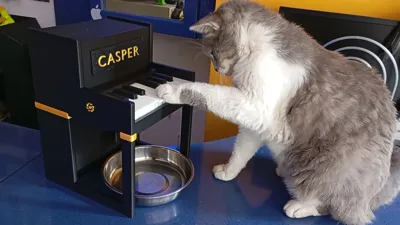
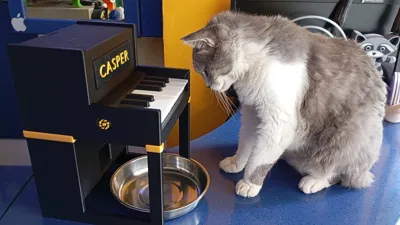
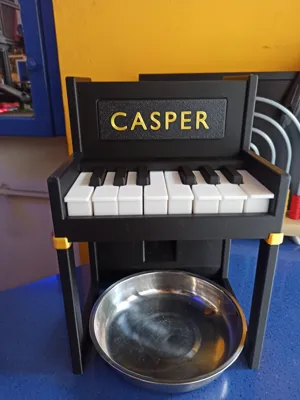
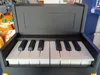
Turn treat time into an engaging puzzle with this piano-themed interactive treat dispenser for cats and other small pets.

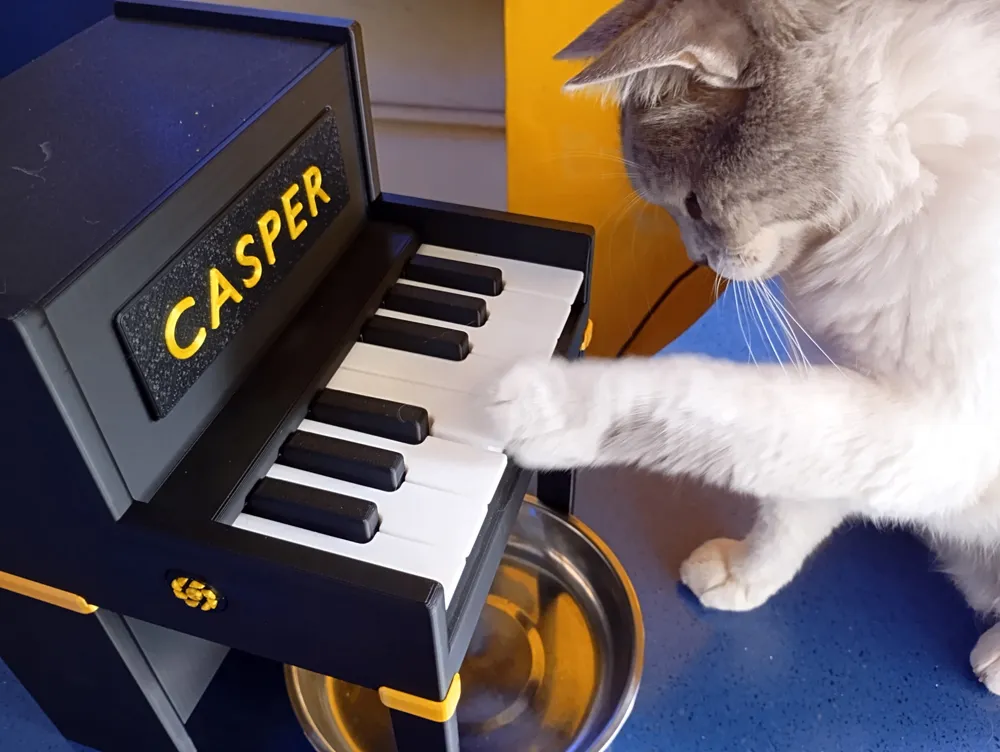
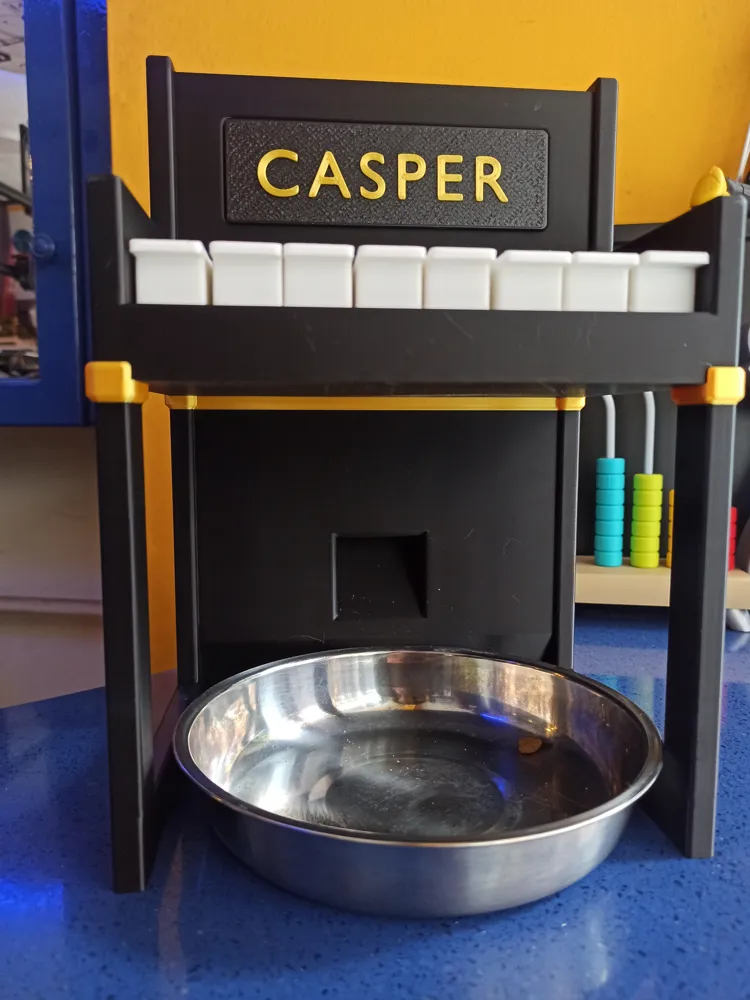
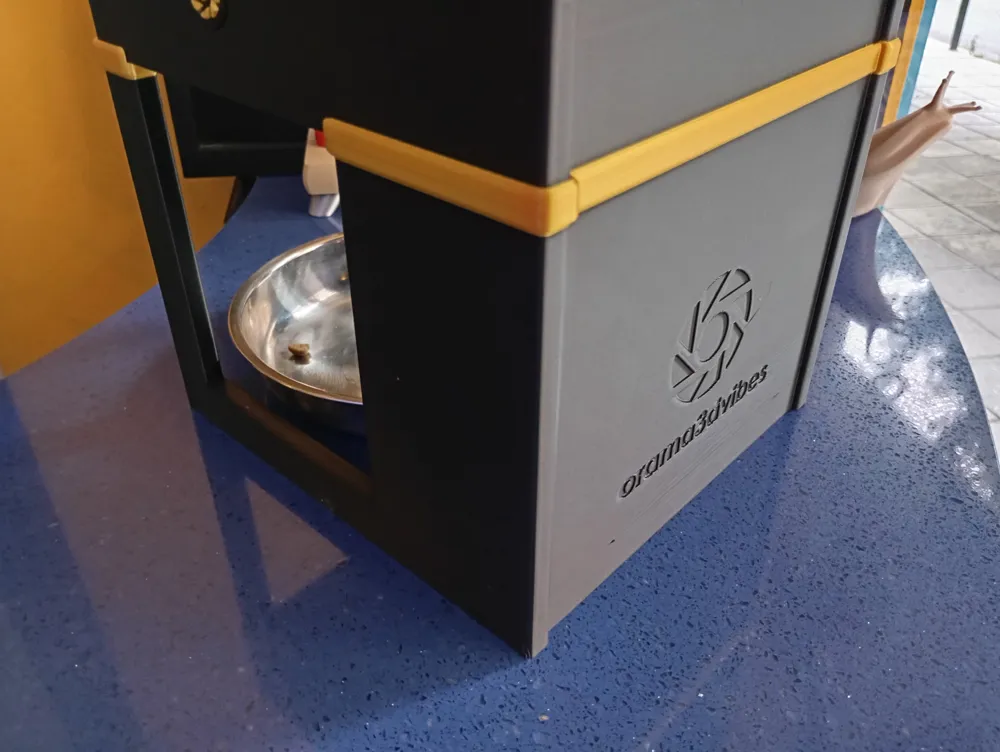
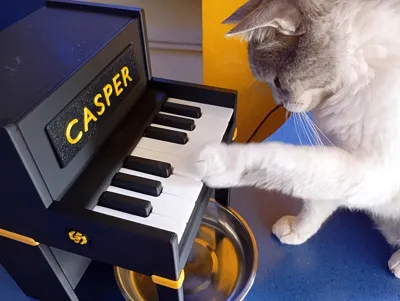
Piano key acts as a mechanical trigger. When a pet presses a key, a small reward is released and drops into the bowl below.
The simple mechanism encourages exploration, problem-solving, and food-based enrichment while rewarding curiosity and interaction.
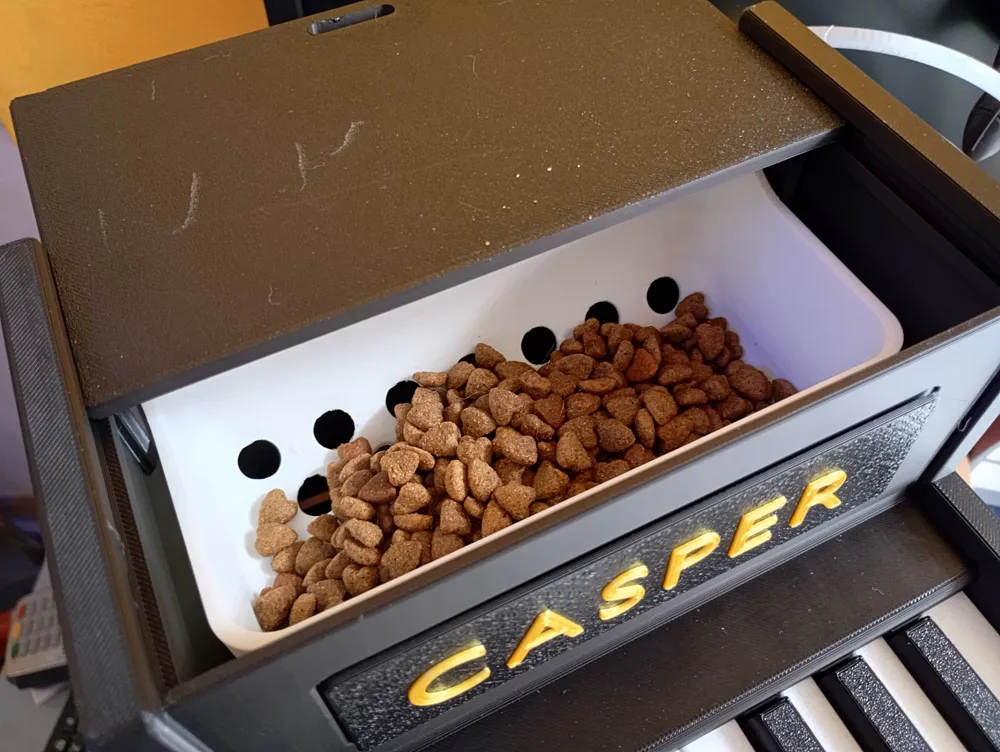
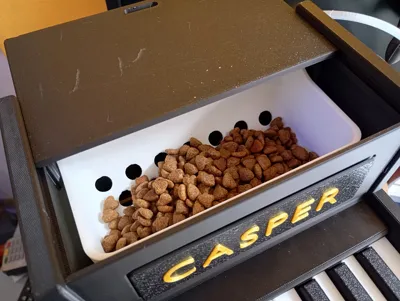
Treats or kibble are loaded through a sliding lid on the top of the piano, making refills quick and easy.
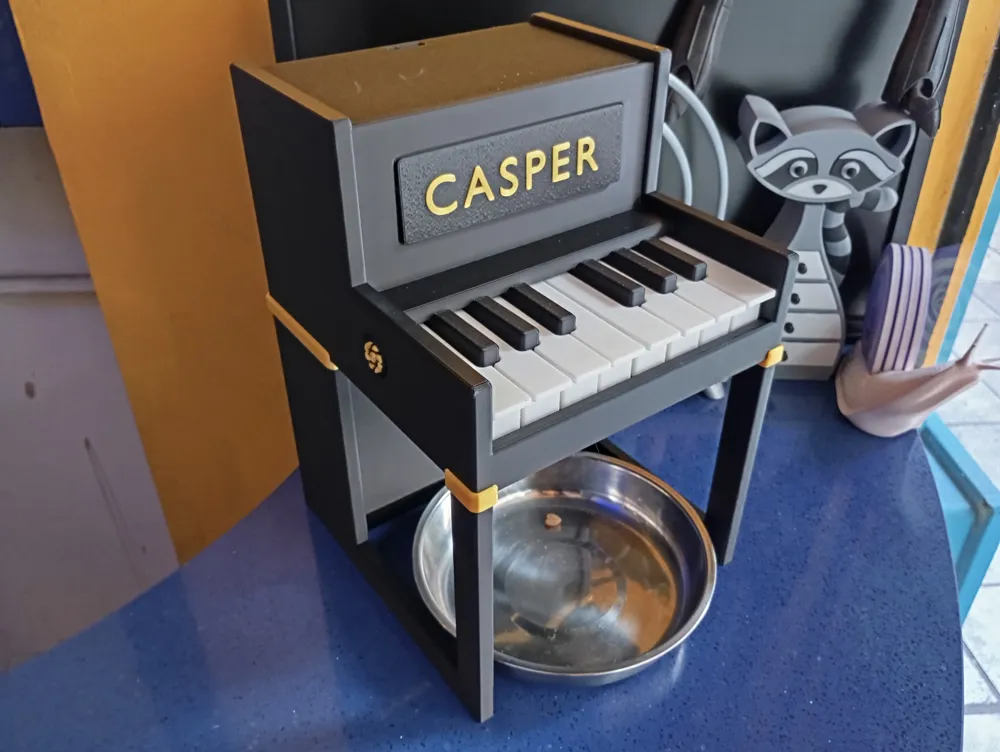
The upright piano design creates a fun and unique appearance that stands out from traditional pet enrichment toys.
Features
- Mechanical operation with no electronics
- Top-loading design with sliding access lid
- Dispenses treats into pets bowl below
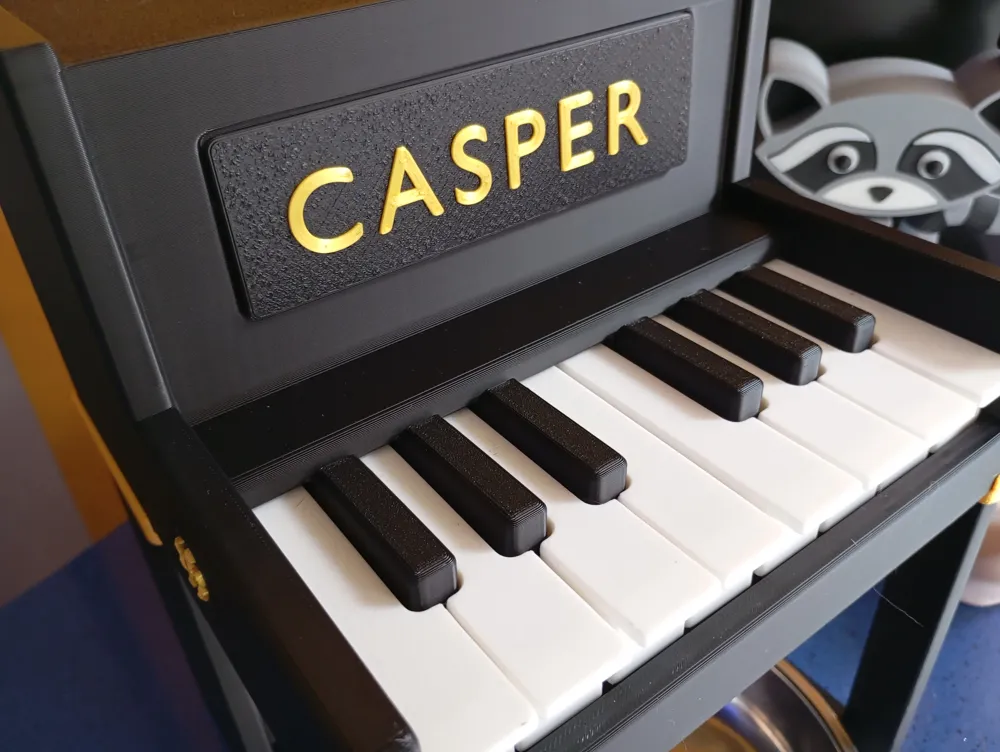
- Decorative upright piano-inspired design
- Fun combination of feeding and play
Whether used as a reward dispenser, enrichment toy, or training aid, this piano-inspired design gives pets a fun way to earn their treats .
I already planing to make this with electronics.
about the model:
- no need for ams. even the black keys are separated in case to print your own color piano.
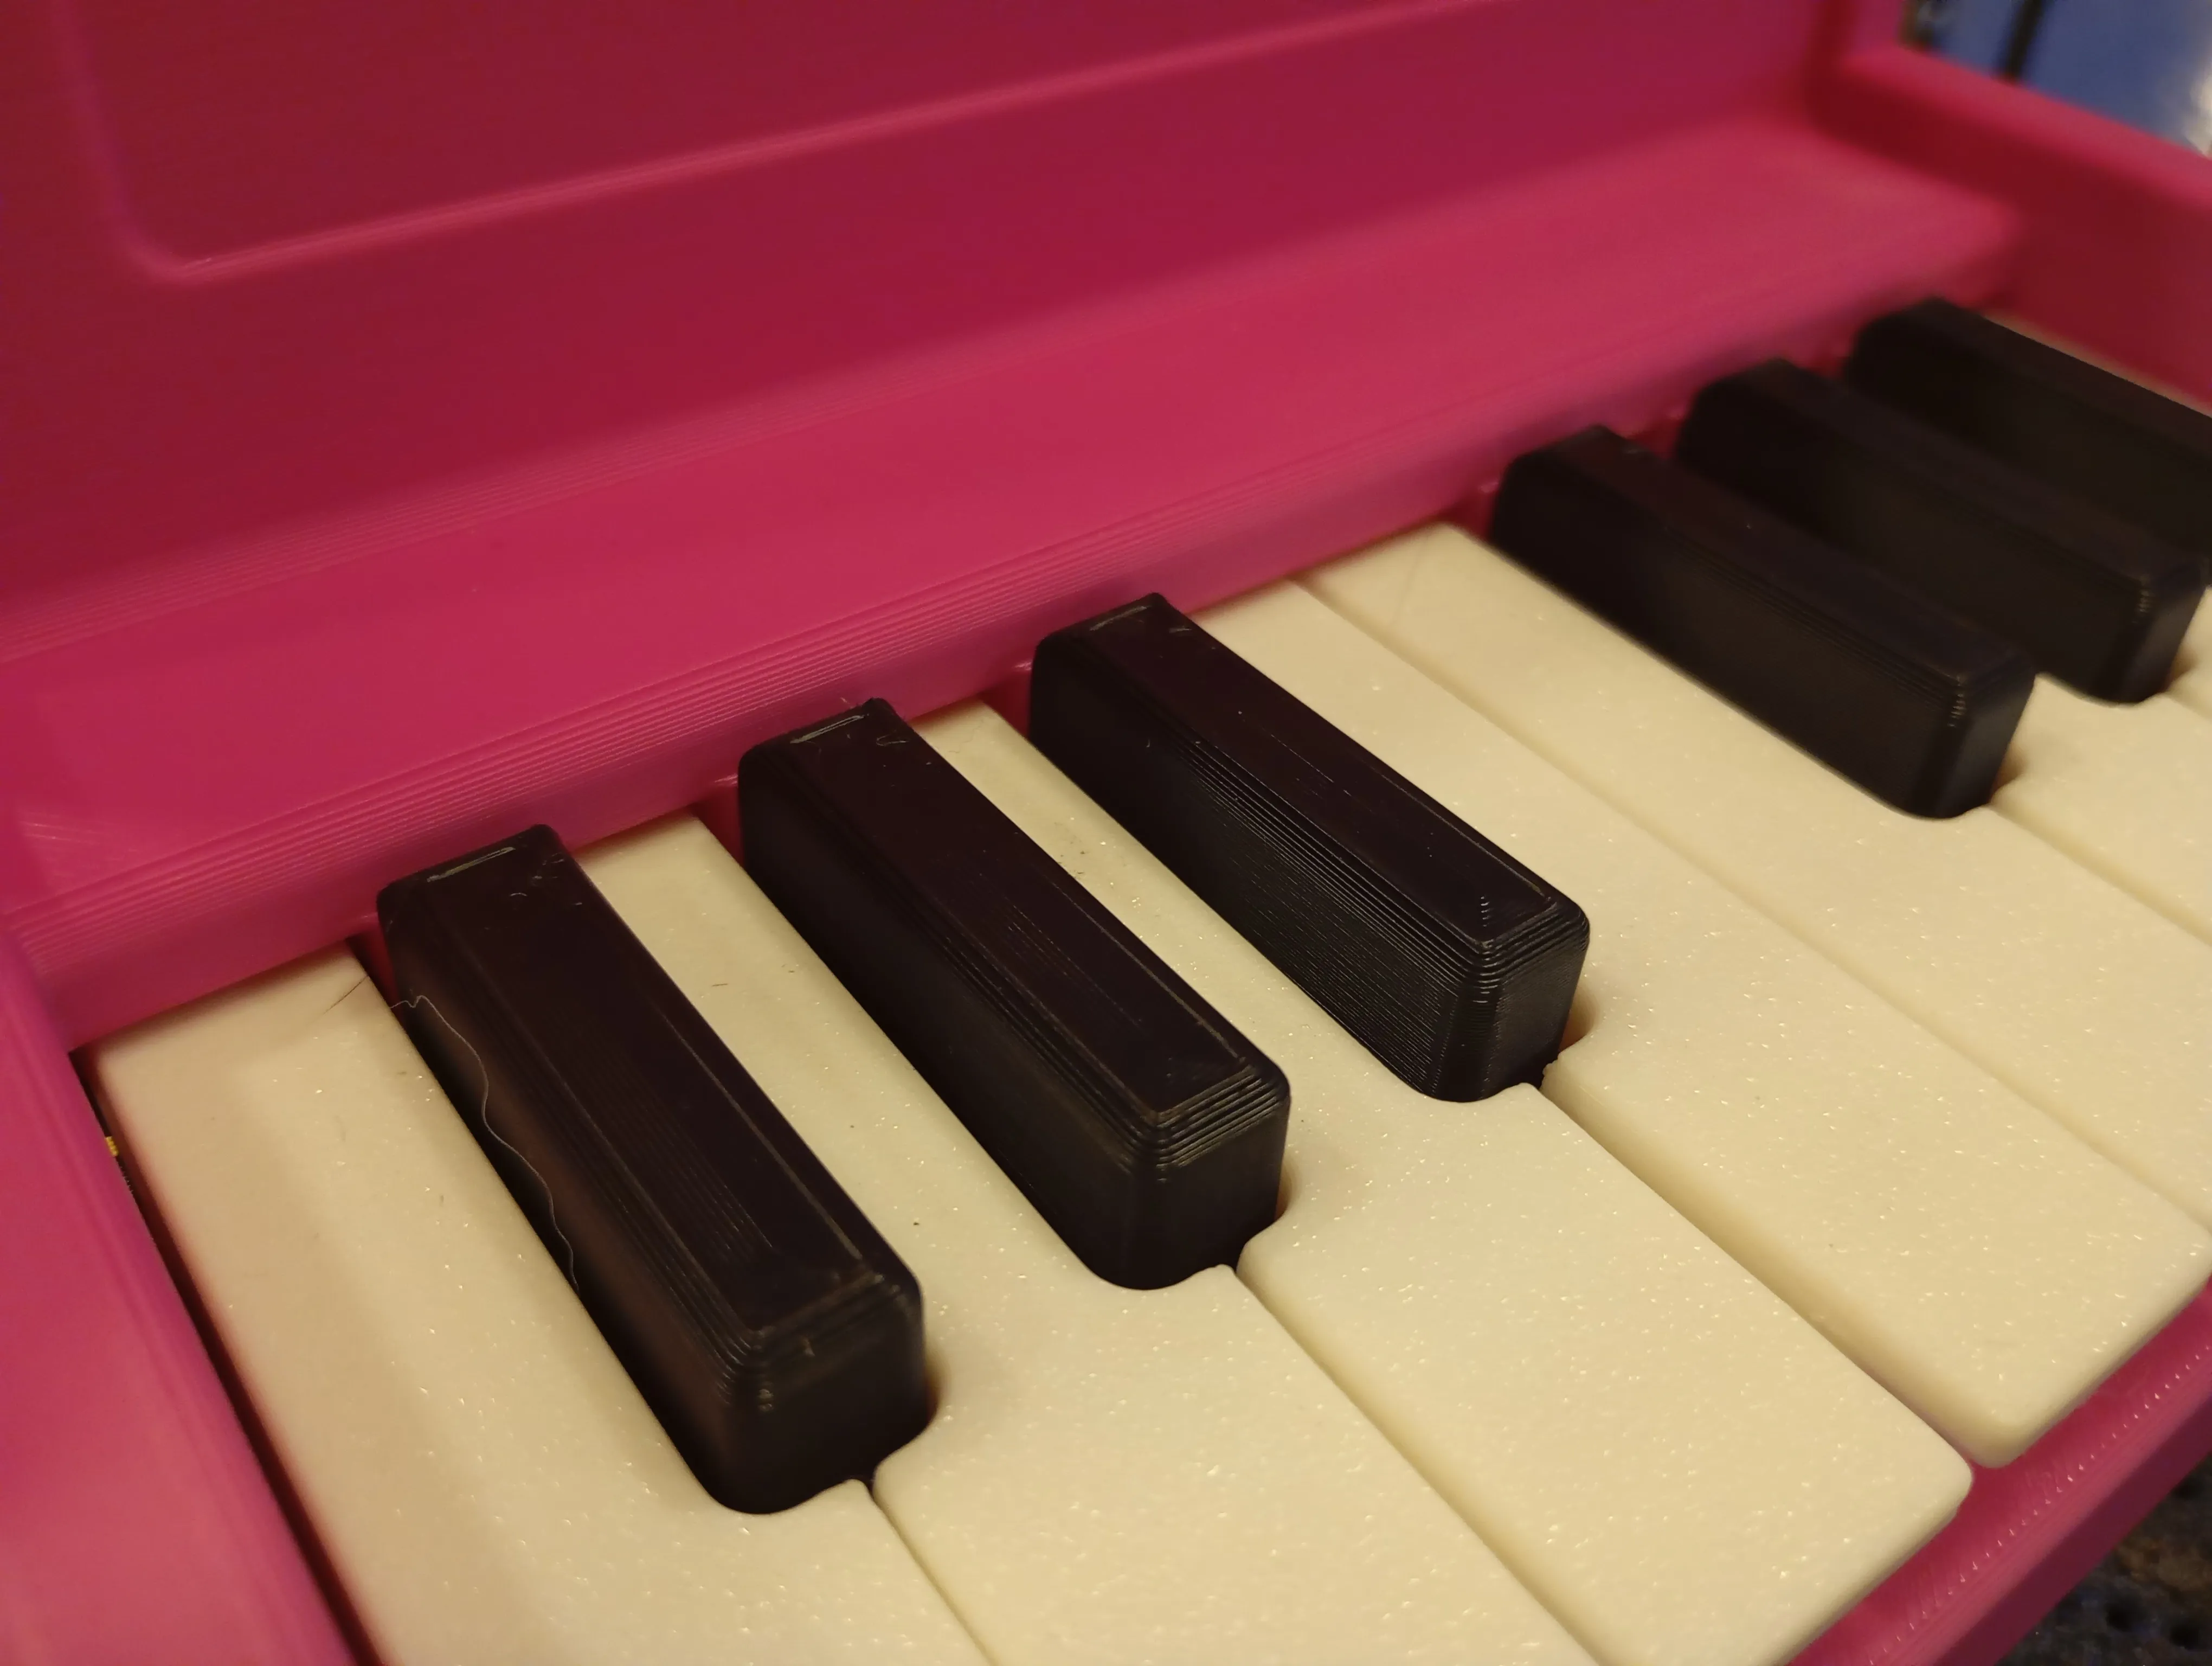
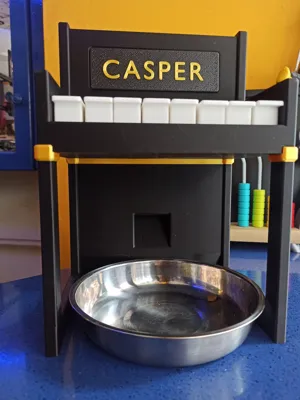
- total size 28cm x20cm x20cm.
the dimesions of the bowl in the original size is 165mm dia and 45 mm height!
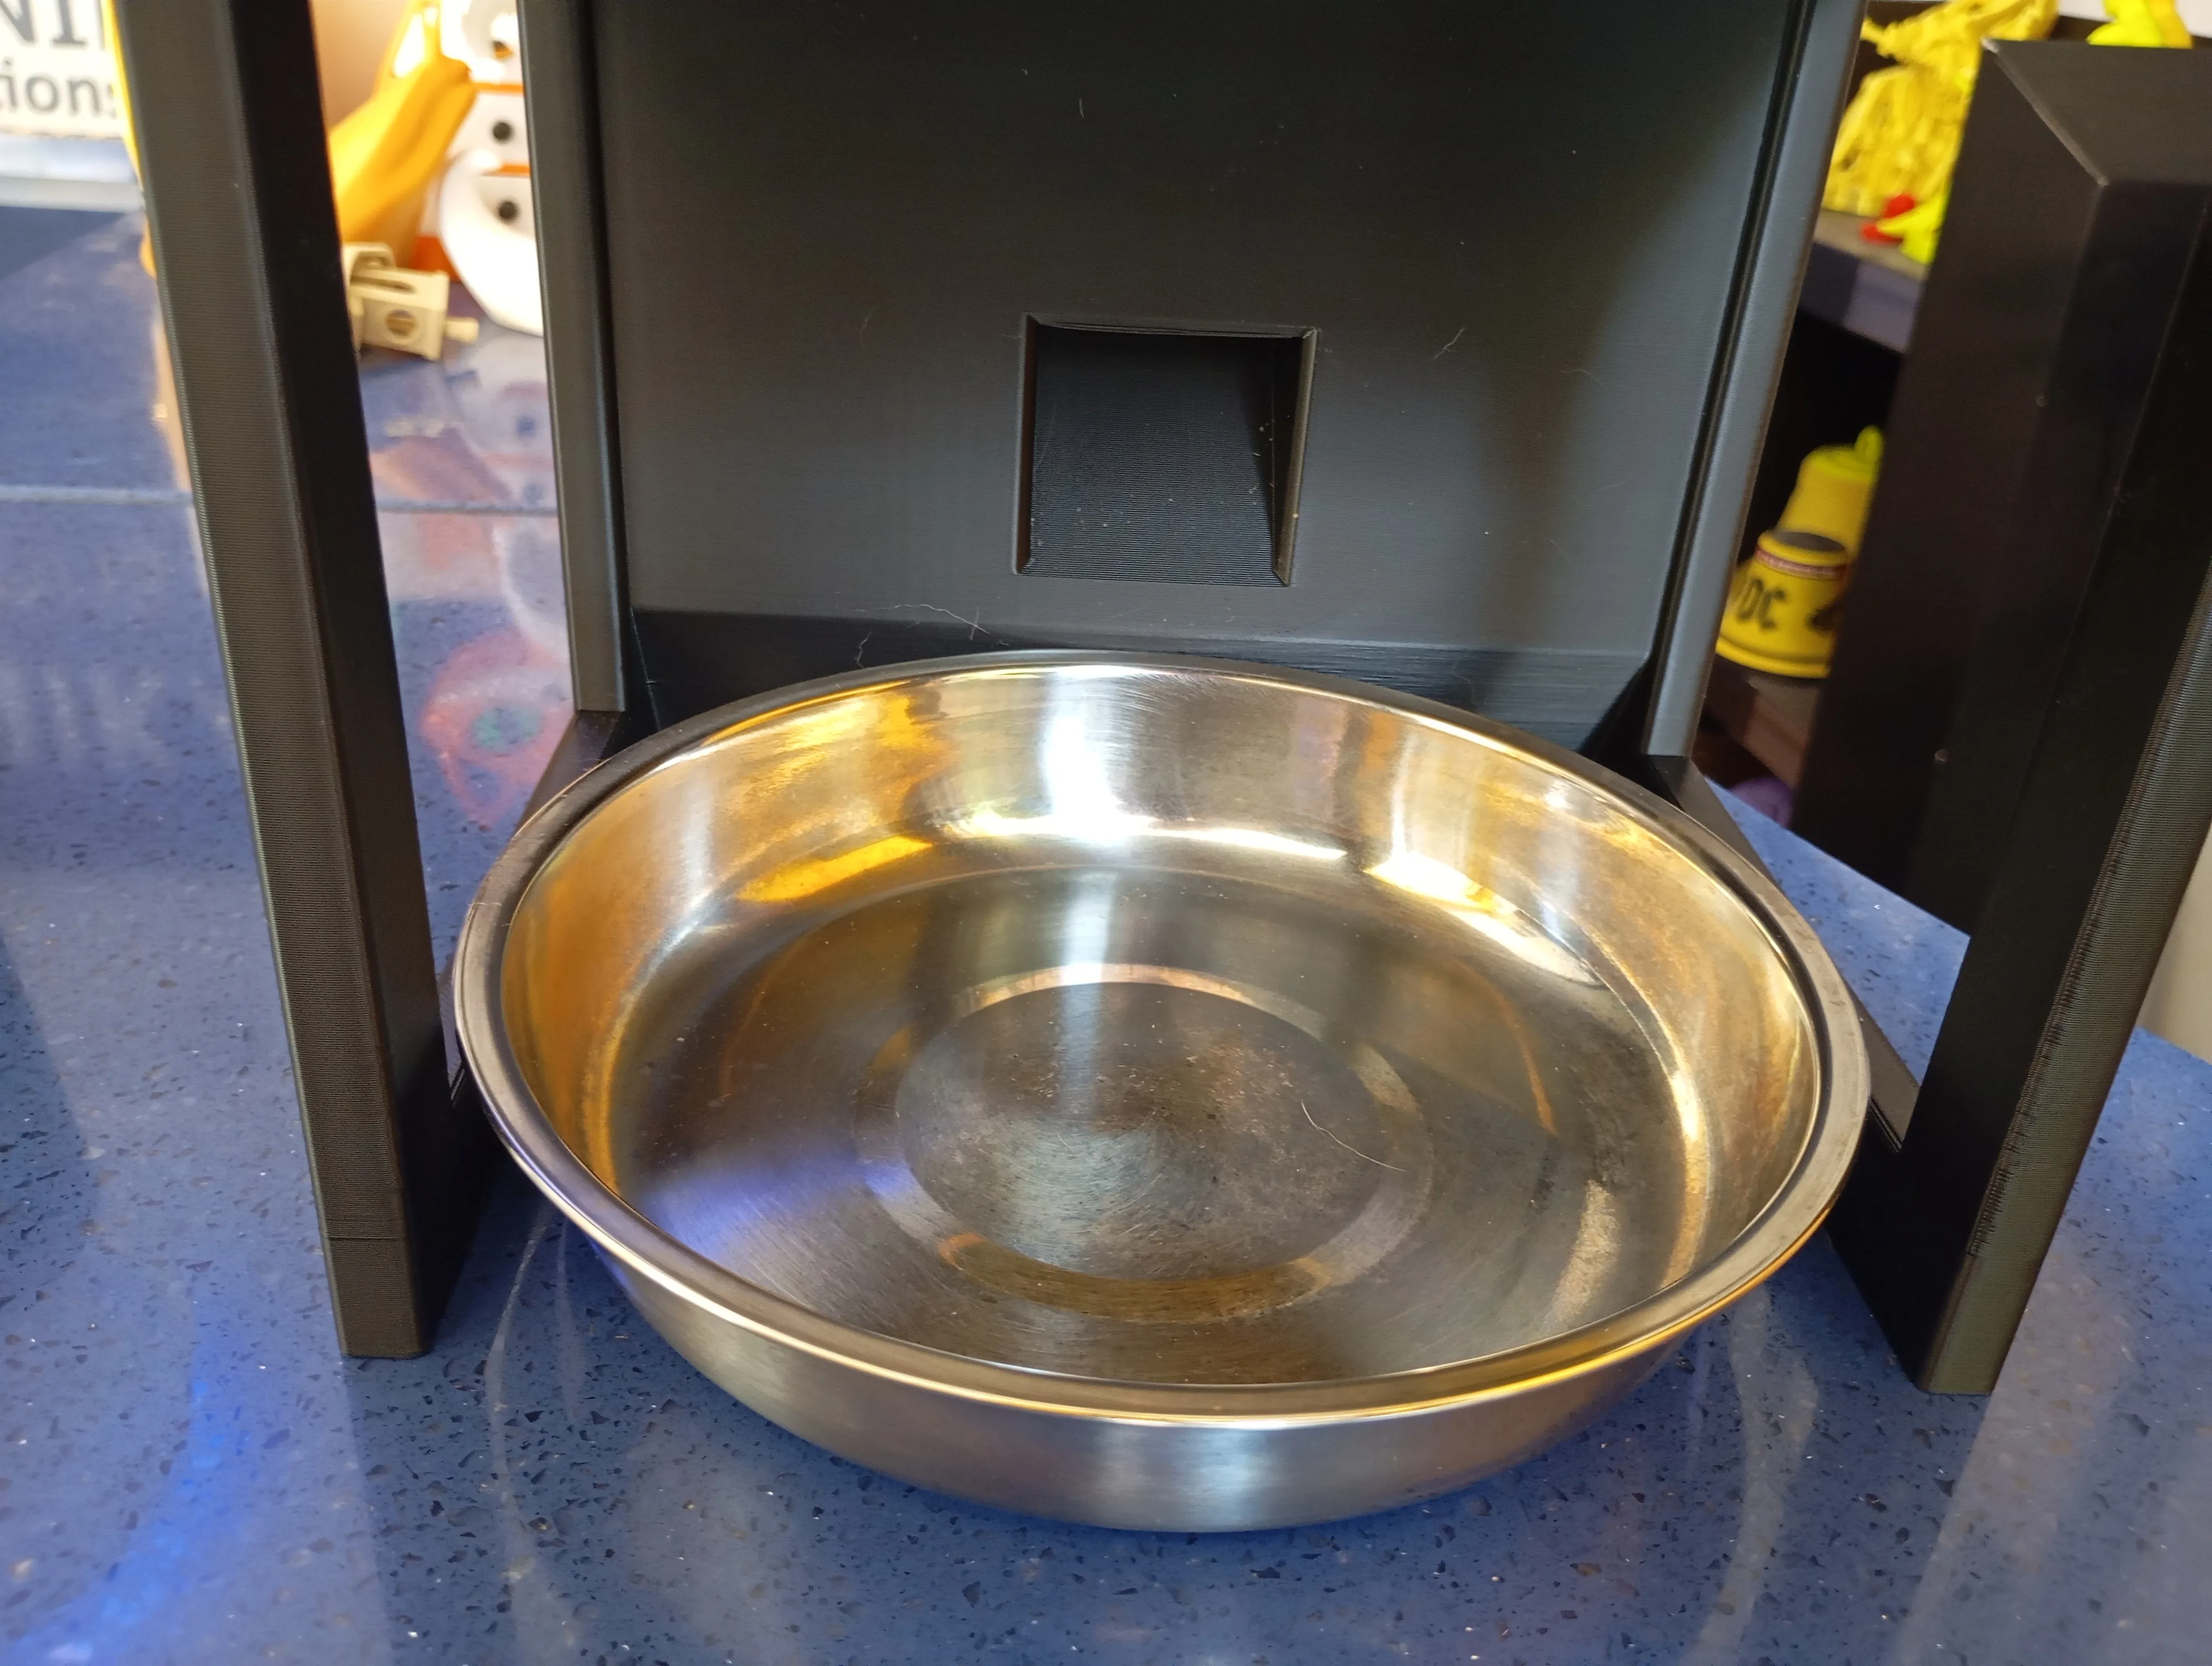
this model is bed adhesive demanding. so the plate must be fully cleaned before printing!
If you wish you can check the below video to see how i clean my bed:
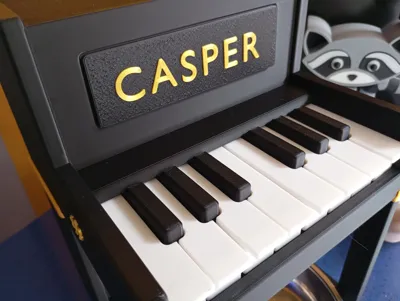
- separate name plate with custom text. This way you can make it more personal!
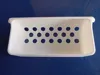
- customizable holes for the feeder. Click the customize button to change the stock 9 mm holes.
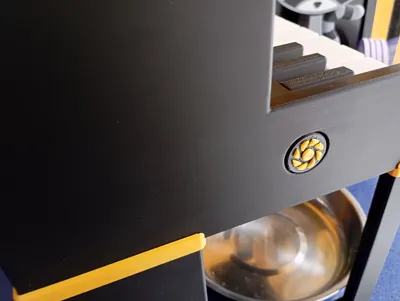
- Really easy to assemble this in some minutes. a few drops of glue is needed to secure the 2 body parts, the axis caps and maybe the black keyboard keys.
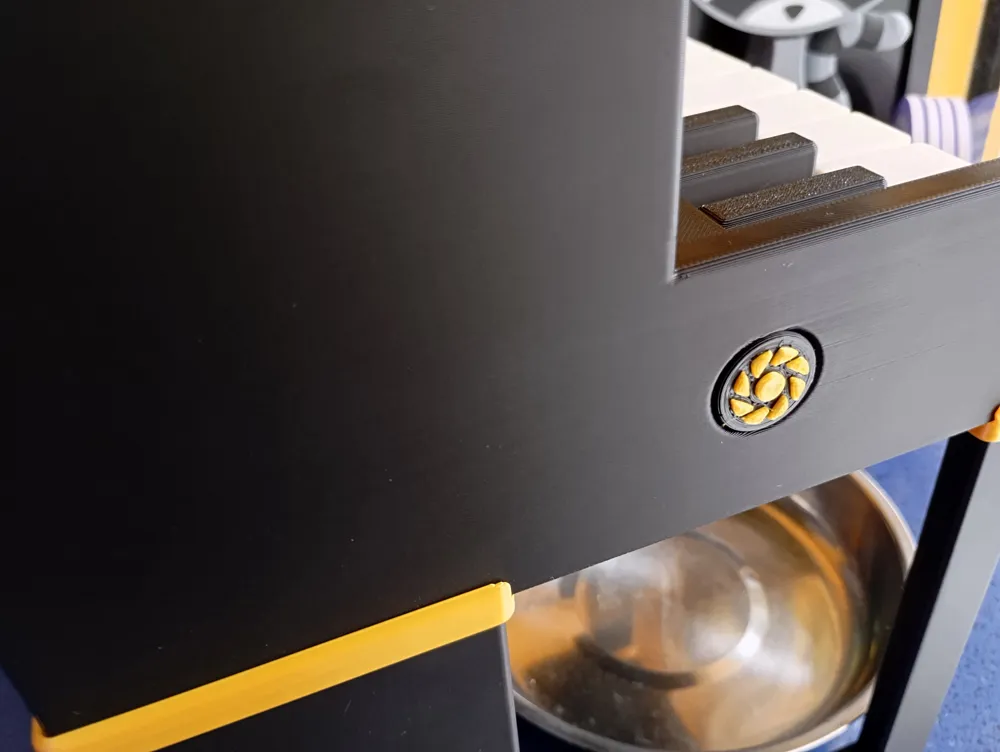
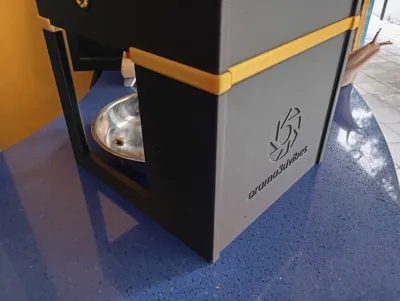
on top of the bottom body there are some reliefs (the golden ones). I have placed them there so if some folks have problems with wrapping on the model then this will be hide after assembly.
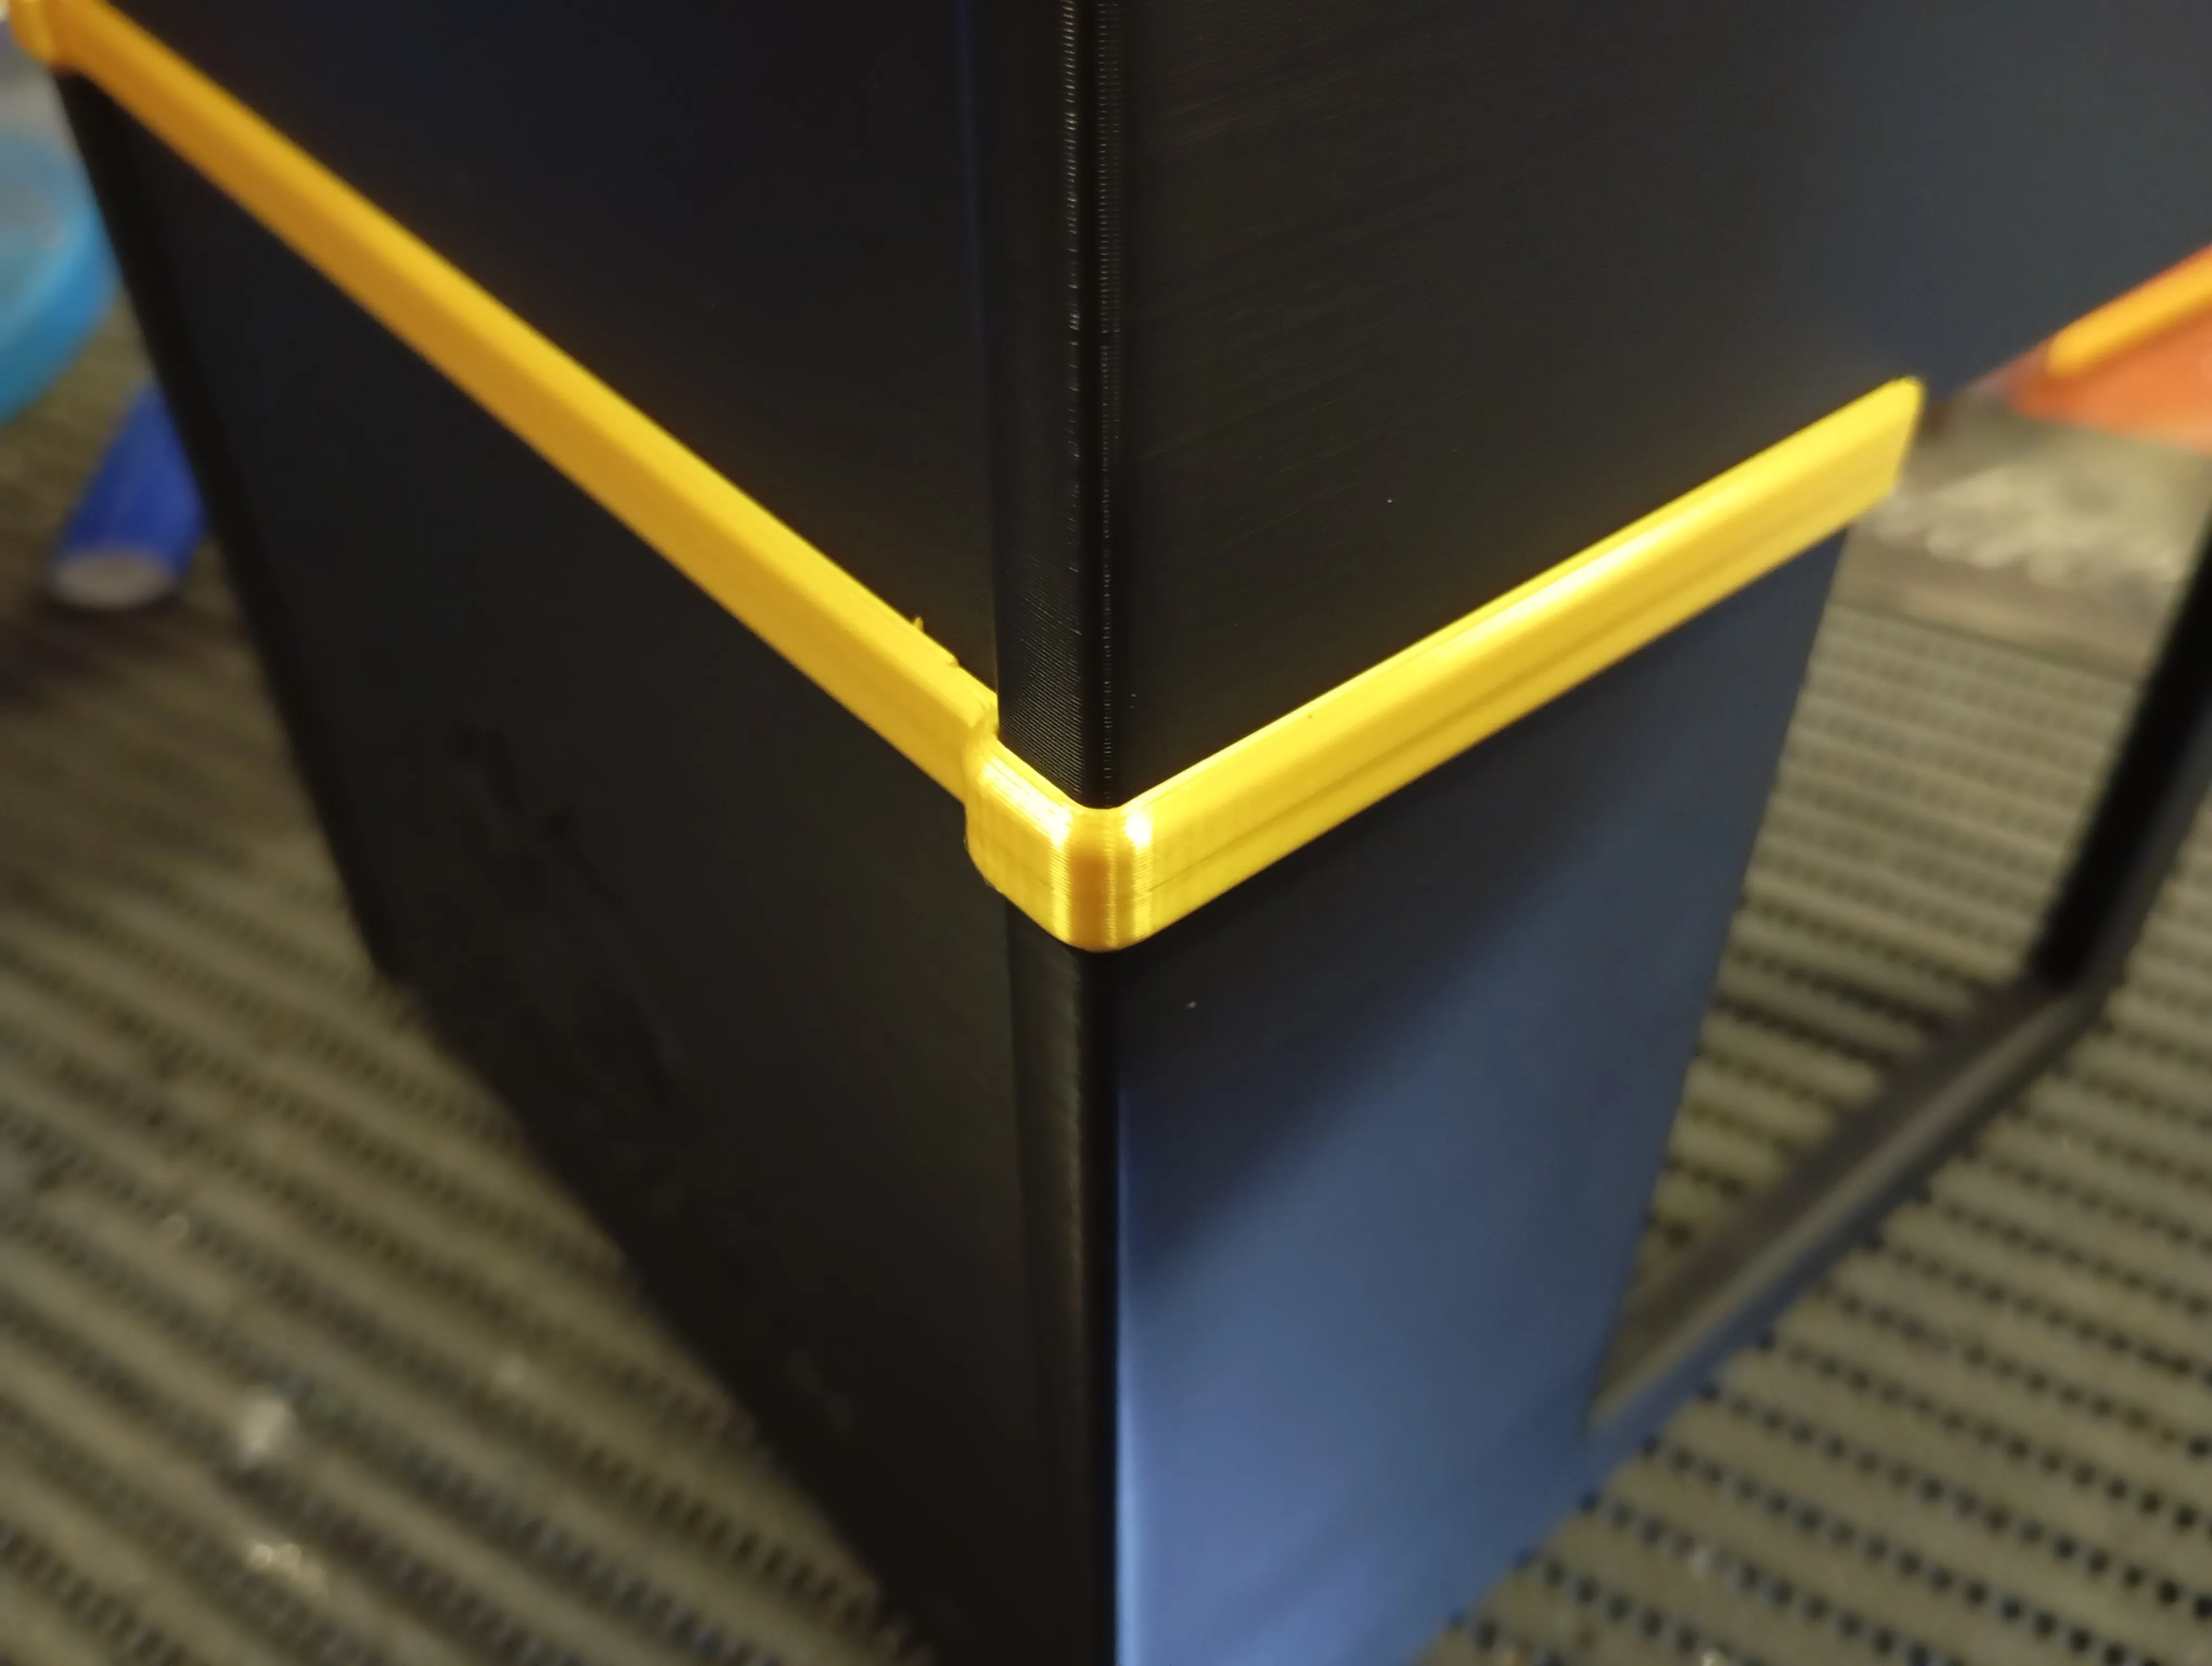
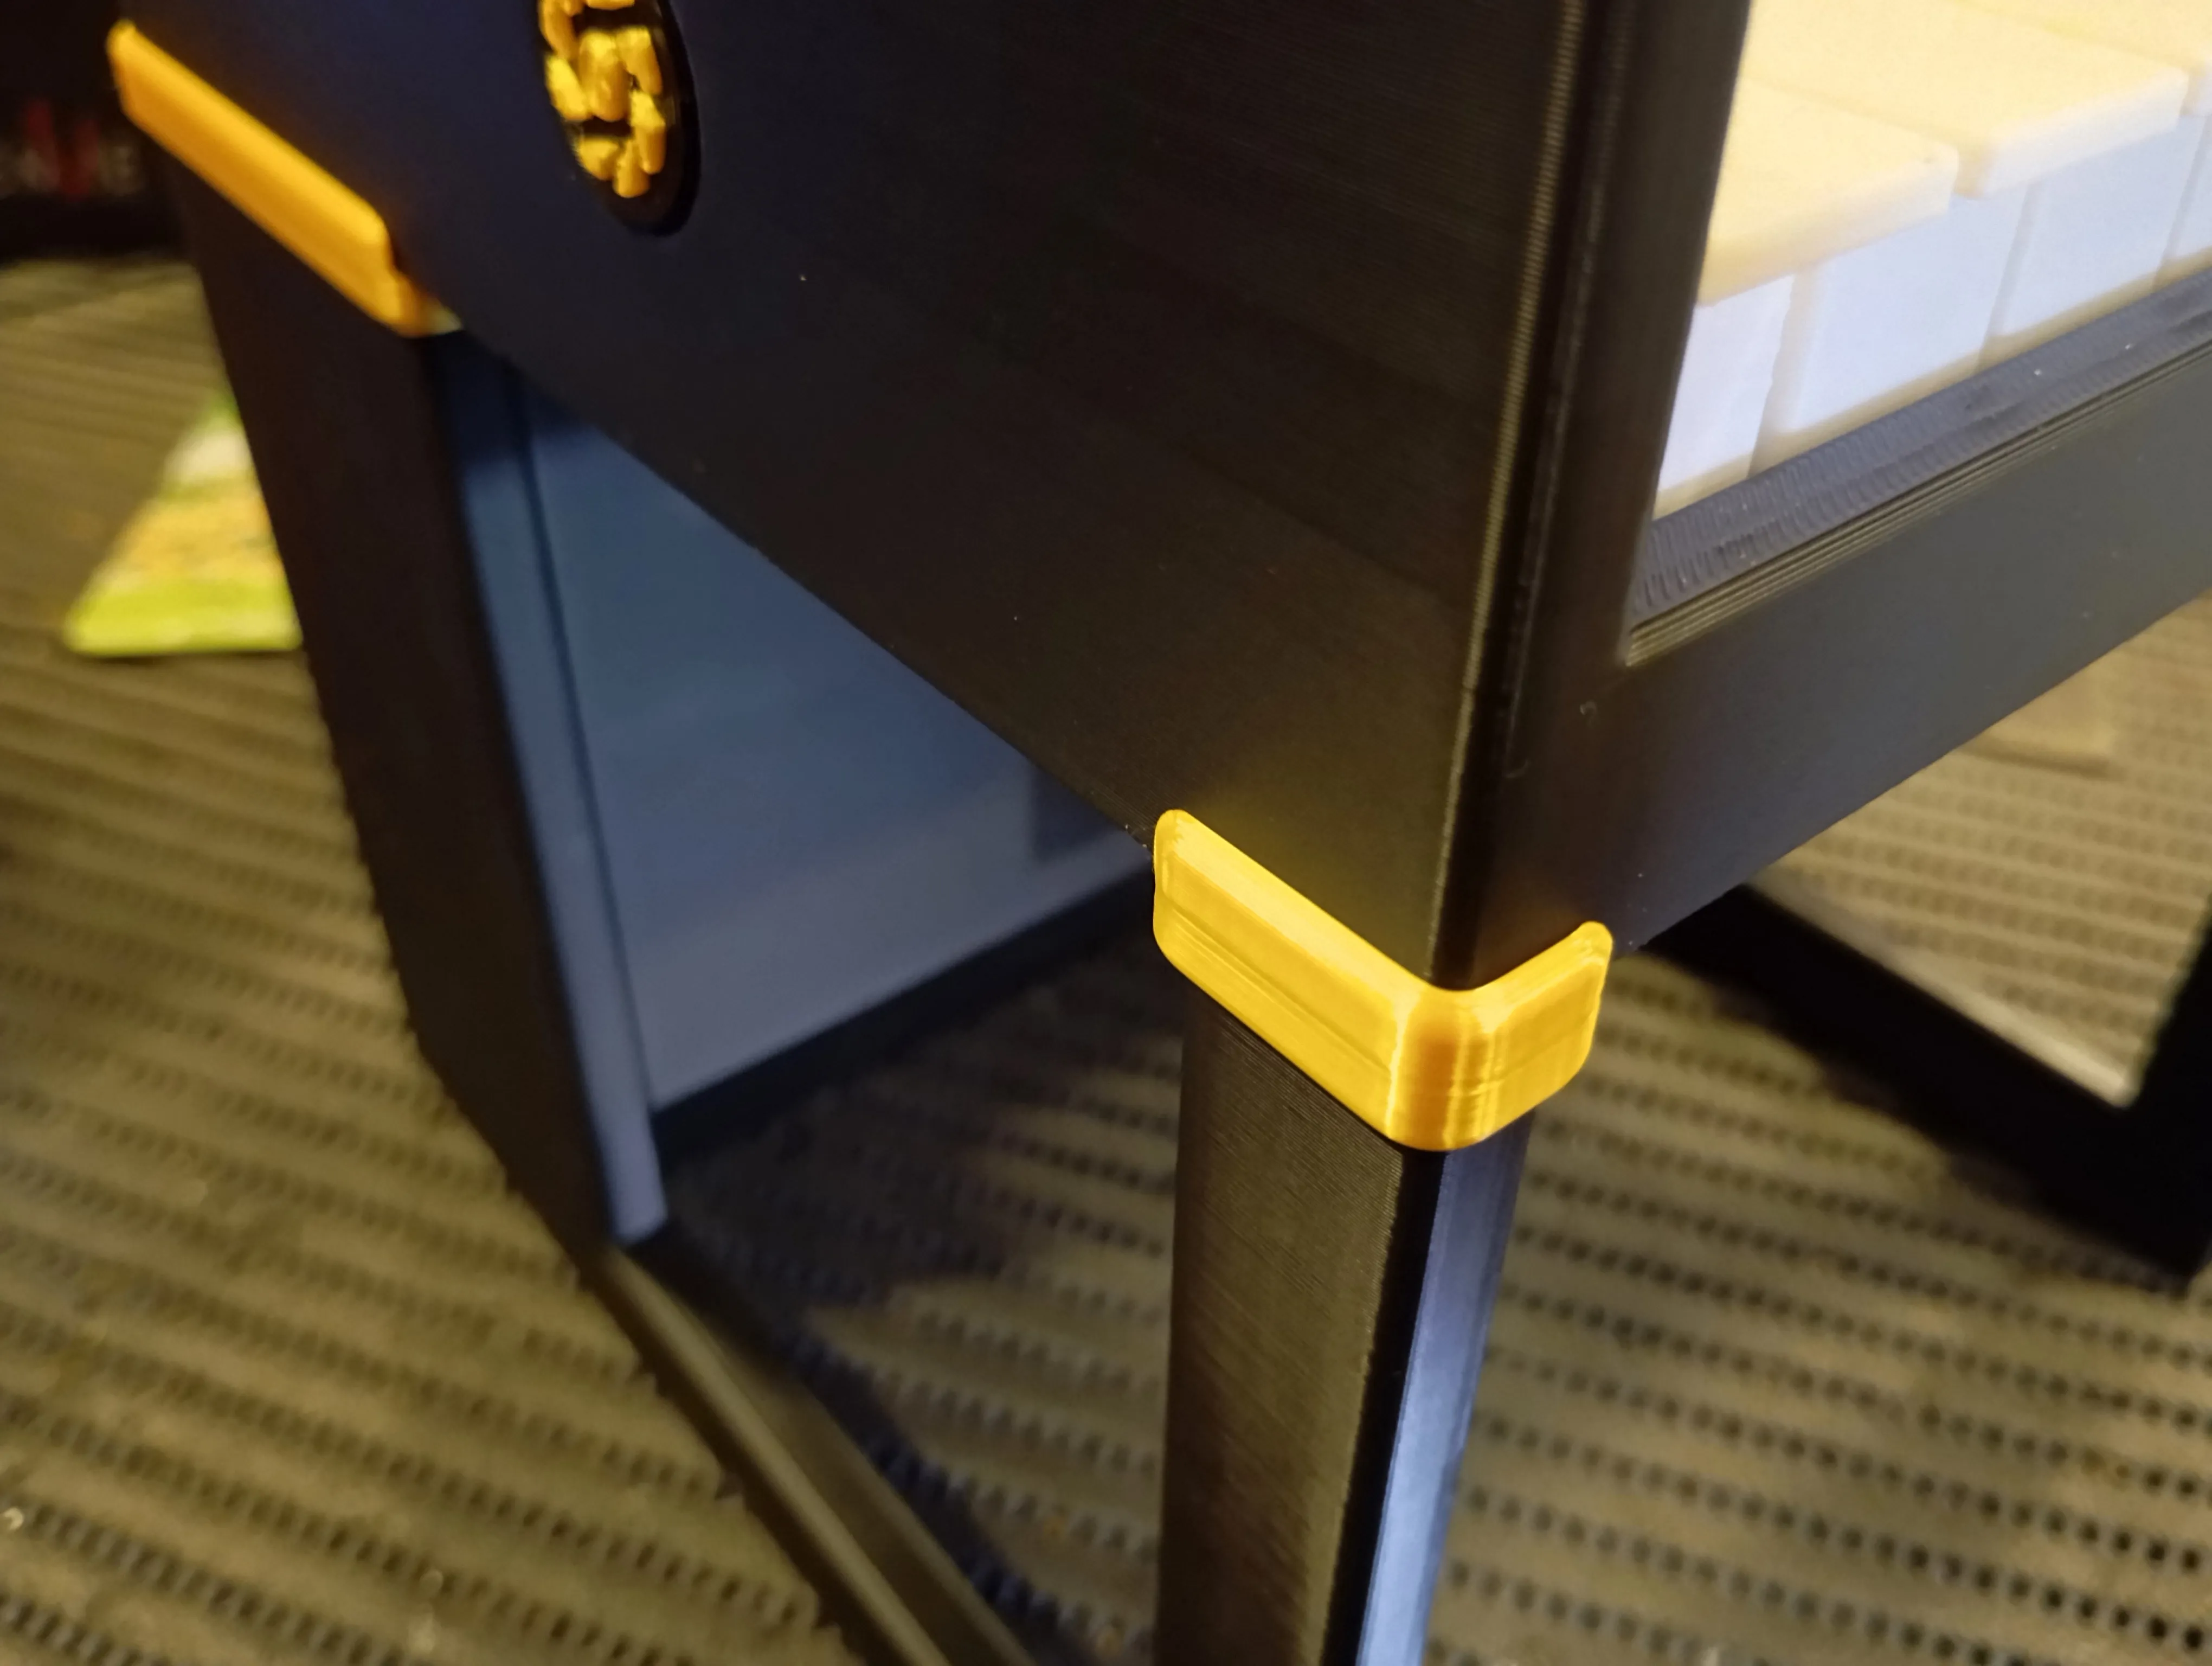
about the profiles:
One profile for the name plate. this is if you wish to make the piano more personal with the custom text.
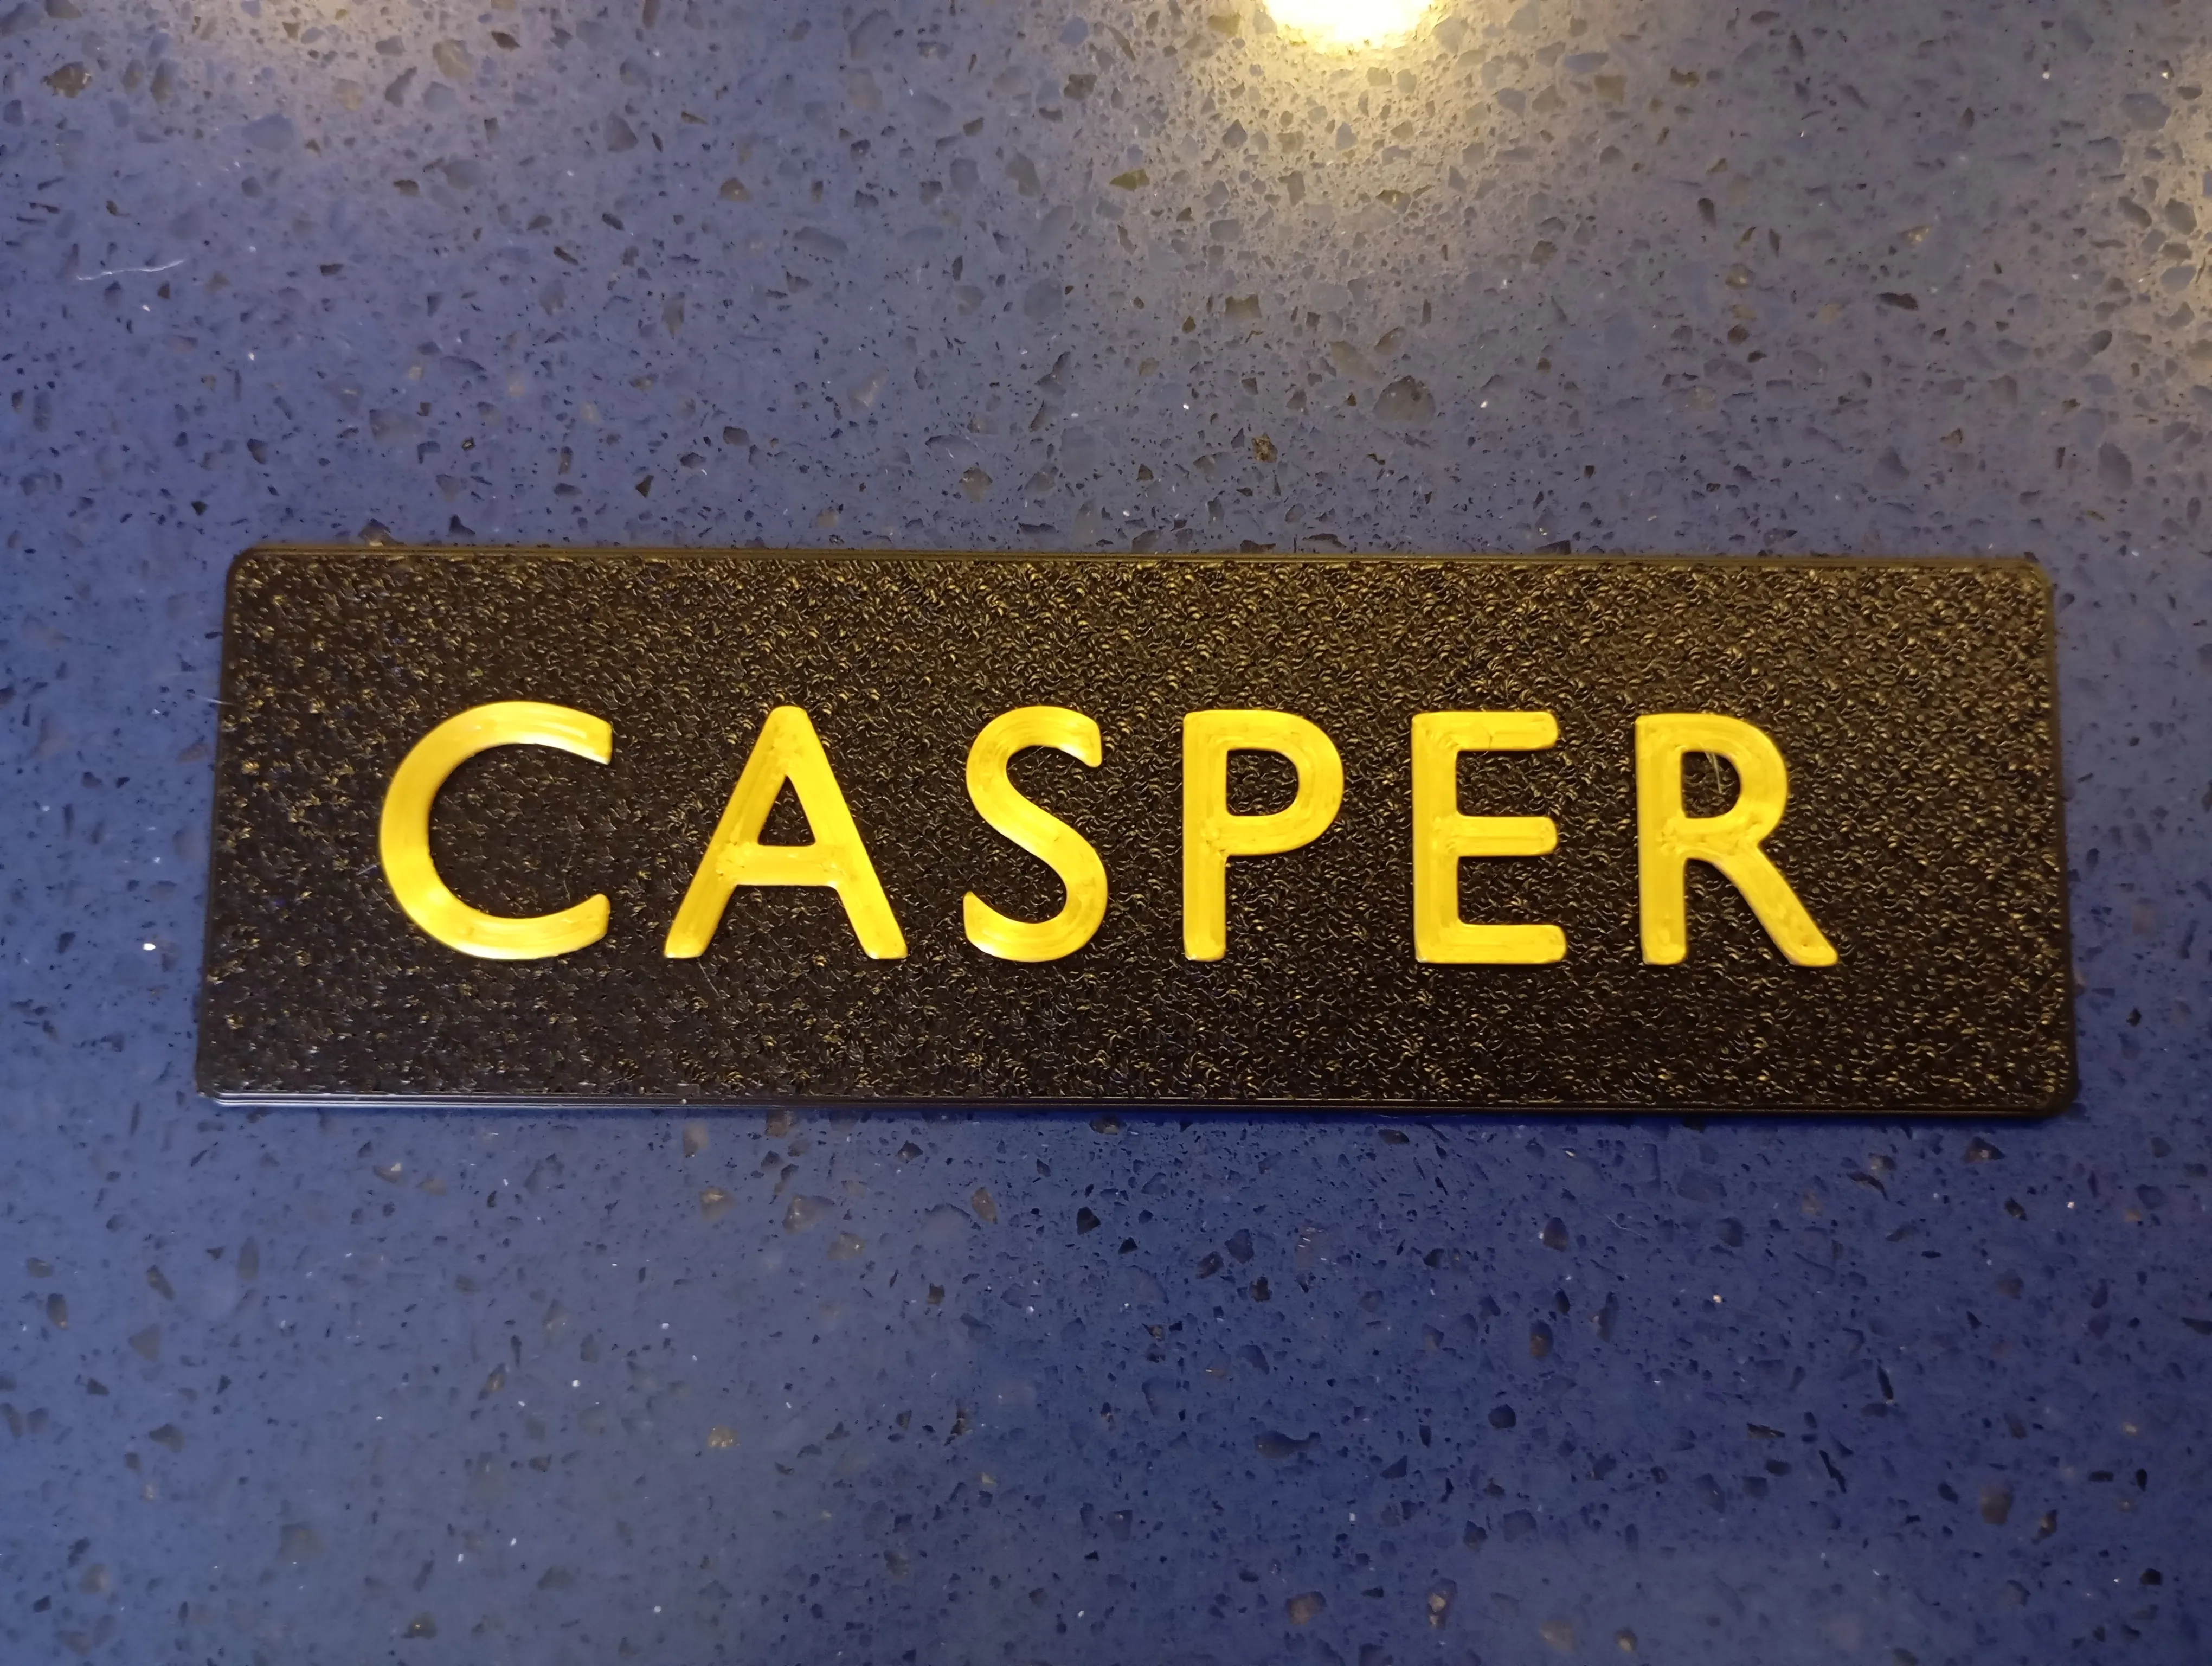
One profile for the feeder. this is the stock feeder that features 9 mm holes. if this doesn't fit your treats please customize the holes and print your feeder.
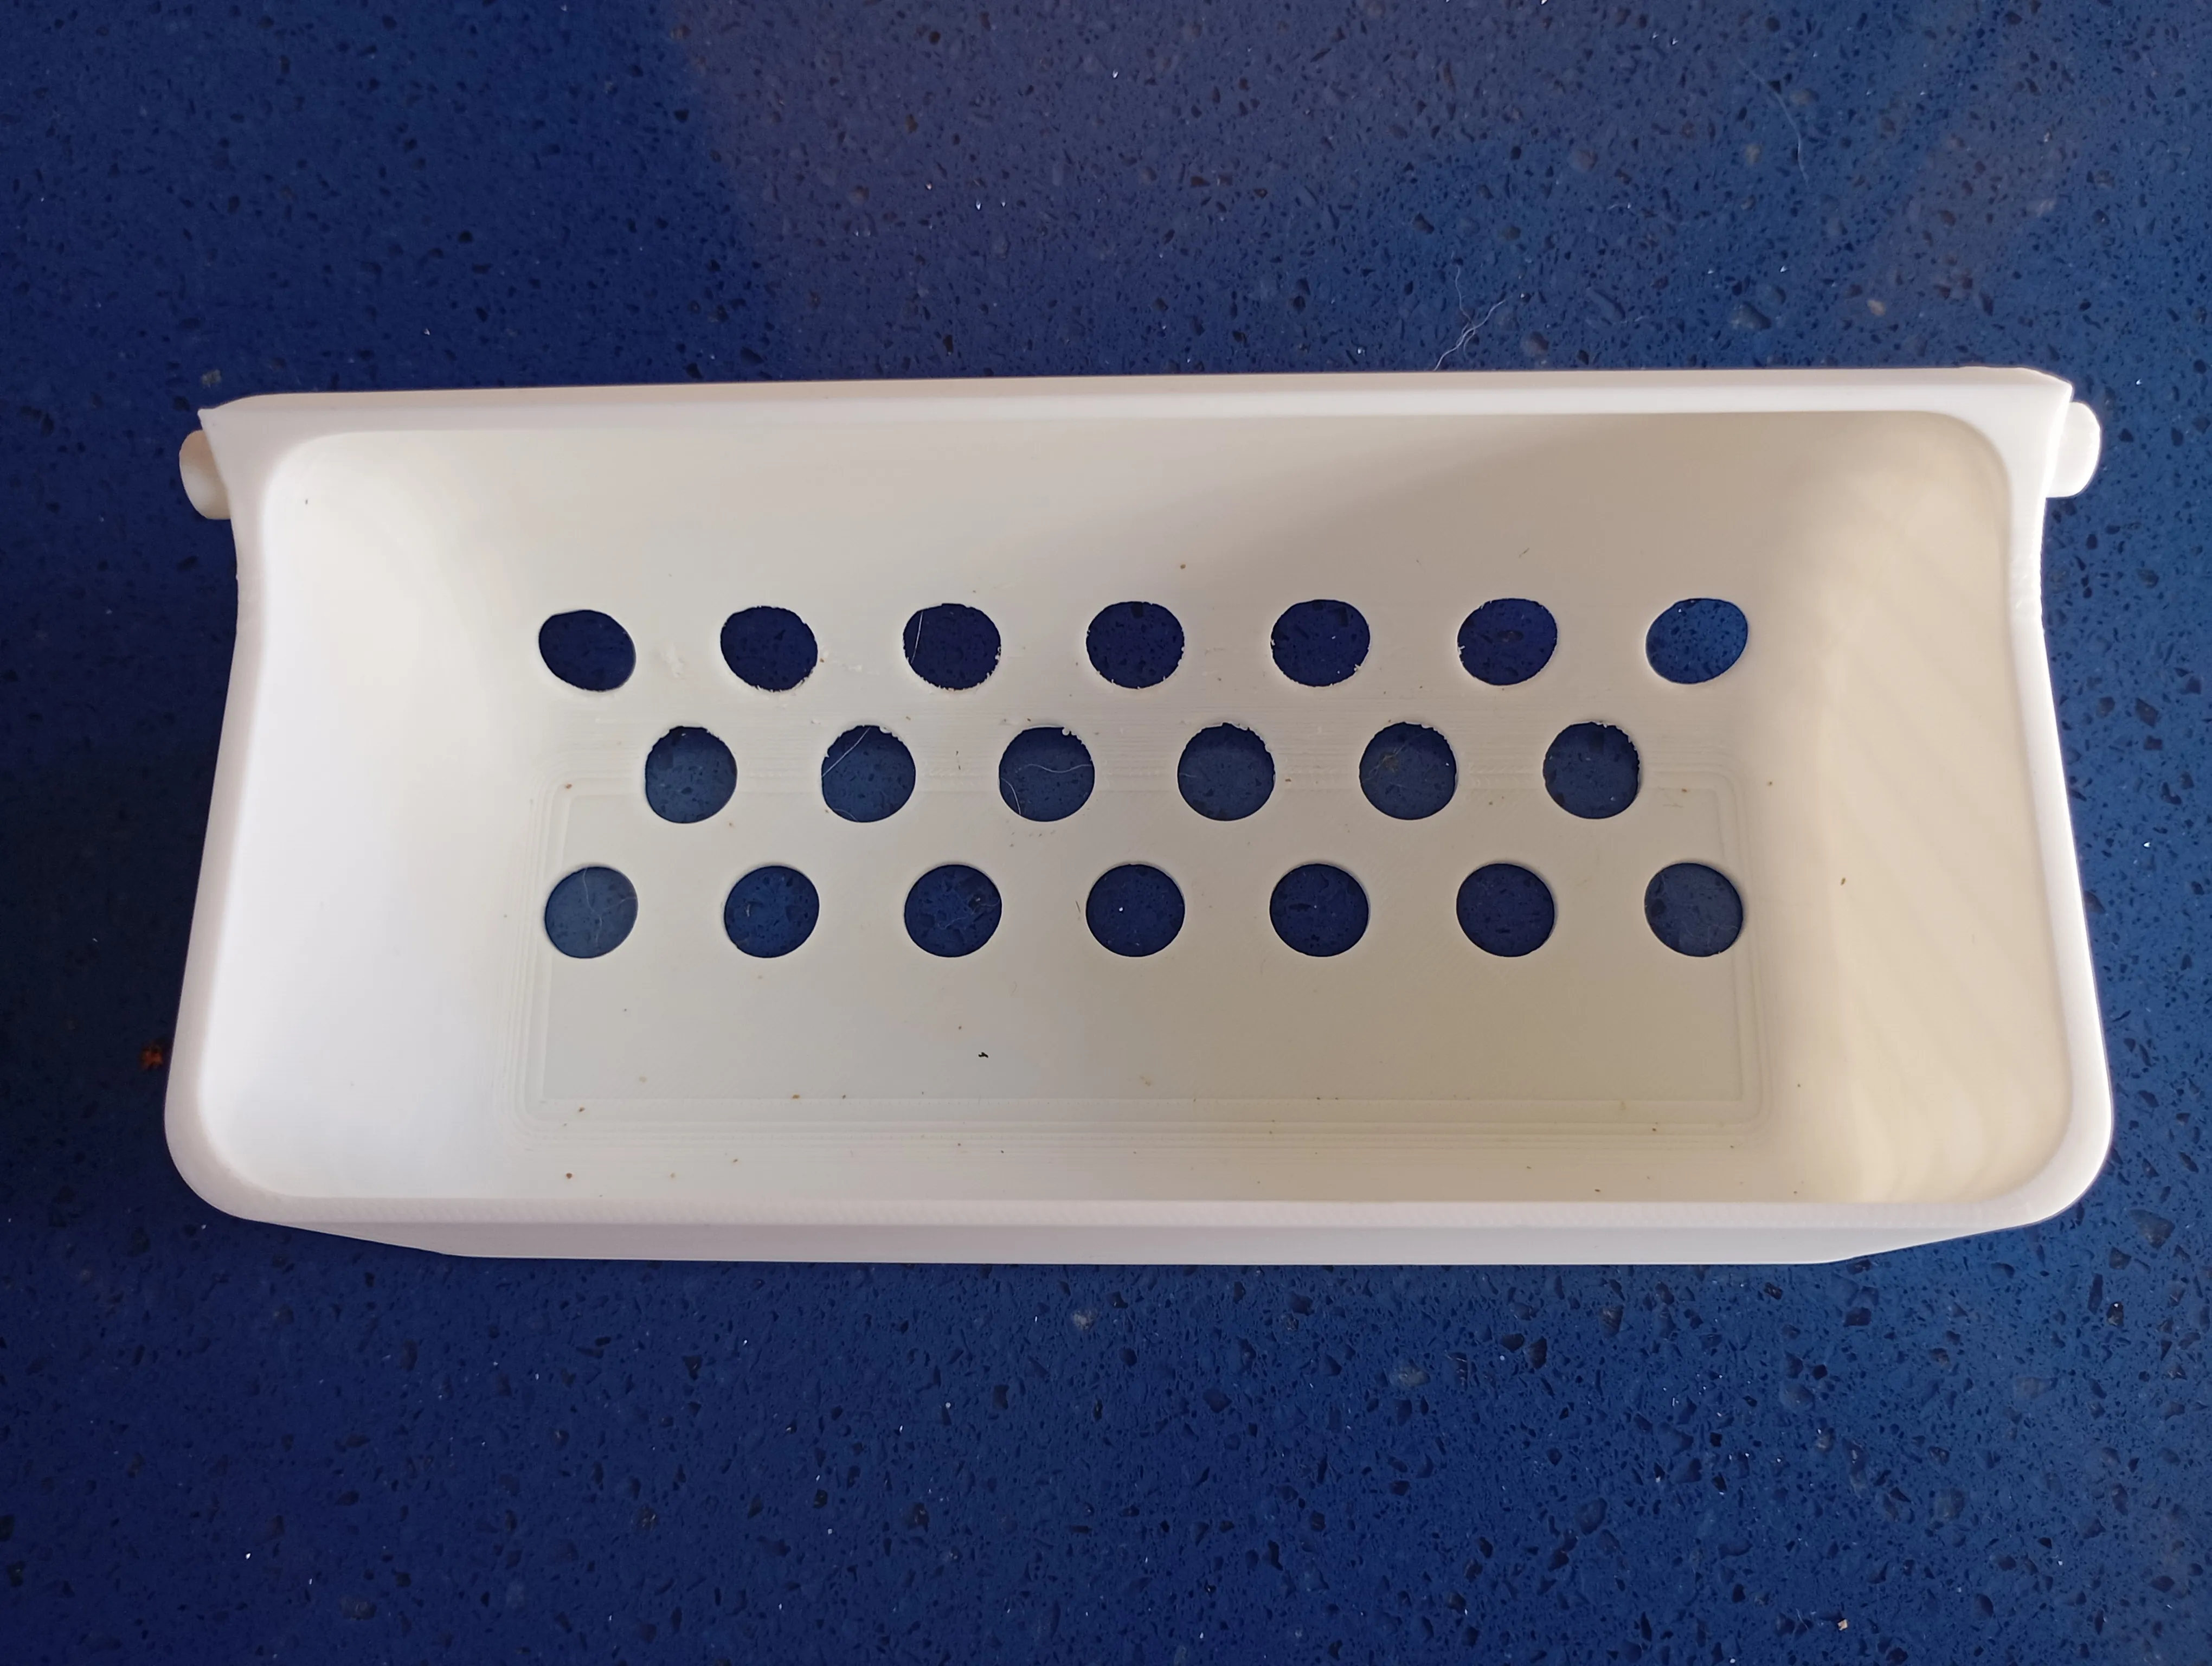
the main profile has 5 plates. print them with the colors you wish!
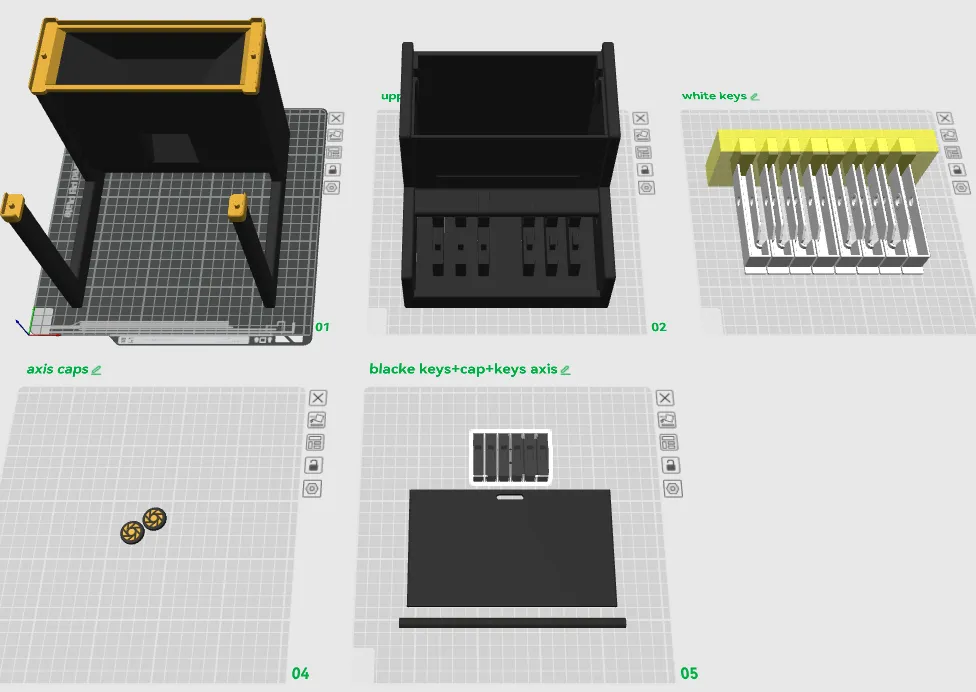
- the main profile use an ams but its not necessary. you can swap the filaments for the bottom body that features another color on top and do the same with the axis caps.
- almost all the parts are support free! the only profile that uses some minor supports is the feeder
how to customize holes:
- There is only one parameter you can change and this is the diameter holes of the feeder.
- There are 3 rows of holes and every row is configurable sepperattly. This means that if you want to slow down the food at every press you can turn tha row to have very small holes.
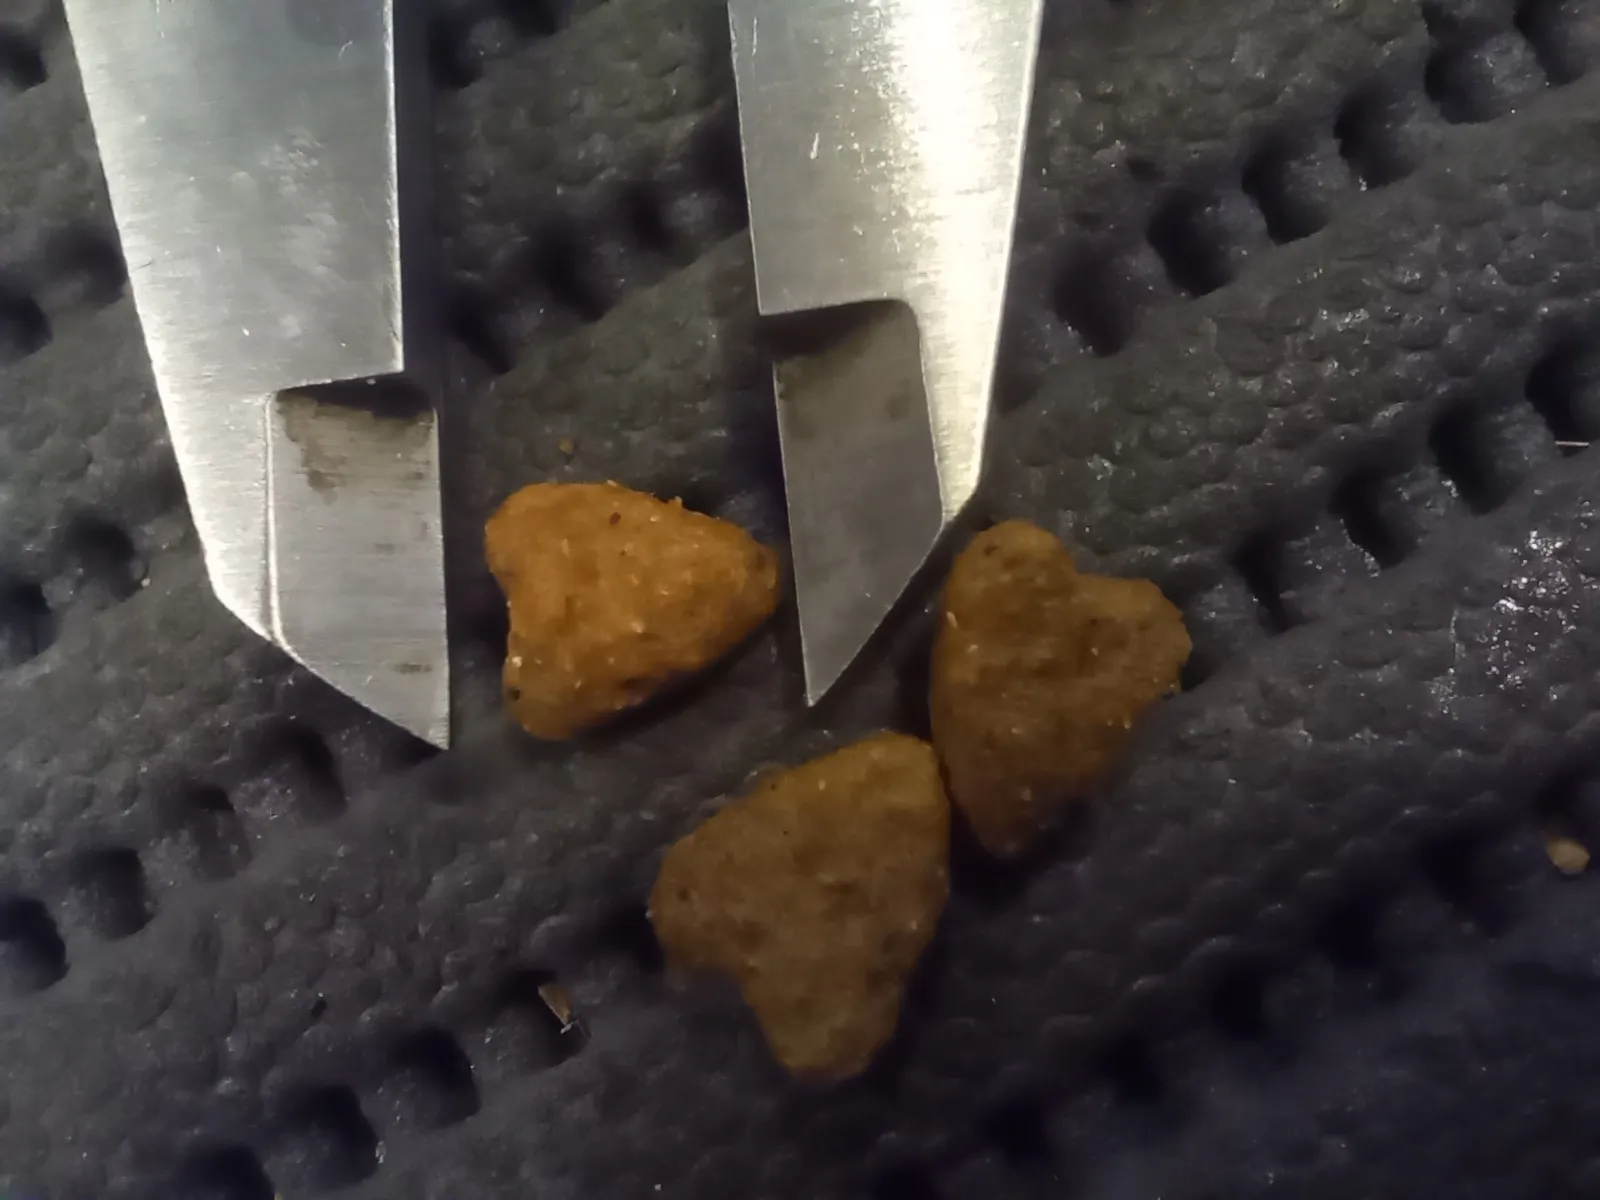
To determine the size of holes take a caliper and measure your pet's favorite treats.
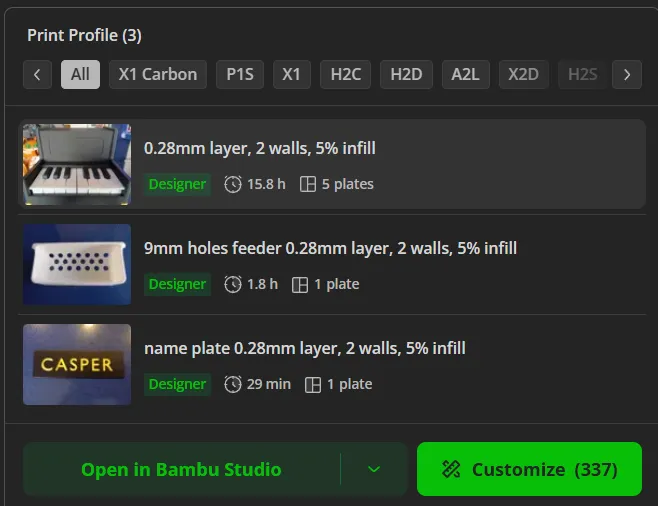
click customize button.
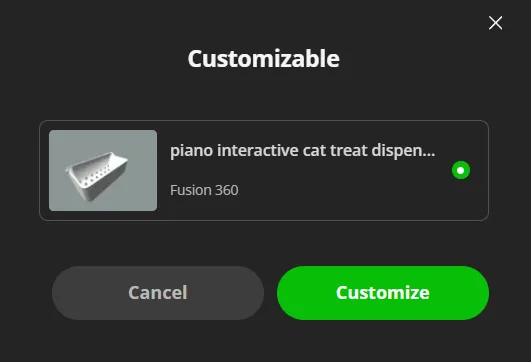
and again customize button
resize the diameters on customization window at least 0,5mm to 1mm bigger than the treats. Mine max dimension was 11 so i went finally to 11,5mm diameter for the holes. It was tricky cause they are heart shaped…
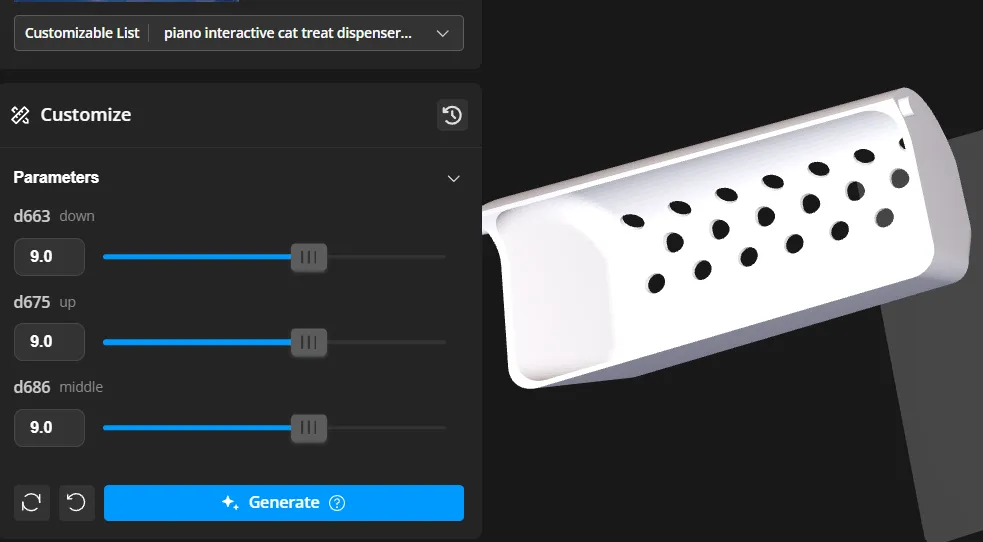
Now you are ready to download your custom feeder from the download button up rioght the customizer:
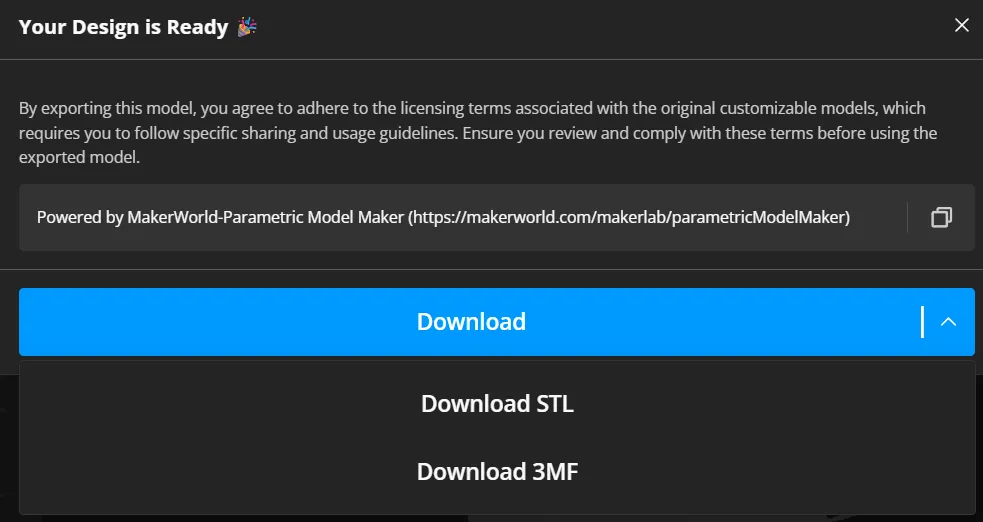
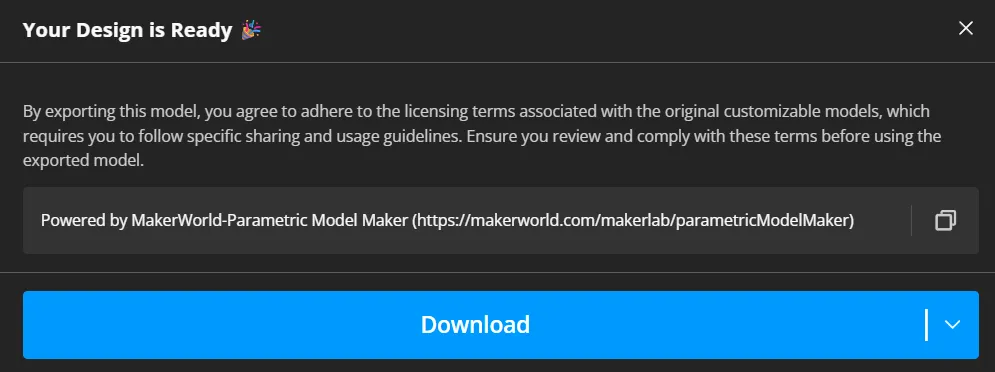
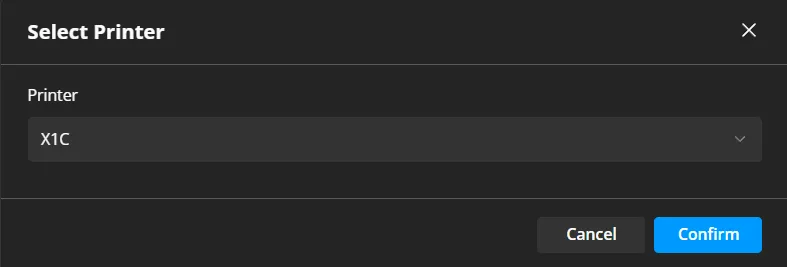
It took me 3 tries to figure out the best holes for my cats food. So if at first you don't see move customize accordingly.
how to customize text on nameplate:
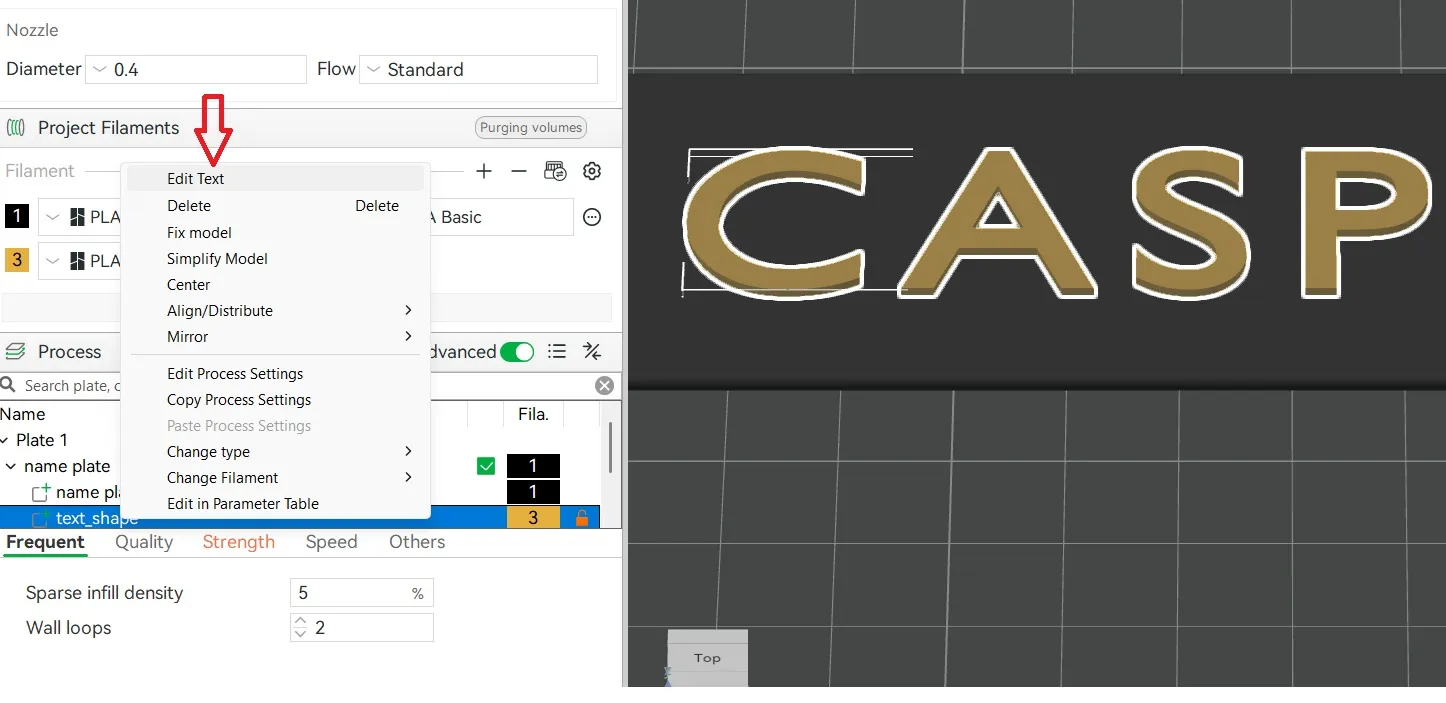
- in the name plate profile go to objects and right click on text shape and hit edit text.
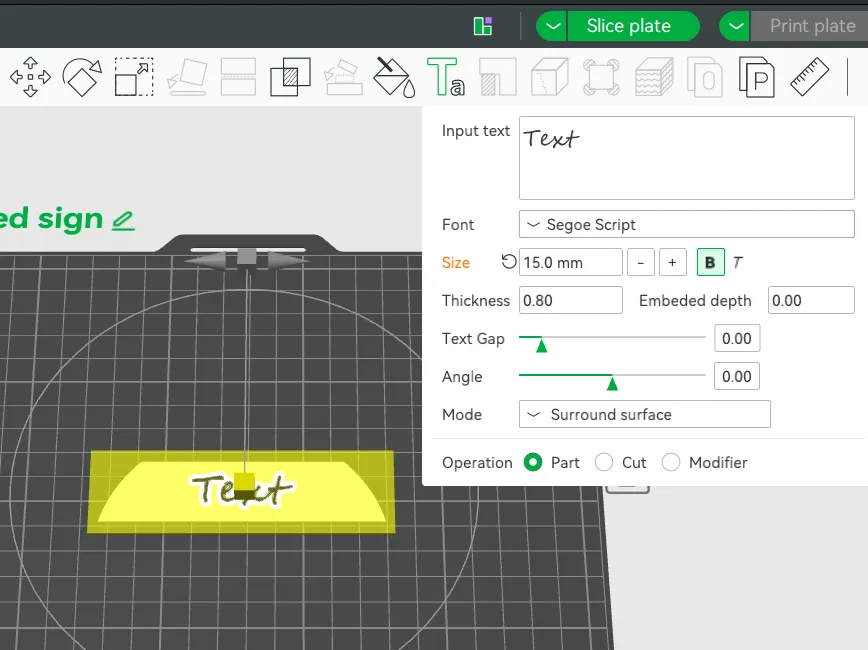
- this will open the text tool where you can change the text according your needs
- finally center the text to the sign plate by right clicking on the text_shape.
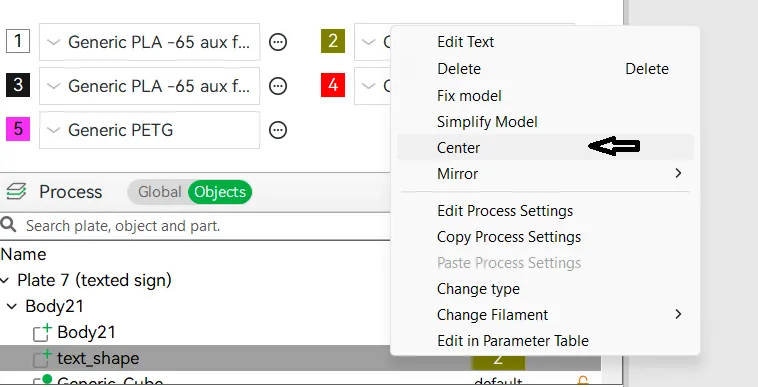
- note that you can change the color by right click on the text_shape object and then change filament.
Assembly guide:
watch the assembly video below:
- post process the feeder so not to have any stringing or small particles.
If you will use a name plate glue it on the front face relief.
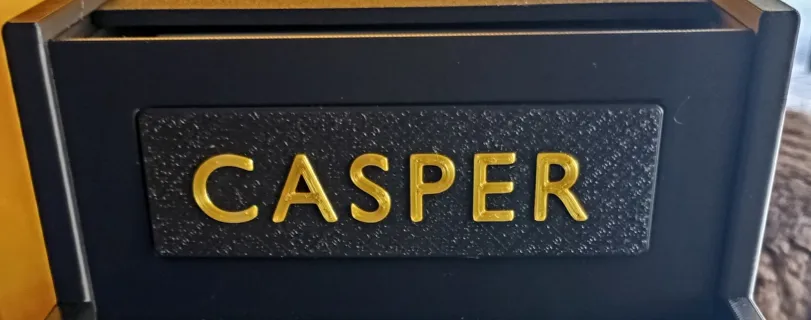
glue the upper body on the bottom body. There are joints that will help you with this.
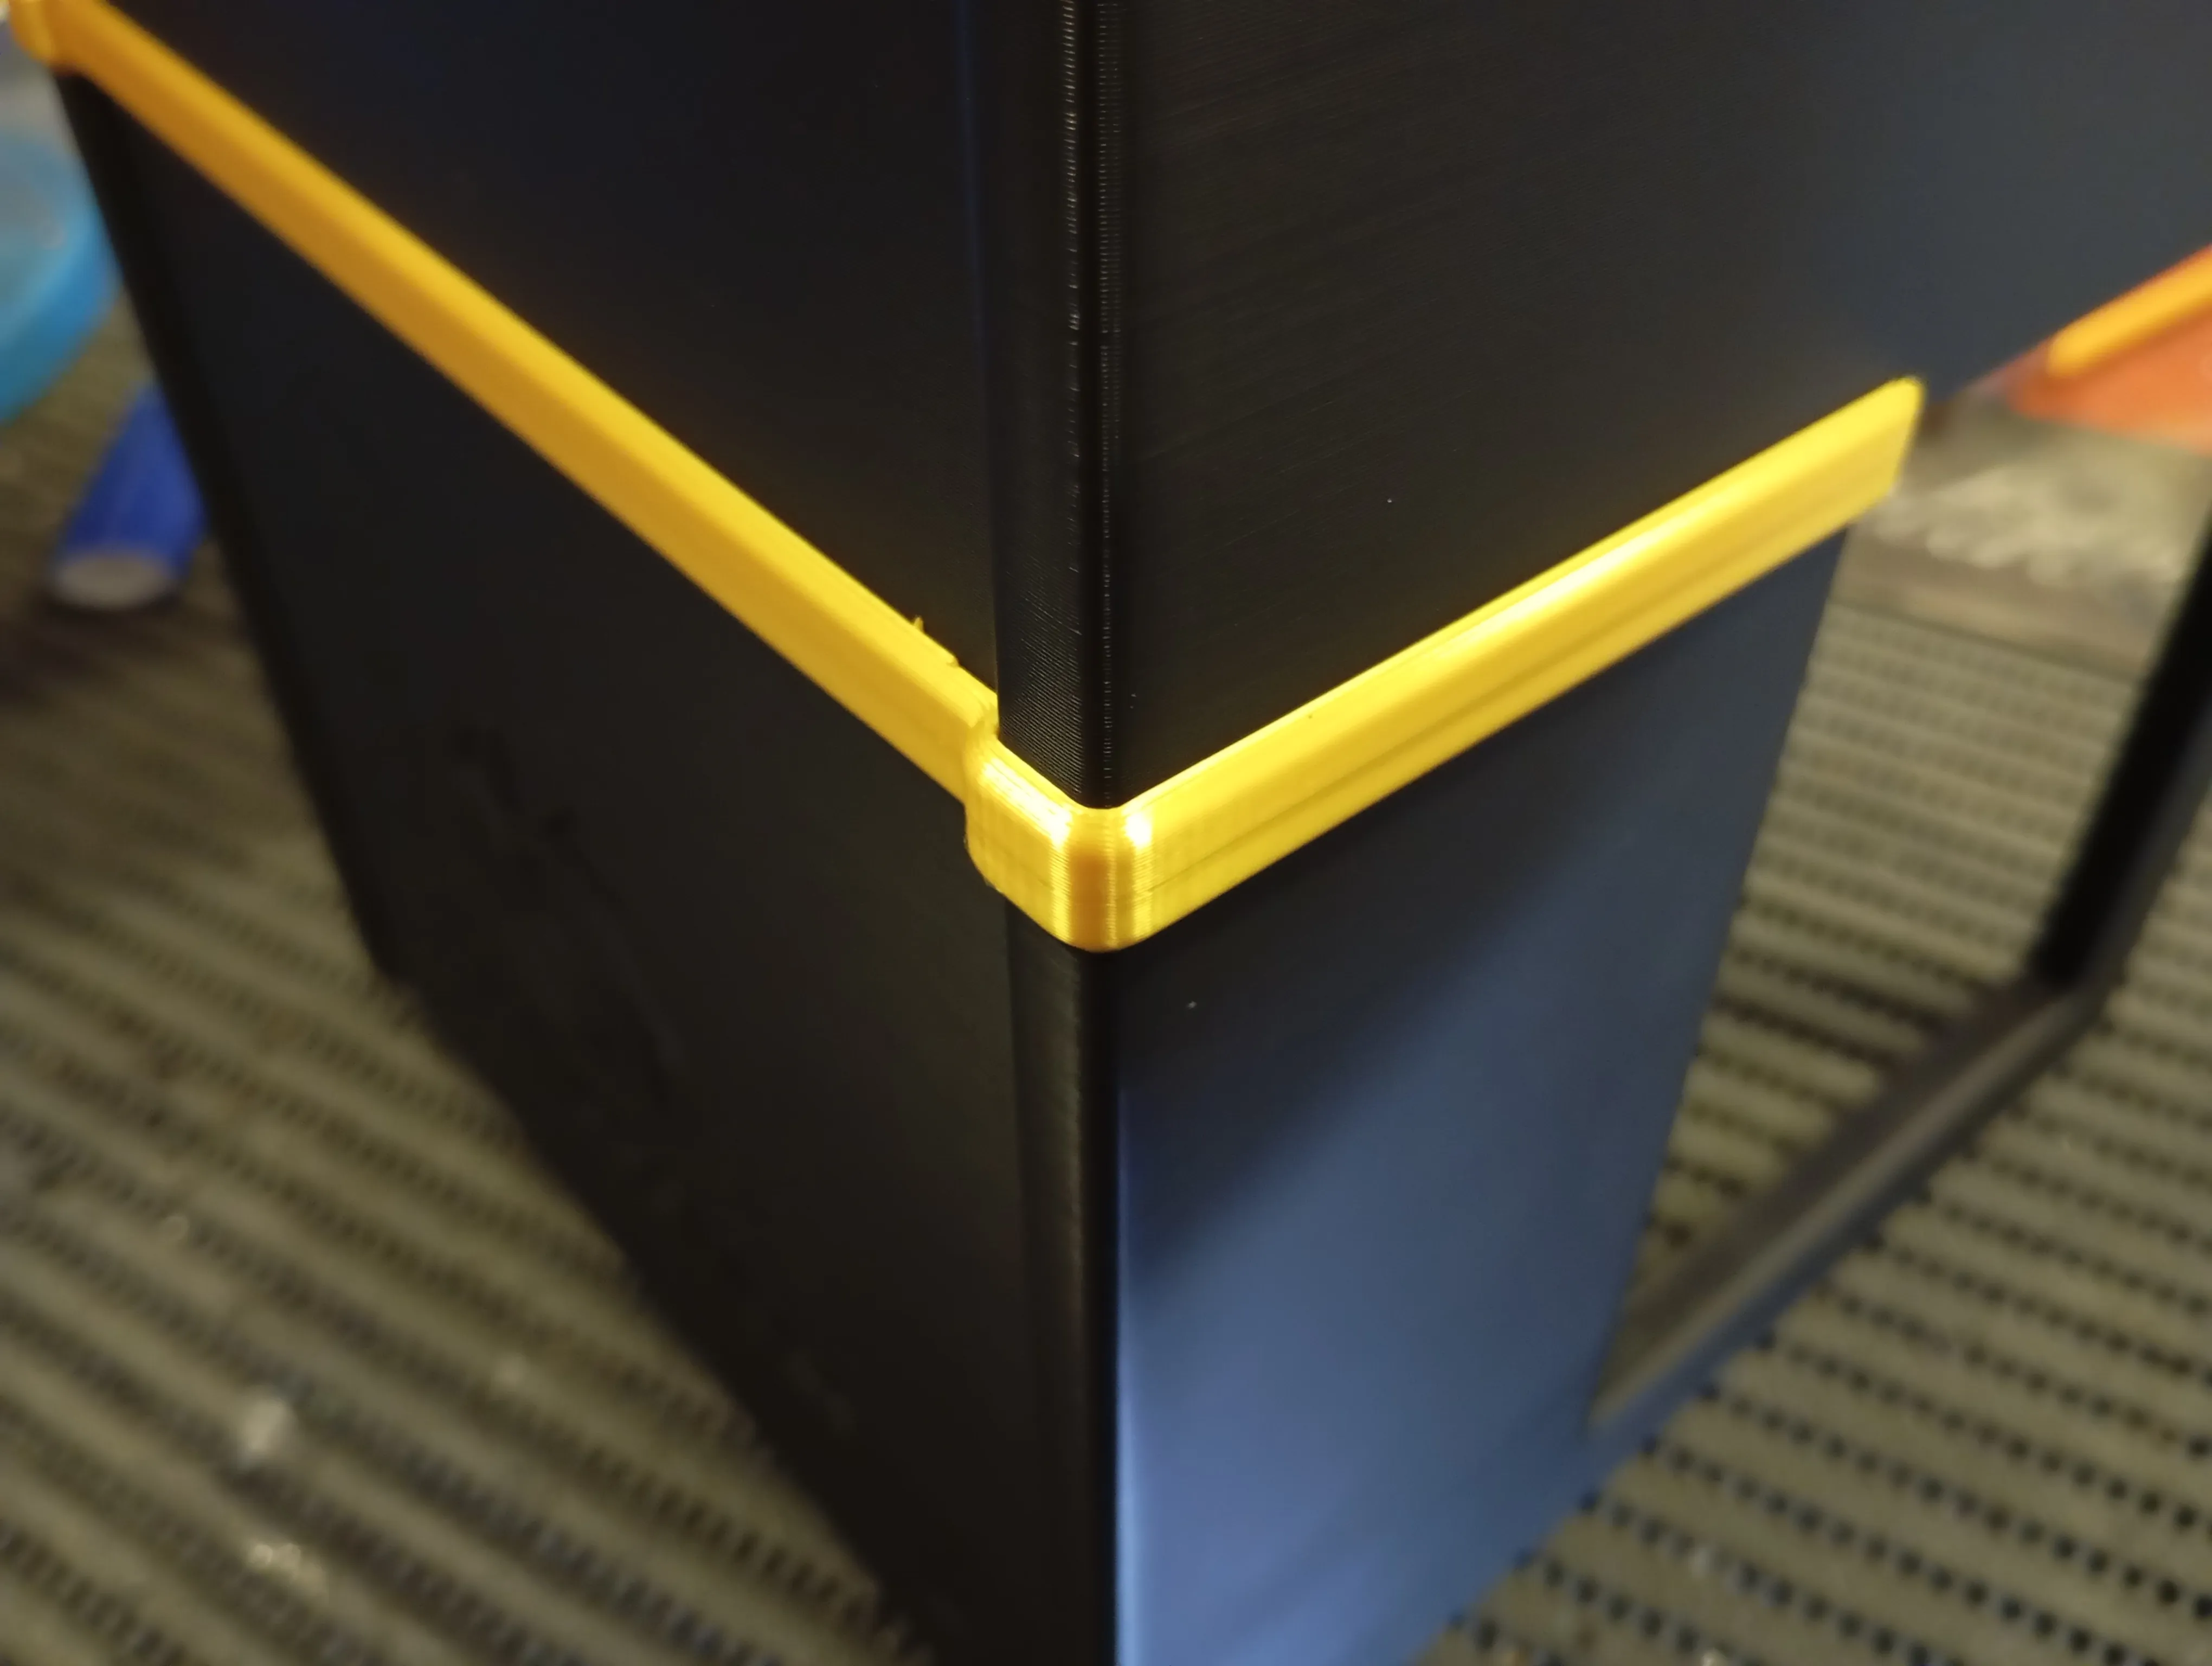
tap one side of the keyboard axis with one piece of the axis cap. a drop of glue is needed.
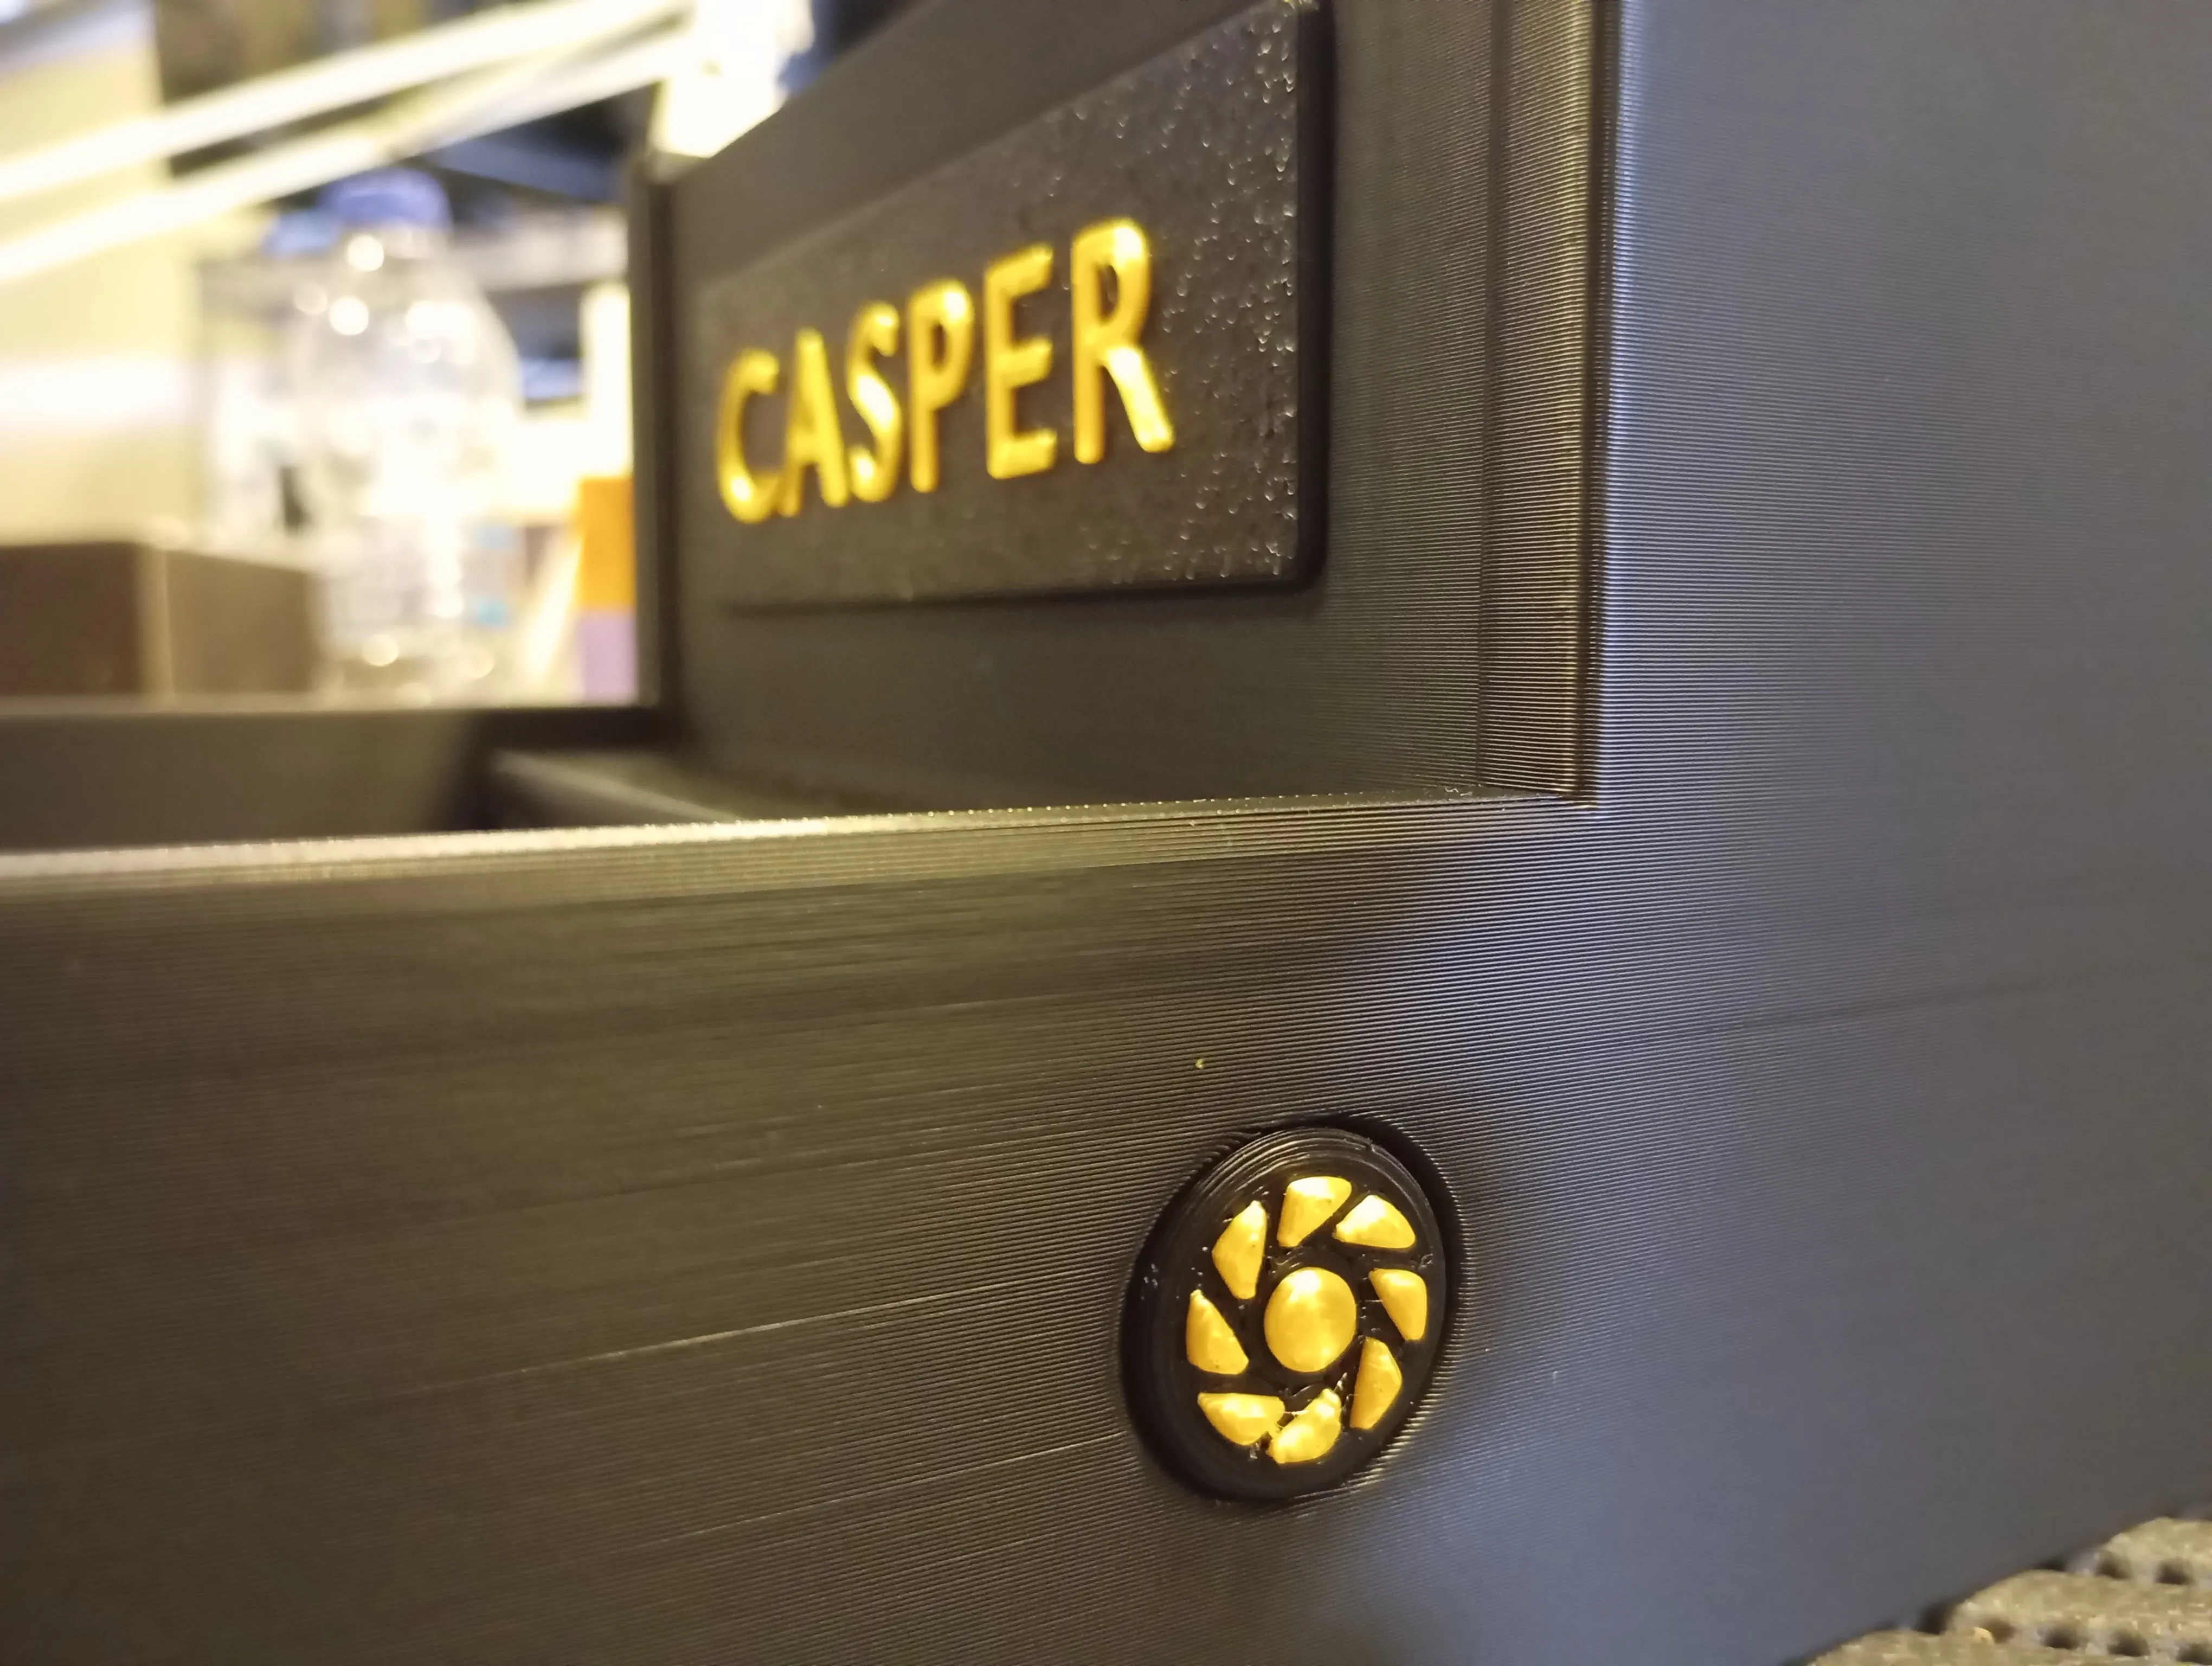
insert the piano keys one by one while pushing the key's axis to pass through the holes of the keys.
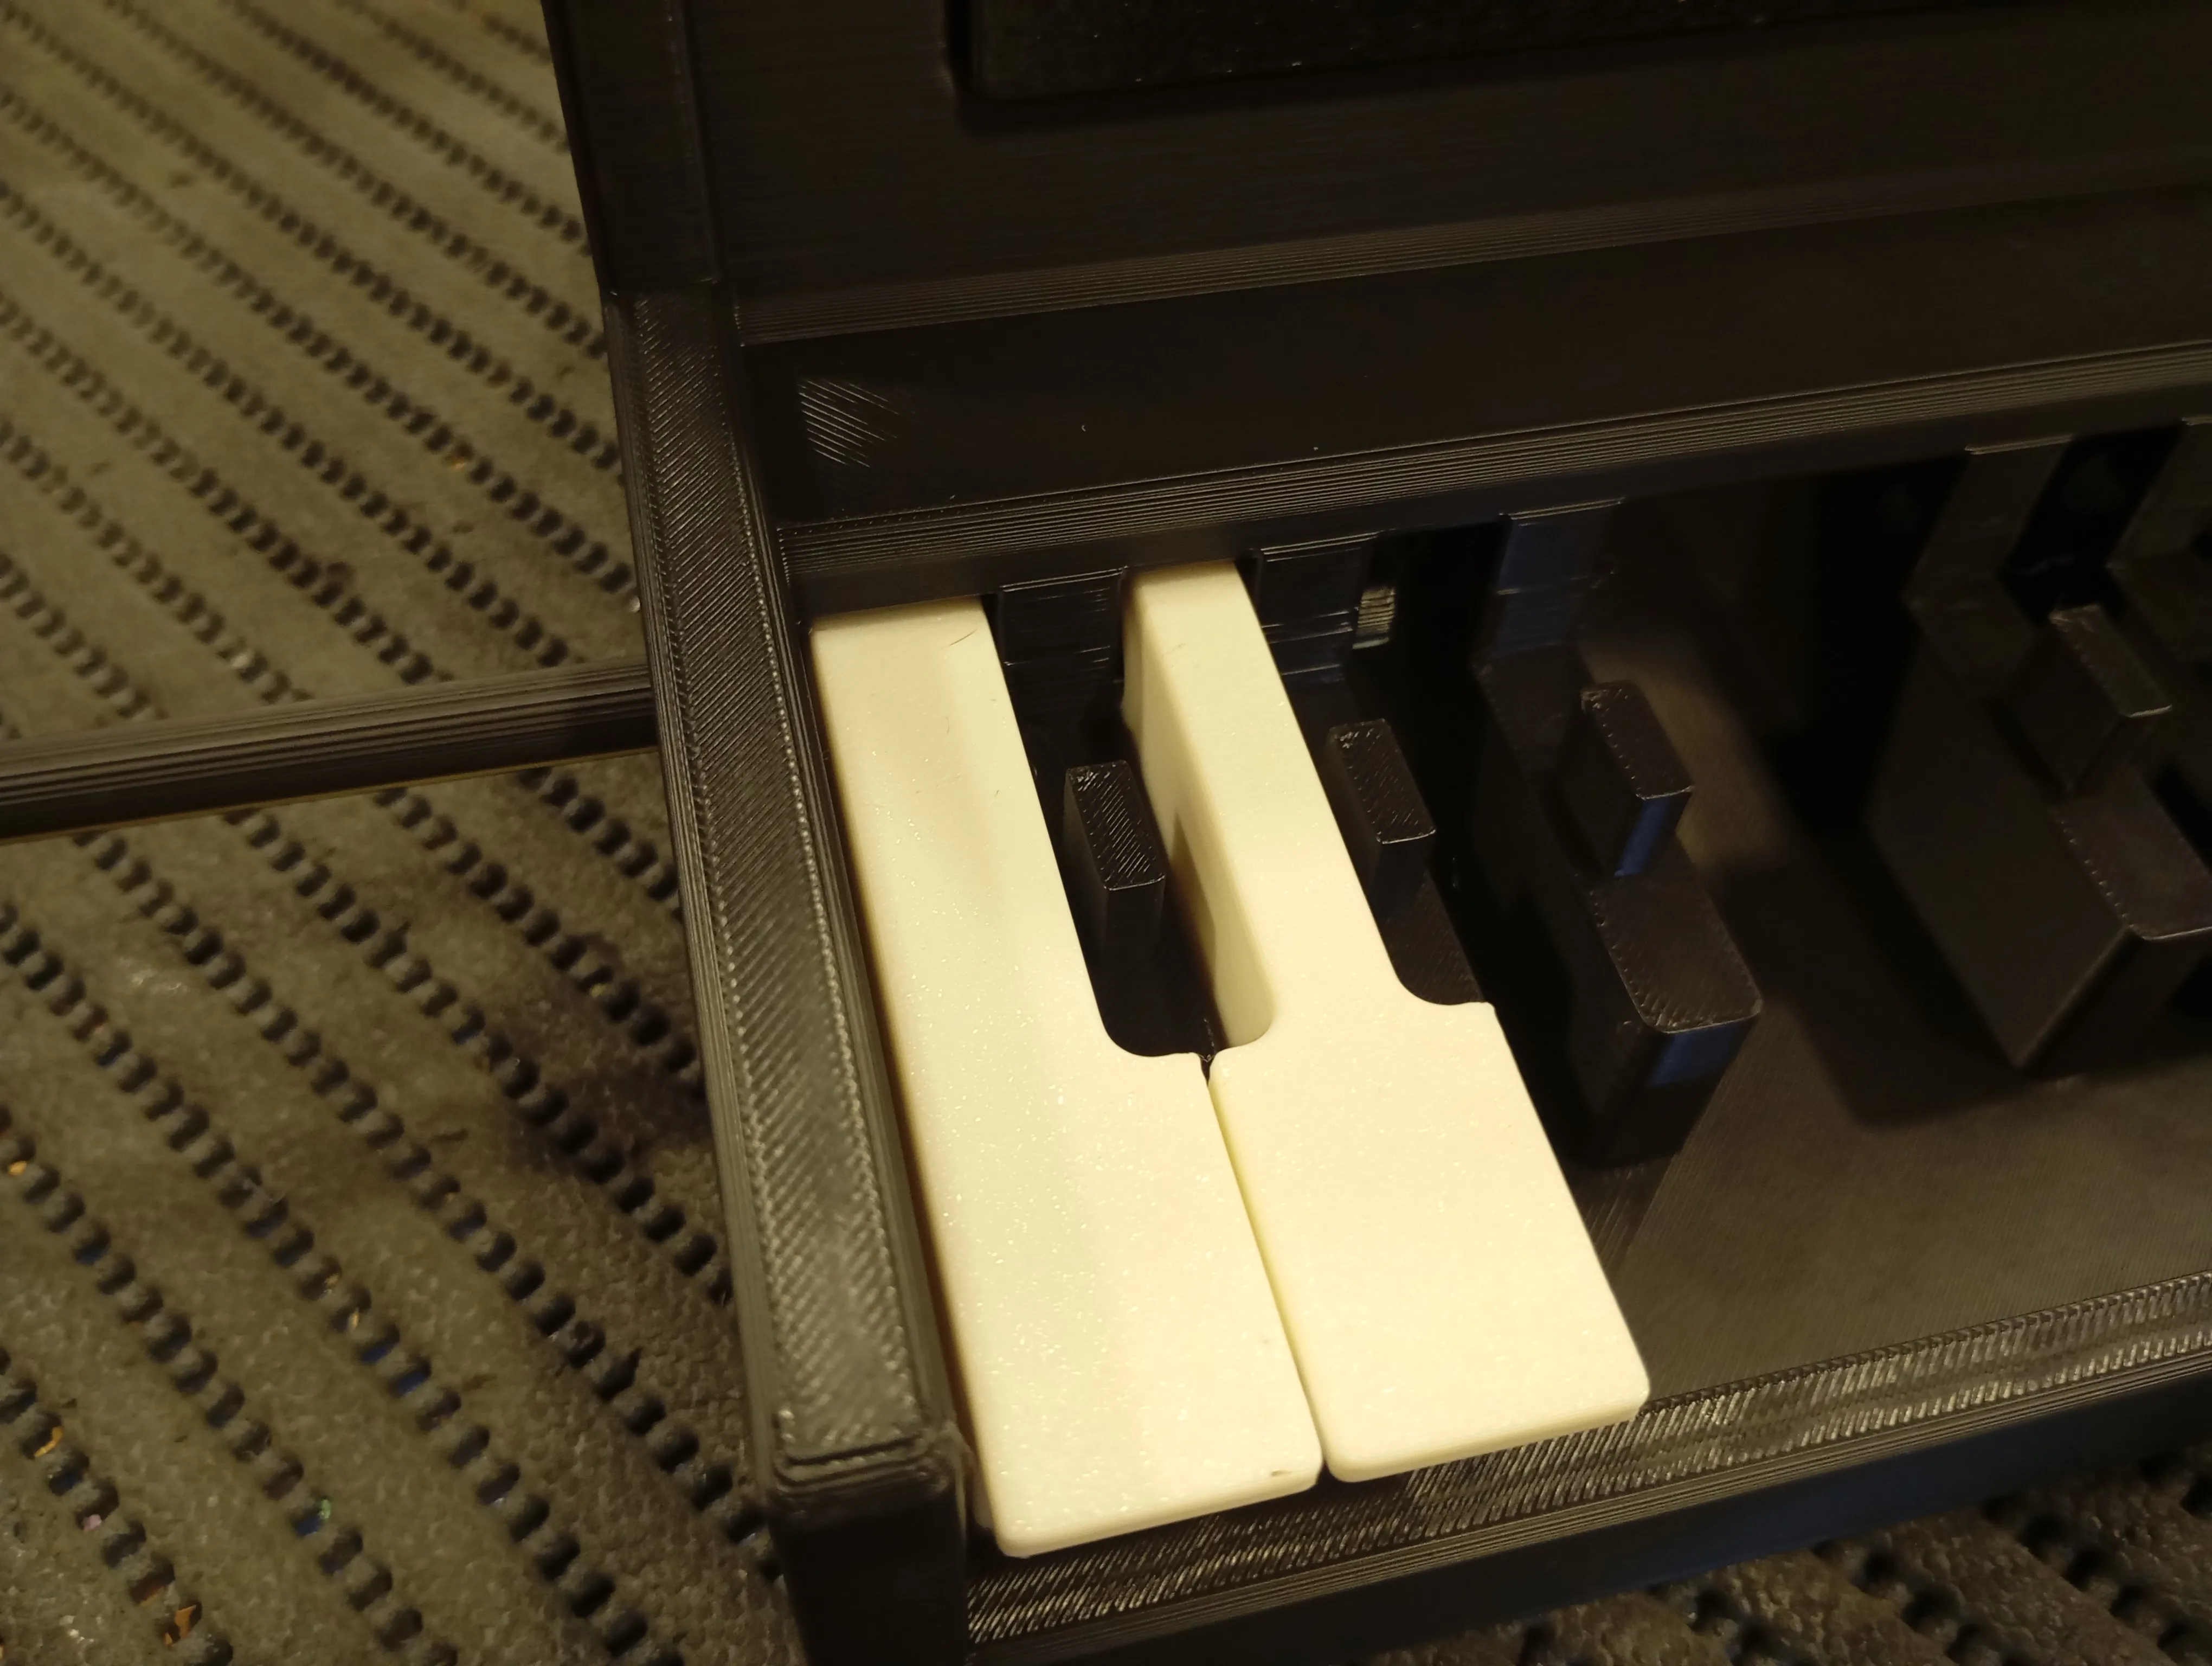
attach the second axis cap with a drop of glue.
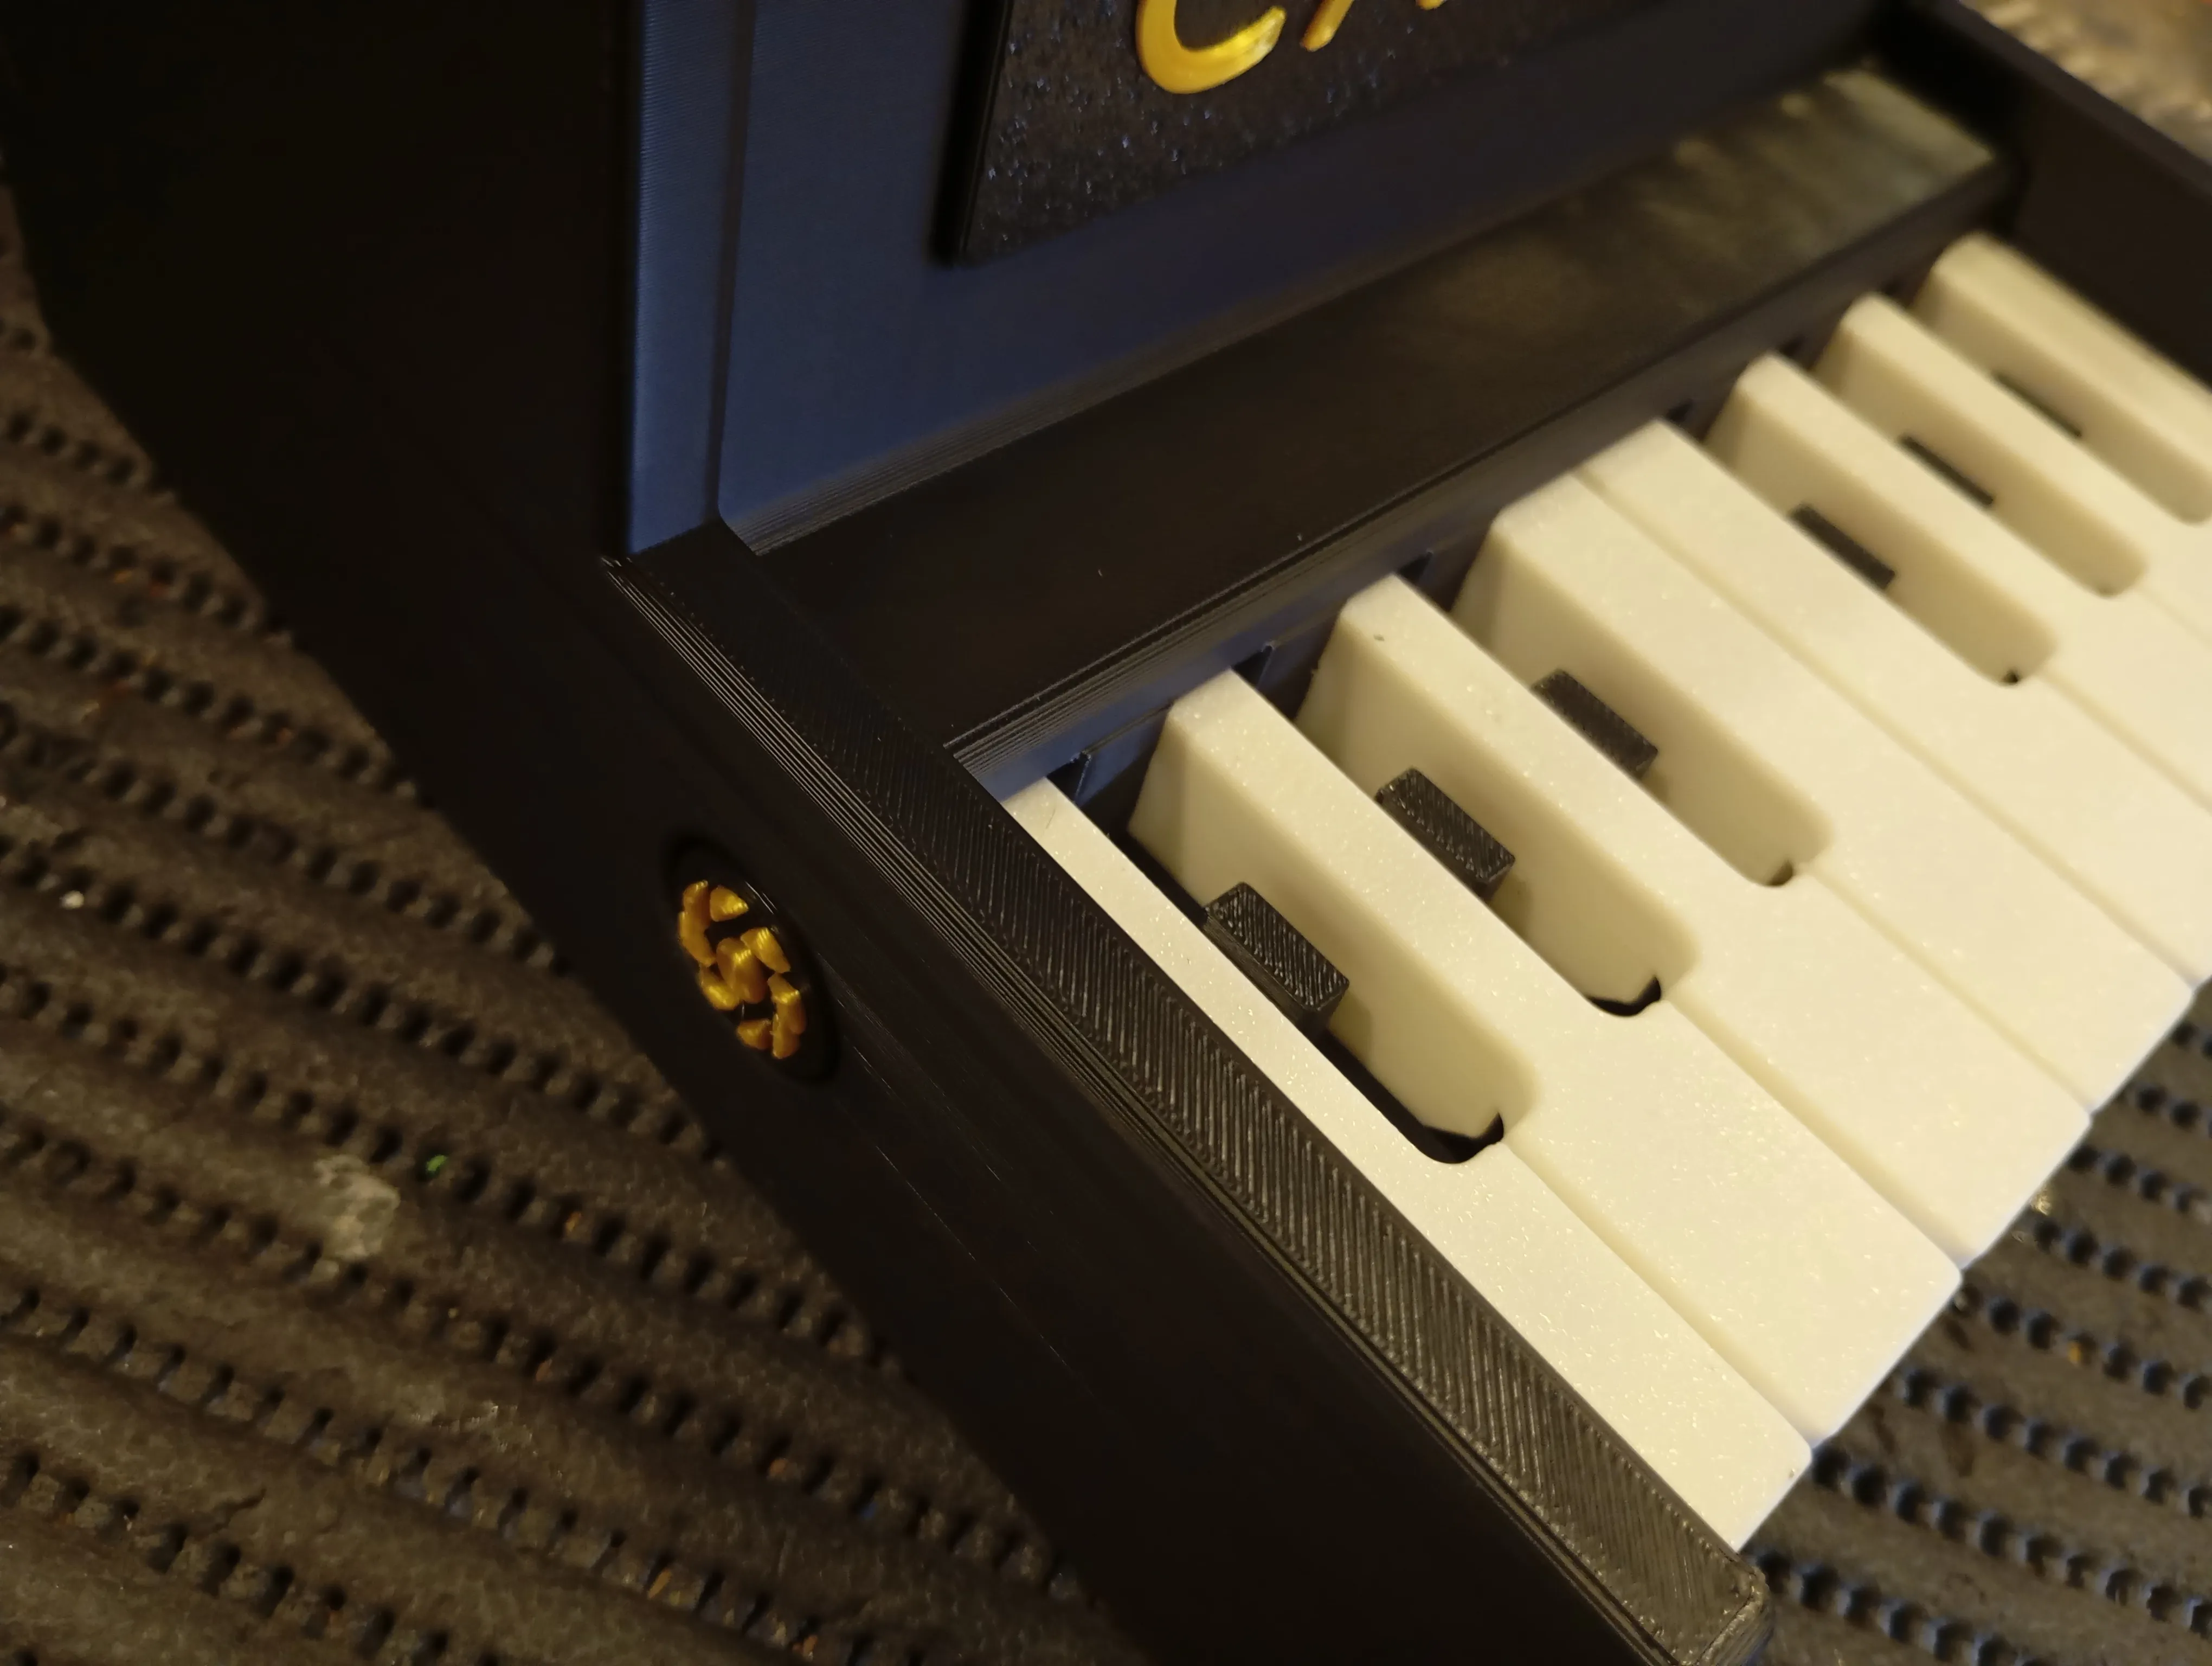
Load the feeder with the food and finally slide the upper cap.
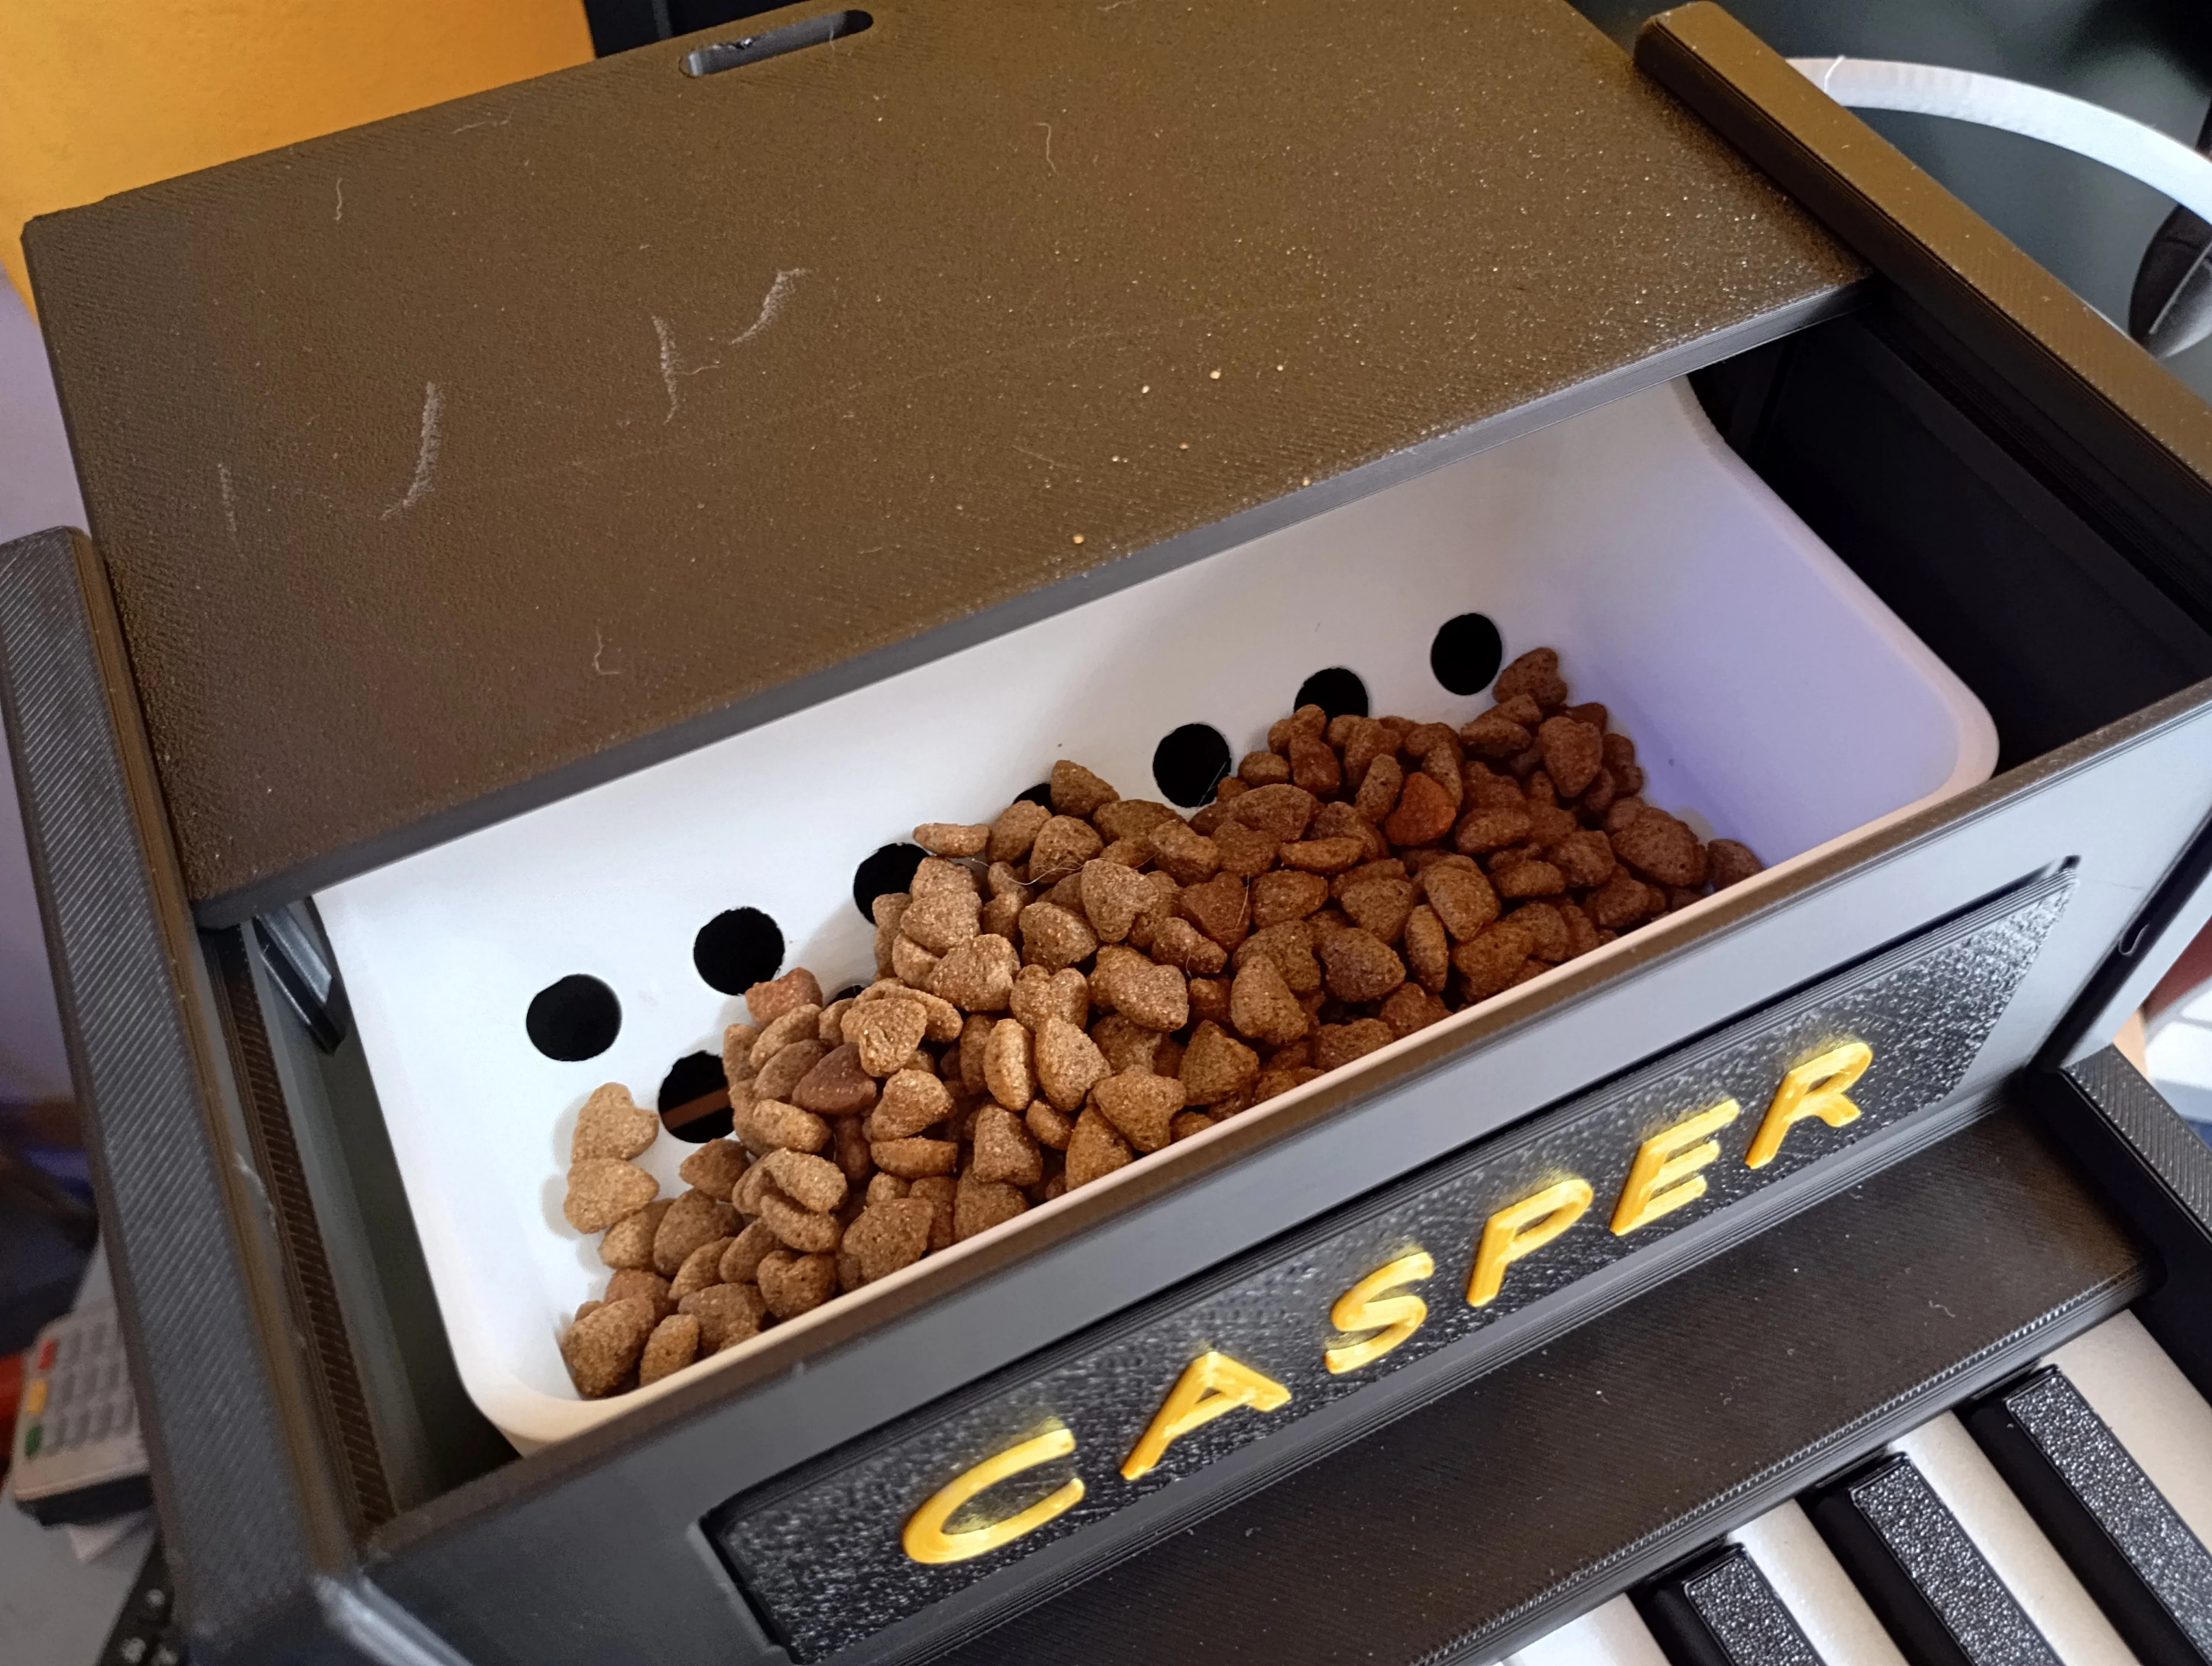
- The feeder is ready for your pet!
how to train your cat!
caspers video below:
- at first load the feeder and while she is hungry push the keyboard keys to drop some food.
- Your pet will see this some times and will eat the treats! so she will understand the function of the feeder fast!
let it push your fingers if needed… Maybe this way will not be afraid of it…
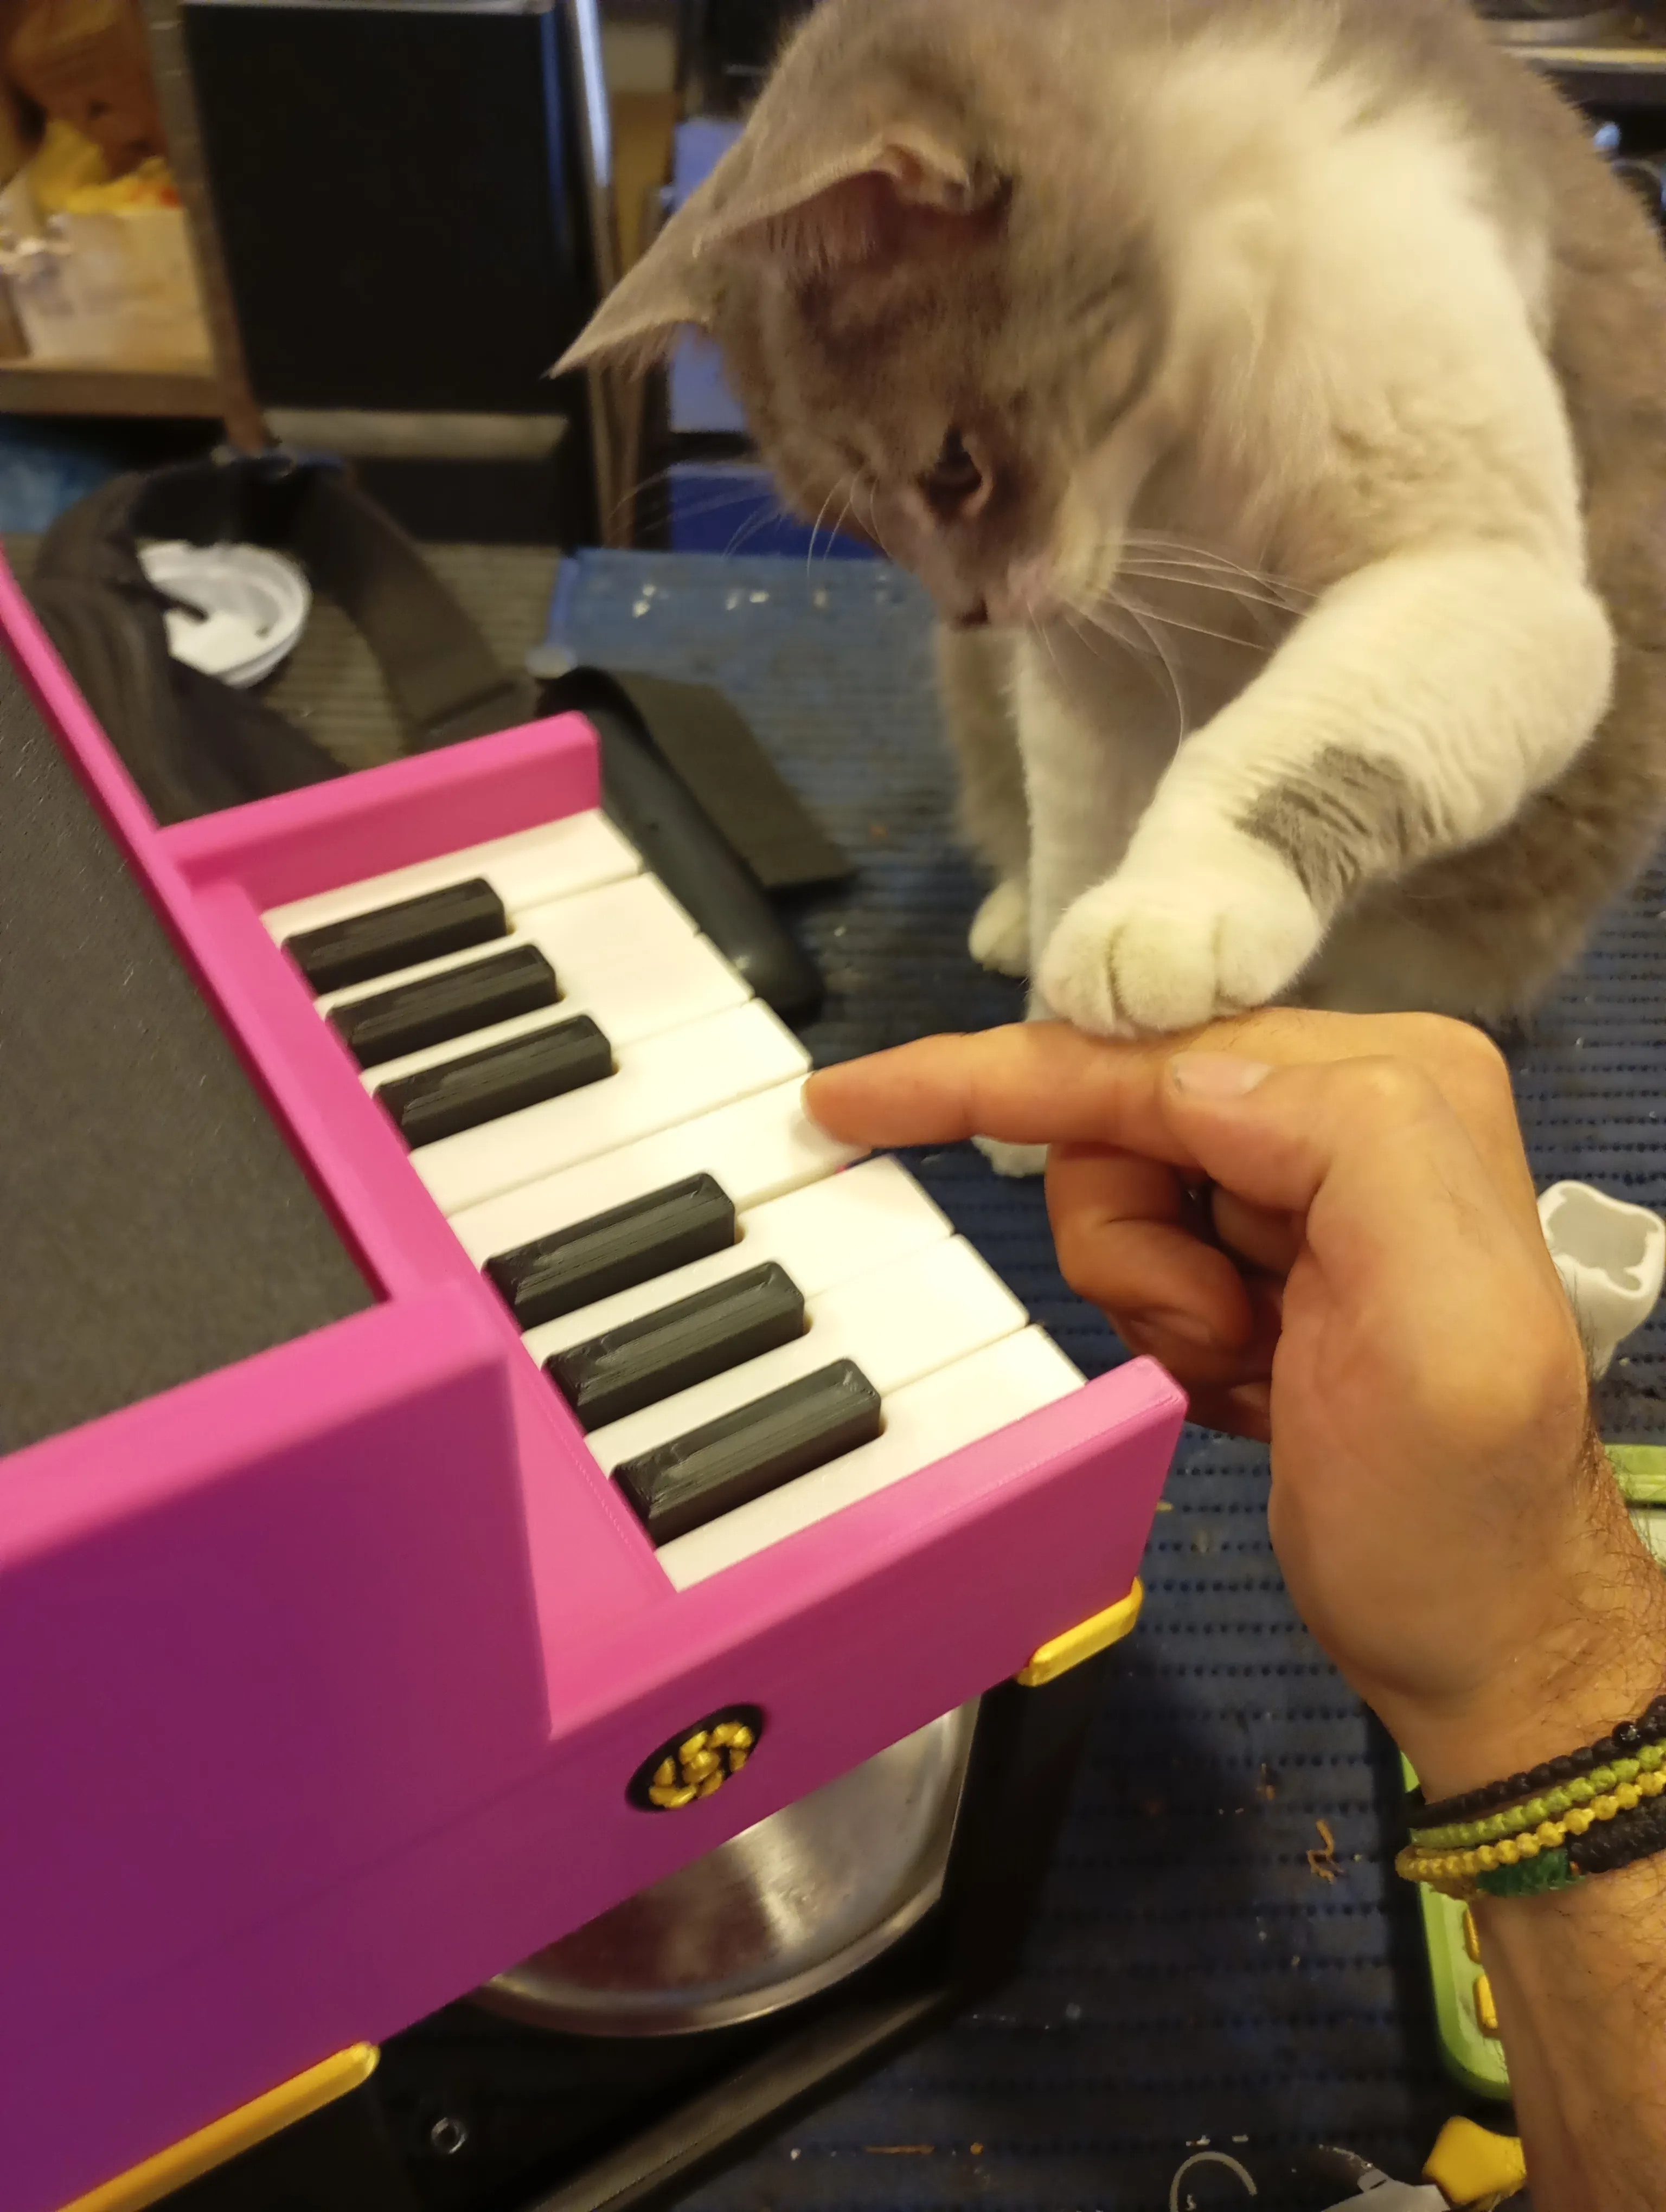
- After 5 more tries mine learned how much force is needed for the food to drop while pressing the keyboard keys…
- just have some patient according to your pet. Mine is really clever cause i always make puzzles for her….
- MAKE SURE TO TEST THE FEEDER BEFORE THE TRAINING!
How to train you!
- First of all be sure that the feeder is working the way you like it.
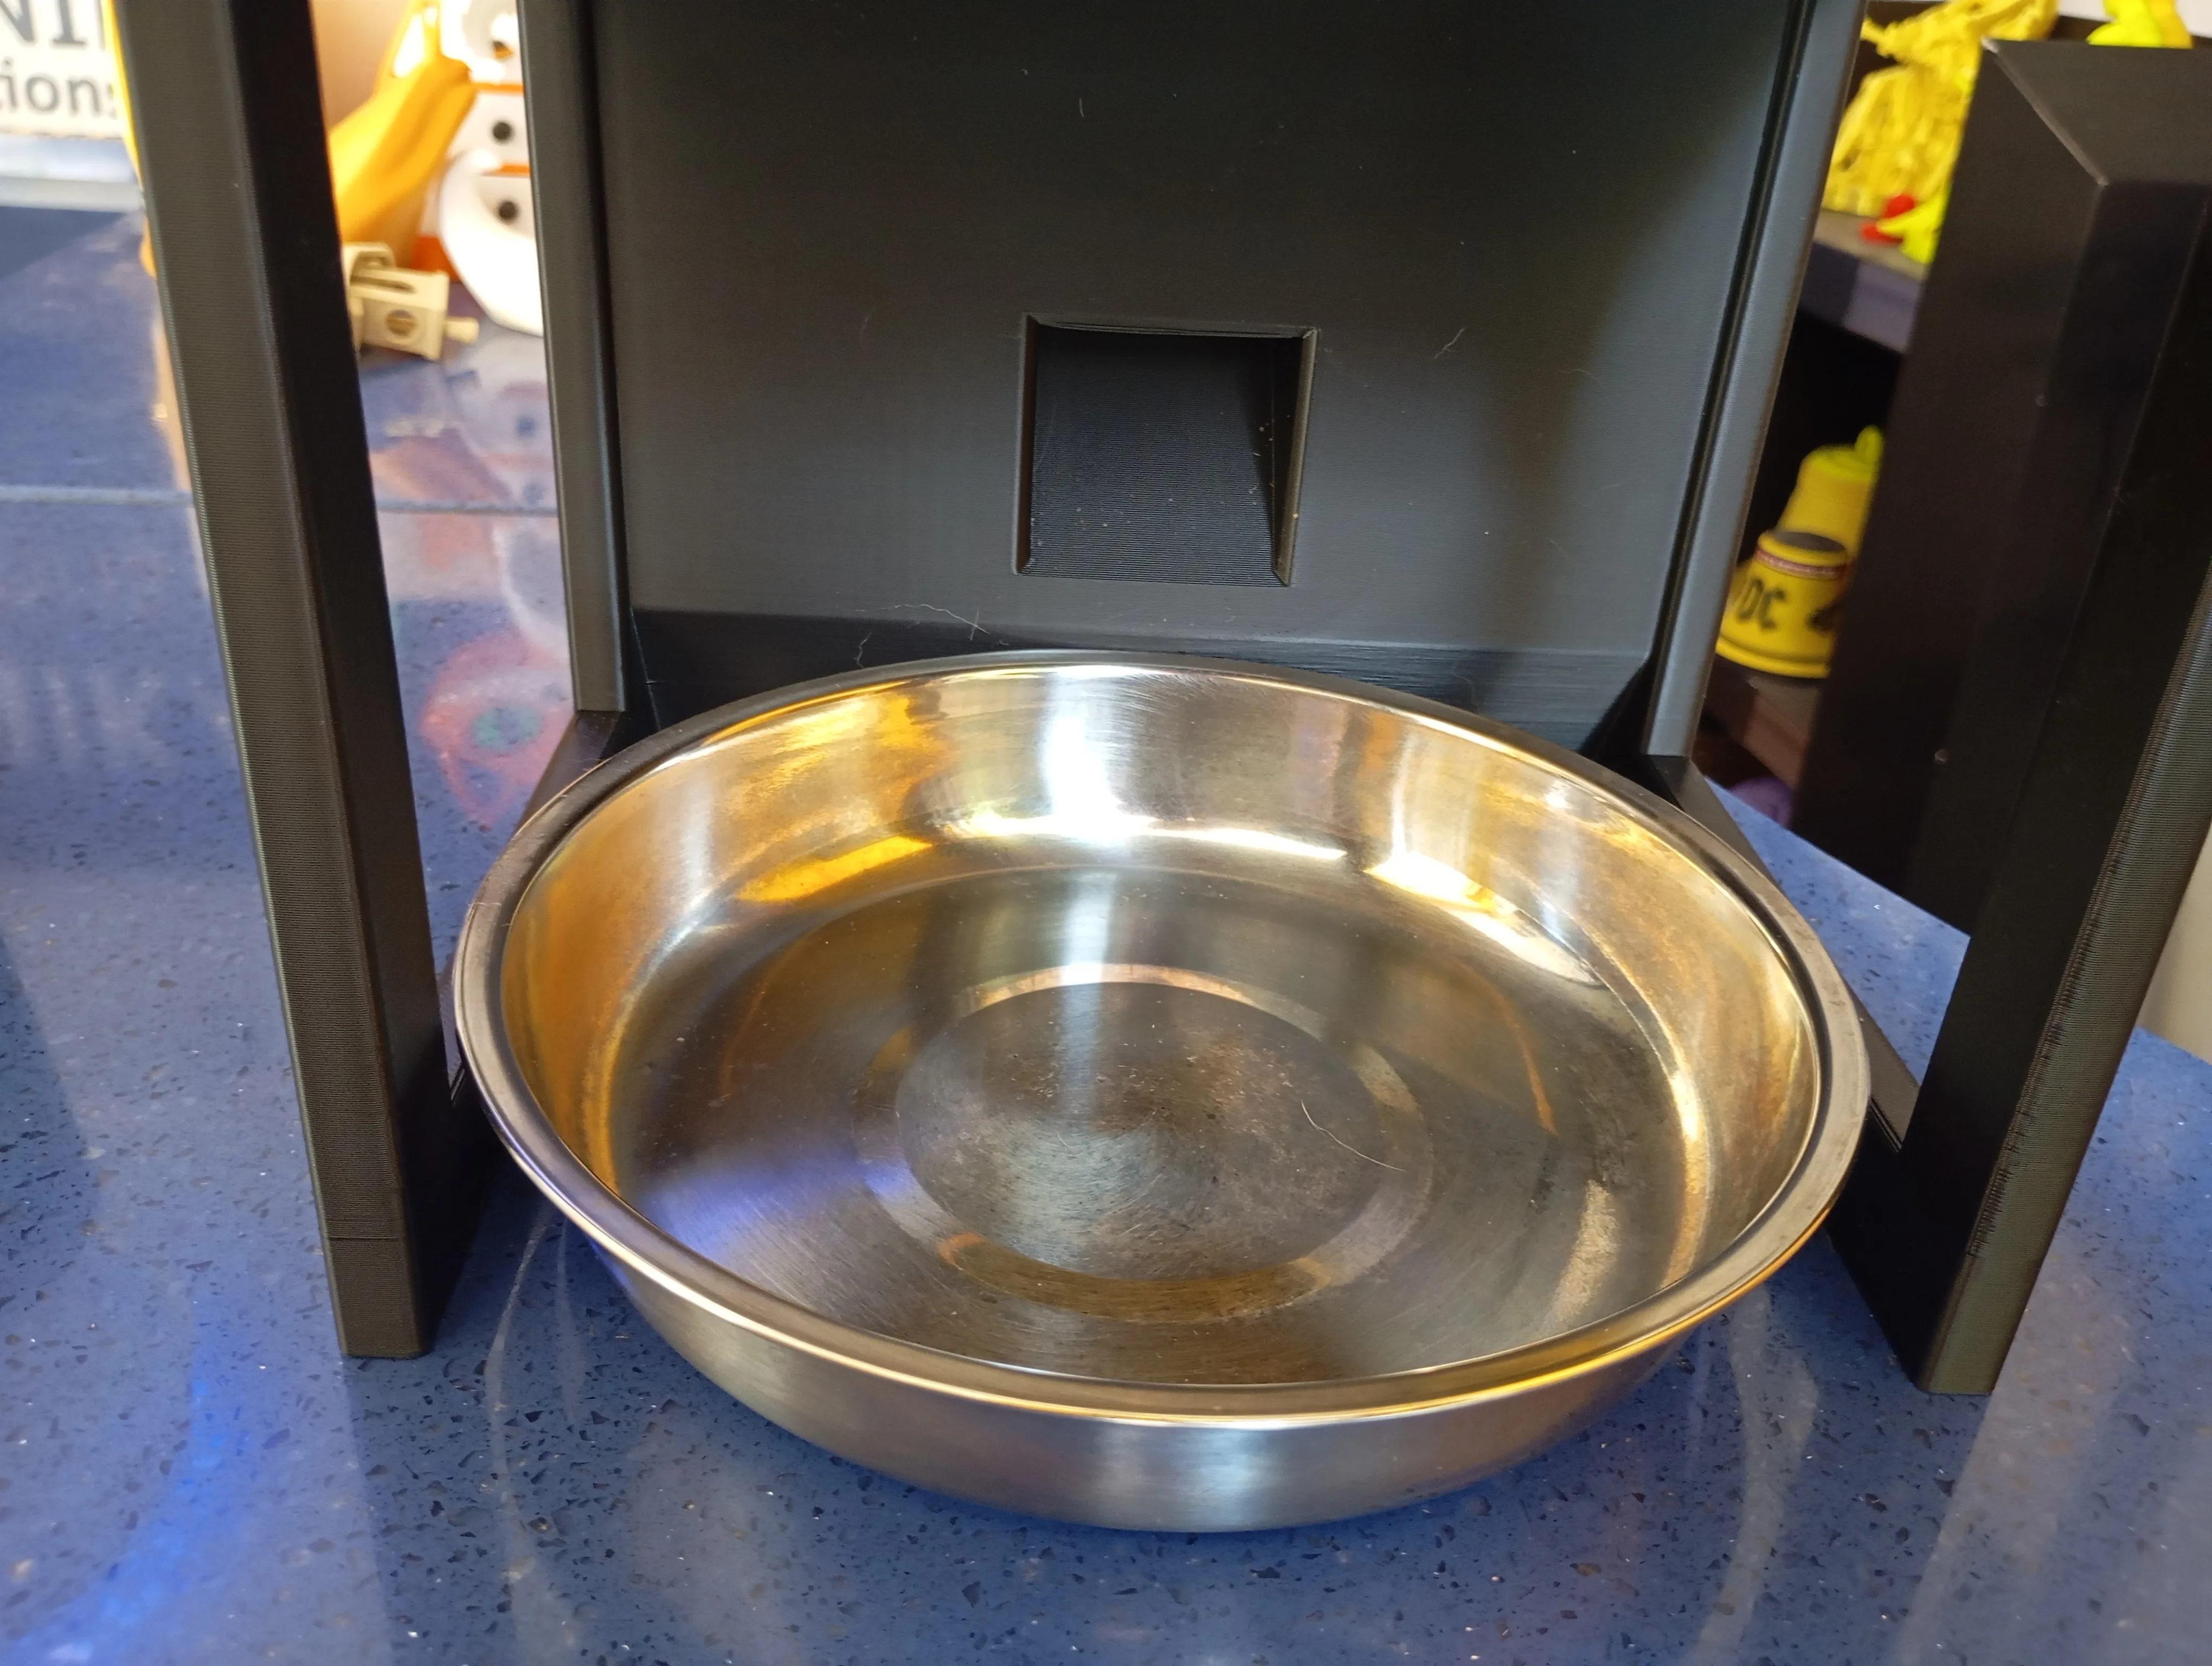
place your cats favorite bowl below the piano feeder.
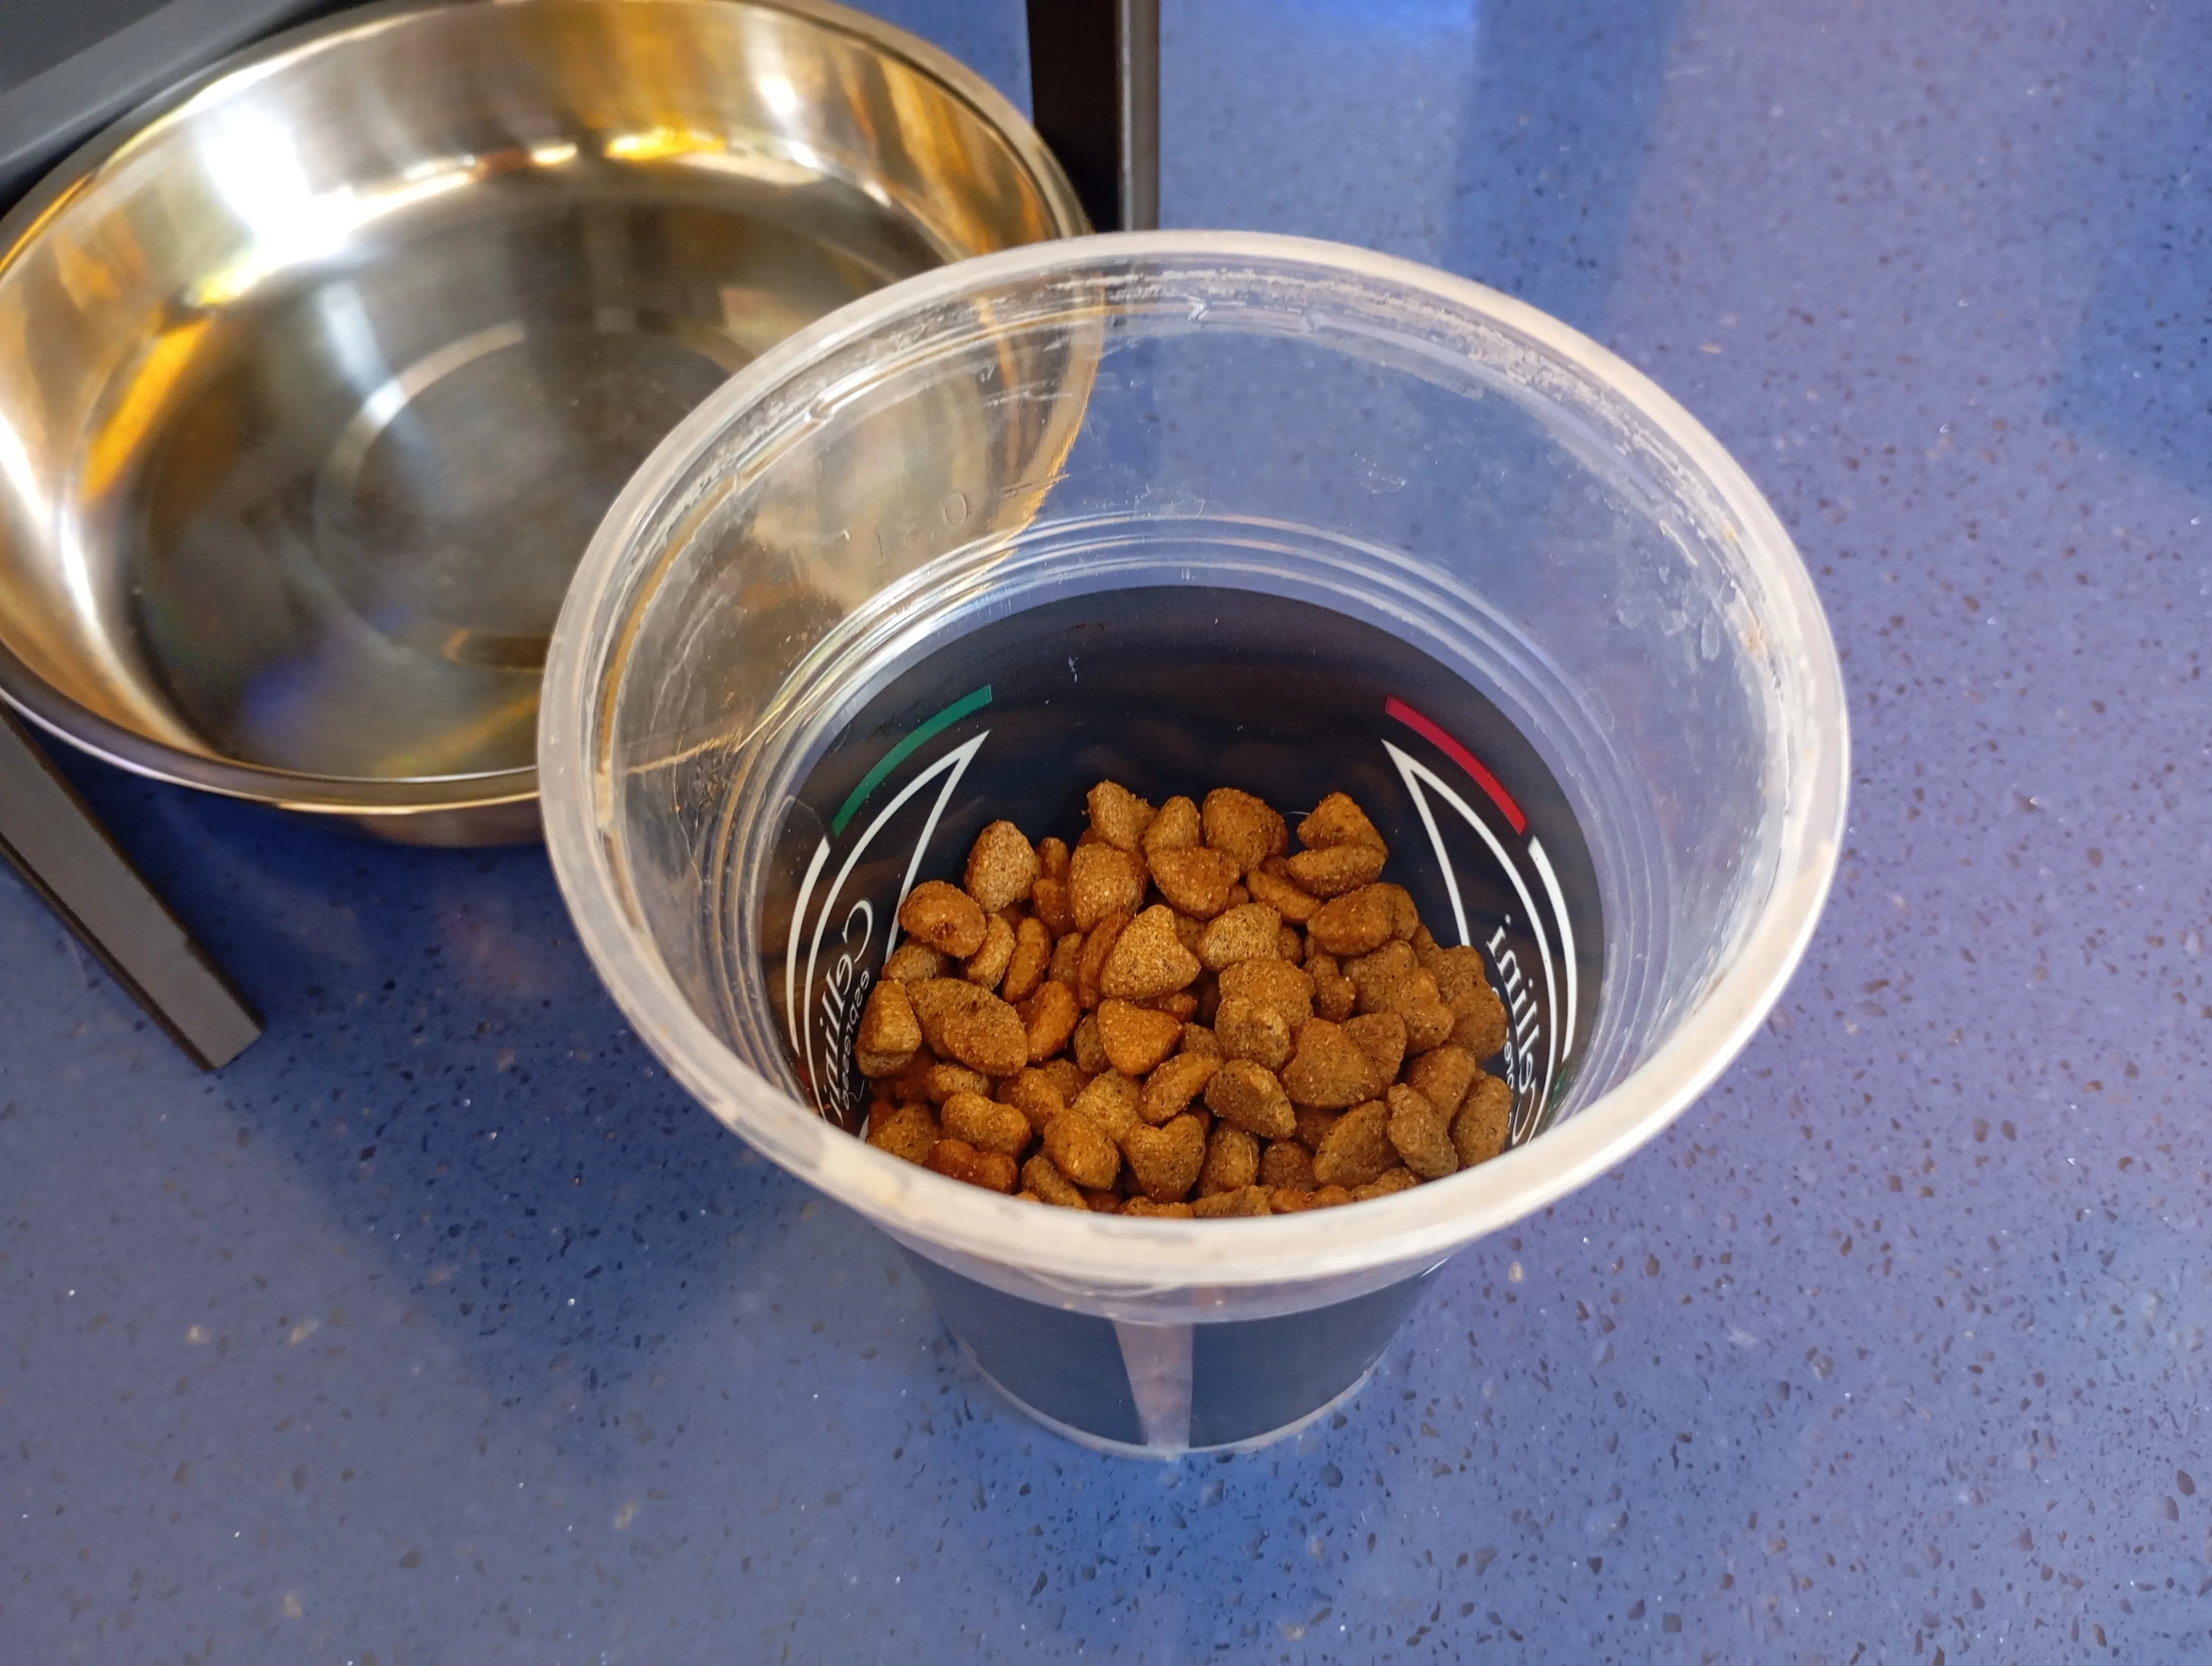
load a measuring cap with your cat's favorite food.
Slide the top cup away to load the feeder with the food.
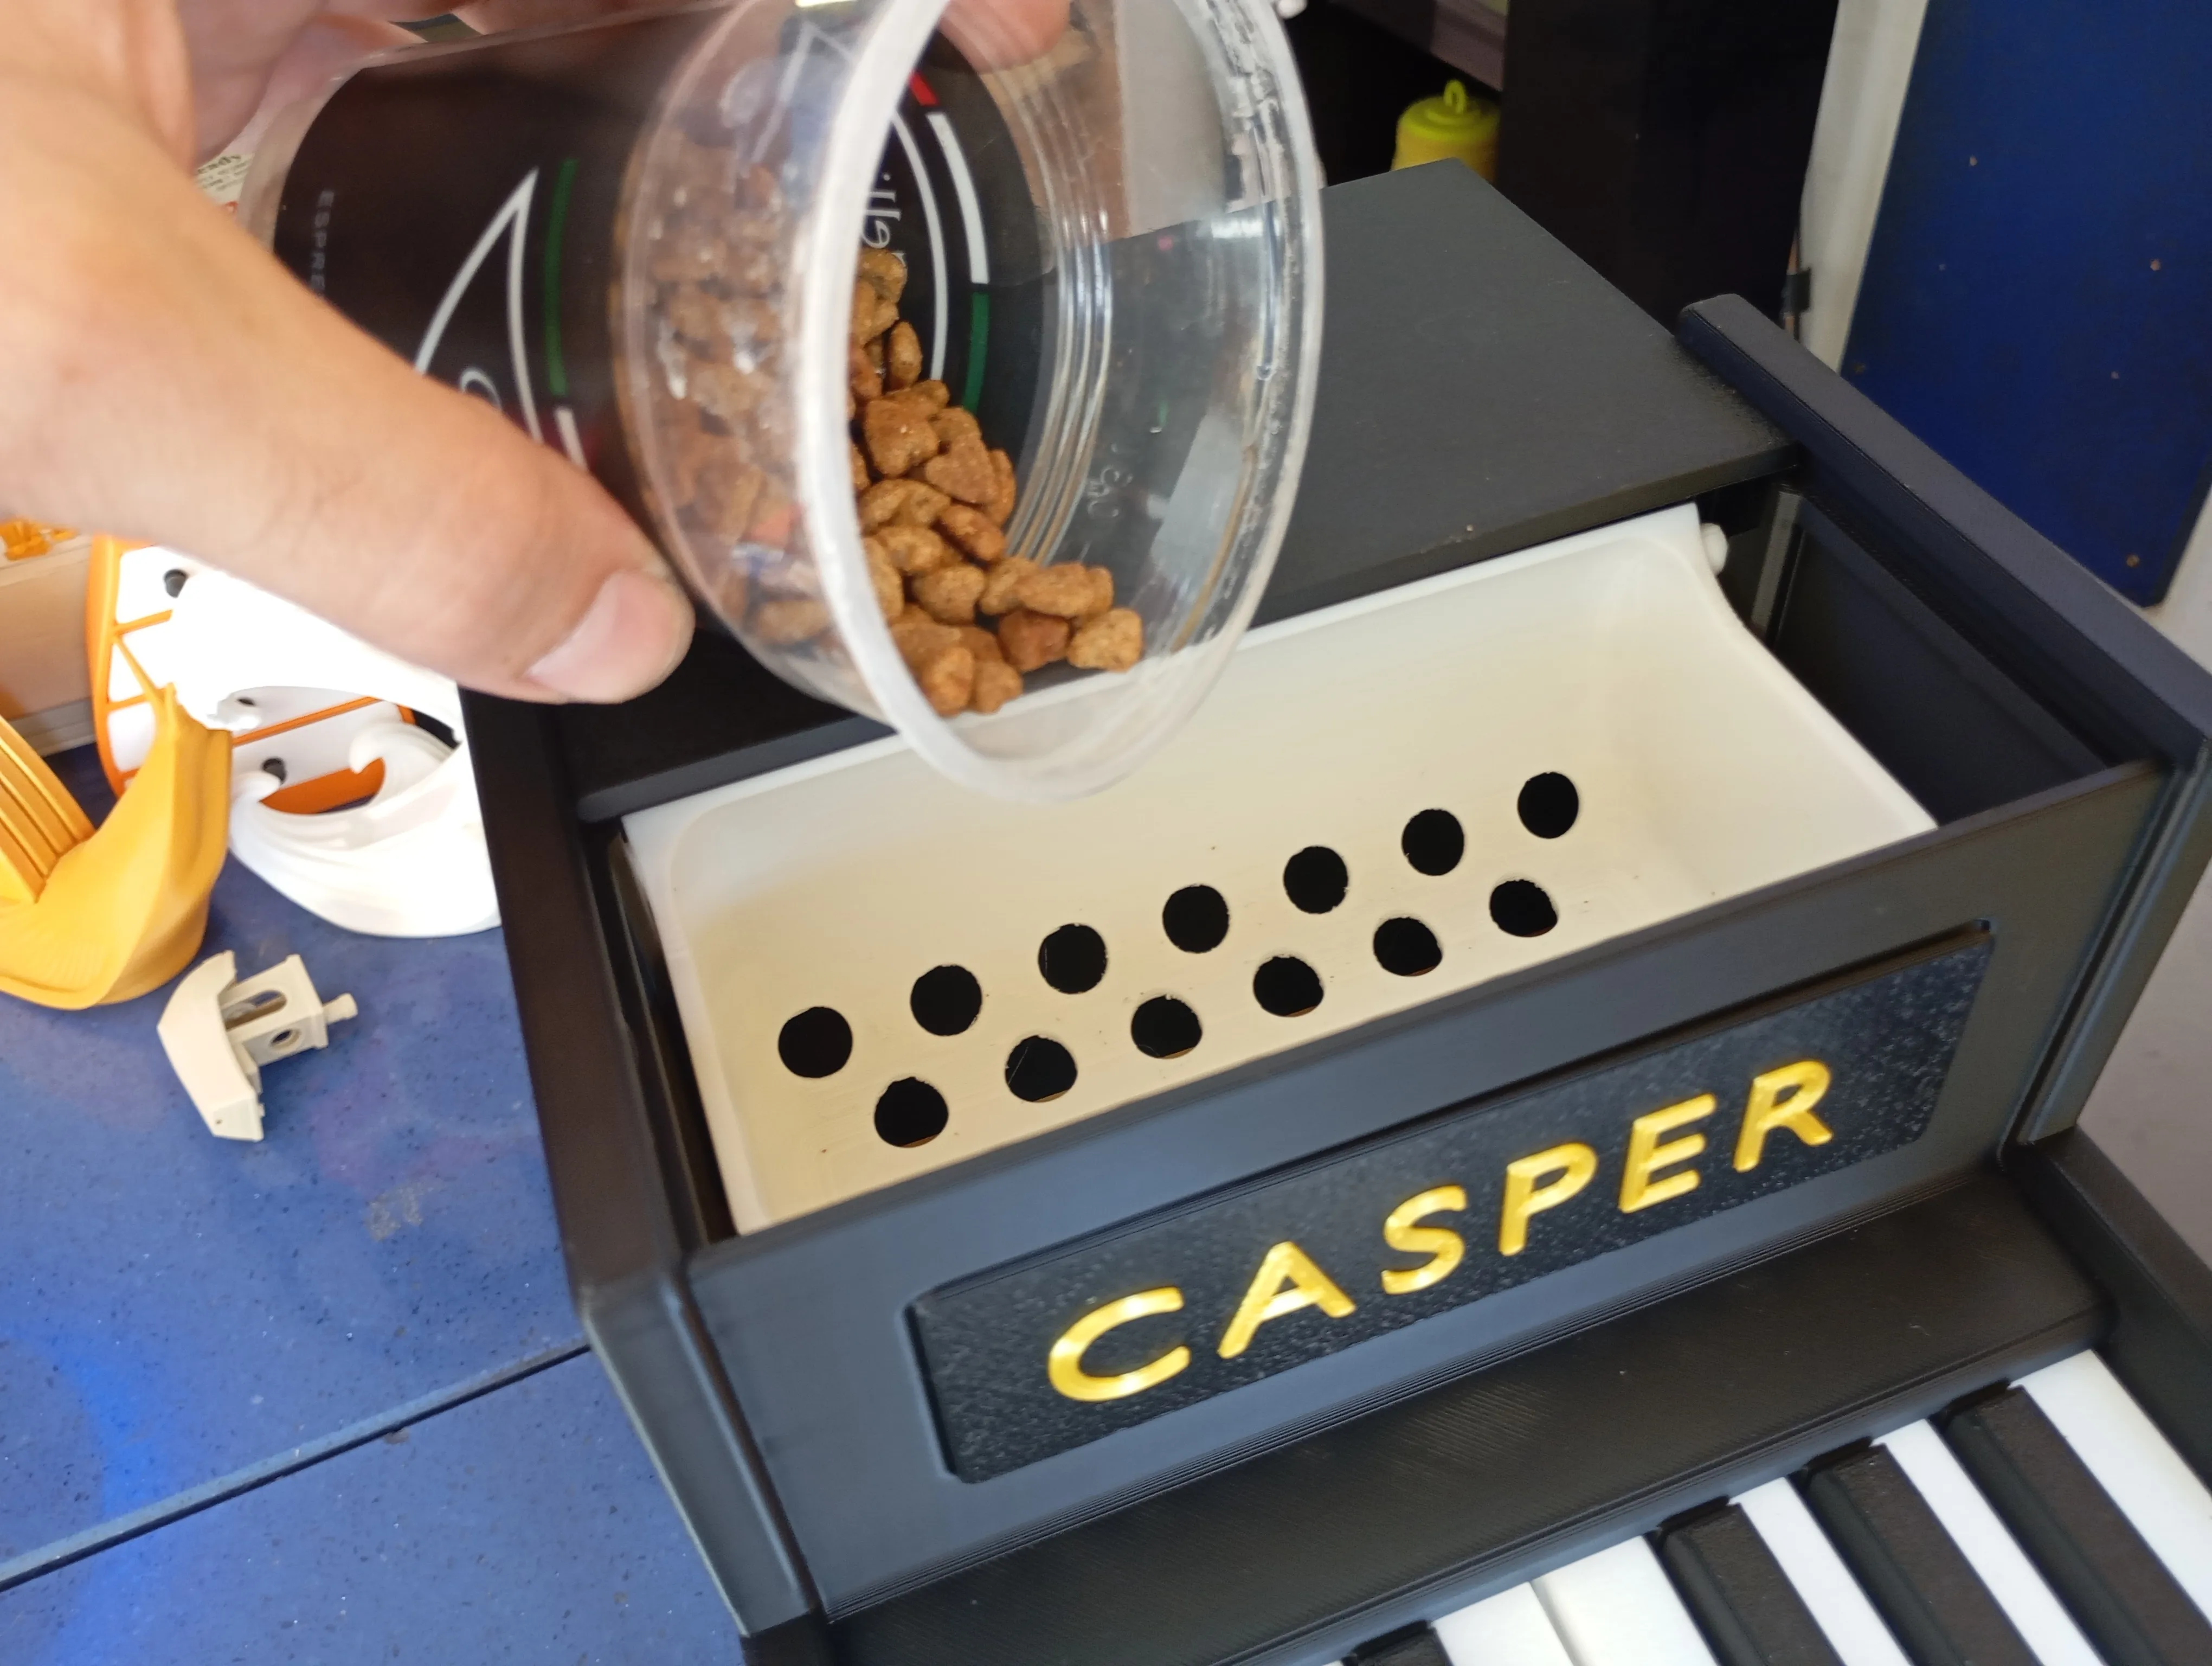
- Some food will drop on the bowl and your pet will hear this.
Slide back the top cap and let your cat play some piano.
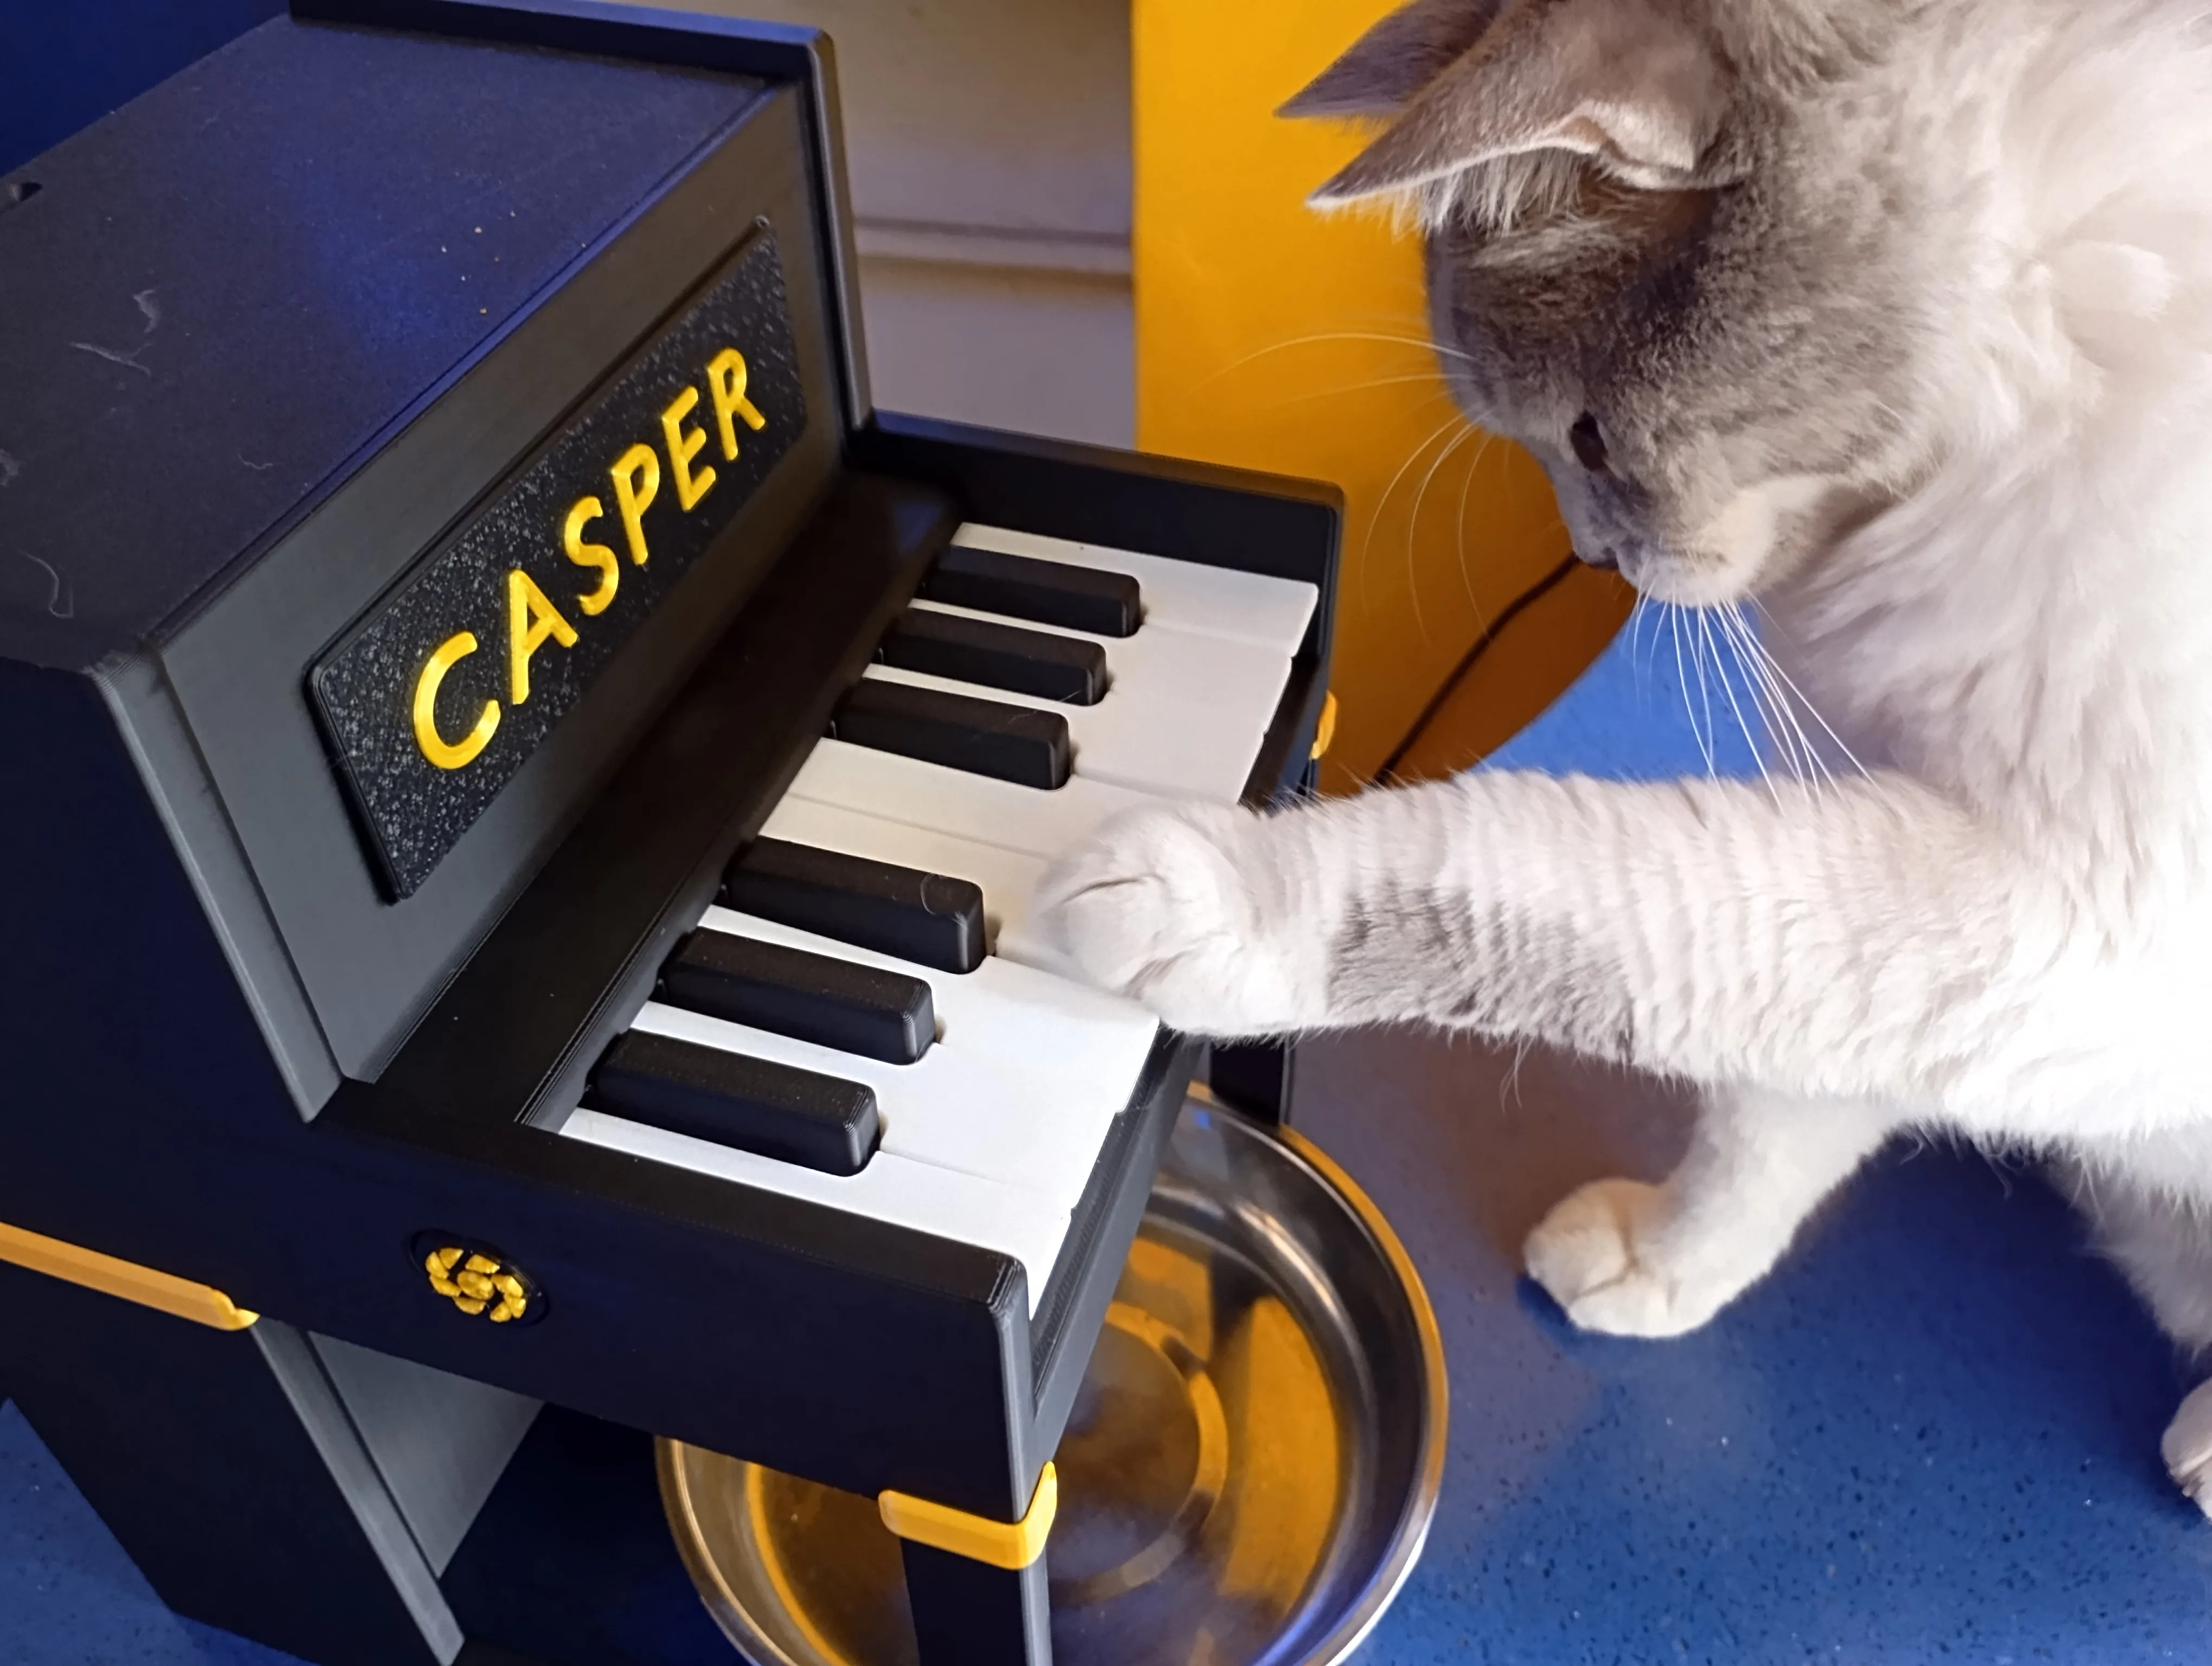
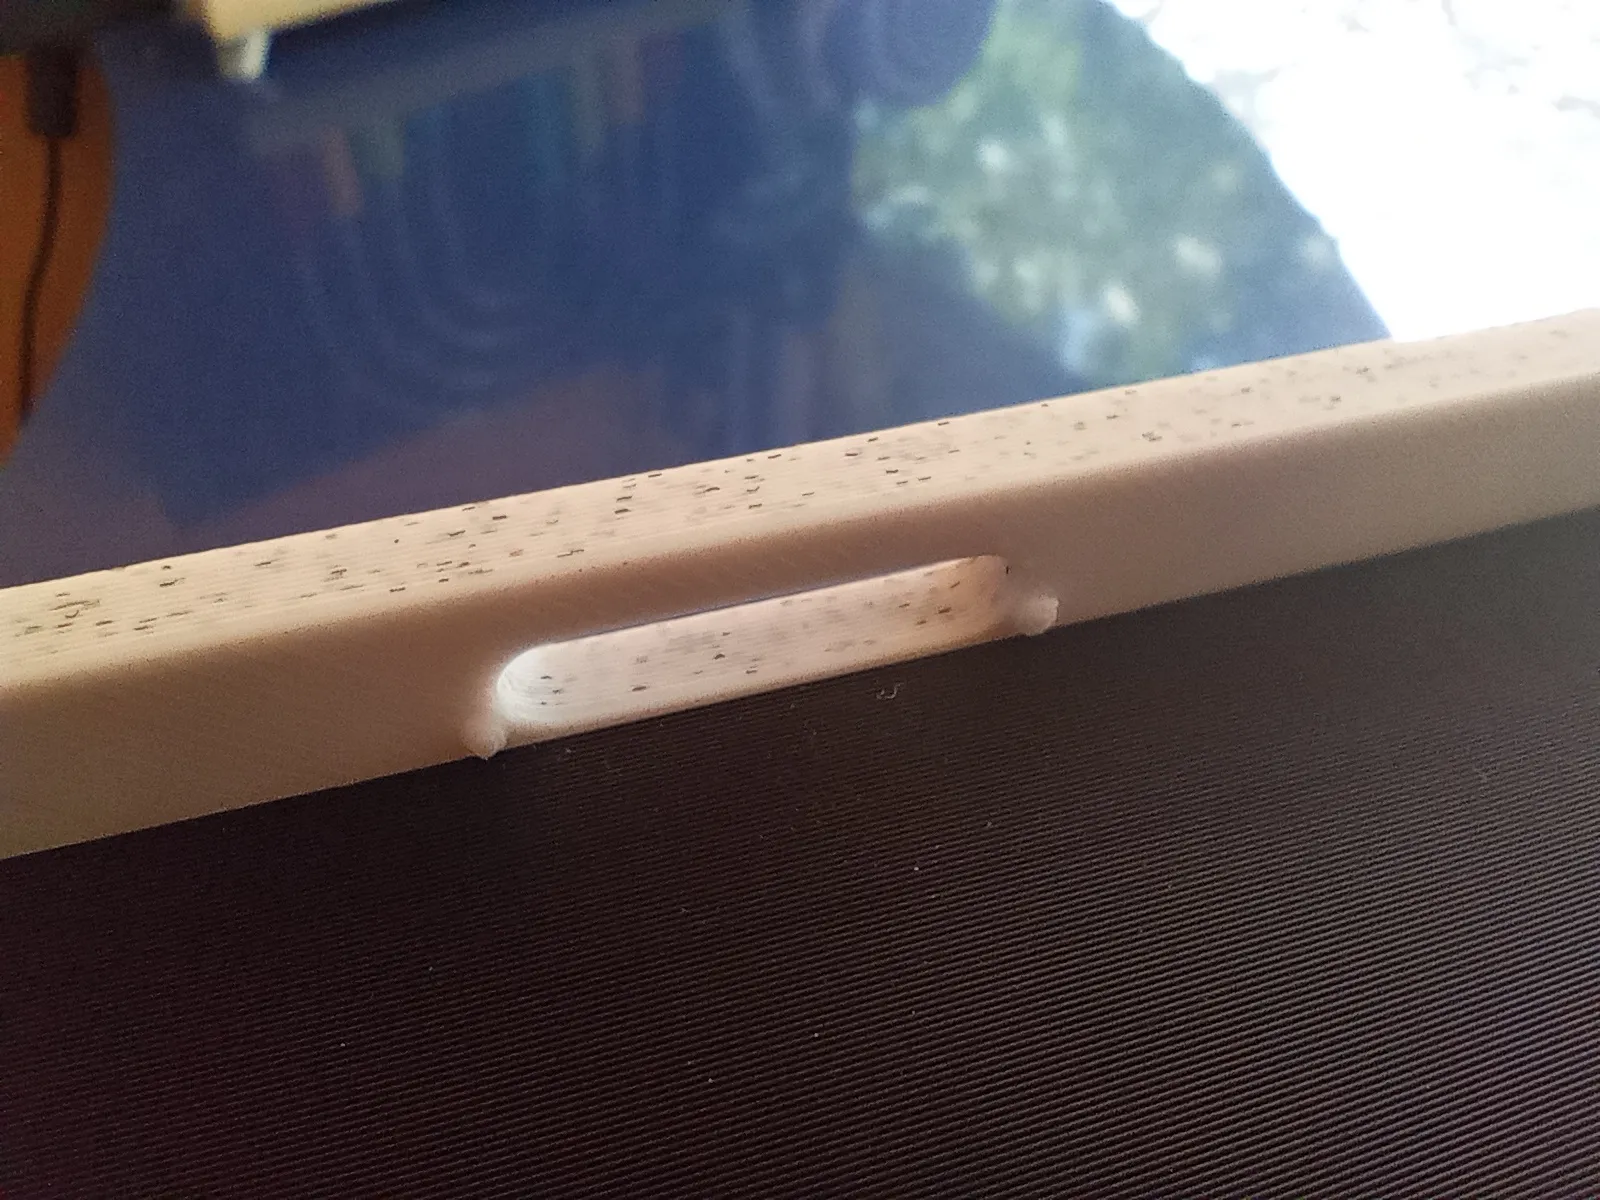
Note that the lid have a lock reliefs so if you wish help it a little bit to pass the main body wall while sliding to the end.
added in our home and office collection here:
https://makerworld.com/en/collections/7707089
Note that there is a watermark from behind. this is the least i can do protect the design. i see a lot of online stores to sell some of my models and i cant keep in track.
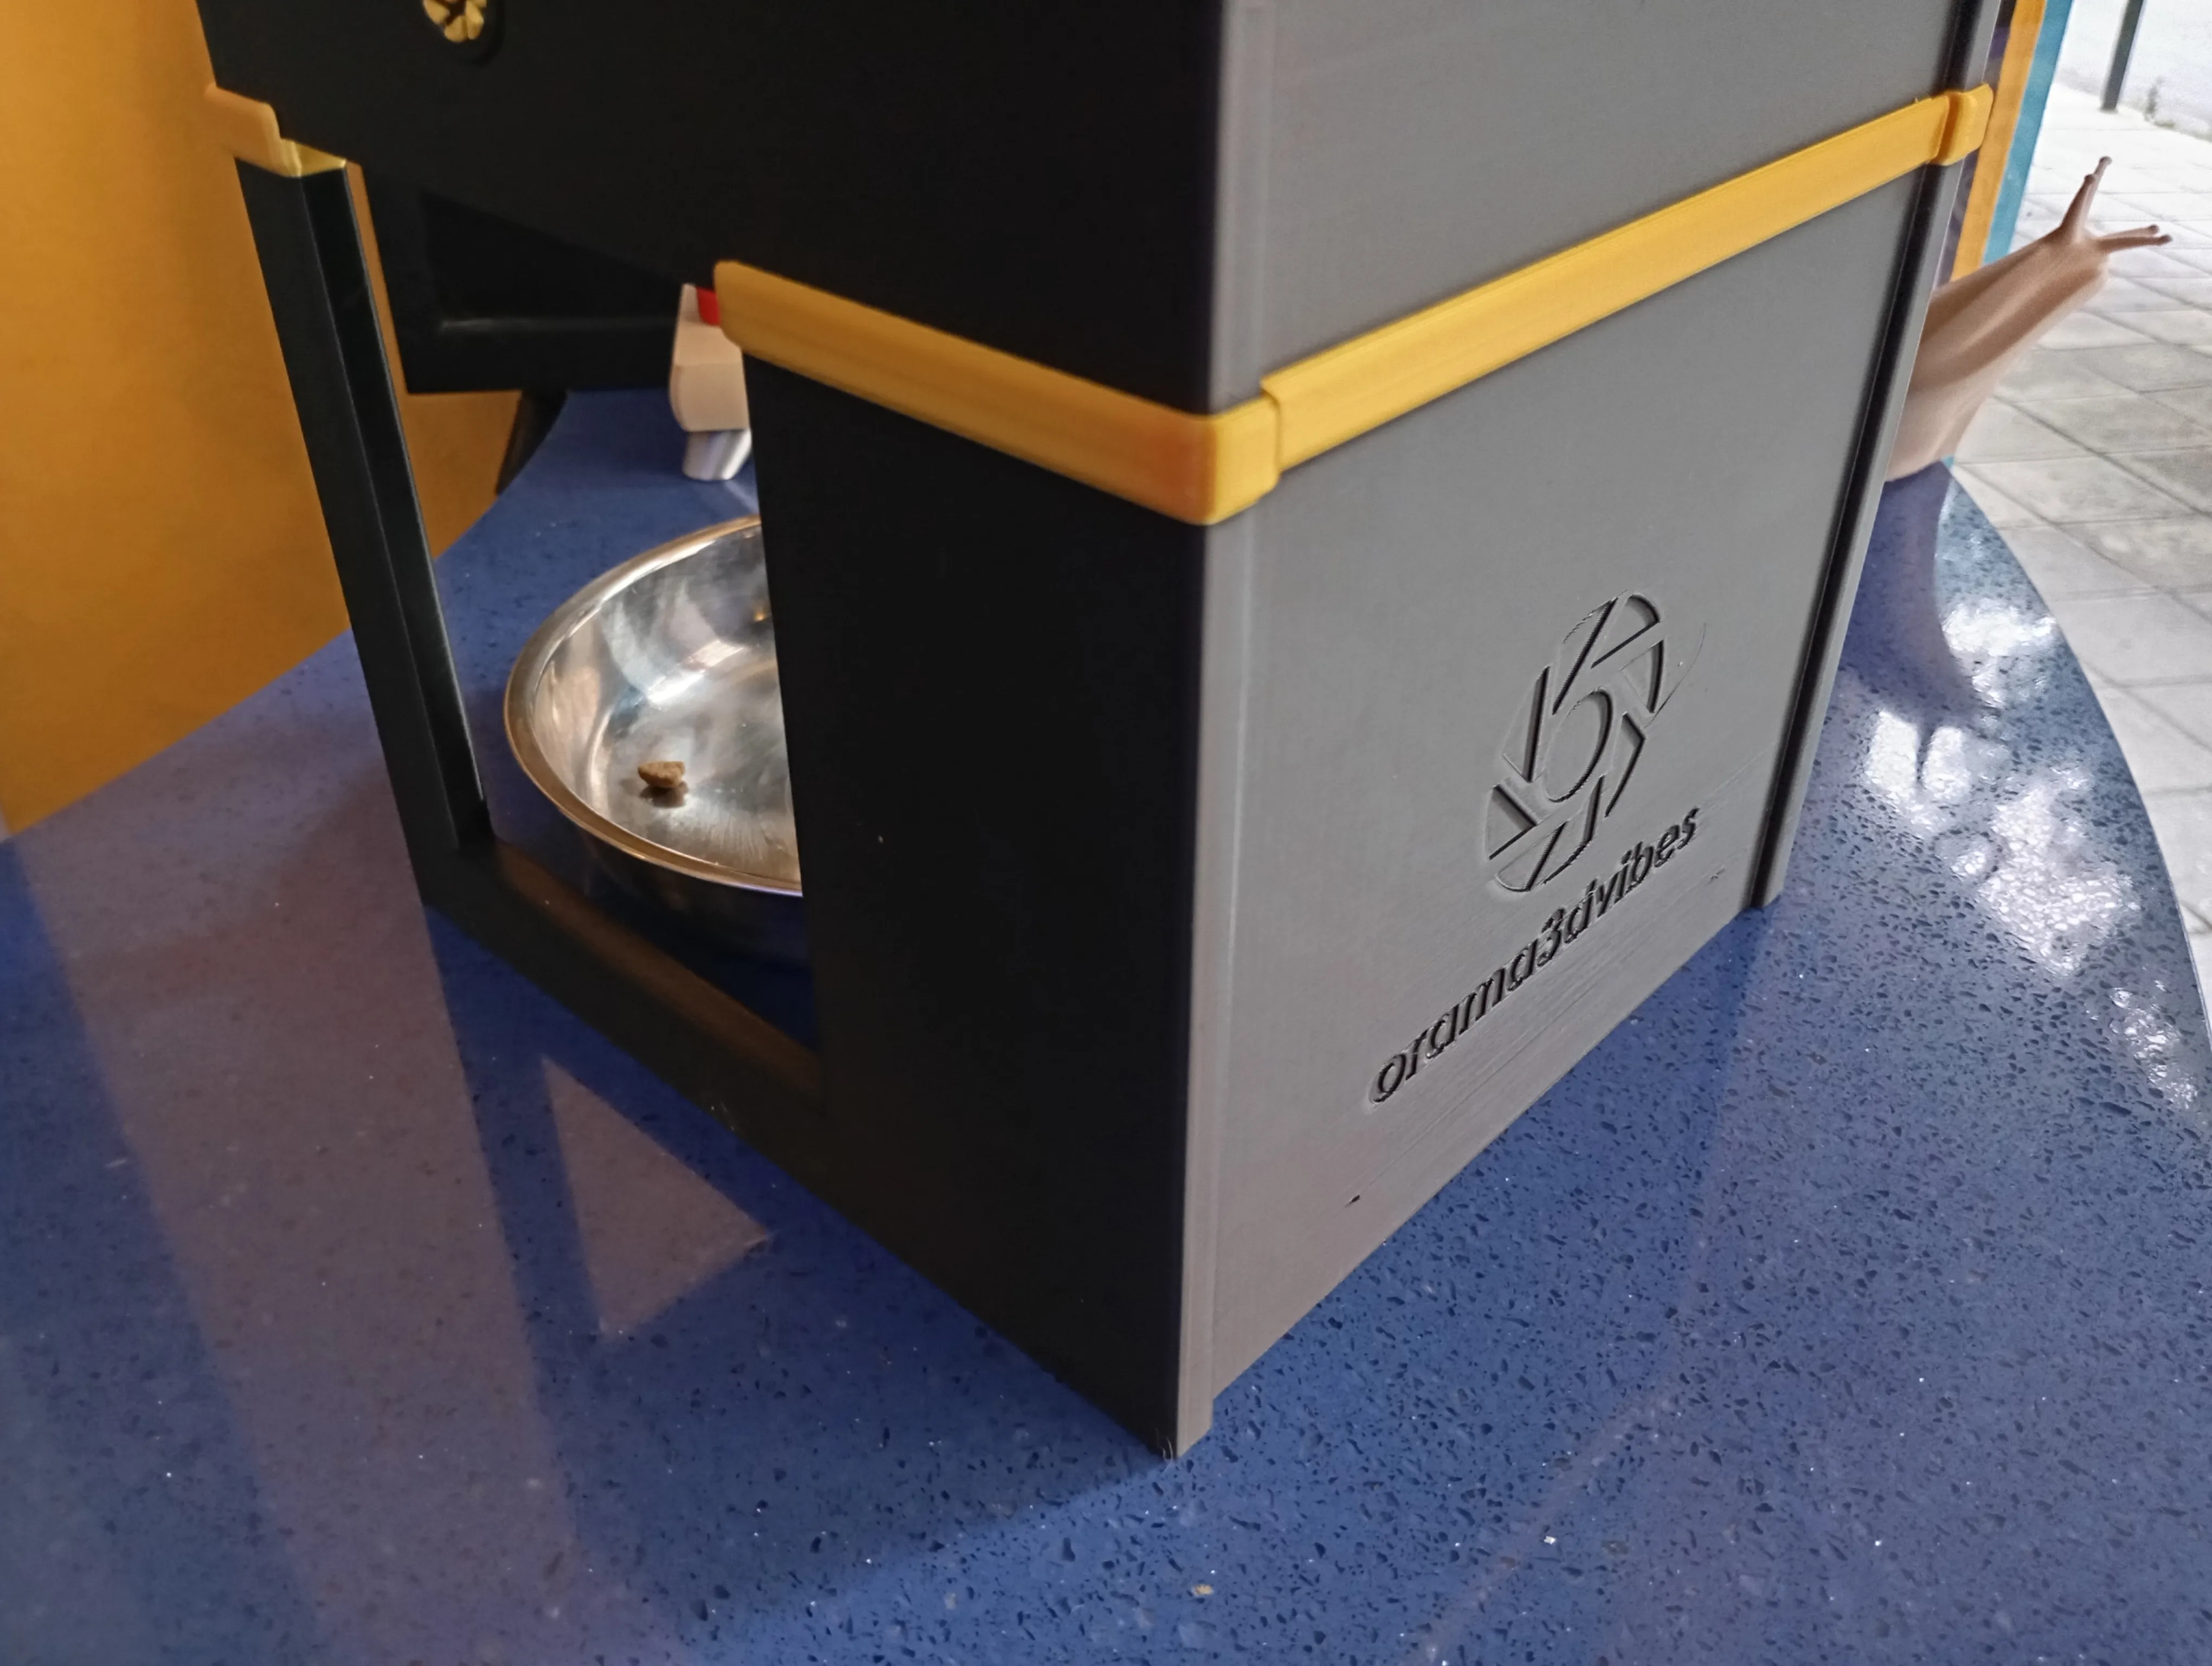
If you have already commercial license please ask me to send you the model without watermark if you u wish.
🙏 Please don't leave negative feedback if you don't doublecheck that you used your own well working filament profiles and be very sure that you build plate is well cleaned!
The designs we upload are well tested so you don't have to worry about them. we never upload a design without fully tested them first!
🙏 Feel free to Follow, Boost, Like & Share this work — your support means the world and helps us bring more designs.
ways you can support our work:
Membership
don't forget that if you are looking for a commercial license of my designs or simply you want to support our work hit join to subscribe here on makerworld or go to our page on patreon and subscribe there!
- Dont forget that you can support us for free just by following and sharing our facebook, instagram, patreon, youtube and makerworld accounts.
License

You shall not share, sub-license, sell, rent, host, transfer, or distribute in any way the digital or 3D printed versions of this object, nor any other derivative work of this object in its digital or physical format (including - but not limited to - remixes of this object, and hosting on other digital platforms). The objects may not be used without permission in any way whatsoever in which you charge money, or collect fees.


Comment & Rating (55)