
Carbon Fiber Weave Surface Effect
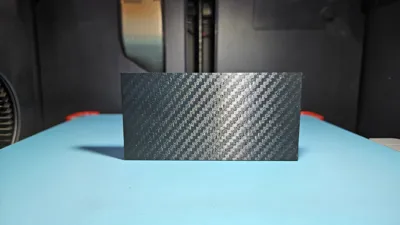
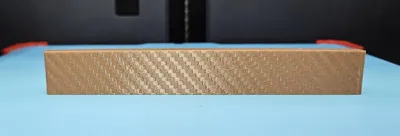
Print Profile(1)
Description
⚠️ IMPORTANT — Please Read Before Printing
Please read the following carefully before using this modifier.
- ✅ Supported: Front and Back vertical surfaces.
- ❌ Not Supported: Top, Bottom, Left, or Right side surfaces.
- The desired area MUST be painted using the Fuzzy Skin Painting tool in Bambu Studio.
- Without Fuzzy Skin Painting, the carbon fiber weave effect will NOT appear.
Failure to follow these steps will result in the modifier having no visible effect.
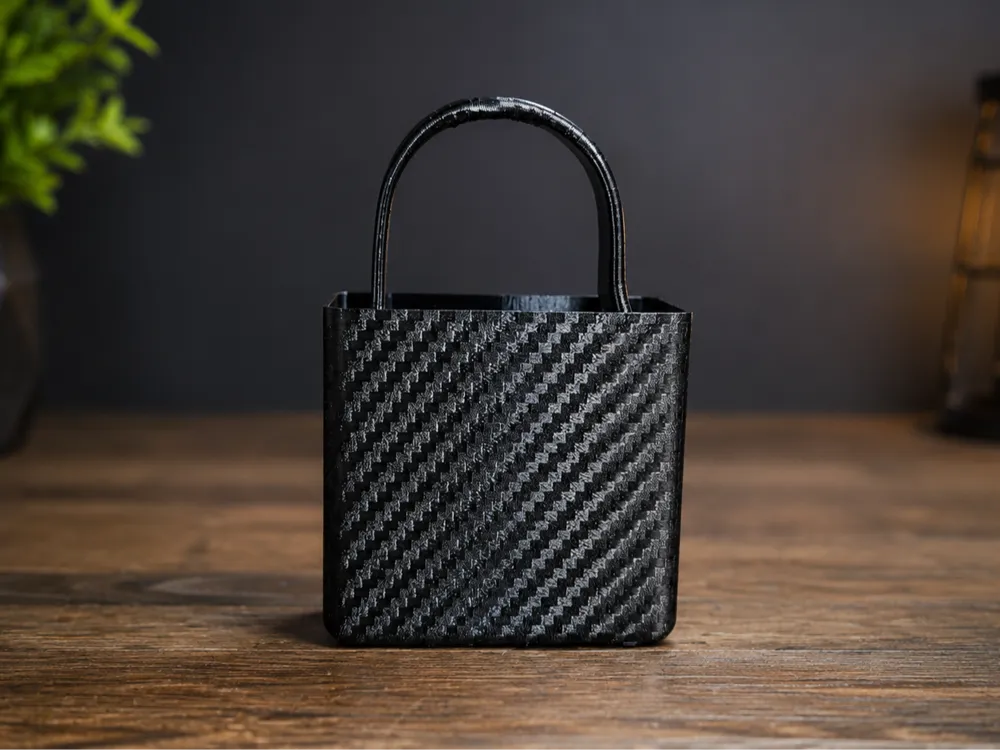
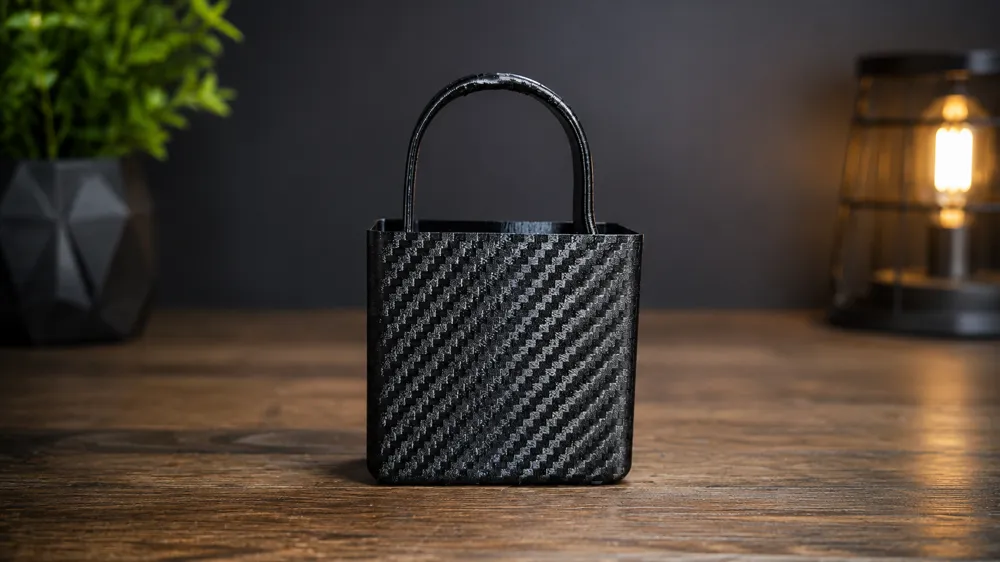
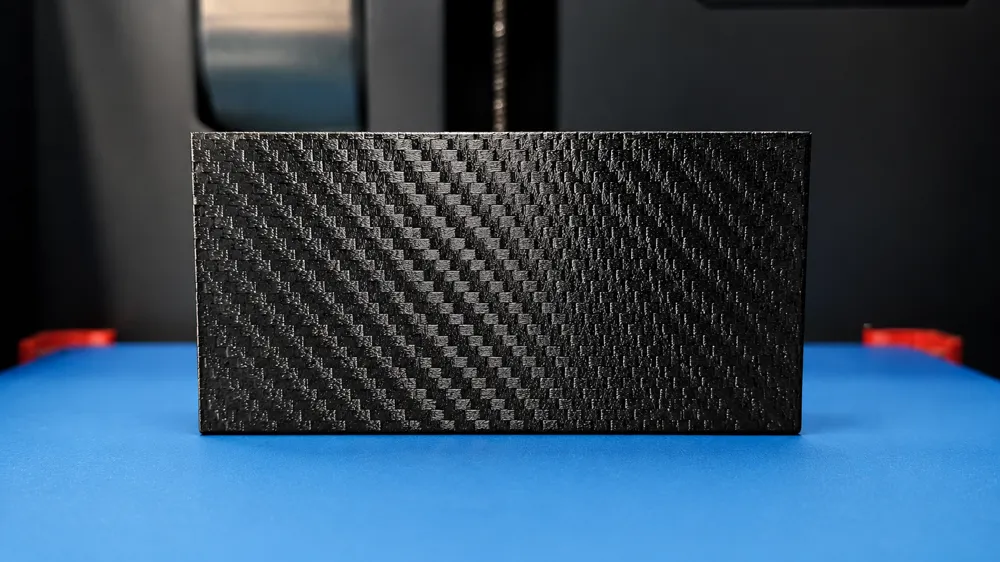
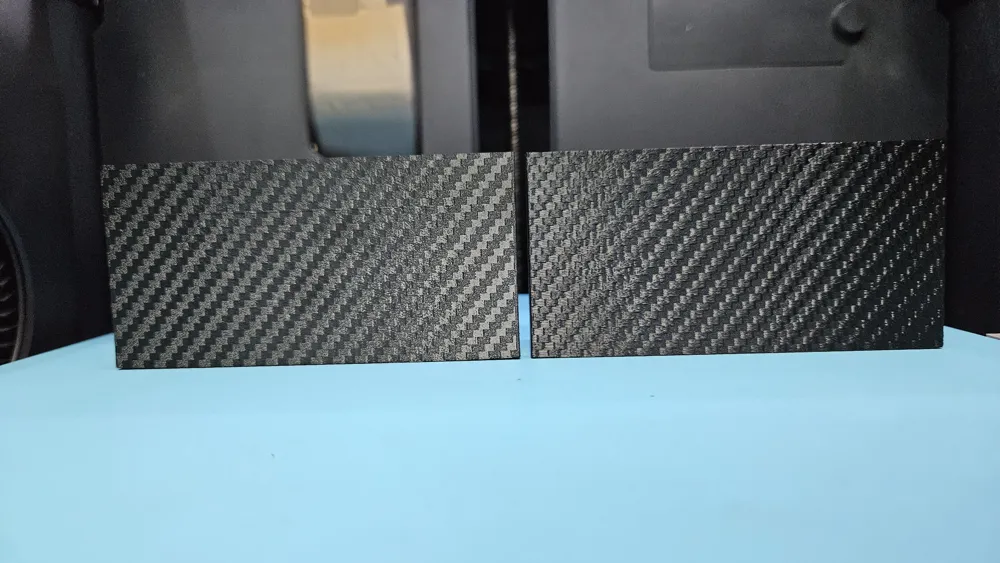
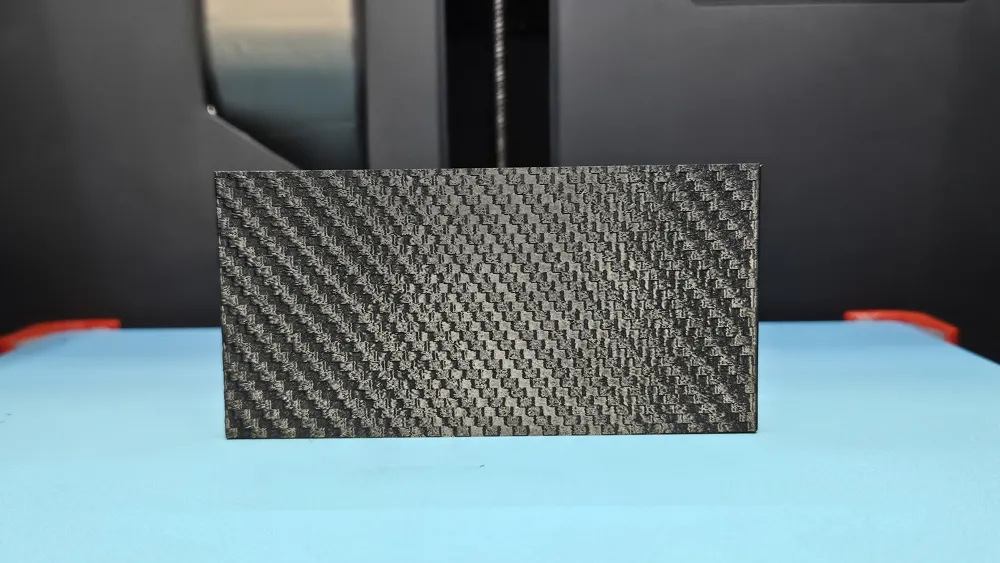
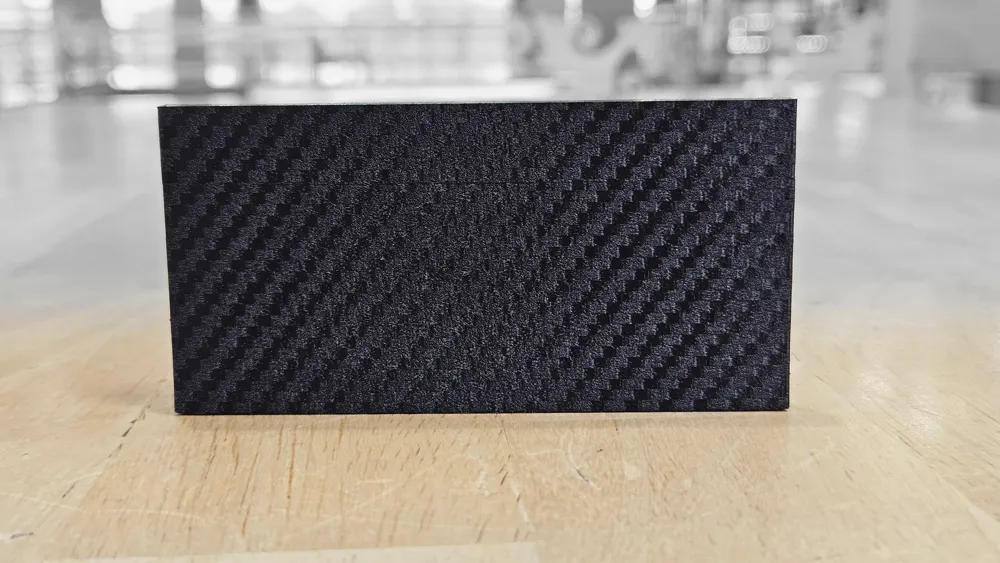
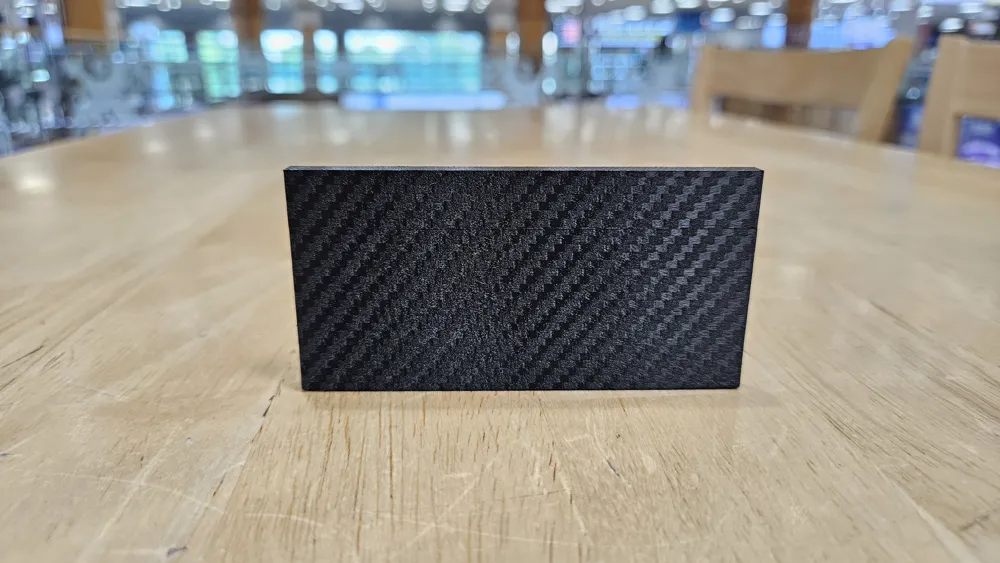
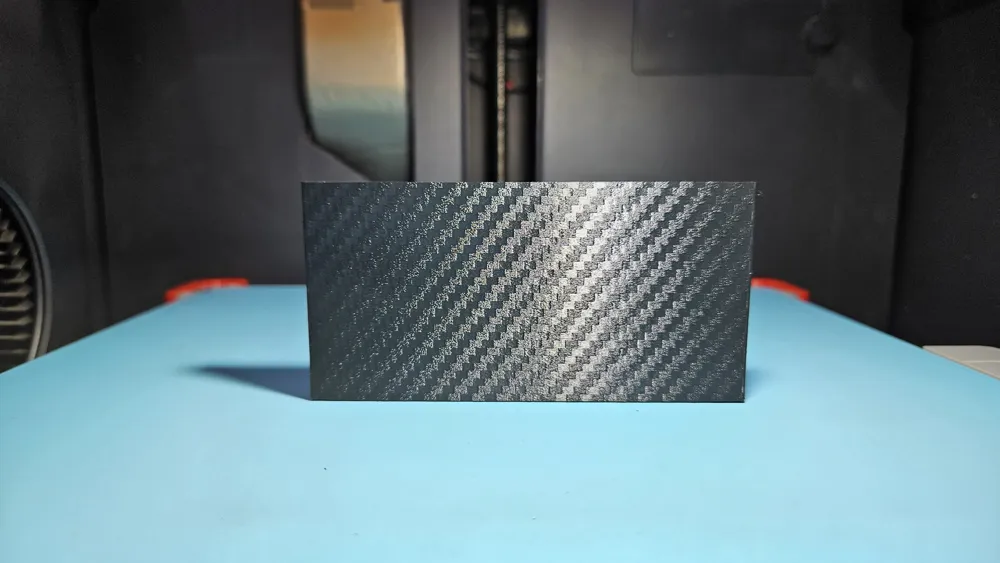
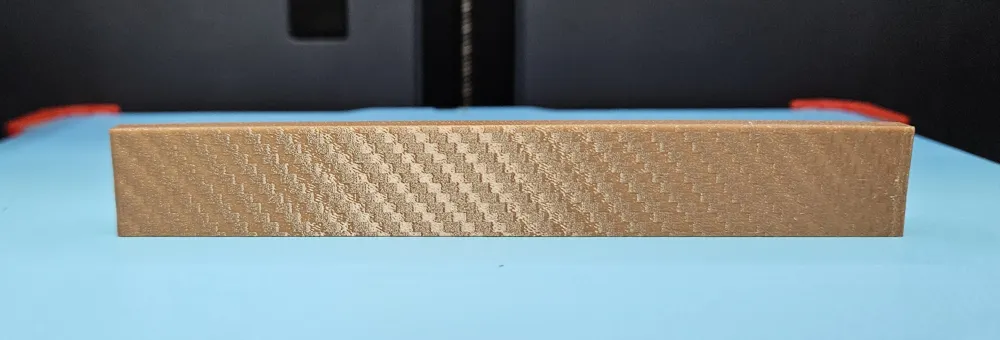
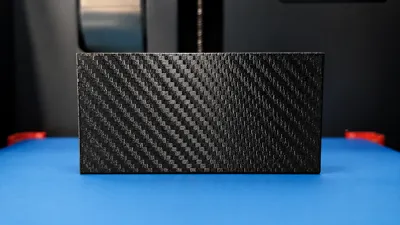
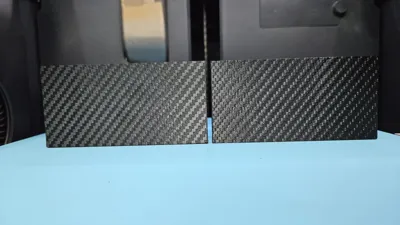
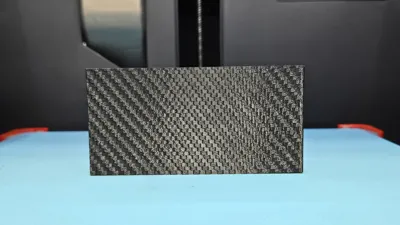
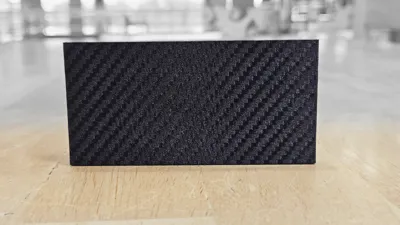
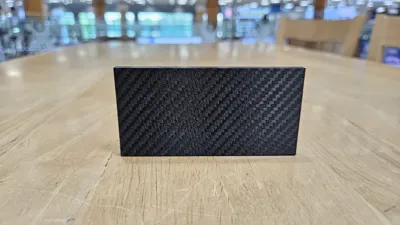
Create a realistic carbon fiber weave effect on your 3D prints using a reusable modifier.
Unlike embossed textures, this method produces the appearance of woven carbon fiber directly during printing, creating a clean, premium finish without changing the original model geometry.
Simply import the modifier into your slicer, position it over the desired surface, paint the desired area with Fuzzy Skin Painting, then slice and print.
✨ Features
- Realistic carbon fiber weave appearance
- Original model geometry remains unchanged
- Easy to position, rotate, and resize
- Reusable on multiple models
- Ideal for electronics cases, automotive accessories, tool organizers, display stands, and decorative parts
📖 How to Use
- Import your model into Bambu Studio.
- Add the supplied modifier.
- Position and scale the modifier over the desired surface.
- Paint the target area using Fuzzy Skin Painting.
- Slice and print.
📌 Notes
- The weave direction can be rotated to match your design.
- Multiple modifiers can be combined to cover larger surfaces.
- Only the selected area is affected; the rest of the model remains unchanged.
- The modifier can be reused on virtually any compatible model.
⚙️ Quick Setup Guide
Follow these steps to apply the Carbon Fiber Weave effect.
① Import the Modifier
- Import your model into Bambu Studio.
- Add Carbon Fiber Modifier.stl as a Modifier.
- Position and scale the modifier to cover the desired area.
- Configure the modifier using the following settings:
Fuzzy Skin : None (allow painting)
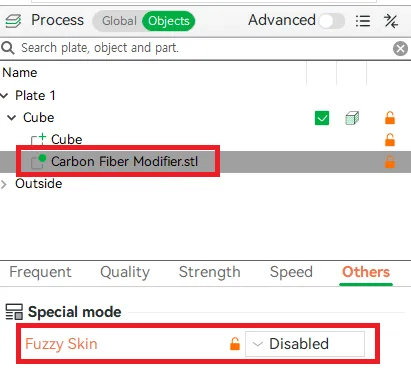
② Enable Fuzzy Skin
- Select the model (not the modifier), then go to:
- Objects → [Your Model] → Others → Fuzzy Skin
- Configure the following setting:
Generator Mode : Displacement
Noise Type : Classic
Point Distance : 0.1 mm
Thickness : 0.1 mm
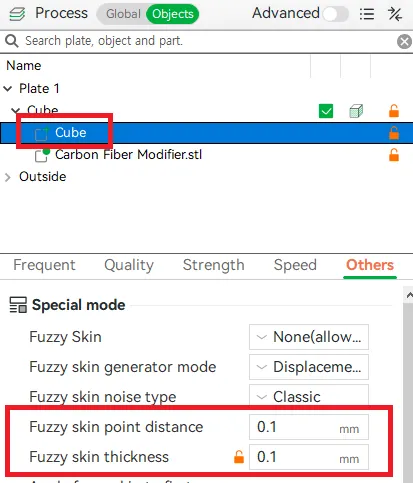
Important: Apply this setting to the model, not to Carbon Fiber Modifier.stl.
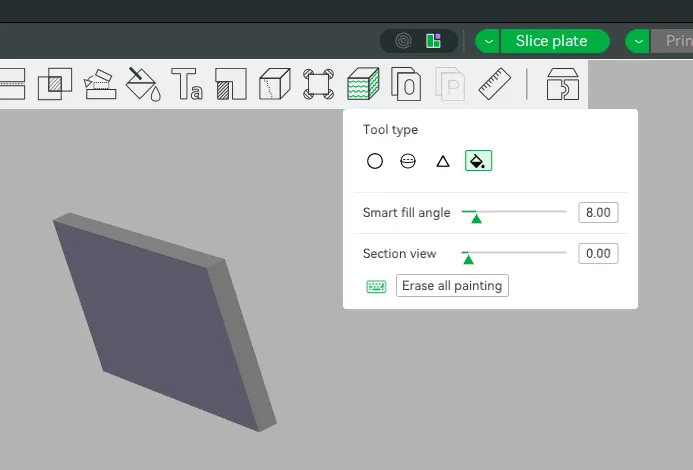
③ Paint the Desired Area
Select the Fuzzy Skin Painting tool and paint only the surface where you want the carbon fiber weave effect to appear.
④ Slice and Print
Slice and print the model as usual.
The carbon fiber weave pattern will appear only on the painted area.
❤️ Share Your Prints
If you create something using this modifier, I'd love to see your results. Feel free to upload your makes and share your creations with the community.
Happy Printing!
📷 Demonstration Model
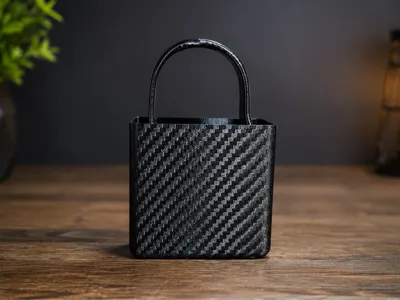
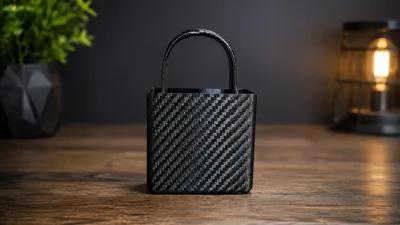
The demonstration photos in this post use the following MakerWorld model to showcase the Carbon Fiber Weave Modifier.
Reference Model:
https://makerworld.com/en/models/2703234-solmade-tote-bag#profileId-2997583
This model is used for demonstration purposes only to show the surface effect of the modifier.
All credit for the original model belongs to its creator. Thank you for creating such a great model and making it available to the MakerWorld community.
🙏 Acknowledgements
This project was inspired by the excellent "Add Wood Grain Effects to Your Models – Using a Small Plate as an Example" by PandaN.
The original project introduced a creative way to apply surface textures using a modifier. Inspired by that concept, I developed this Carbon Fiber Weave Modifier with a completely different weave pattern and intended application.
A big thank you to PandaN for sharing such an innovative idea with the MakerWorld community.
📸 Print Tips
- For the most realistic carbon fiber appearance, PETG is recommended due to its naturally glossy finish.
- Dark-colored filaments such as Black, Dark Gray, and Carbon Black provide the strongest visual effect.
- 0.2 mm layer height can be used, but it may reduce the visibility and sharpness of the carbon fiber weave pattern. For the best pattern definition, a finer layer height is recommended.
License

You may create derivative works based on this object, provided that all such derivative works are published exclusively on the MakerWorld platform and include proper attribution to the original creator. You may not share, upload, host, distribute, or publish this object—or any derivative work of this object—on any other digital platform, marketplace, or distribution channel. Commercial use of this object and any derivative works is strictly prohibited. This includes, but is not limited to, selling, renting, sublicensing, or using the object in any context in which you receive monetary compensation or other financial benefits.


Comment & Rating (2)