
Customizable Minecraft Action Figure By Jaebii
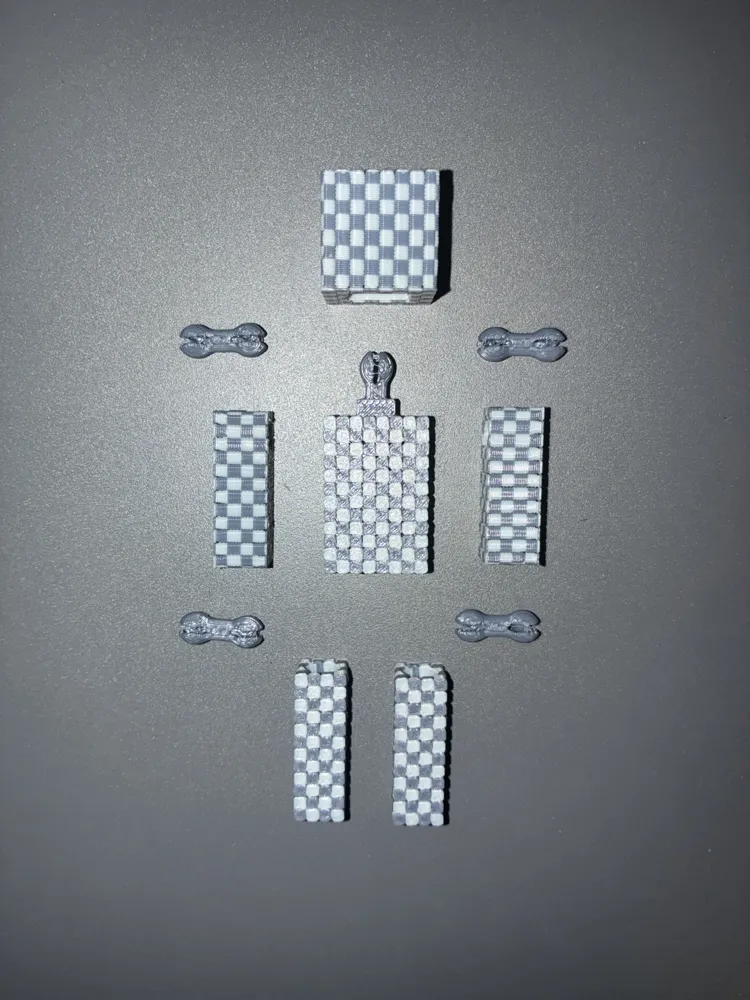
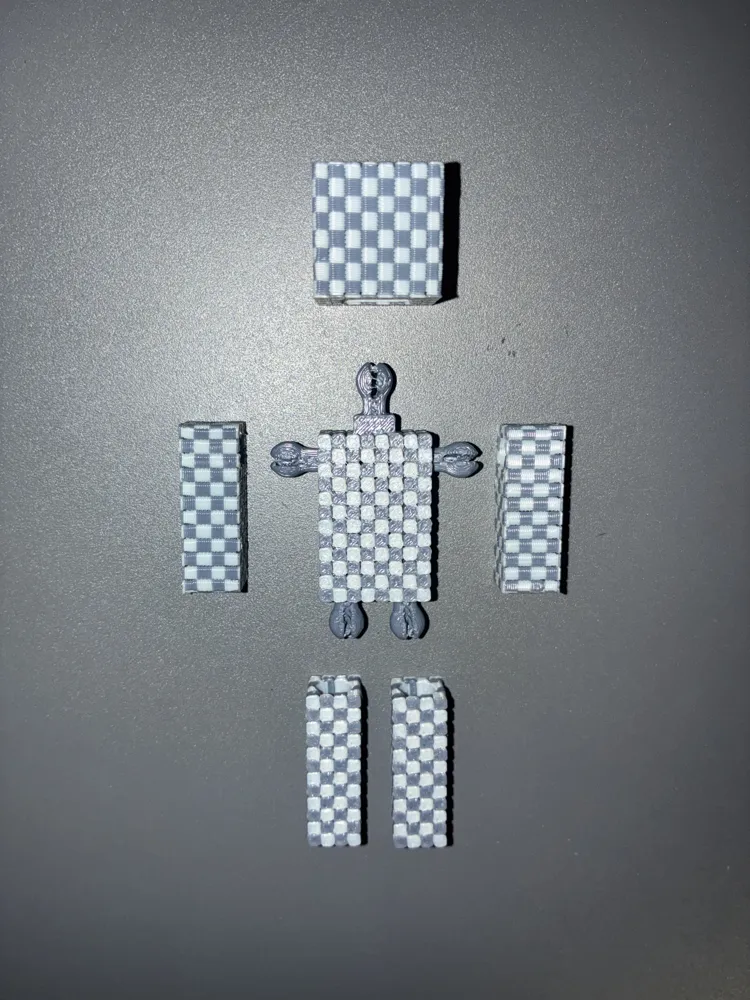
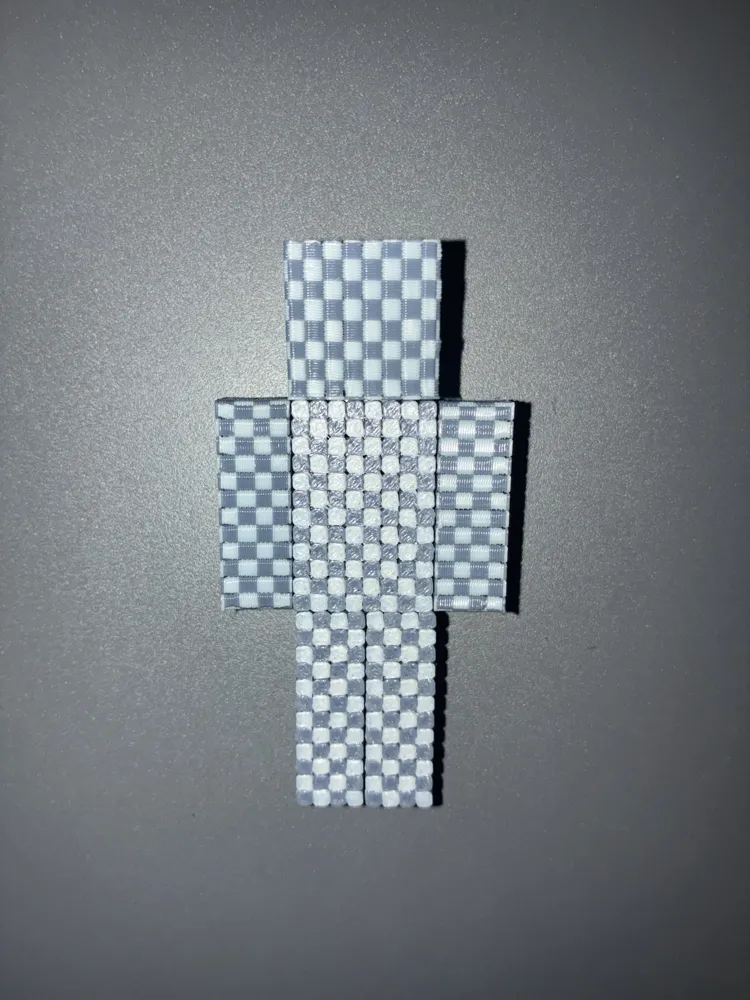
Print Profile(10)

Description
****Please read the full description before you ask any questions in the comments because chances are I already answered it in the description! If you’re unable to view the description for some reason, I highly recommend using the MakerWorld website/browser version so you can access as much information about the model as possible before printing anything!
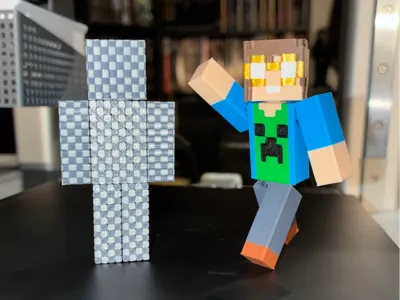
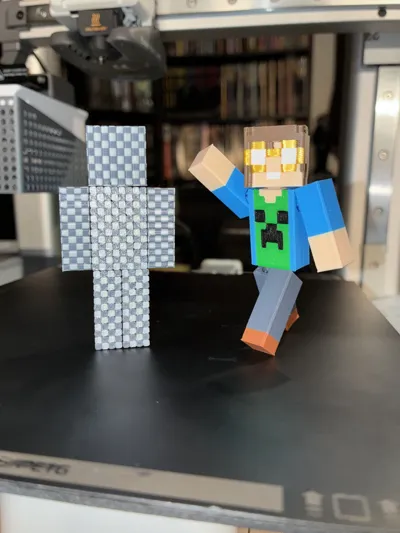
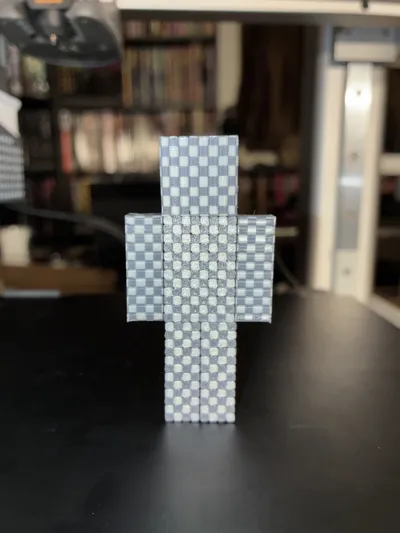
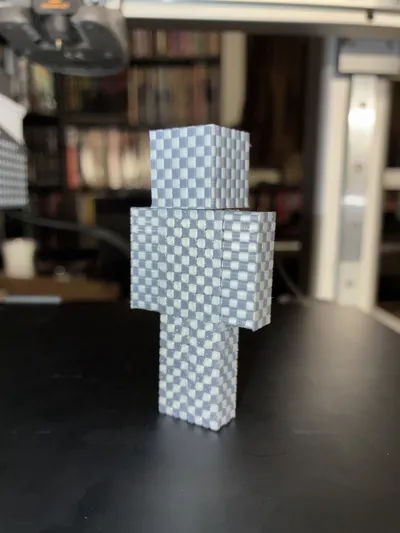
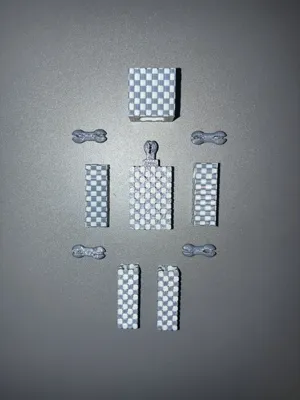
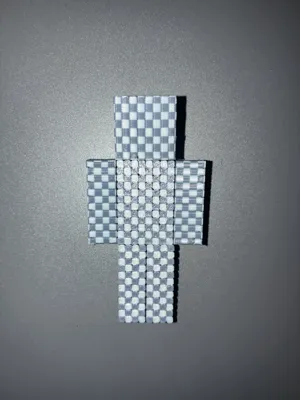
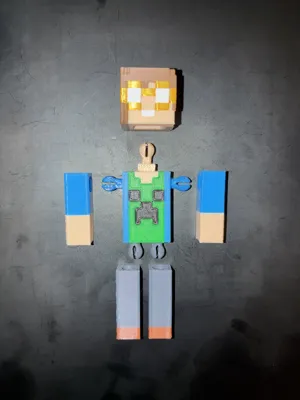
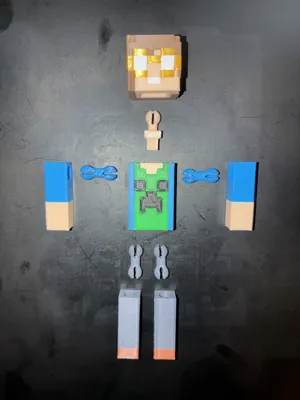
*****In case it isn’t obvious, DON’T (I repeat, DON'T) try to print the fully-assembled figure included in the project! It's only there as a REFERENCE for what the final assembled figure should look like! It’s not a “print-in-place” version, and if you try to print the example reference assembly, it won’t be able to articulate whatsoever and it’ll basically just be a statue, and that’s IF it even prints successfully at all without totally failing! You have been warned! If anyone asks me about it in the comments then that means they didn’t read the description, and I highly recommend you read the description because there’s some pretty important info in here!
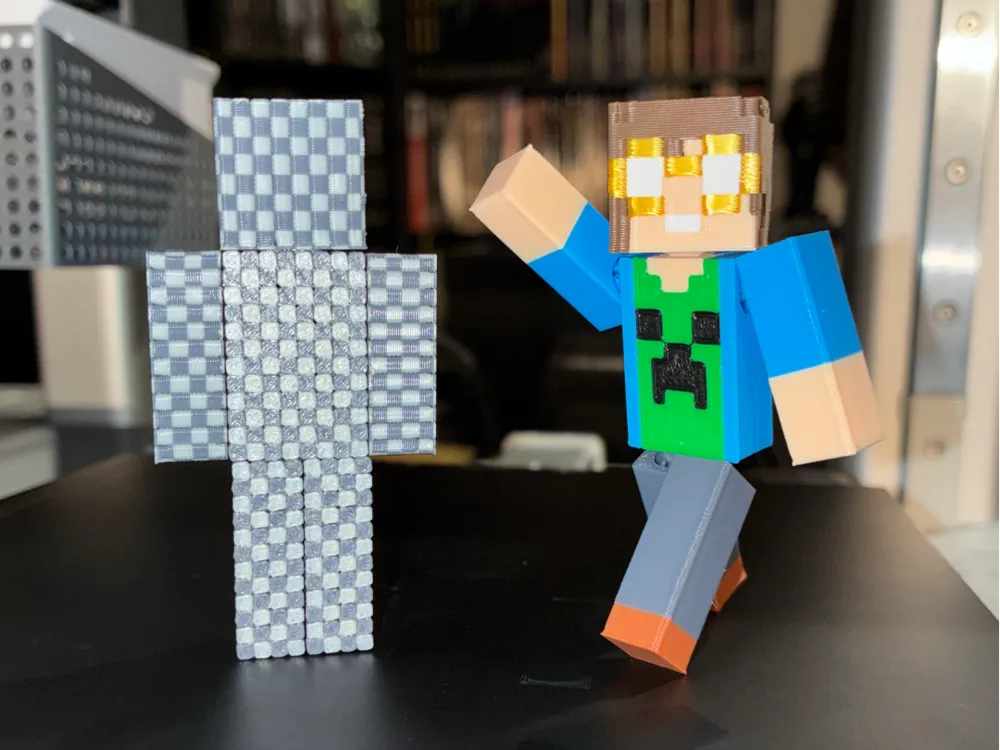
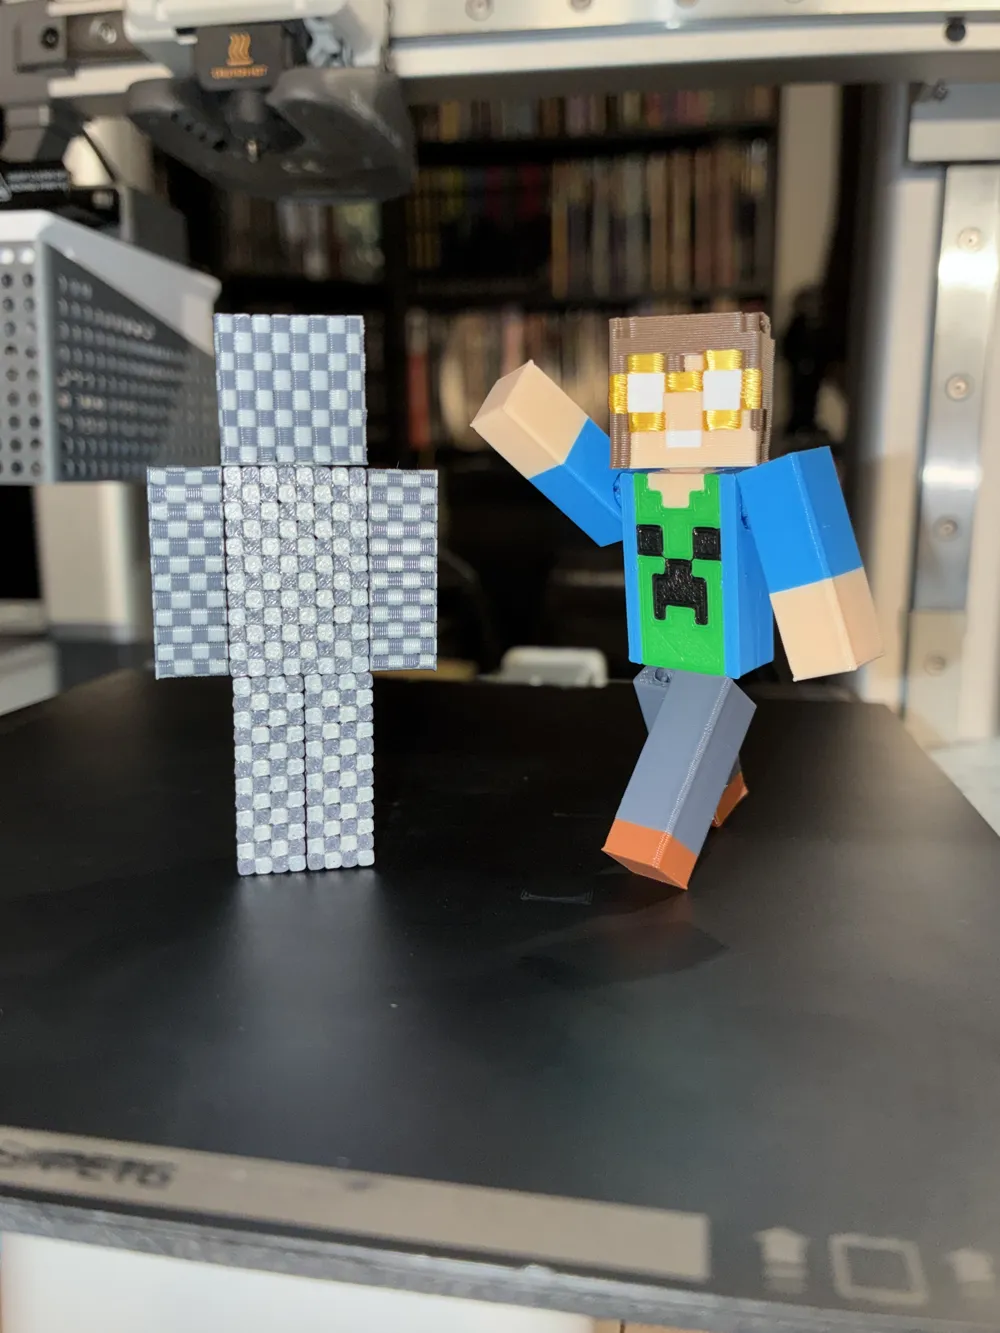
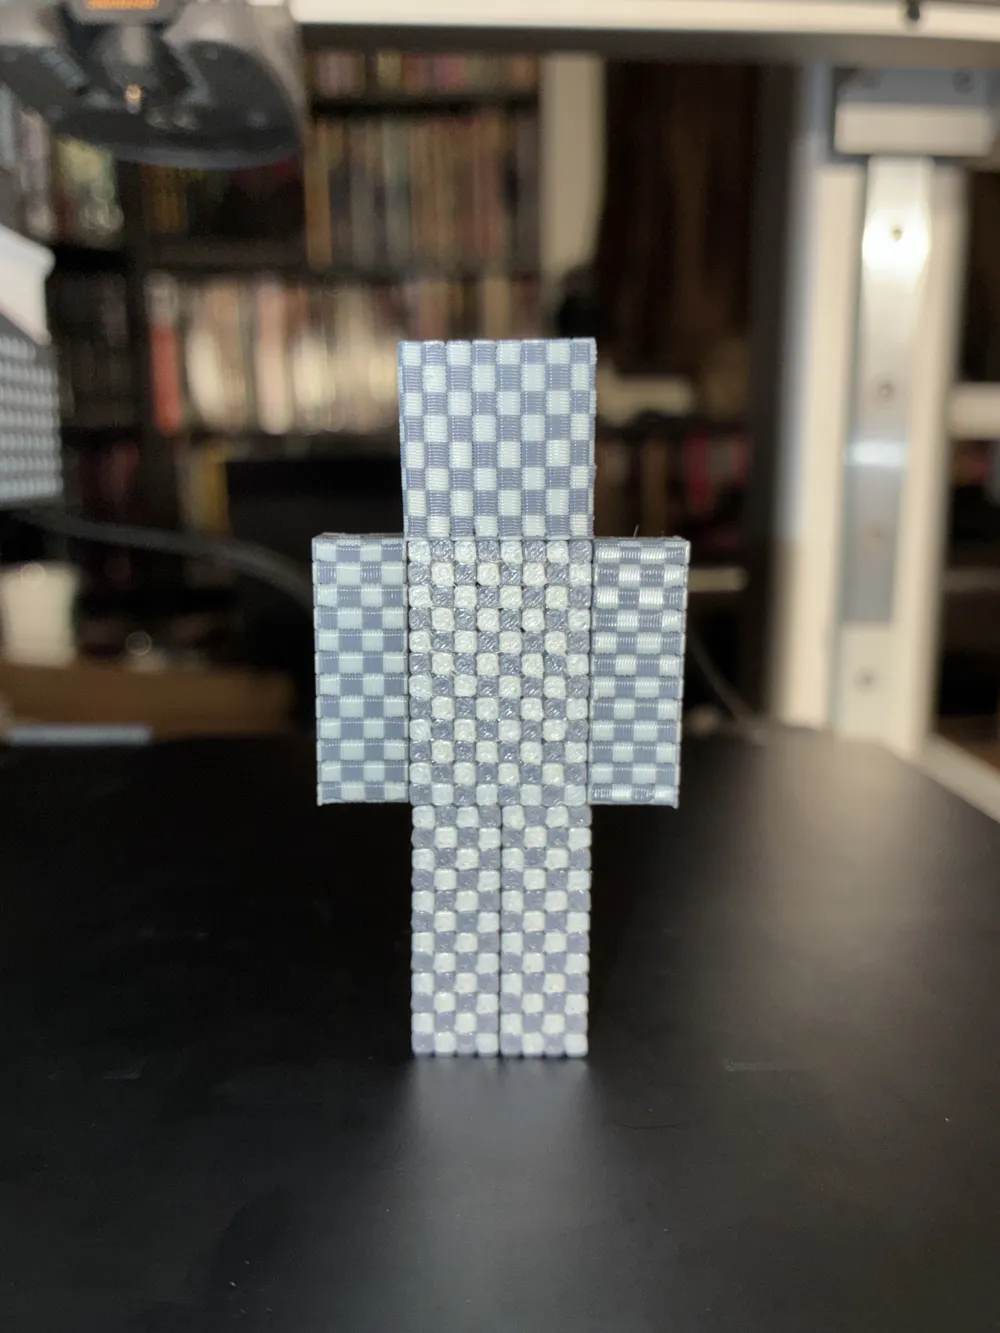
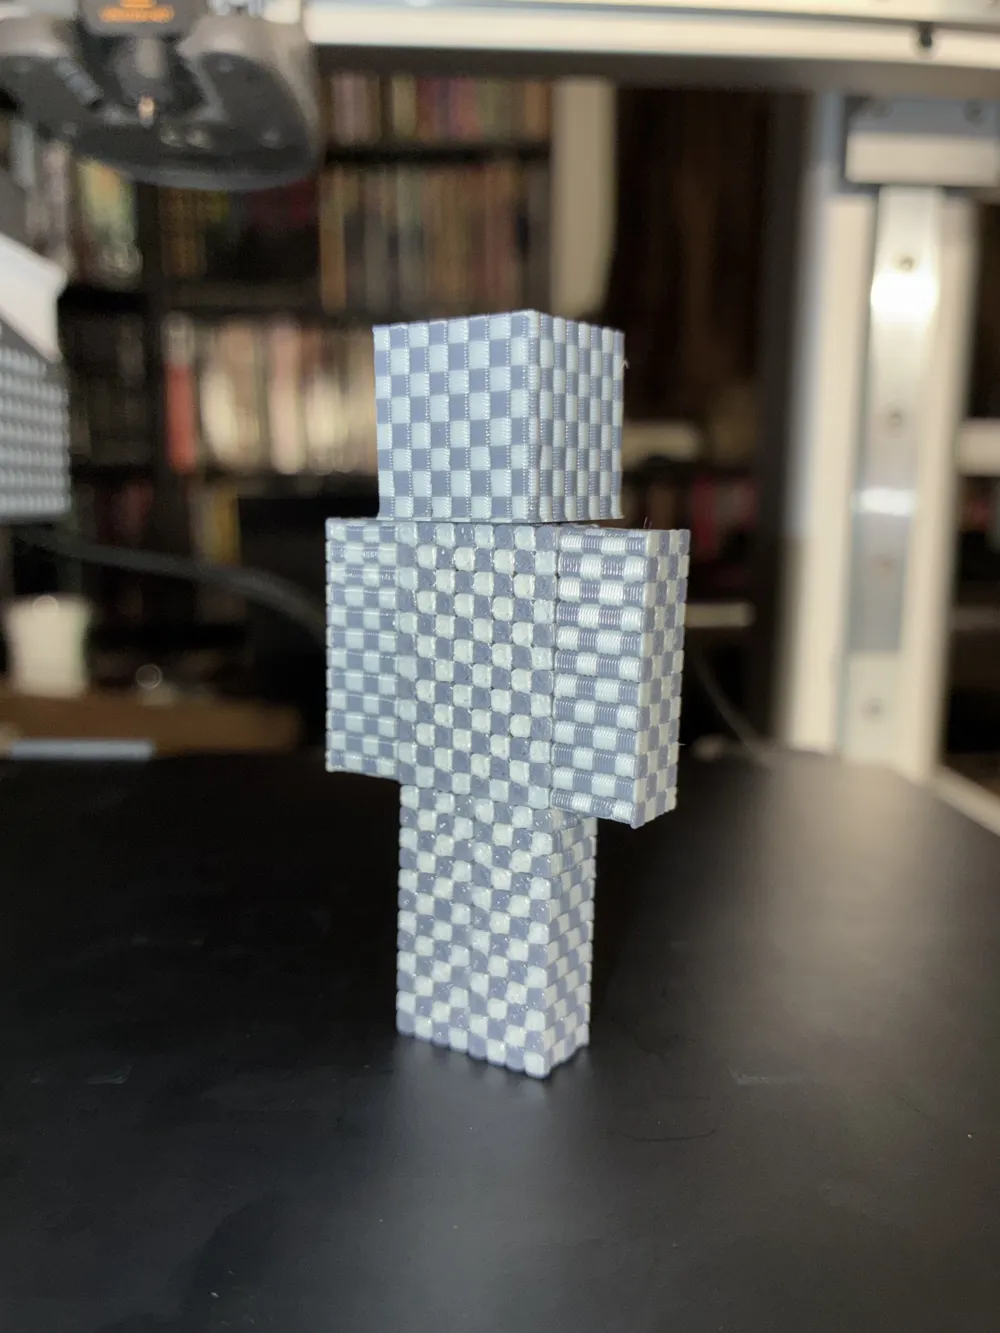
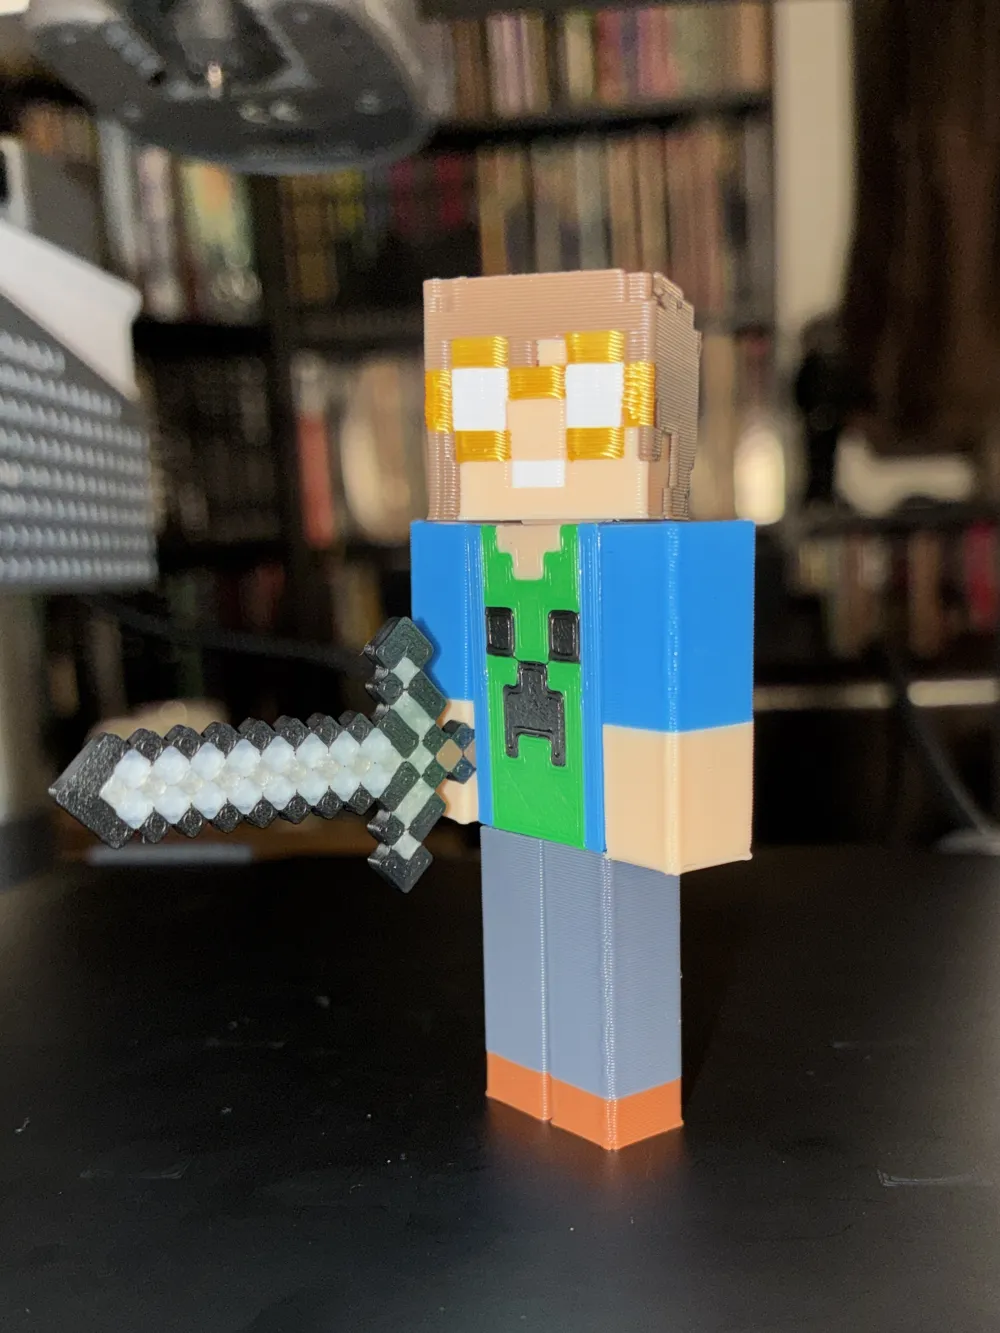
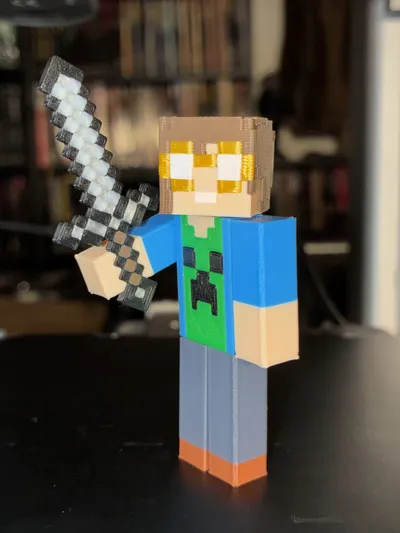
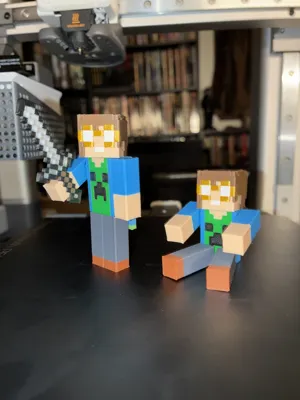
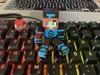
This updated, newly-articulated V2 version of my original V1 Customizable Minecraft Skin Figure is my entry into the 2026 MakerWorld Children’s Toy Design Contest. Inspired by my childhood love for designing my own Minecraft Skins on “Miners Need Cool Shoes” as well as my desire to have a perfect Jazwares action figure of my own custom Minecraft character, this fun and interactive MakerWorld project allows Minecraft fans of all ages to learn how to pixel-paint and customize their very own Minecraft figures using the provided template figure (just like making a Minecraft Skin using a Skin Editor website) and 3D-print a fully-articulated game-accurate action figure of their own Minecraft character!
To help explain how to customize the template figure, and to prevent any unnecessary confusion for any other MakerWorld users, I recorded a full video tutorial showcasing how to use Bambu Studio to pixel-paint and customize the template figure, as well as how to use the brand new Customizable 3D Hat Item Head to custom-“model” your own 3D Player Head, and how to virtually “assemble” your painted figure within the project as an example reference to help you get a better idea of how your figure will look once all the pieces are printed and put together! (***NOTE: the virtually “assembled” figure is just an example reference and is NOT intended to be printed on one plate! It is not a “print-in-place” model, and it will not feature any articulation if you attempt to print it fully-assembled!) The tutorial video can be found embedded on this project page, as well as on my YouTube channel “Jaebii’s Media Center” (feel free to subscribe, but be aware not all of my channel content is Minecraft/3D-printing related and some of it might not be particularly suitable for younger viewers).
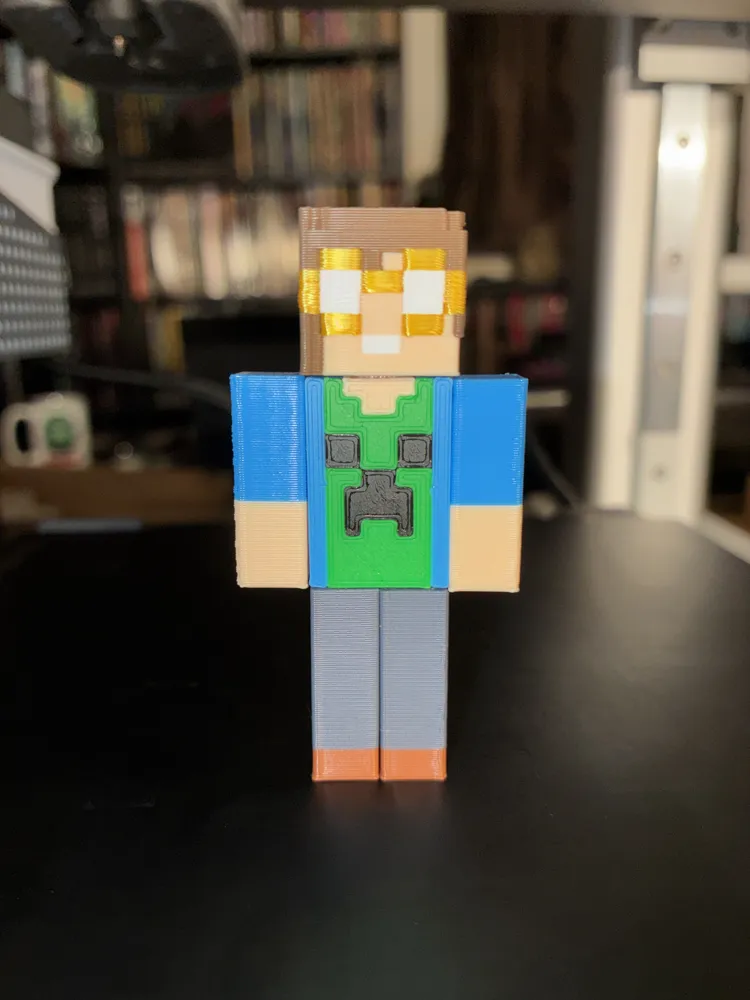
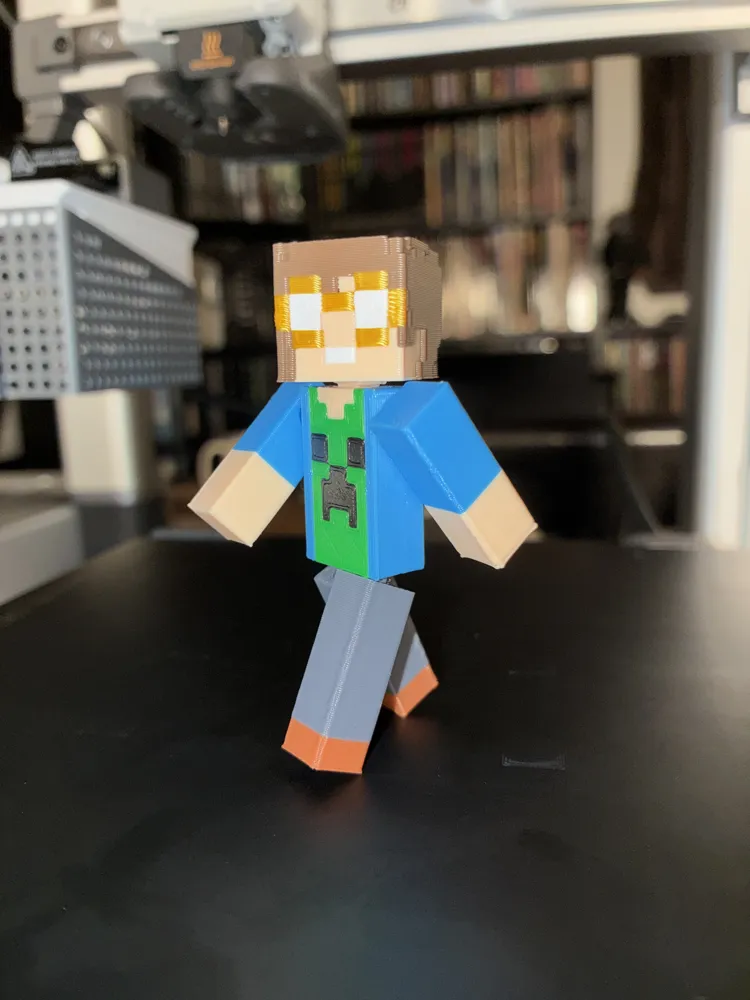
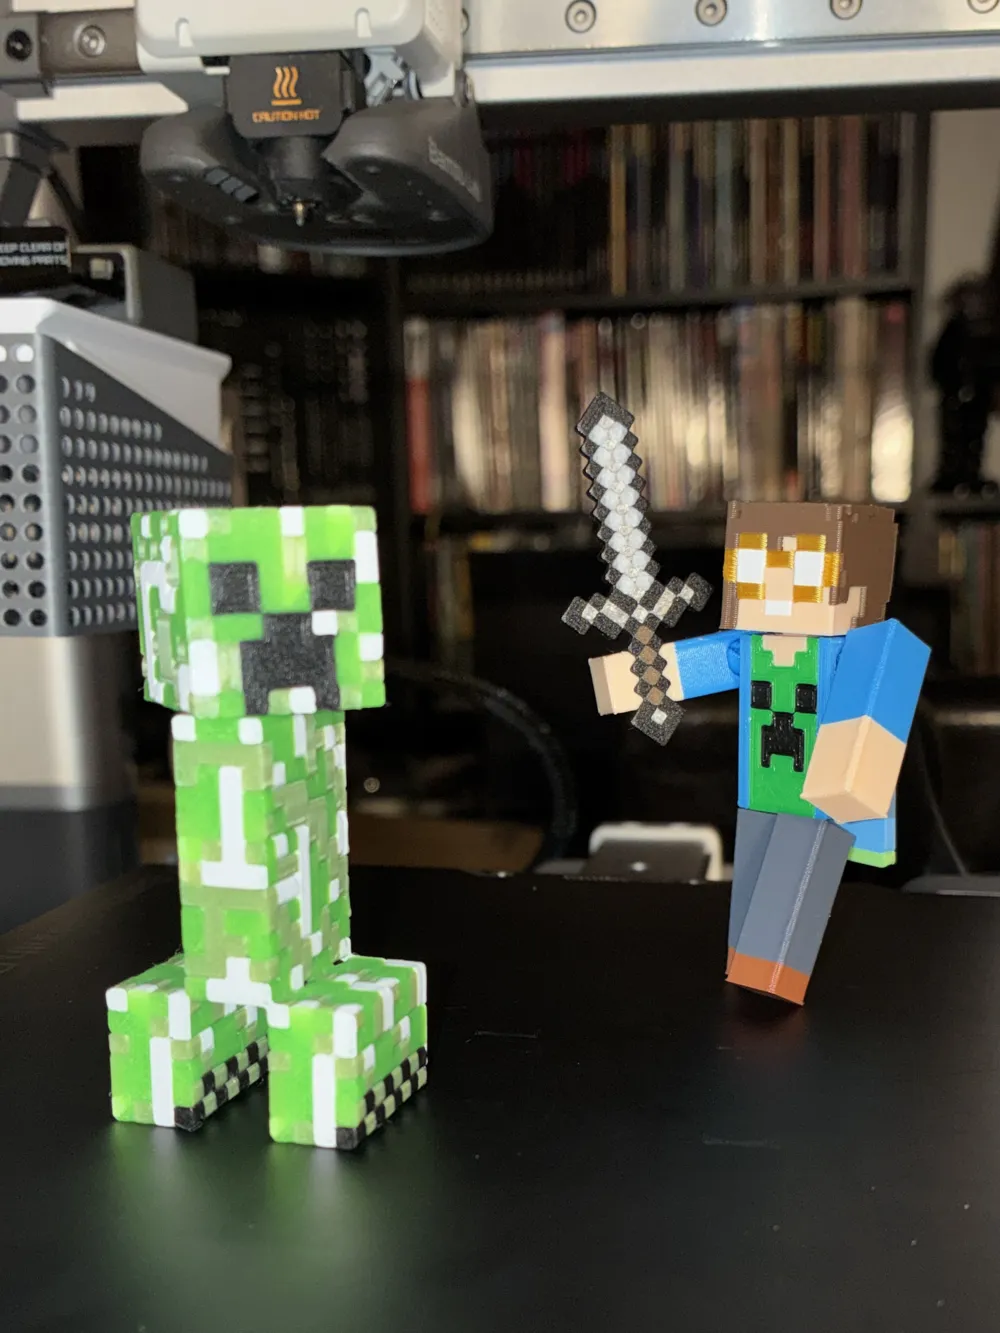
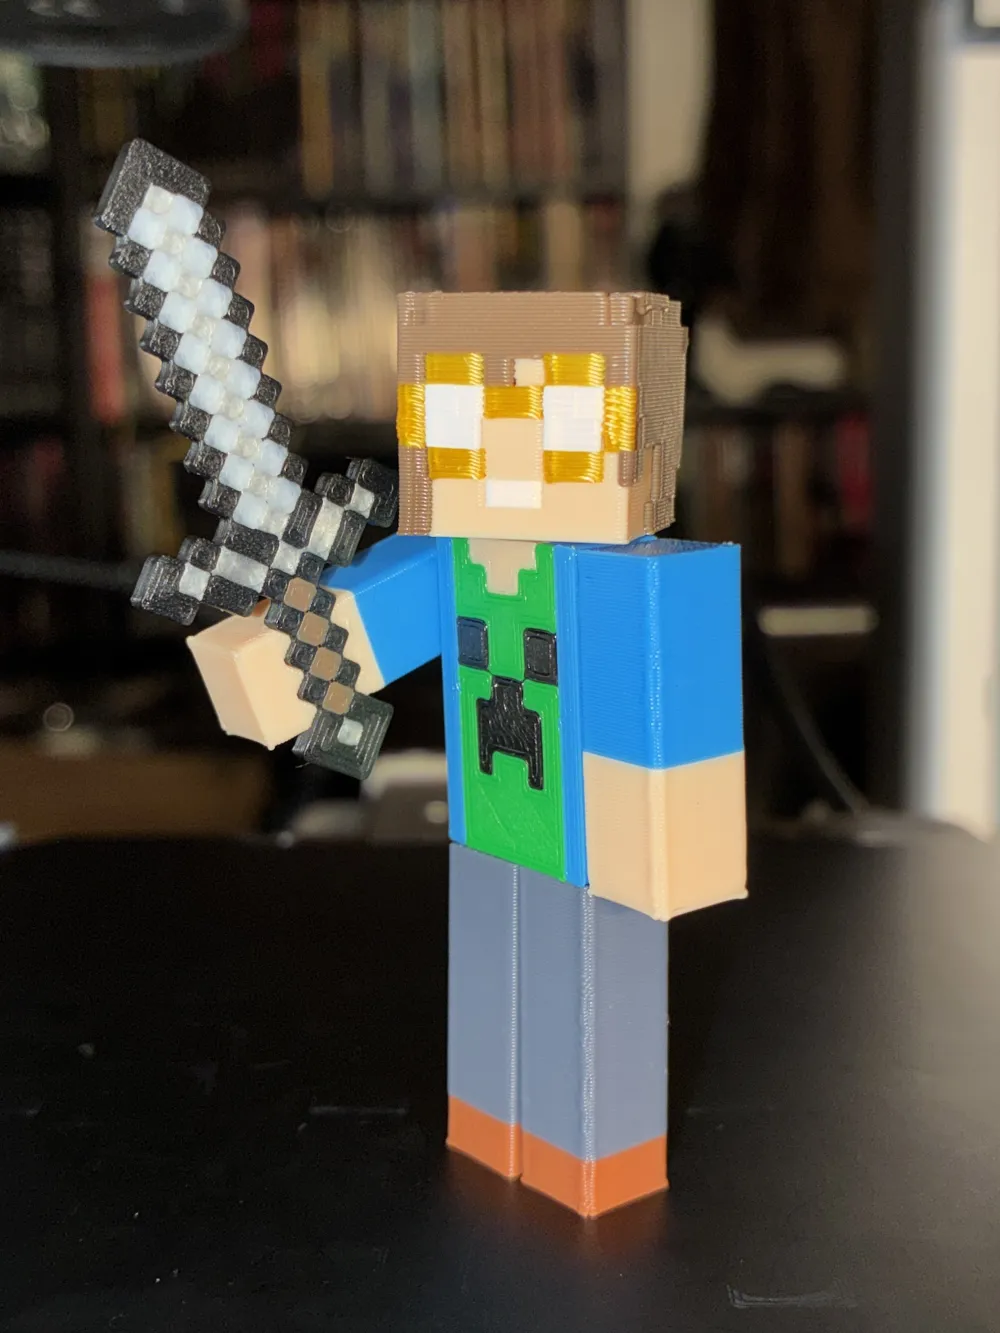
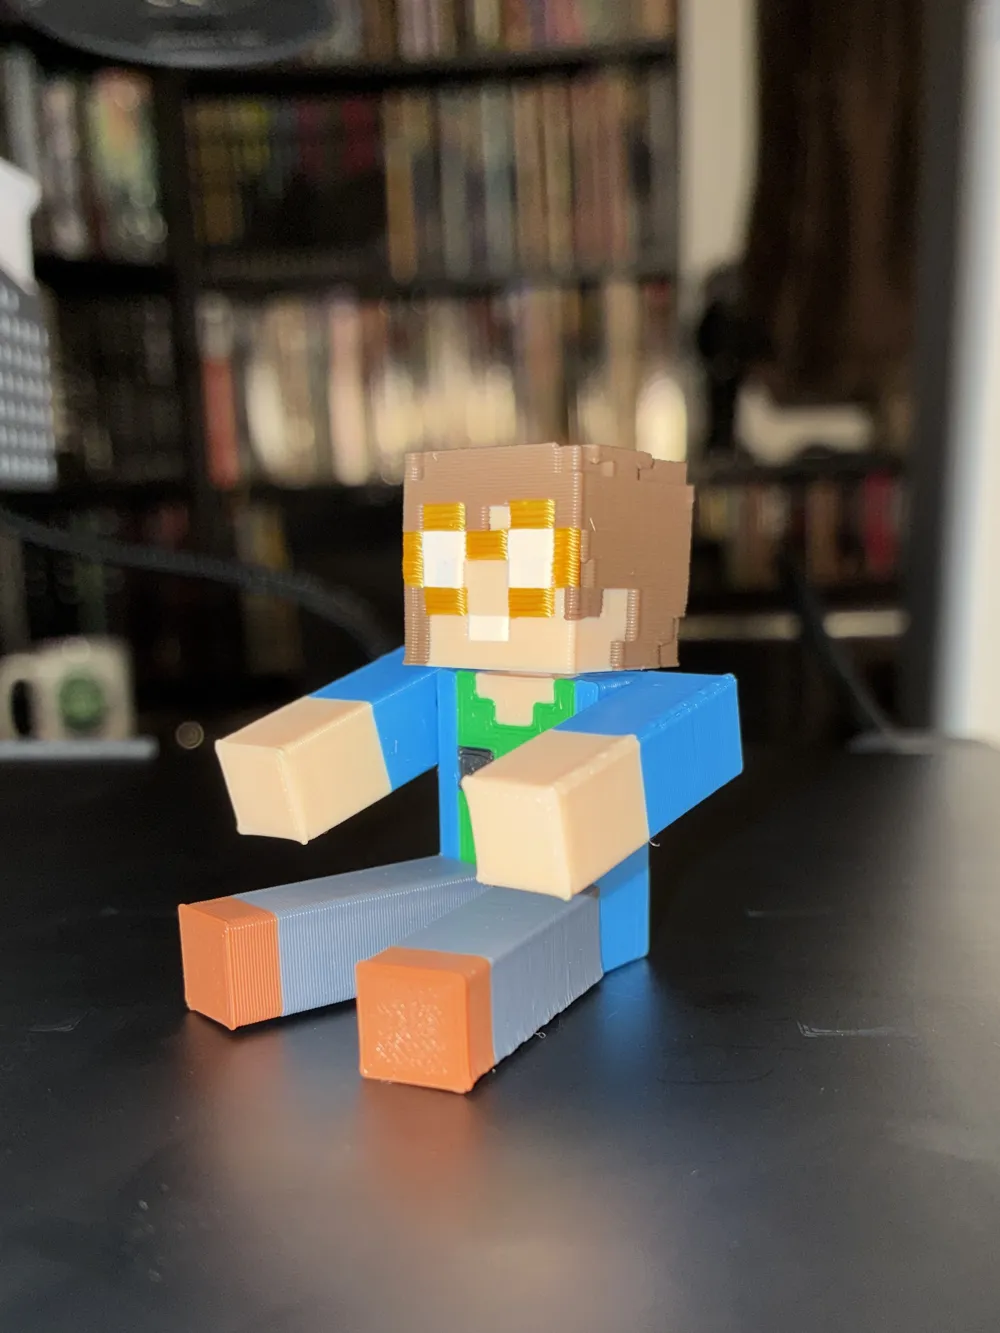
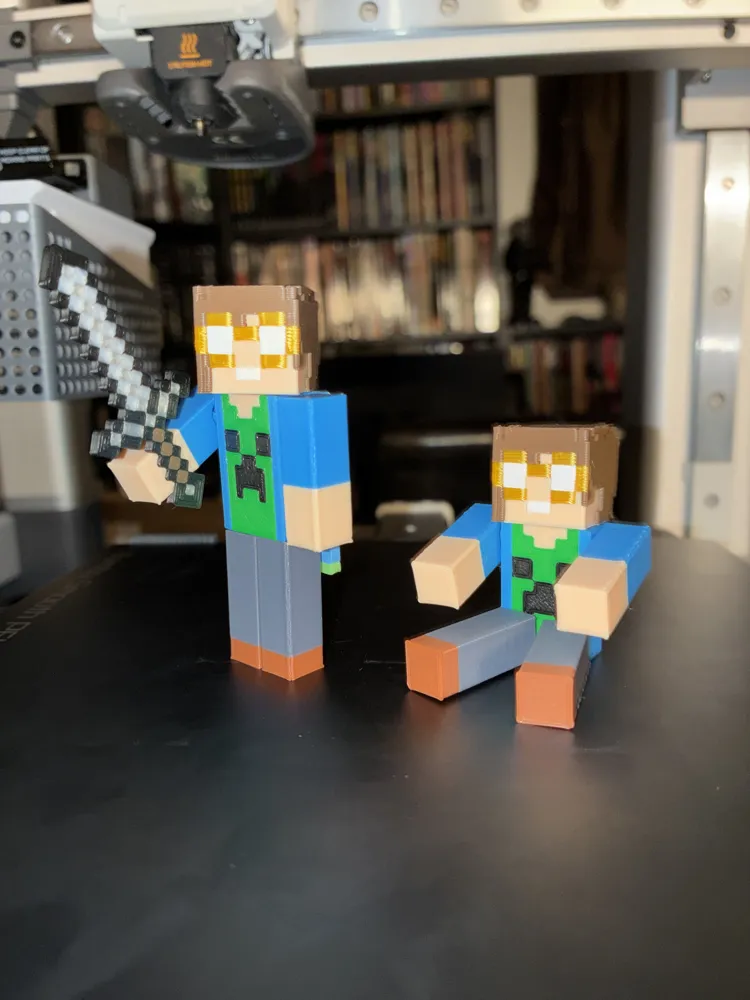
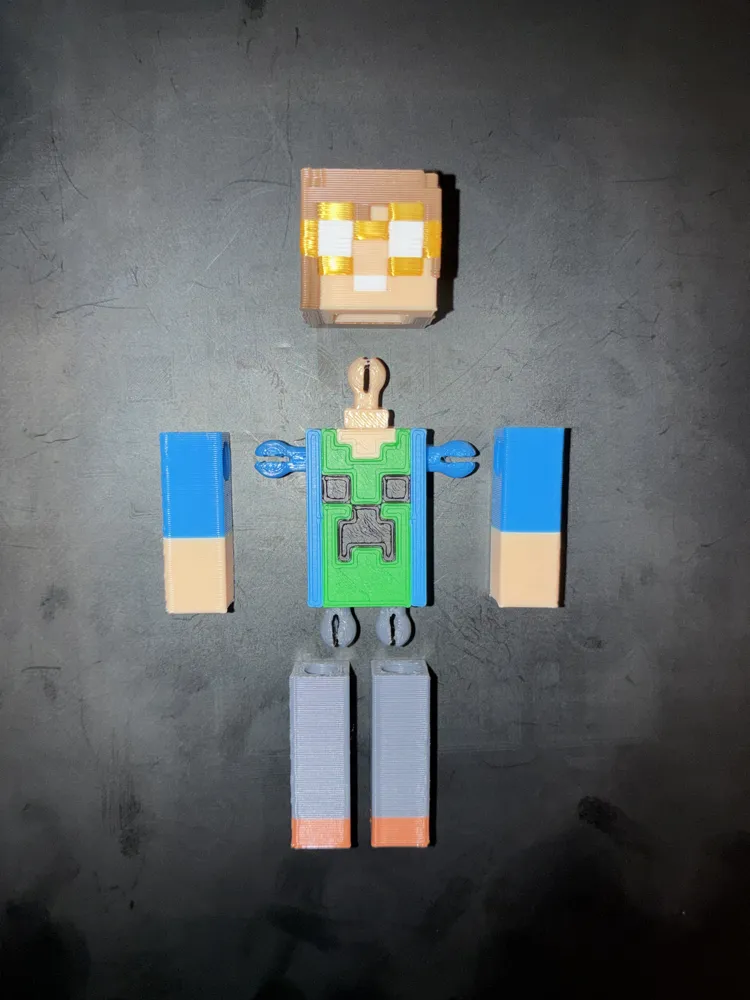
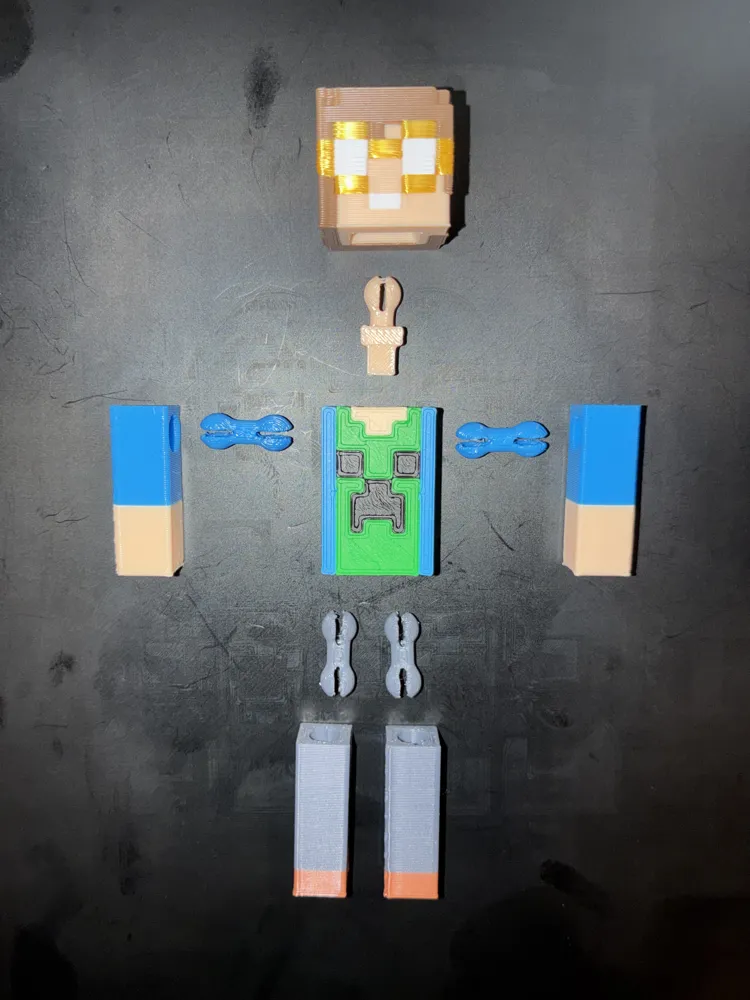
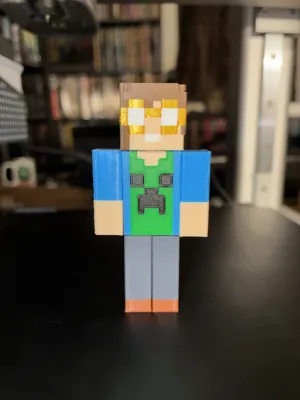
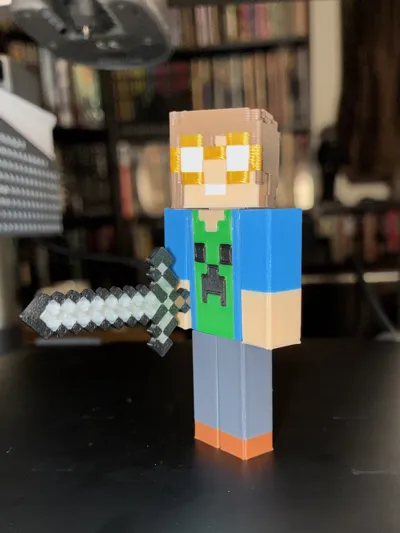
Included as an additional print profile for this project is my custom “Jaebii” figure, which I designed during the tutorial video based on my own custom in-game Minecraft Skin! If you’d like, feel free to print your very own Jaebii figure to display and play alongside your own Minecraft characters! In addition, feel free to add your own customized figure projects to this post as new print profiles if you’re comfortable with sharing them for other users to download and print! I’d love to see what everyone else is able to come up with, and I think it would be really fun to print other users’ figures myself to include as additional examples of ways the template figure can be used to design unique Minecraft action figures! You can also use the Jaebii print profile as a reference for how I personally decided to orient the pieces I ended up printing for my figure, although depending on the color placement of your pieces, you might want to orient your pieces differently from mine. Be sure to pay close attention to your supports, your plastic presets, temperature settings, object placement and orientation, and all other printer settings or preferences you may prefer.
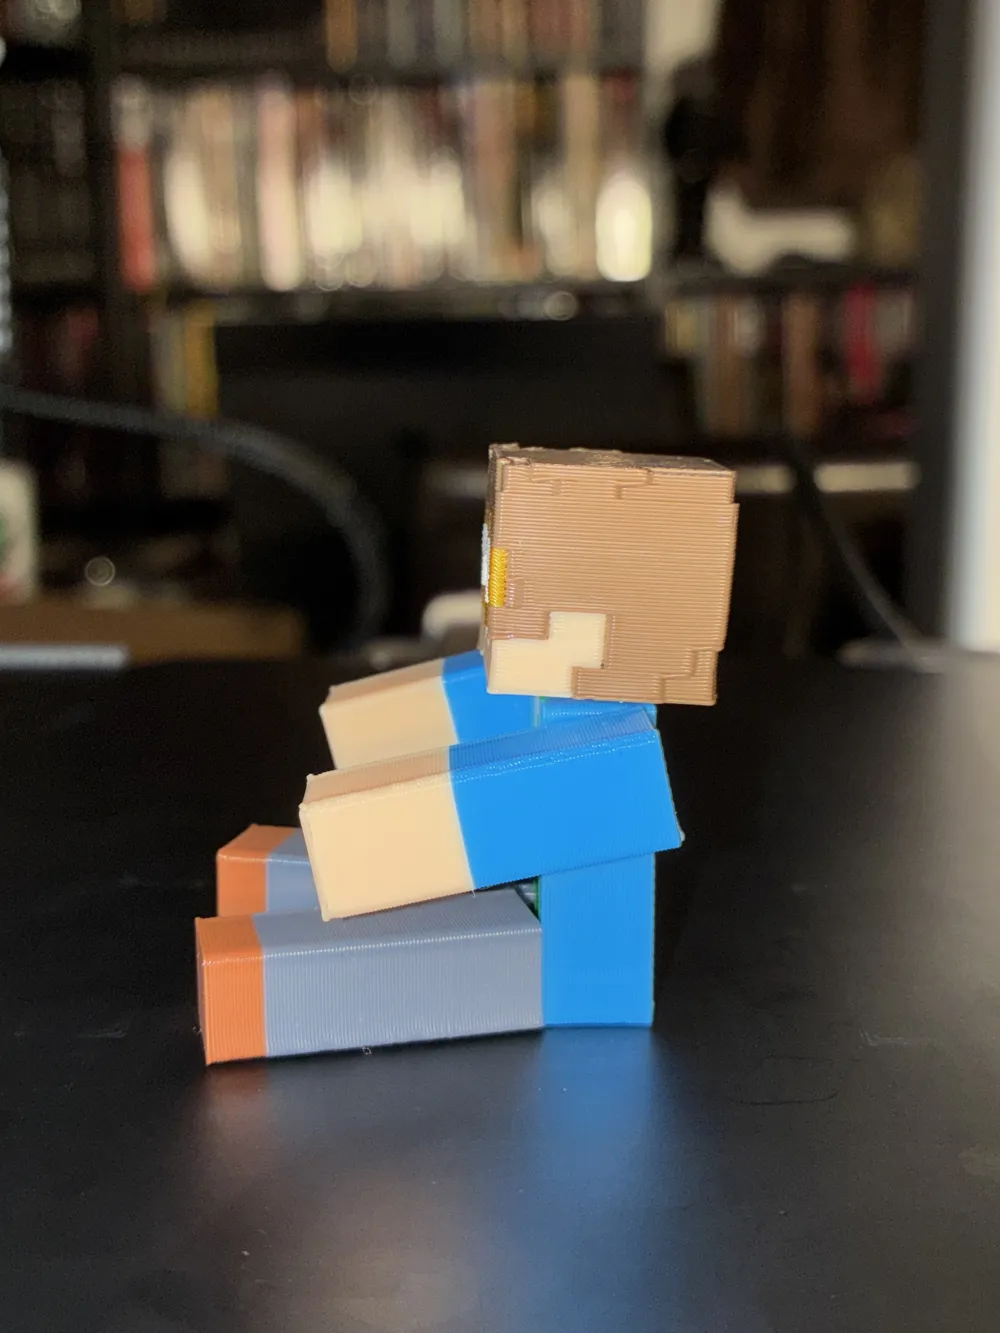
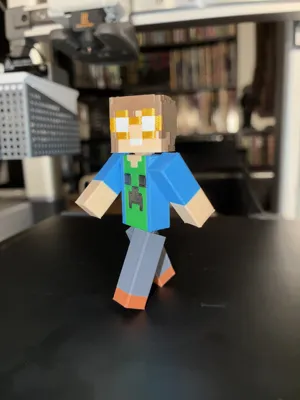
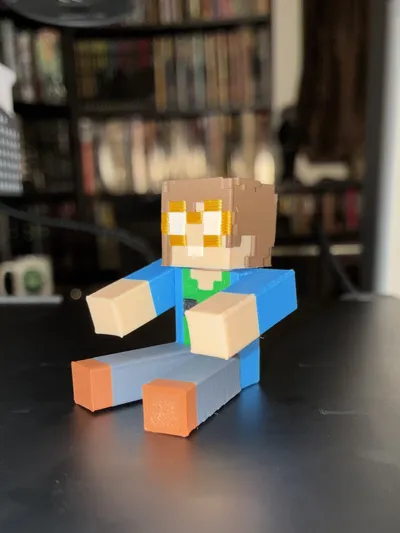
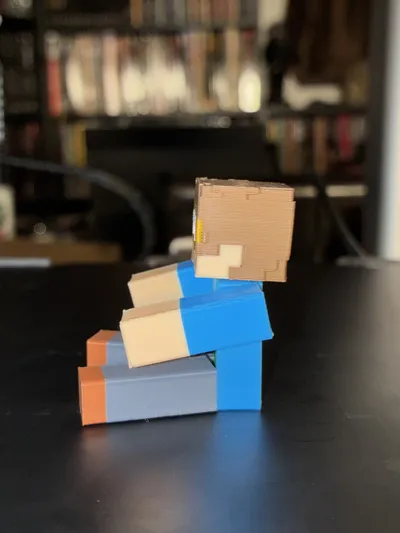
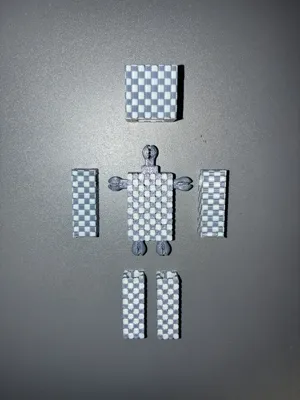
Compared to my V1 Customizable Minecraft Skin figure design, which used square assembly pegs and was more of a “poseable statuette” than an articulated “action figure,” this new V2 design is upgraded to have a full range of articulation similar to official Jazwares/Mattel Minecraft figures, while maintaining the seamless game-accurate Minecraft character model without any noticeable joints or articulation points! These new articulation joints also make the assembly process so so so much easier and more intuitive than it was before (though I’d still suggest using a hairdryer to slightly heat up the joint sockets during assembly to make everything easier to plug in, but NOT the joints themselves), and they allow for much easier swappability between alternate parts and replacements for broken parts (the neck can even be printed either attached to the torso or separated from the torso as an individual piece in order to make it easier to replace if the neck breaks). The arms can rotate 360 degrees around and stretch outwards slightly, the legs can stretch forward and backward (and somewhat outwards), and the head can rotate, look up and down, tilt side to side, and pop upwards slightly to create enough clearance for the arms to pose diagonally without bumping into the corner of the head! Much like the V1 design, the only way to make the legs able to achieve a “sitting” pose is to use the special “sitting” torso variant, where the legs connect into the front of the torso instead of the bottom of the torso. But unlike the V1 figure, the sitting variant is able to achieve the sitting pose a lot more effectively and accurately!
The joint sockets mostly use negative object cutouts to print the holes, and it seems like the sockets will ALWAYS print as the base color the OBJECT is set to no matter what you pixel-paint on the outside. This can definitely prove to be a little inconvenient for pieces like the Item Holding Arms, which will have both a shoulder joint socket and an Item/Accessory Holding cutout, which will both be whichever color the Arm Object is set to. You might find it easier to simply use the “Mesh Boolean Subtraction” tool to subtract either the negative object shoulder socket or the hand cutout in order to paint/place manual supports inside the holes. UNFORTUNATELY, using ANY Mesh Boolean function on a pre-painted object will erase ALL painting from it (which is why I tried to use negative objects instead, since it’s easier to modify if necessary), so I only recommend doing that if your Arms/Legs are as easy to pixel-paint as my Jaebii Skin Figure design. My suggestion would be to make the cutout Arm styles the base color of whatever your HAND needs to look like, since you won’t really be able to see inside the shoulder joint sockets anyway. I know it might result in making the multicolor printing process take unnecessarily longer and use more material than preferable, but as long as you print as many styles of Arms on the same plate as possible, your multicolor printing waste should be comparatively minimal, relatively-speaking.
This new V2 version of my design also includes a brand new type of Head option: a Customizable 3D Hat Item Head! This piece is similar to the normal 2D Cube Head geometrically, but it includes an outer layer of half-height individual pixels placed along each side of the cube (except the bottom), allowing you to essentially custom-“model”/“sculpt” your own unique 3D Player Head by deleting/recoloring each pixel until you have an exact replica of your Minecraft Skin’s 3D Hat Item! In order to do this, you’ll need to be able to click on each individual pixel object included in the merged object group (which can be accessed by switching from “global” to “object” on the left menu panel). Unfortunately, the only way I was able to figure out how to click on each specific pixel I wanted to delete was to first switch from clicking on the object group itself to clicking on the individual parts of the group, which to my knowledge can only be done by first clicking on any of the object parts within the object group on the left panel, and THEN clicking directly on the individual pixel you want to delete inside the plate. If anyone else knows an easier way to switch to a mode that allows you to click directly on an individual part within a merged object group on the plate rather than automatically defaulting to clicking on the full assembled object group, then by all means use that method instead! And tell me how to do it in the comments while you’re at it! And if you’re confused about the method I tried to explain, then be sure to watch the customization tutorial video I recorded and pay close attention to where I’m clicking so you can learn how to do it too!
I also discovered that sometimes a Minecraft Skin’s Player Head has more than four colors including the colors for the eyes, which are usually white and whichever particular eye color. For that reason, I wanted to design a few additional Head options with removable separated eyes, which can be printed separately as individual pieces (each with four maximum colors) and plugged into the eye sockets, which allows for four total colors on the Separated Eye Head options without needing to waste any of your colors on the eyeballs! There are four Separated Eye Head styles, each with a different variation of eye size/position, which is hopefully enough to cover a majority of desired Player Skins. For assembly, I’d definitely suggest using a hairdryer to heat up the eye sockets and maybe even the eyeballs themselves a little bit, then just press the eyes all the way into the eye sockets!
For reference, I included an example customized 2D Head for each of the styles of Separated Eye Heads, featuring skins that I’ve either already designed for personal commissions, or that I personally like! These include LadyAgnes (Agnes Larsson from Mojang, often seen during Minecraft LIVE), Super Mario (previous commission), my Player Head from the ORIGINAL version of my Minecraft Skin (which I have a very old Shapeways 3D-printed statuette of, the precursor to all my endeavors on my quest for the perfect customizable Minecraft Skin action figure), and MineyLO (previous commission).
You can also combine the Separated Eye Head options with the Customizable 3D Hat Item Head! To do this, simply place both Heads on one plate, then right-click on the plate and press “select all” then click “merge,” and once both Heads are combined into a single merged group, use the “move object” tool to move the Separated Eye Head to the exact same X,Y,Z coordinates of the normal Cube Head inside the Hat Item Head, then delete the spare Cube Head and leftover neck joint negative object. Alternatively, before merging the objects, you can attempt to right-click & “center” both Heads to the middle of the plate, then merge them and delete the duplicates. By combining the 3D Hat Item Head with the Separated Eye Head, you can effectively print a custom 3D Head with a maximum of 4 colors without worrying about the colors for the eyes taking up part of that limit!
Also, if your Player Head needs separated eyeballs but one of the eyes is covered up or obscured by the character’s hair, you can try using one of the example customized 2D Separated Eye Heads with the eyeballs ALREADY inserted and simply delete whichever eyeball you need to print separately as an individual object (which can be done through the object group panel on the left), and use the “fill by connected object” paint tool to recolor the inserted eye to be the same color as the hair/skin/whatever. That way, you’ll have a customizable 2D Head with only ONE separated eye socket, which you can reposition inside the 3D Hat Item Head assembly to replace the default 2D Cube Head. It ain’t perfect, but sometimes 3D design requires a lot of creative finagling and out-of-the-box thinking to solve problems in unique ways, and it’ll make your skills as a designer even stronger as a result!
If necessary in order to avoid your printer’s color maximum limitations, it might be feasible to print your Player Head’s 3D Hat Item layer SEPARATELY from the 2D Cube Head underneath. To do this, you would simply need to access the object group for your customized 3D Head and delete the inner Cube Head, leaving behind only the layer of 3D pixels. You can then attempt to print the Hat Item layer on its own as long as EVERY pixel is still connected and touching every other pixel. If your Hat Item piece has floating pixels or pixels that aren’t attached to any other pixel, then it probably won’t work. In order to achieve the maximum number of multicolor pieces per Player Head, you could attempt to combine a Separated Eye Head (with attachable multicolor eyes) with a separated Hat Item layer, which would allow for the highest amount of individual multicolor pieces available to assemble your 3D Player Head using as many colors as you might need! However, 3D Hat Item pieces may not assemble perfectly onto the 2D Head geometry when printed separately, since that wasn’t really the design intention when I created it. The 3D pixels are partially embedded inside the 2D Head, meaning if you attempt to print the Hat Item Layer separately and attach it like a hat or helmet, the pixels might not fit OVER the 2D Head. You can attempt to experiment with increasing the size of the Hat Item layer to make it fit overtop the Cube Head, as well as using the Mesh Boolean Subtraction tool to cut out the 2D Head from the rest of the Hat Item pixels in order to make them geometrically fit over the edges of the 2D Head OR try converting the 2D Head object into a NEGATIVE OBJECT to make it cut out the size of the Cube Head from the 3D pixels (theoretically), but either way, attempting to print the 3D Hat Item layer as a separate piece from the Cube Head itself is an unintended and untested process and may not result in the desired outcome. Printer discretion is advised. Print at your own risk. You have been warned.
While assembling the Separated Neck Piece option for my customized Jaebii figure, I noticed that the square neck peg sat too far/deep inside the torso, which slightly prevented the arm joints from plugging into the shoulder sockets all the way and made the arms look like they were sticking out too far. In order to resolve this, I made an updated version of the Separated Neck that has a shorter attachment peg which won’t reach as far inside the torso, meaning the arm sockets won’t be blocked by the neck anymore. The neck ought to be able to stay connected to the torso easily enough, but once you have the head attached to the neck and you’re sure the neck hasn’t been squished or twisted or broken, you MAY want to consider glueing the neck peg inside the torso, just to help prevent the neck/head from popping off the body since the neck peg is so short. But you might not need to. The updated Separated Neck Piece is now downloadable as an additional print profile if your figure requires it! Let me know if you notice any other weird geometric inconsistencies that I might have missed while printing my example figures and I’ll do what I can to create a fix for it!
Another thing I wanted to briefly mention was the figure’s scale. By default, all of my Minecraft figures are designed to scale accurately with the original Jazwares Minecraft toys, because those were the Minecraft toyline I personally grew up with. However, I realize that the current Mattel Minecraft toyline is also very prominent and features its own separate scale compared to the Jazwares toys, so I wanted to quickly provide an easy measurement formula to help with rescaling the figures/parts to scale more accurately with the Mattel figures instead. The calculated virtual height of the fully-assembled default/Jazwares-scale template figure is 2.68 inches (6.08 cm, or 68.0837 mm). The official height of the Mattel Minecraft Player figures is roughly 3.25 inches (8.25 cm, or 82.5515 mm), meaning the fully assembled template figure would need to be rescaled using the object sizing tool to be a height of 82.5515 mm, which results in a 121.25% scale increase. In order to apply this scale increase to the individual body parts (as well as any compatible accessories), I’d suggest right-clicking on a plate with at least two objects on it at the same time and clicking “select all” and THEN using the sizing tool while multiple objects are selected. This is because some of the objects MIGHT be slightly rescaled in the project already (for example, some parts might be sized at 99% instead of 100% to help with articulation tension), so in order to make sure you’re resizing the parts starting at “100%” it’s a good idea to select multiple objects at the same time, which will grab them all at “100%” of their current size (regardless of whatever their current size percentage is). I’m an artist, not a mathemagician, so when it comes to percentages and measurements, this is sorta the best I can do.
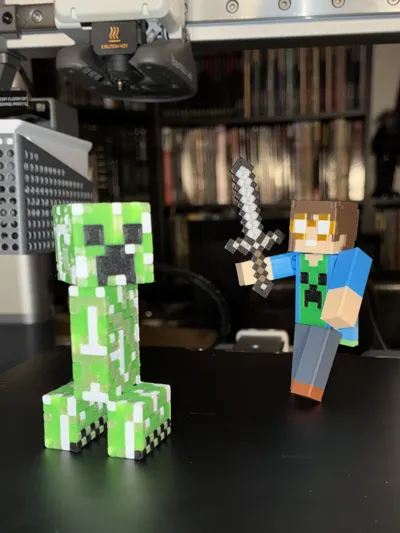
Geometrically-speaking, these V2 figures are fully compatible with the accessories I designed previously for the V1 version, including all the tools and weapons, and the Customized Capes which are available as a separate print profile on the V1 figure upload. I’m really hoping to have an opportunity to design even more accessories to go with these figures in the future, as well as making entirely new Minecraft figures and updating my previous figure designs with the same assembly/articulation scheme! I’m particularly hoping to upload my customized Steve and Alex figures using this project template very soon!
If you have any further questions regarding customizing/printing/downloading this project (preferably questions I didn’t already totally answer in the description you just read), feel free to ask in the comments and I’ll try to help if I can!
If you’re feeling generous and can spare enough money to donate a little to show your appreciation for my work, you can use this link to do so! (paypal.me/jaebii2) I’d really appreciate it! And thanks for taking a look at my Customizable Minecraft Skin figure! I'd love to hear about your experience printing this figure and see your final prints, so be sure to leave a comment with some photos/screenshots if your print is successful and use a Boost Token if you have any to spare!
Thank you for reading the description!
License

You shall not share, sub-license, sell, rent, host, transfer, or distribute in any way the digital or 3D printed versions of this object, nor any other derivative work of this object in its digital or physical format (including - but not limited to - remixes of this object, and hosting on other digital platforms). The objects may not be used without permission in any way whatsoever in which you charge money, or collect fees.


Comment & Rating (49)