
Rubber Band Powered Toy Plane THAT FLIES
Print Profile(2)

Bill of Materials


Description
Boost Me (for free)
Support my work as an aerospace engineering student designing and iterating a range of 3D printable models. Your boost helps me keep designing, testing and developing new ideas.
Description
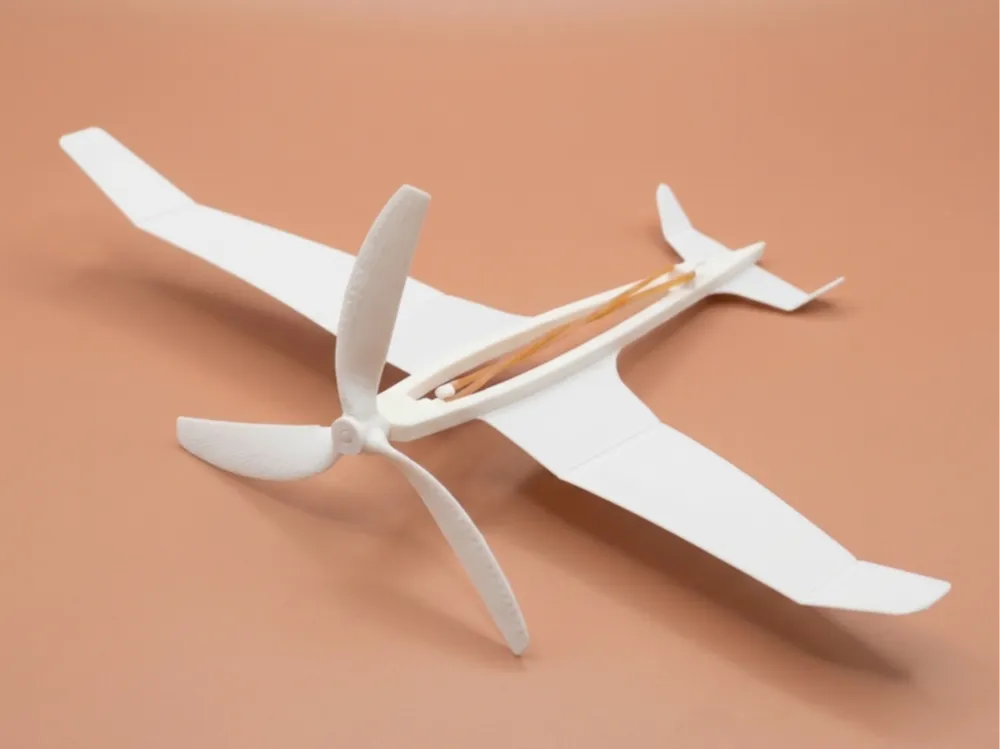
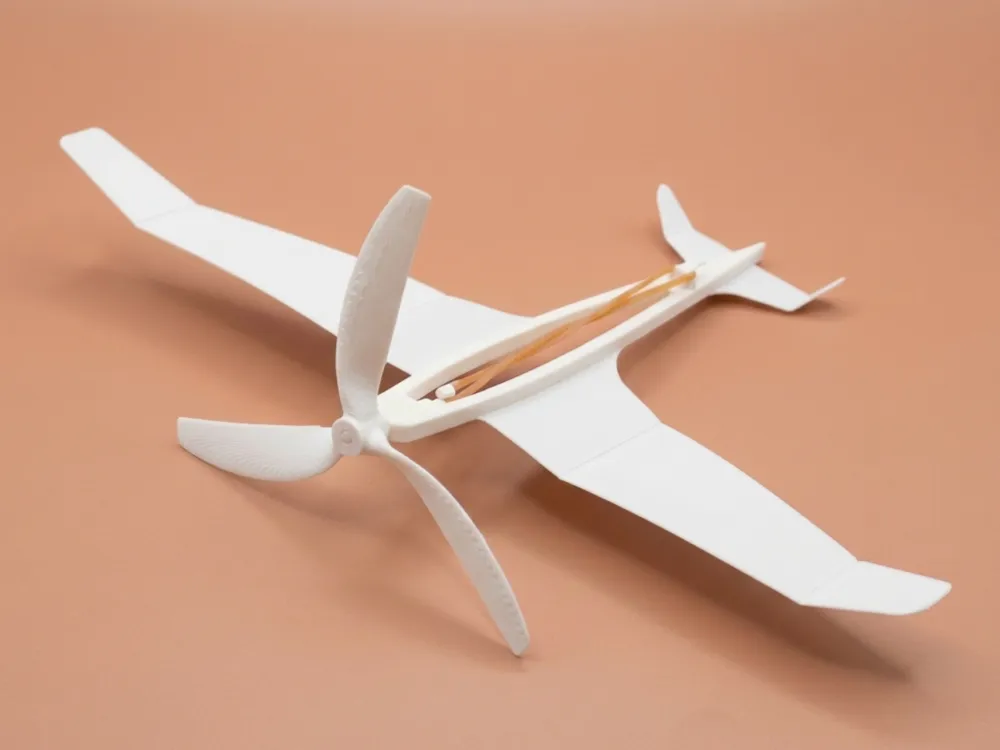
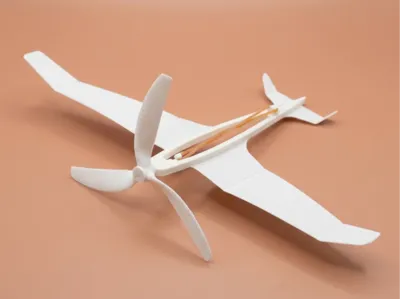
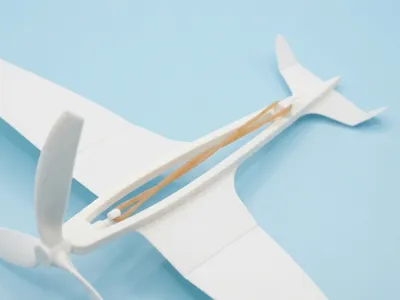
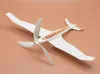
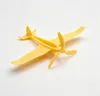
This is my second iteration of a rubber-band-powered 3D printed plane.
The fuselage has been redesigned around a NACA 0012 aerofoil profile. The model also uses an adjustable flat wing.
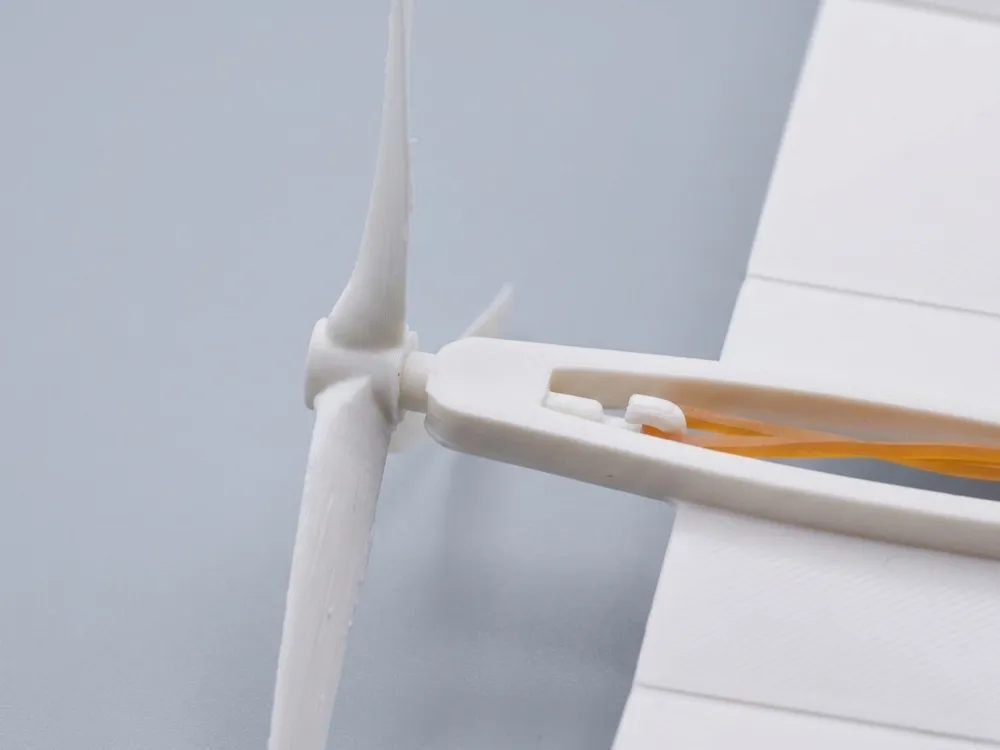
The front propeller is a 3D printed 3 blade propeller driven by a rubber band.
The materials and assembly approach are pretty similar, but this version was printed using Bambu Lab PLA Matte Ivory White filament.
This model is intended as a toy and a simple educational aircraft.
Materials Required
- 3D printer duh
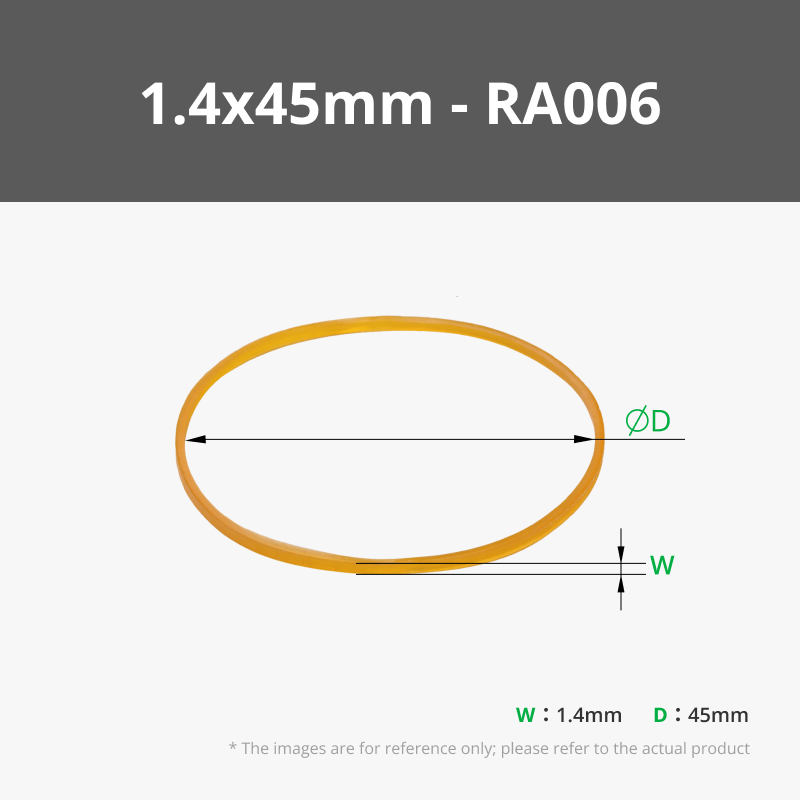
- Rubber band (40 to 50 mm)
- Super glue
- Bambu Lab PLA Matte Ivory White filament or any other suitable filament.
- Optional: sandpaper or small file for cleaning tight printed joints
Assembly Instructions
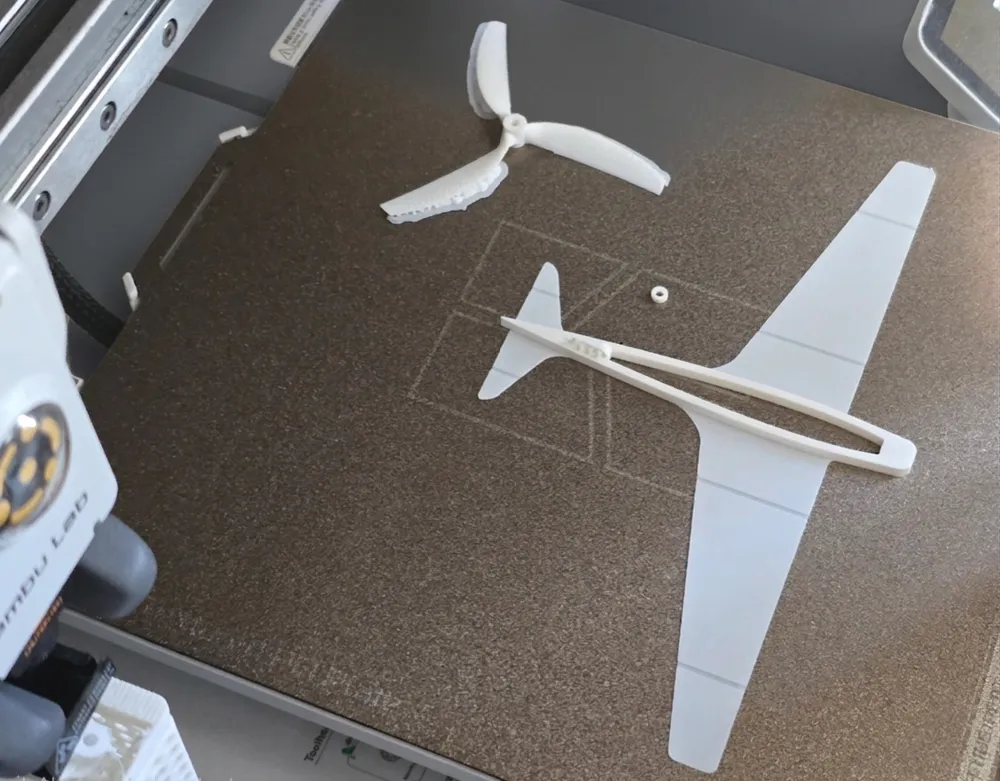
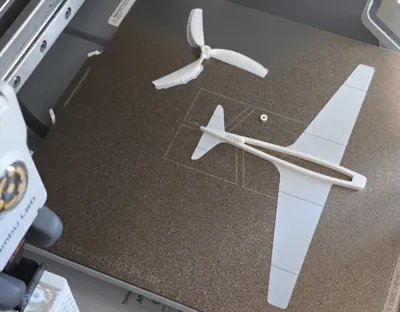
Step 1: Print all parts
Print all the model parts.
For best results, keep the parts lightweight.
A heavy fuselage or propeller will reduce flight performance.
After printing, remove any stringing, rough edges or small blobs from the parts.
Step 2: Adjust the adjustable wing
The wing should sit straight and level when viewed from the front. Small changes to the wing position or angle can be used later to trim the flight path.
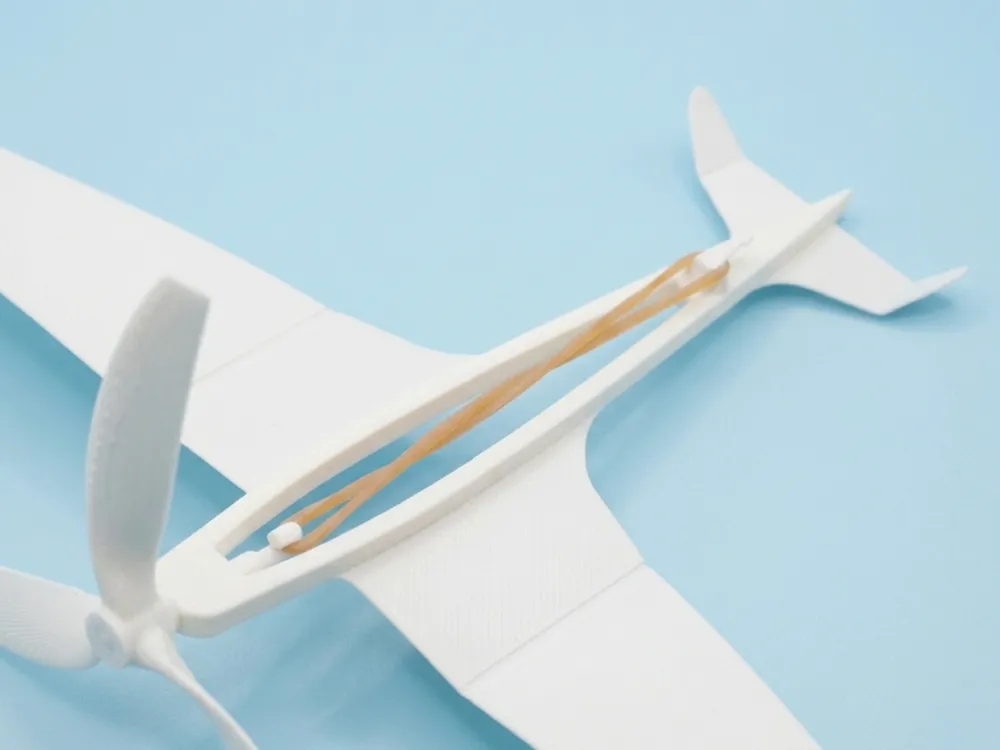
Step 3: Insert the rod hook and attach the small nub
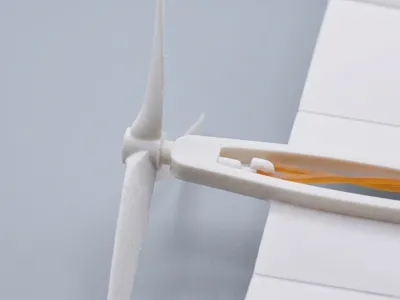
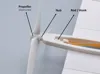
Insert the rod, as shown in the pictures, and then add the nub on the outside of the nose of the plane. Do not glue anything as off yet.
Step 4: Install the propeller
Then insert the propeller after the nub and glue only the front of the propeller to the rod, make sure to not glue the nub to the nose or rod.
Allow the glue to dry fully before installing the rubber band or testing the propeller.
Check that the propeller can rotate freely, which then inturn should also now turn the hook and thus wind the rubber band. The nub should be abe to rotate independently to the propeller and hook.
If the propeller is stiff, lightly clean or sand the contact area until it spins smoothly.
Step 5: Attach the rubber band
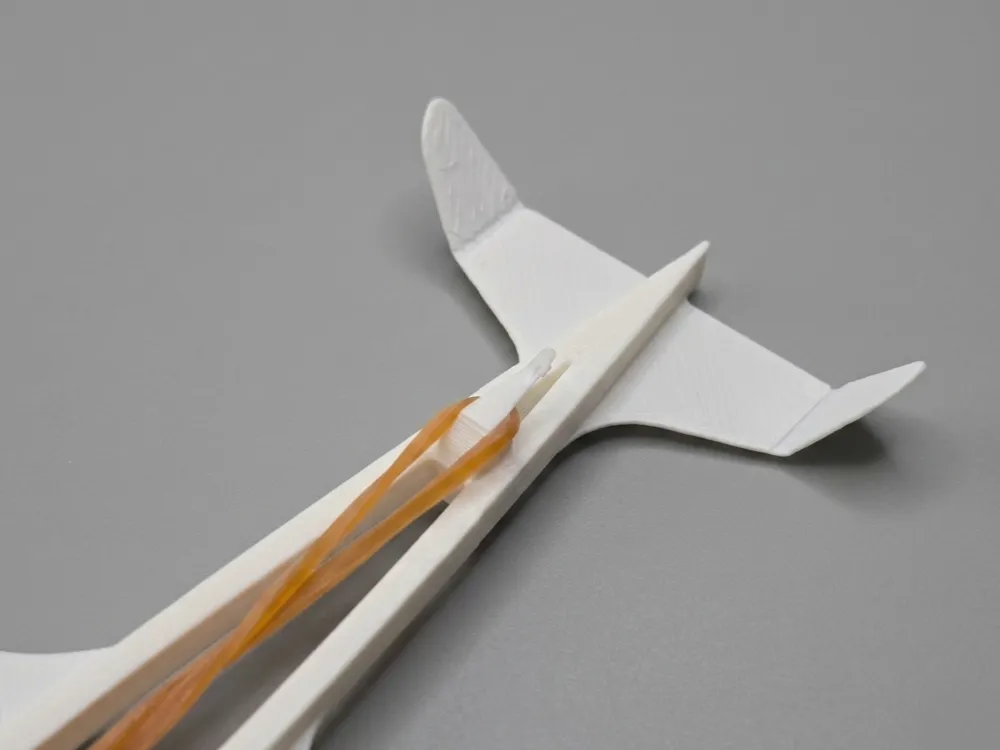
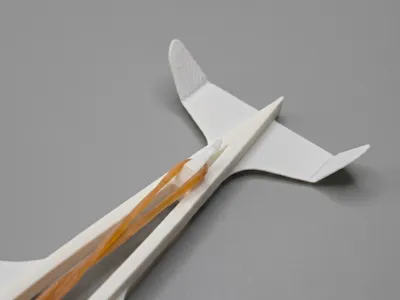
Attach one end of the rubber band to the rear hook on the fuselage.
Attach the other end to the propeller hook.
The rubber band should sit along the fuselage centreline. It should be tight enough to drive the propeller, but not so tight that it bends the fuselage or pulls the propeller out of alignment.
Step 6: Check alignment
Before winding the rubber band, check the full model alignment.
The fuselage should be straight, the wing should be level or adjusted, and the propeller should spin freely. The rubber band should not rub heavily against the printed body.
If the model turns too much during testing, adjust the wing position slightly and test again.
Step 7: First test wind
Wind the propeller gently by hand for the first test.
Do not fully wind the rubber band immediately. Start with a low number of turns to check that the propeller works and that the rubber band stays attached.
Release the propeller carefully and check that it spins smoothly.
Step 8: Flight trimming
Test the plane in a clear open area.
If the nose drops or rises quickly, increase throw speed or try a different wing angle. (CoG sits below the wings so the issue can be fixed with just how you throw it).
If the plane rolls or turns sharply, check that the wing is symmetrically bent or is flat and that the propeller is aligned with the fuselage centreline.
Notes
- This model is designed for simple educational testing and is a toy, not long-distance powered flight (a motorised version would be cool).
- Lightweight printing improves performance.
- The propeller must spin freely for the rubber band mechanism to work properly.
- The adjustable wing is useful for experimenting with stability and trim.
- Test indoors only if there is enough space, or outdoors in calm conditions.
- Do not aim the plane at people, animals, windows or fragile objects.
- One of the weak points of this model is the hook for the rubber band at the back of the plane. Do reinforce it with either superglue (worked best for me) or epoxy.
Print Material Used
Printed using Bambu Lab PLA Matte Ivory White filament.
Documentation (1)
License

You shall not share, sub-license, sell, rent, host, transfer, or distribute in any way the digital or 3D printed versions of this object, nor any other derivative work of this object in its digital or physical format (including - but not limited to - remixes of this object, and hosting on other digital platforms). The objects may not be used without permission in any way whatsoever in which you charge money, or collect fees.


Comment & Rating (25)