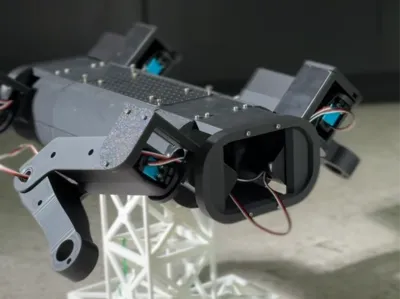
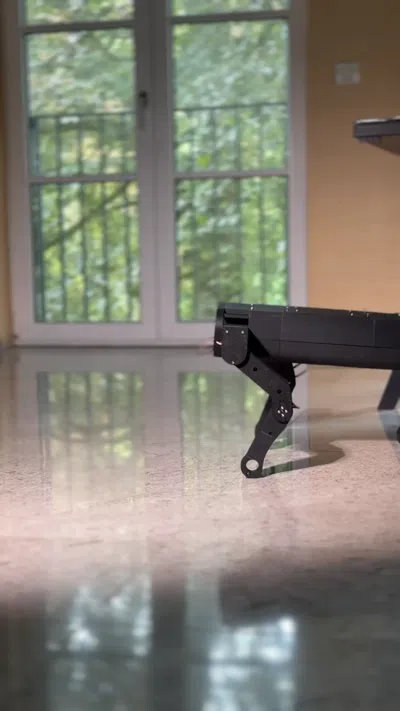
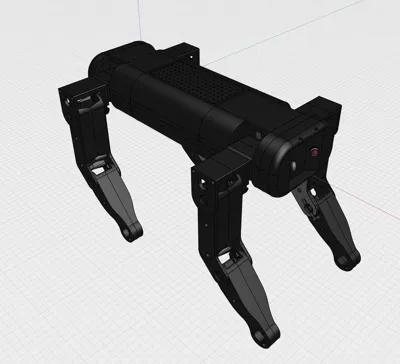
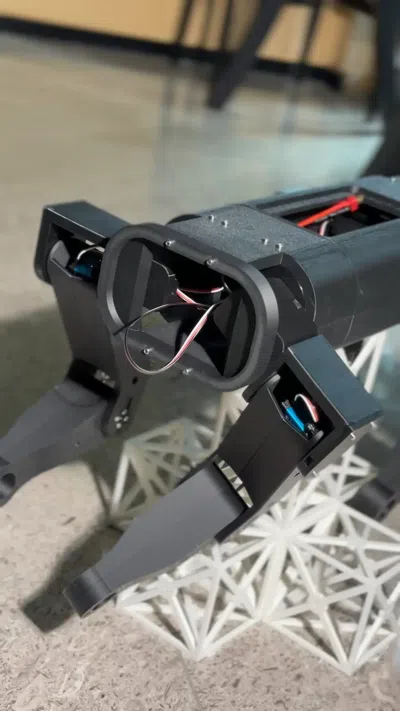
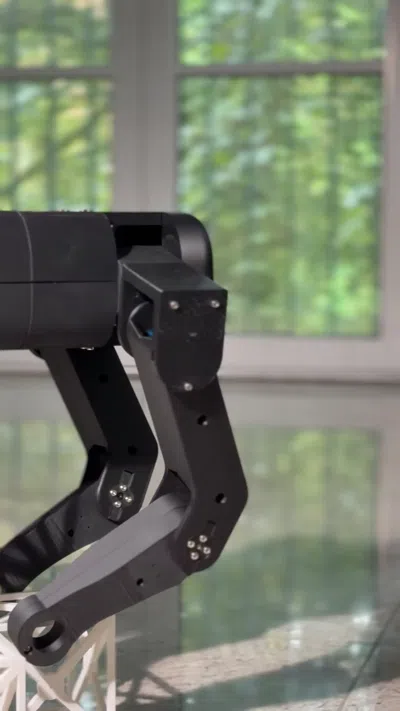
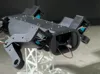
Quadruped (Robot dog) V02


Print Profile(1)
Bill of Materials
.jpg)
Description
Boost Me (for free)
I am currently building a way better 3d printed quadruped, if you want me to also open source him, please boost!
Important Notes This is an advanced electronics/mechanics project, not a simple toy print.
If you need help, or need the .ino files etc, join our discord: https://discord.gg/fp8gyYxzmE
Please test carefully:
- calibrate every servo before walking
- power the servos from a proper high-current power rail
- do not power the servos through the Arduino or small jumper wires
- test with the robot lifted before putting it on the ground
- start with small movements
Parts I used:
A small note about this project:
I know that building such a large quadruped with regular servos does not really make sense from a practical engineering perspective. The servos are limited, the mechanics are not ideal, and there are much better ways to build a serious robot dog.
But that was not really the point of this project.
I wanted to learn more about robotics, motion control, reinforcement learning, and how AI can be used to train robots. This build gave me a lot of hands-on experience with mechanical design, electronics, servo control, walking patterns, and simulation-based training.
For example, I also experimented with training the robot in Godot. This time, I used a different approach: first, I manually designed a walking animation, as shown in video 1. After that, I used PPO training to let the AI improve the movement based on that animation. In video 2, you can see a rendering from the training process.


So even if this robot is not the most practical design, it taught me a lot. My next robot project will combine everything I learned from this build, the training experiments, and all the mistakes along the way. Also for training I will switch to Gazebo…
The robot is open source, so feel free to improve it, remix it, and share your progress. Follow me on TikTok if you like my work!
License
You shall not share, sub-license, sell, rent, host, transfer, or distribute in any way the digital or 3D printed versions of this object, nor any other derivative work of this object in its digital or physical format (including, but not limited to, publishing derivative works outside the Makerworld platform or hosting on other digital platforms). The objects may not be used without permission in any way whatsoever in which you charge money or collect fees. Subject to the above restrictions, derivative works may be published only within the Makerworld platform, and all such derivative works must be licensed under the same SDFL‑C license, without modification or additional terms. You may download the digital versions of this object, 3D print it, and display images, videos, or usage demonstrations of 3D printed versions of the object on personal social media platforms or Makerworld official channels, provided that no digital versions of the object are shared or distributed.
Comment & Rating (6)