
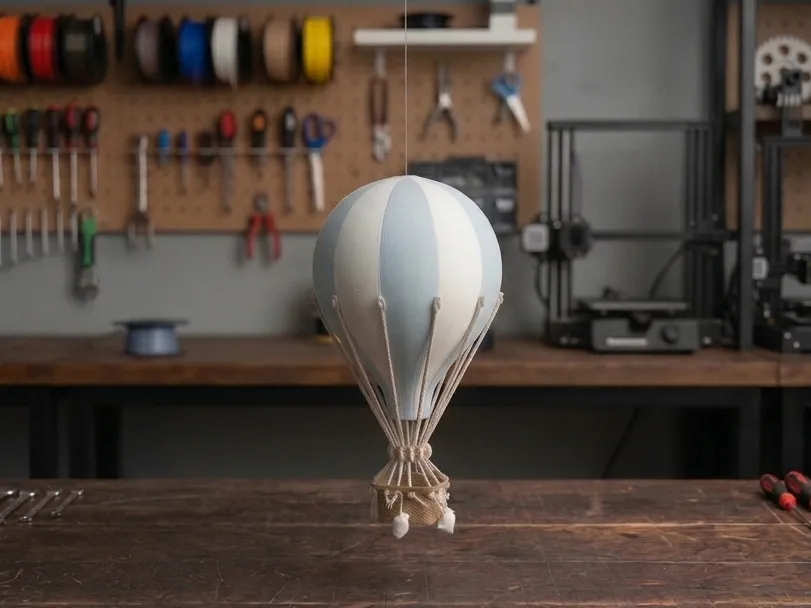
Floating Hot Air Balloon - Ceiling Hanging Decor
Print Profile(1)
Description
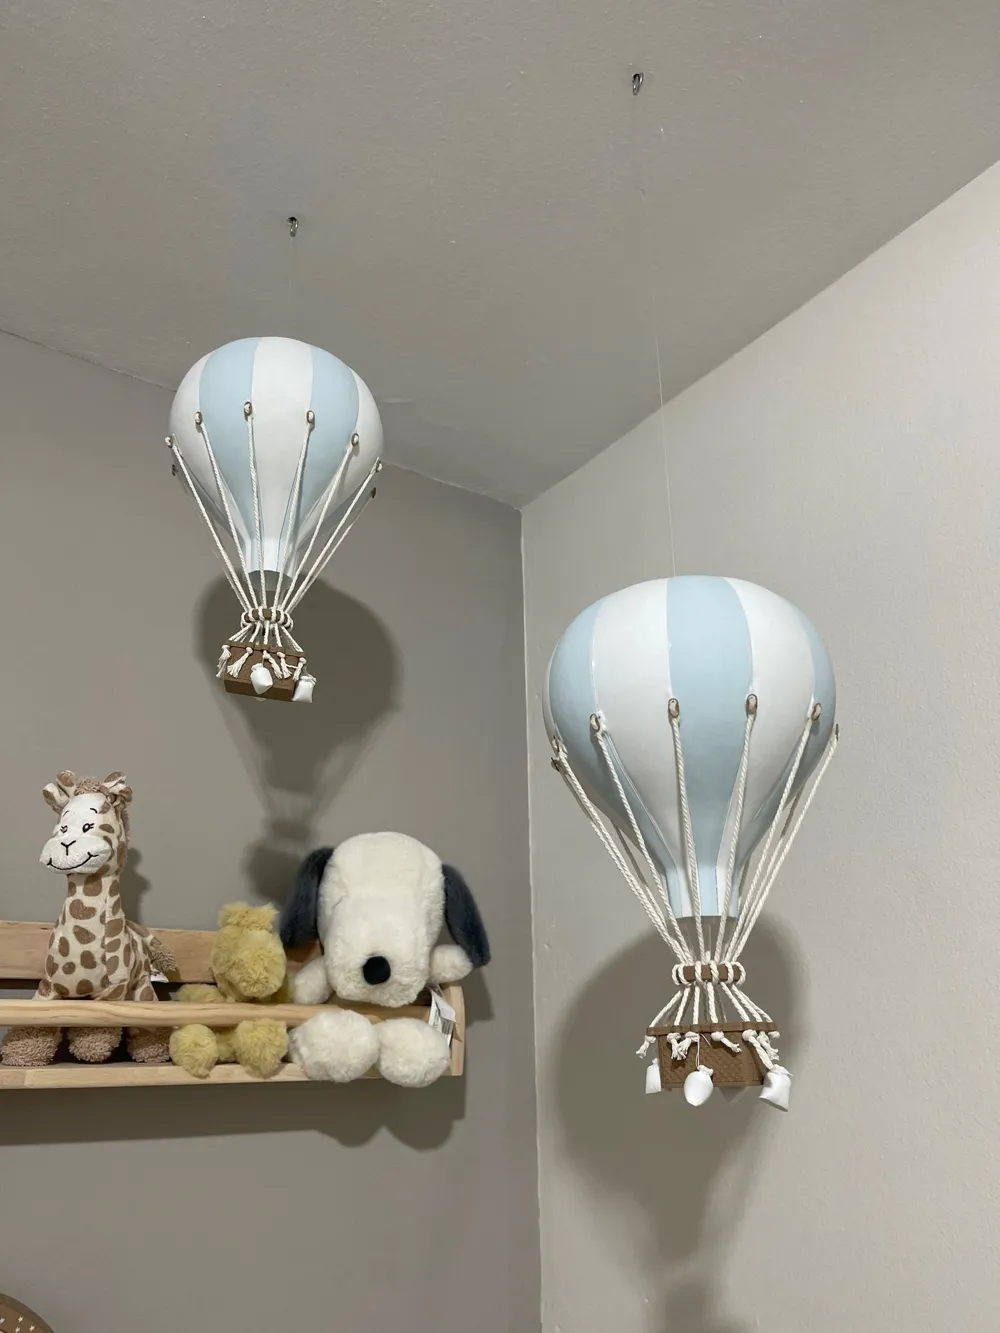
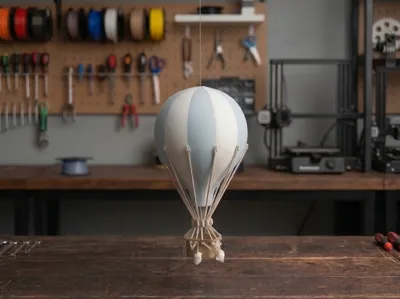
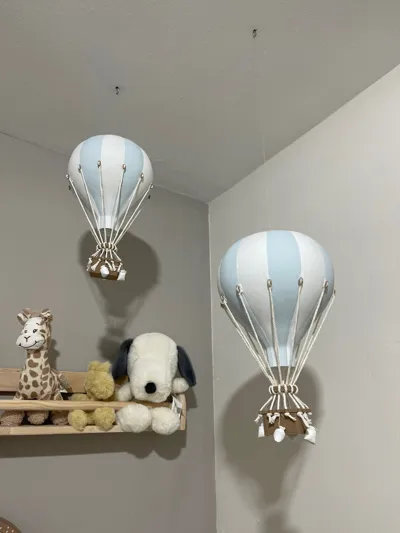
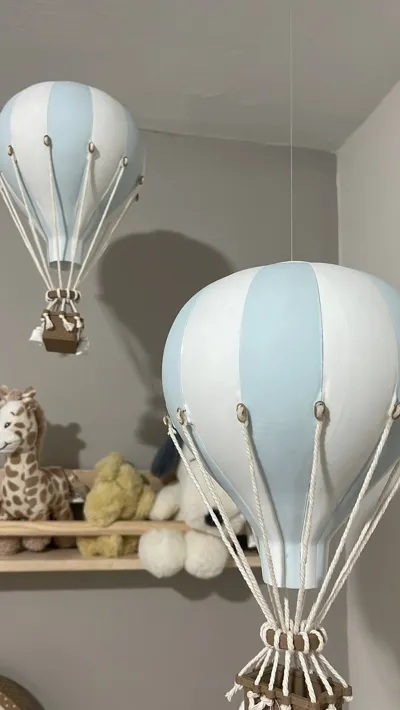
🎈 Floating Hot Air Balloon – Ceiling Hanging Decor
[Spanish] Beautiful hot air balloon specially designed to hang from the ceiling. It is a perfect decorative element for children's rooms, offices, or creative spaces. This design does NOT require an AMS system (Multi-material), as it is printed in optimized parts to achieve a spectacular finish by combining filaments.
- Assembly difficulty: 🛠️ 7/10 (Requires patience and some manual skill for adjusting the ropes and leveling).
- Estimated assembly time: 1.5 - 2 hours.
🧵 Required Materials (Required Materials)
To achieve the exact finish shown in the photos, the following Smart Materials 3D brand filaments were used:
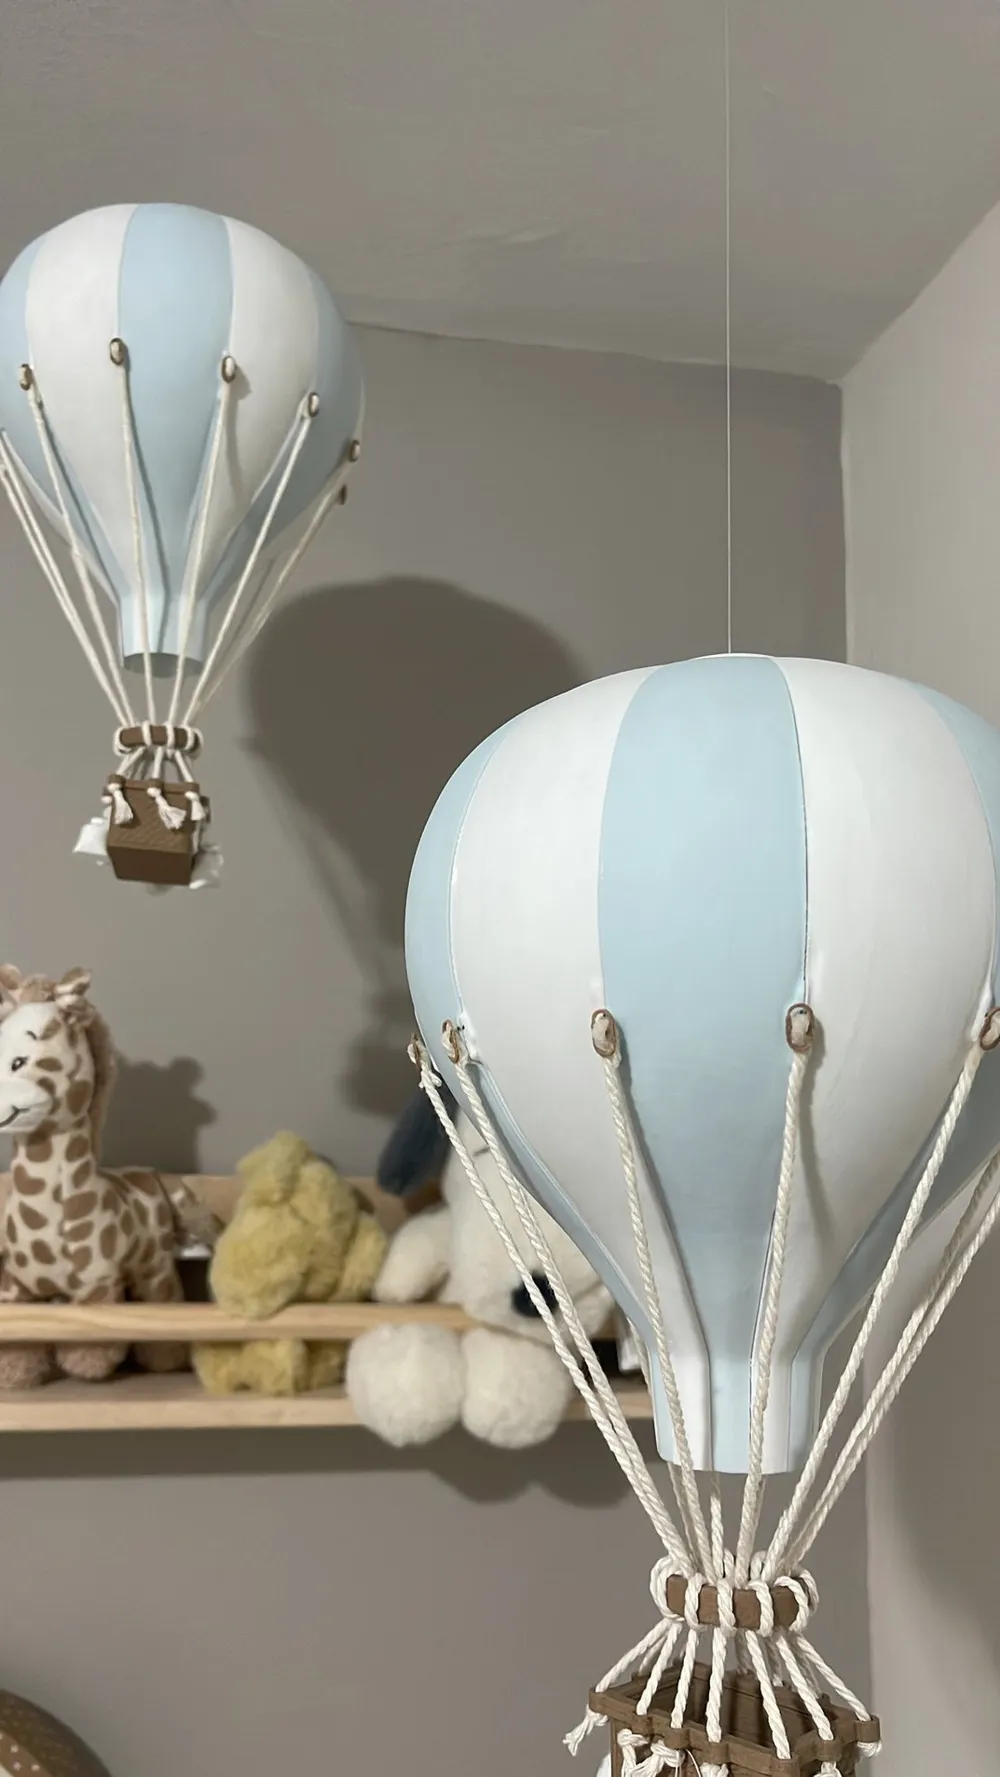
- Balloon (Main body): PLA PASTEL Aqua & PLA Recycled White (Printed in parts/segments).
- Basket and details: PLA WOOD Acacia (Filament with real wood particles that gives it an incredible rustic look).
Non-printed components:
- Rope: 3mm diameter cord (preferably cotton or natural-looking).
- Hanging thread: Transparent nylon thread (fishing line type) to make the balloon appear to float invisibly.
- Extras: A needle, scissors, glue (cyanoacrylate), and a pencil.
⚙️ Recommended Print Settings
- Layer height: 0.2mm is sufficient.
- Infill: 5% - 10%. Important: Keep the balloon as light as possible so that it hangs safely.
- Supports: No supports are required for the main parts if your printer has good bridging capability.
📐 Step-by-Step Assembly Guide (Assembly Guide)
Assembly requires skill, but by following these steps, you will achieve a perfect result:
1. The Balloon
Assembling the balloon structure is easy and simple. Simply fit and glue the segments, alternating colors (Aqua and White) until the sphere is closed.
2. Preparing and Marking the Ropes
Prepare the anchor point at the top where the ropes will attach to the balloon. To ensure all ropes are glued at exactly the same height on the balloon body, use one of these two tricks:
- Bowl trick: Place the balloon inside a bowl and, resting the pencil on the rim, rotate the balloon to draw a perfectly level line.
- Ruler trick: Place the balloon upside down on the table. Rest a ruler on the table and make a small mark with the pencil at the same height around the entire circumference.
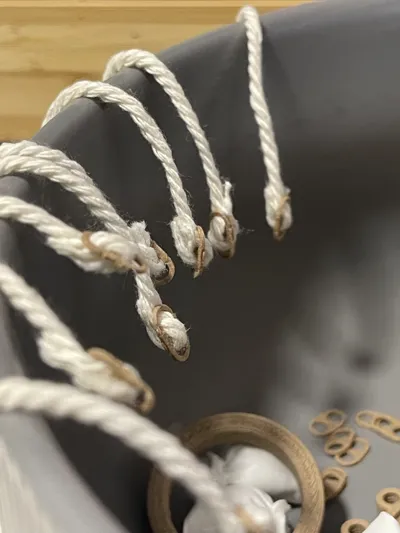
3. Gluing the Ropes and Adjusting the Hoop
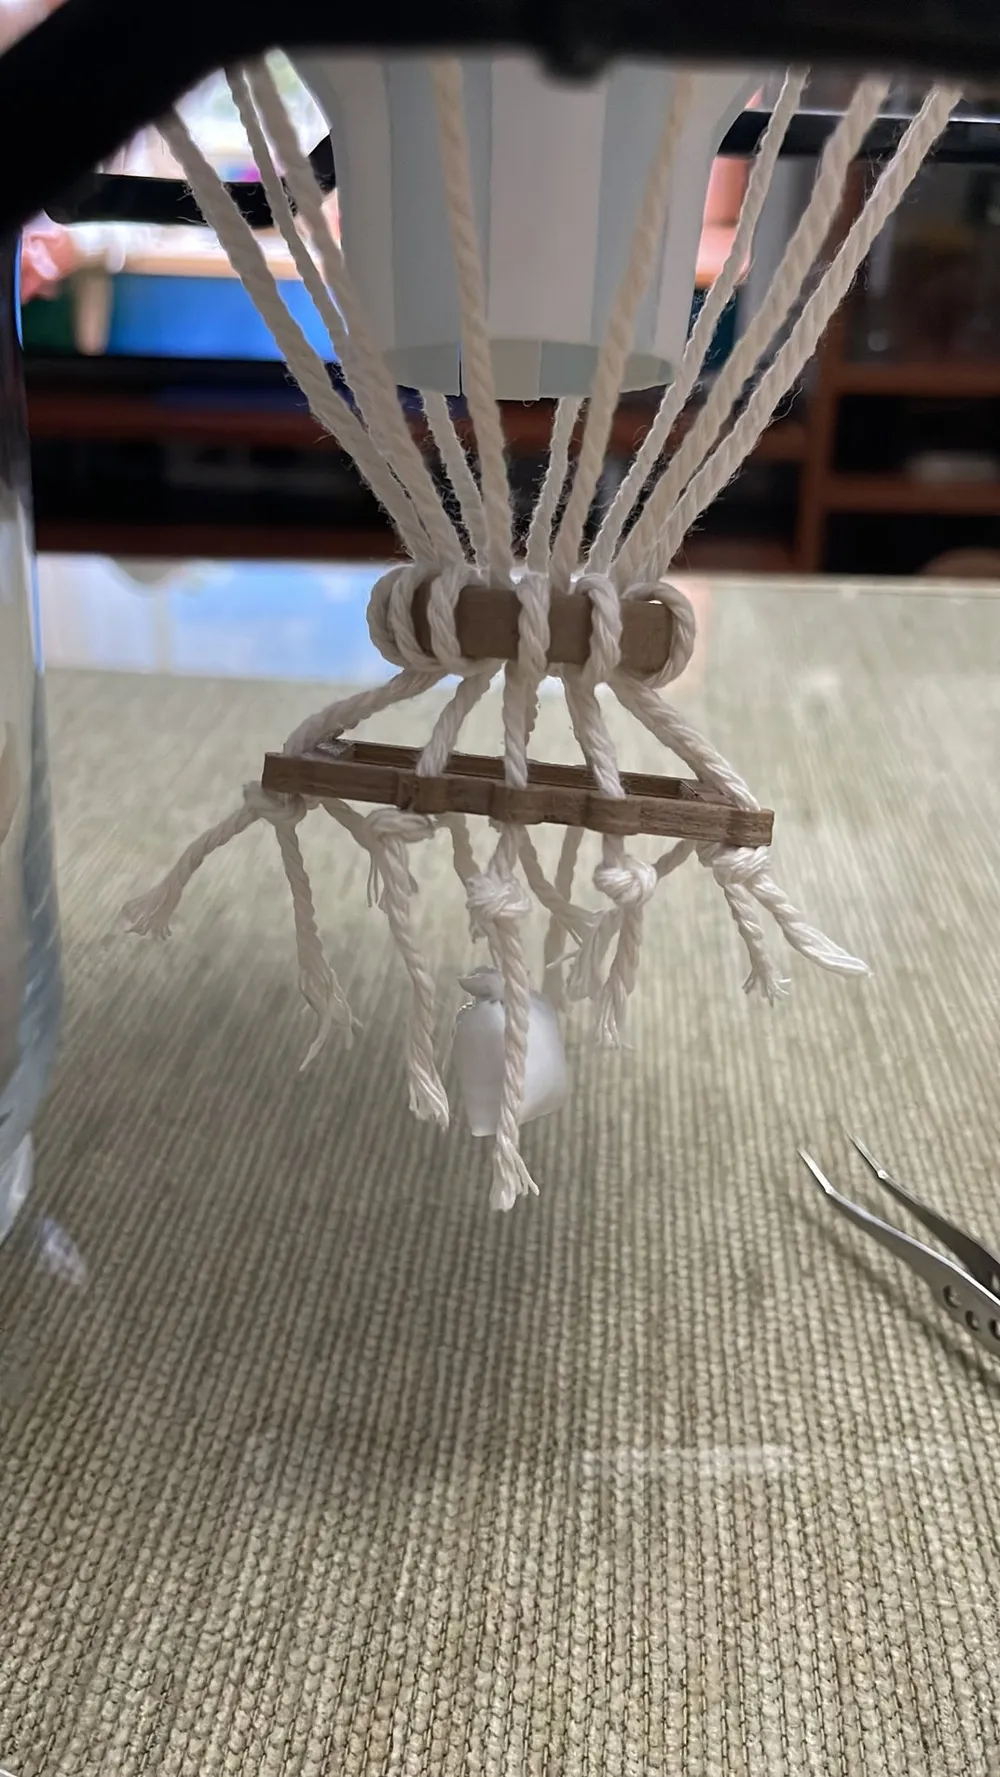
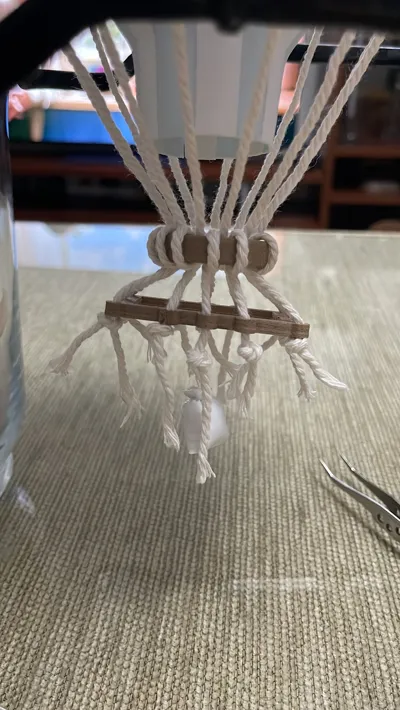
Glue the ends of the ropes to the marks you made on the balloon. Once fixed, place the intermediate floating hoop. Each rope should make only one loop around the hoop. Note: Don't worry, the hoop won't fall; its own tension will keep it in place.
4. Leveling the Basket (Critical Point!)
Thread each rope through its corresponding hole in the basket. To prevent the basket from being crooked or tilted:
- DO NOT tighten the knots of the basket at first; leave them loose.
- Use only 4 ropes (one from each side) to fully level the basket.
- The rest of the ropes should be left a bit looser, making sure the basket does not rest on them so they don't sabotage the leveling.
- Tip: It doesn't matter if the intermediate hoop appears uneven at first. When you finish and hang the balloon, gravity will do its work; at that moment, you can slide the hoop up or down to perfectly center it between the balloon and the basket.
5. Final Details and Placement
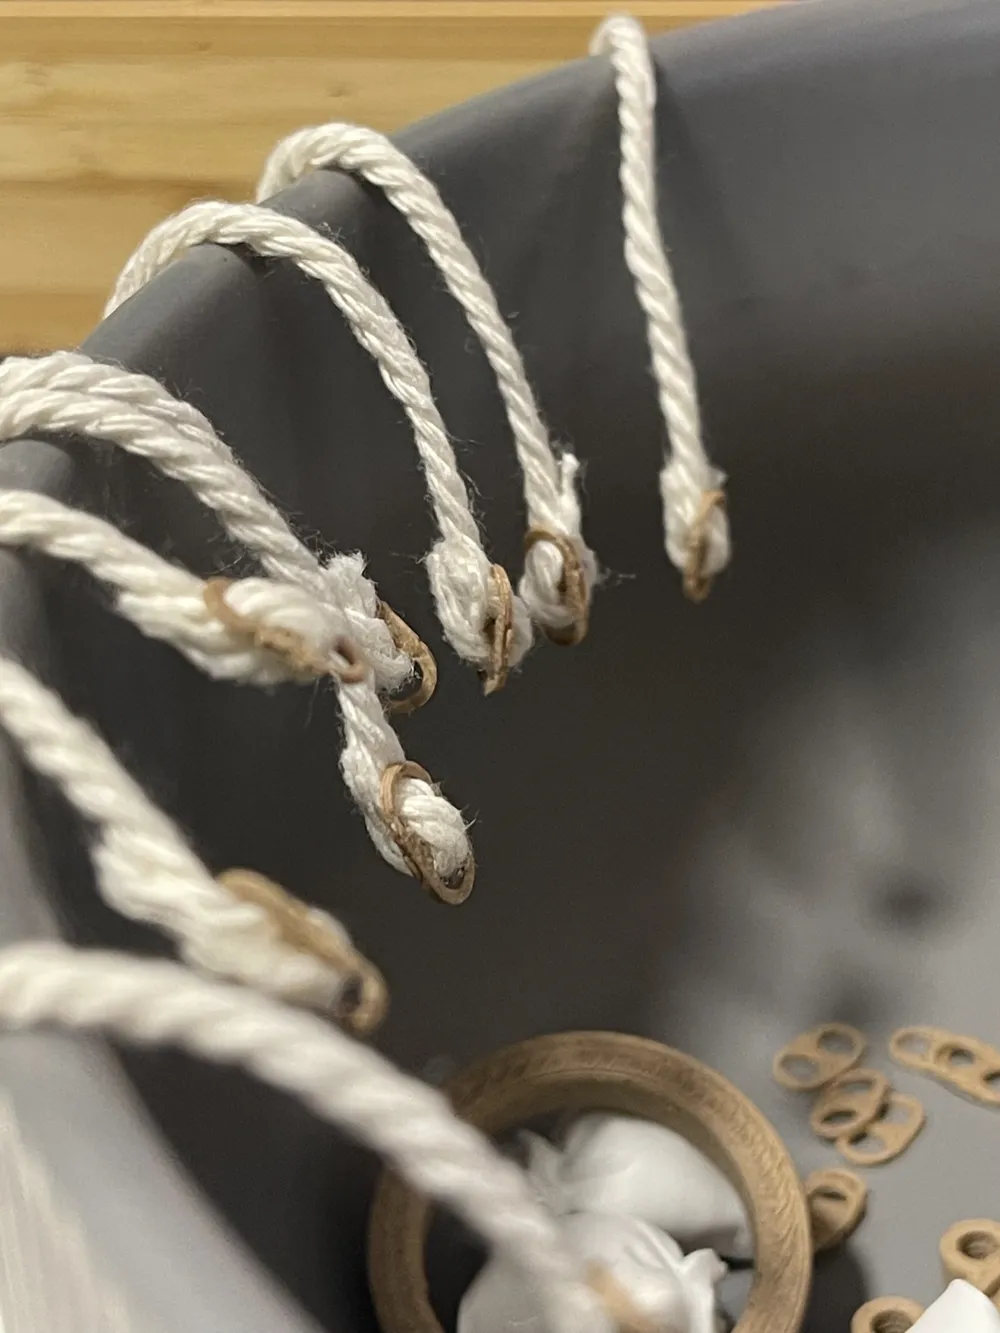
- The sandbags: With a needle and thread, pass the thread through the hole of each printed sandbag and sew it directly to the bottom knot of the basket rope so that it hangs.
- To hang it: Pass the transparent nylon thread through the hole at the top of the balloon. Make a couple of strong knots at the inner end to act as a stop and prevent it from pulling out. The other end of the nylon thread can be tied directly to an eye screw or hook in the room's ceiling.
Future Updates & Improvements: I know that the current assembly requires skill, so I am already planning improvements for the model. In the next update, I will include subtle marks on the balloon design to indicate the exact position of the rope anchor points and facilitate the process. Any feedback is welcome!
If you like this design and appreciate the tolerance and modeling work, please rate the model with ⭐⭐⭐⭐⭐ and upload a photo of your finished balloon!
License



Comment & Rating (7)