Search models, users, collections, and posts

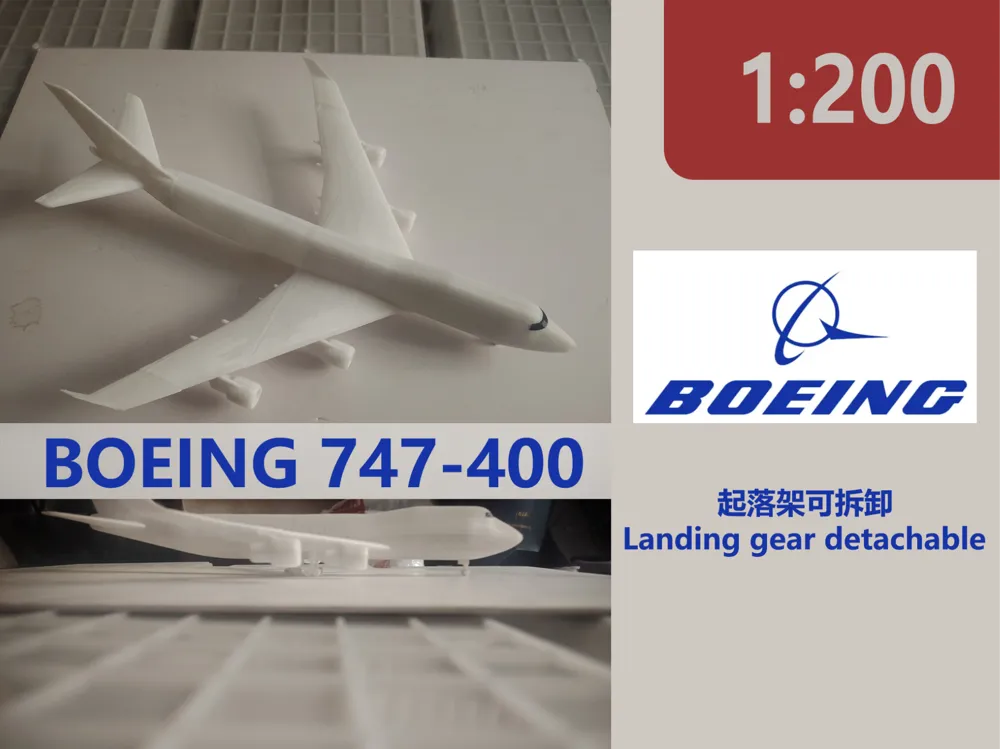
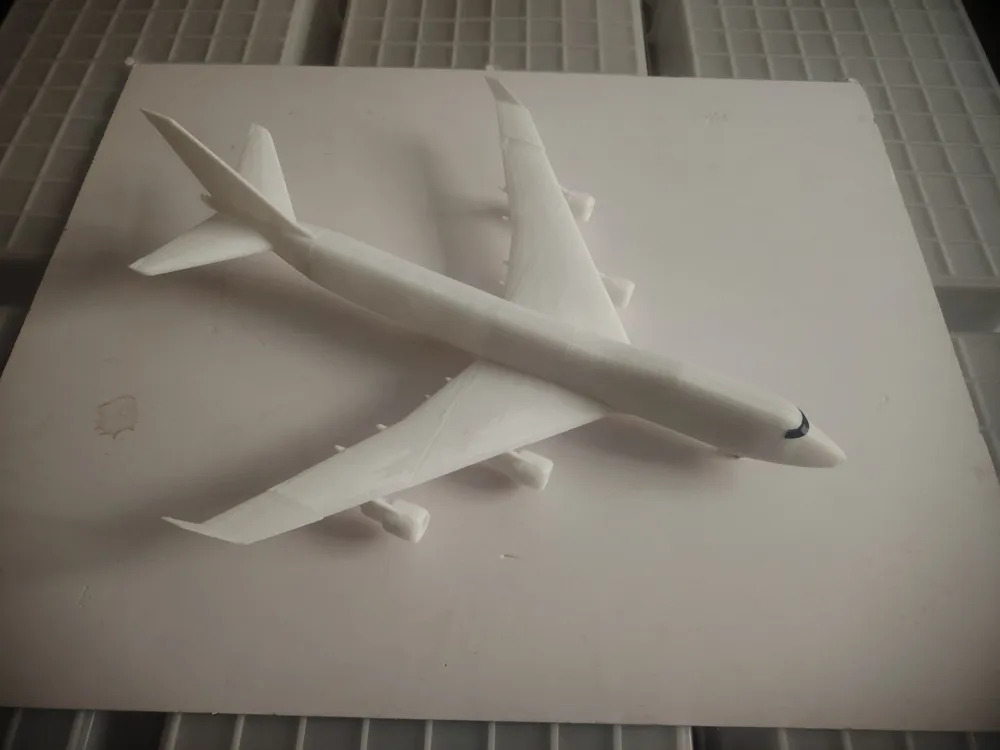
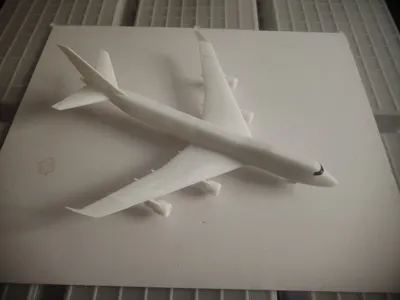
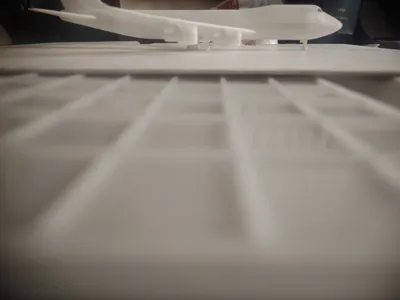
1:200 Boeing 747-400 Aircraft
IP Report
Print Profile(1)

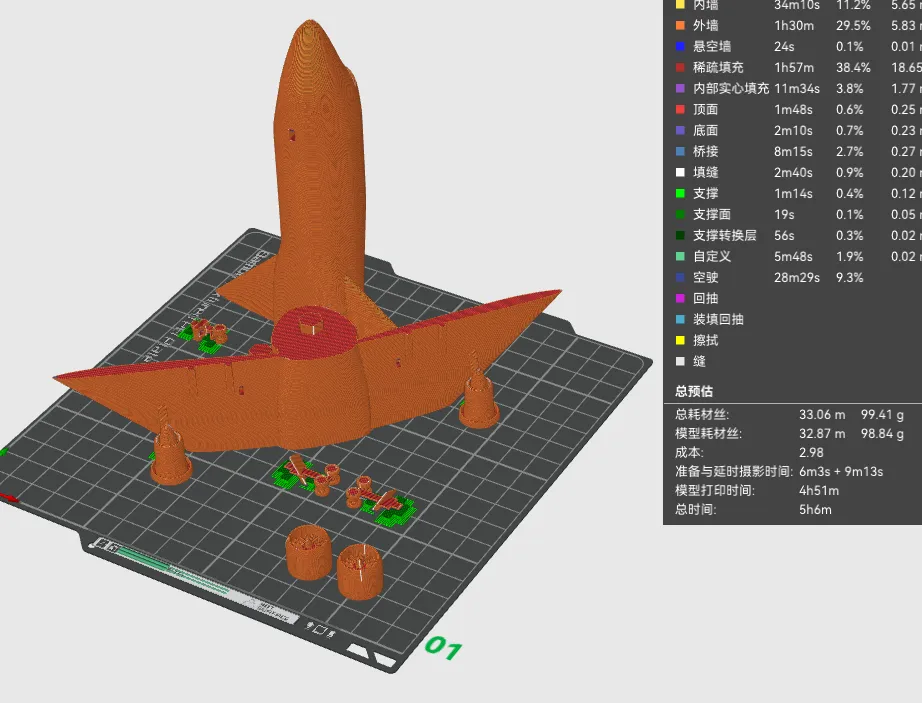
0.2mm layer, 2 walls, 8% infill
Designer
9.9 h
3 plates
Open in Bambu Studio
Boost
4
5
2
1
3
1
Released
Description
Content has been automatically translated.
Boost Me (for free)
Hope you like it, I'd really appreciate your support~
Among the 747 series aircraft produced by Boeing, the 747-400 is the most common standard model.
Length 70.6 meters, wingspan 64.4 meters, height 19.4 meters.
At a 1/200 scale, the length is 353mm, wingspan 322mm, and height 97mm.
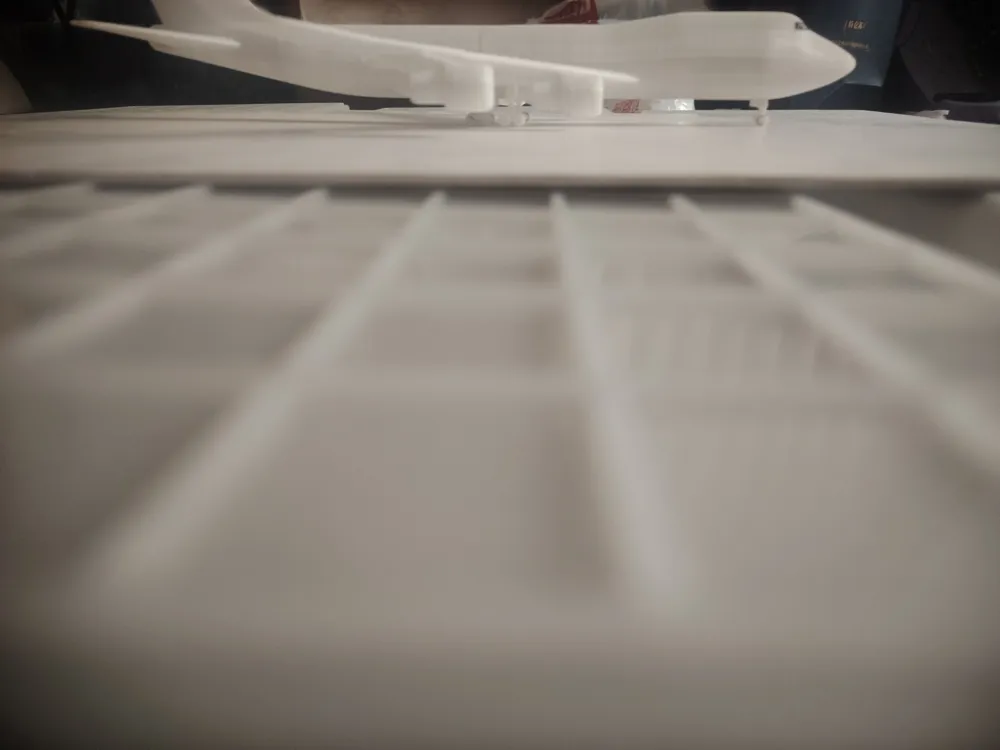
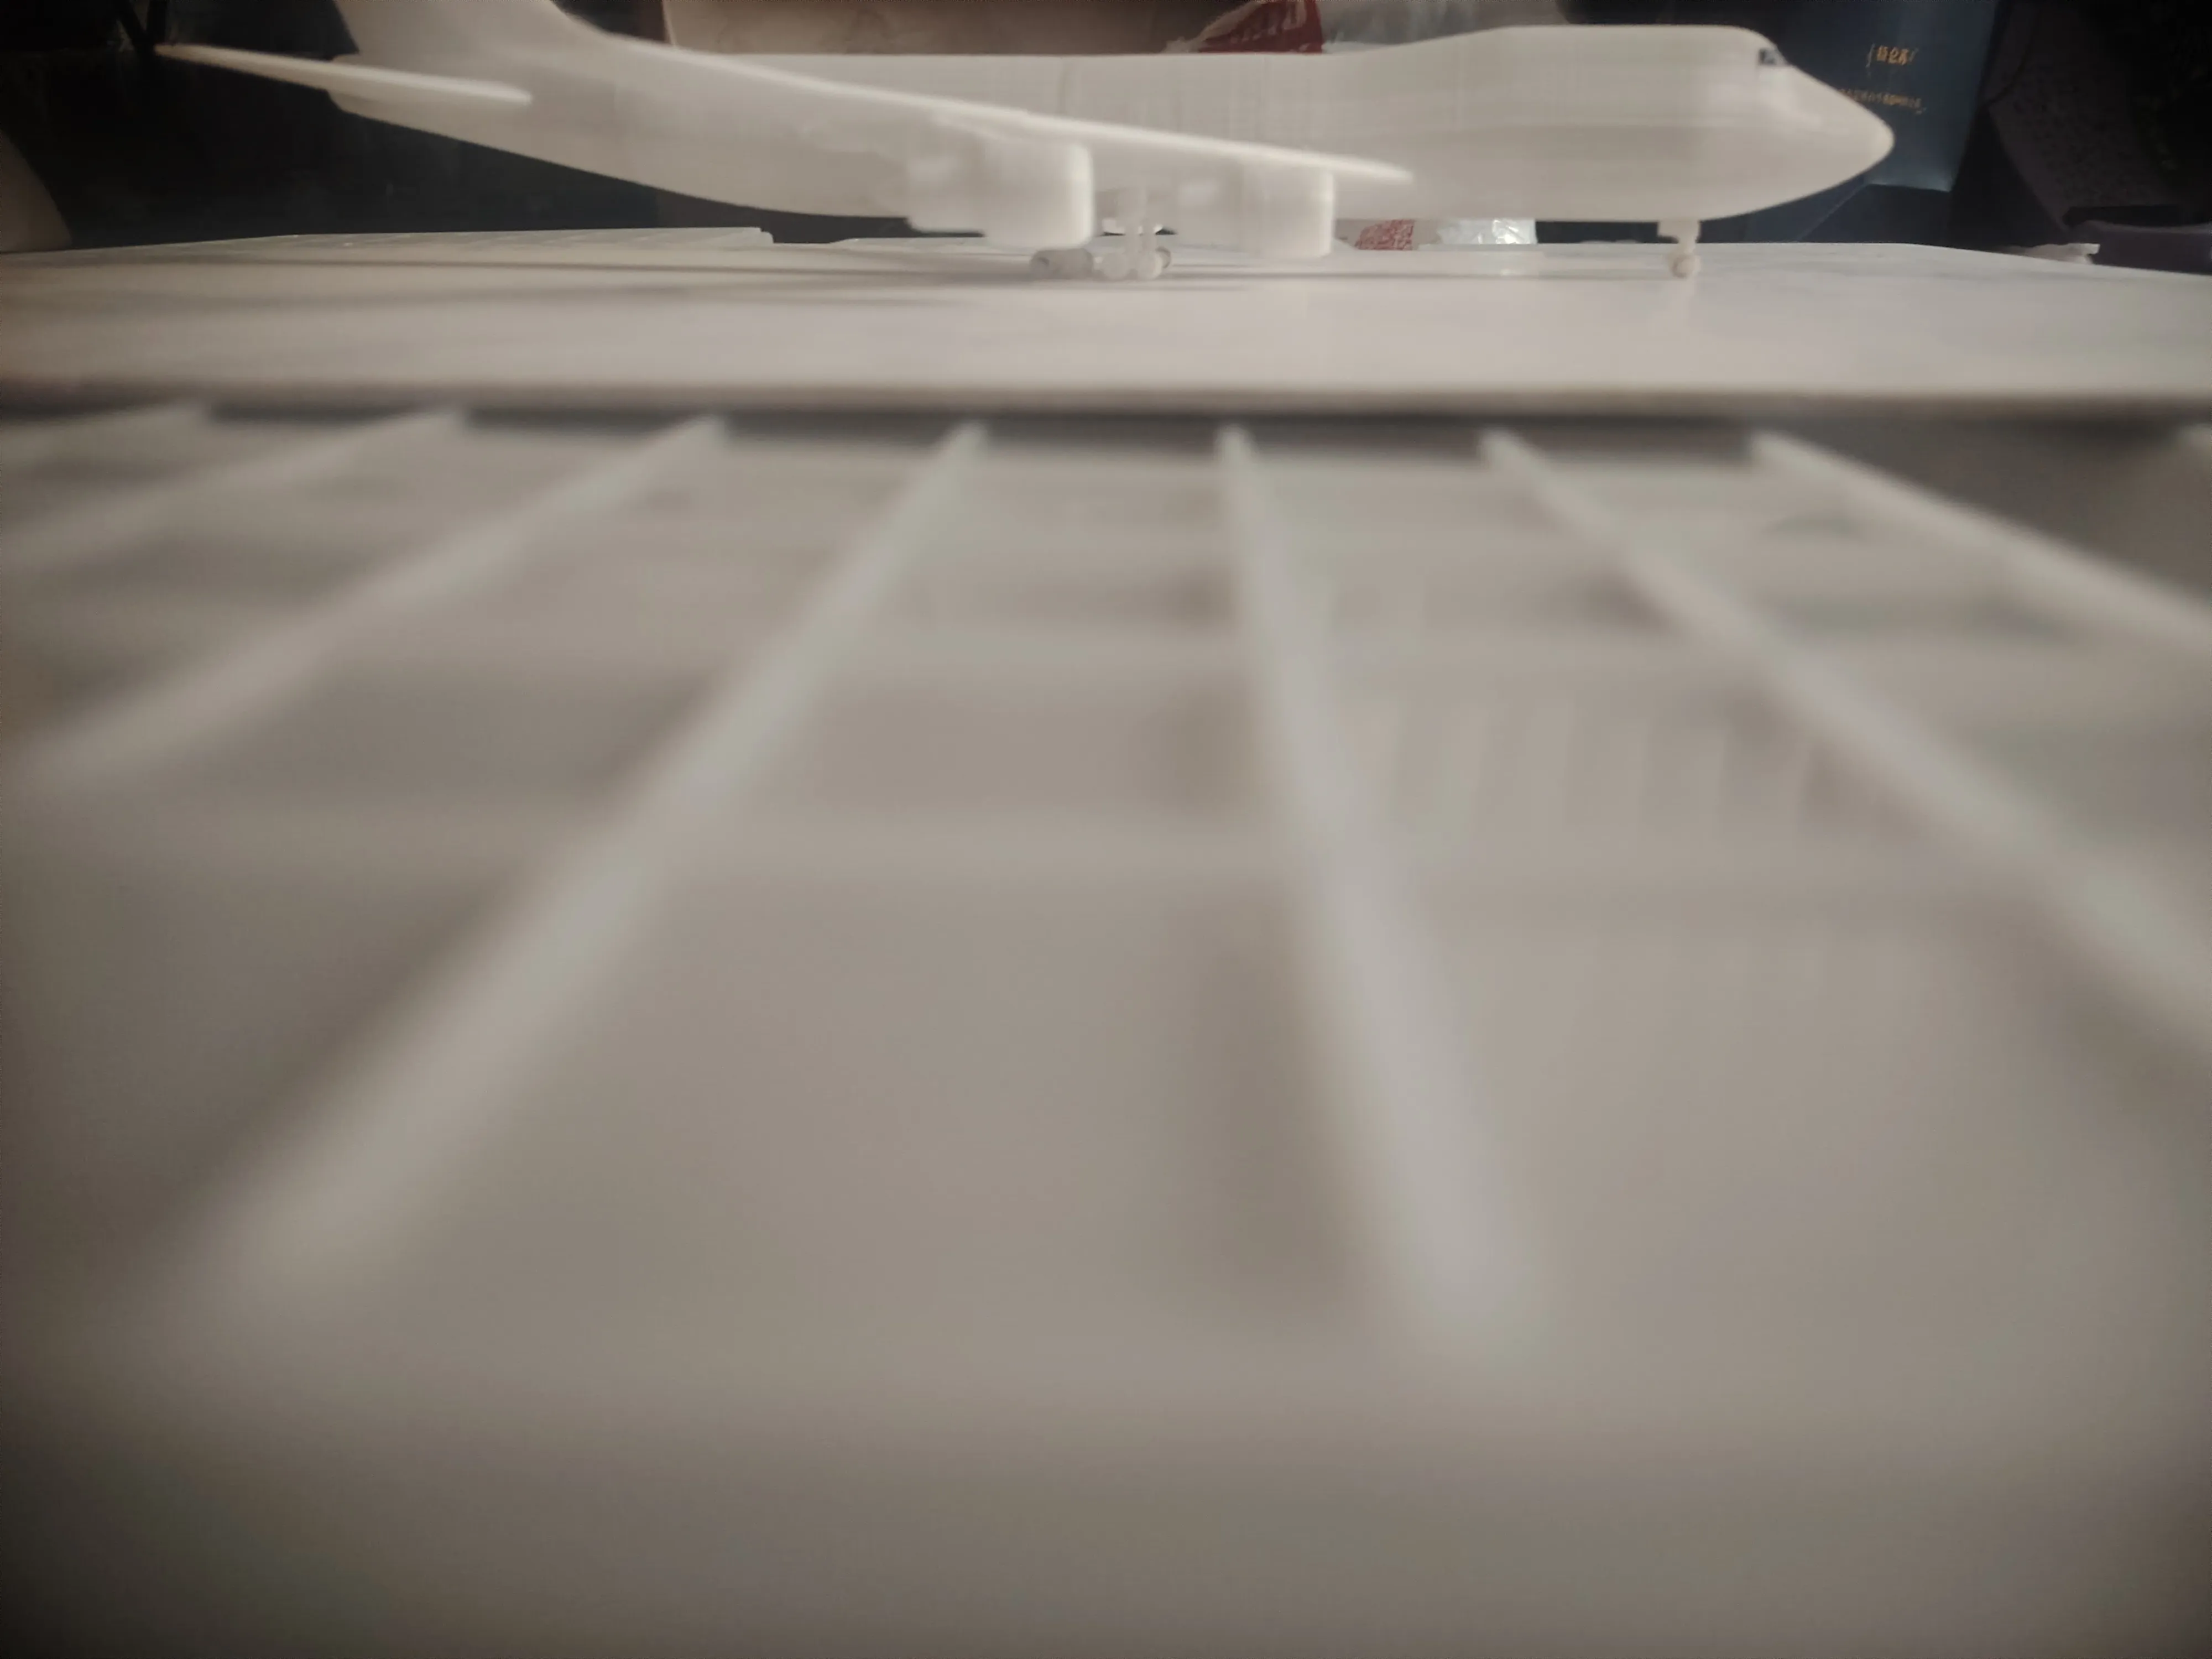
The landing gear of this model can be inserted and removed using friction.
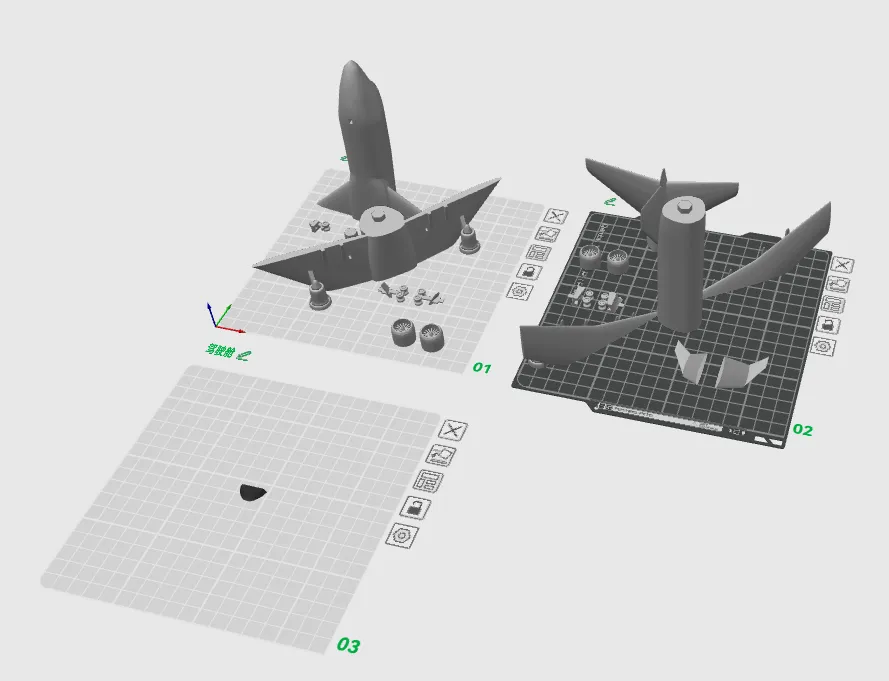
Model Content:
Slicing Content:
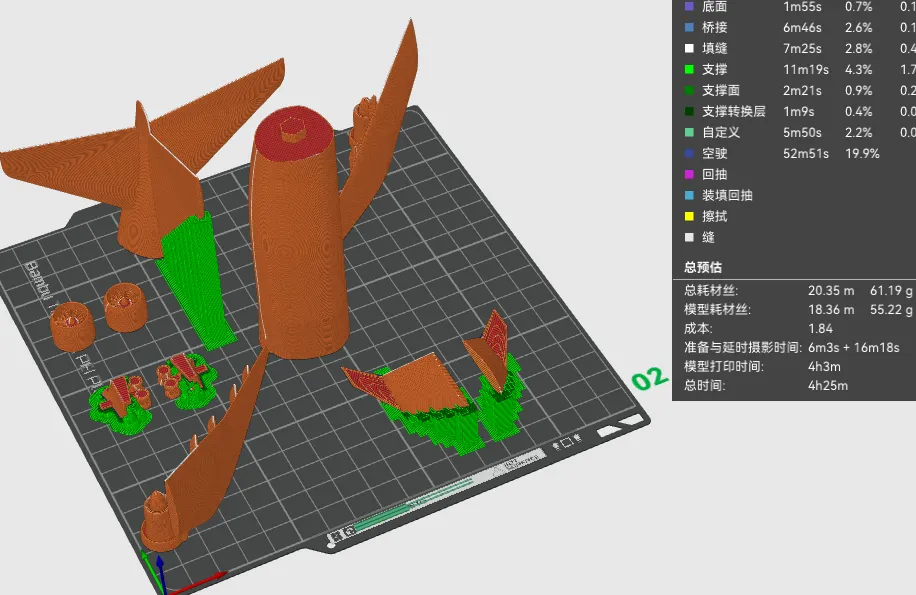
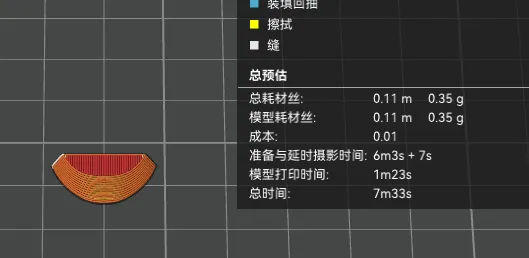
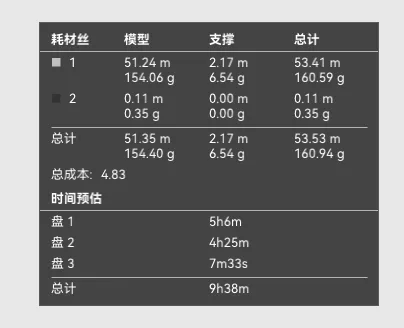
Assembly Steps:
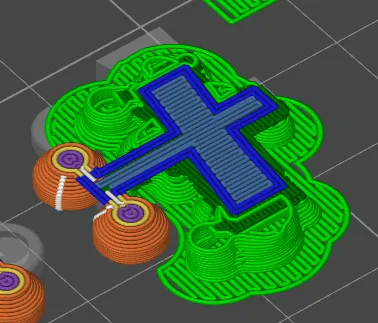
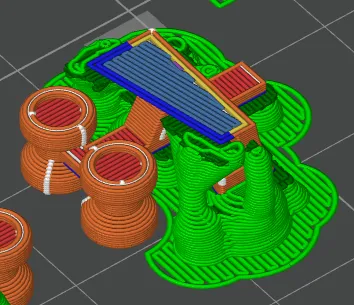
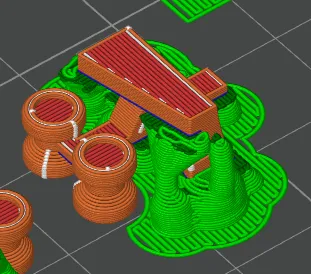
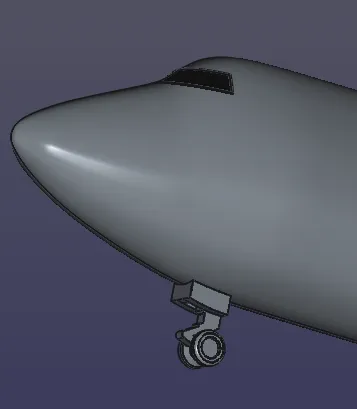
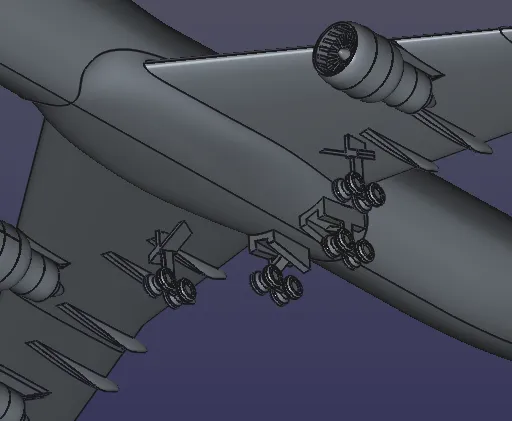
1. Based on the landing gear model, accurately remove supports.
Front landing gear:
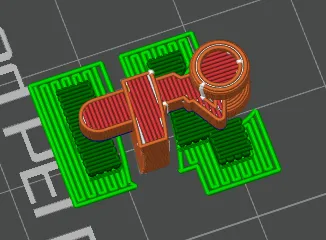
Middle landing gear:
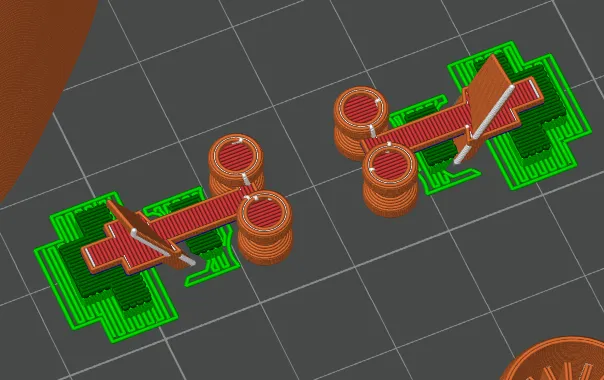
Rear landing gear:
First layer contact surface:
Second layer contact surface:
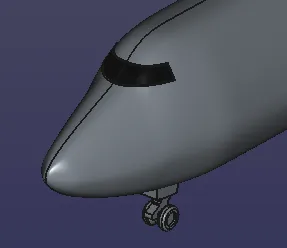
2. Ensure the cockpit is black. The cockpit glass can be printed separately with black filament, or colored black with a black marker. After the paint dries, glue it to the designated position.
3. Glue the engines. The patterns on the bottom of the front and rear engines are different; the smooth side corresponds to the smooth side, and the patterned side corresponds to the patterned side.
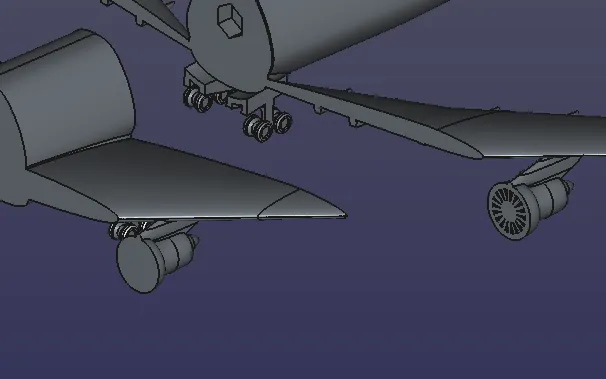
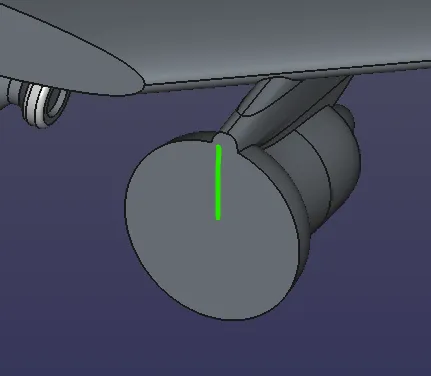
The following gluing method applies to all four engines:
(1)Apply a little super glue along the green path. This helps prevent glue from sticking to your hands in subsequent steps.
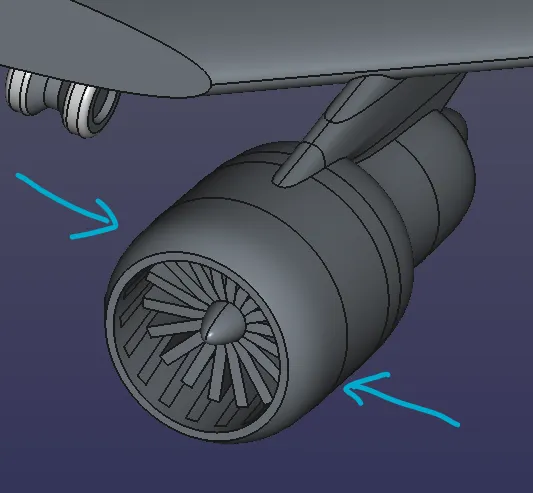
(2)Glue on the engine, then pinch the connection point in the direction of the arrow, fine-tune the engine's position, and gradually align it. This completes the assembly of one engine.
4. Glue the wingtips. First, apply a small amount of glue, fine-tune for alignment, and after setting, apply more glue to the gaps above for reinforcement.
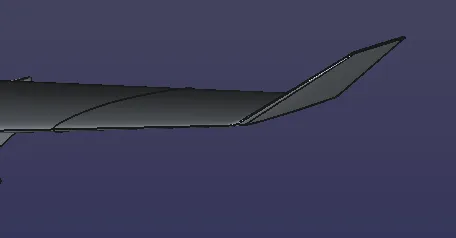
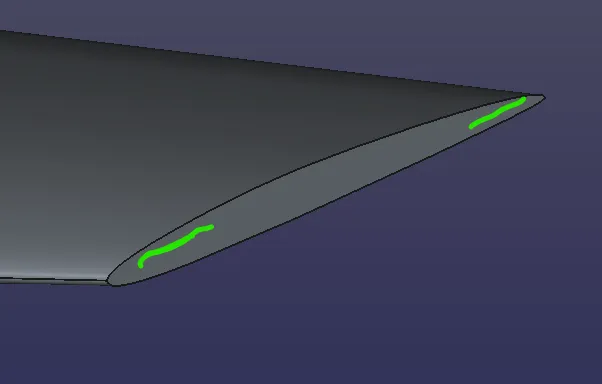
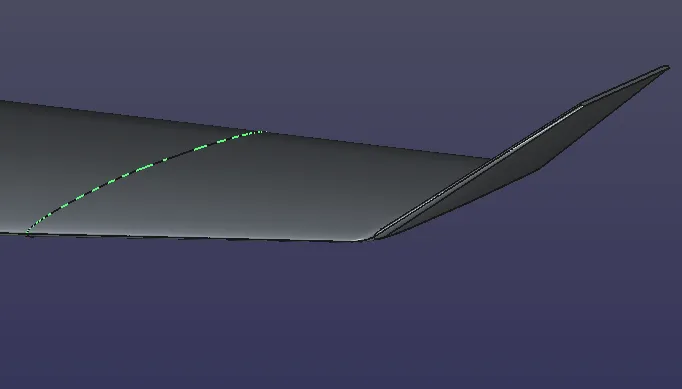
5. Press the connectors for sections one and two into the holes (red). Then, between the 4 sections, apply glue to the 3 faces at the green positions shown in the image, and glue the 4 parts sequentially.
As soon as one side is glued, immediately attach the two parts, align them, then press firmly for 20 seconds to ensure proper adhesion and reduce gaps.
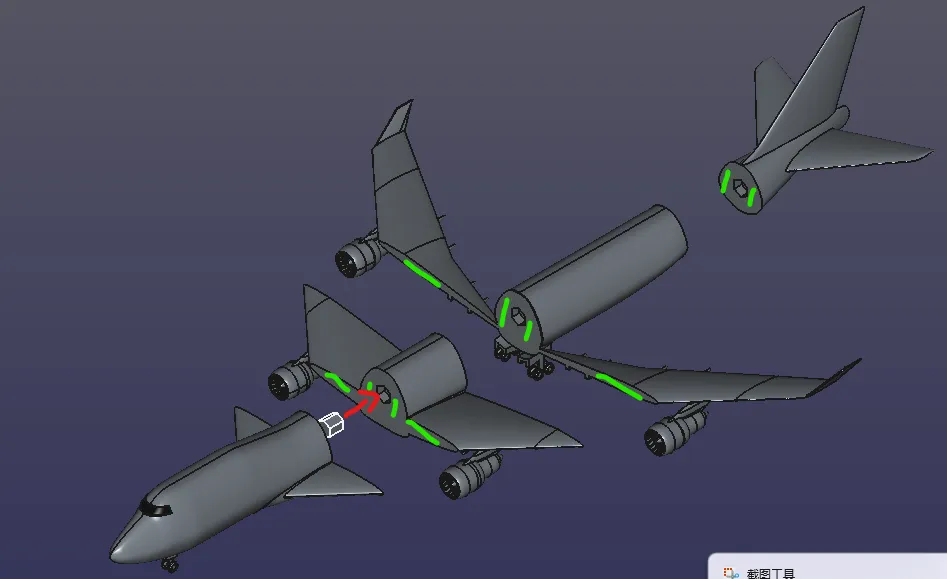
*6. The landing gear is detachable; if it feels loose, it can be glued directly for permanent fixation.
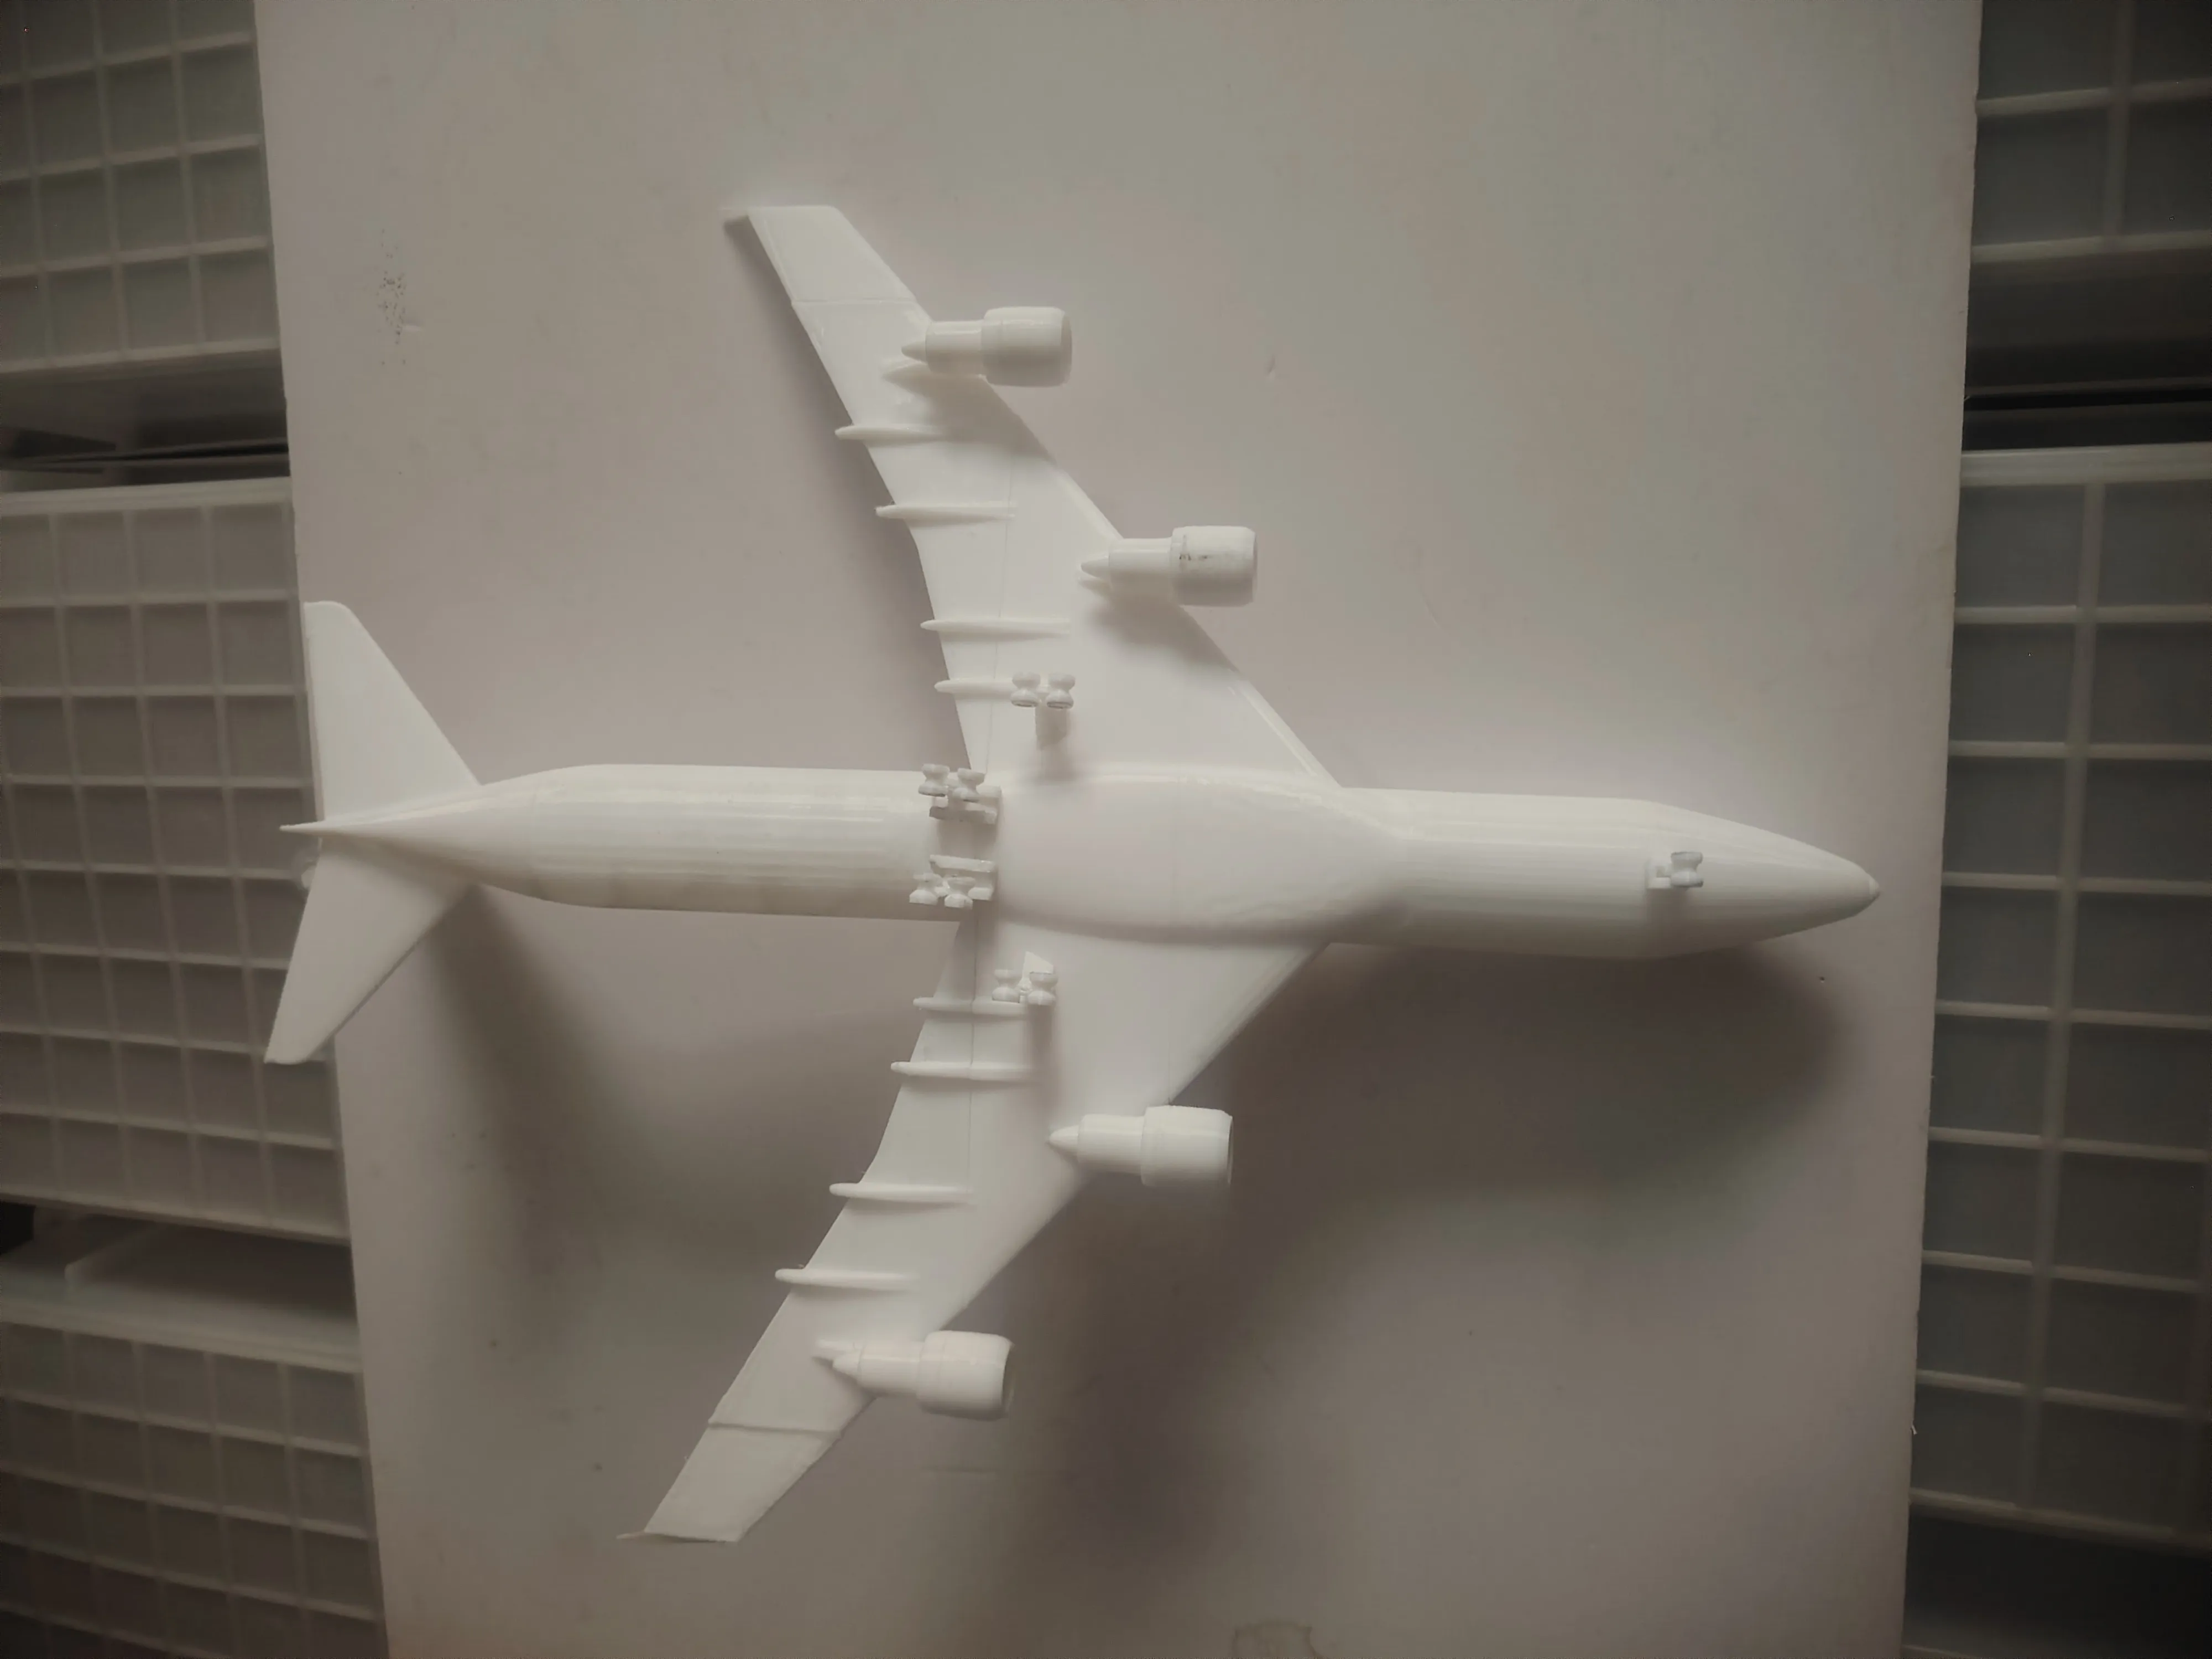
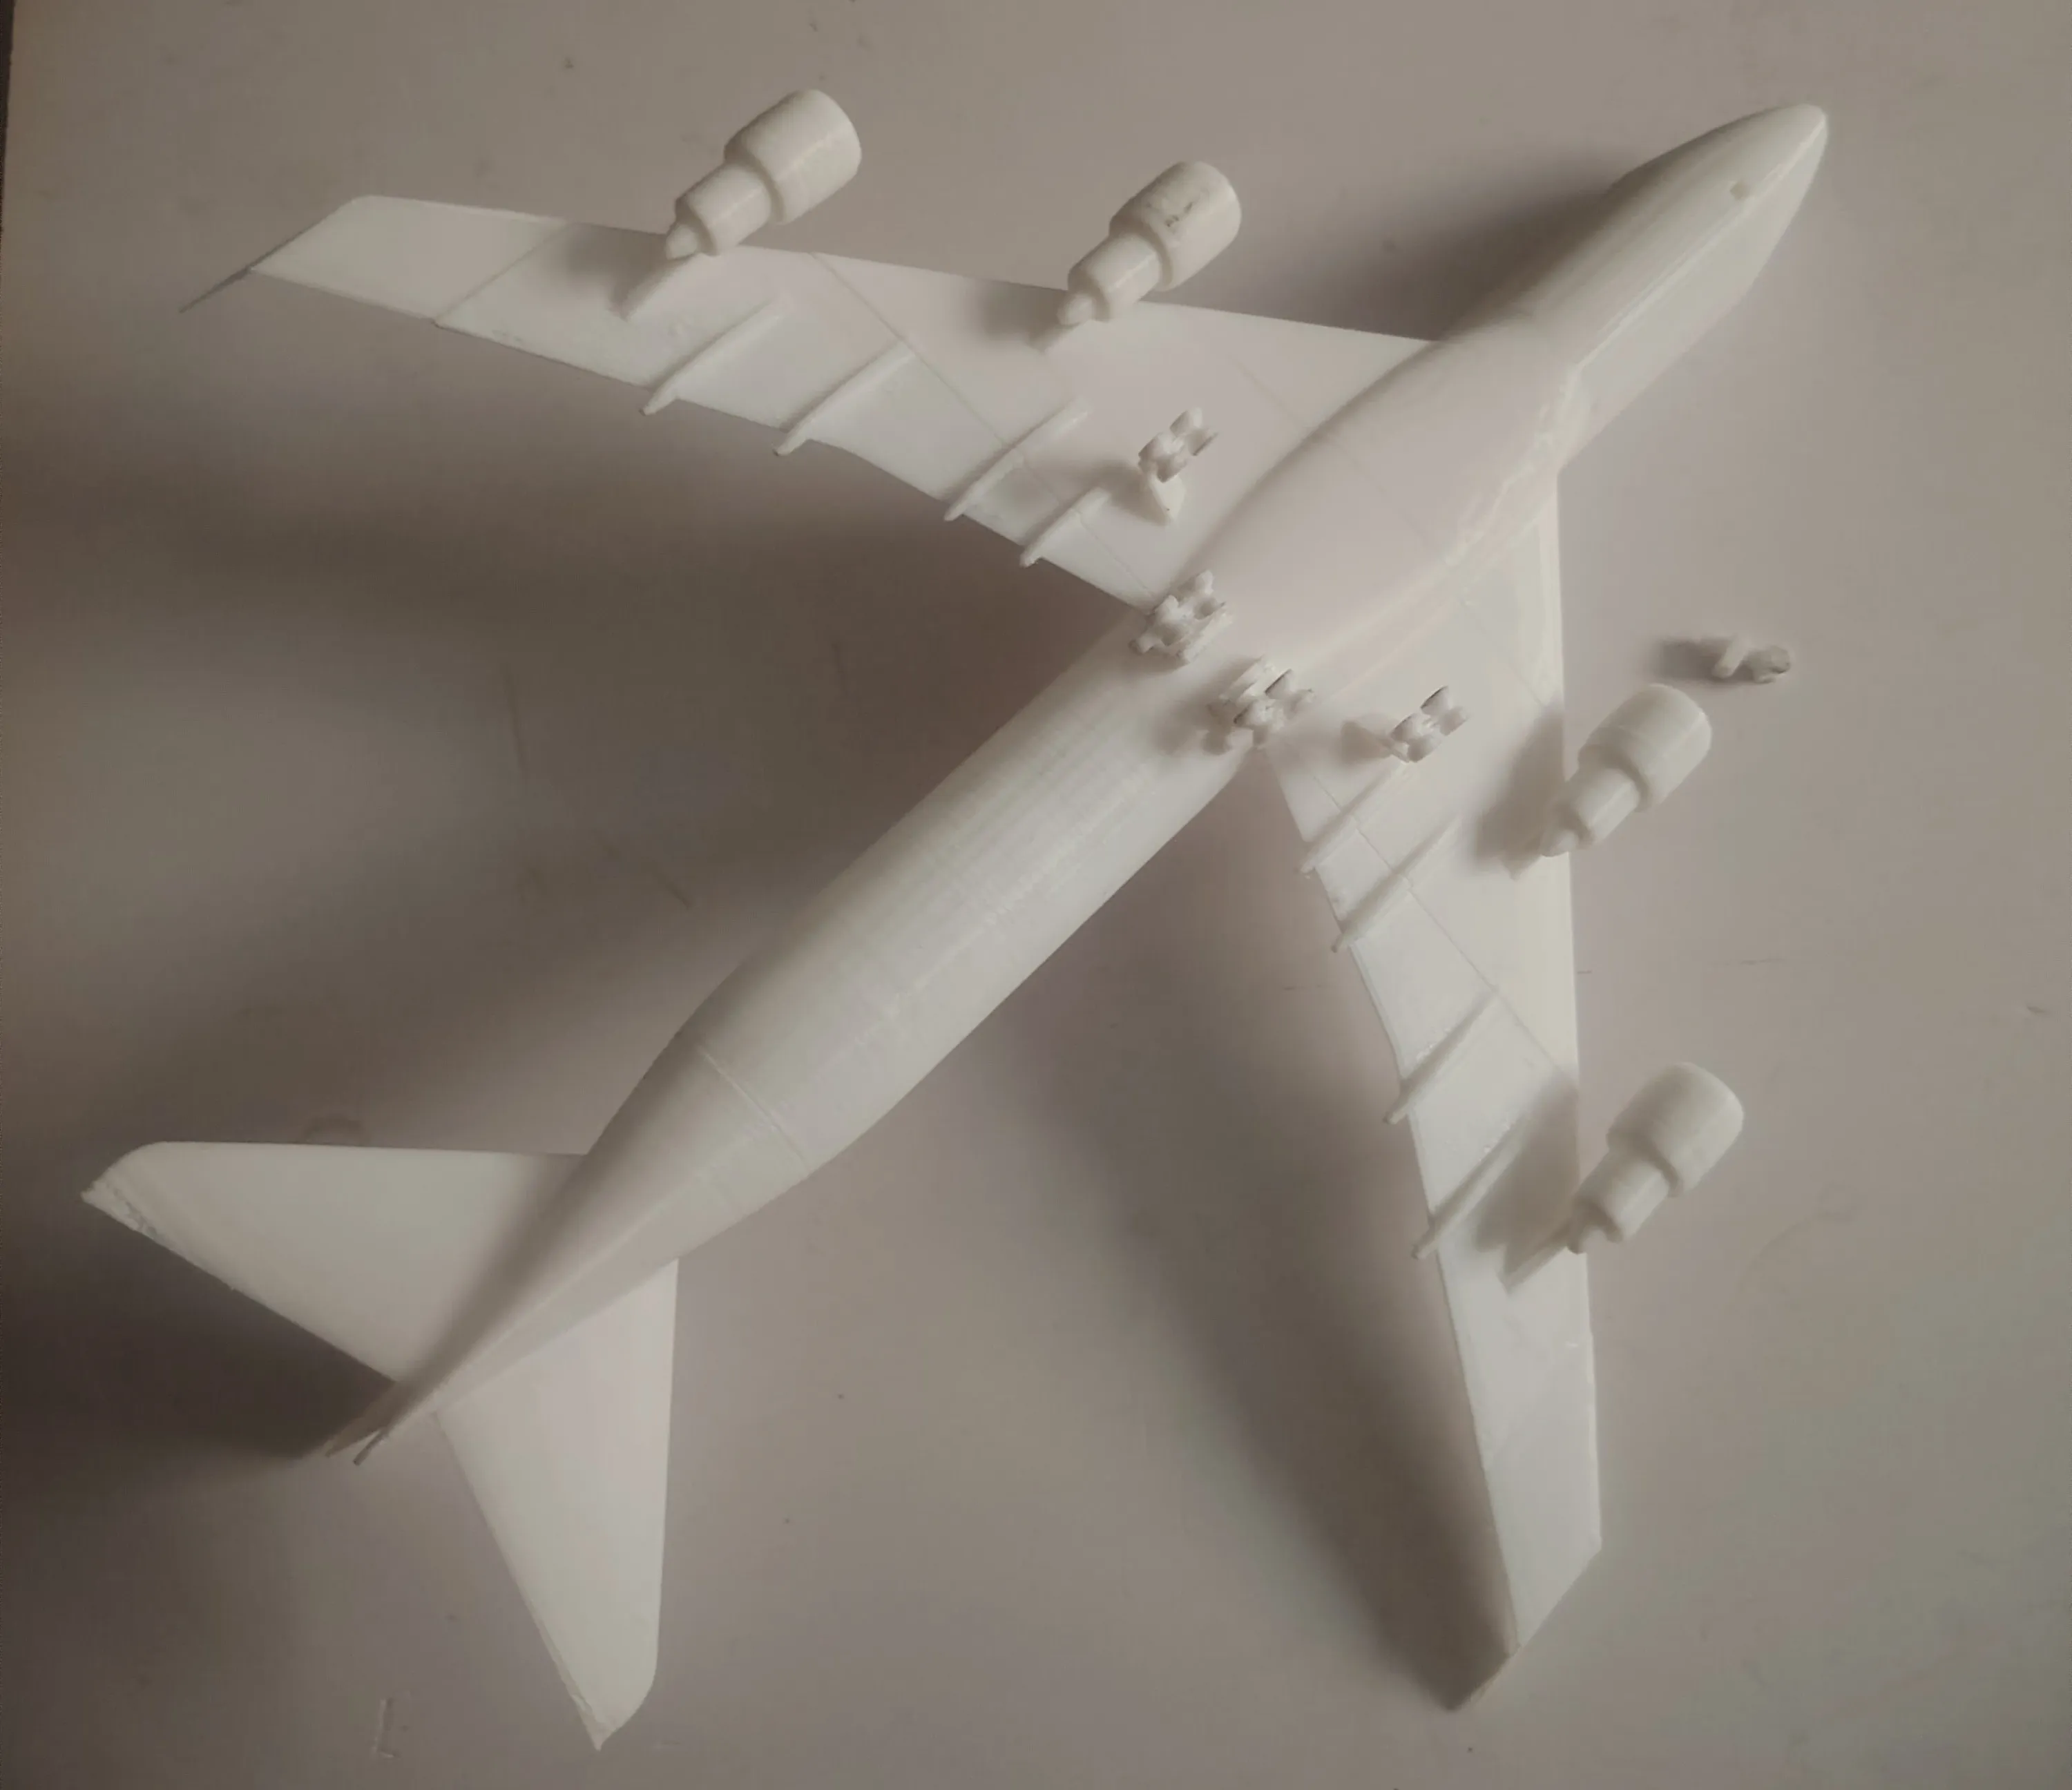
7. Done!
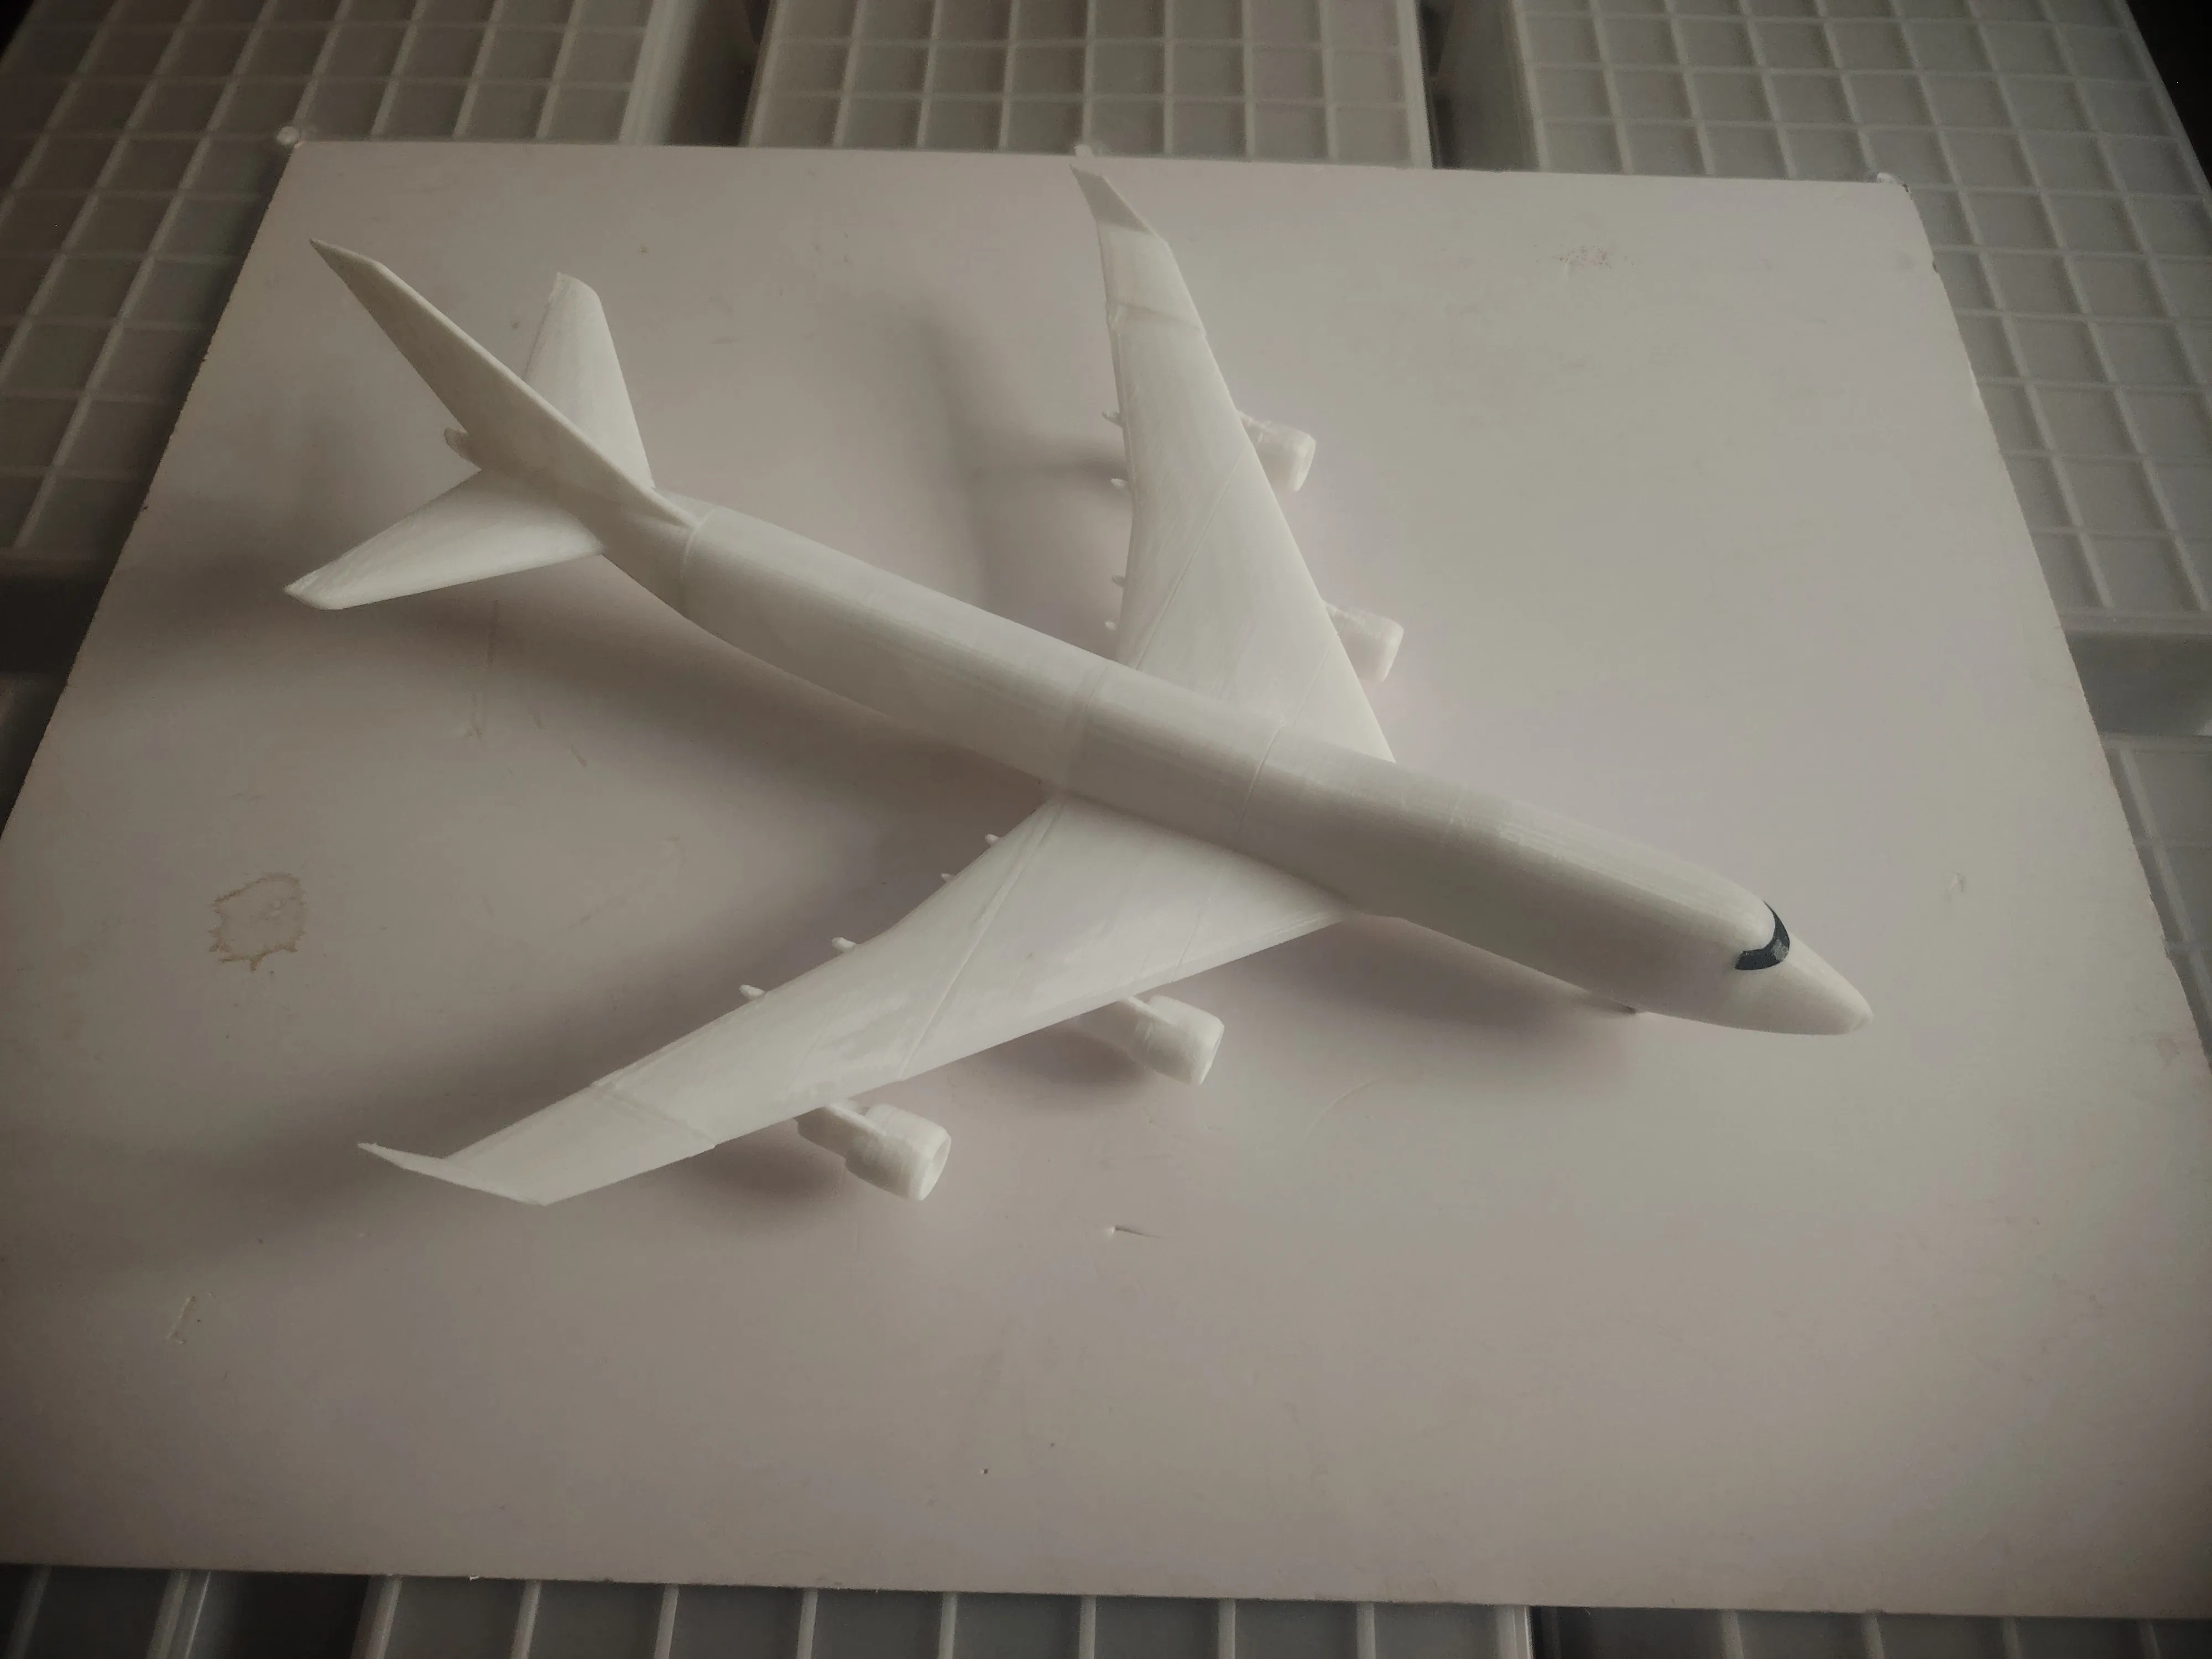
The front-to-back weight balance is also excellent; it won't be too heavy at the rear and tip forward.
License

This user content is licensed under the MakerWorld Exclusive License.
You may create derivative works based on this object, provided that all such derivative works are published exclusively on the MakerWorld platform and include proper attribution to the original creator. You may not share, upload, host, distribute, or publish this object—or any derivative work of this object—on any other digital platform, marketplace, or distribution channel. Commercial use of this object and any derivative works is strictly prohibited. This includes, but is not limited to, selling, renting, sublicensing, or using the object in any context in which you receive monetary compensation or other financial benefits.


Comment & Rating (2)