Spot Cooler Kit Using Cooling Packs(for 120mm Fan)


Print Profile(4)


Description
Boost Me (for free)
Your BOOST would really motivate me to keep creating 3D data—thank you in advance!
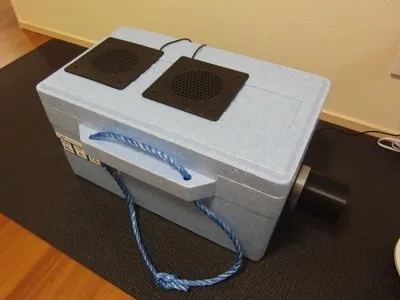
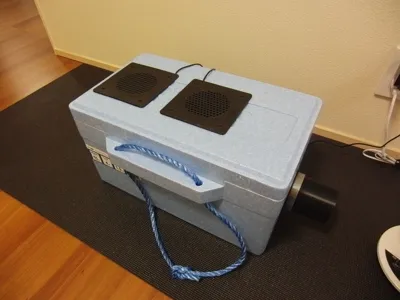
I created the “Spot Cooler Kit Using Cooling Packs (for 120mm Fan)”.
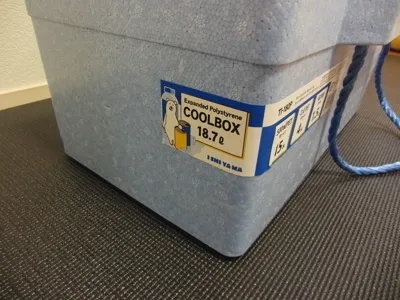
To assemble it, you will need a styrofoam cold box, a 120mm USB fan, and cooling packs prepared separately.
This kit works as a cooling device for rooms where an air conditioner cannot be installed.
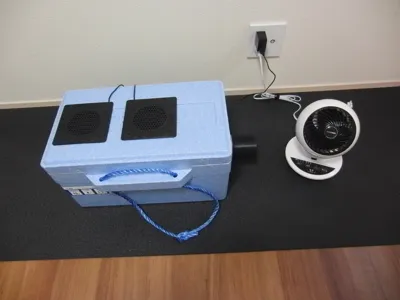
Although it cannot match the cooling performance of an AC unit, it produces no exhaust heat and can even help reduce humidity in the room.
Using it together with a circulator is recommended.
Because it can be built at low cost, it is suitable for summer vacation projects, science experiments, and STEAM education activities.
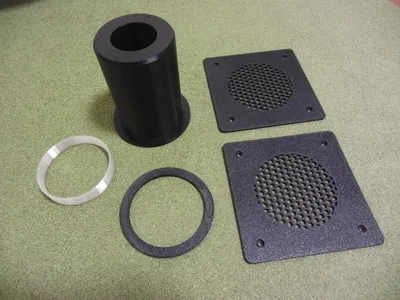
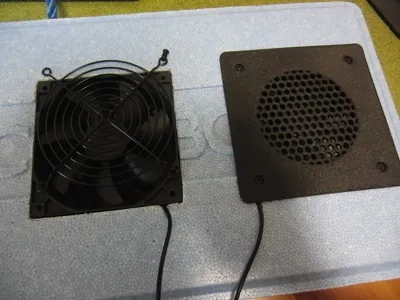
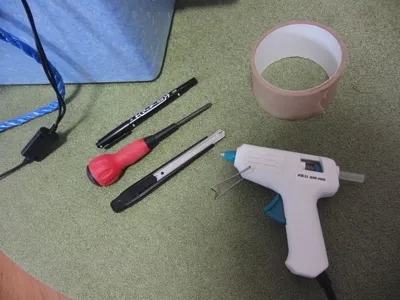
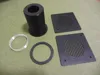
Please refer to the photos for assembly instructions and the tools required for making it.To install the parts, use a utility knife to cut openings in the cooler box for the USB fan and the exhaust port.
Drawing guide lines with a permanent marker beforehand makes the work easier.
When installing the fan cover, remove the metal parts on the intake side first.
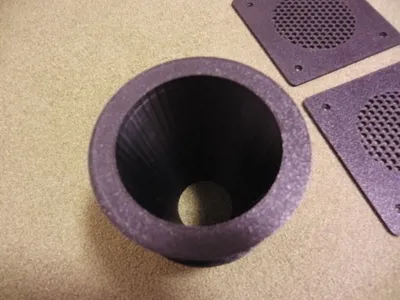
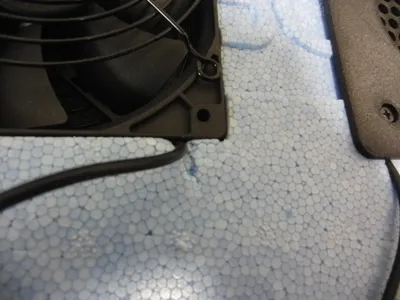
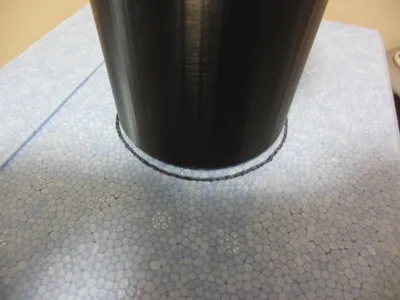
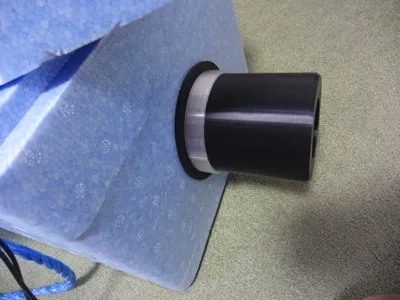
If the wiring is under stress, shave the styrofoam side as needed.The USB fan cover is designed with enhanced safety to prevent fingers or other objects from getting caught.The tapered shape of the exhaust pipe part improves discharge efficiency.
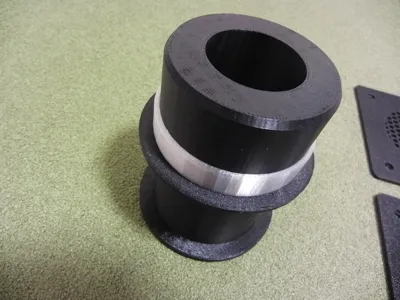
It can be assembled with a simple press‑fit, but if you are concerned about gaps, consider filling them with a glue gun.
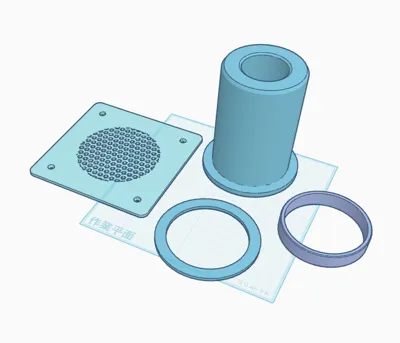
Please print parts 1–3 in PETG.Please print parts 1 with supports.
Remove the support material around the threaded section using needle‑nose pliers or similar tools.
Print part 4 in TPU.
If you want to shorten the printing time, consider using a 0.6 mm nozzle.
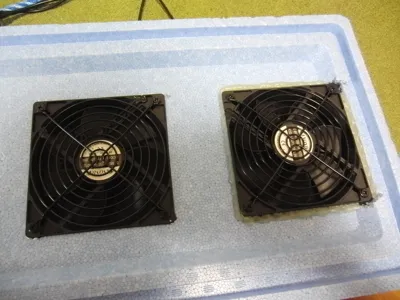
Please use a USB fan like the ones shown below.
Choose either the single‑fan type or the dual‑fan type depending on the size of your cold box.
https://www.amazon.co.jp/KEYNICE-USB%E3%83%95%E3%82%A1%E3%83%B3-%E5%86%B7%E5%8D%B4%E3%83%95%E3%82%A1%E3%83%B3-%E5%86%B7%E5%8D%B4%E3%82%AF%E3%83%BC%E3%83%A9%E3%83%BC-2000RPM/dp/B08G8RN2PD?ref_=ast_bl_cpl_dp&th=1
License
You shall not share, sub-license, sell, rent, host, transfer, or distribute in any way the digital or 3D printed versions of this object, nor any other derivative work of this object in its digital or physical format (including - but not limited to - remixes of this object, and hosting on other digital platforms). The objects may not be used without permission in any way whatsoever in which you charge money, or collect fees.
Comment & Rating (0)