
Aria – The Neon Circuit
Print Profile(1)
Description
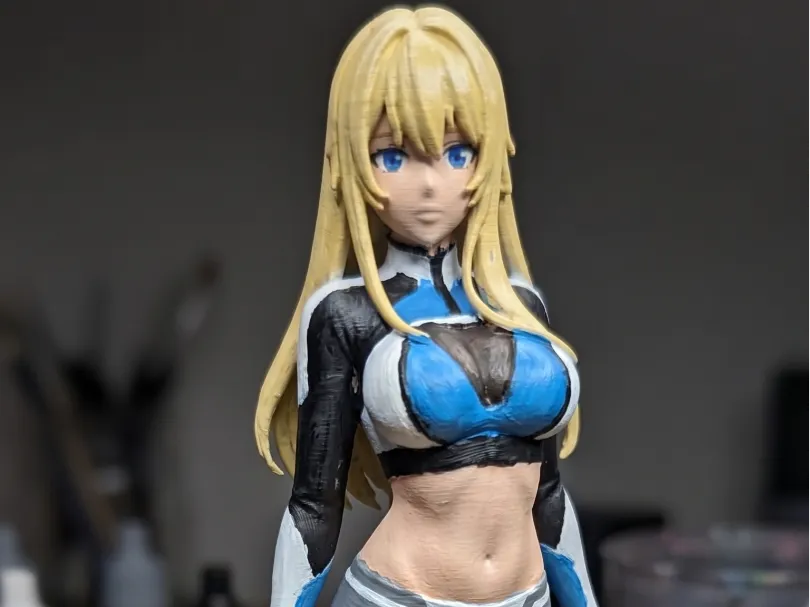
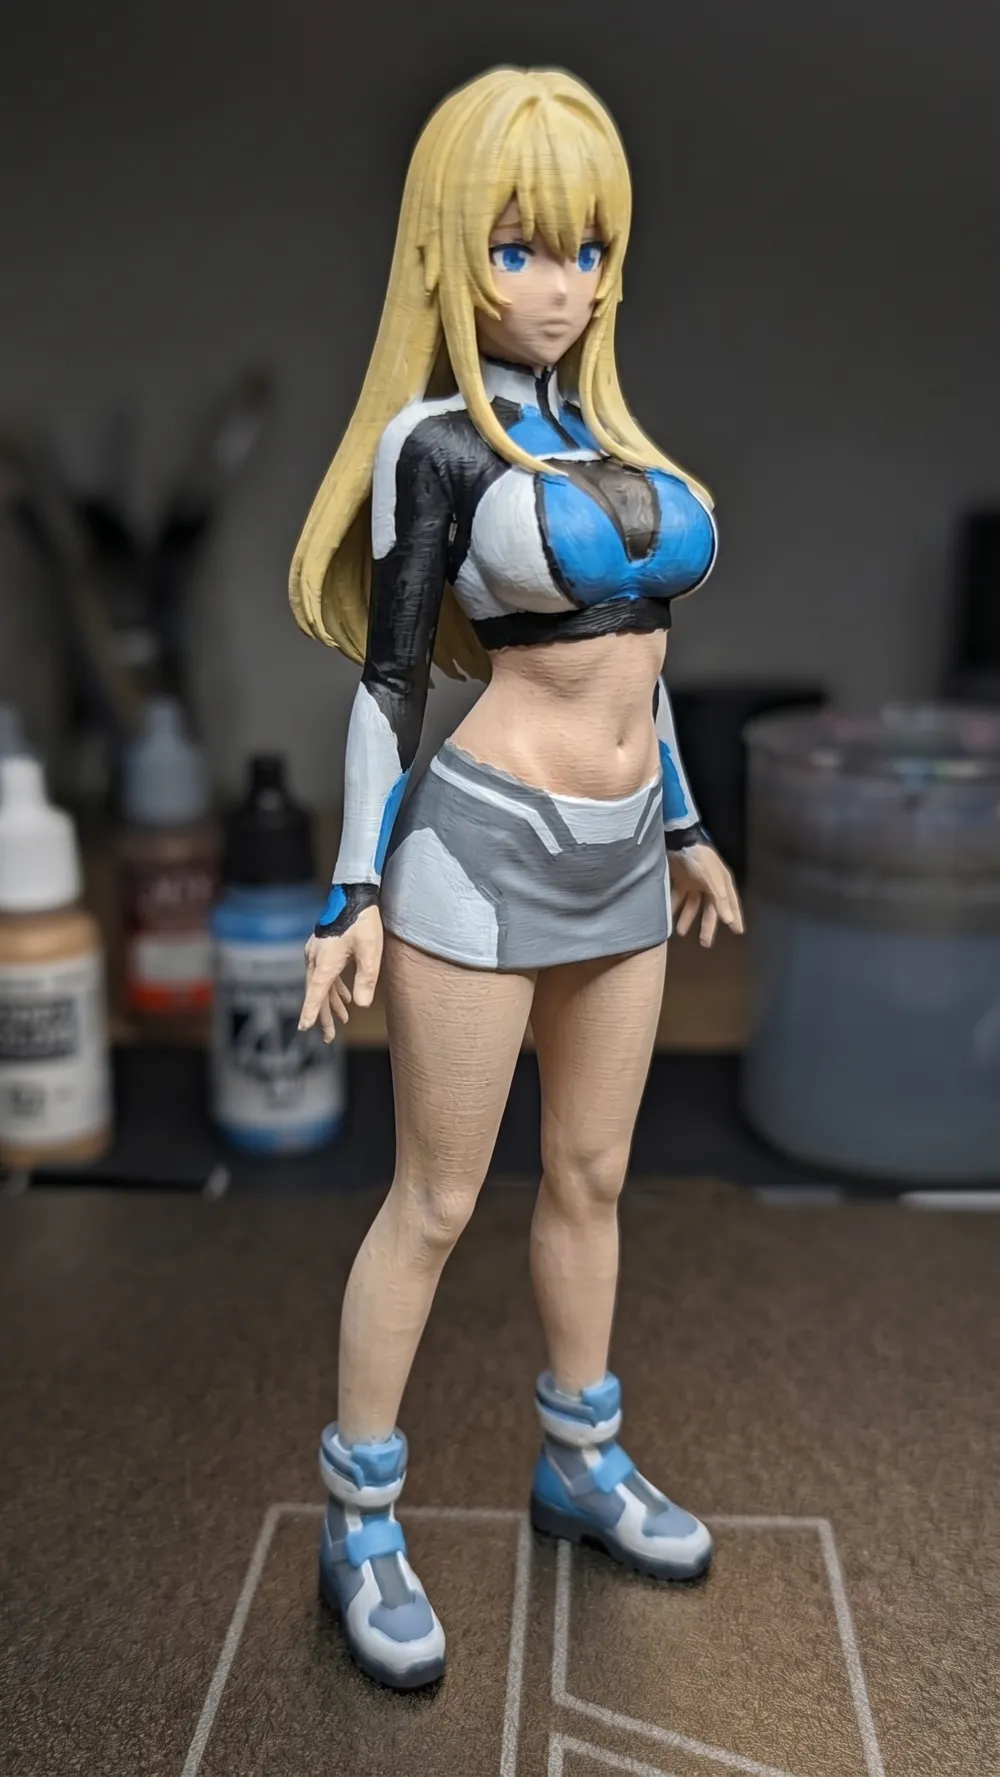
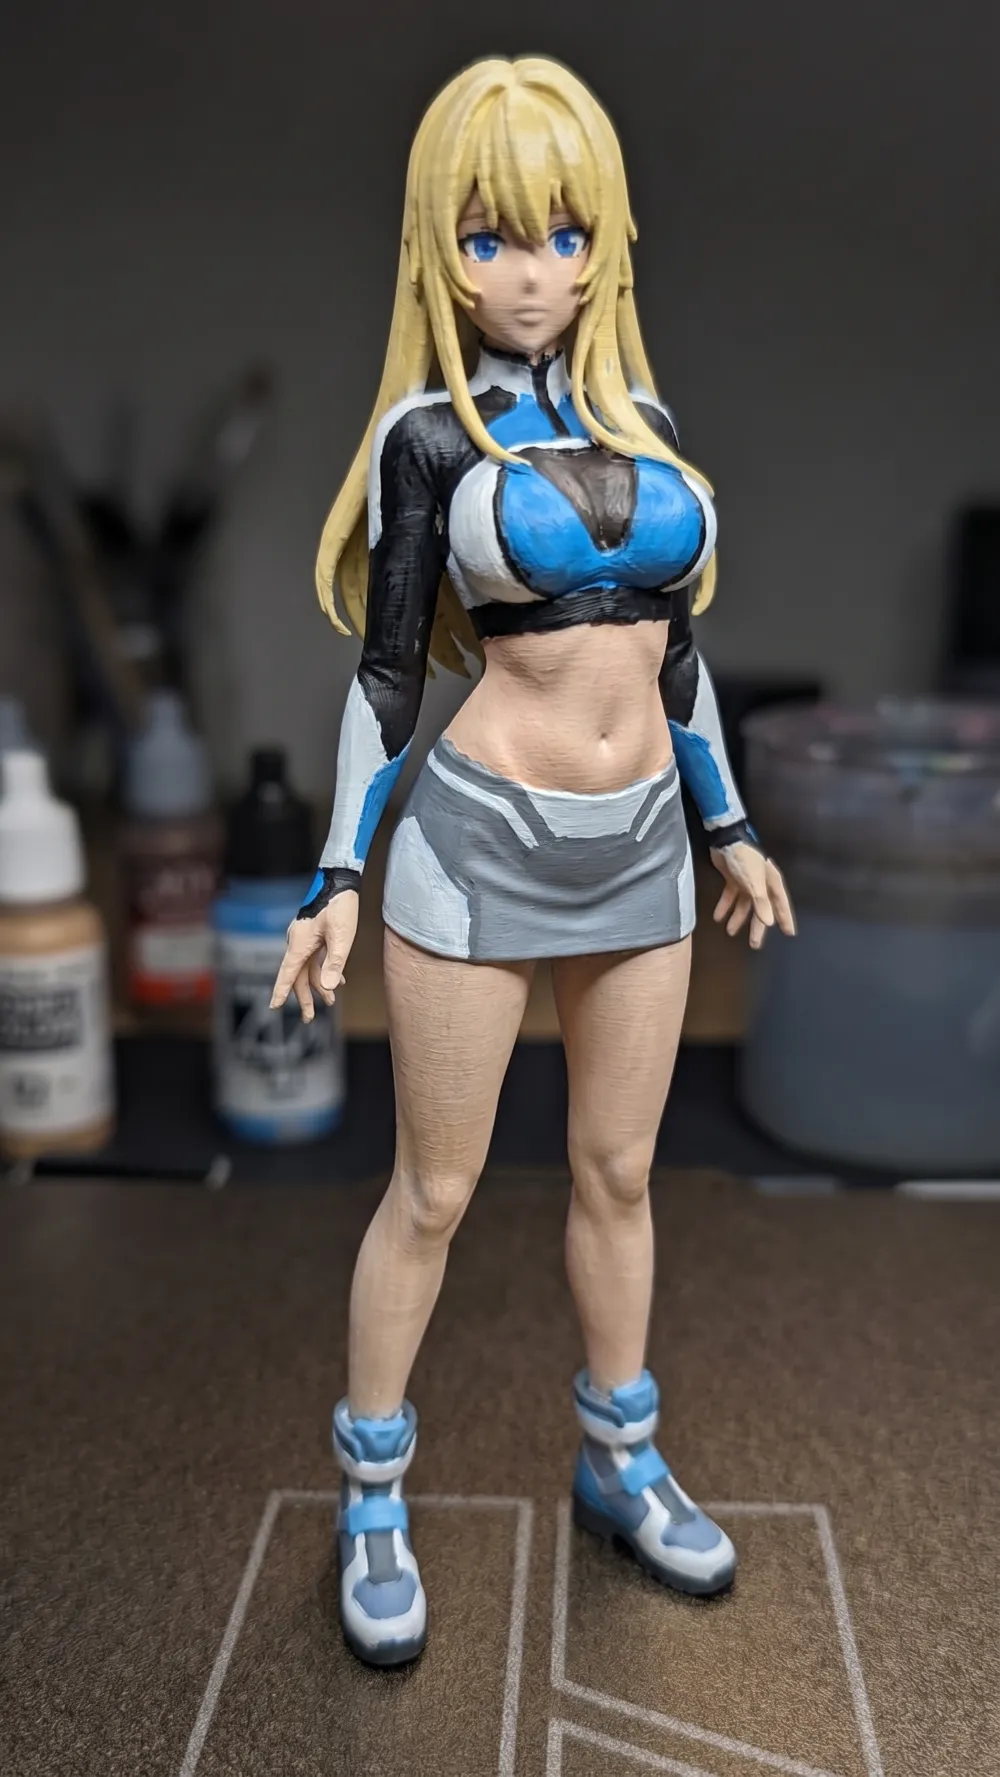
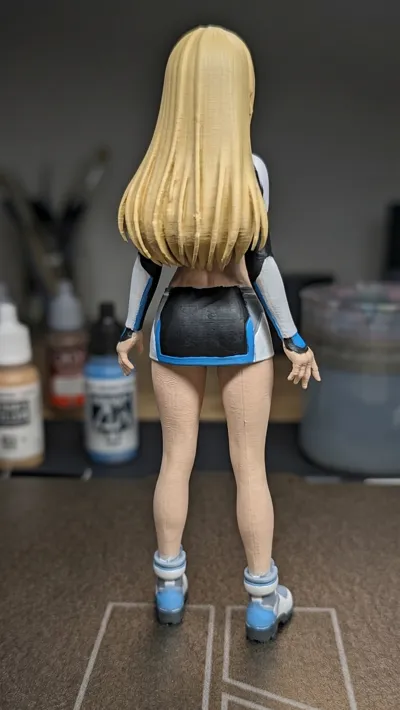
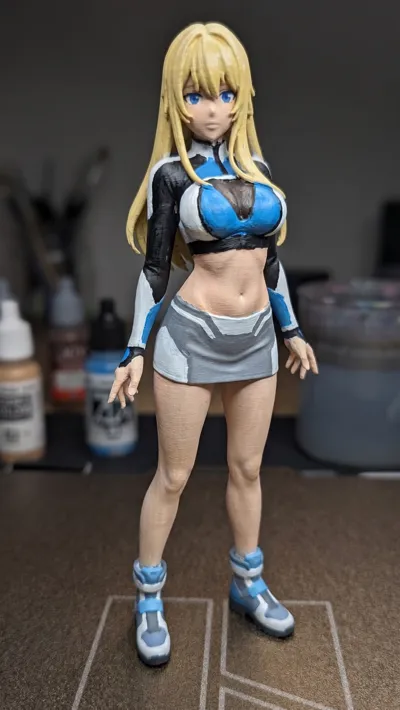
In the neon-drenched streets of a cyberpunk metropolis, Aria is a rogue operative known for navigating the thin line between the physical world and the digital grid. Equipped with high-tech tactical gear and cybernetic enhancements, she moves like a ghost through the shadows of megacorporations. Whether she is executing a data heist or guarding a hidden server hub, her presence is undeniable.
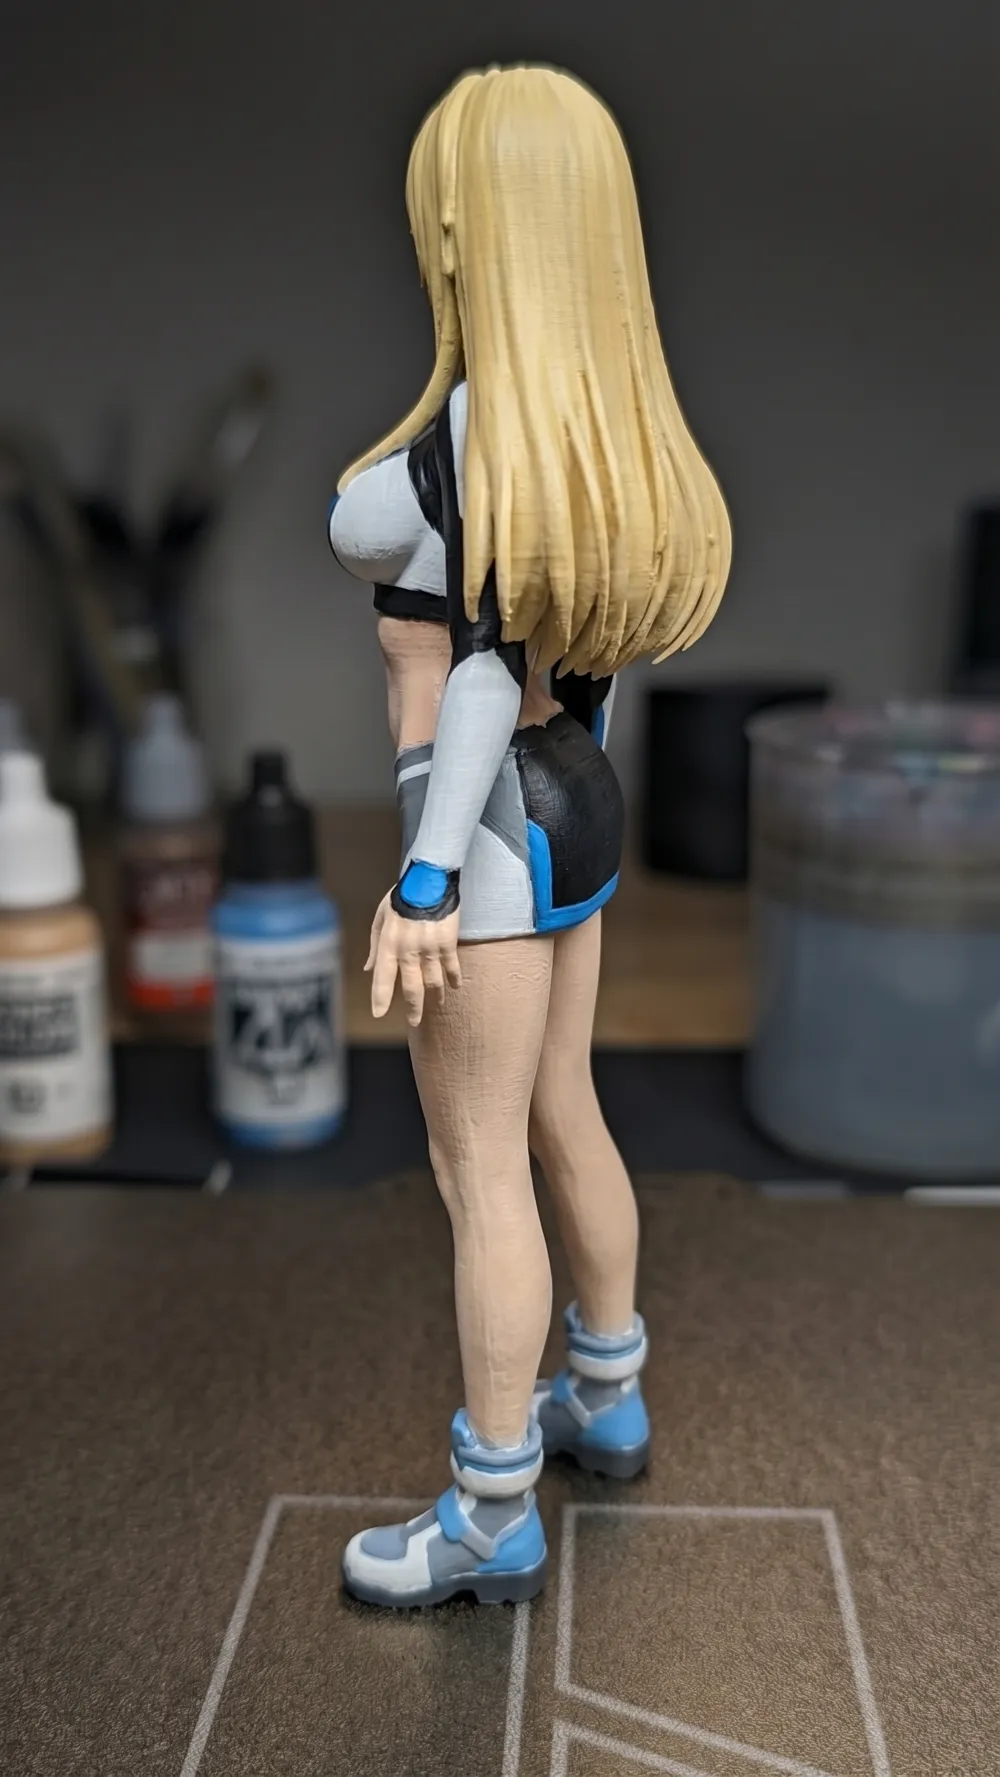
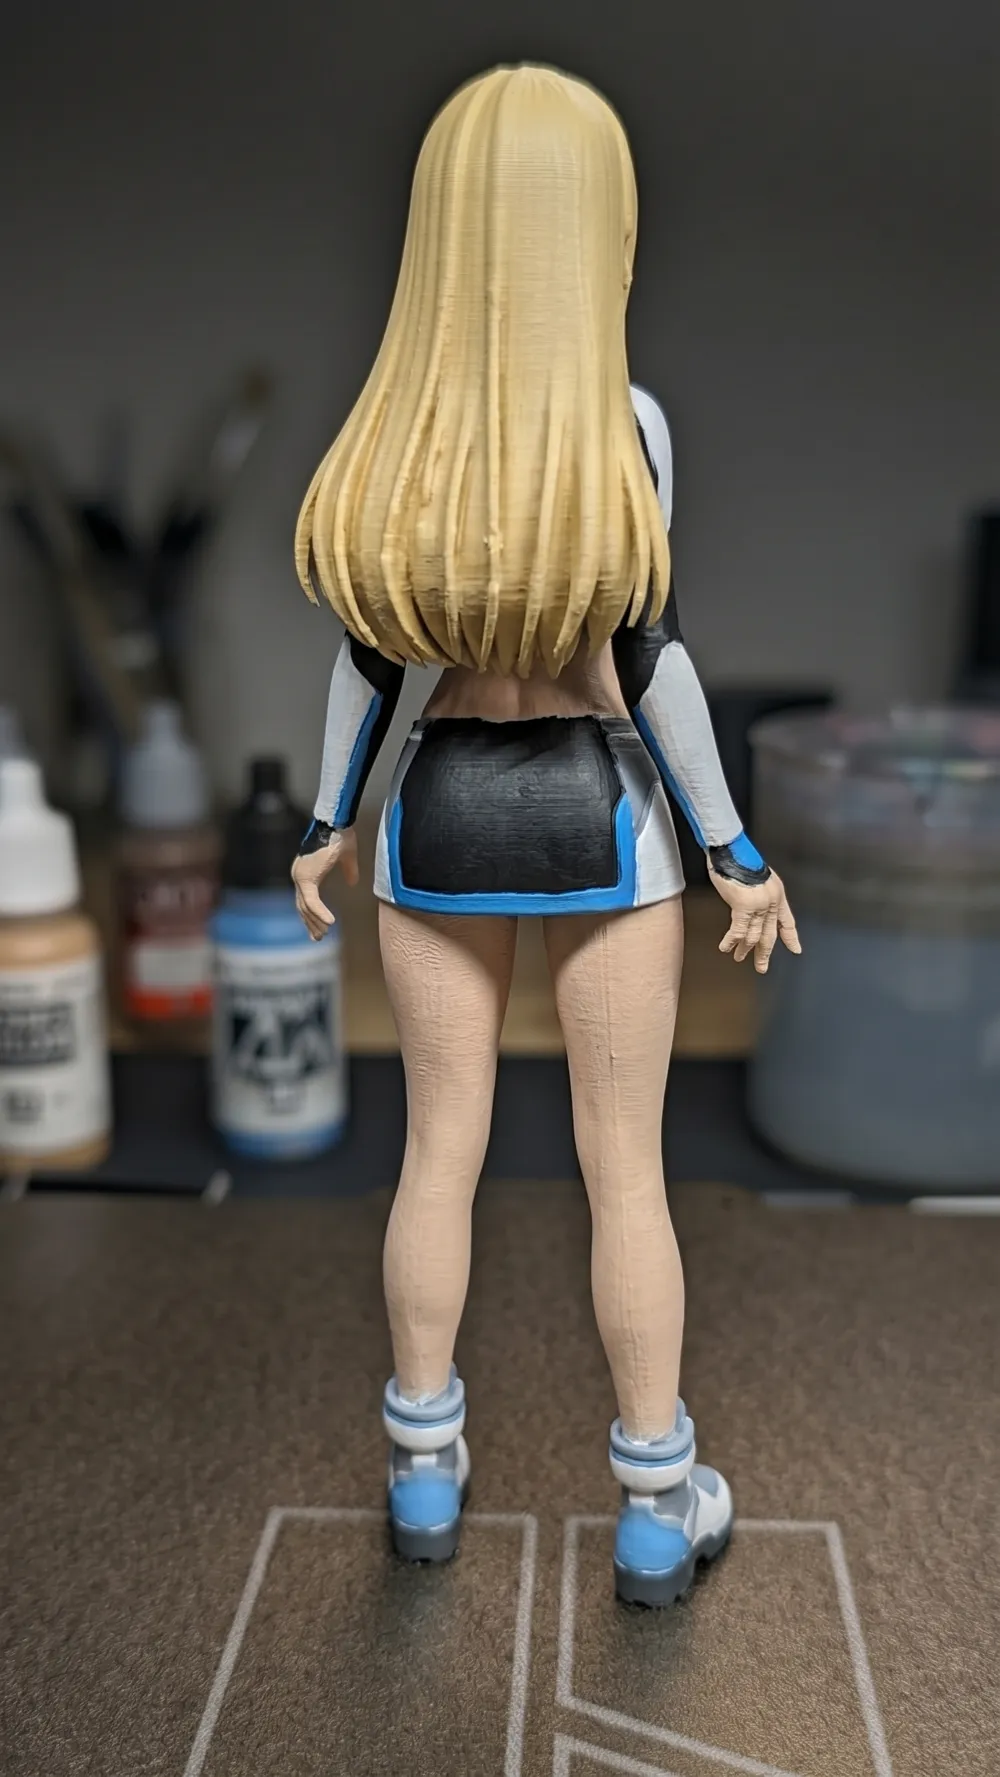
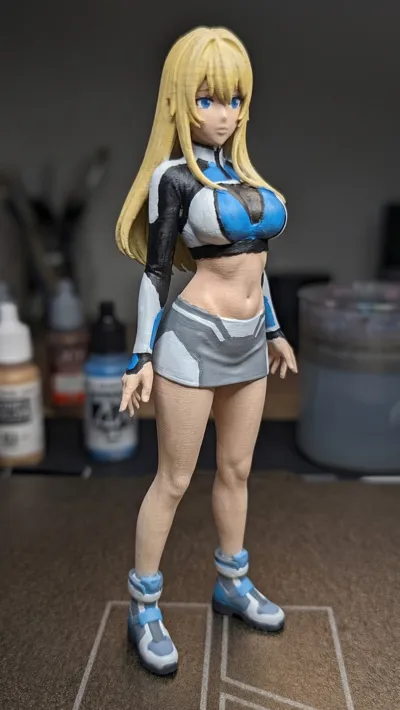
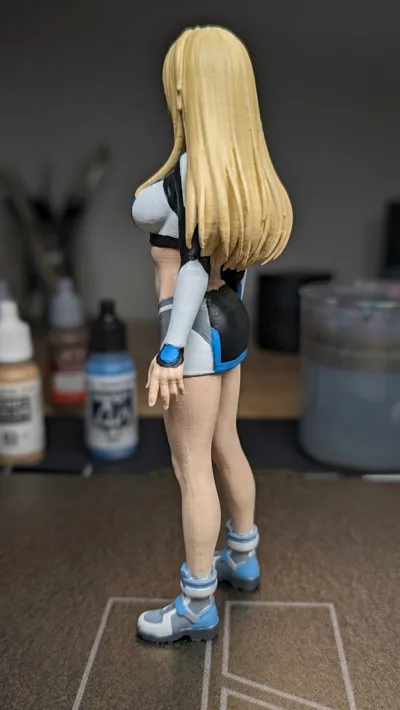
This model captures her sleek, futuristic design, brought to life through the unique charm of 3D printing and a vibrant, hand-painted finish.
Print Settings & Recommendations
- Layer Height: Printed at 0.12mm (Highly recommended for maximum detail at this scale). You can print at 0.20mm to significantly reduce print time, but please note that some of the finer details may become less prominent.
- Model Height: 14 cm
- Infill: 8% Gyroid (Provides excellent structural stability while saving filament).
- Print Orientation: The figure is designed to be printed upside down. This orientation drastically simplifies the support structure around the hands and fingers, ensuring the sharpest possible detail retention on the most intricate parts.
Post-Processing & Painting
This specific model was hand-painted using acrylics to mimic her iconic sci-fi suit. The beauty of this piece lies in its authentic, handmade look—showing that you don't need to be a professional studio painter to achieve a stunning, character-rich result.
⚠️ CRITICAL SUPPORT REMOVAL & BED ADHESION TIPS:
- Bed Adhesion: Ensure your build plate is thoroughly cleaned before starting. Strong first-layer adhesion is vital due to the inverted print orientation.
- Support Removal: Do not try to fully snip or tear the supports off in one go. I highly recommend clipping them only halfway through to create a weak stress-point/fracture line. Once the fracture line is formed, they will snap off effortlessly. Use a small flush cutter (side cutter) for the tight areas around the fingers to avoid snapping any delicate parts.
I would absolutely love to see your finished prints and custom paint jobs! Please share your models and color schemes in the comments below!
Boost Me (for free)
If you love this model and appreciate the optimized print orientation and detailed tips, please consider giving it a "Boost"! Your support helps me dedicate more time to designing, testing, and optimizing unique figures for the community. Every single boost makes a huge difference and keeps the creativity flowing. Thank you so much!
License

You shall not share, sub-license, sell, rent, host, transfer, or distribute in any way the digital or 3D printed versions of this object, nor any other derivative work of this object in its digital or physical format (including - but not limited to - remixes of this object, and hosting on other digital platforms). The objects may not be used without permission in any way whatsoever in which you charge money, or collect fees.


Comment & Rating (0)