
Bat & Ball Pass-Through Fidget (2 Sizes)
Print Profile(1)



Description

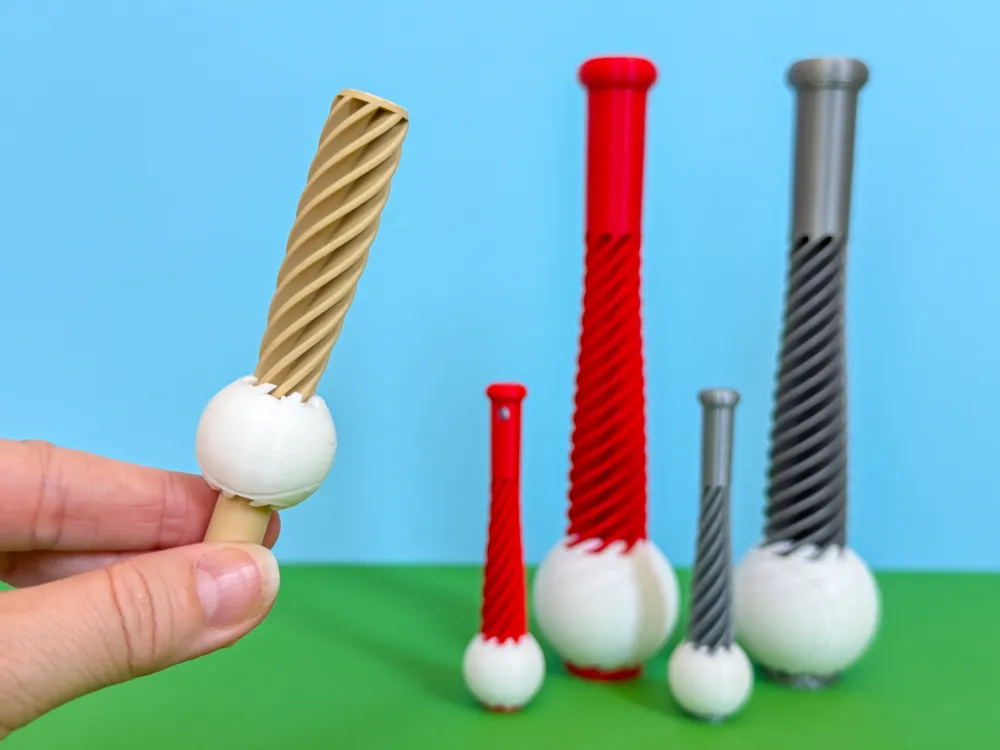
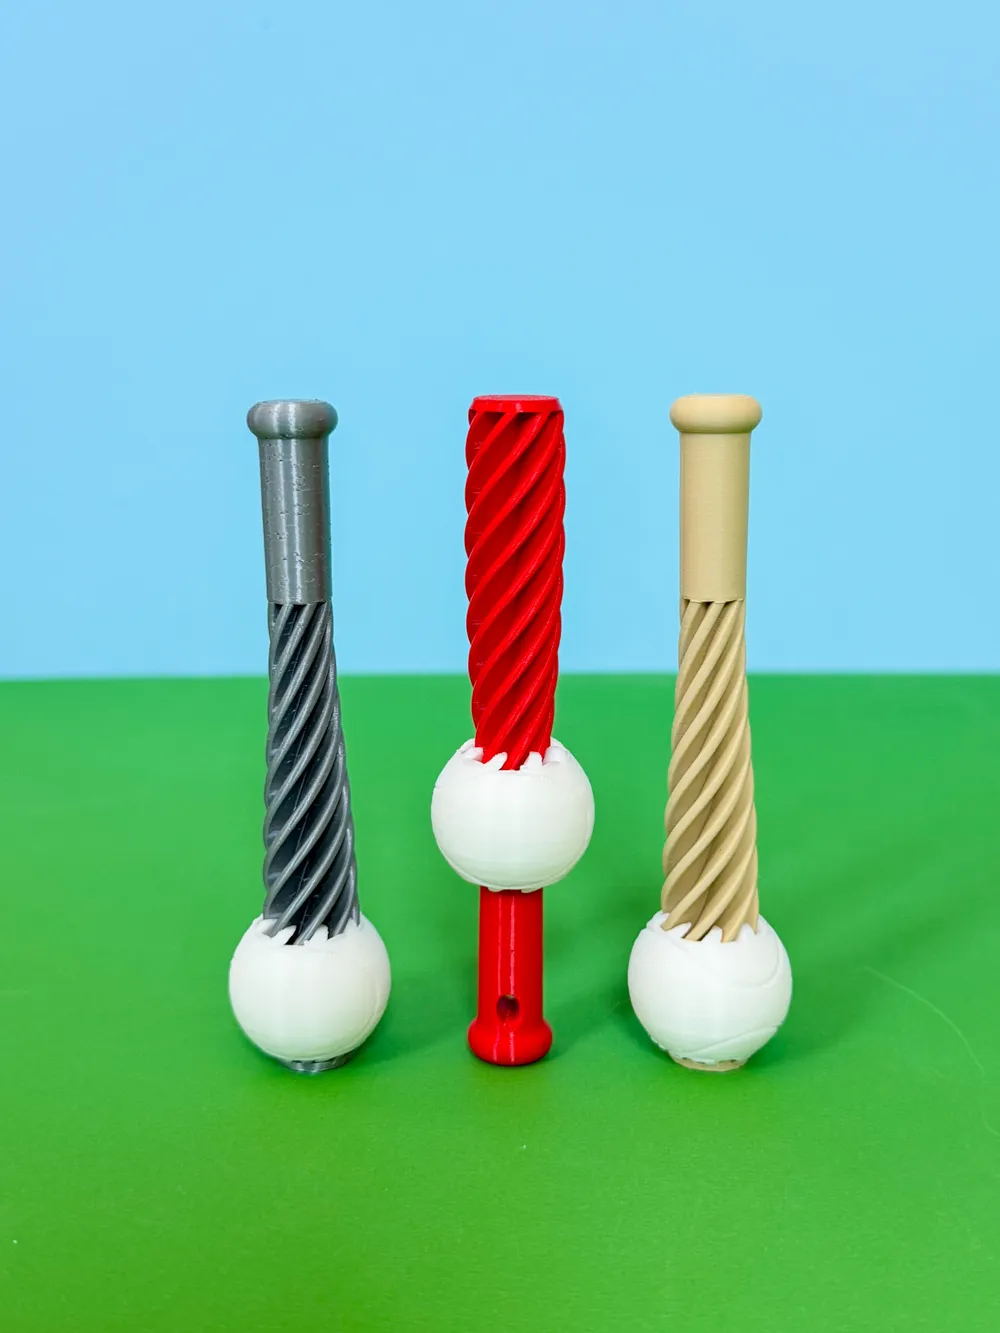
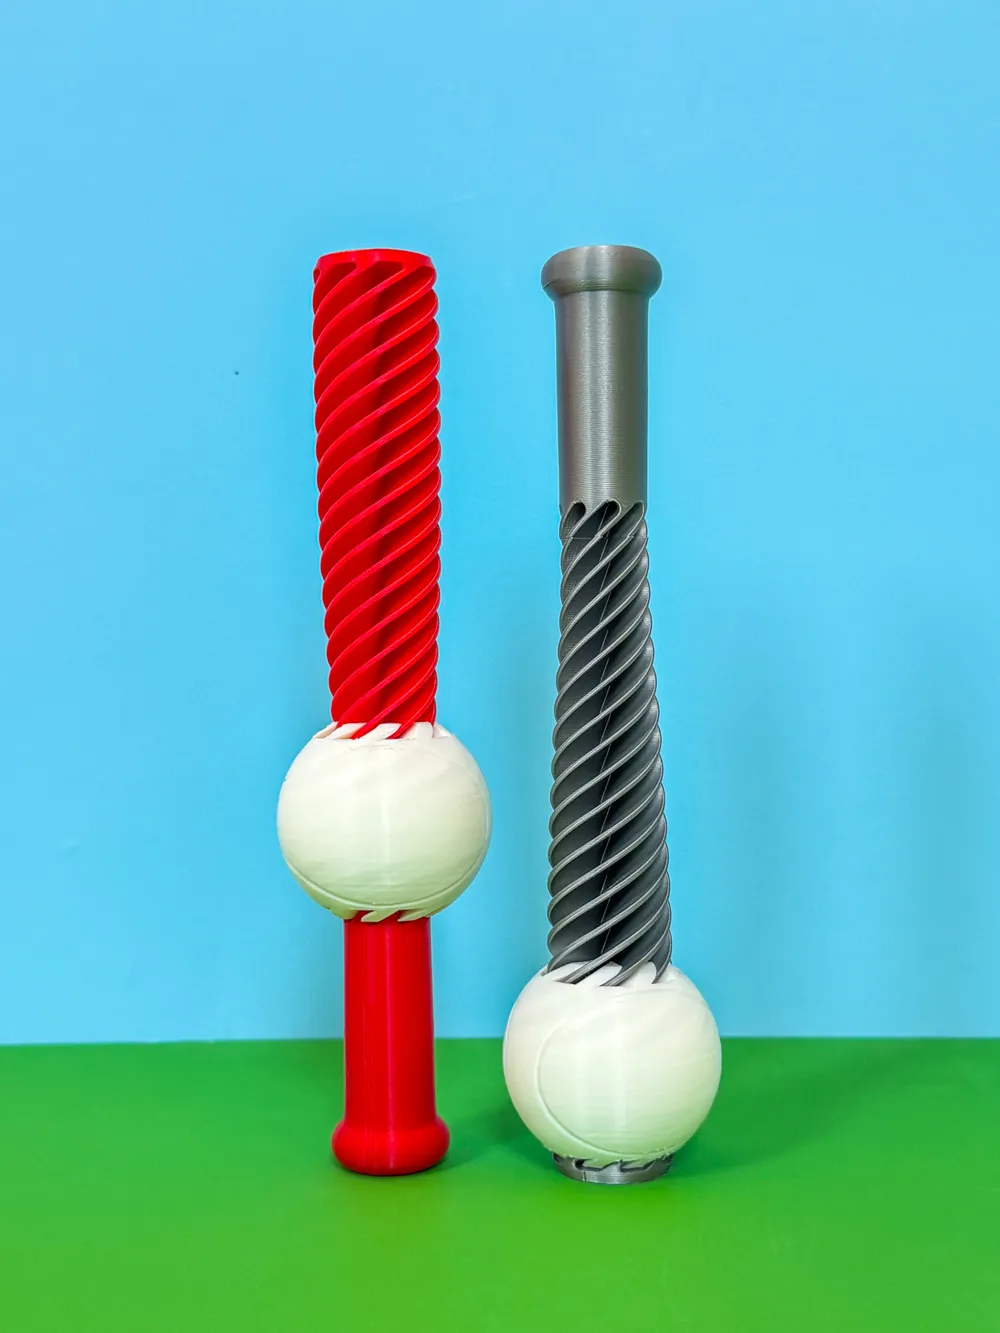
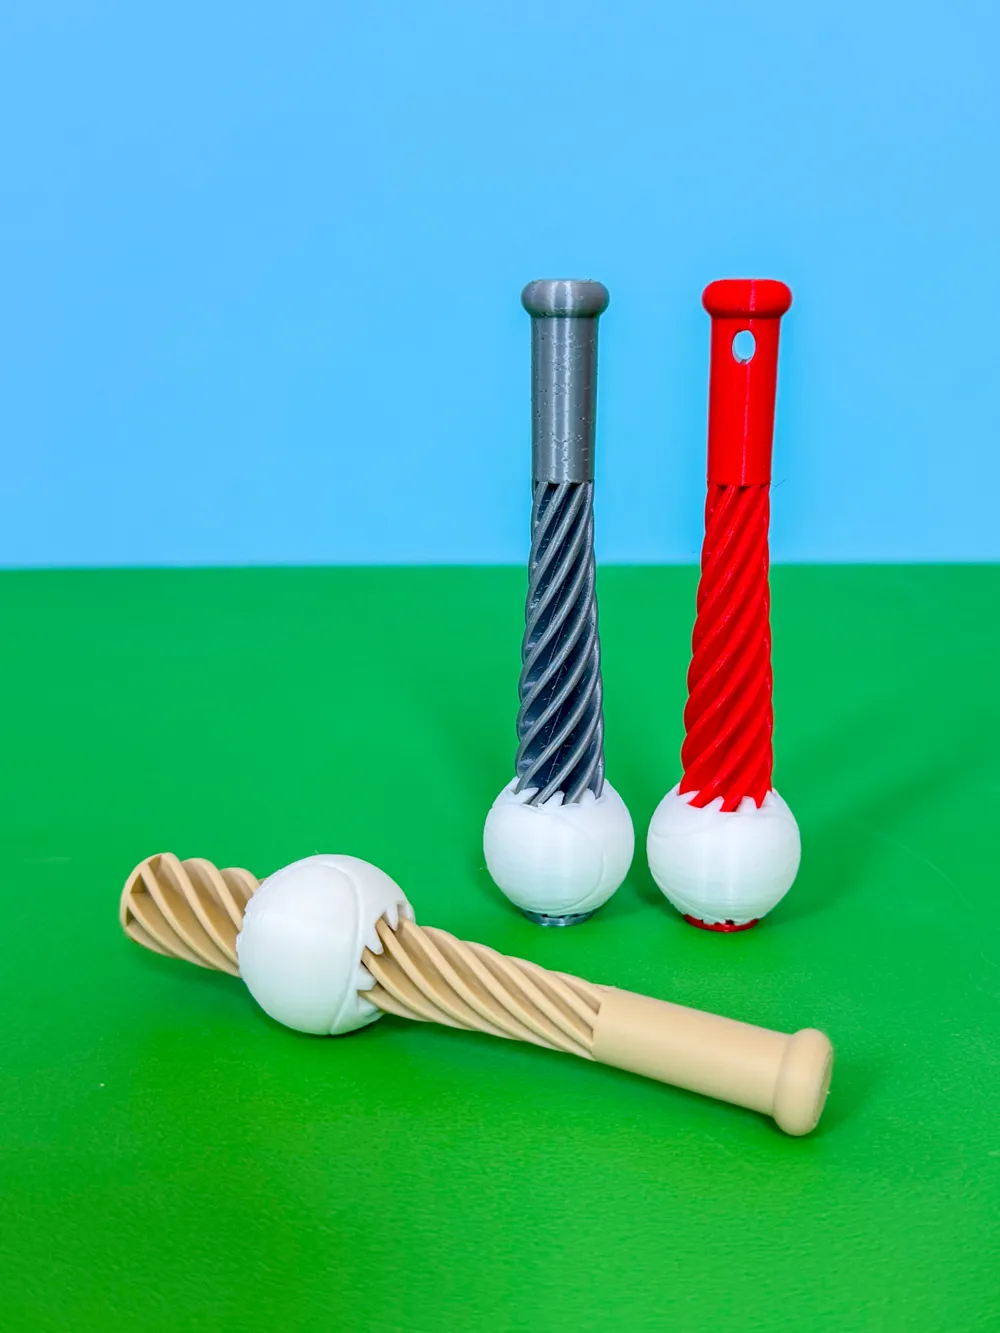
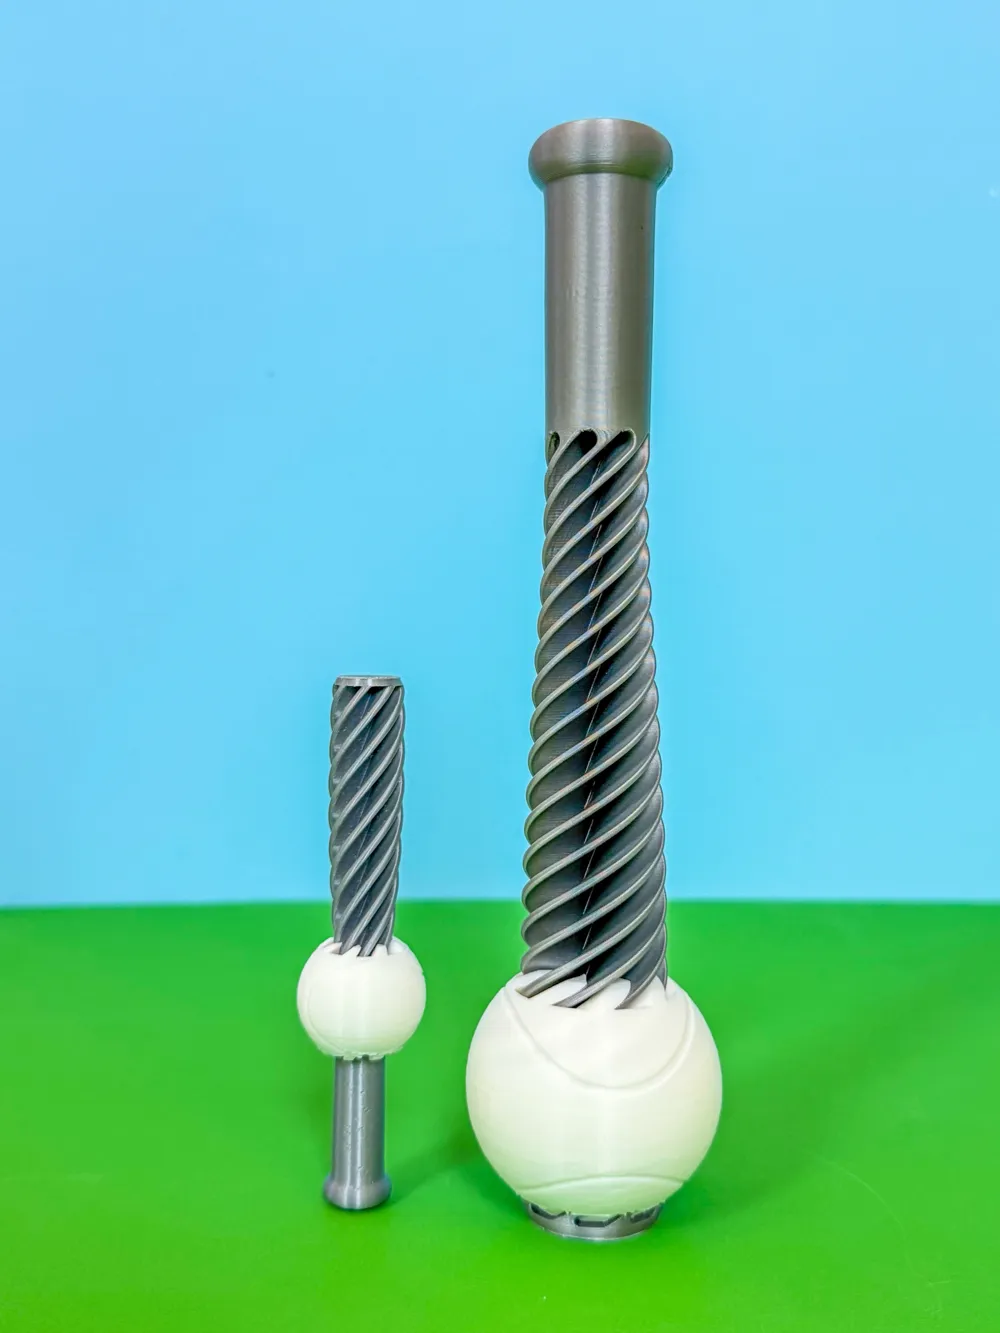
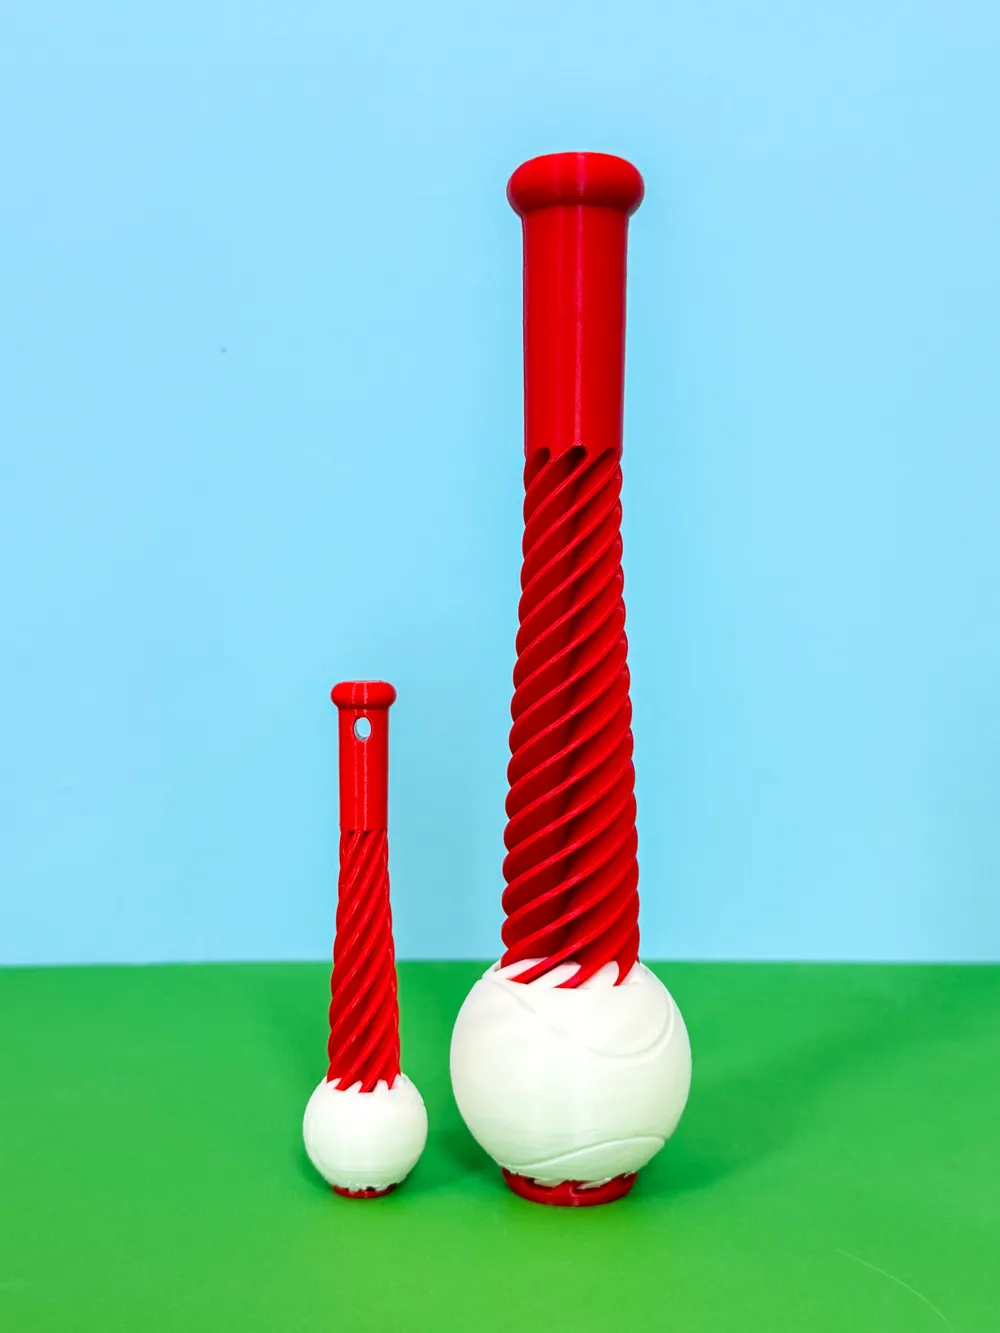
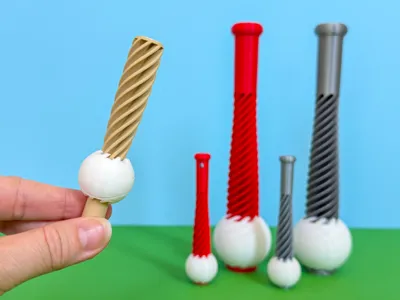
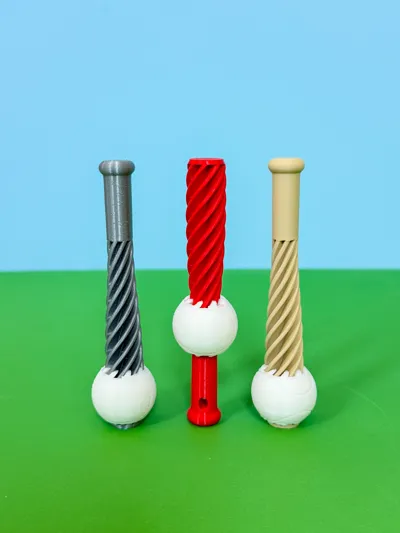
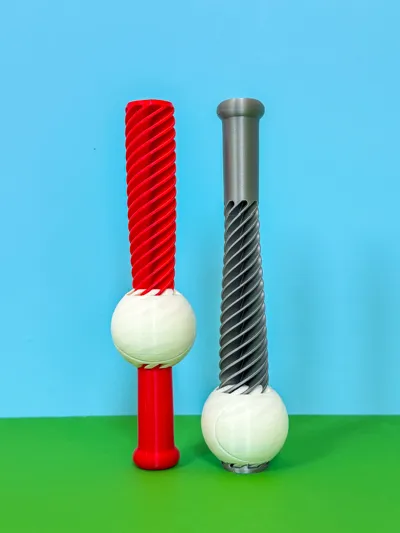
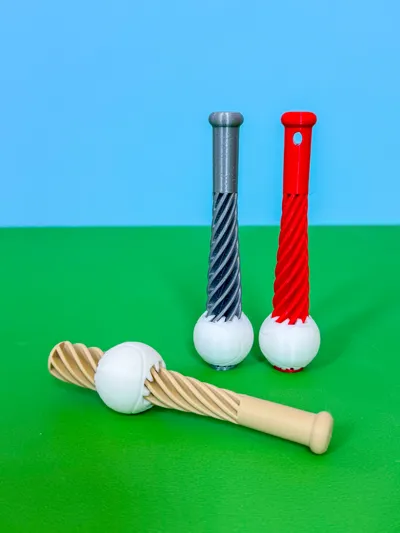
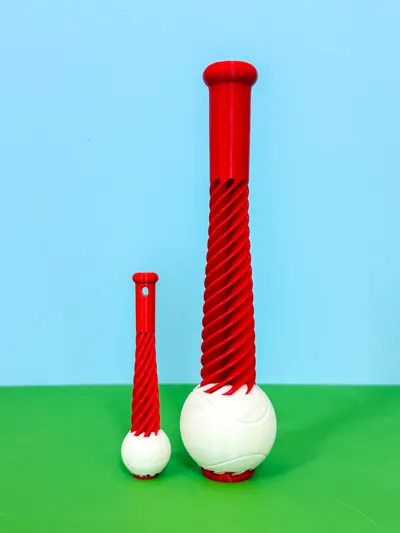
Batter up…again and again with this Bat & Ball Impossible Pass-through Fidget. For the small bat you can print a keychain version or a non-keychain version. And for those of you who need a little something more, I designed a Big Bat 💪
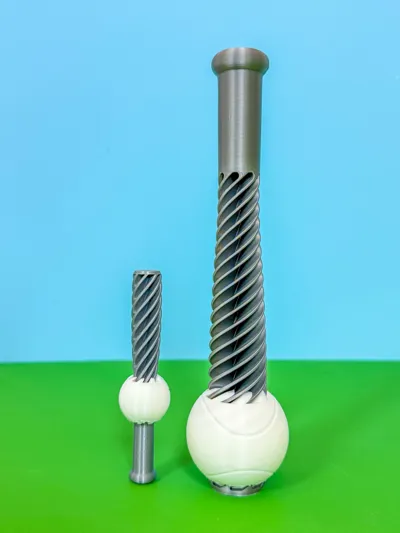
Dimensions of Small Bat & Ball assembled: 4 in. x 1 in.
Dimensions of Big Bat & Ball assembled: 8.5 in. x 2 in.

(General) 3D PRINTING SETTINGS:
Layer Height 0.2mm
PLA works great
15% Infill
Supports needed for baseball
Brim added to bats
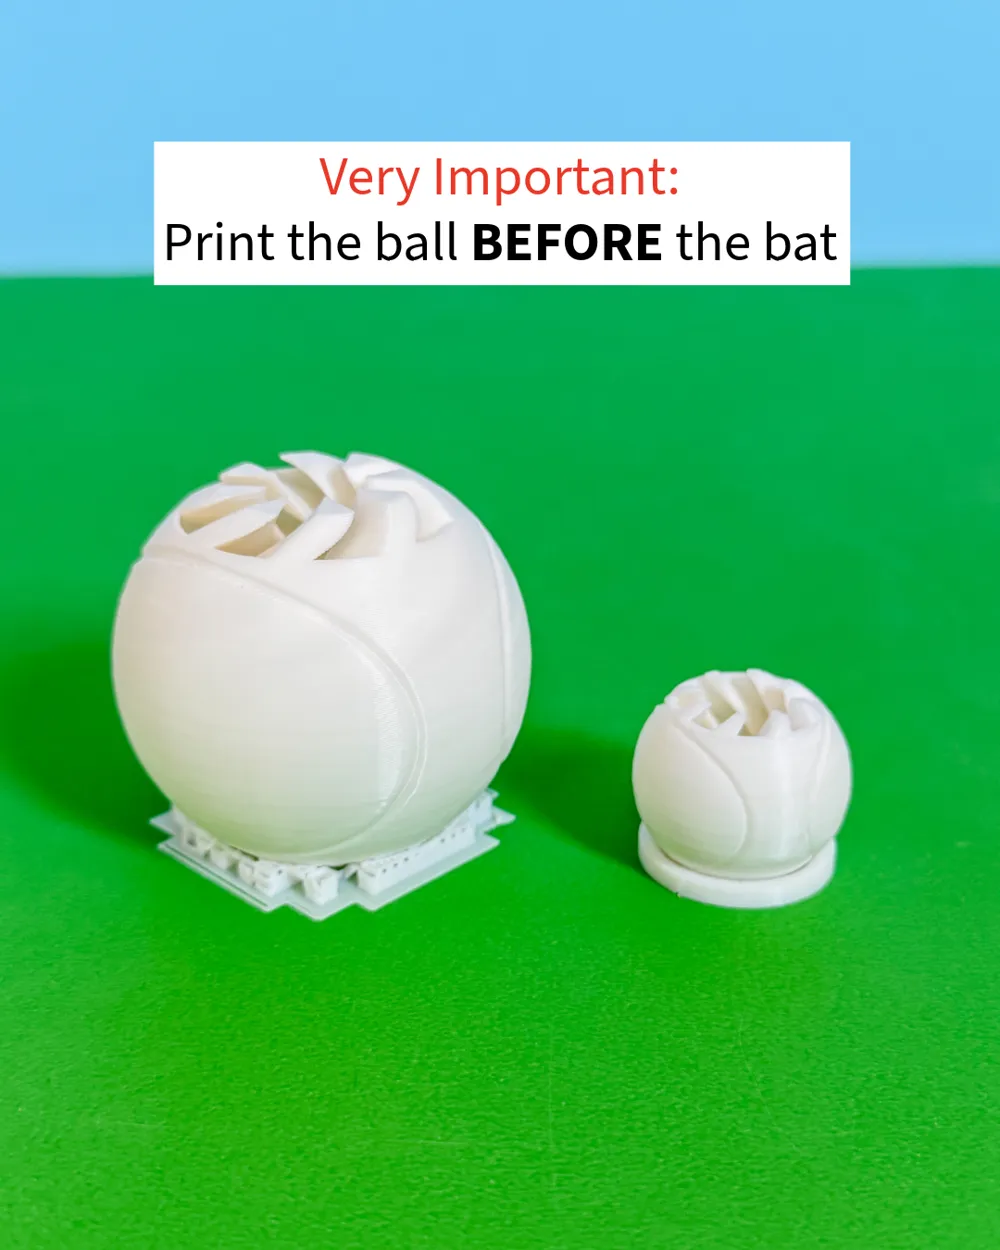
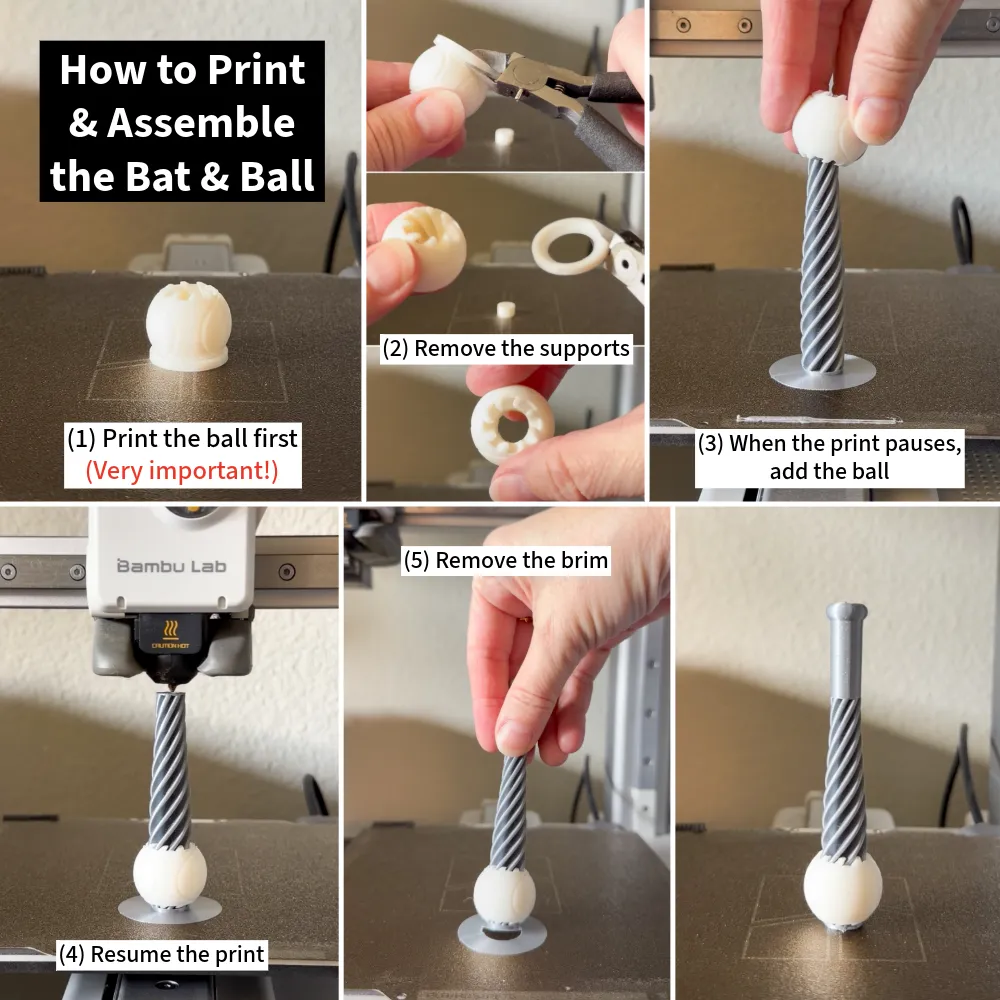
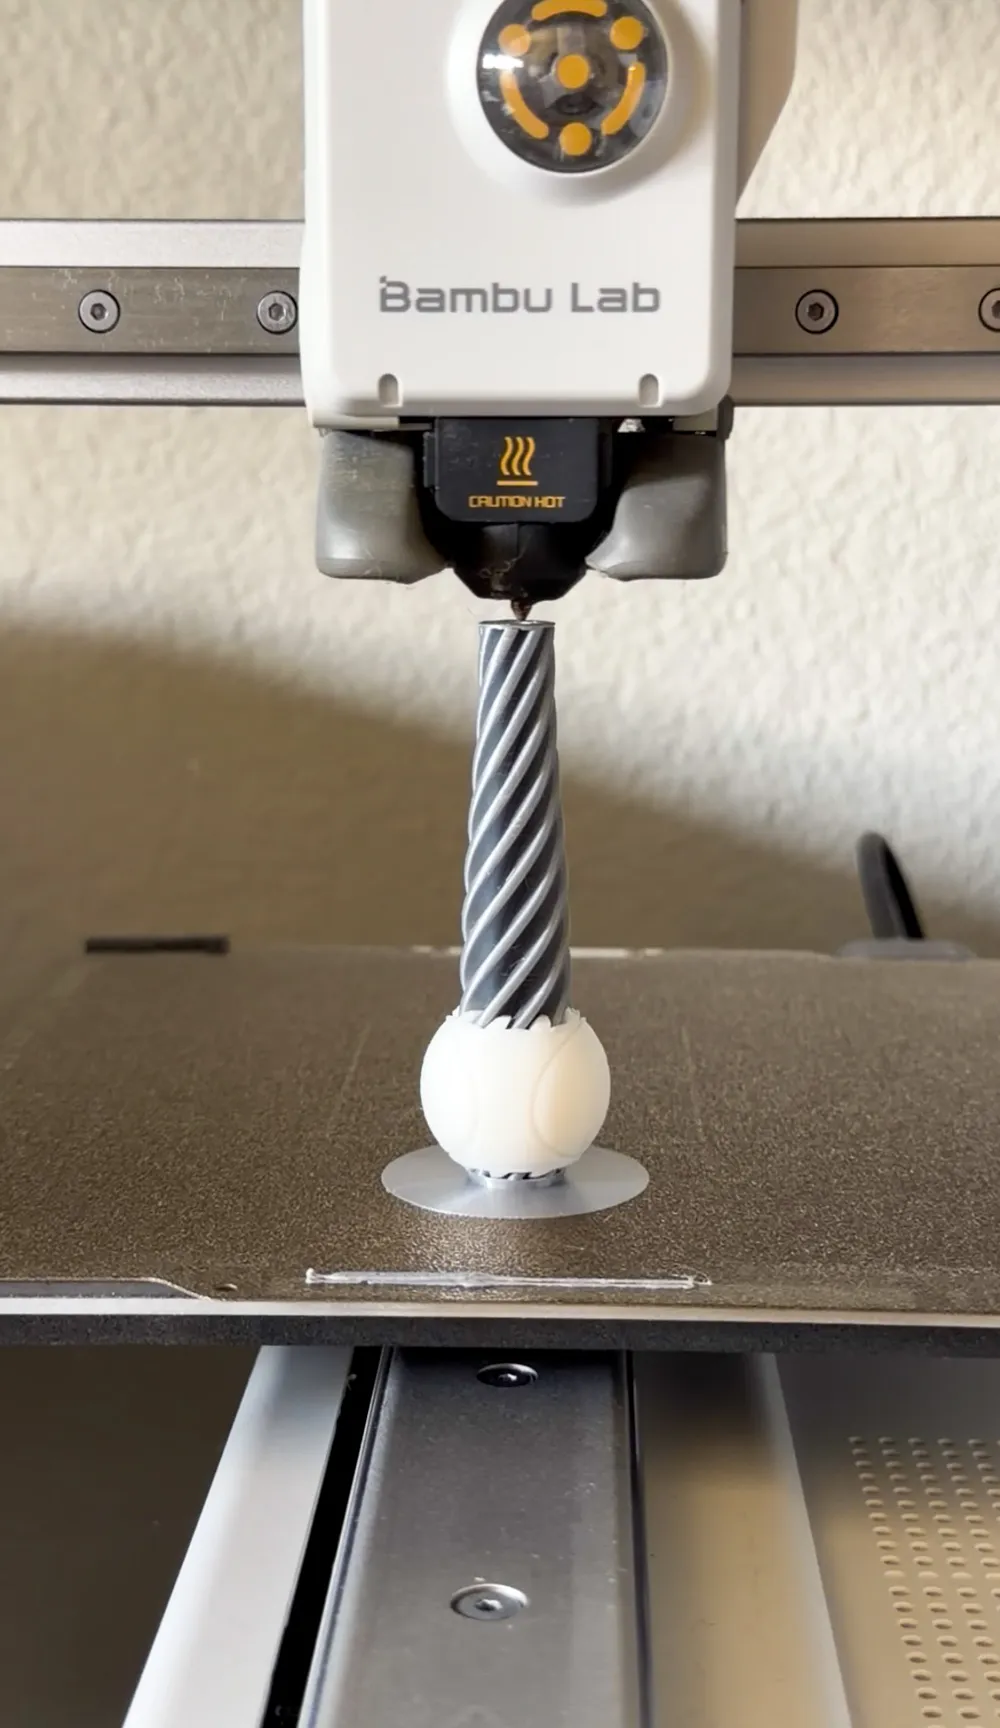
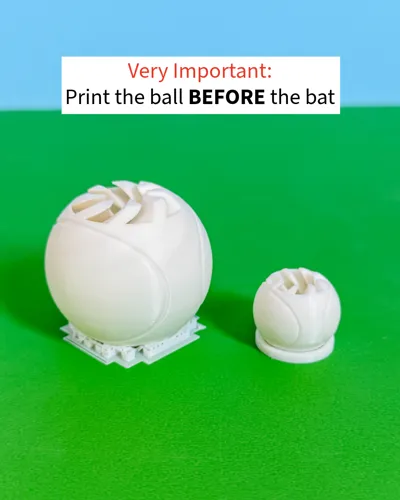
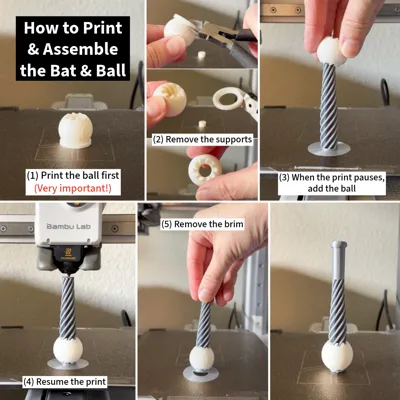
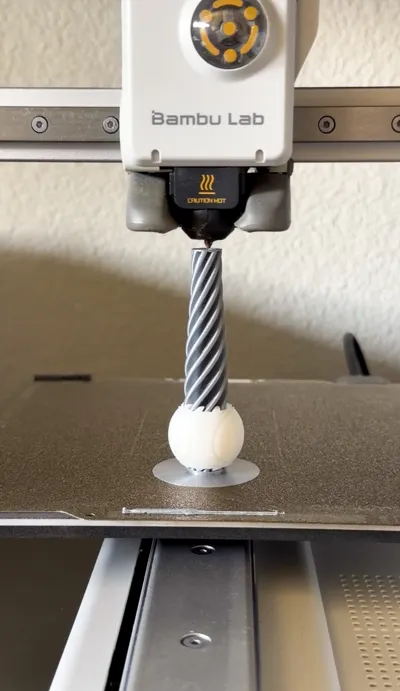
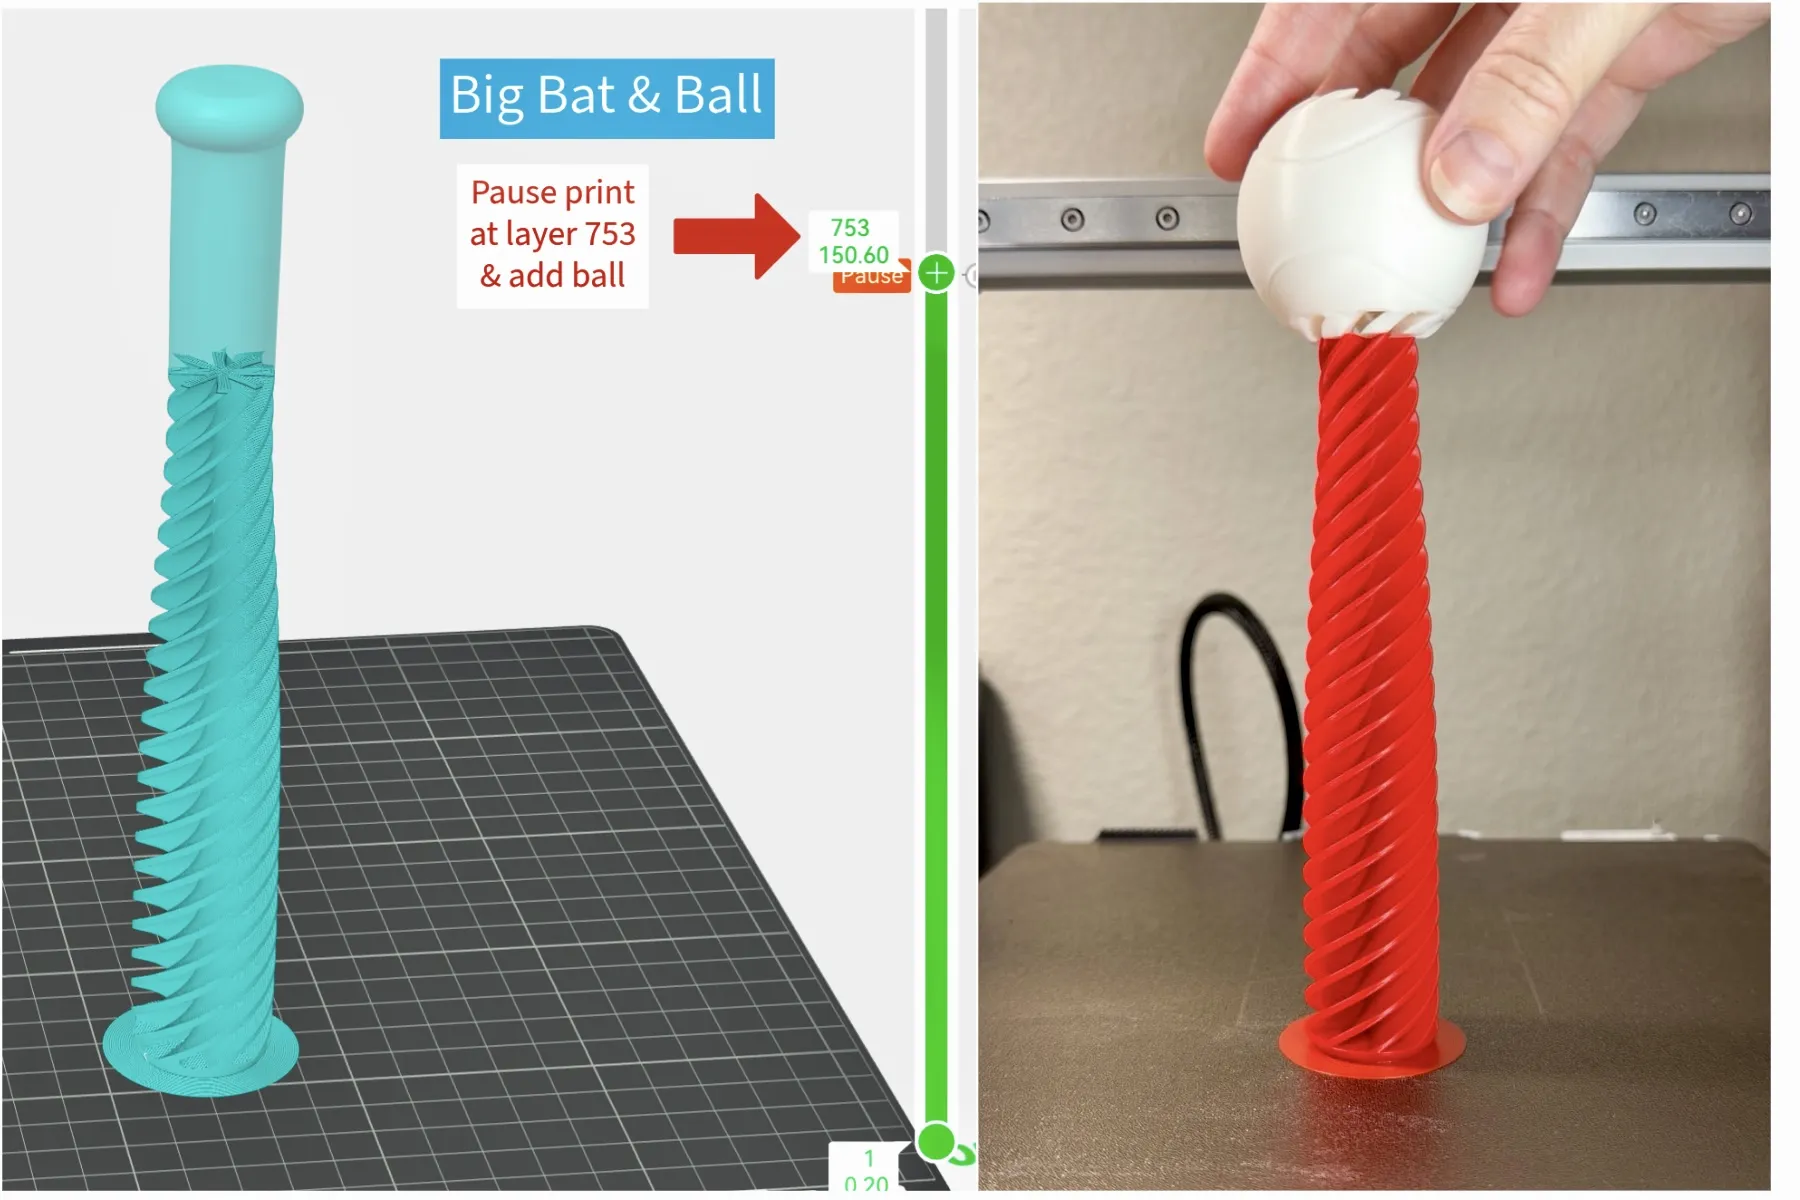
VERY IMPORTANT! Print the ball first and then the bat. While the bat is printing, the print will pause so you can add the bat. If you don’t pause the print to add the ball you will not be able to add it afterwards.
More Specific 3D Print Settings of the 3mf project file:
Print Plate #1 (small ball): one color…
- Outer & inner wall 0.6mm
- Arachne wall generator
- Wall loops 3
- Outer Wall speed 40 mm/s
- Inner Wall speed 100 mm/s
Note: I designed a custom support for the small ball. The supports generated by the slicer program did not work very well for this object so I designed my own. The ball prints off a very small “footprint” of small triangles and I found my custom designed support ensured a more successful print with better print quality.
Print Plate #2 (Big Ball): one color…
- Outer & inner wall 0.6mm
- Arachne wall generator
- Wall loops 3
- Outer Wall speed 40 mm/s
- Inner Wall speed 100 mm/s
- Manual (normal) supports added
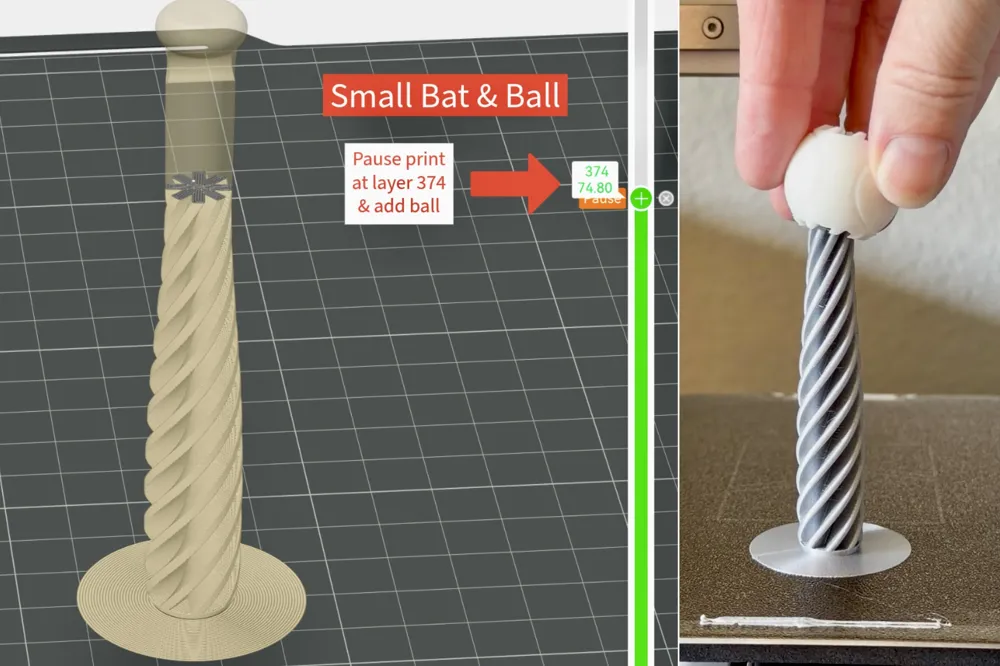
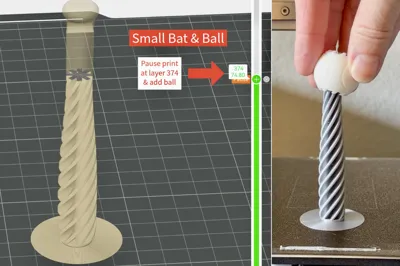
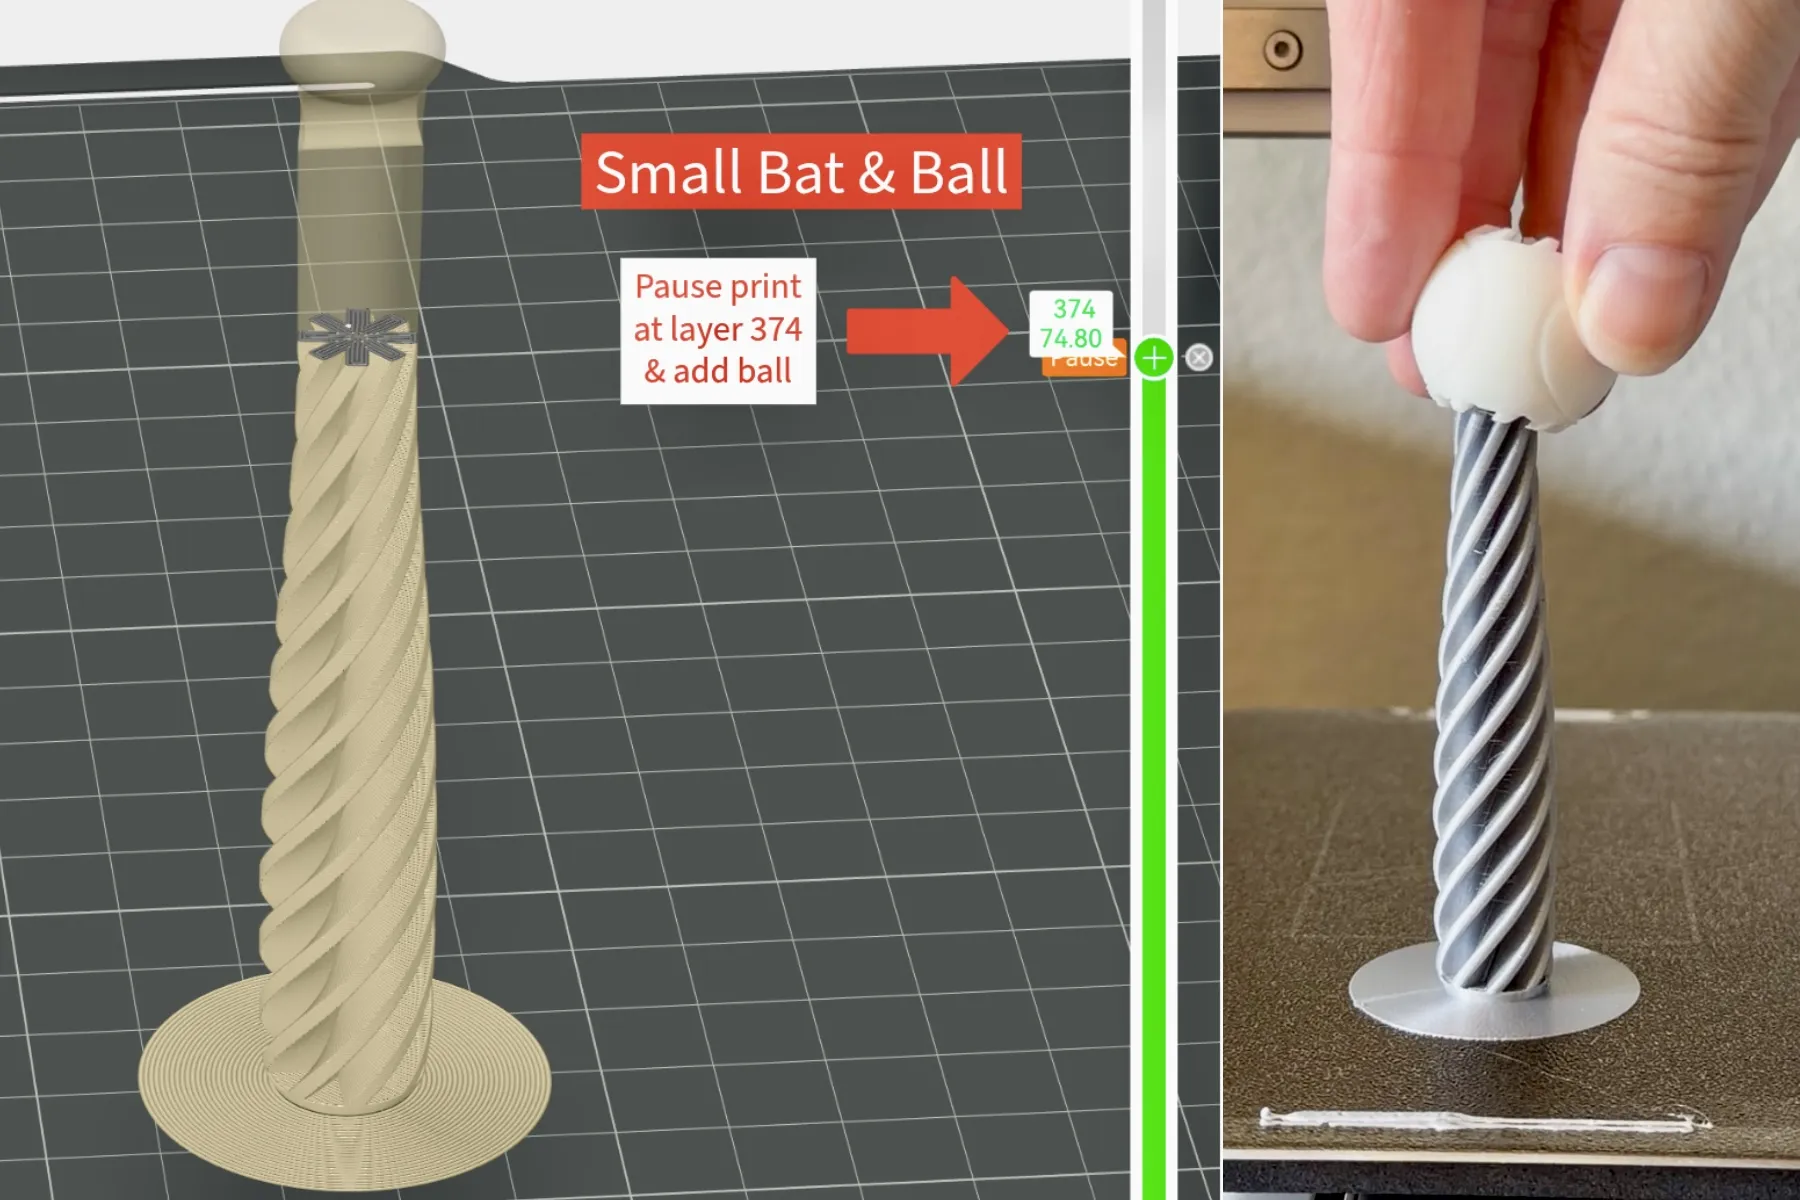
Print Plate #3 (Small Bat_keychain hole): 1 color; 5 wall loops; pause added at layer 374 to add ball
Print Plate #4 (Small Bat_no keychain hole): 1 color; 5 wall loops; pause added at layer 374 to add ball
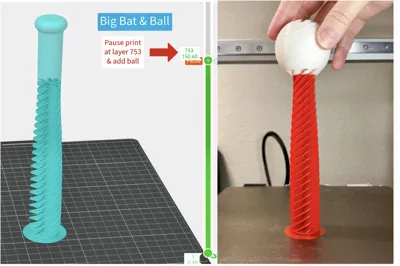
Print Plate #5 (Big Bat): 1 color…
- Outer & inner wall 0.6mm
- Arachne wall generator
- Wall loops 5
- Outer Wall speed 50 mm/s
- Inner Wall speed 100 mm/s
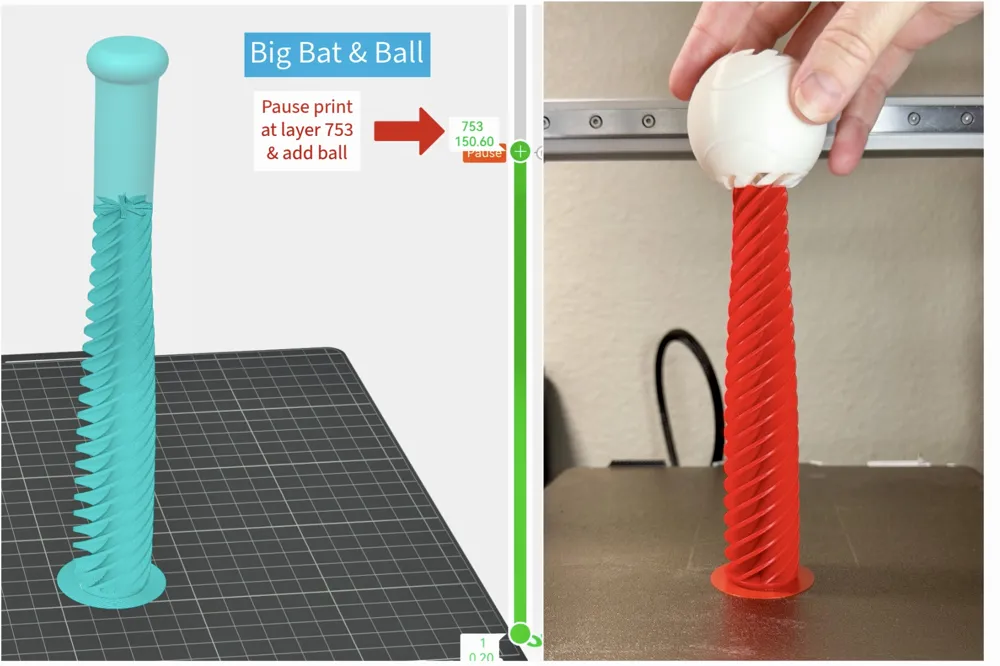
- Pause print added at layer 750 to add ball
How to Print the Small Bat:
- Very Important: Print the small ball first
- After the ball is printed, begin to print the bat. Pause at layer 374 to place the ball on the bat (let it twist down) and then resume the print.
How to Print the Big Bat:
- Very Important: Print the big ball first
- After the ball is printed, begin to print the bat. Pause at layer 750 to place the ball on the bat (let it twist down) and then resume the print.

My designs are free for personal and non-commercial use. I offer a commercial license on Thangs. Here is a link if you'd like to check it out 👉 https://thangs.com/designer/3DPmom

Boost Me (for free)
If you like this print, please give me a boost! Thx 🤗 Erin
If you like my work and want to help support it, you can buy me a Diet Coke at https://www.buymeacoffee.com/3dpmom
Thanks so much!
Have fun printing:) Erin
License

You shall not share, sub-license, sell, rent, host, transfer, or distribute in any way the digital or 3D printed versions of this object, nor any other derivative work of this object in its digital or physical format (including - but not limited to - remixes of this object, and hosting on other digital platforms). The objects may not be used without permission in any way whatsoever in which you charge money, or collect fees.


Comment & Rating (25)