
Warlord Landspeeder - Mandalorian and Grogu movie
Print Profile(2)
Description
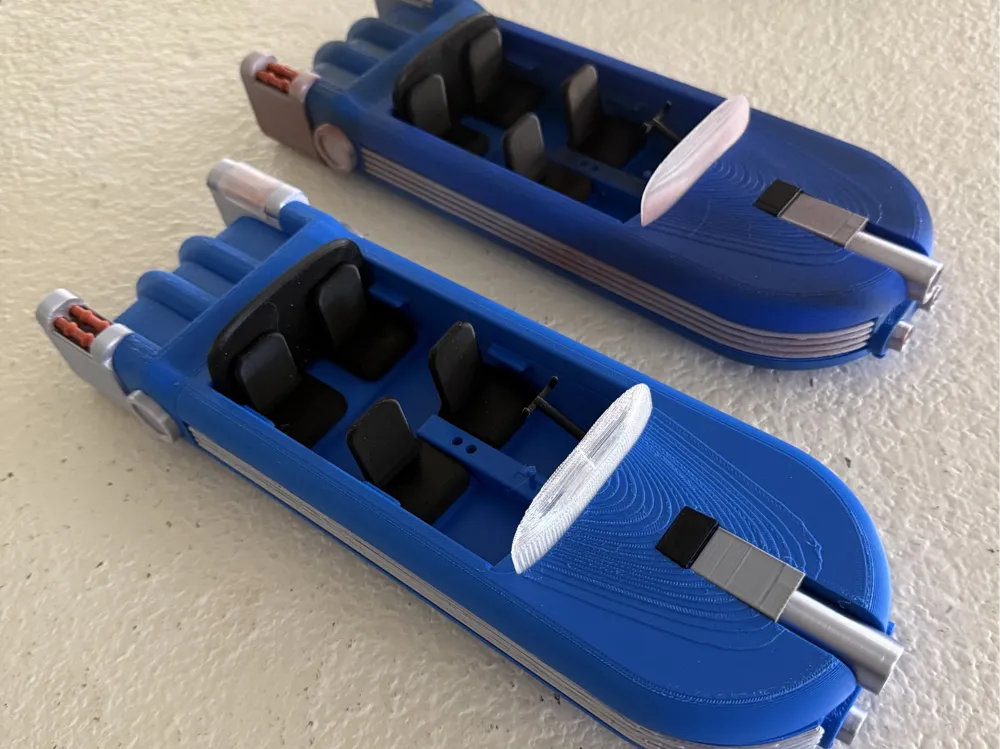
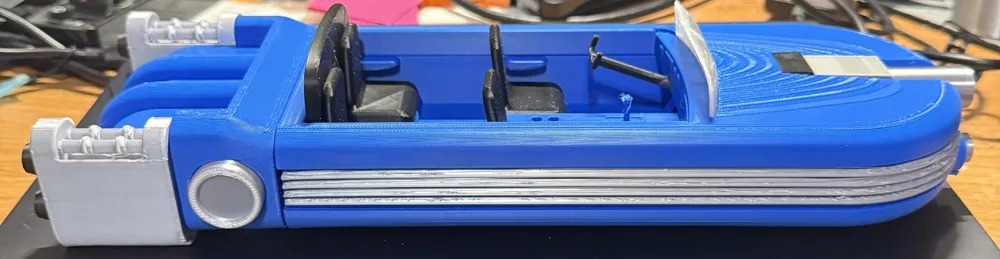
I have finally finished my Warlord Land Speeder from the Mandalorian and Grogu movie. If you have improvement suggestions please feel free to list them and I will consider modifying the model. If you like this, please consider a boost. Thanks
General note: I printed this in PLA and used PETG as support interface. This makes it very easy to remove any required support material. But you do need to glue most parts together. However, I would recommend fit testing the entire model before final gluing. I used an X1C and an H2D for printing – mainly the H2D. I will note when this changes or how I move filament locations.
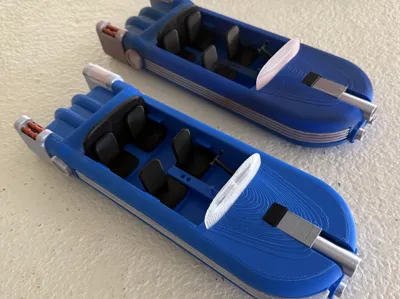
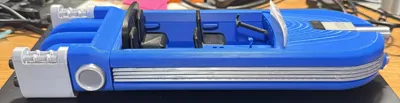
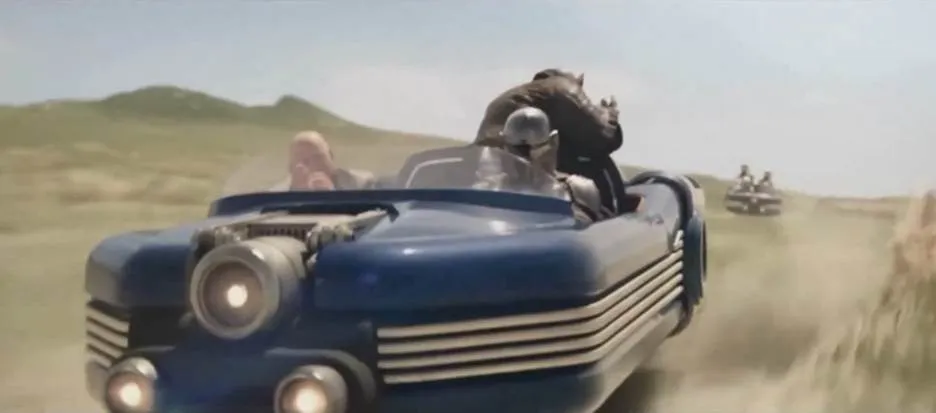
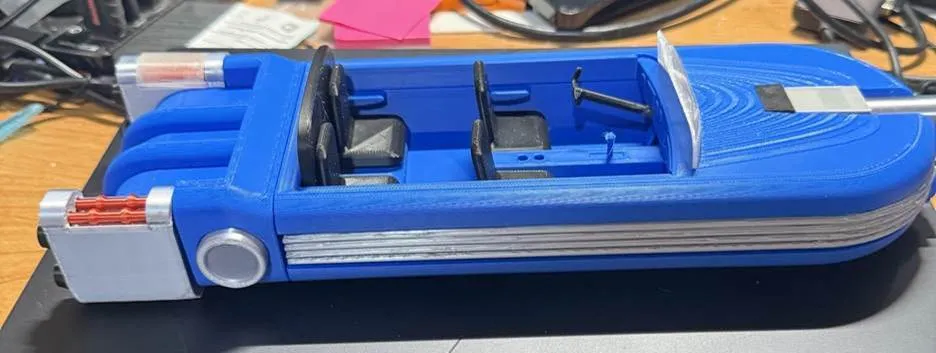
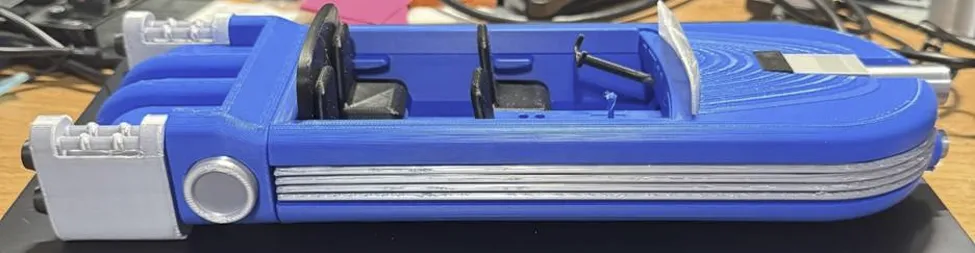
This is a model of my interpretation of the watching the movie and one picture I could find of the Warlord Land speeder from the movie:
I normally try to minimize the use of glue, but I couldn’t do that here, The pieces fit tight but you will need to add glue to the final assembly. I also do not try to minimize the number of plates. The number of plates you see is based on how I assembled the final test version. If you desire you can easily combine plates, especially the silver parts. Additionally, I print most plates by layer as default, but occasionally I print by object. Printing by object allowed me to deselect an object if it starts failing and I can continue printing the reset of the parts. If you do not like printing by object it is very easy to change to print by layer.
First, let me say that I wished I had used a darker blue. However, I plan on weatherizing it so it will eventually be darker.
So, now to describe the plates and the assembly process:
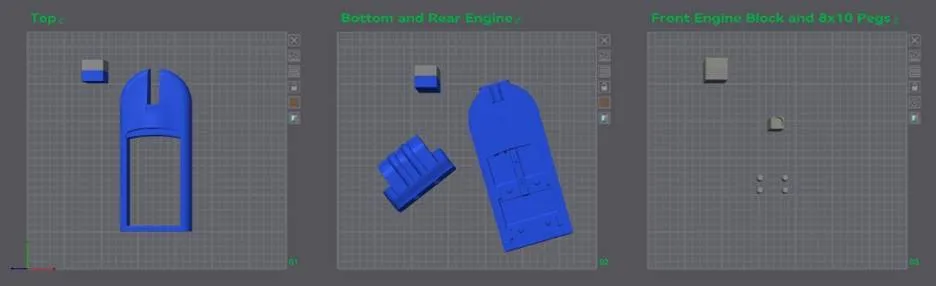
Plate 1 is just the Top of the speeder. Plate 2 has the bottom and rear engine section, but you need Plate 3 to provide the pegs to connect the rear engine, the top and the bottom. The four 8x10mm pegs connect the top, bottom and rear but the Front Engine block adds stability to connect all three pieces.
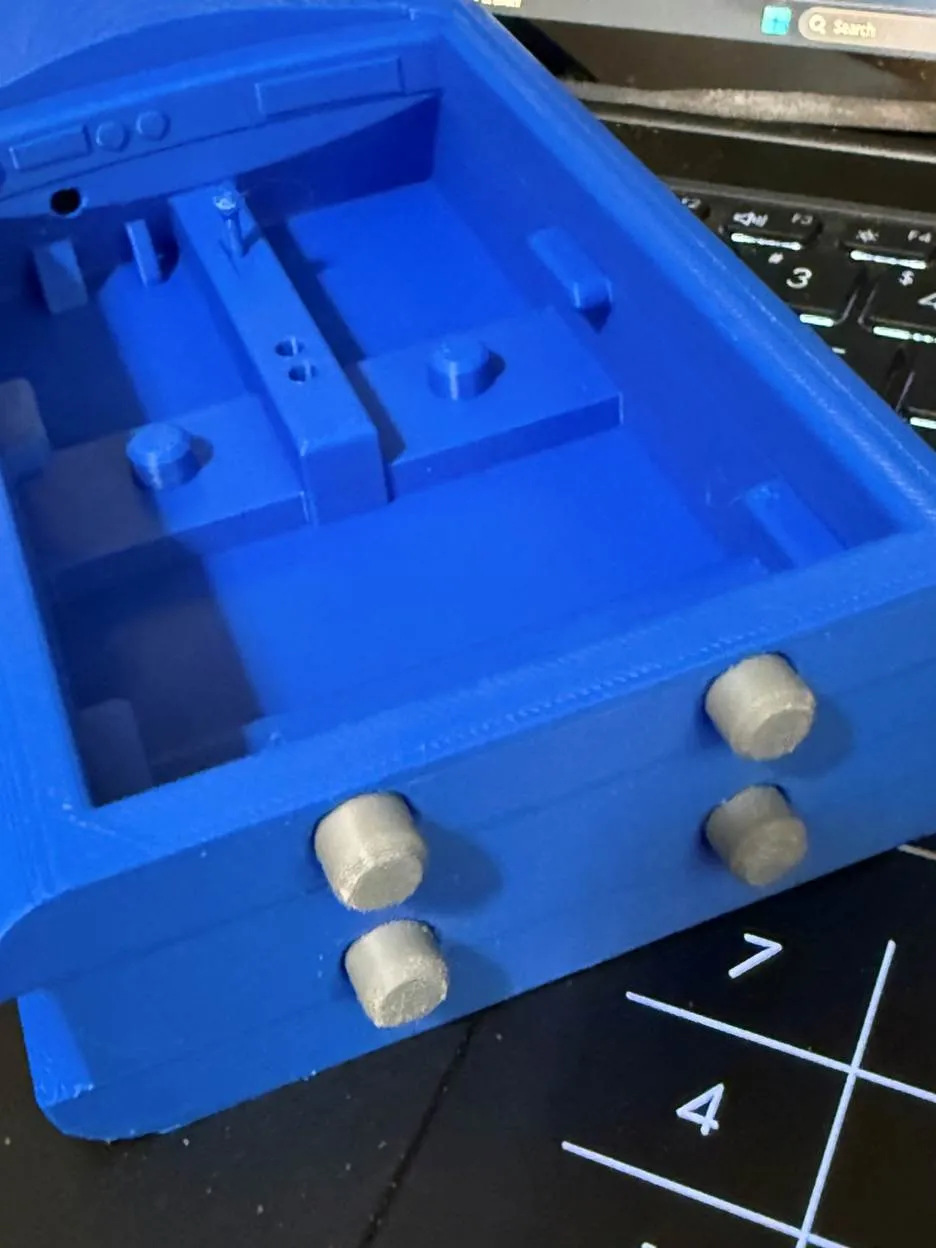
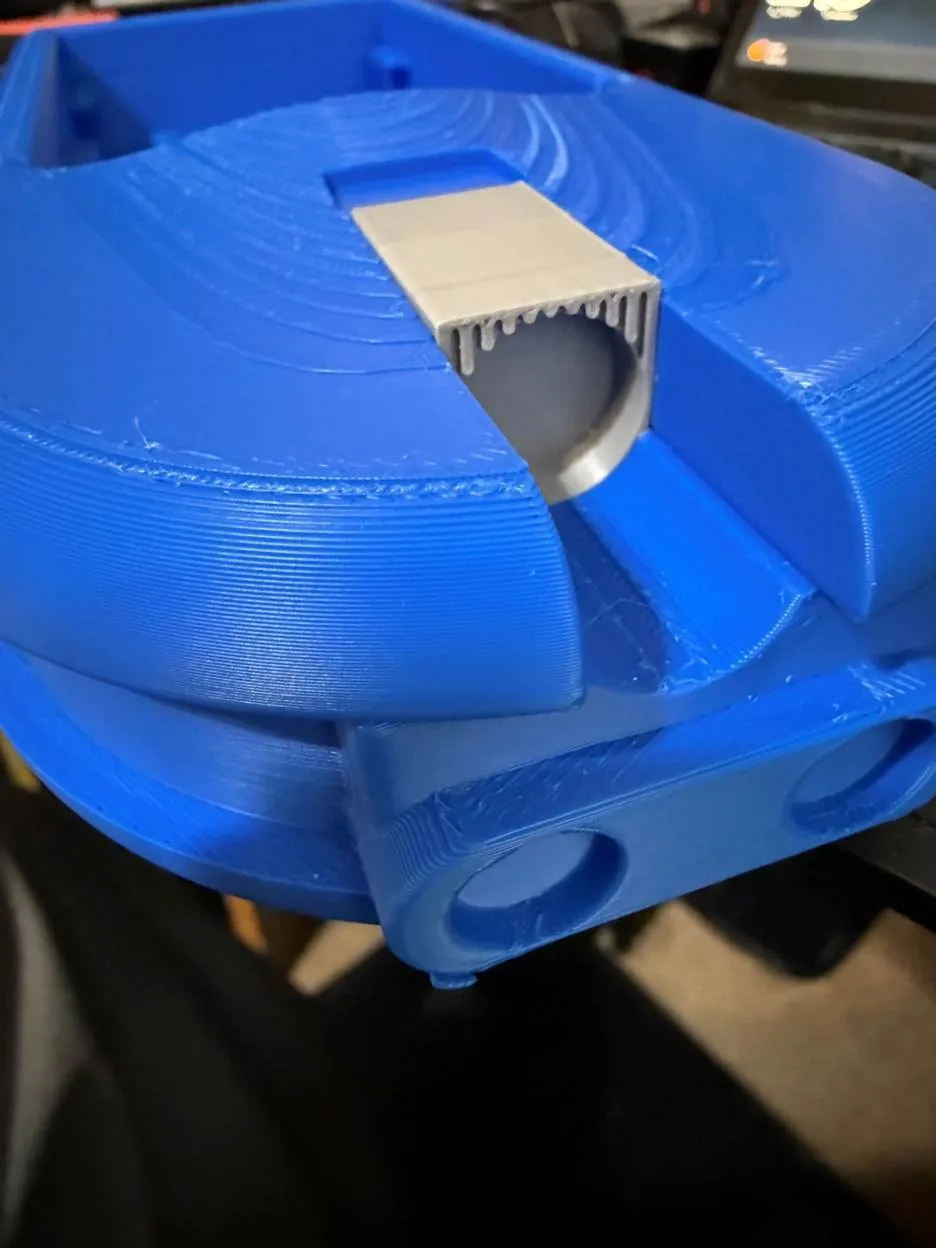
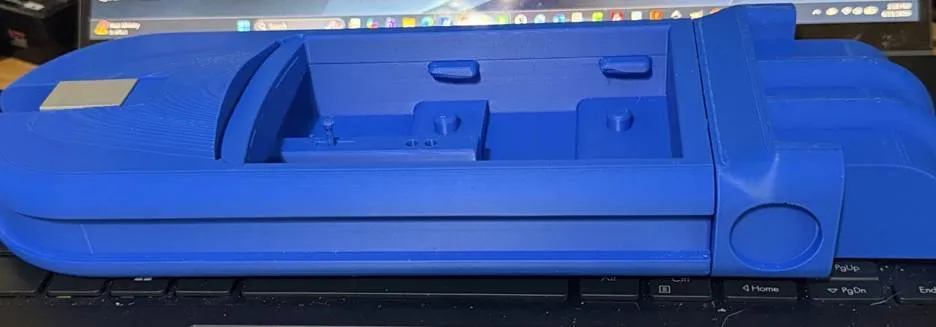
The engine block is gray (grey) to be similar but different than the silver/chrome pieces. The pegs can be any color you want.
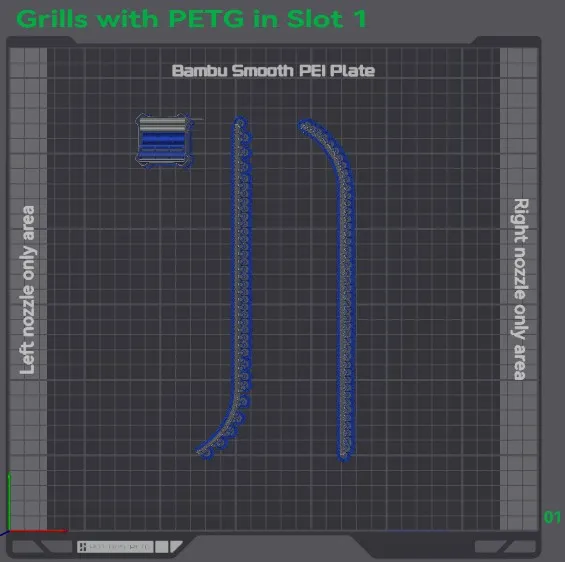
Plate 4 has the Grill pieces. Plate 4 was printed on my H2D without support and the blue in the right nozzle. I had a few issues with my first attempt at printing, but I cleaned my plate and I had no issues. However, because I did have initial issues, I changed the configuration of the filament to add support. I normally have the PETG for support interface in Slot 5 of my AMS which goes to the right nozzle. This time I moved the PETG to Slot 1 and the Blue filament to the right nozzle. While I was eventually successful in both, the last configuration was very easy to remove the support and the silver gills seemed smoother. I will add this as a separate profile for the Grill with the different H2D filament locations. This is why the picture shows Plate 01.
You can fit check the Grills but I would recommend leaving them off until final assembly,
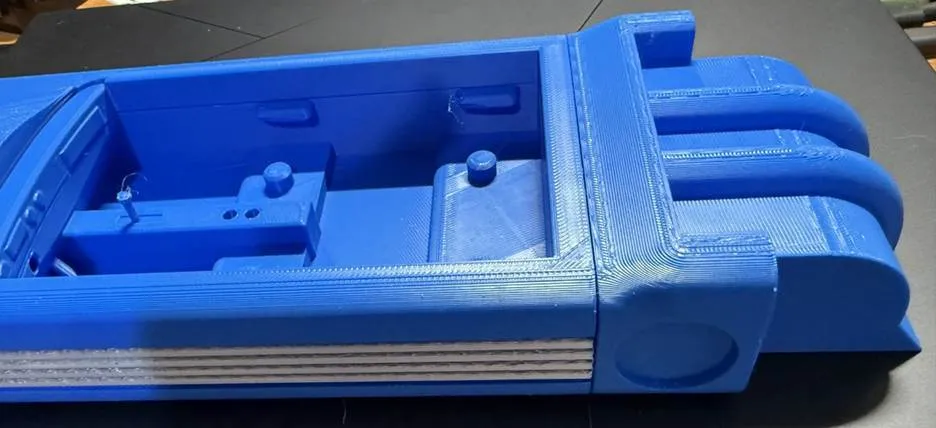
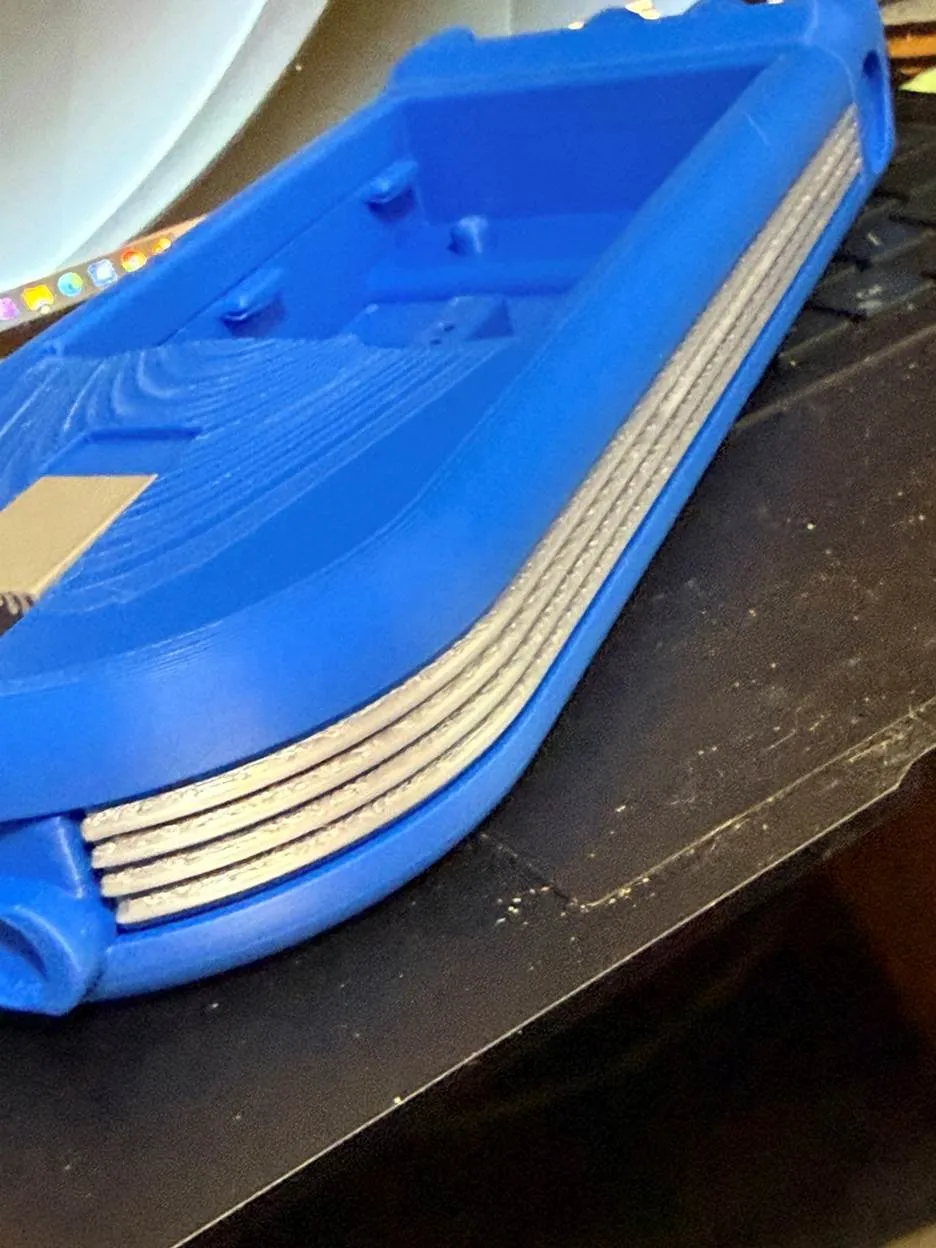
Plate 5 contains all the black parts: the hood scoop, the four seats, the back cushion, the steering wheel and the engine nozzles. You use all these now except for the nozzles. Just set them aside.
I would actually suggest you install the steering wheel before you insert the seats. The steering wheel shaft is very tight but I didn’t want it loose. So you may have to make sure the hole is round and/or sand off some of the shaft,
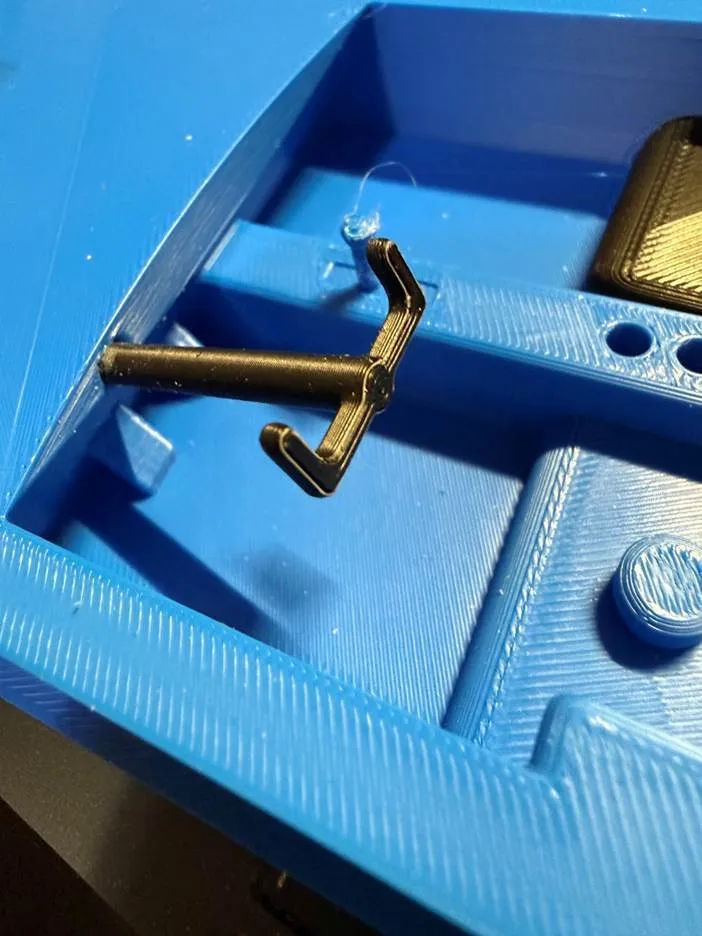
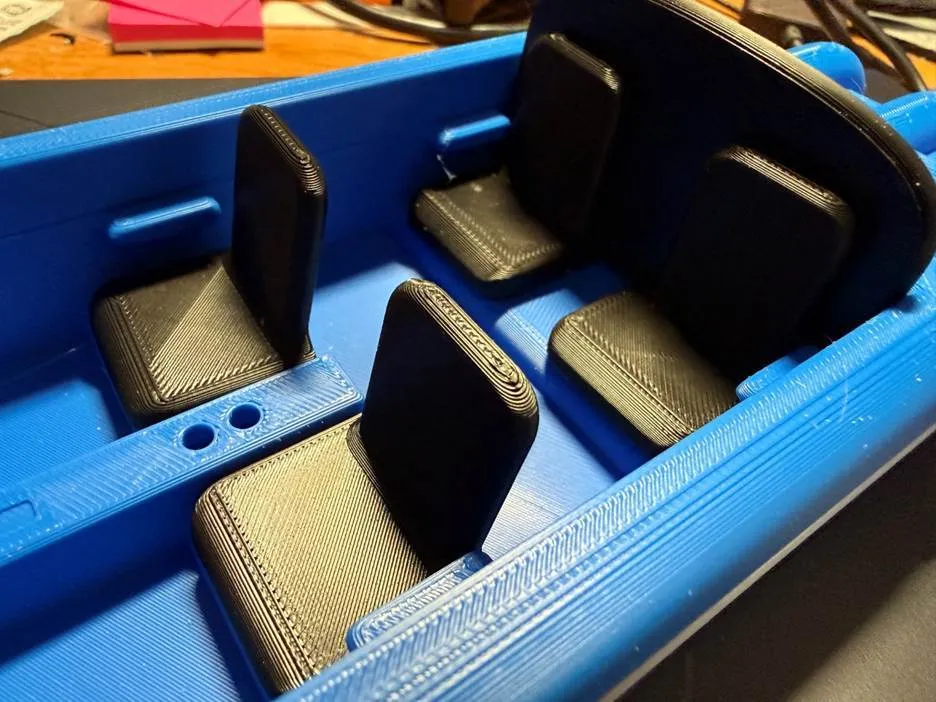
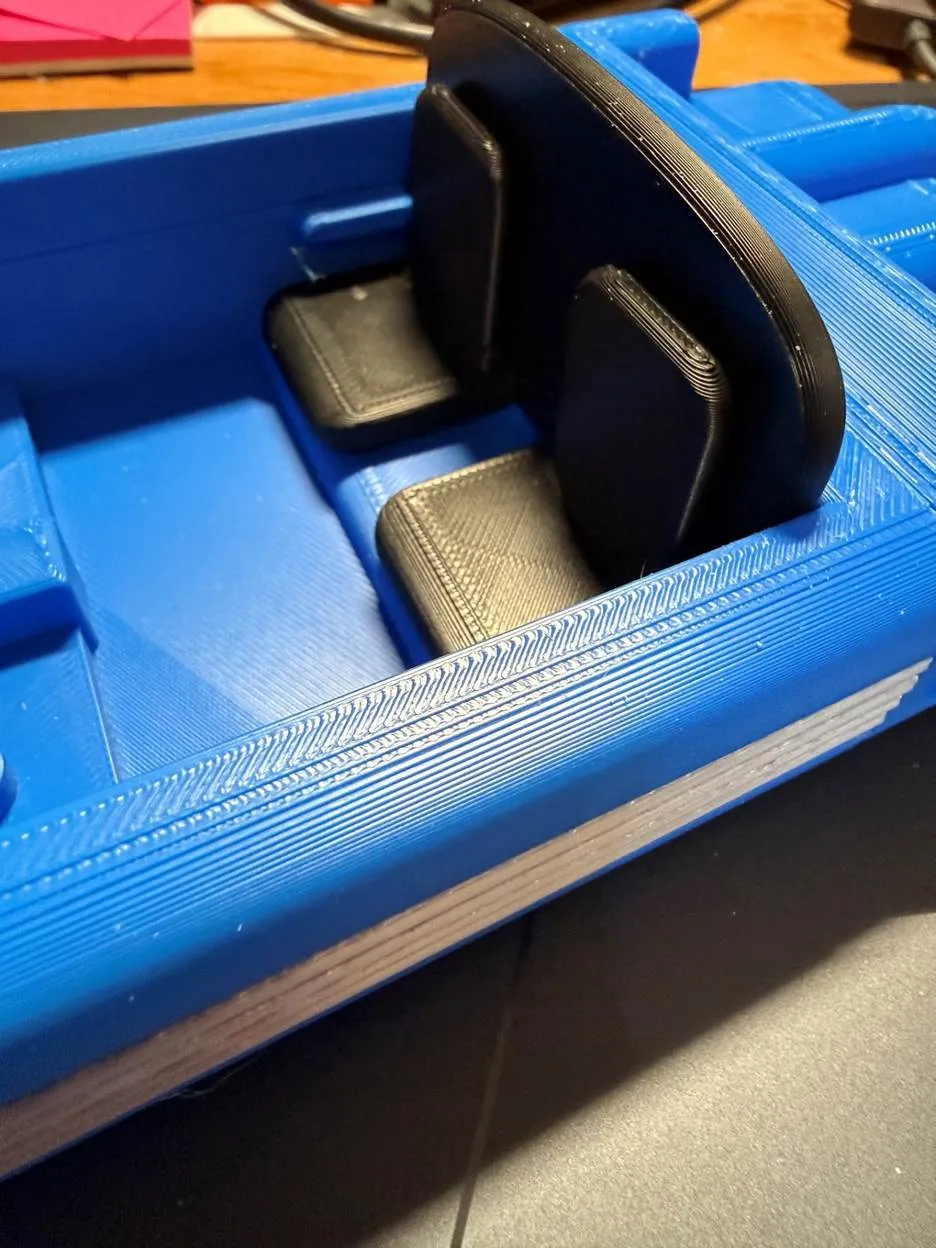
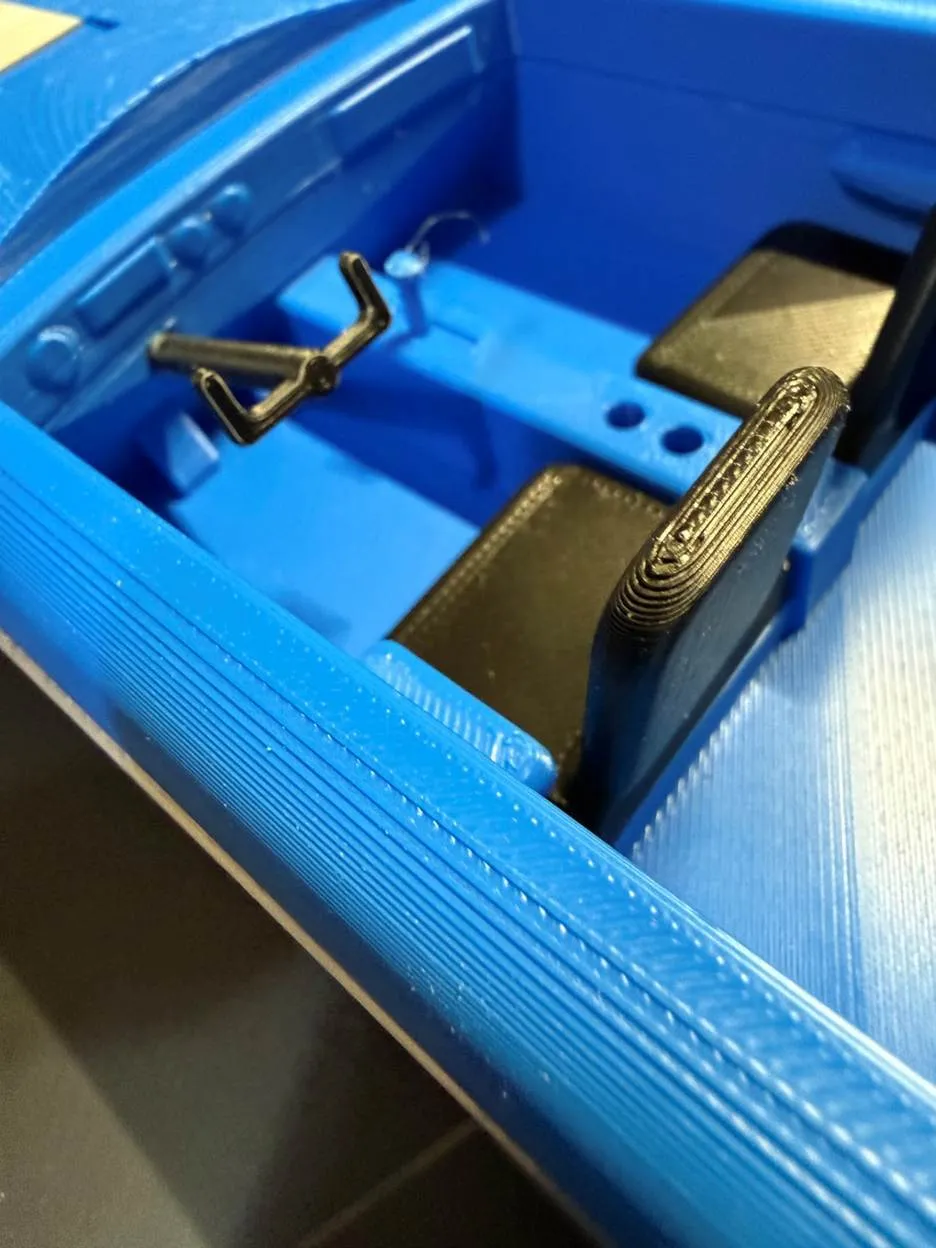
Now you can glue in the hood scoop just behind the front engine block.
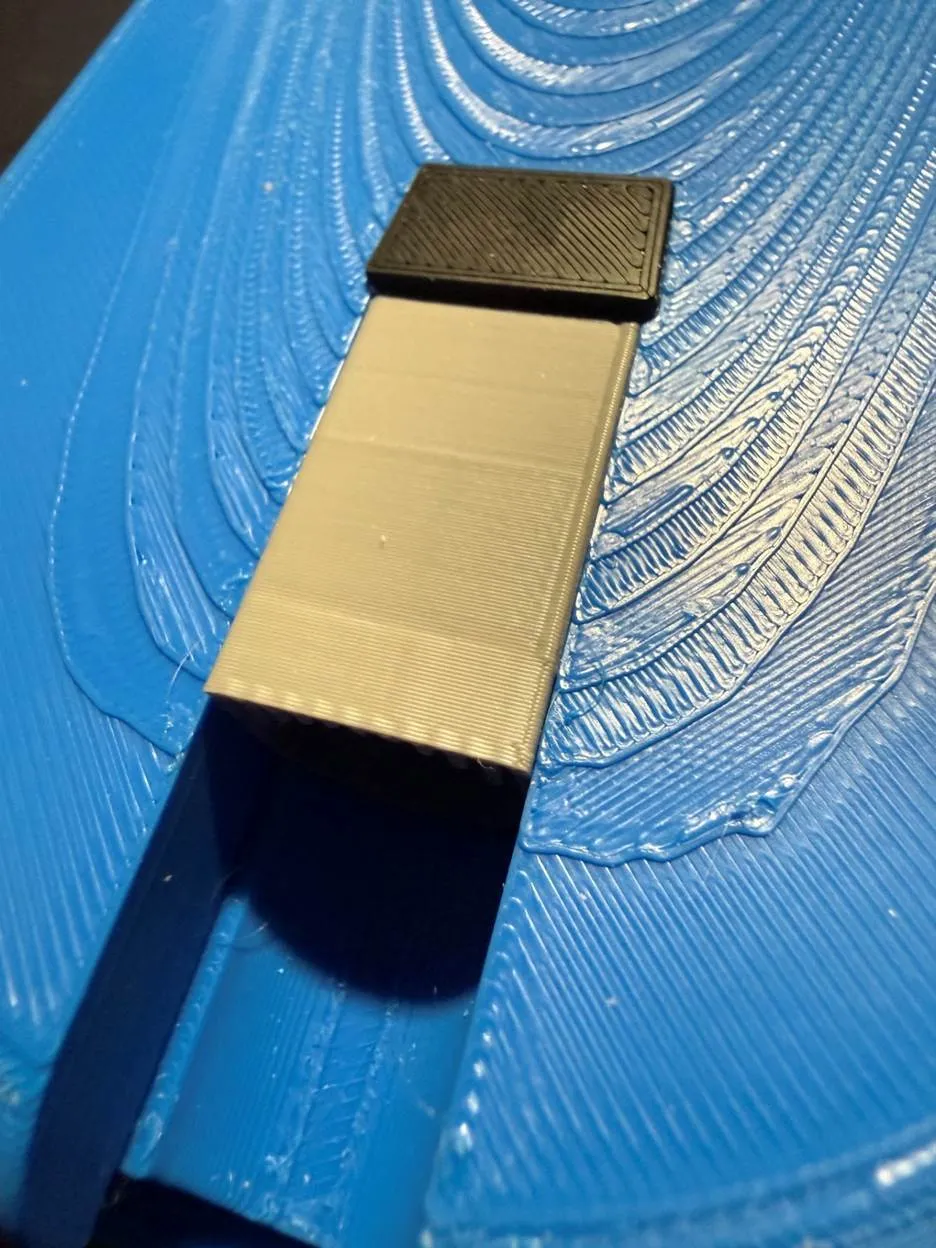
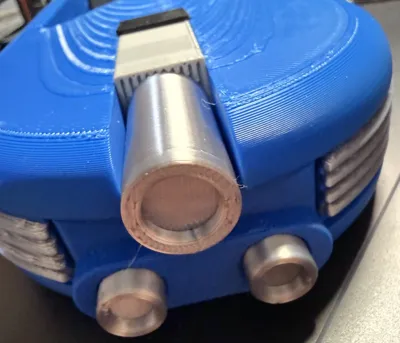
Plate 6 contains the silver Rear Engine cover, the two circles for placing on the side, behind the Grill and the end piece covers for the Energy Bars and Plate 7 has the Red (my color choice) energy bars. If you choose to not want the separate energy bars then I have provided Plate 12 with an Optional Rear Engine that has the Energy Bars included, so all Silver. You will also have the option to cover the Red Energy Bars with Transparent filament. So you have three choices to make: all silver, separate red energy bars covered or uncovered.
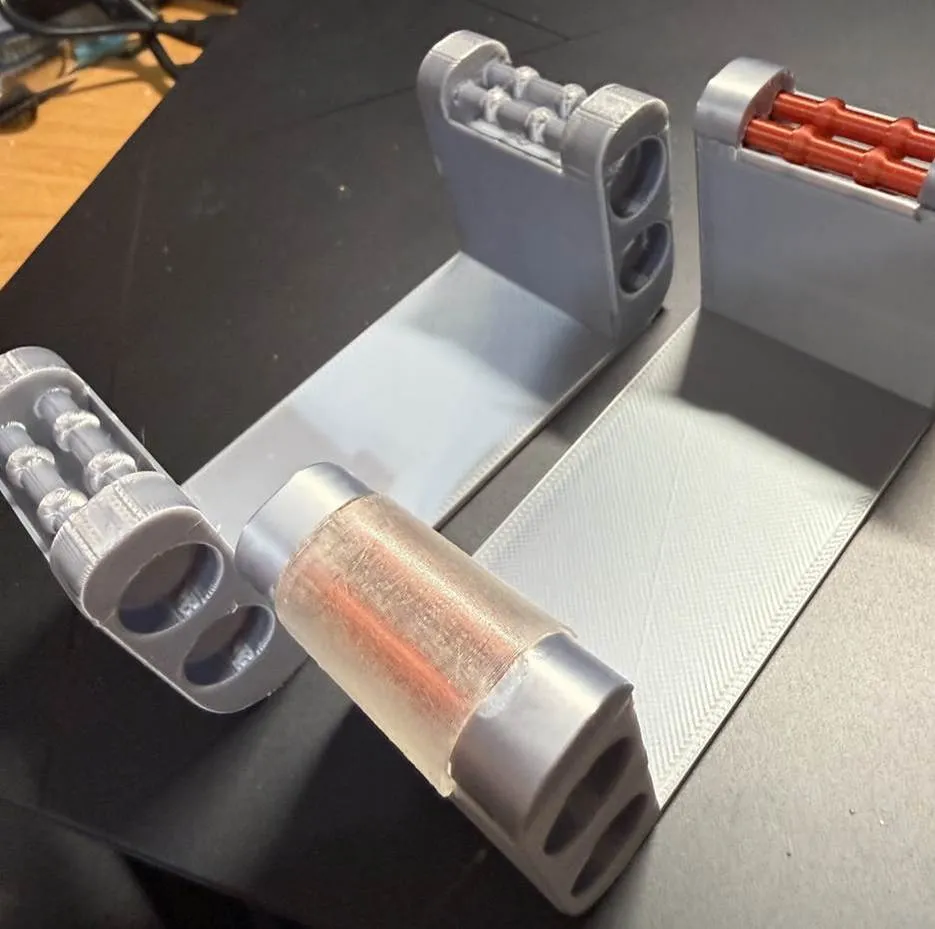
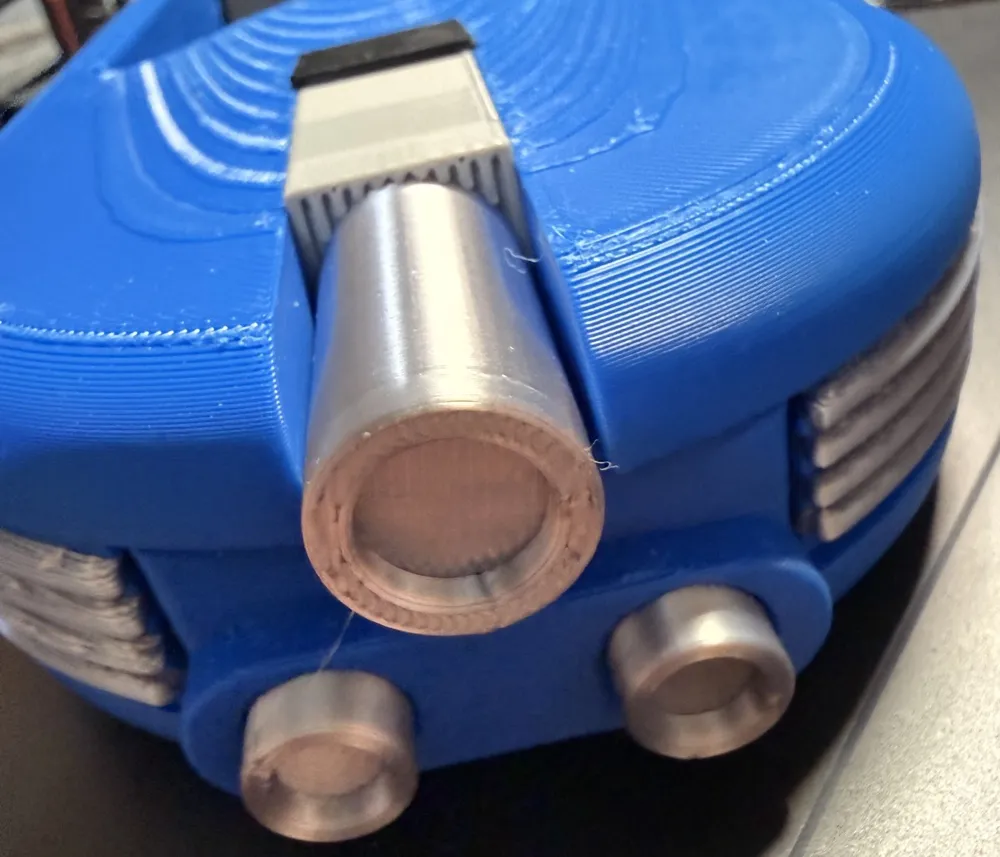
Plate 8 moves our attention back to the front with the three headlights,
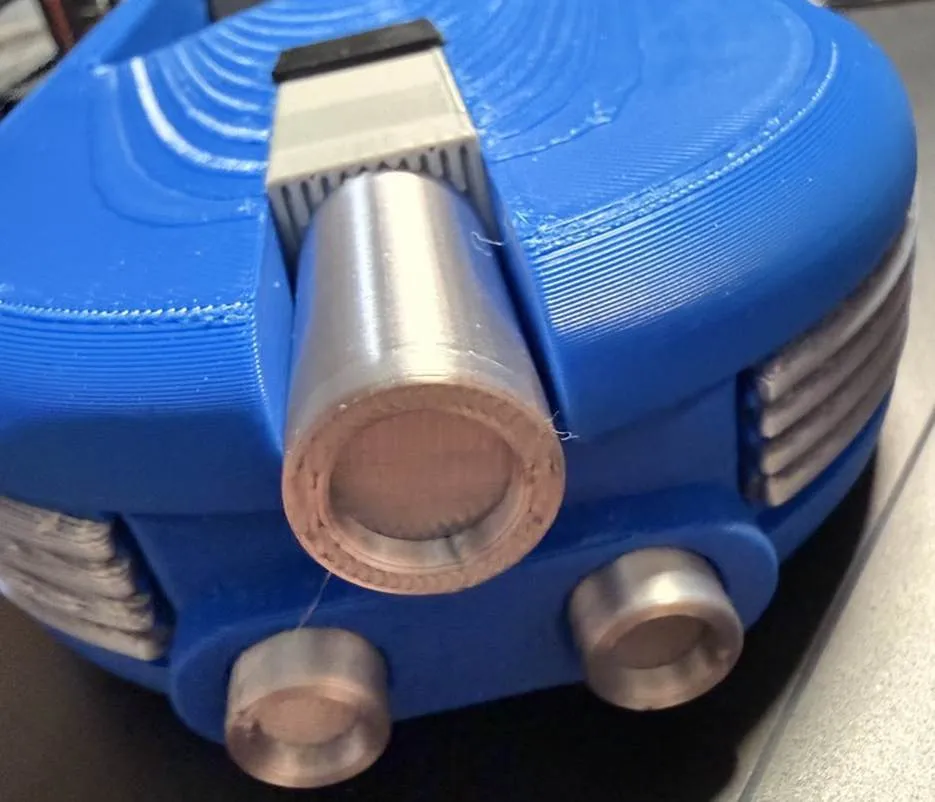
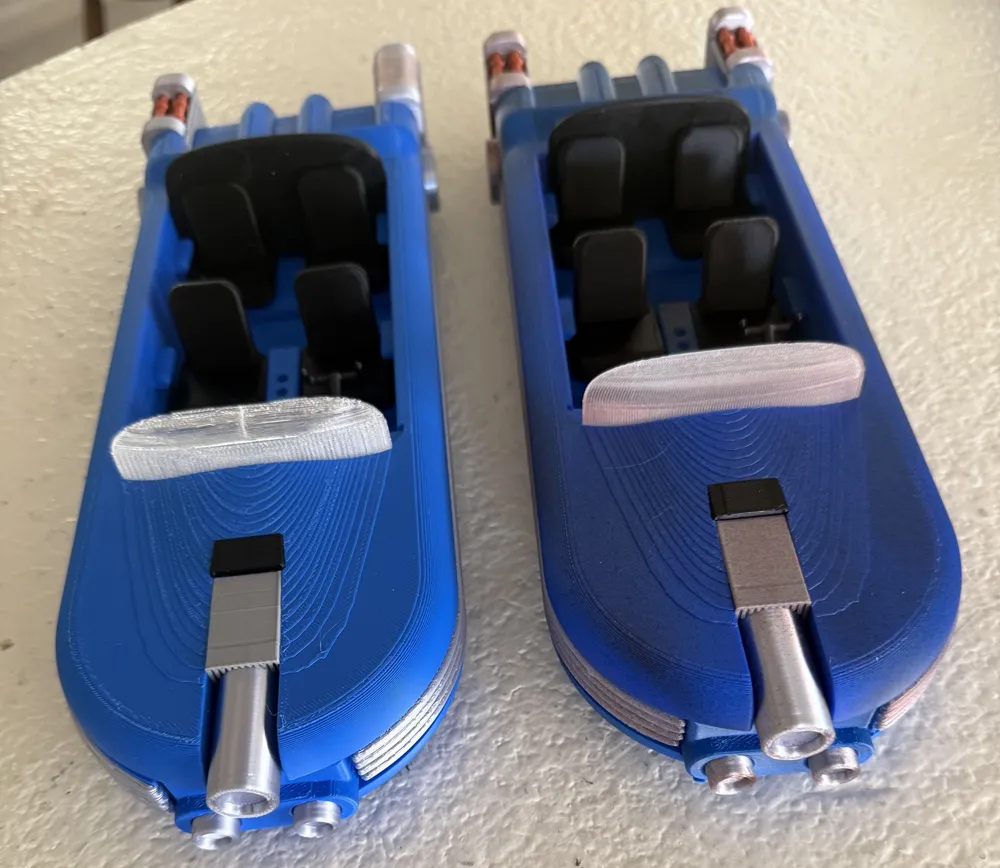
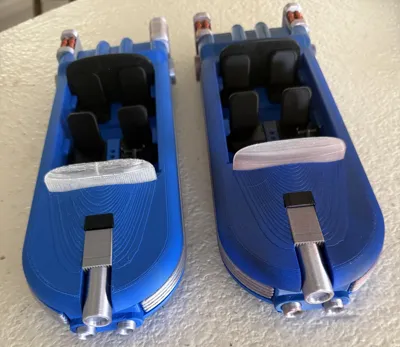
I had a thought to make lens for the lights. As you can see here where I have installed the top and lens on the left, but no lens on the right. I decided not to include them but I have added a Plate 13 for the transparent lens.
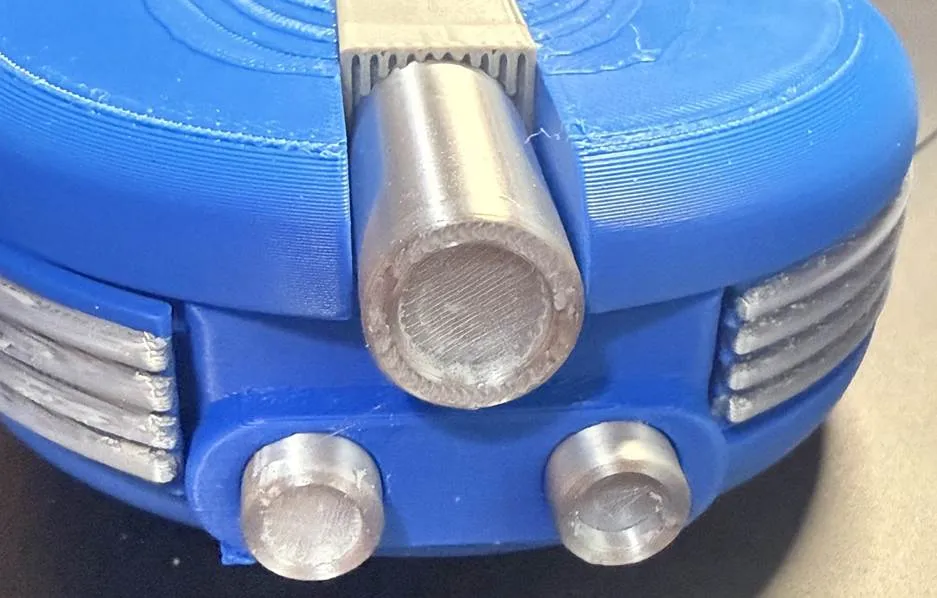
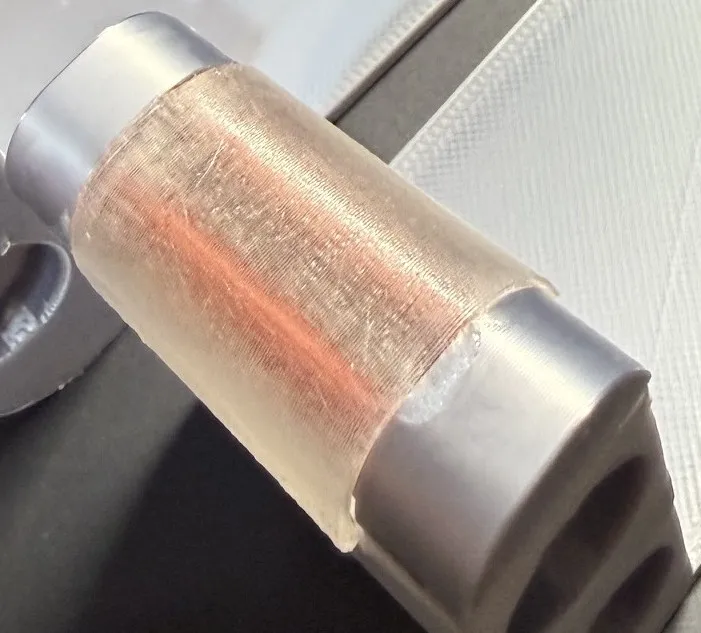
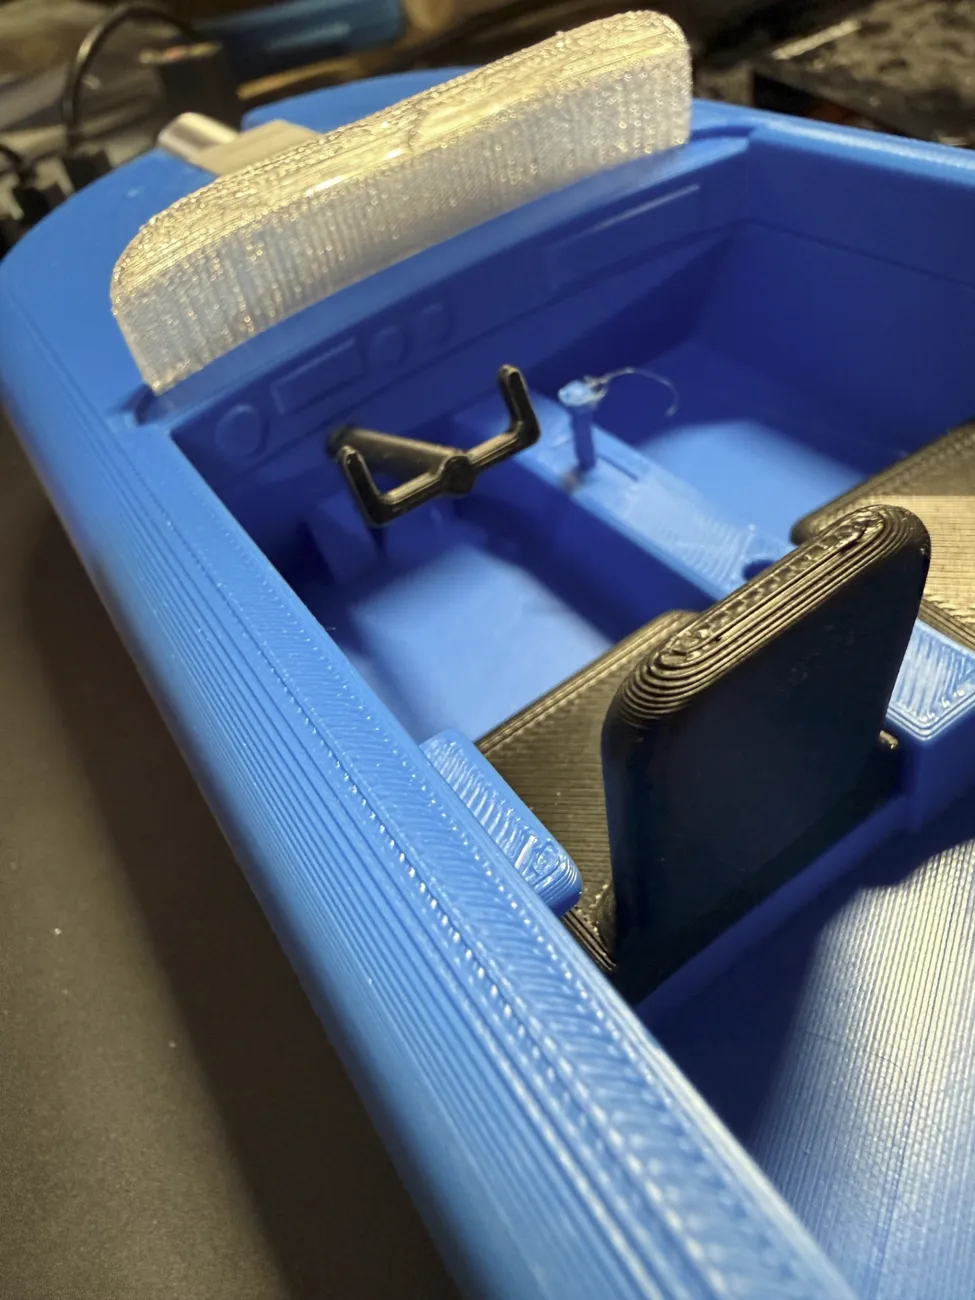
Speaking of Transparent. Plate 9 has my attempt of making a somewhat transparent windshield and then Plate 10 has the optional Transparent Energy Bar covers. If anyone has a method or settings, that makes translucent filaments more transparent, please share. This windshield is designed to be tight so it may not need glue once it snaps in.
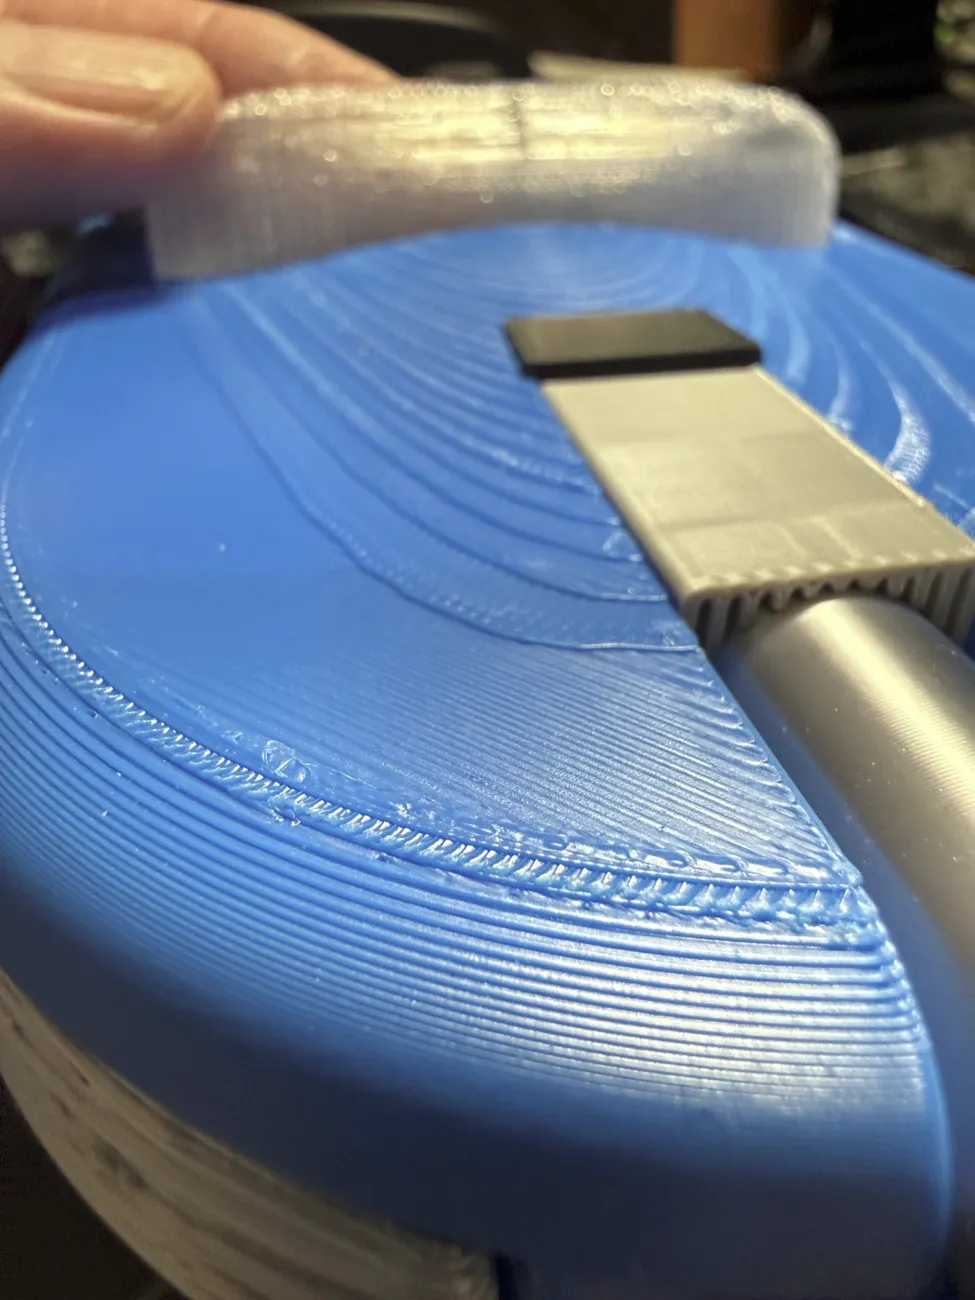
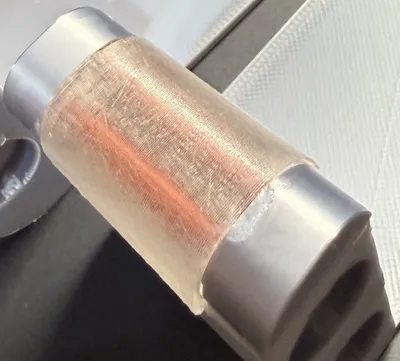
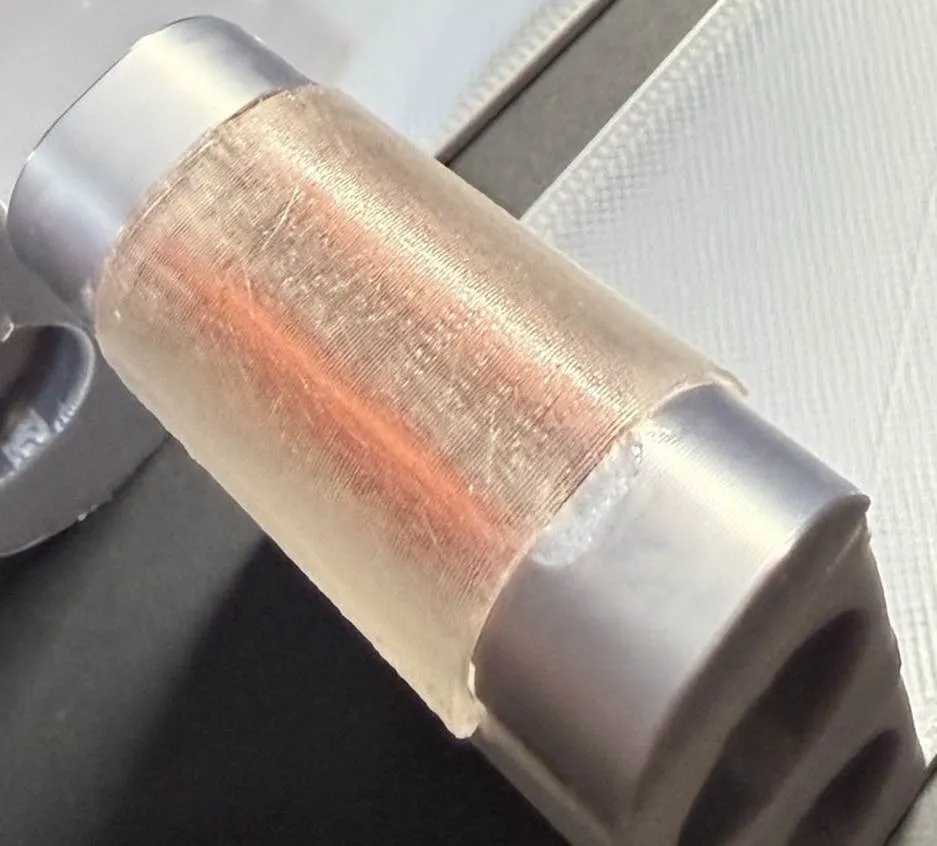
Here is a closeup of the Energy Bar “clear” cover.
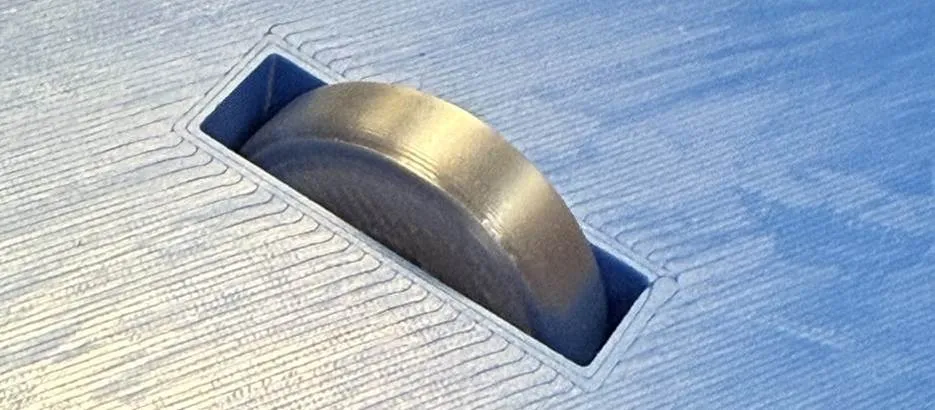
The Last thing to print is the wheels. Yes, I know the speeders don’t have wheels, but this makes it look like it is slightly above the ground. The wheels have a grove cut in for you to push it onto the split axels. It should snap in without much effort and still roll.
Once everything is dry fitted, now you can glue the remainder.
I hope you enjoy the model and I would really love to see your prints and what you decide on colors and energy bars.
License



Comment & Rating (0)